
The Waterfall Cave is a large cave system in ![]() Dragon’s Dogma 2 that you can explore as early as the start of the game, although it’s more of a mid-game dungeon due to what lurks below. Situated east of
Dragon’s Dogma 2 that you can explore as early as the start of the game, although it’s more of a mid-game dungeon due to what lurks below. Situated east of ![]() Borderwatch Outpost,
Borderwatch Outpost, ![]() Waterfall Cave has numerous chests to loot, ore to mine, and
Waterfall Cave has numerous chests to loot, ore to mine, and ![]() Seeker’s Tokens to acquire, making it a worthwhile endeavor. Read on to find out where you can find Waterfall Cave, how to get through it, and where to find every piece of loot it has to offer.
Seeker’s Tokens to acquire, making it a worthwhile endeavor. Read on to find out where you can find Waterfall Cave, how to get through it, and where to find every piece of loot it has to offer.
Waterfall Cave Location
The Waterfall Cave can be found by exiting Borderwatch Outpost via the southeastern exit and following the road east. Near the end of the road, you’ll reach an intersection with the main path heading south, while a smaller path will continue east. Proceed east, and you’ll find the Waterfall Cave. Note, that there is a northern entrance that will bring you to the same area, but this entrance is easier to get to and the cave links up anyway, so you won’t miss anything.
Waterfall Cave Guide
This walkthrough aims to get you every piece of loot you can find within it. Most of this cave links back to itself, so you can take any route you want through it.

(1 of 3) When you enter the cave, you’ll be at the south exit if you follow our directions. In the far east is where you can get to the second floor.
First Floor
When you enter the cave via the southern entrance, you’ll be in the southern part of the first floor. The biggest threat on this floor is by far the Chimera, who you can find to the east/northeast. For the rest of the enemies, you’ll be facing predominantly ![]() Saurians with a few
Saurians with a few ![]() Slimes thrown in for good measure. Once you’re ready, follow the only path east and north while picking up the
Slimes thrown in for good measure. Once you’re ready, follow the only path east and north while picking up the ![]() Greenwarish.
Greenwarish.
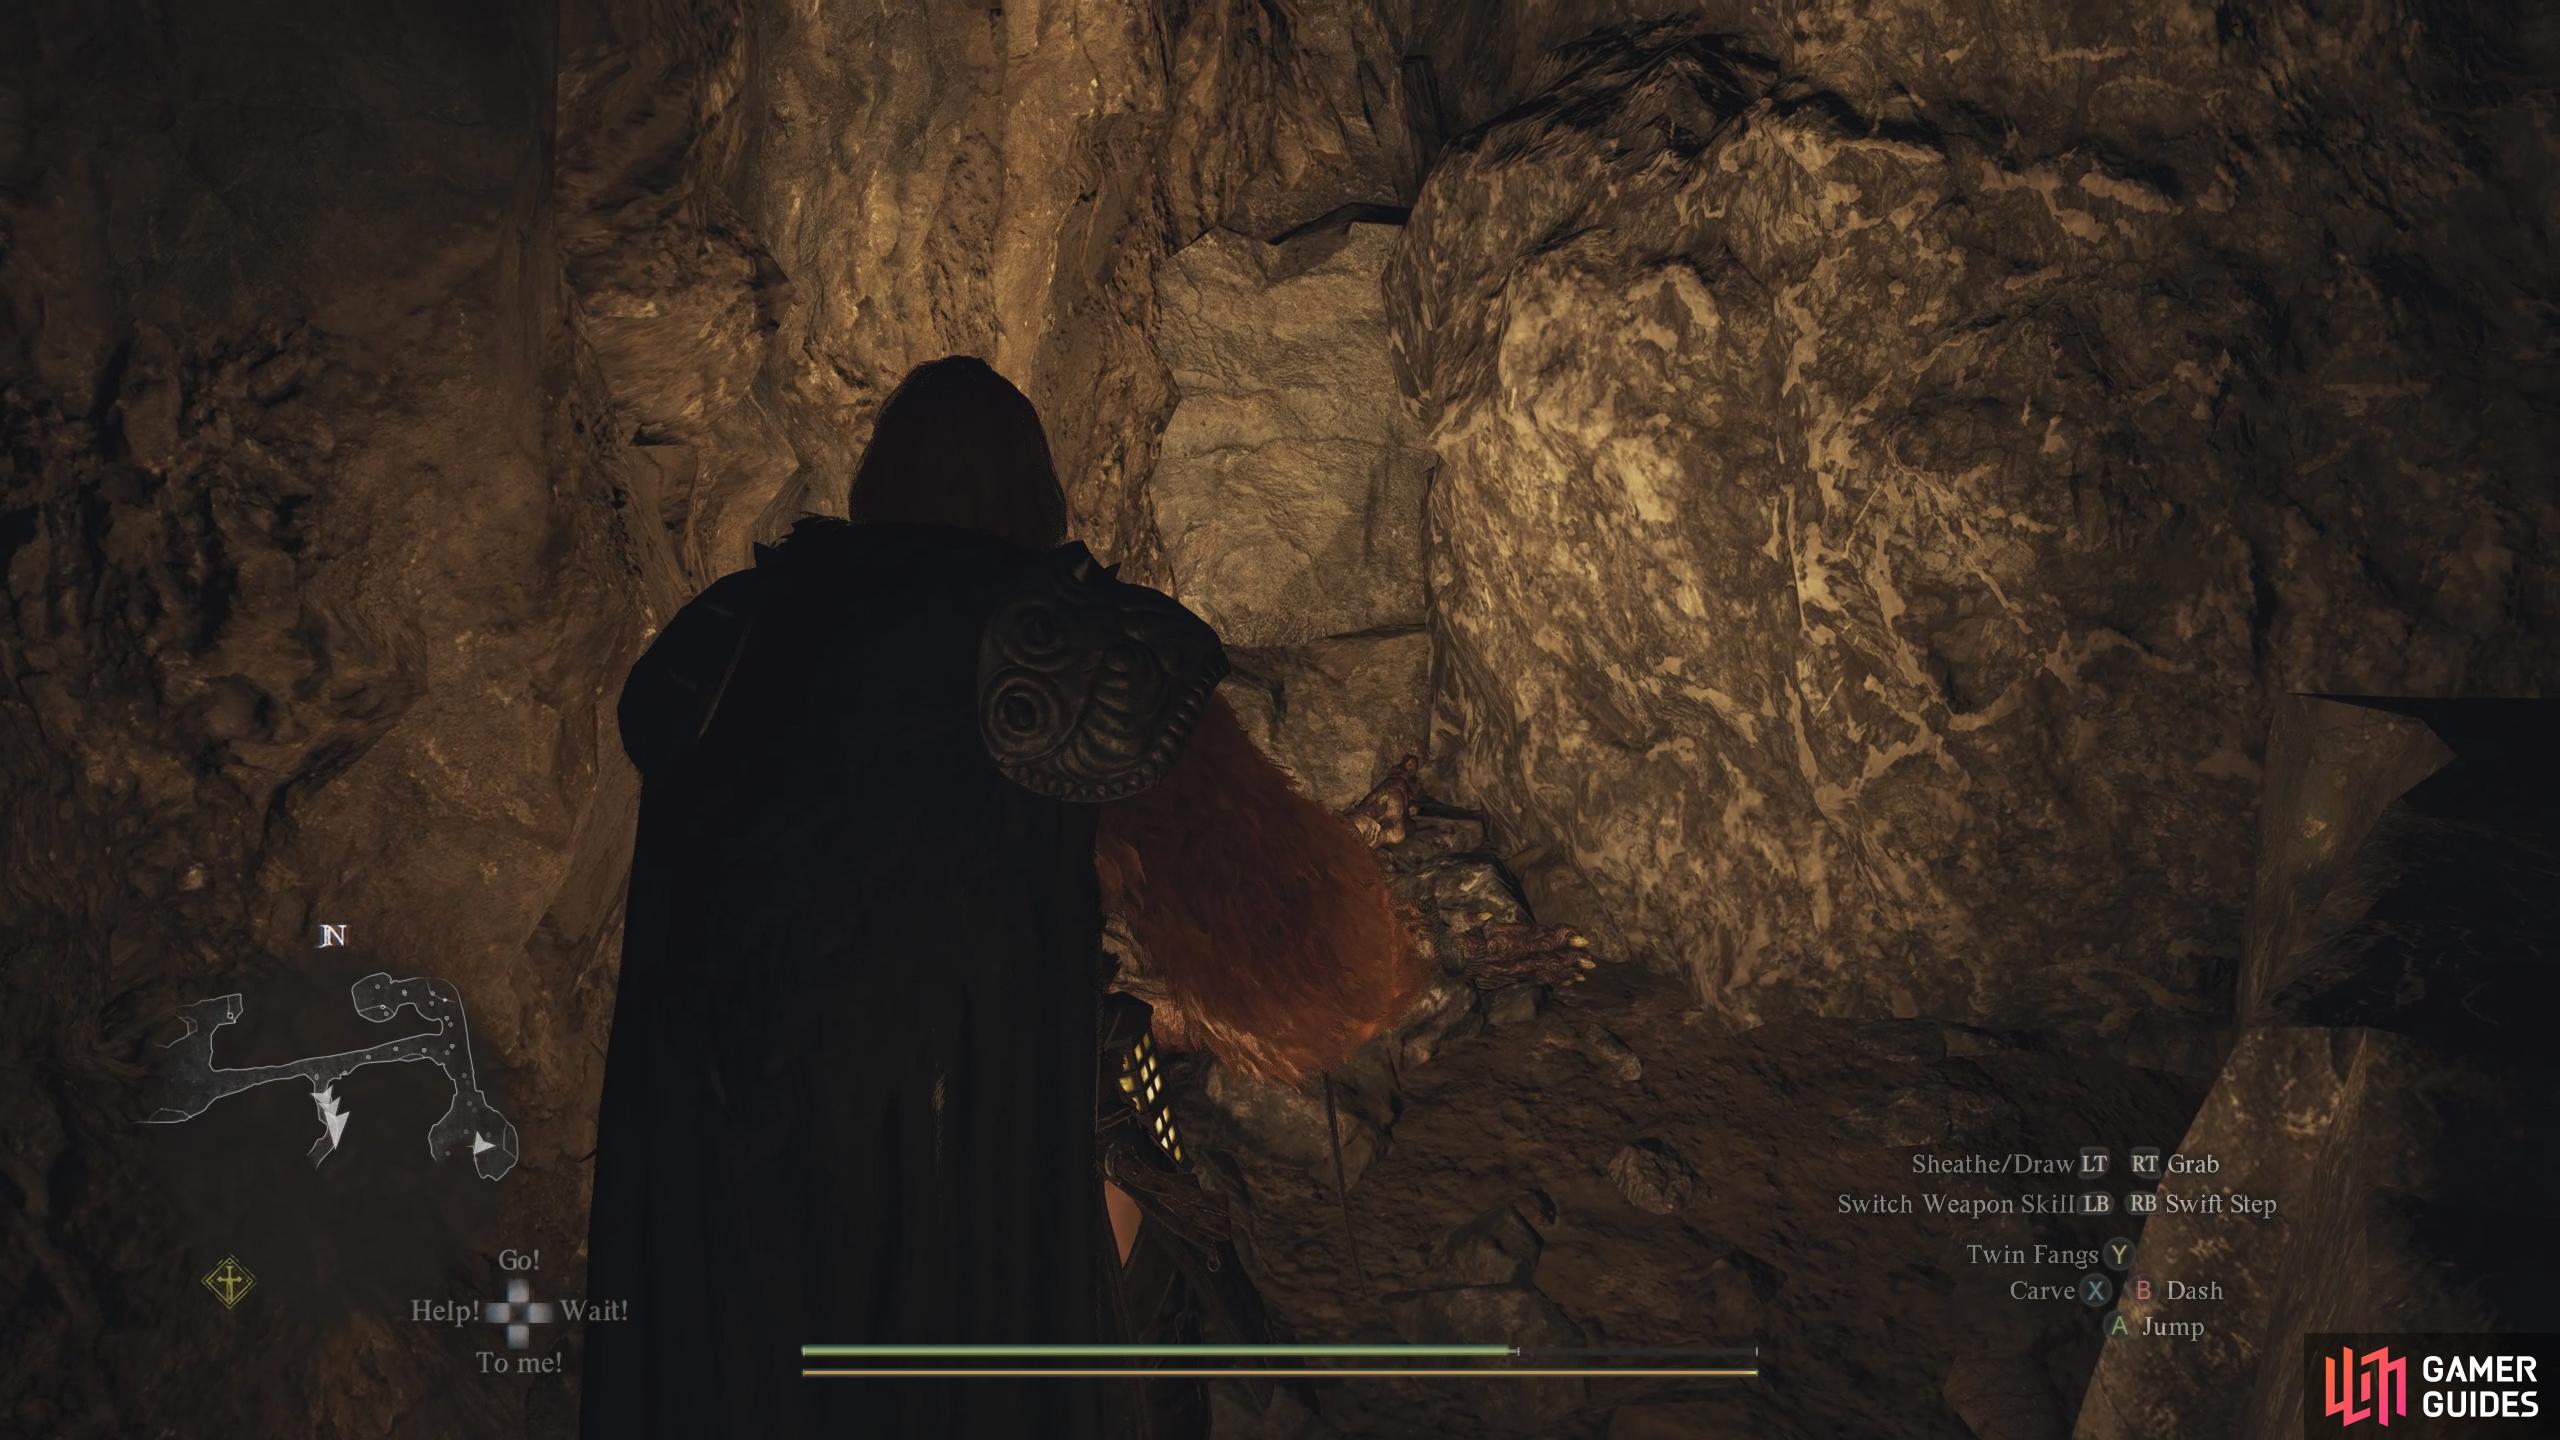
At the intersection, head east (don’t fall down the hole!) and then south at the next intersection. Follow the path to the end for a chest containing a ![]() Detoxifying Decoction. Return to the intersection, head west, and then take the path north. You’ll soon reach another intersection but for now, continue north. In this area, you’ll find a Slime and some
Detoxifying Decoction. Return to the intersection, head west, and then take the path north. You’ll soon reach another intersection but for now, continue north. In this area, you’ll find a Slime and some ![]() Bats but more importantly some gold to the east. Continue north, and head west when you reach the pool of water. Here, you will find a small rocky island in the water with a chest containing
Bats but more importantly some gold to the east. Continue north, and head west when you reach the pool of water. Here, you will find a small rocky island in the water with a chest containing ![]() Dried Fish guarded by numerous Saurian. If you continue north from here, you’ll be at the northern exit/entrance to the cave.
Dried Fish guarded by numerous Saurian. If you continue north from here, you’ll be at the northern exit/entrance to the cave.


(1 of 3) The Detoxifying Decoction Chest can be found at the end of the tunnel against the rocks.
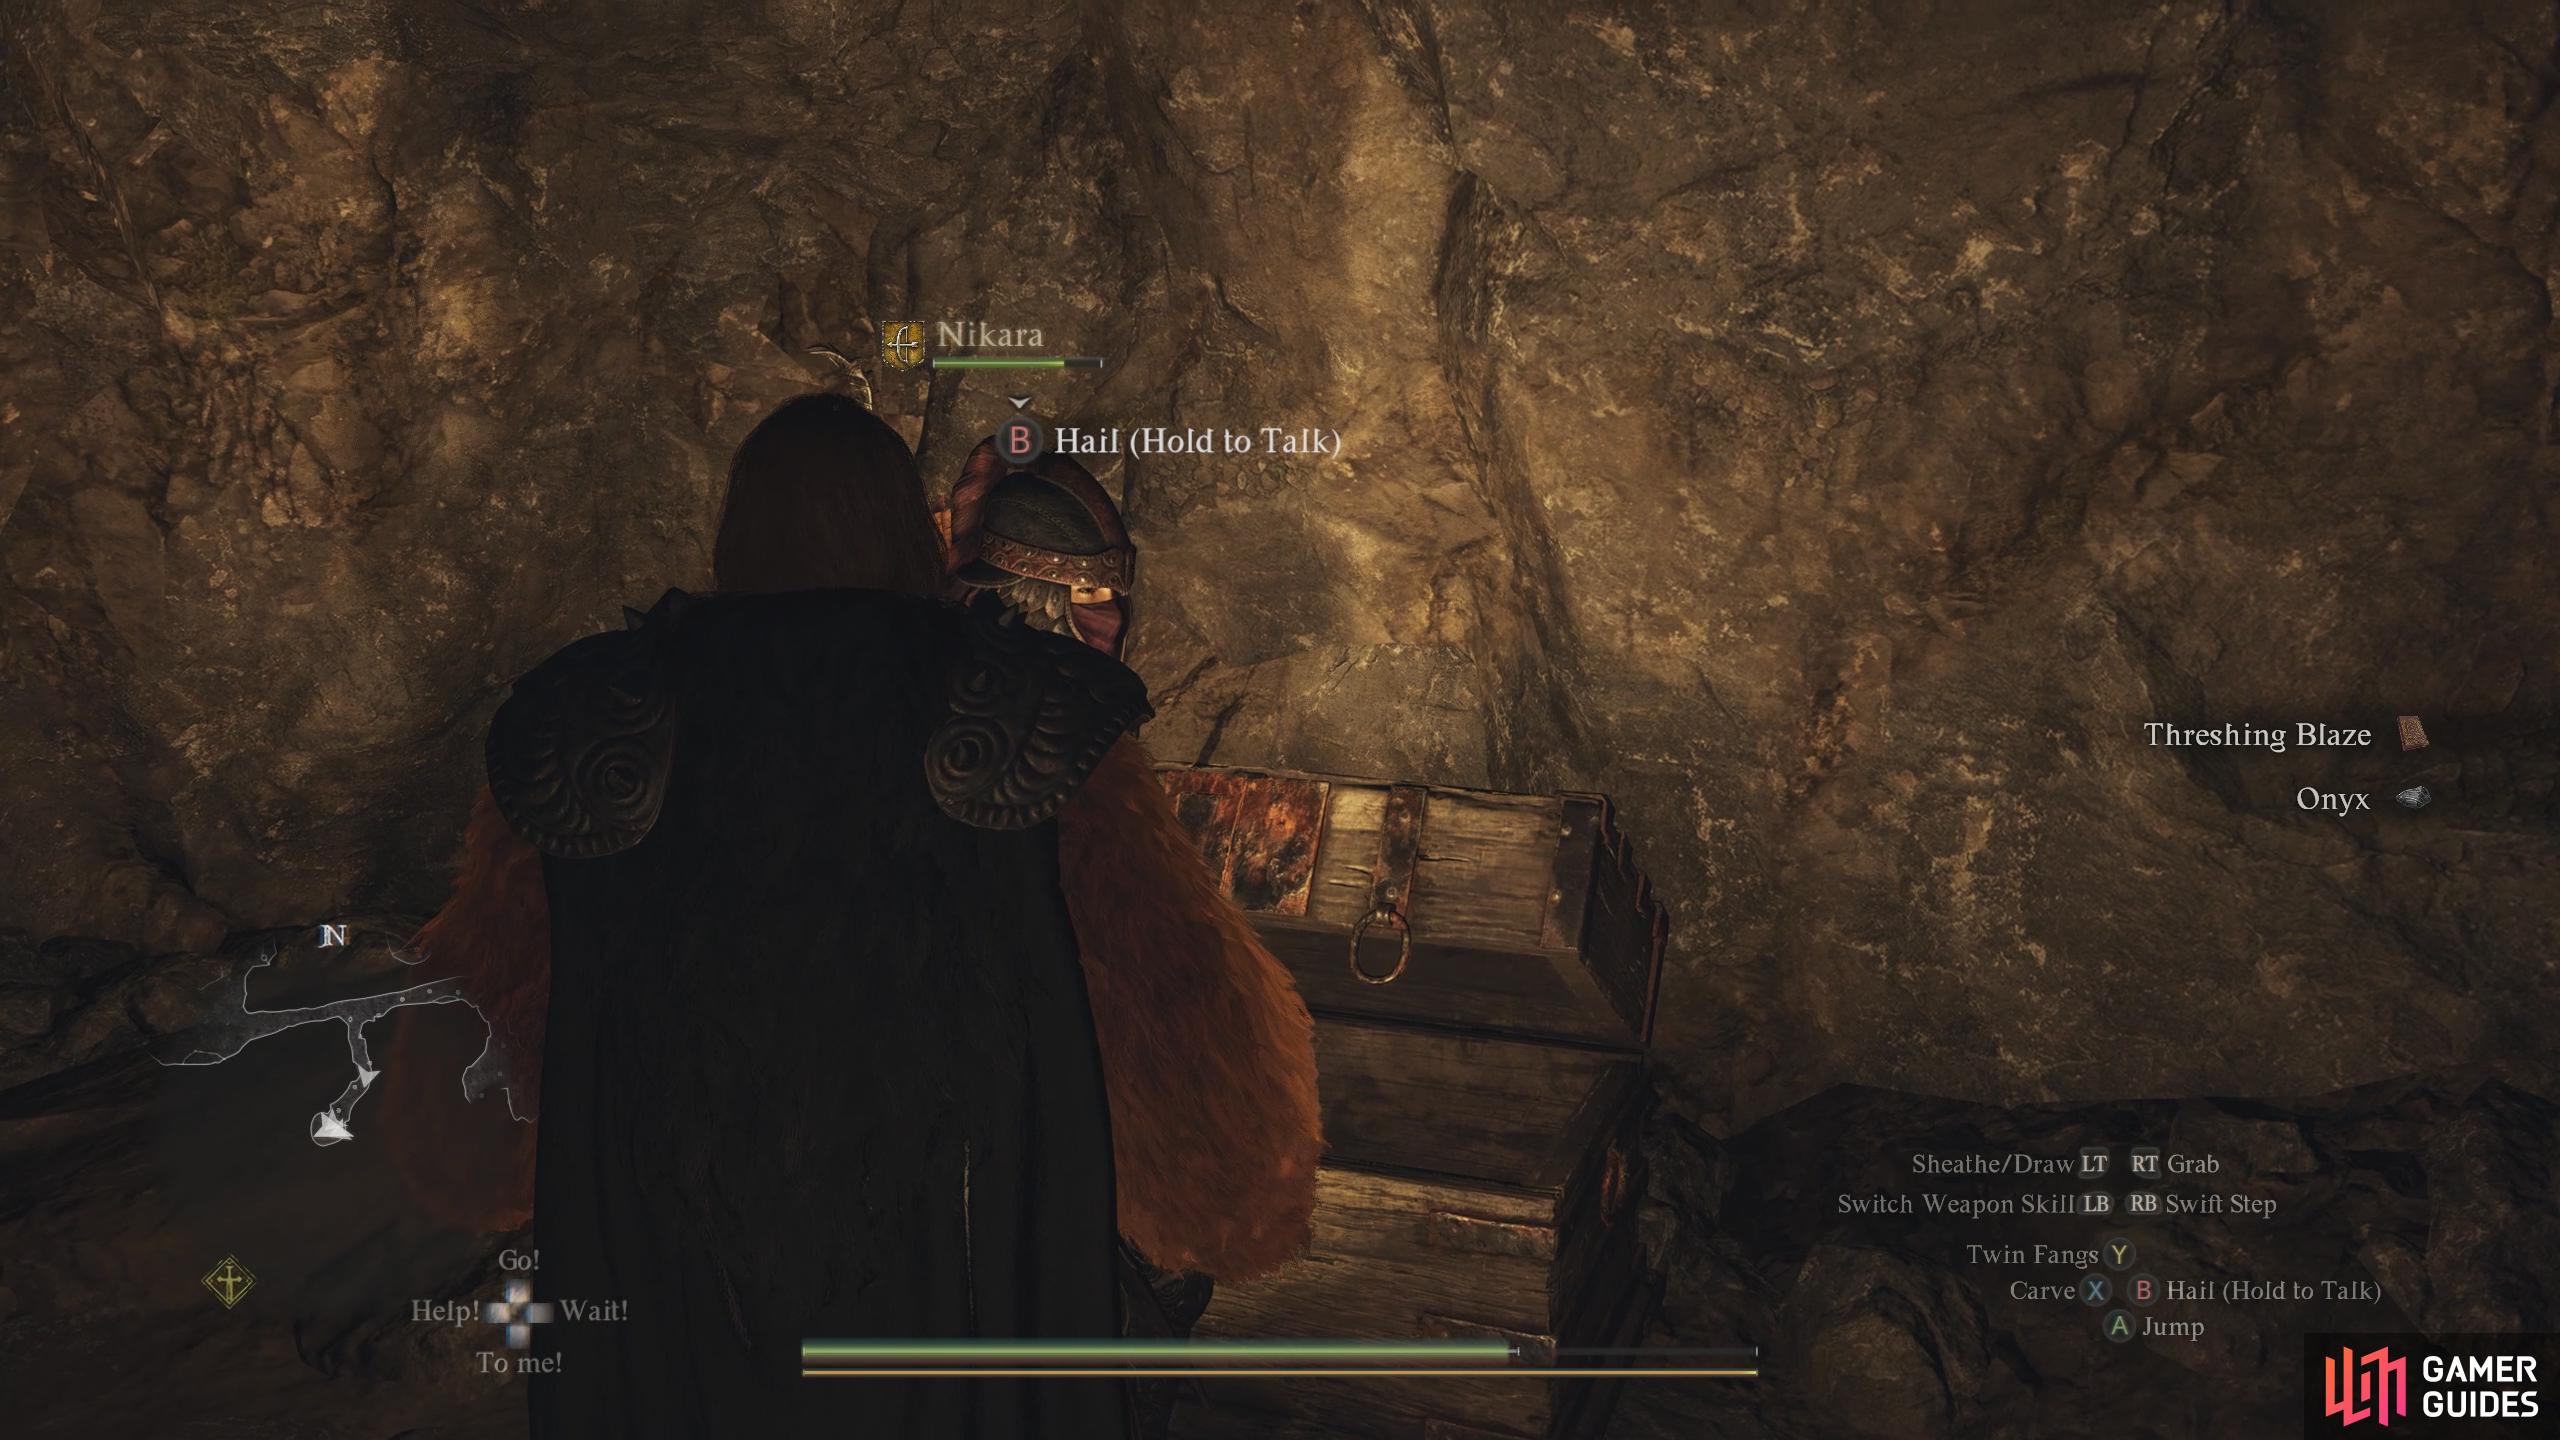
Now, head back south until you reach the first intersection, use the western path and take it to the upper path, and then follow the path east while defeating the slime and picking up the ![]() Pityworts along the way. When you reach the intersection, head north and then take the first path west to find a chest containing 4510G. This will require you to defeat some Saurian and
Pityworts along the way. When you reach the intersection, head north and then take the first path west to find a chest containing 4510G. This will require you to defeat some Saurian and ![]() Skeletons, though. Leave the room, head north, and then east around the corner to the next intersection where some more Saurians will be. Defeat them, head north, and open the unique chest for a
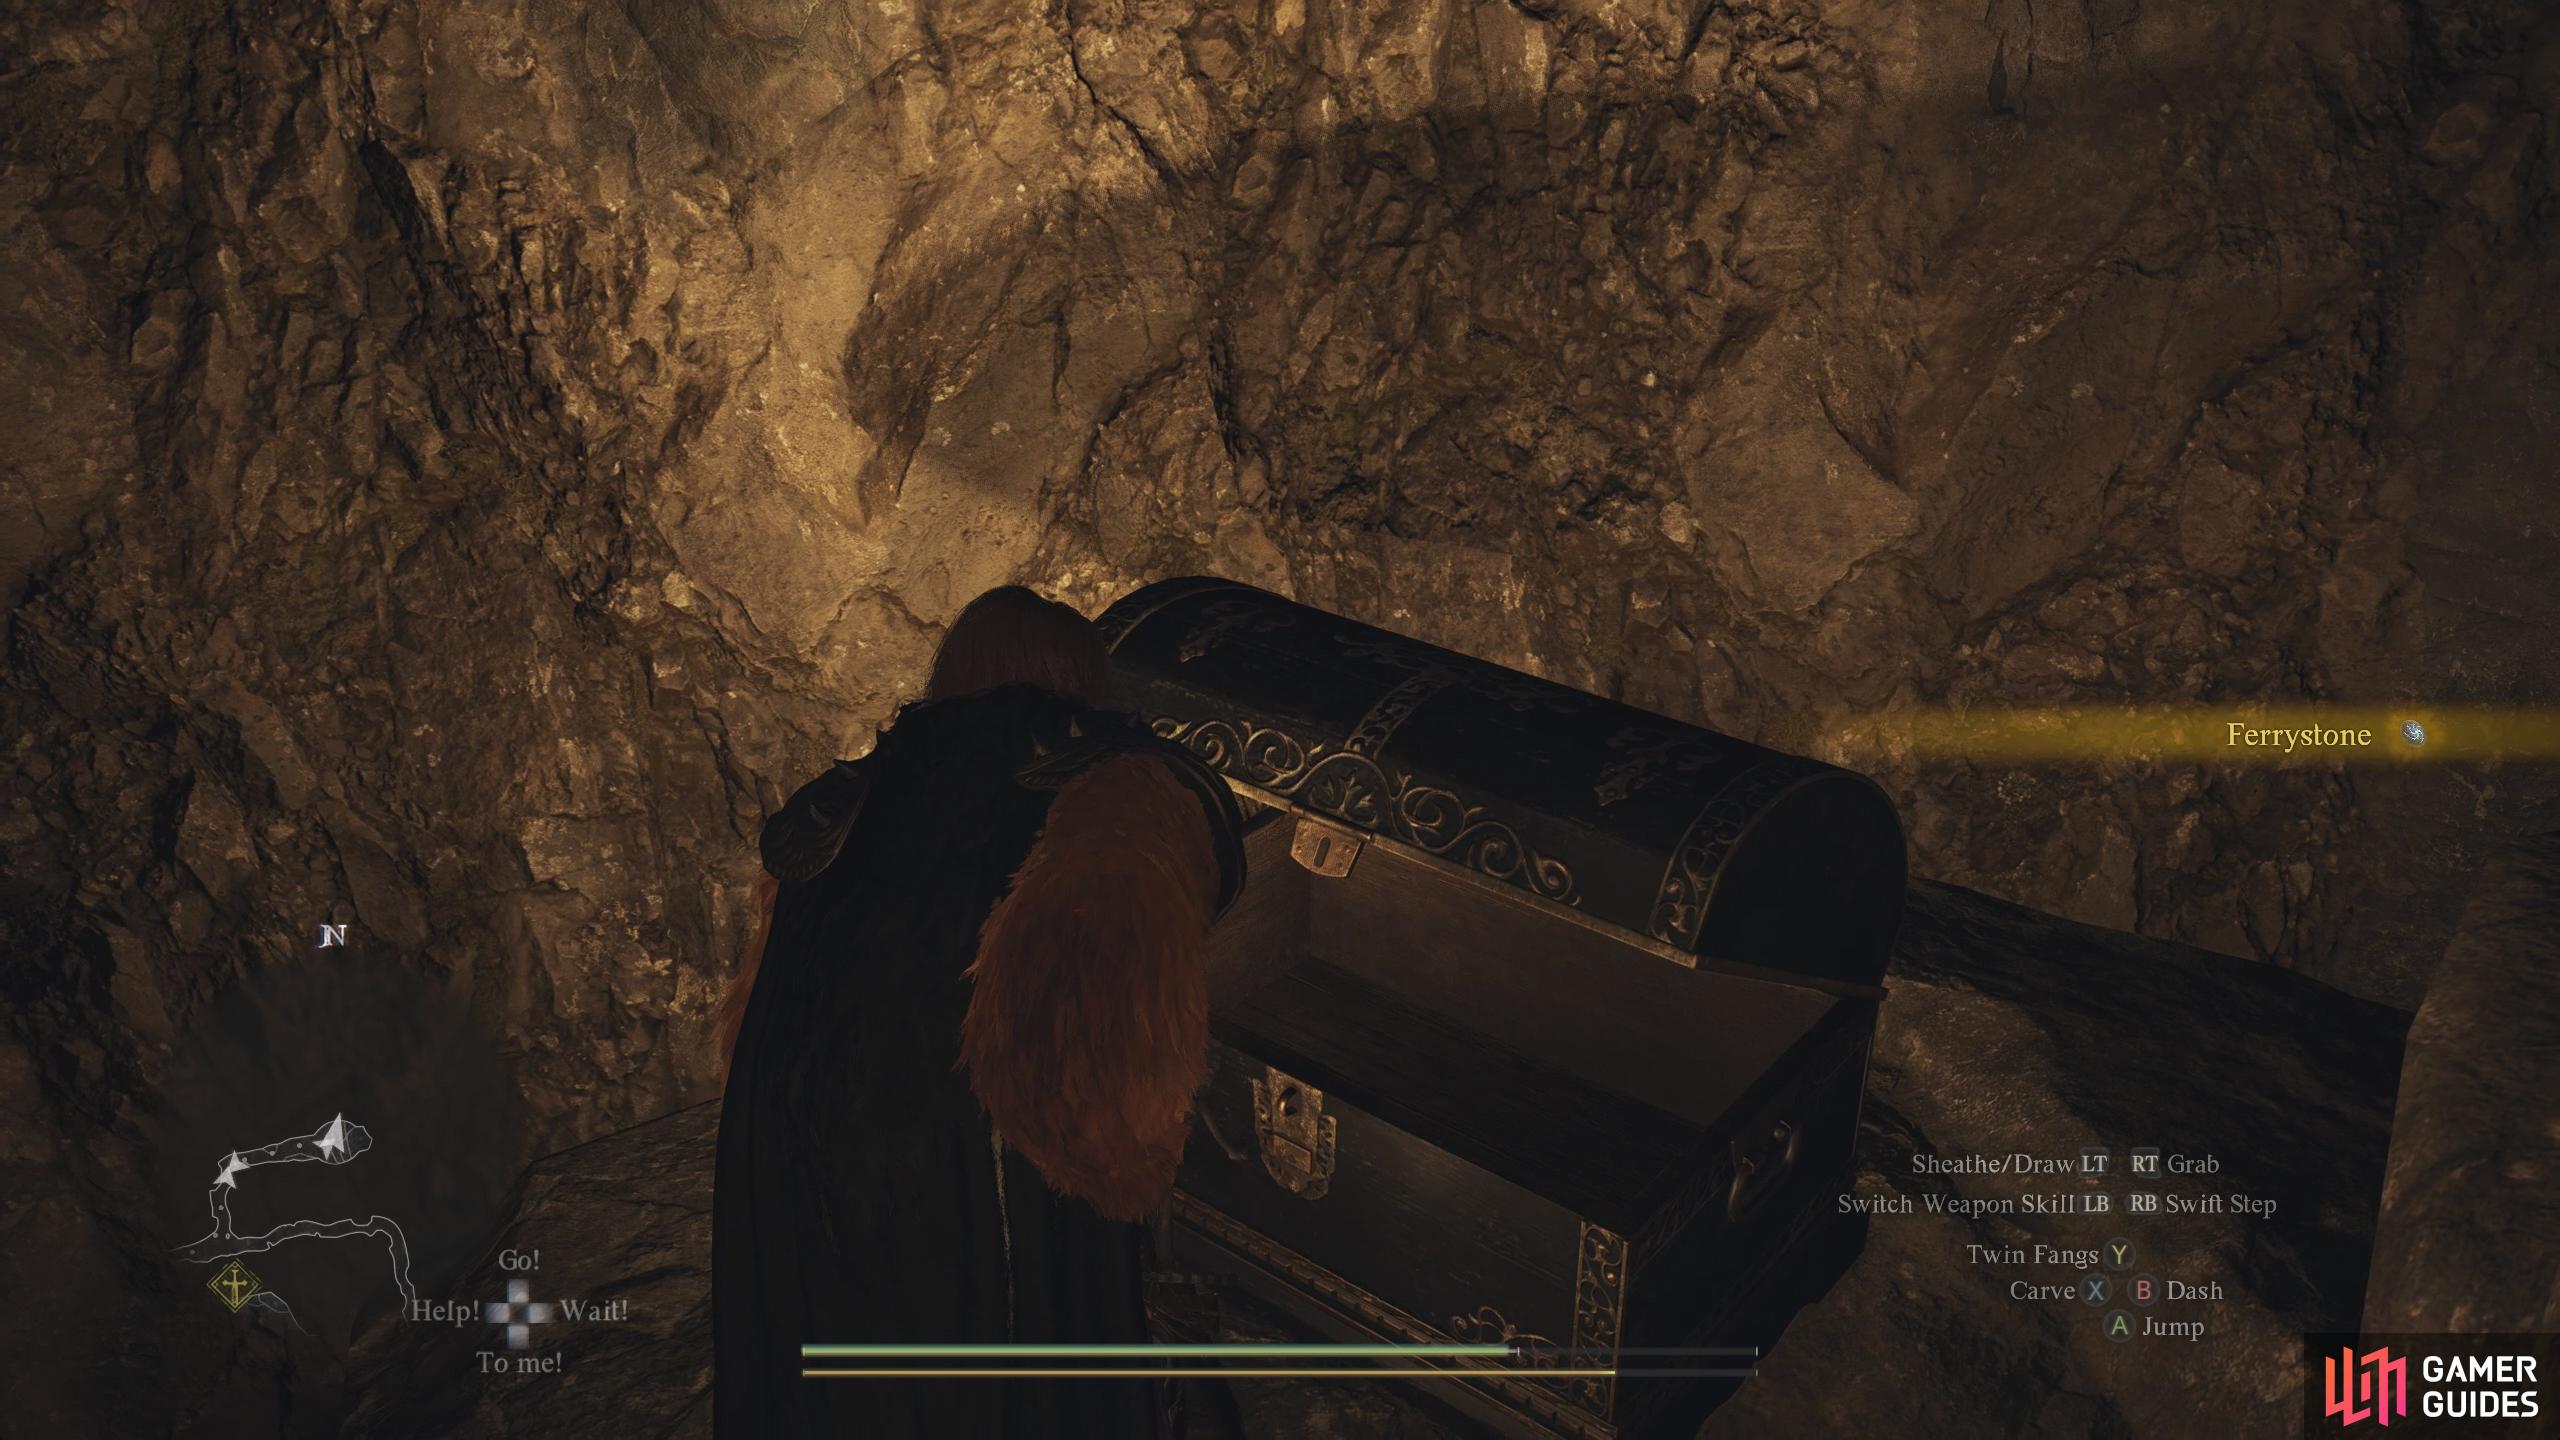
Skeletons, though. Leave the room, head north, and then east around the corner to the next intersection where some more Saurians will be. Defeat them, head north, and open the unique chest for a ![]() Ferrystone. Exit the room, head back to the intersection, and then head east until you reach another intersection. South will take you to the second floor, while west and north will take you to the Chimera. If you want to fight this, head west and north.
Ferrystone. Exit the room, head back to the intersection, and then head east until you reach another intersection. South will take you to the second floor, while west and north will take you to the Chimera. If you want to fight this, head west and north.
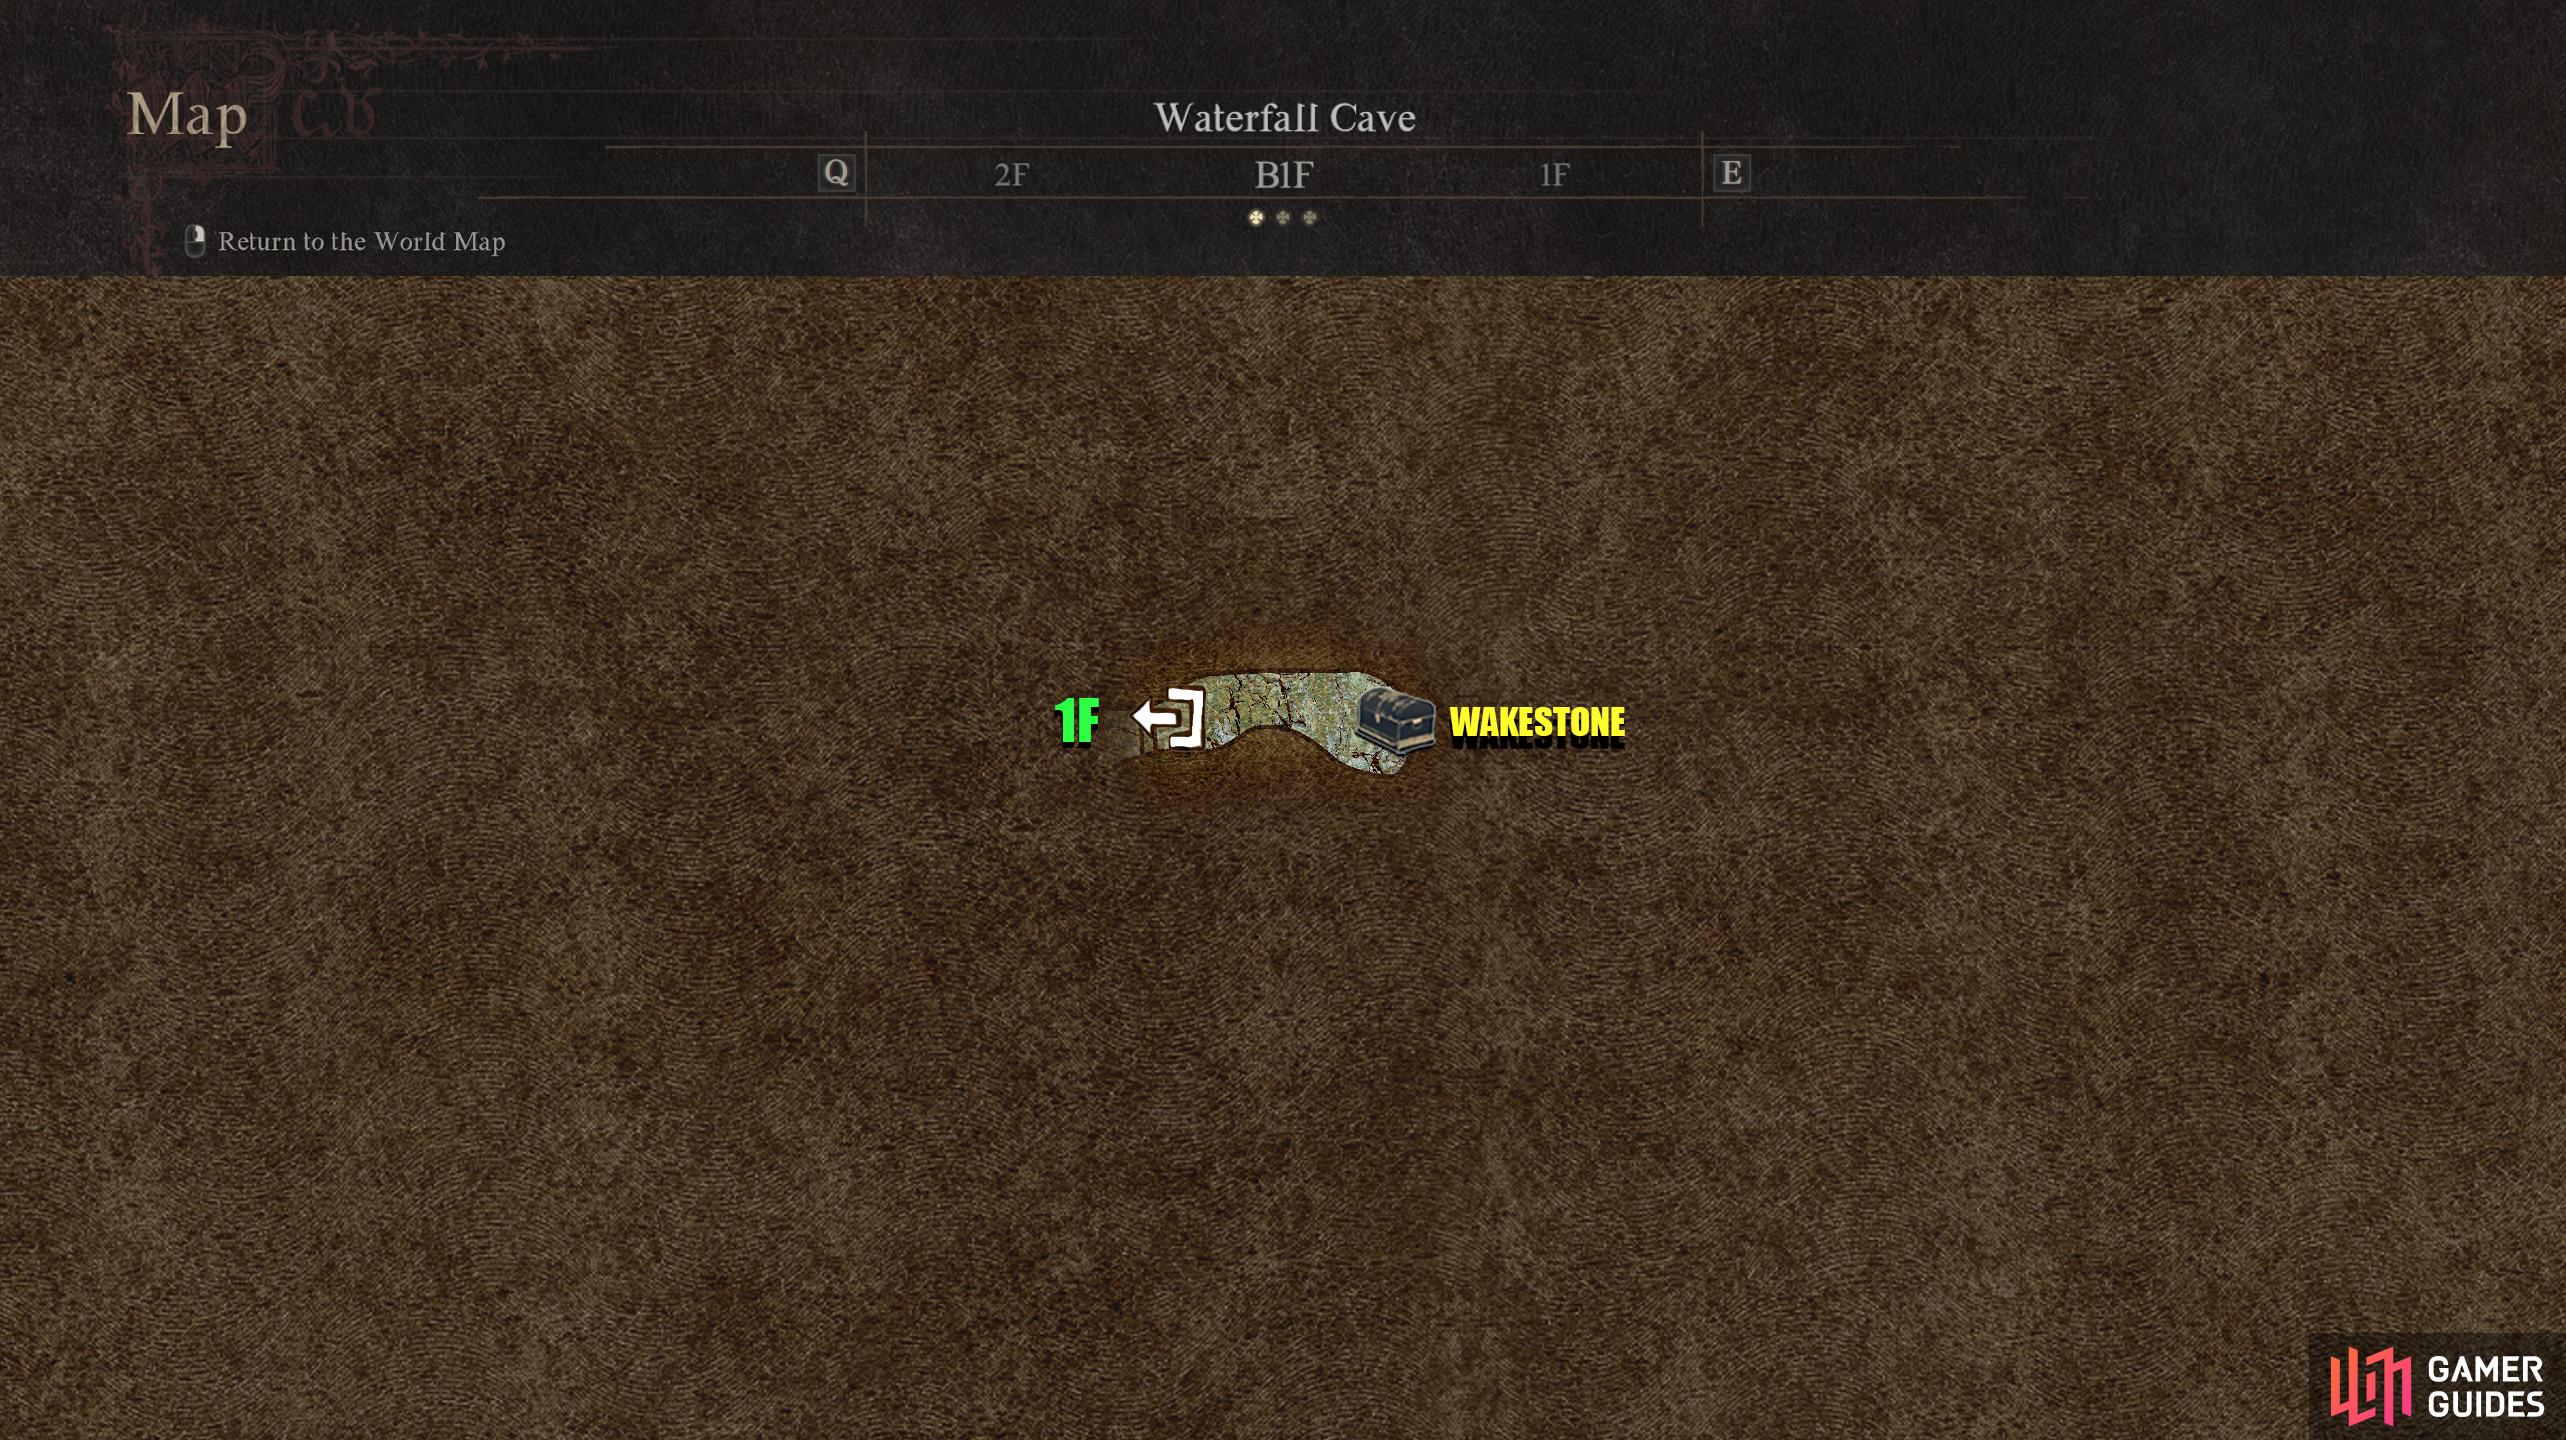
At the eastern side of the central room where the Chimera is, you’ll head down to a small room housing a unique chest containing a ![]() Wakestone. Not a shard, but a full Wakestone. You don’t need to fight the Chimera to get this, so you can run past it if you don’t fancy your chances. If you do choose to fight it, here are some tips.
Wakestone. Not a shard, but a full Wakestone. You don’t need to fight the Chimera to get this, so you can run past it if you don’t fancy your chances. If you do choose to fight it, here are some tips.
The Chimera has three heads, the head at the front is of a lion and it generally will bite or spew fire. The head that sits on top of the beast is the Goat, which can cast spells. It will predominantly cast ![]() Seism,
Seism, ![]() Sleep, and Lightning Bolts. Then you have the head on the tail, which is a snake. This head can spew poison, sweep you over, and grab you. In general, you’ll want to cut the tail first, grapple the goat head and stab it repeatedly, and finish off with the lion, although you could go for the goat first as that is the biggest threat. If you come here at a higher level, this will be a Gorechimera instead, which will just deal more damage and have a couple more attacks.
Sleep, and Lightning Bolts. Then you have the head on the tail, which is a snake. This head can spew poison, sweep you over, and grab you. In general, you’ll want to cut the tail first, grapple the goat head and stab it repeatedly, and finish off with the lion, although you could go for the goat first as that is the biggest threat. If you come here at a higher level, this will be a Gorechimera instead, which will just deal more damage and have a couple more attacks.
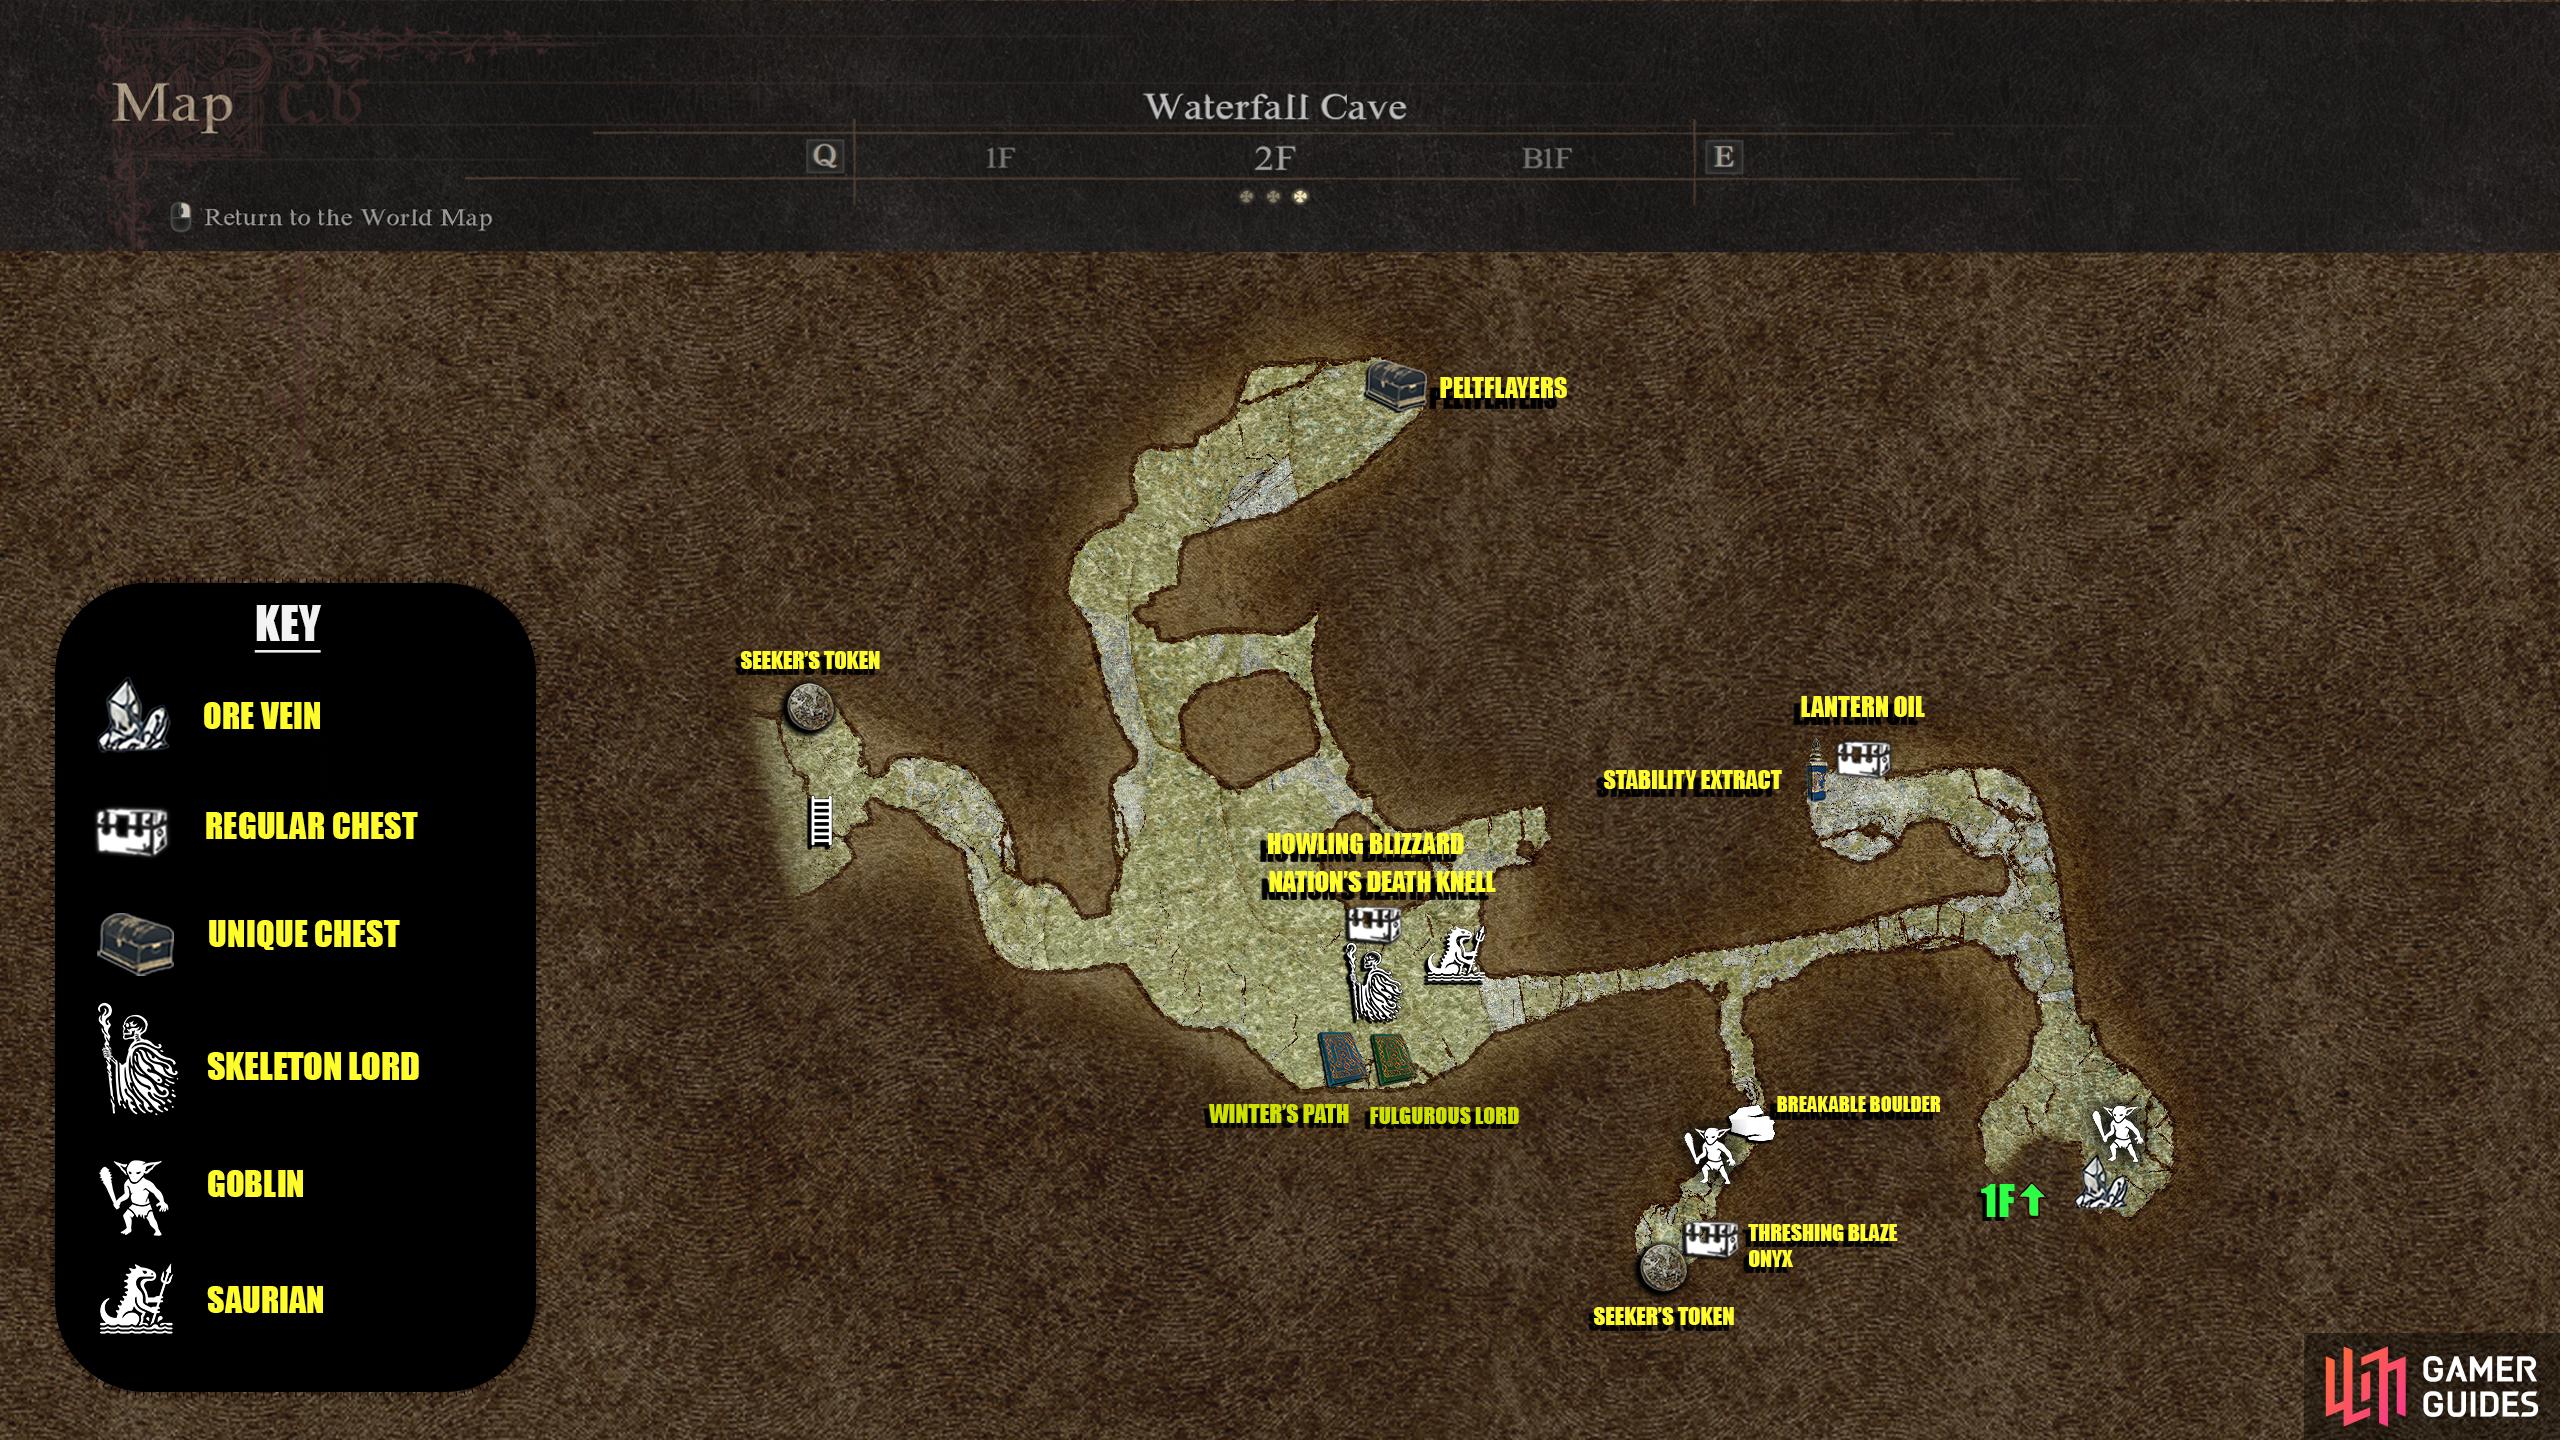
Second Floor
Once you have defeated the Chimera and collected the Wakestone, you’ll want to head to the second floor by heading east and then south from the central room. On the second floor, you’ll be in the southeast of the map. During the transition between the first and second floors, you’ll find four Ore Deposits, two on the first floor, and two on the second. As you climb up, there’s a good chance you’ll get ambushed by ![]() Goblins. Defeat them and head all the way north to find a chest containing
Goblins. Defeat them and head all the way north to find a chest containing ![]() Lantern Oil with a
Lantern Oil with a ![]() Stability Extract on the floor next to it. Head back to the intersection and go west before heading south at the following intersection. Here, you’ll find a breakable boulder with Goblins on either side. Break the boulder and defeat the Goblins before you continue south, where you’ll find a chest containing a
Stability Extract on the floor next to it. Head back to the intersection and go west before heading south at the following intersection. Here, you’ll find a breakable boulder with Goblins on either side. Break the boulder and defeat the Goblins before you continue south, where you’ll find a chest containing a ![]() Threshing Blaze and an
Threshing Blaze and an ![]() Onyx. A bit further south, you’ll also find a Seeker’s Token.
Onyx. A bit further south, you’ll also find a Seeker’s Token.
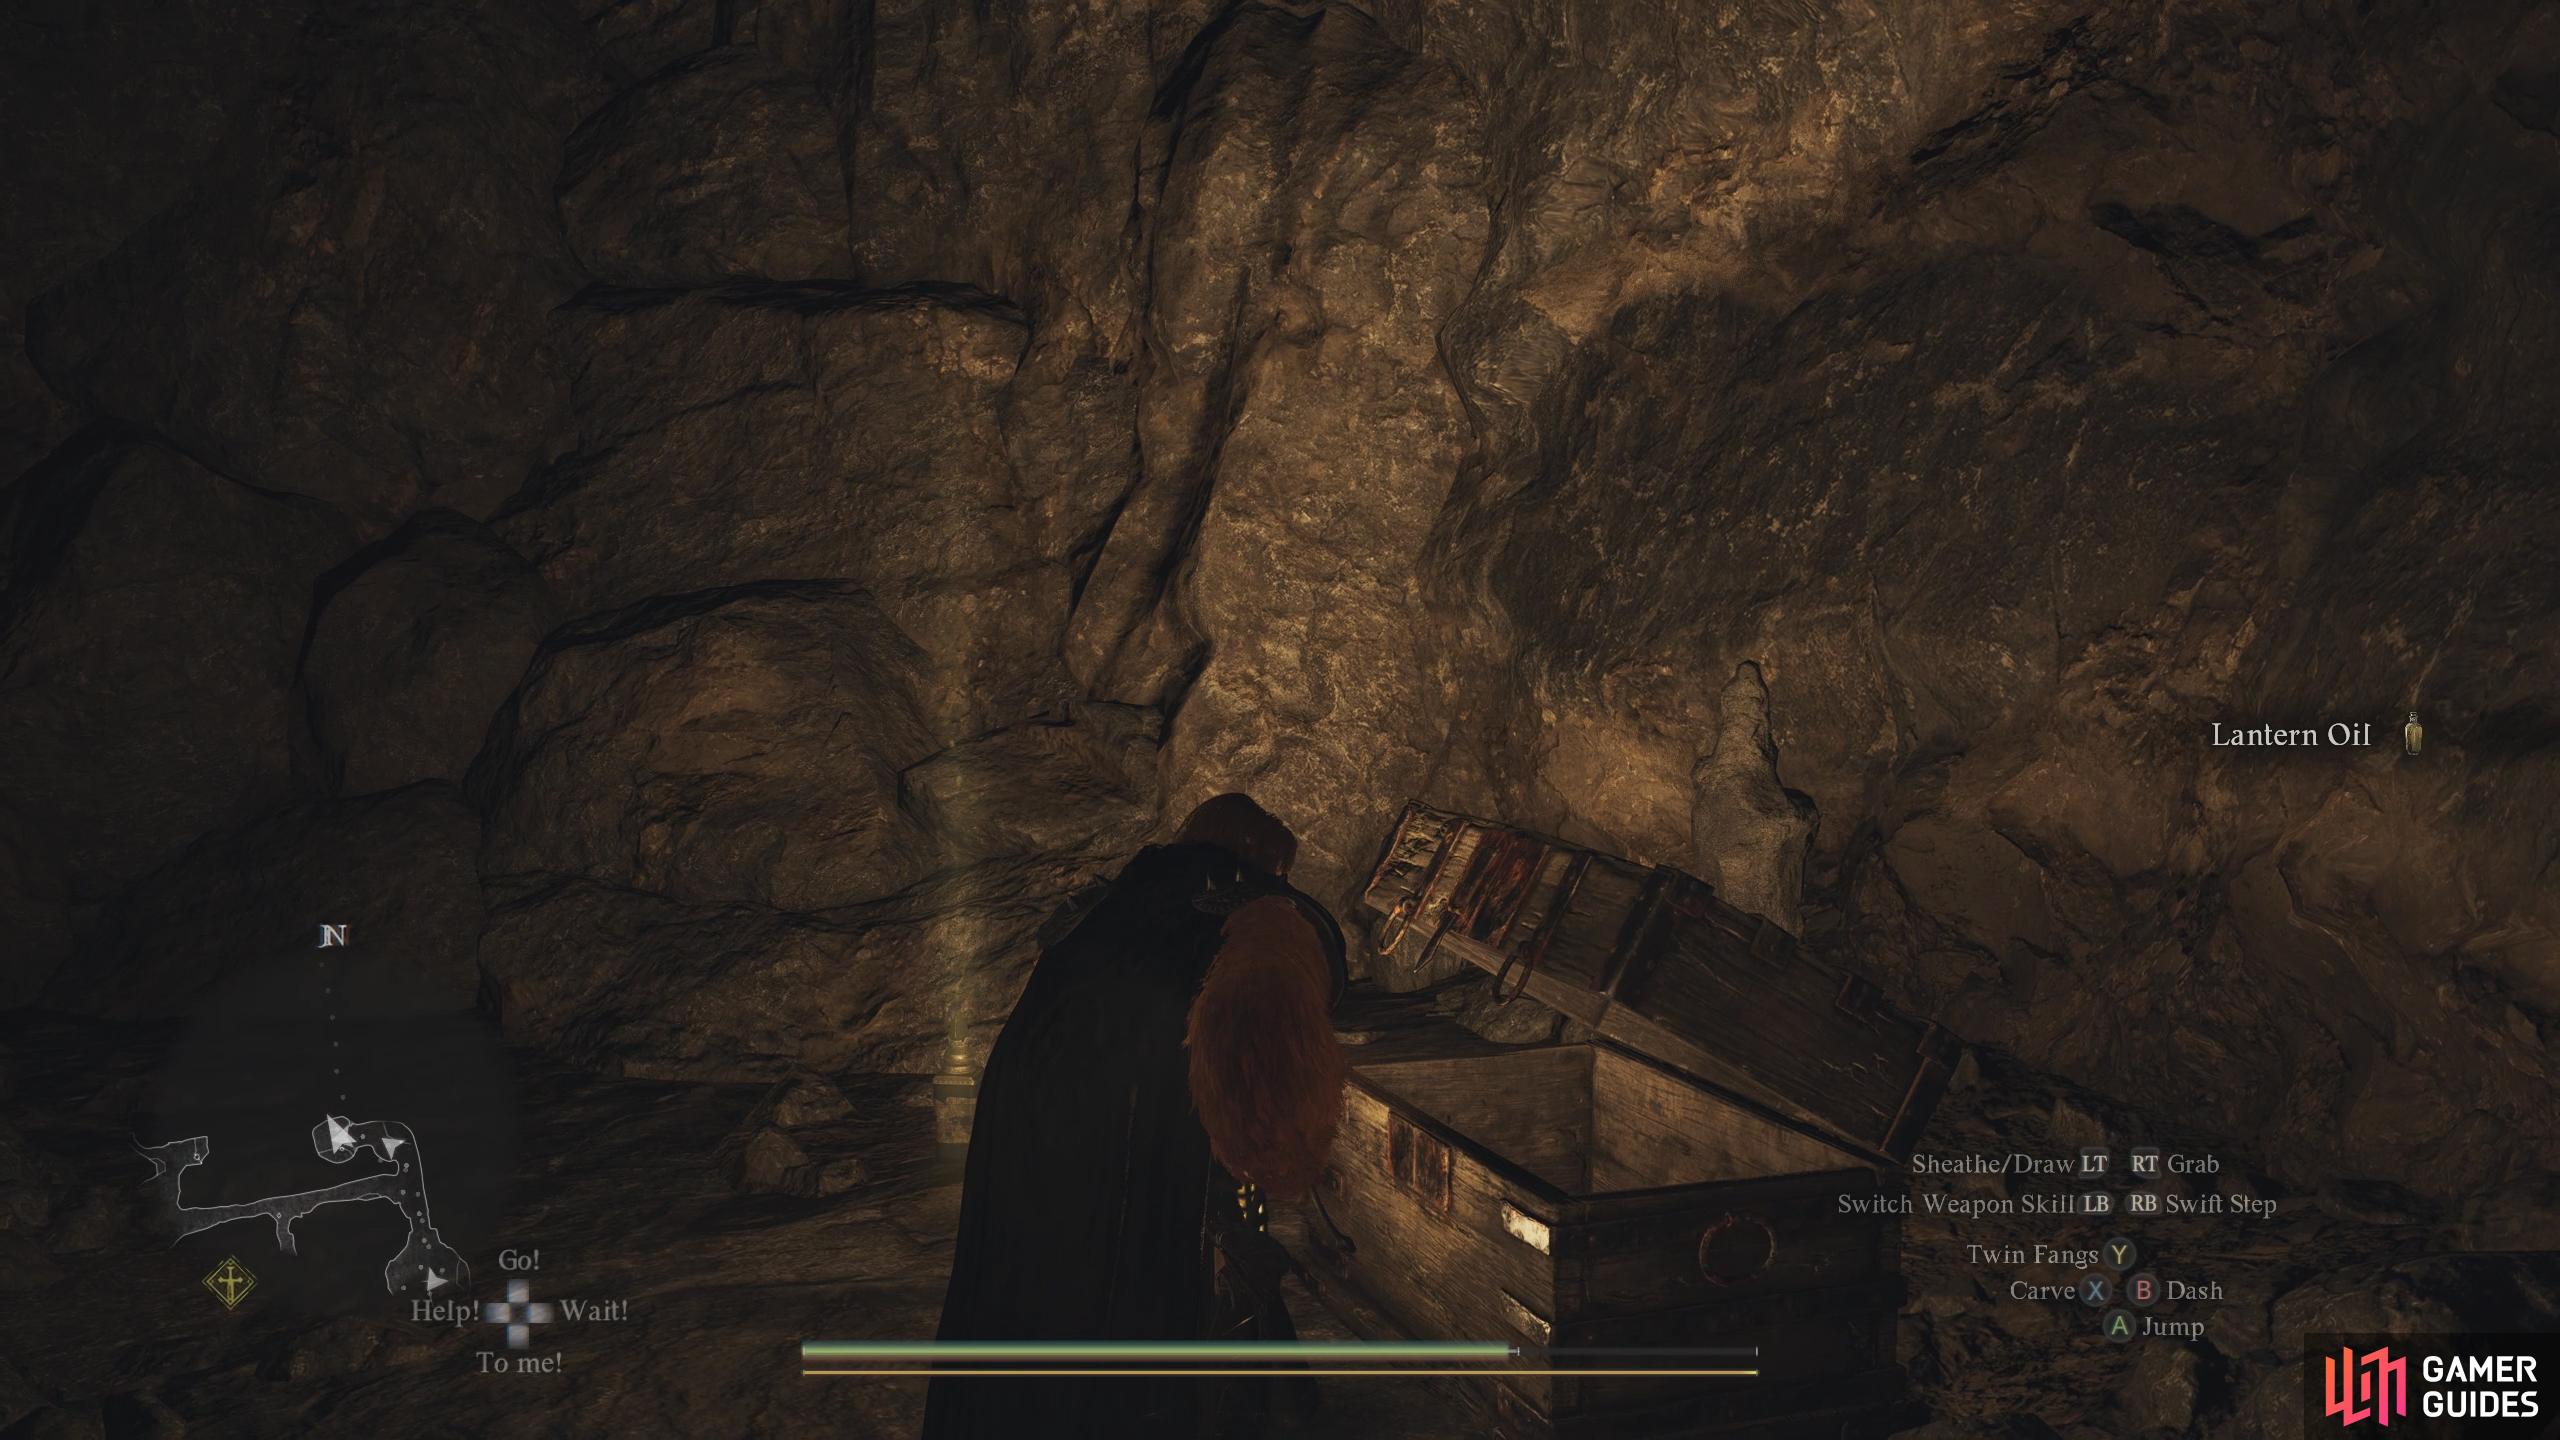

(1 of 4) The Lantern Oil is in a chest up the northern path. Make sure you pick up the Stability Extract next to it too.
Make your way north back to the intersection and head west into the large room. Defeat the enemies first (Saurian) before you open the chest in the center. The reason for this is it will spawn a ![]() Wight! This enemy can be difficult if you’re not prepared, as it will summon lesser Skeletons while casting all sorts of magic at your party. When it summons the Skeletons, take them out first before you tackle the Wight, otherwise, you risk getting overrun by them. When the Wight casts its lighting spell (if it does) make sure you stay on the move to avoid the attack. If you’re struggling to defeat the Wight, feel free to ignore it and run away as you’ll already have the chest items which were the
Wight! This enemy can be difficult if you’re not prepared, as it will summon lesser Skeletons while casting all sorts of magic at your party. When it summons the Skeletons, take them out first before you tackle the Wight, otherwise, you risk getting overrun by them. When the Wight casts its lighting spell (if it does) make sure you stay on the move to avoid the attack. If you’re struggling to defeat the Wight, feel free to ignore it and run away as you’ll already have the chest items which were the ![]() Howling Blizzard and
Howling Blizzard and ![]() Nation’s Death Knell books. Although, you will need to pass through here if you want the rest of the loot.
Nation’s Death Knell books. Although, you will need to pass through here if you want the rest of the loot.

(1 of 3) When you open the ominous chest in the center of the room, it’ll spawn a Wight fight.
Back in the room with the Wight, south of the chest that spawned it, you’ll find two more books on the ground, which are ![]() Winter’s Path and
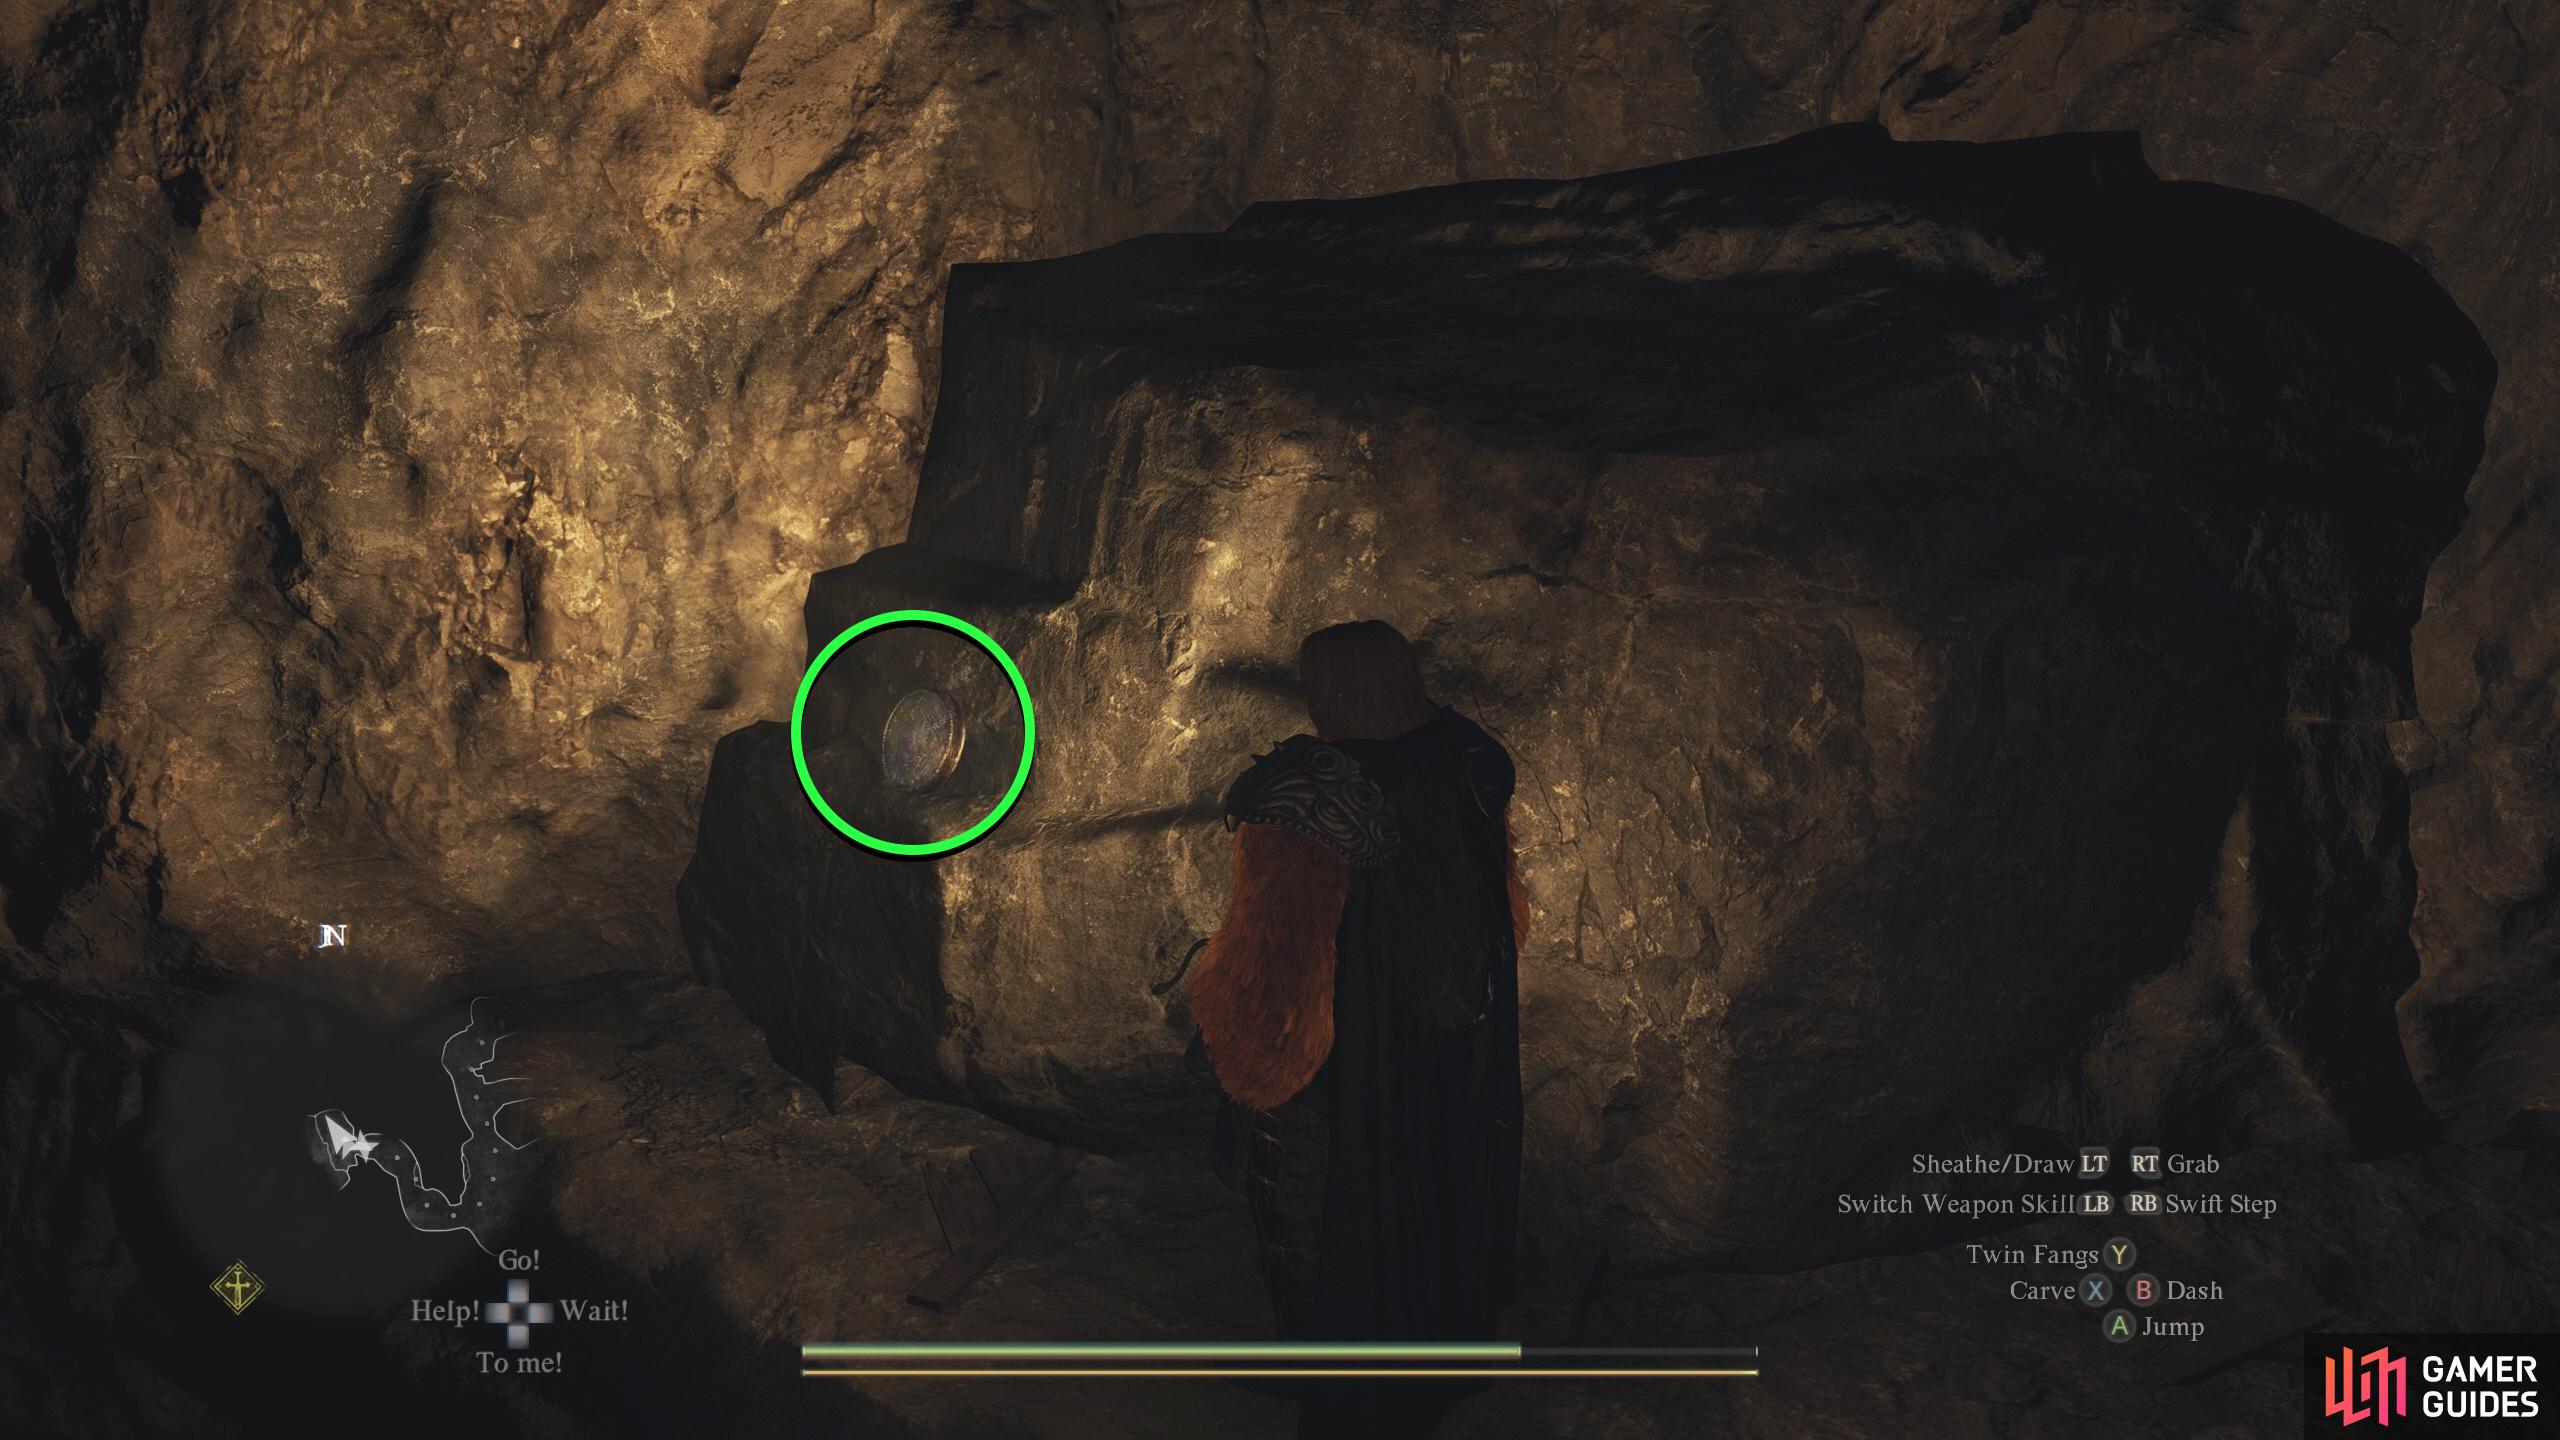
Winter’s Path and ![]() Fulgurous Lord. Now head all the way west and when you hit the ledge with the ladder on it, follow it north to find a Seeker’s Token. Backtrack to the Wight room and immediately head north. Follow this path to the end to find a unique chest containing the
Fulgurous Lord. Now head all the way west and when you hit the ledge with the ladder on it, follow it north to find a Seeker’s Token. Backtrack to the Wight room and immediately head north. Follow this path to the end to find a unique chest containing the ![]() Peltflayers. That’s all the loot for the area, so now it’s time to leave. The easiest way to do this is to take the ladder down in the room to the east where you got the Seeker’s Token. This will take you to the room west of the Chimera. From there, keep heading west, and then either northwest or southwest depending on what exit you want to take.
Peltflayers. That’s all the loot for the area, so now it’s time to leave. The easiest way to do this is to take the ladder down in the room to the east where you got the Seeker’s Token. This will take you to the room west of the Chimera. From there, keep heading west, and then either northwest or southwest depending on what exit you want to take.
More Dragon’s Dogma 2 Guides
If you’re looking for other cave walkthroughs for Dragon’s Dogma 2, check out our guides below.

 Sign up
No Comments