
Crime doesn’t pay. Unless you’re really good at it, in which case you can build an entire organization complete with a stronghold. Such a competent ring of bandits plagues northern Battahl, and if NPCs were good at solving their own problems, there wouldn’t be any adventures to be had. If your Arisen is inclined to play the hero, you can investigate the bandit attacks on the highroad and rid the region of this menace. This page will provide a walkthrough for the side quest Mercy Among Thieves, including info on how to find the ![]() Coral Snakes’ Hideout, how to apprehend Hugo, and where to find the
Coral Snakes’ Hideout, how to apprehend Hugo, and where to find the ![]() Frosted Edges daggers in
Frosted Edges daggers in ![]() Dragon’s Dogma 2.
Dragon’s Dogma 2.
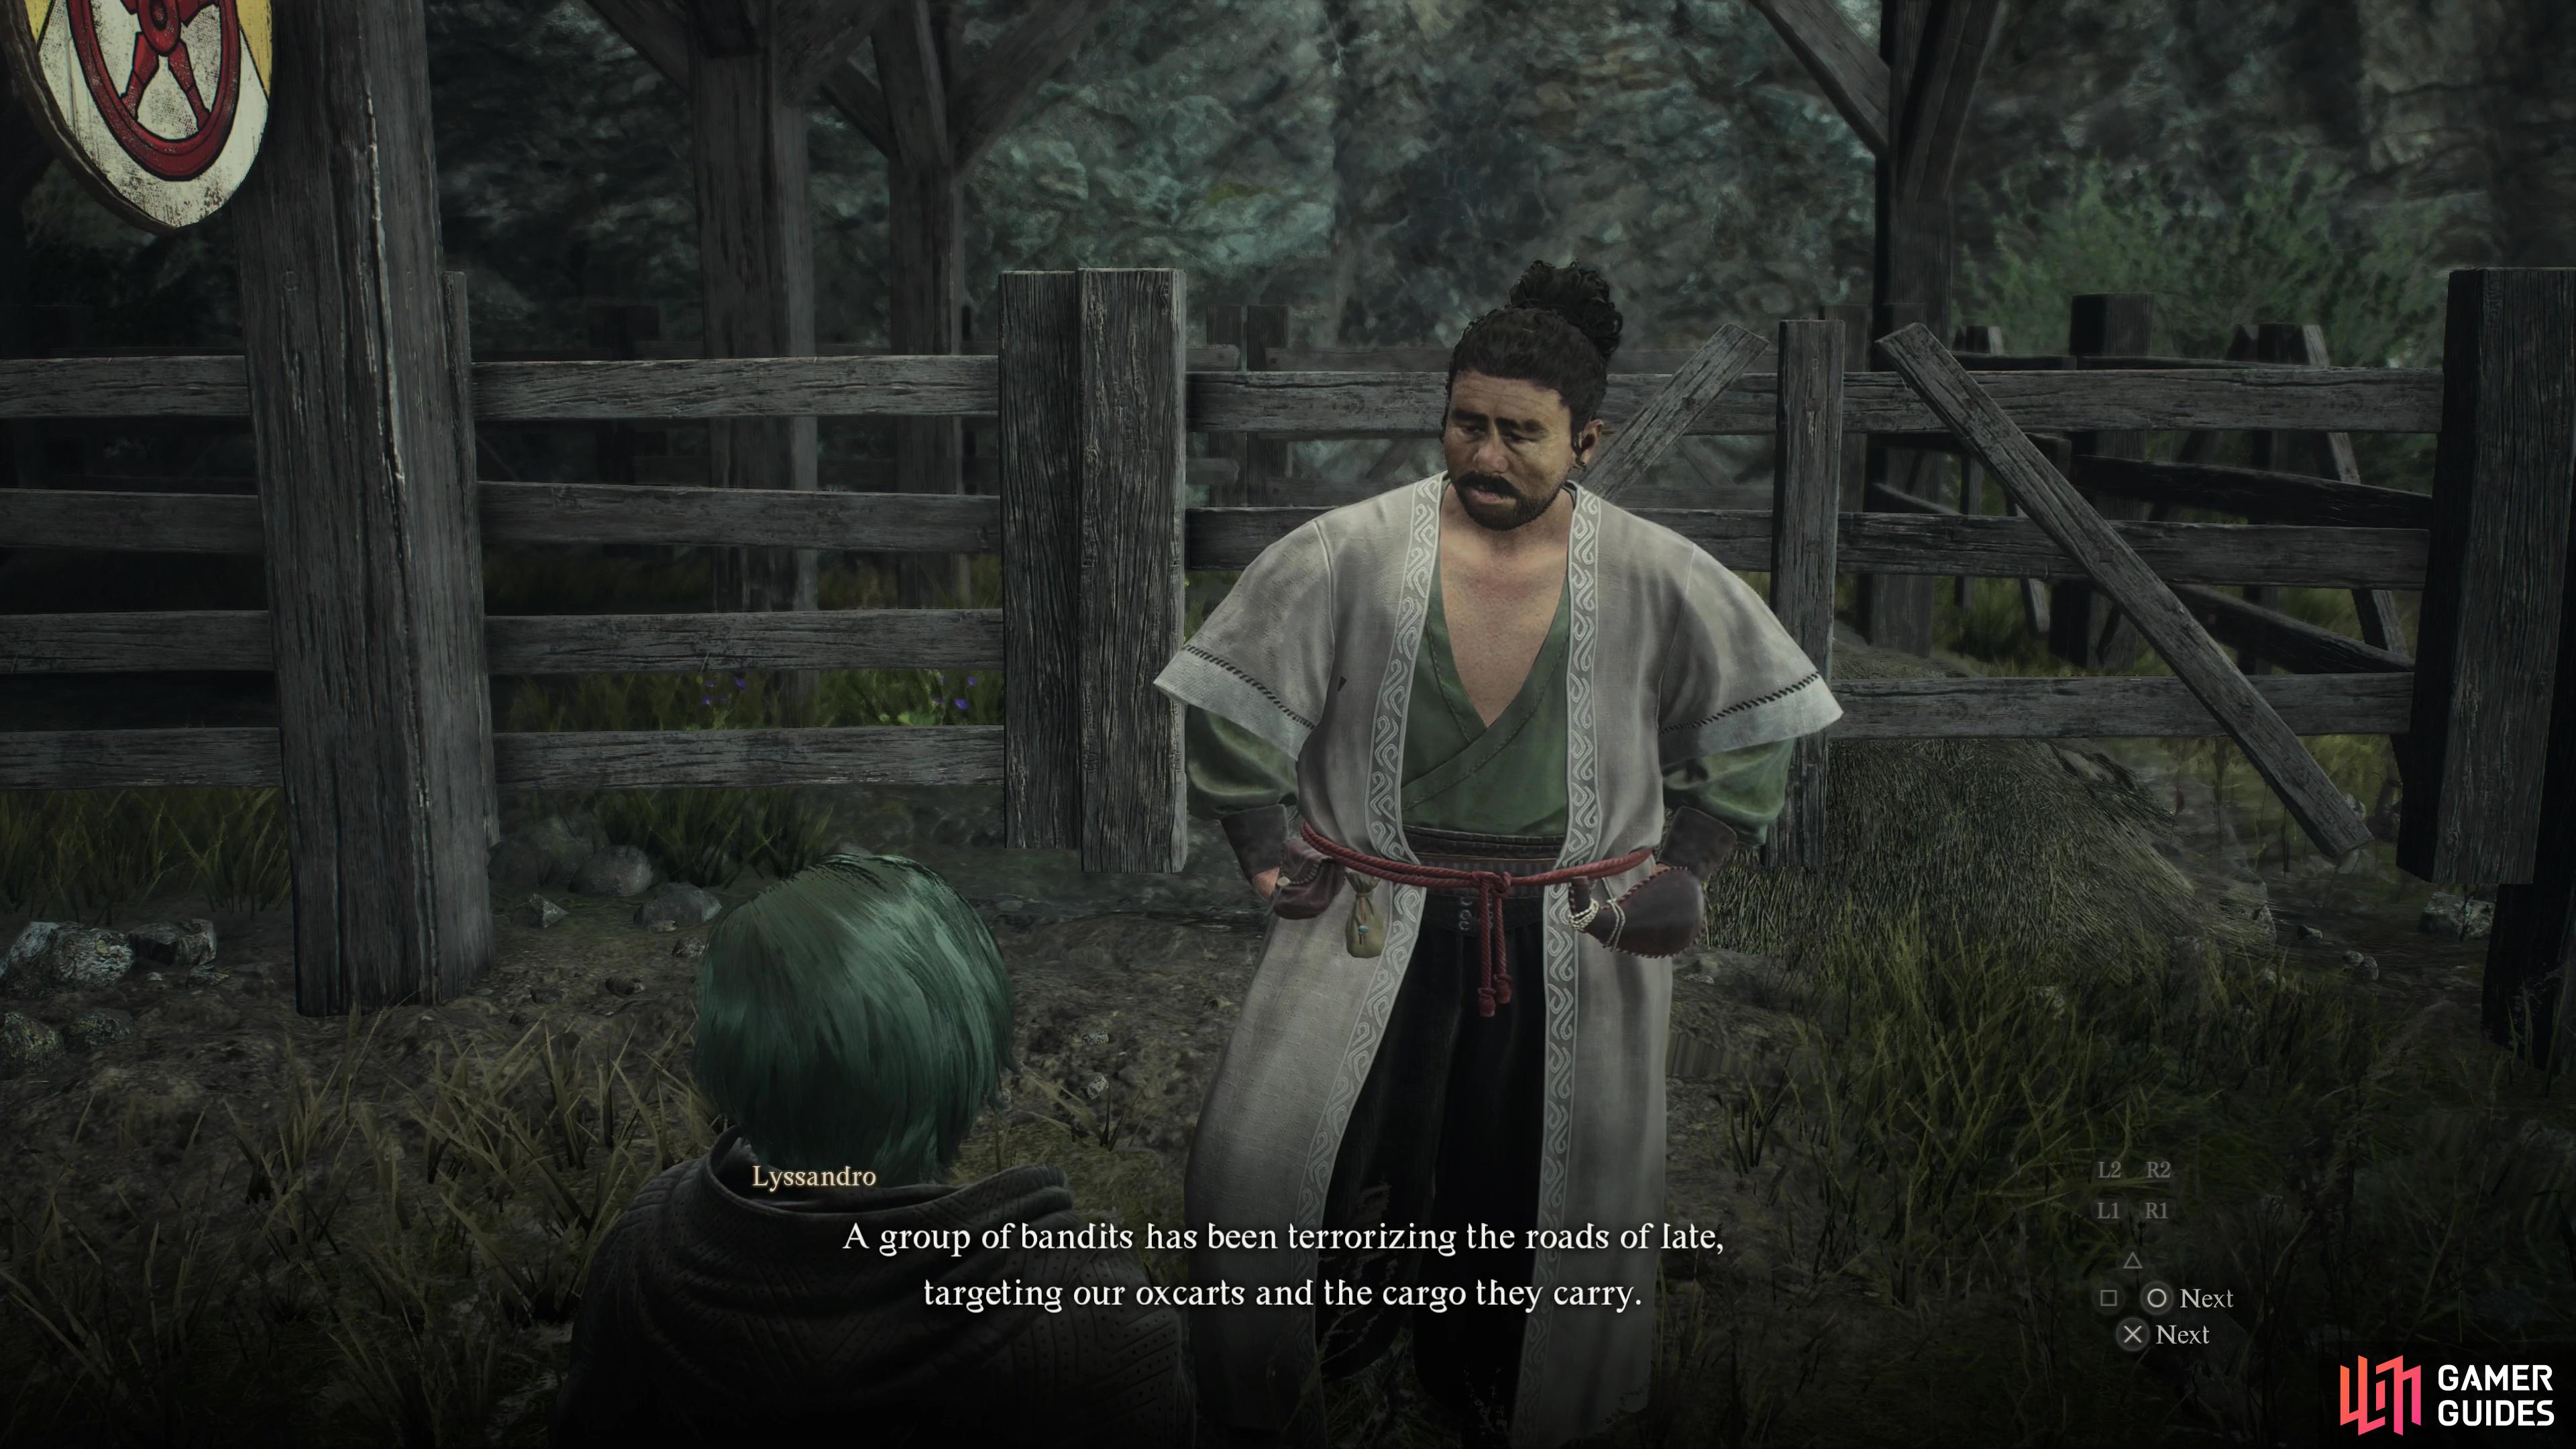
Talk to some guards, then Lyssandro on the Battahl side of the Checkpoint Border Town to start “Mercy Among Thieves”.
Starting Mercy Among Thieves Quest
To start this quest you’ll need to gain access to Battahl, namely you need to cross the border at the ![]() Checkpoint Rest Town. This can be done at virtually any time by going through Guerco Cavern, or hopping on a carriage in the Checkpoint Rest Town and riding it through the border gate. It’s much less hazardous to complete the main questline up through
Checkpoint Rest Town. This can be done at virtually any time by going through Guerco Cavern, or hopping on a carriage in the Checkpoint Rest Town and riding it through the border gate. It’s much less hazardous to complete the main questline up through ![]() Feast of Deception, whereupon you’ll get the
Feast of Deception, whereupon you’ll get the ![]() Border Entry Permit. Once through the border gate, find two guards to the left - Saverio and Tobias - who are gossiping about a group of bandits called the
Border Entry Permit. Once through the border gate, find two guards to the left - Saverio and Tobias - who are gossiping about a group of bandits called the ![]() Coral Snakes, who have been raiding oxcarts recently. They’ll ultimately refer you to Lyssandro, outside of a stable nearby, so talk to him and agree to help put a stop to the Coral Snakes.
Coral Snakes, who have been raiding oxcarts recently. They’ll ultimately refer you to Lyssandro, outside of a stable nearby, so talk to him and agree to help put a stop to the Coral Snakes.
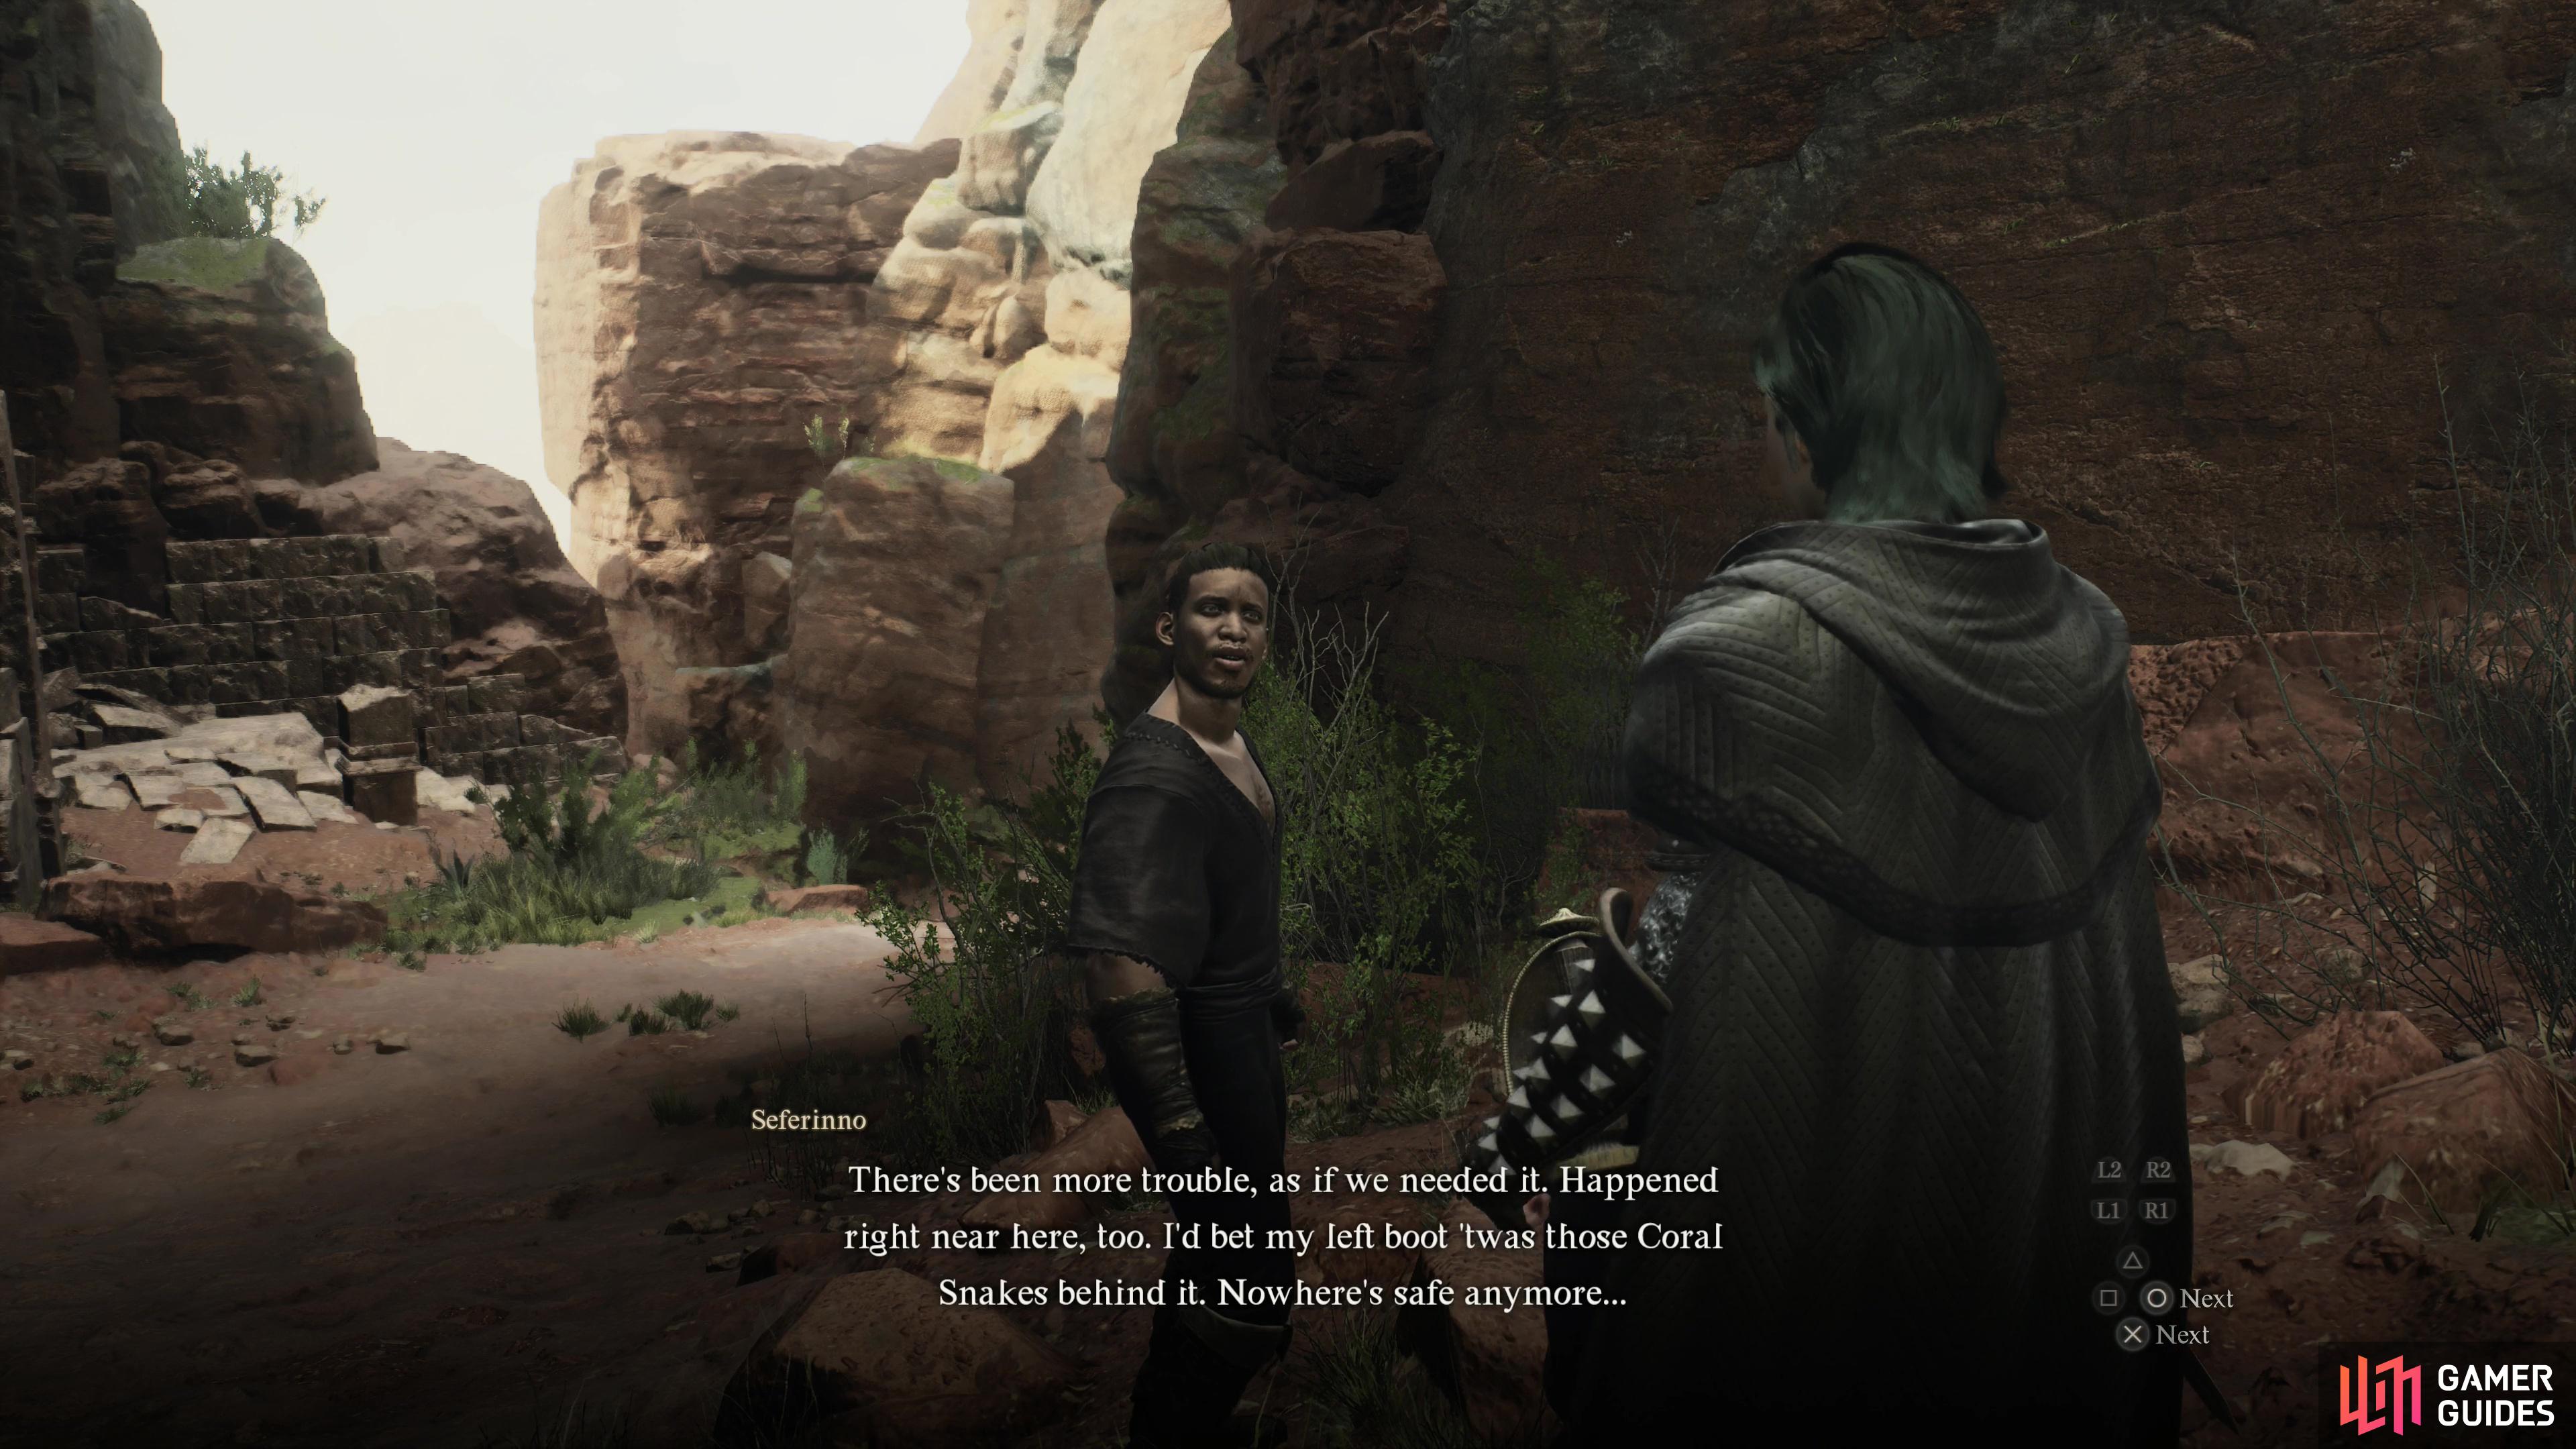
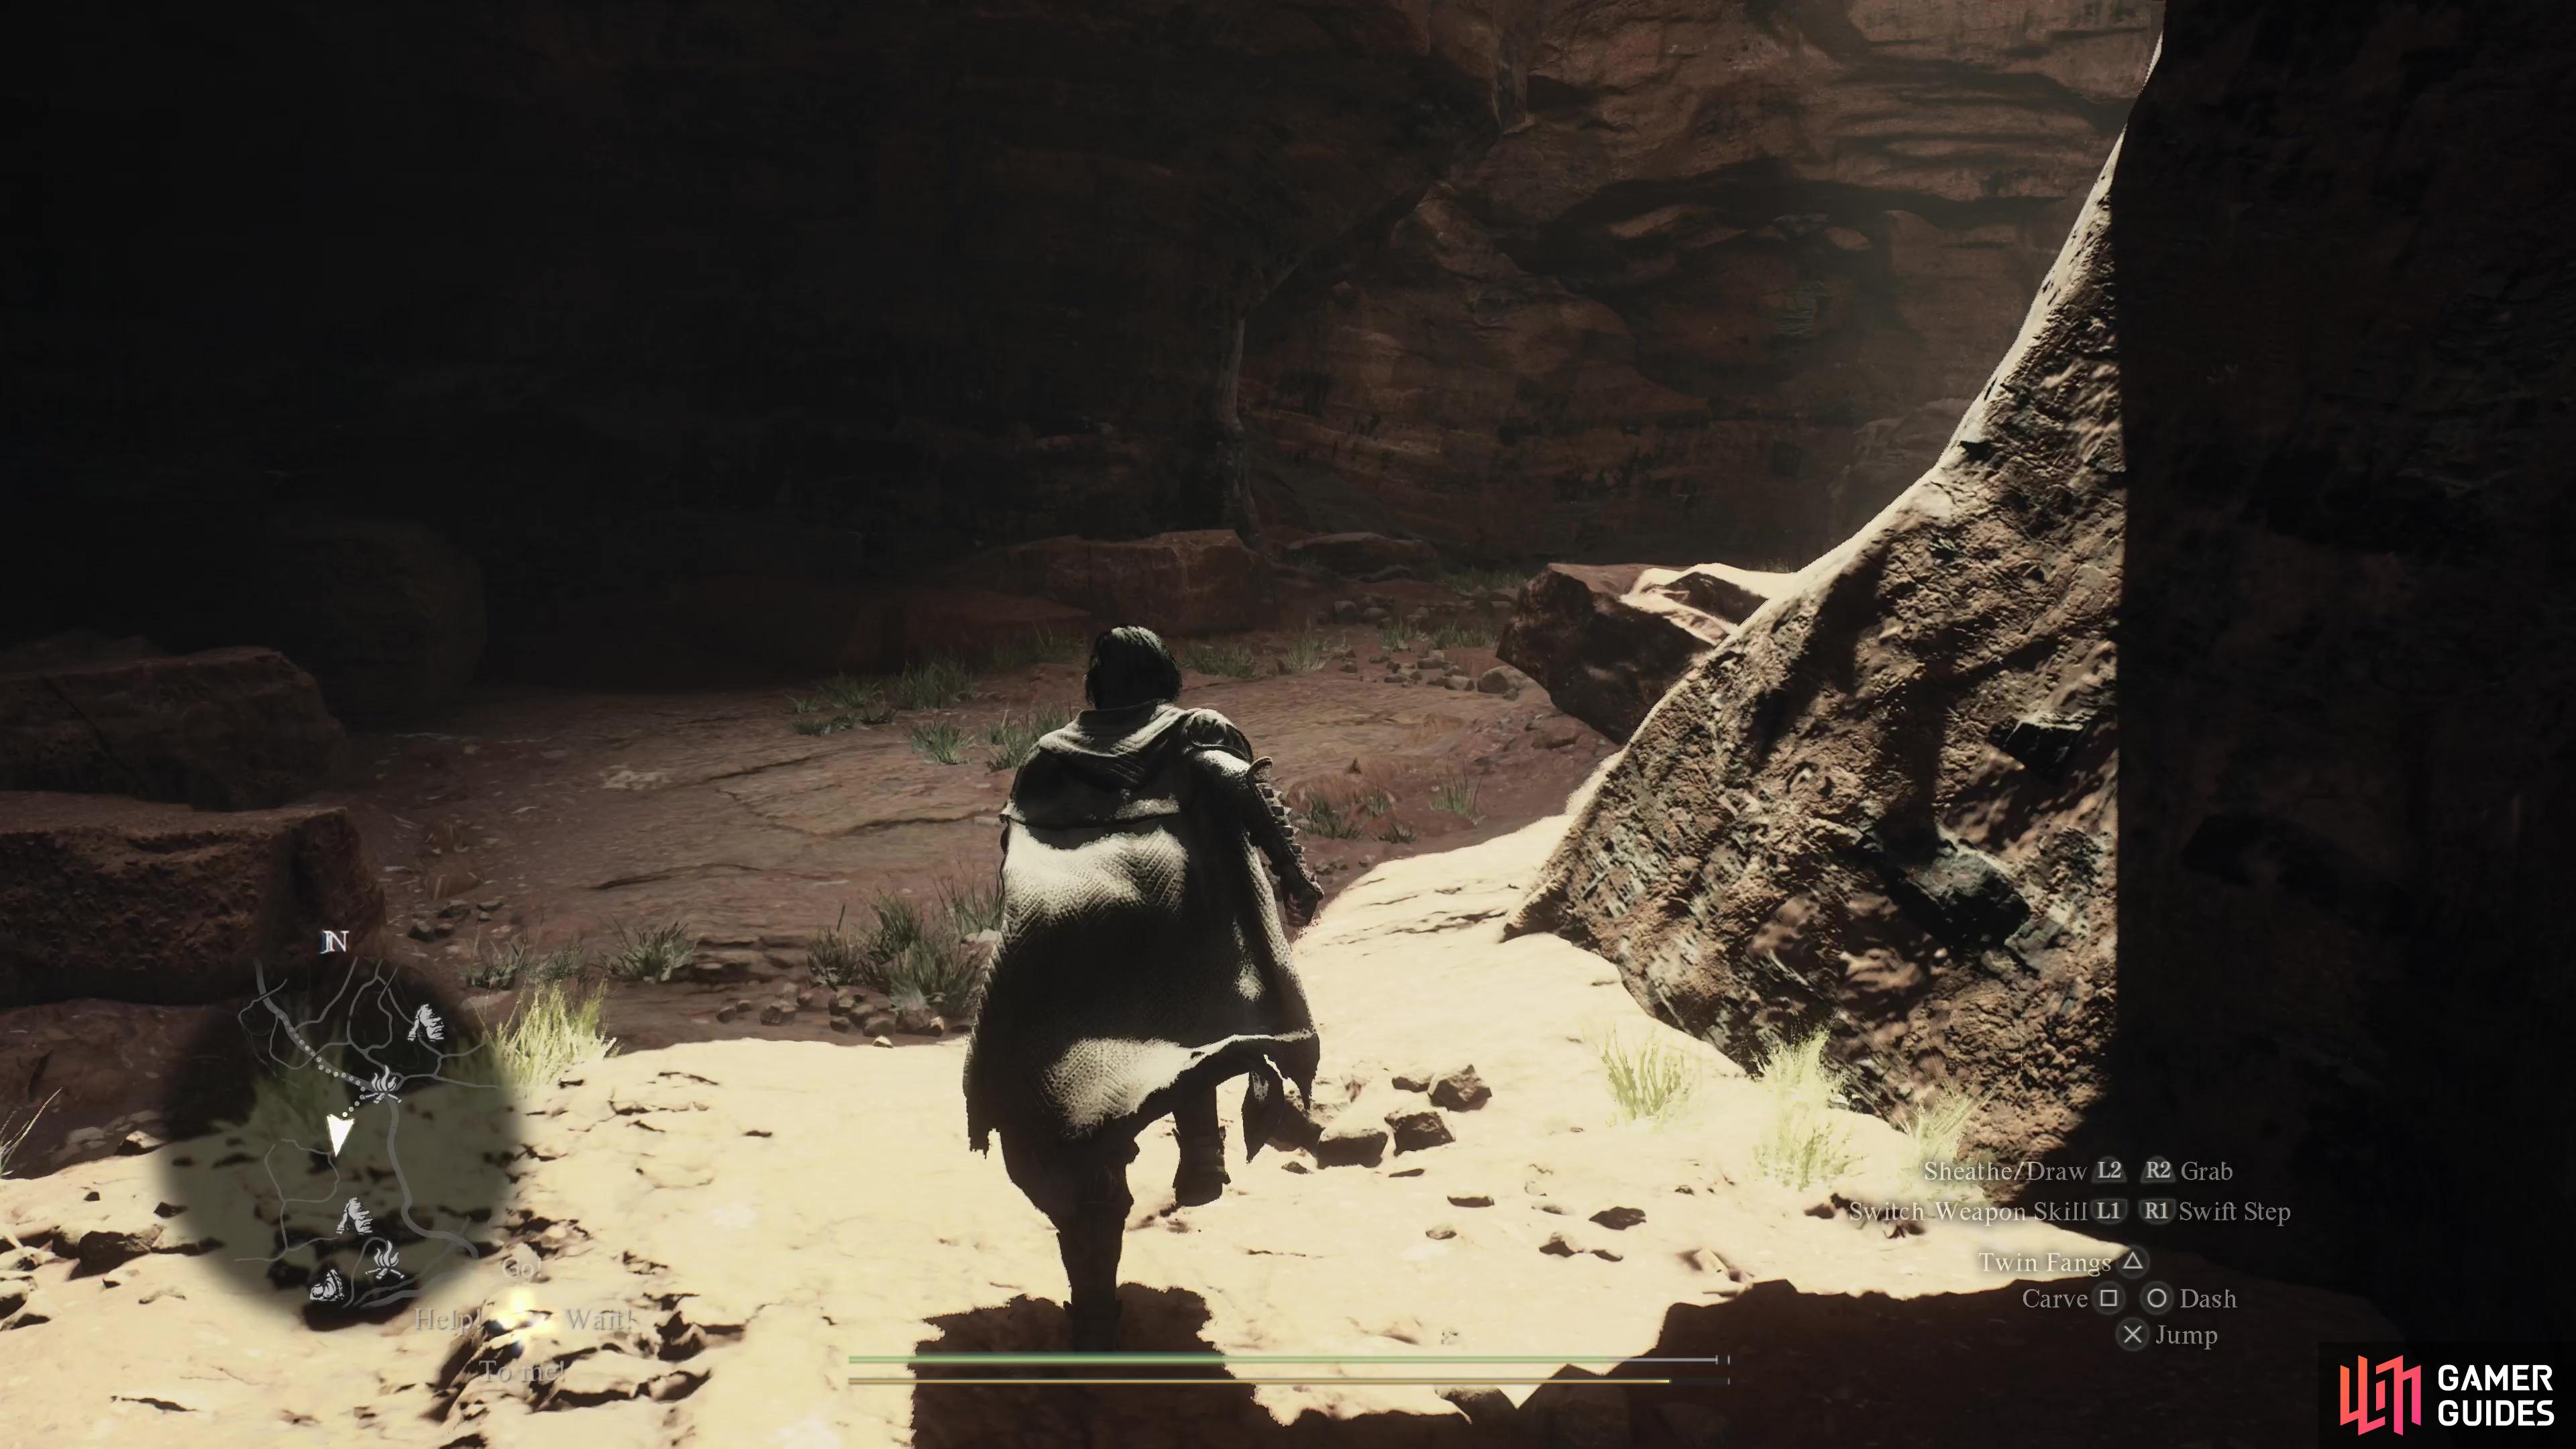
(1 of 3) Follow the main road south and chat with Seferinno to learn about the bandit attacks,
Coral Snakes’ Hideout Location
The next step in this quest is to gain intel about the Coral Thieves and ultimately find their hideout, and fortunately you can work on both tasks at the same time. The Coral Snakes’ Hideout is far to the south, and you’ll need to follow the main road south looking for clues. The encounters you should be on the lookout for as you follow the main road south include:
- Just south of
 Beren’s Childhood Home (a short distance south from the checkpoint) you’ll encounter Seferinno. All this will tell you is that the Coral Snakes are in Battahl.
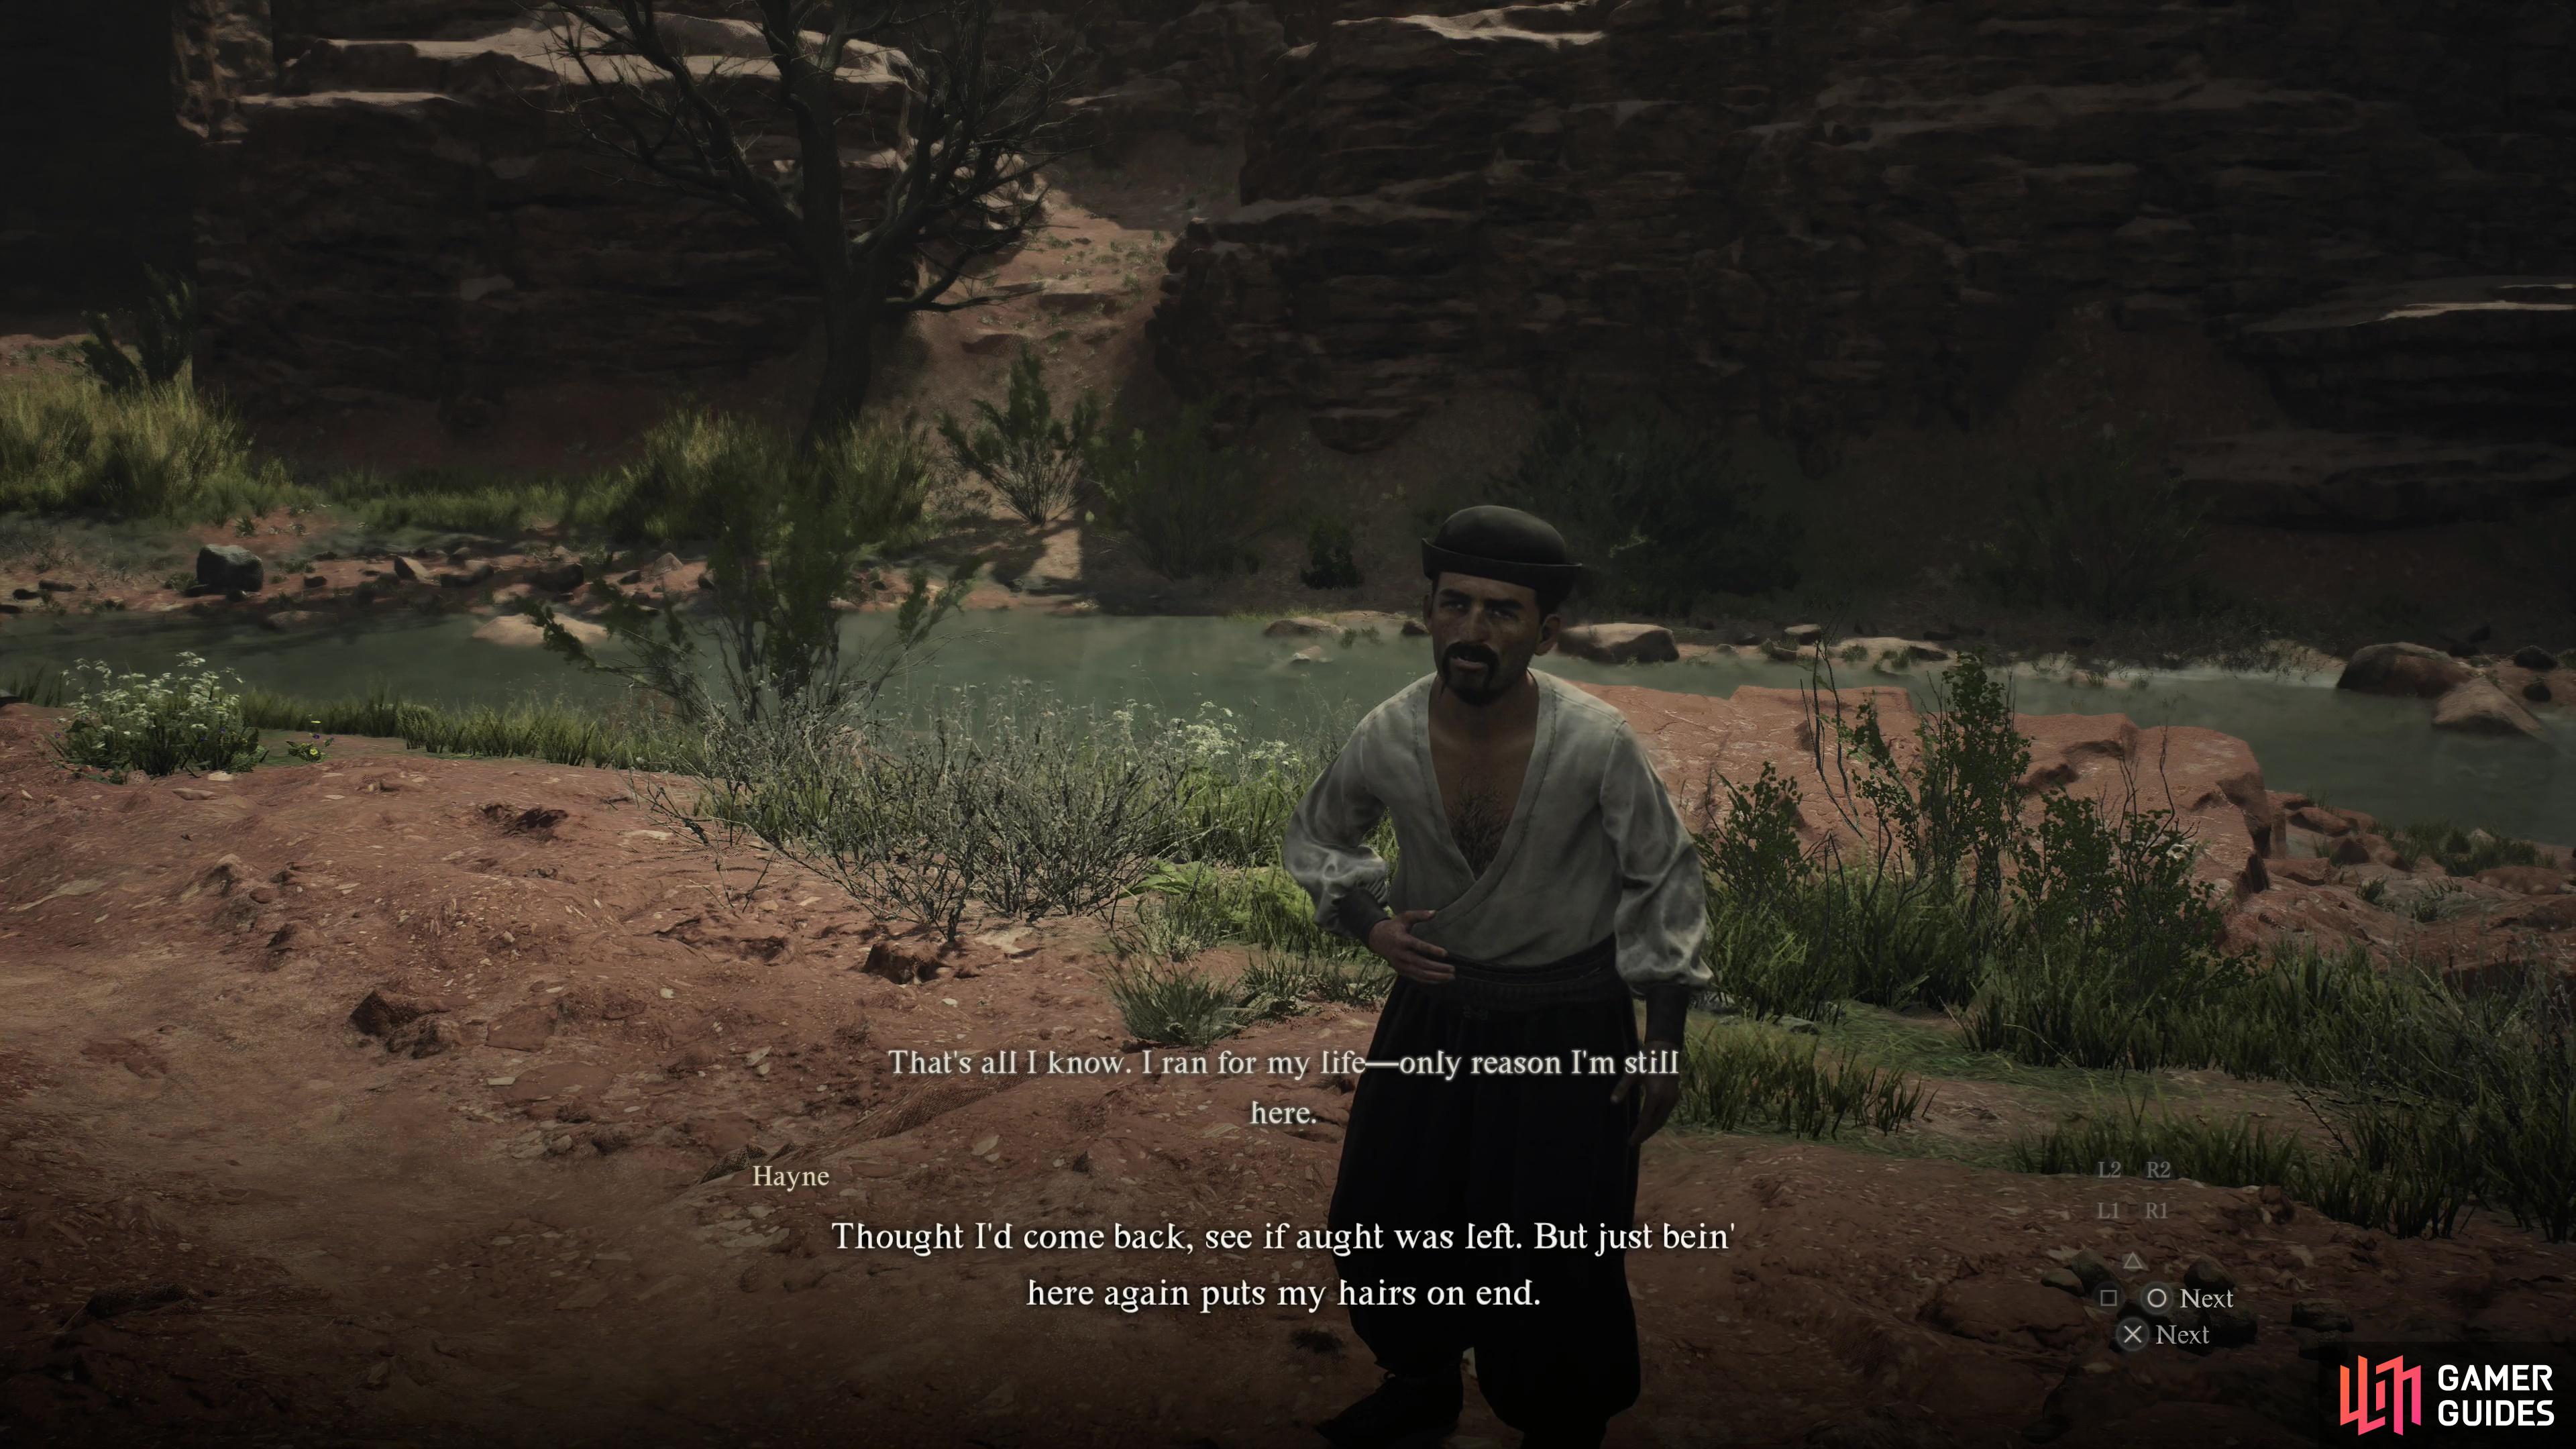
 - The next encounter will be much further south. Pass through the Enoa’Battahl Forest and you’ll spot some ruins on some high ground to the right, beyond which is a bridge crossing a river. You’ll encounter Hayne near this bridge, who survived a recent raid on an oxcart.
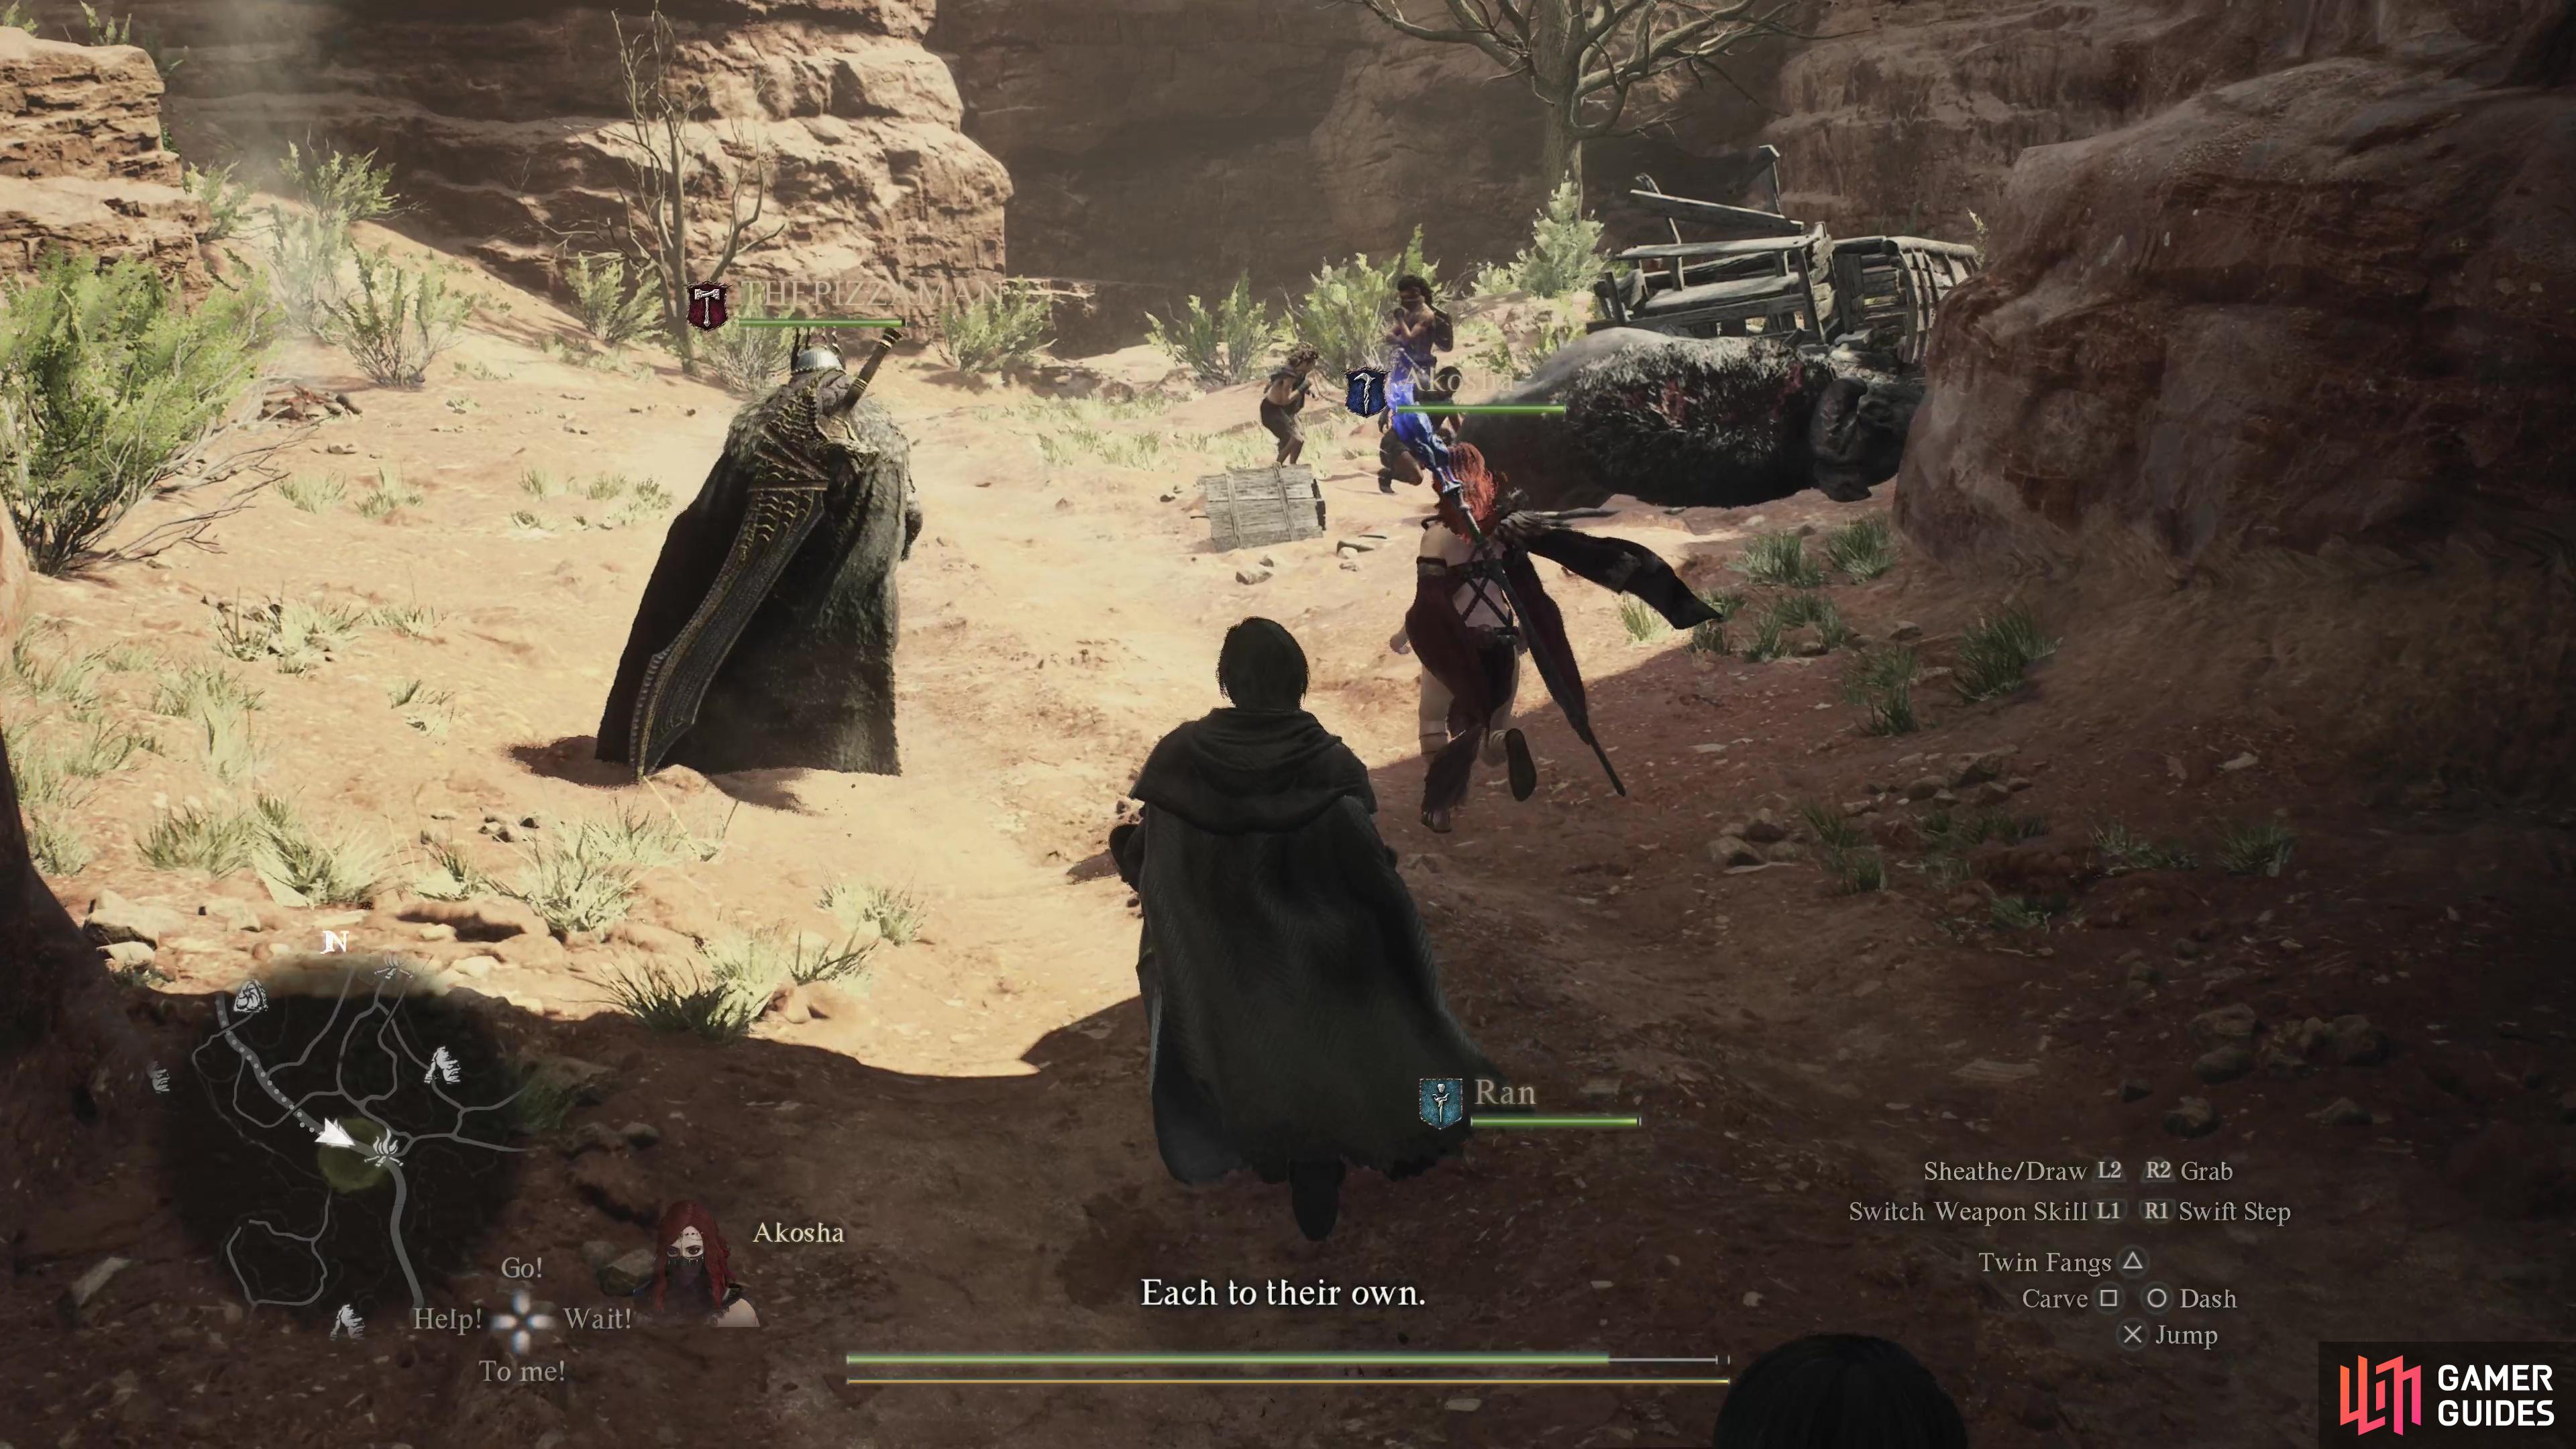
- Keep following the main road past the river and eventually you’ll find the remains of a sacked oxcart, near a campsite. You’ll find a handful of bandits still picking over the remains.
(1 of 2) Chase one of the bandits, Hugo, into some caves,
Chase one of the bandits, Hugo, into some caves, (left), and he’ll lead you right to the Coral Snakes’ Hideout - kill the guards and you’ll be free to waltz right on in. (right)
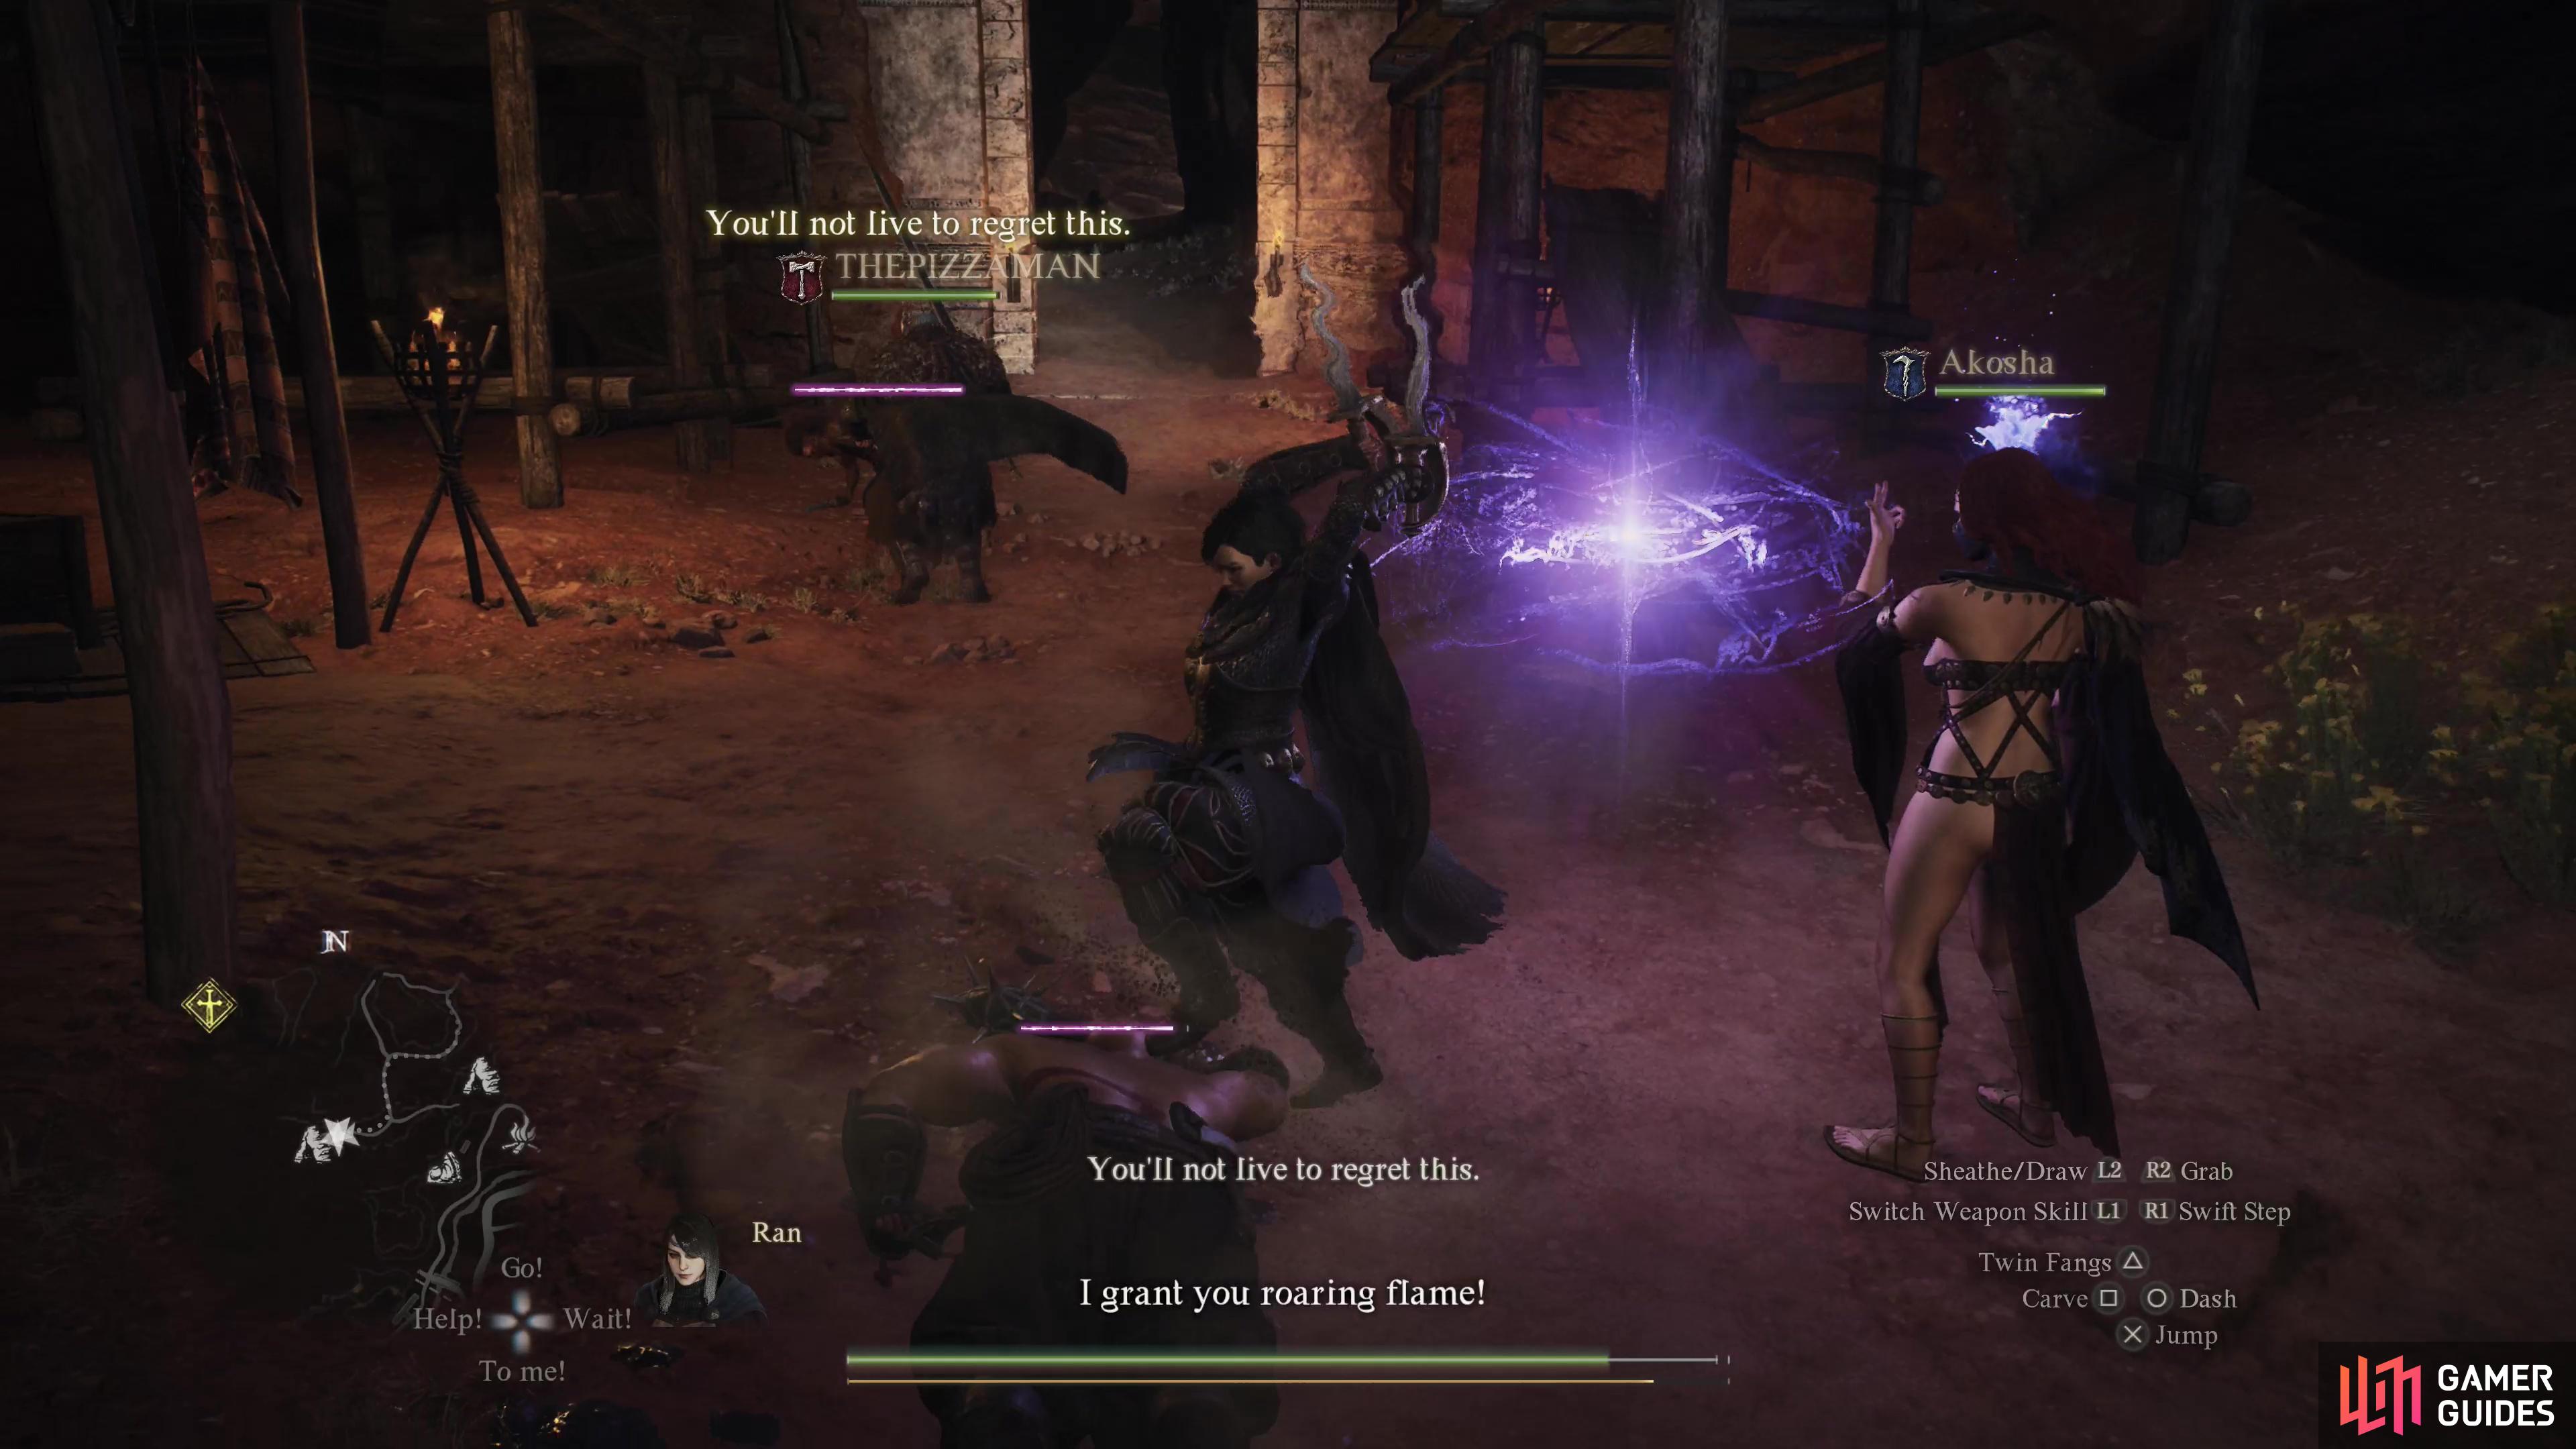
All of these encounters should be right along the road and just getting near the character(s) involved should trigger a scene or conversation, so you shouldn’t need to go out of your way to find these. Once you trigger the scene at the sacked oxcart some guards led by Benjamin will show up and chase a bandit named Hugo, who will dutifully flee towards the Coral Snakes’ Hideout. Follow him into a cave to the southwest and you’ll get a series of scenes as you advance to make sure you know exactly where to go, courtesy of Hugo. Eventually you’ll reach the gates to the Coral Snakes’ Hideout and after spewing some naive morality at his fellows Hugo will leave while you deal with the two bandits he was talking to. Put them down, then go through the still open gate into the Coral Snakes’ Hideout.
(1 of 2) Inside the Coral Snakes’ Hideout you’ll still find yourself pursuing Hugo, although this time he’ll have the sense of mind to make your pursuit a little more difficult.
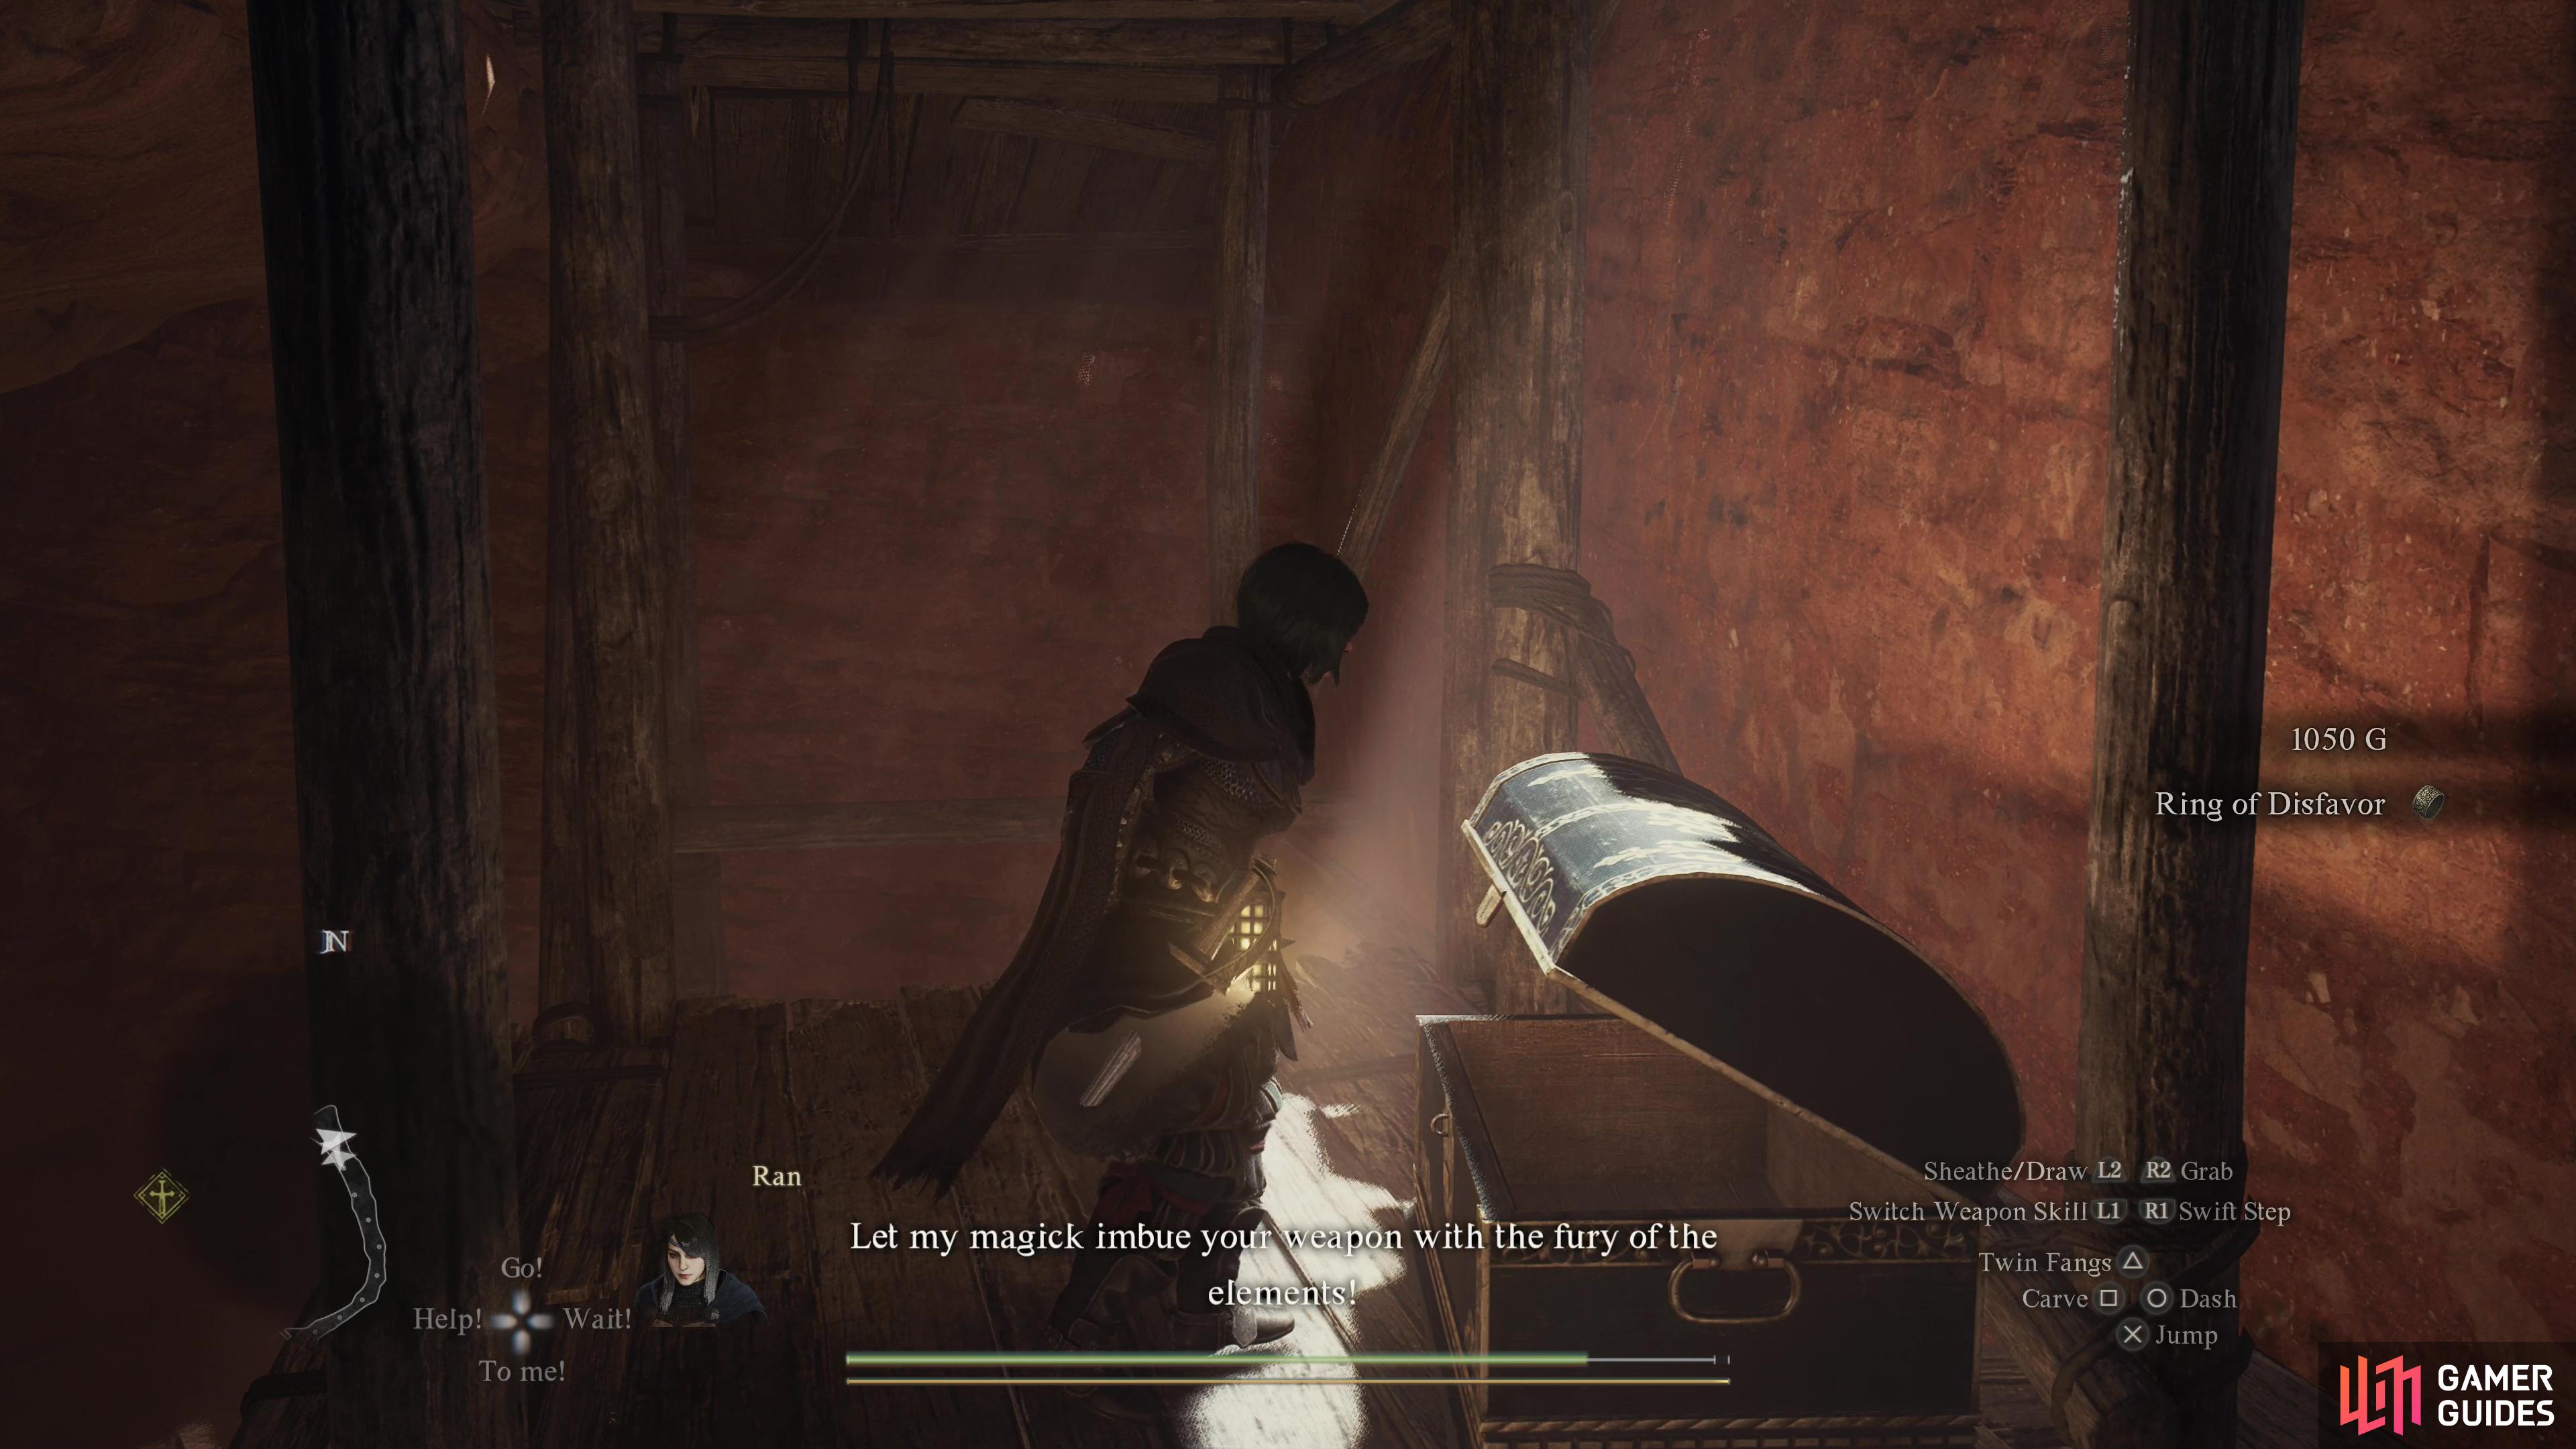
Inside the Coral Snakes’ Hideout you’ll still find yourself pursuing Hugo, although this time he’ll have the sense of mind to make your pursuit a little more difficult. (left), As you chase Hugo, stop to grab a Ring of Disfavor hidden in a chest atop some scaffolding. (right)
Coral Snakes’ Hideout Walkthrough
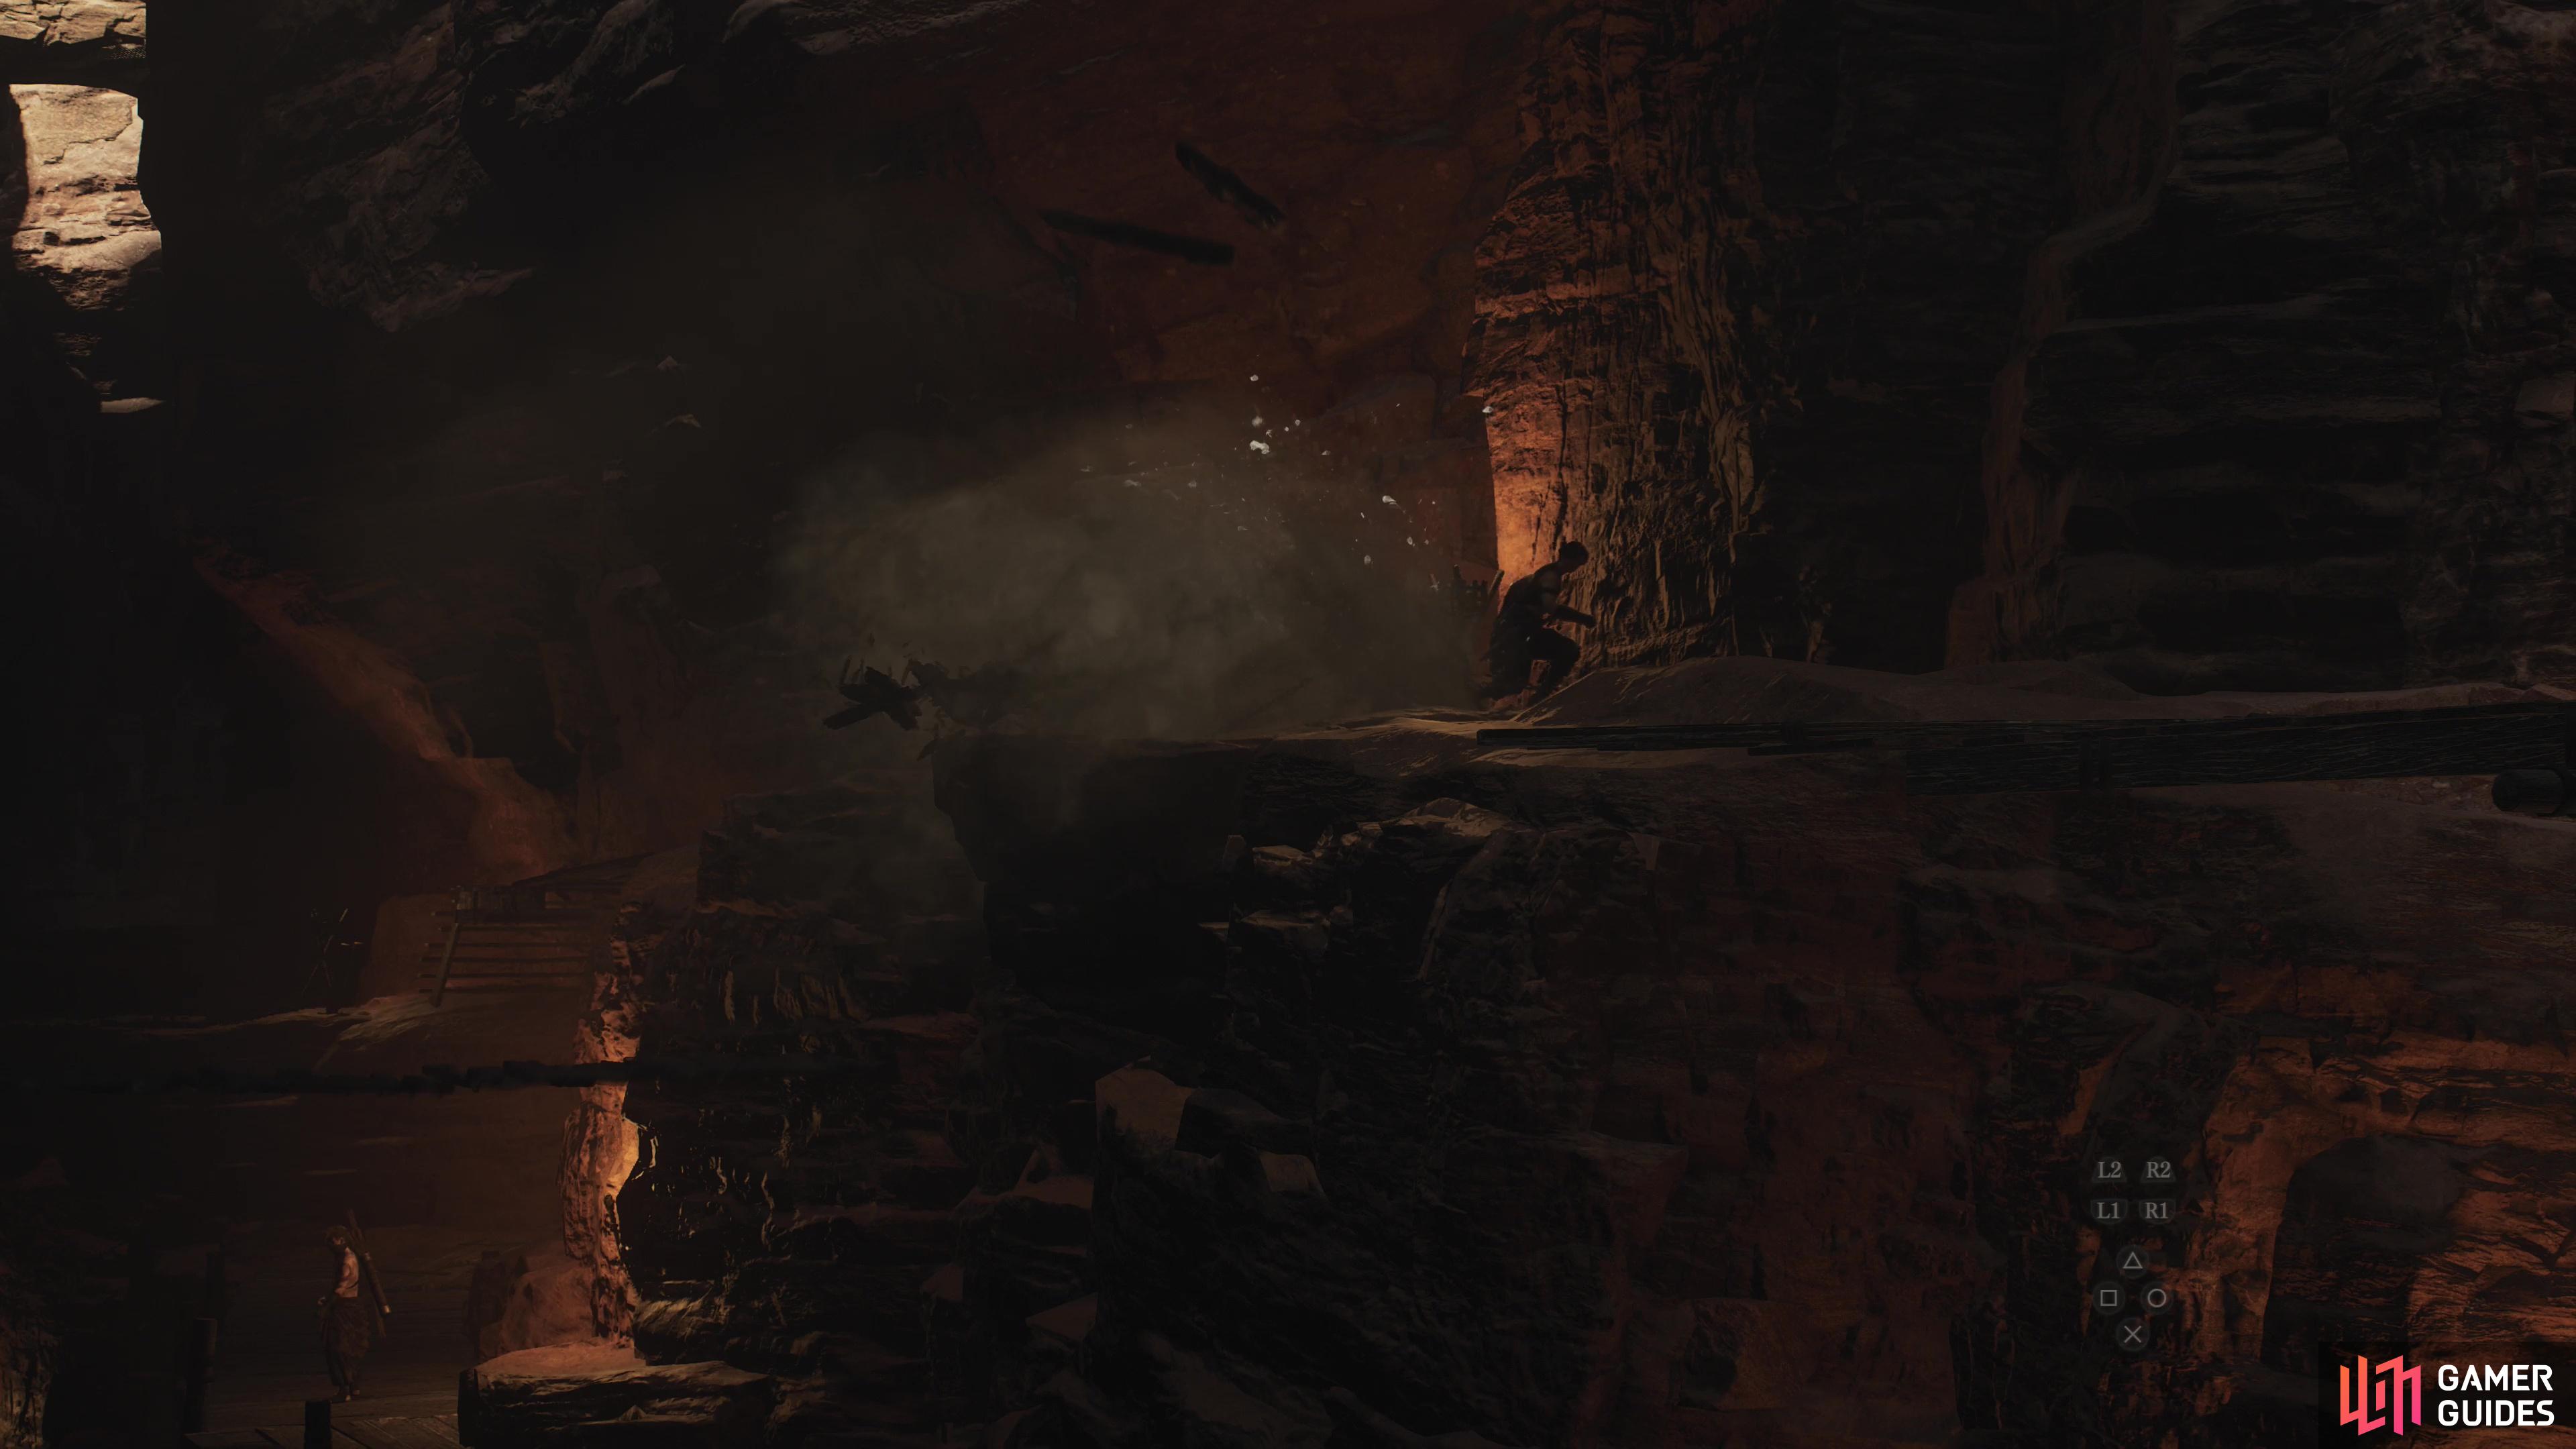
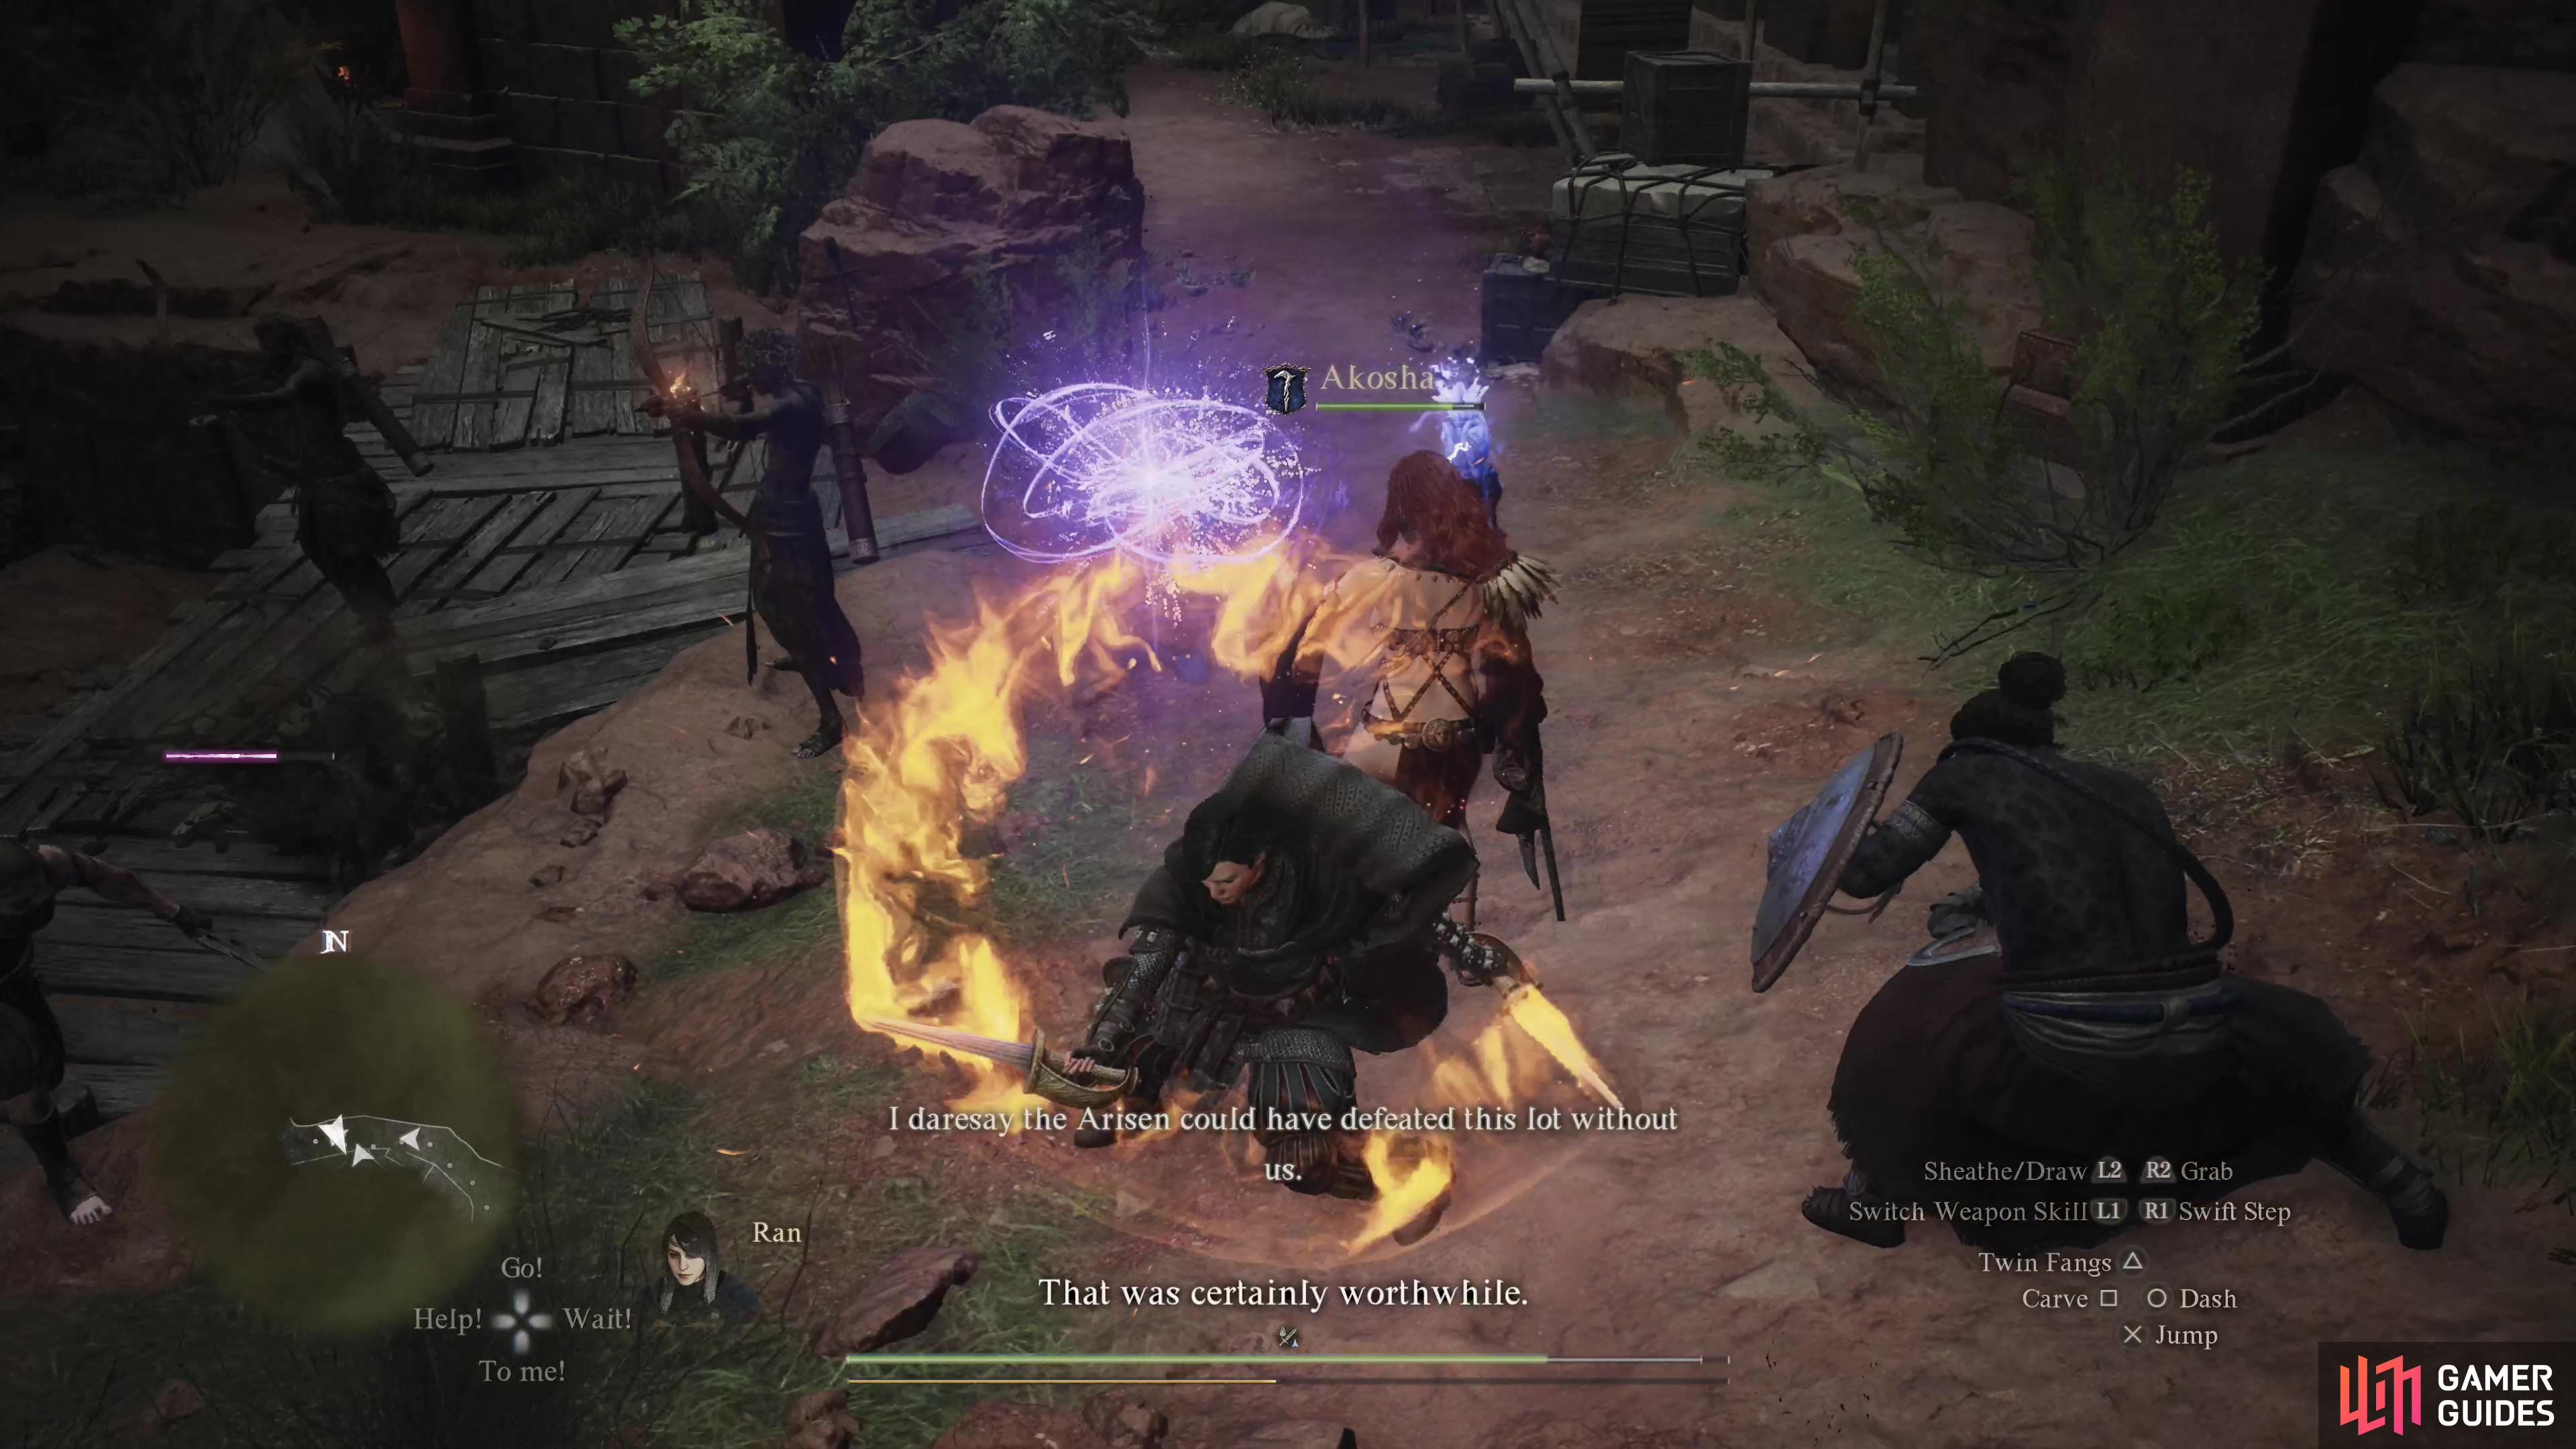
Now that you’ve reached the interior of the Coral Snakes’ Hideout… well, it’ll be more of the same, really. You’ll need to chase Hugo through the hideout, defeating his fellow bandits as you encounter them. Hugo can’t escape and you’re not timed, so there’s no good reason to rush - kill off all the bandits you encounter, loot, then keep pursuing Hugo.
In the first chamber, Hugo will run off across a bridge, then destroy it behind him, forcing you to take a longer route as you pursue him. Follow the walkway ahead northwest until your way forward is blocked, then find a side passage that’ll loop around past the obstruction and allow you to continue north to a bridge. Cross is, then head southeast until you reach a door to the left. It’s worth noting that if you have ![]() Concussive Leap (
Concussive Leap (![]() Thief) or
Thief) or ![]() Levitate (
Levitate (![]() Mage) you can just jump across the gap and bypass most of this room.
Mage) you can just jump across the gap and bypass most of this room.
Through the doorway, follow a tunnel and you’ll see Hugo skitter through a gate, which closes behind him. Go through another gate to the northeast, stopping to climb some scaffolding so you can loot a chest containing a ![]() Ring of Disfavor and 1,050G, then continue on to reach a large chamber that’s open to the sky. This place is absolutely crawling with bandits, but fortunately Benjamin catches up to you and, along with his squad of soldiers, offers to aid you in your bandit purge.
Ring of Disfavor and 1,050G, then continue on to reach a large chamber that’s open to the sky. This place is absolutely crawling with bandits, but fortunately Benjamin catches up to you and, along with his squad of soldiers, offers to aid you in your bandit purge.
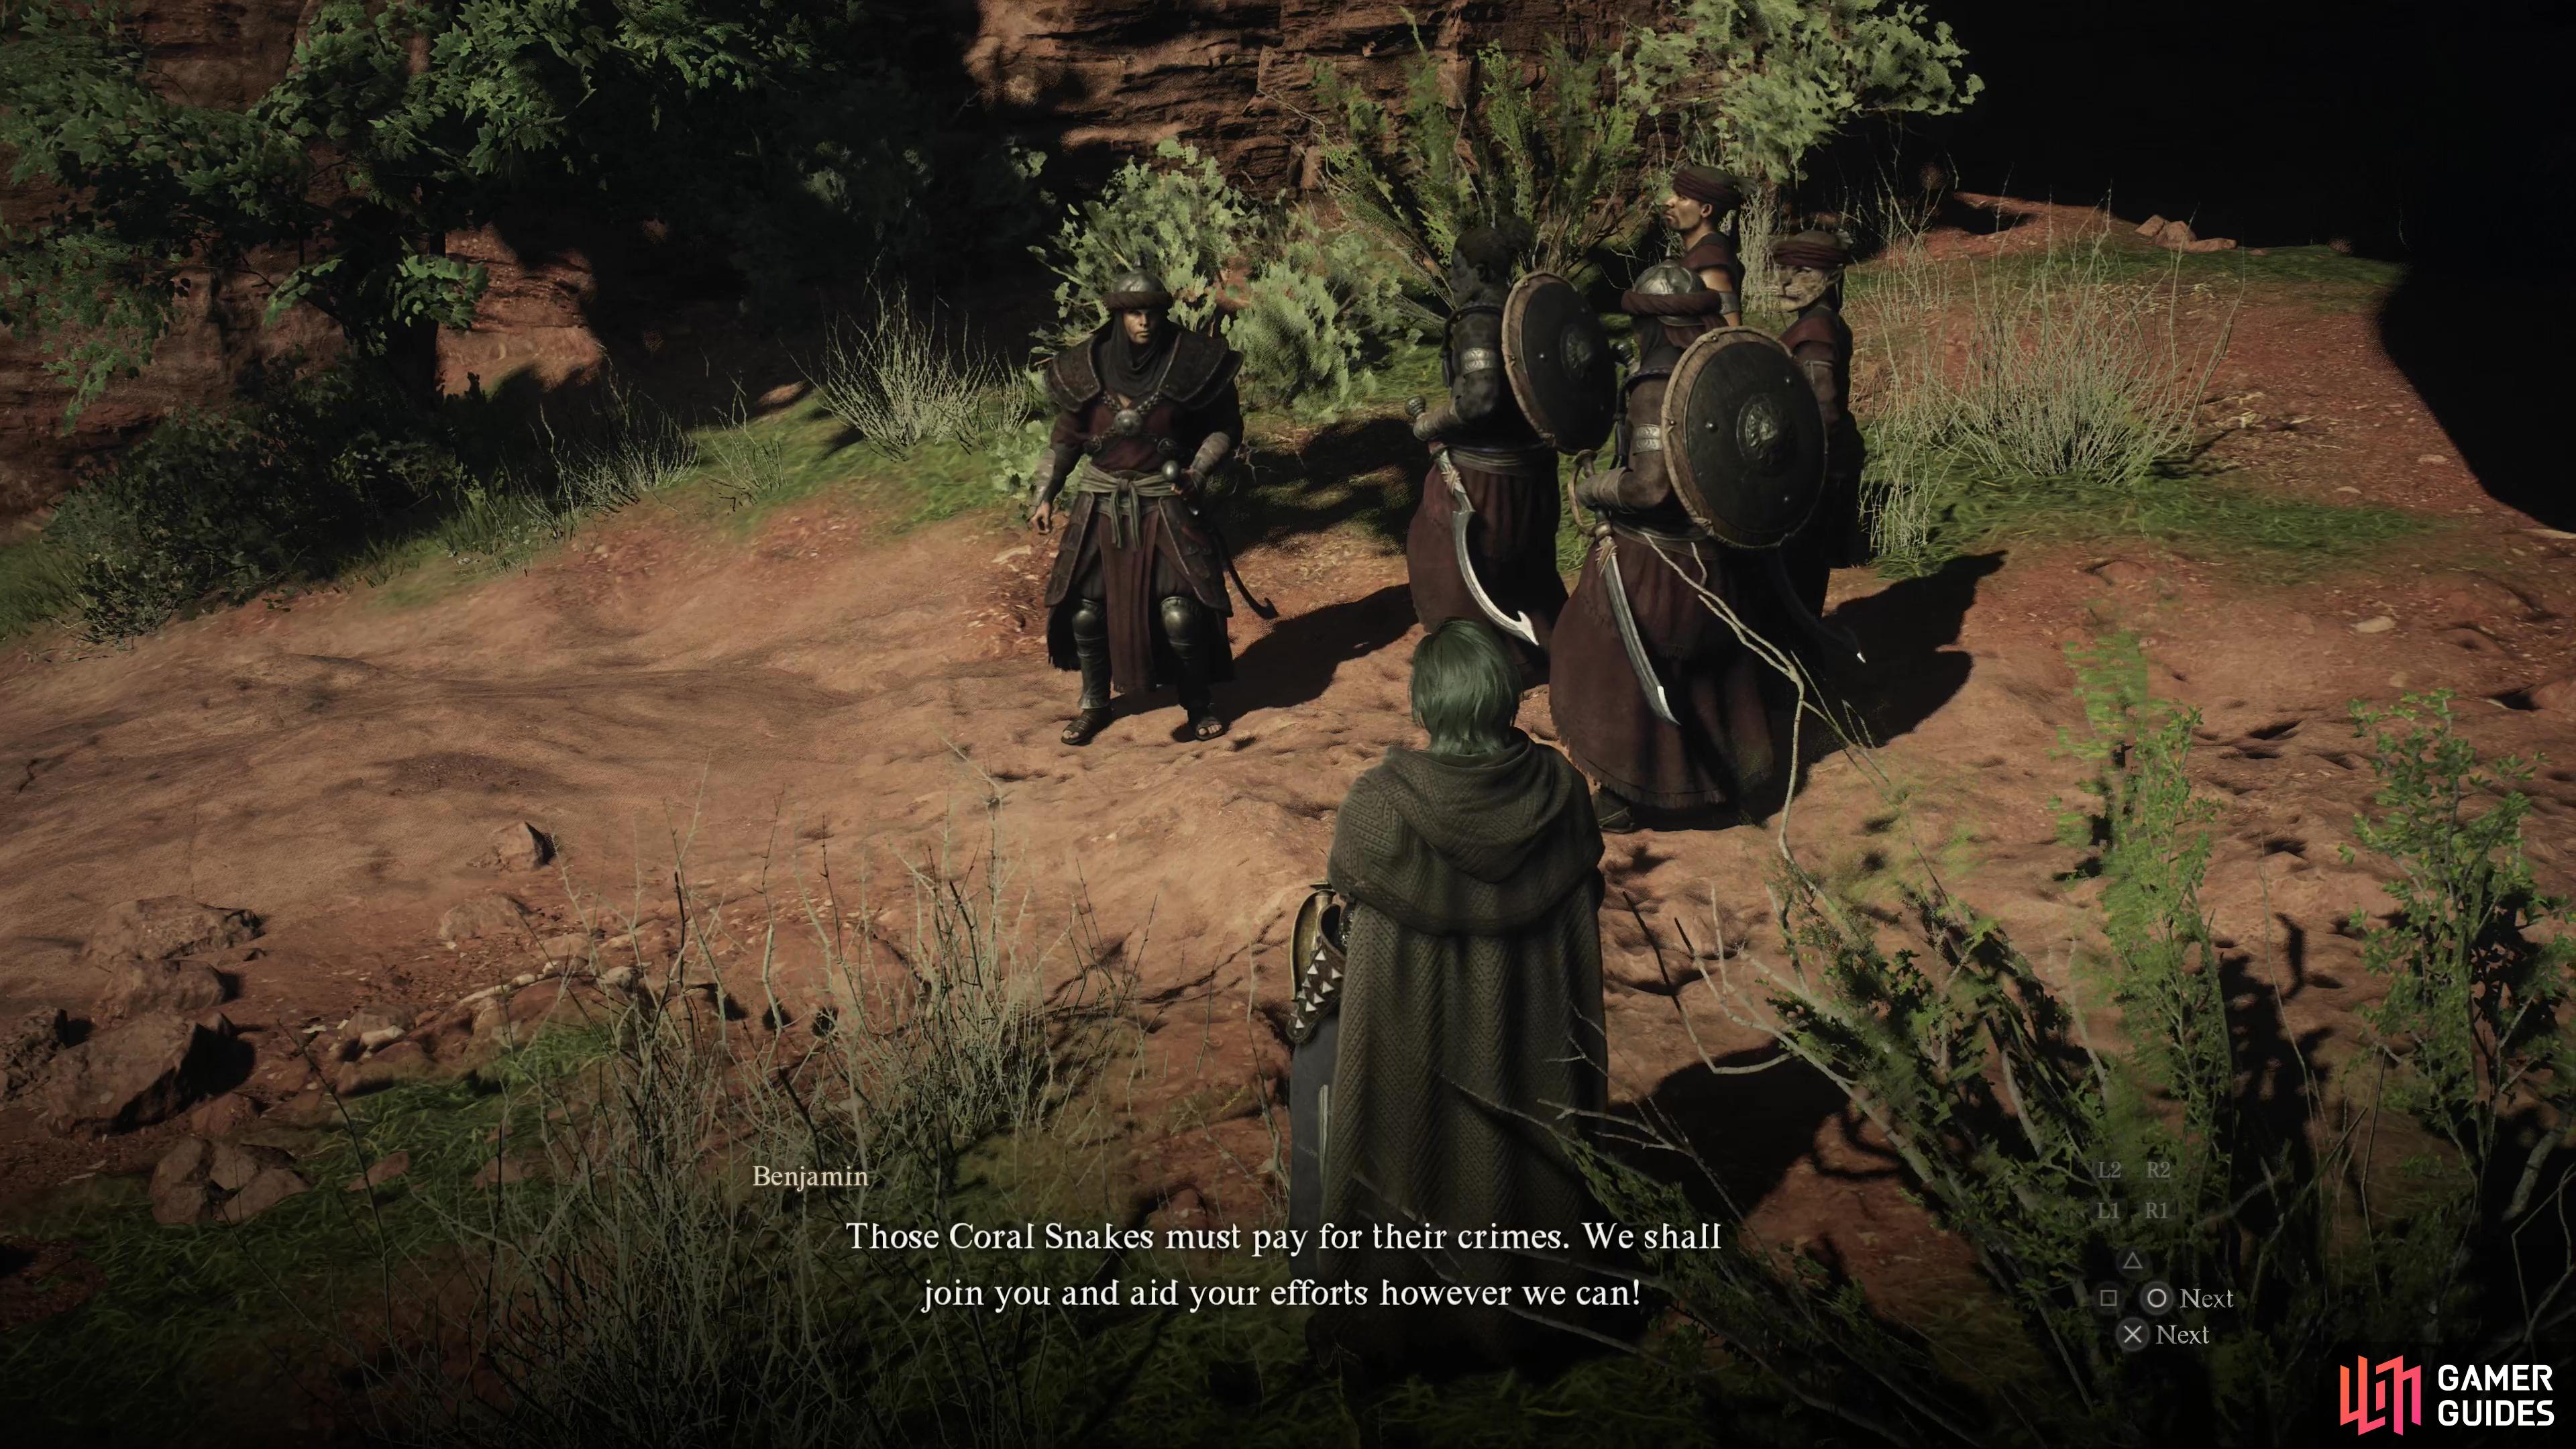

(1 of 3) Once you reach the main chamber of the hideout, Benjamin and some guards will join you,
Clear out the bandits here, but be wary, as there are quite a lot of them. Once done be sure to scour the area for chests. Again, there are a lot of them, but few of them contain anything of significant value. Perhaps the only exception is a side passage along the southern edge of the chamber that runs southeast a short distance before terminating in an ornate check, which contains a ![]() Decapitator.
Decapitator.
When you’re ready to move on, pursue Hugo down a side passage along the southwestern corner of the area and into a smaller chamber to the east, where you’ll finally meet up with this elusive Lanzo whom Hugo has been quoting this entire chase. Reality catches up with poor Hugo, and after a scene he’ll end up in Benjamin’s custody. Speaking of which, the guard will thank you for your efforts and this quest will end.
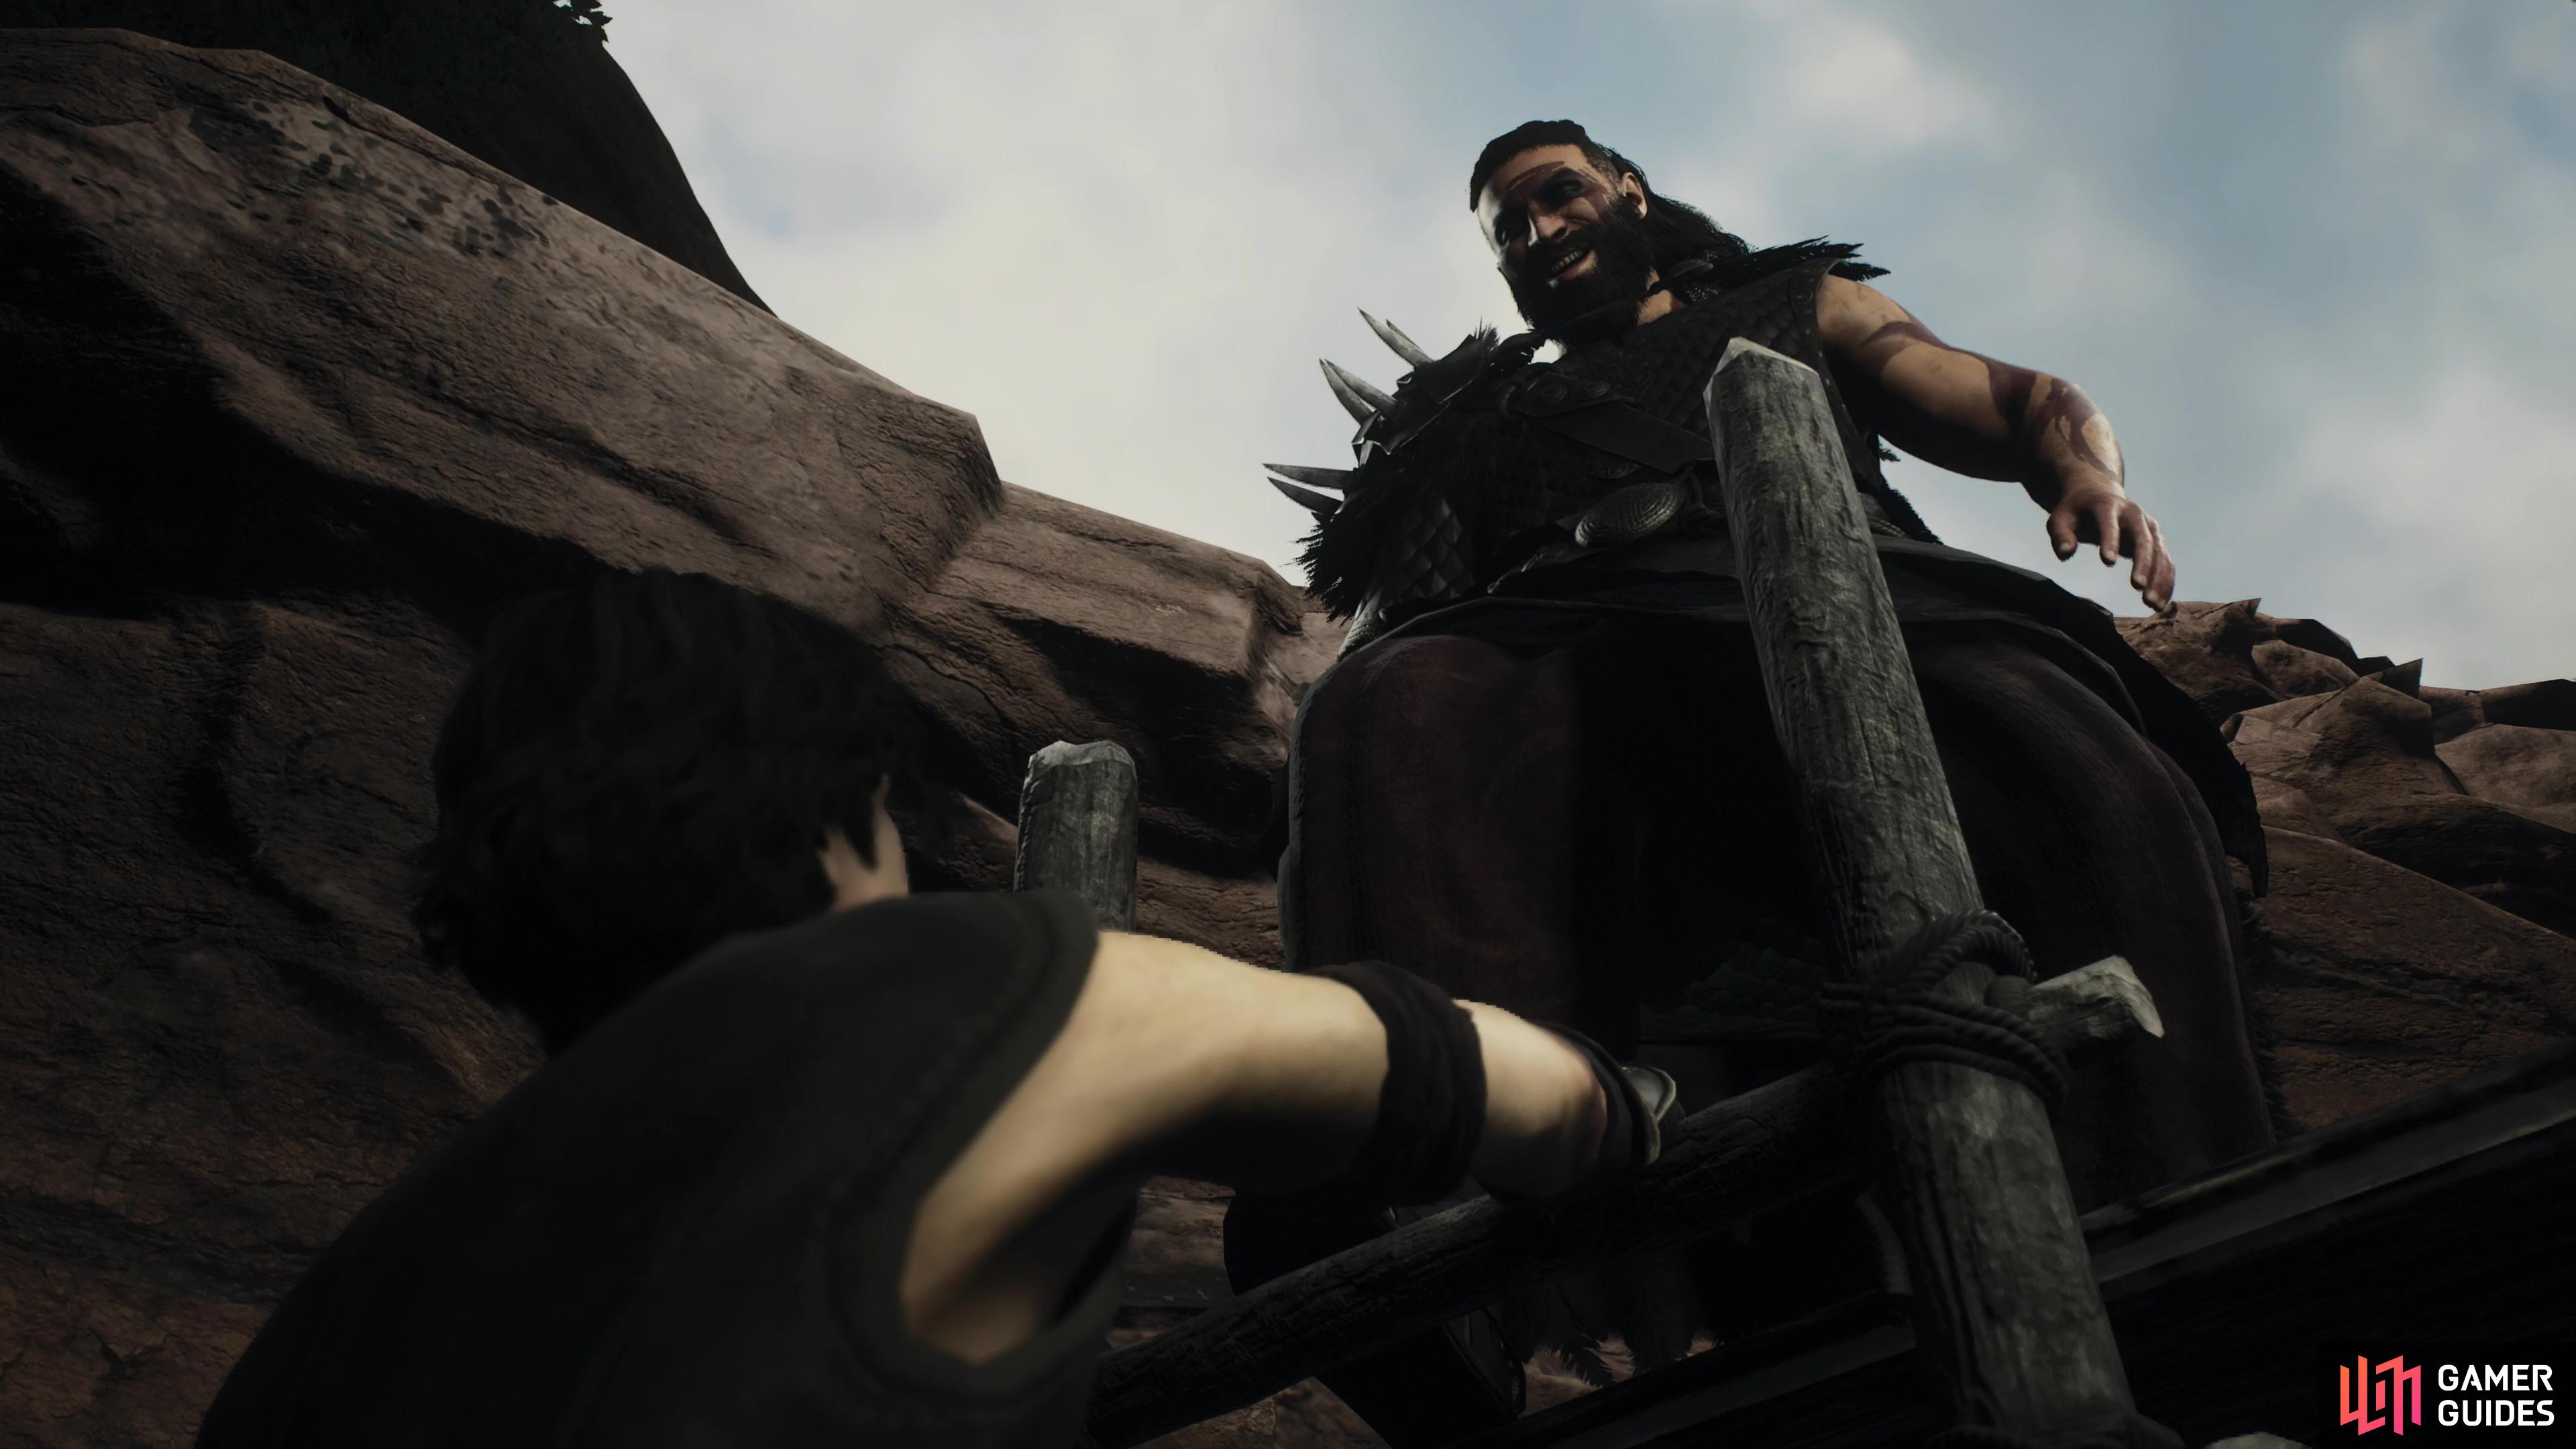
(1 of 2) Eventually Hugo will rendezvous with Lanzo, where bandit morality will clash with bandit reality.
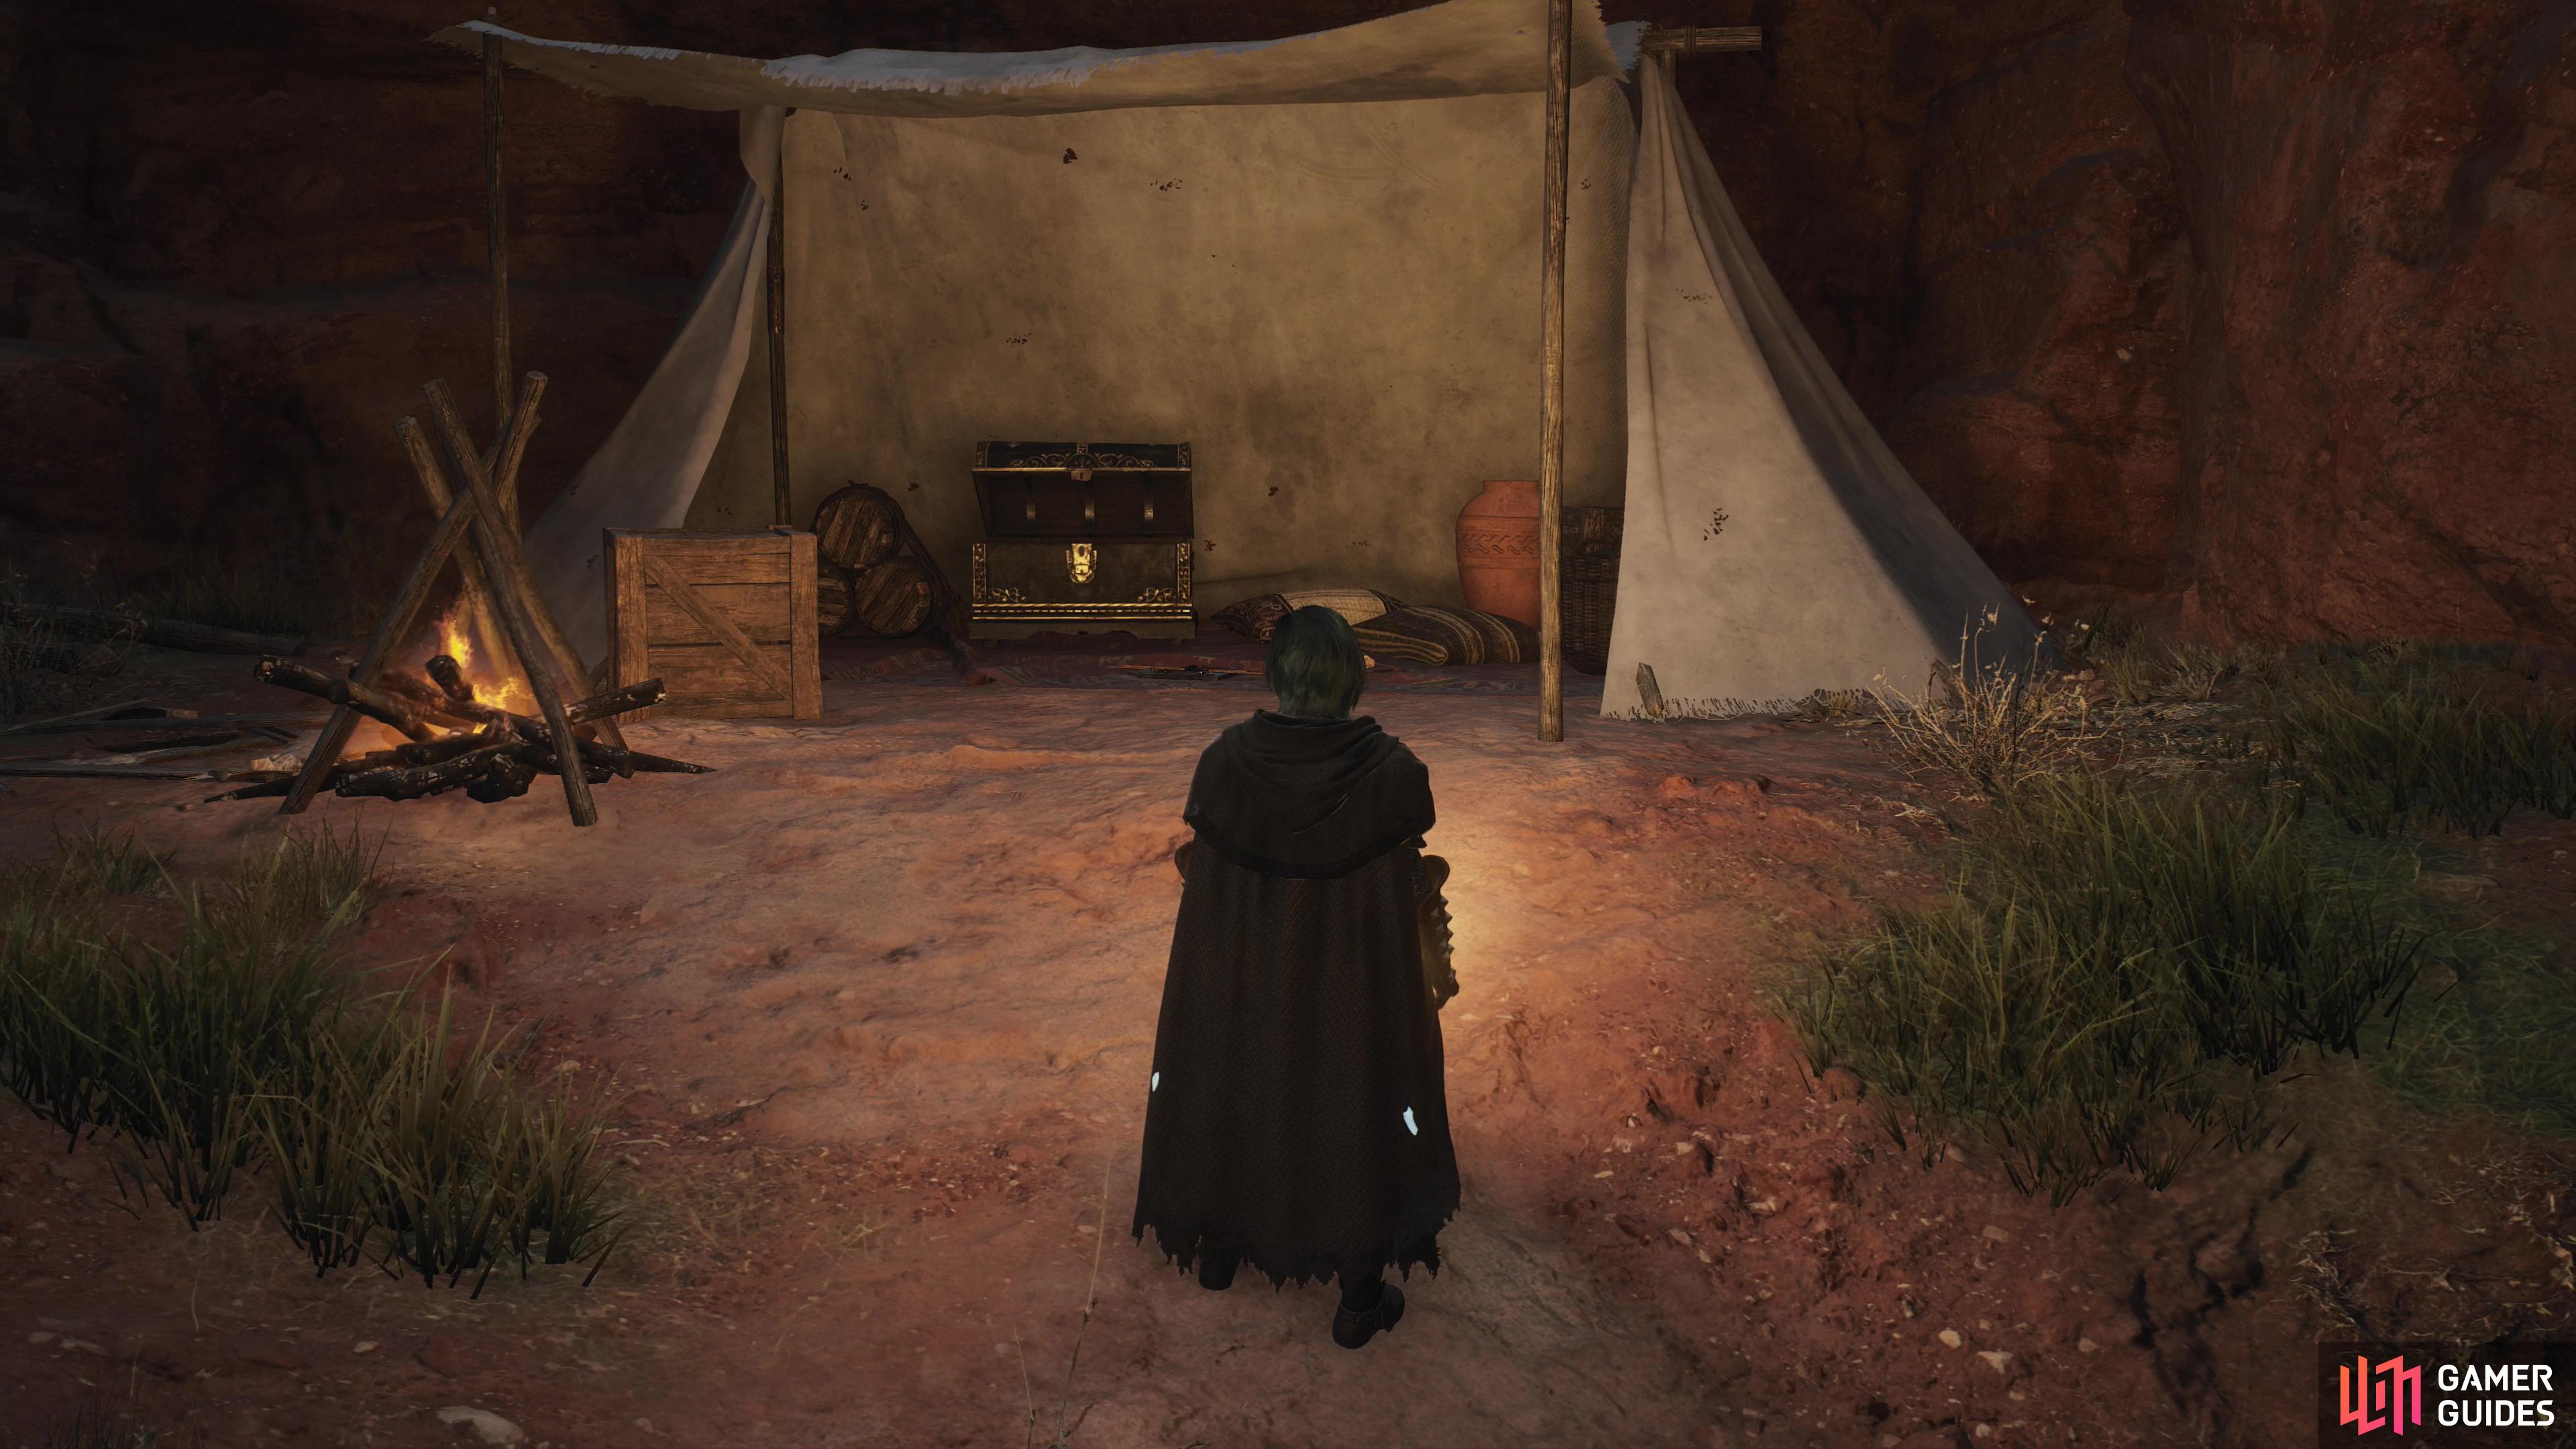
Eventually Hugo will rendezvous with Lanzo, where bandit morality will clash with bandit reality. (left), After the scene with Hugo and Lanzo, loot a chest in a tent to obtain the Frosted Edges. (right)
You’ll gain 4,000 XP and 8,000G for your efforts, and just as importantly you’ll be free to plunder the rest of this hideout as you please.
Frosted Edges Daggers Location
Be sure to search a tent to the east of where Hugo and Lanzo had their encounter to find an ornate chest containing the Frosted Edges daggers, Thief weapons that are the benefactor of a perpetual cold enchantment (+45%) that have both high physical damage and magick damage output - they’re considerably stronger than the ![]() Bolts from the Blue you could have found in the Windworn Gully. Just be wary about overstaying your welcome, as a
Bolts from the Blue you could have found in the Windworn Gully. Just be wary about overstaying your welcome, as a ![]() Grim Ogre likes to spawn in the large chamber where you slaughtered the bandits alongside Benjamin earlier, and it doesn’t take all that long for it to appear.
Grim Ogre likes to spawn in the large chamber where you slaughtered the bandits alongside Benjamin earlier, and it doesn’t take all that long for it to appear.
Now that you’ve completed this quest you should be able to trigger its followup, [![]() Off the Pilfered Path] by visiting Hugo in the
Off the Pilfered Path] by visiting Hugo in the ![]() Bakbattahl Gaol. Before you do this, however, you should try to complete [
Bakbattahl Gaol. Before you do this, however, you should try to complete [![]() Short-Sighted Ambition] and [
Short-Sighted Ambition] and [![]() Every Rose Has Its Thorn], as both of these quests will potentially unlock solutions for Off the Pilfered Path.
Every Rose Has Its Thorn], as both of these quests will potentially unlock solutions for Off the Pilfered Path.

 Sign up
No Comments