
While the ![]() Thief is primarily a physical damage dealer, sometimes you’ll find yourself up against enemies that are resistant or immune to physical damage, or foes who are simply more receptive to specific types of elemental damage. Against such foes it may be beneficial to keep a second pair of daggers handy that you can switch to in order to give yourself an advantage, or at the least to allow your Arisen to contribute… as much as we all love pawns, relying on them is less than ideal. Actually getting your hands on elemental daggers can be a bit tricky, as they’re not sold in stores in a reasonable time frame. Fortunately, dungeons often contain treasure chests, providing incentive for daring adventurers to delve their depths in search of spoils, and one such dungeon, the
Thief is primarily a physical damage dealer, sometimes you’ll find yourself up against enemies that are resistant or immune to physical damage, or foes who are simply more receptive to specific types of elemental damage. Against such foes it may be beneficial to keep a second pair of daggers handy that you can switch to in order to give yourself an advantage, or at the least to allow your Arisen to contribute… as much as we all love pawns, relying on them is less than ideal. Actually getting your hands on elemental daggers can be a bit tricky, as they’re not sold in stores in a reasonable time frame. Fortunately, dungeons often contain treasure chests, providing incentive for daring adventurers to delve their depths in search of spoils, and one such dungeon, the ![]() Windworn Gully, just happens to hide a prize any Thief would love to get their hands on. This page will provide a walkthrough for obtaining the
Windworn Gully, just happens to hide a prize any Thief would love to get their hands on. This page will provide a walkthrough for obtaining the ![]() Bolts from the Blue Thief daggers in Windworn Gully, including how to find the dungeon and defeat the enemies dwelling inside.
Bolts from the Blue Thief daggers in Windworn Gully, including how to find the dungeon and defeat the enemies dwelling inside.


Windworn Gully Location
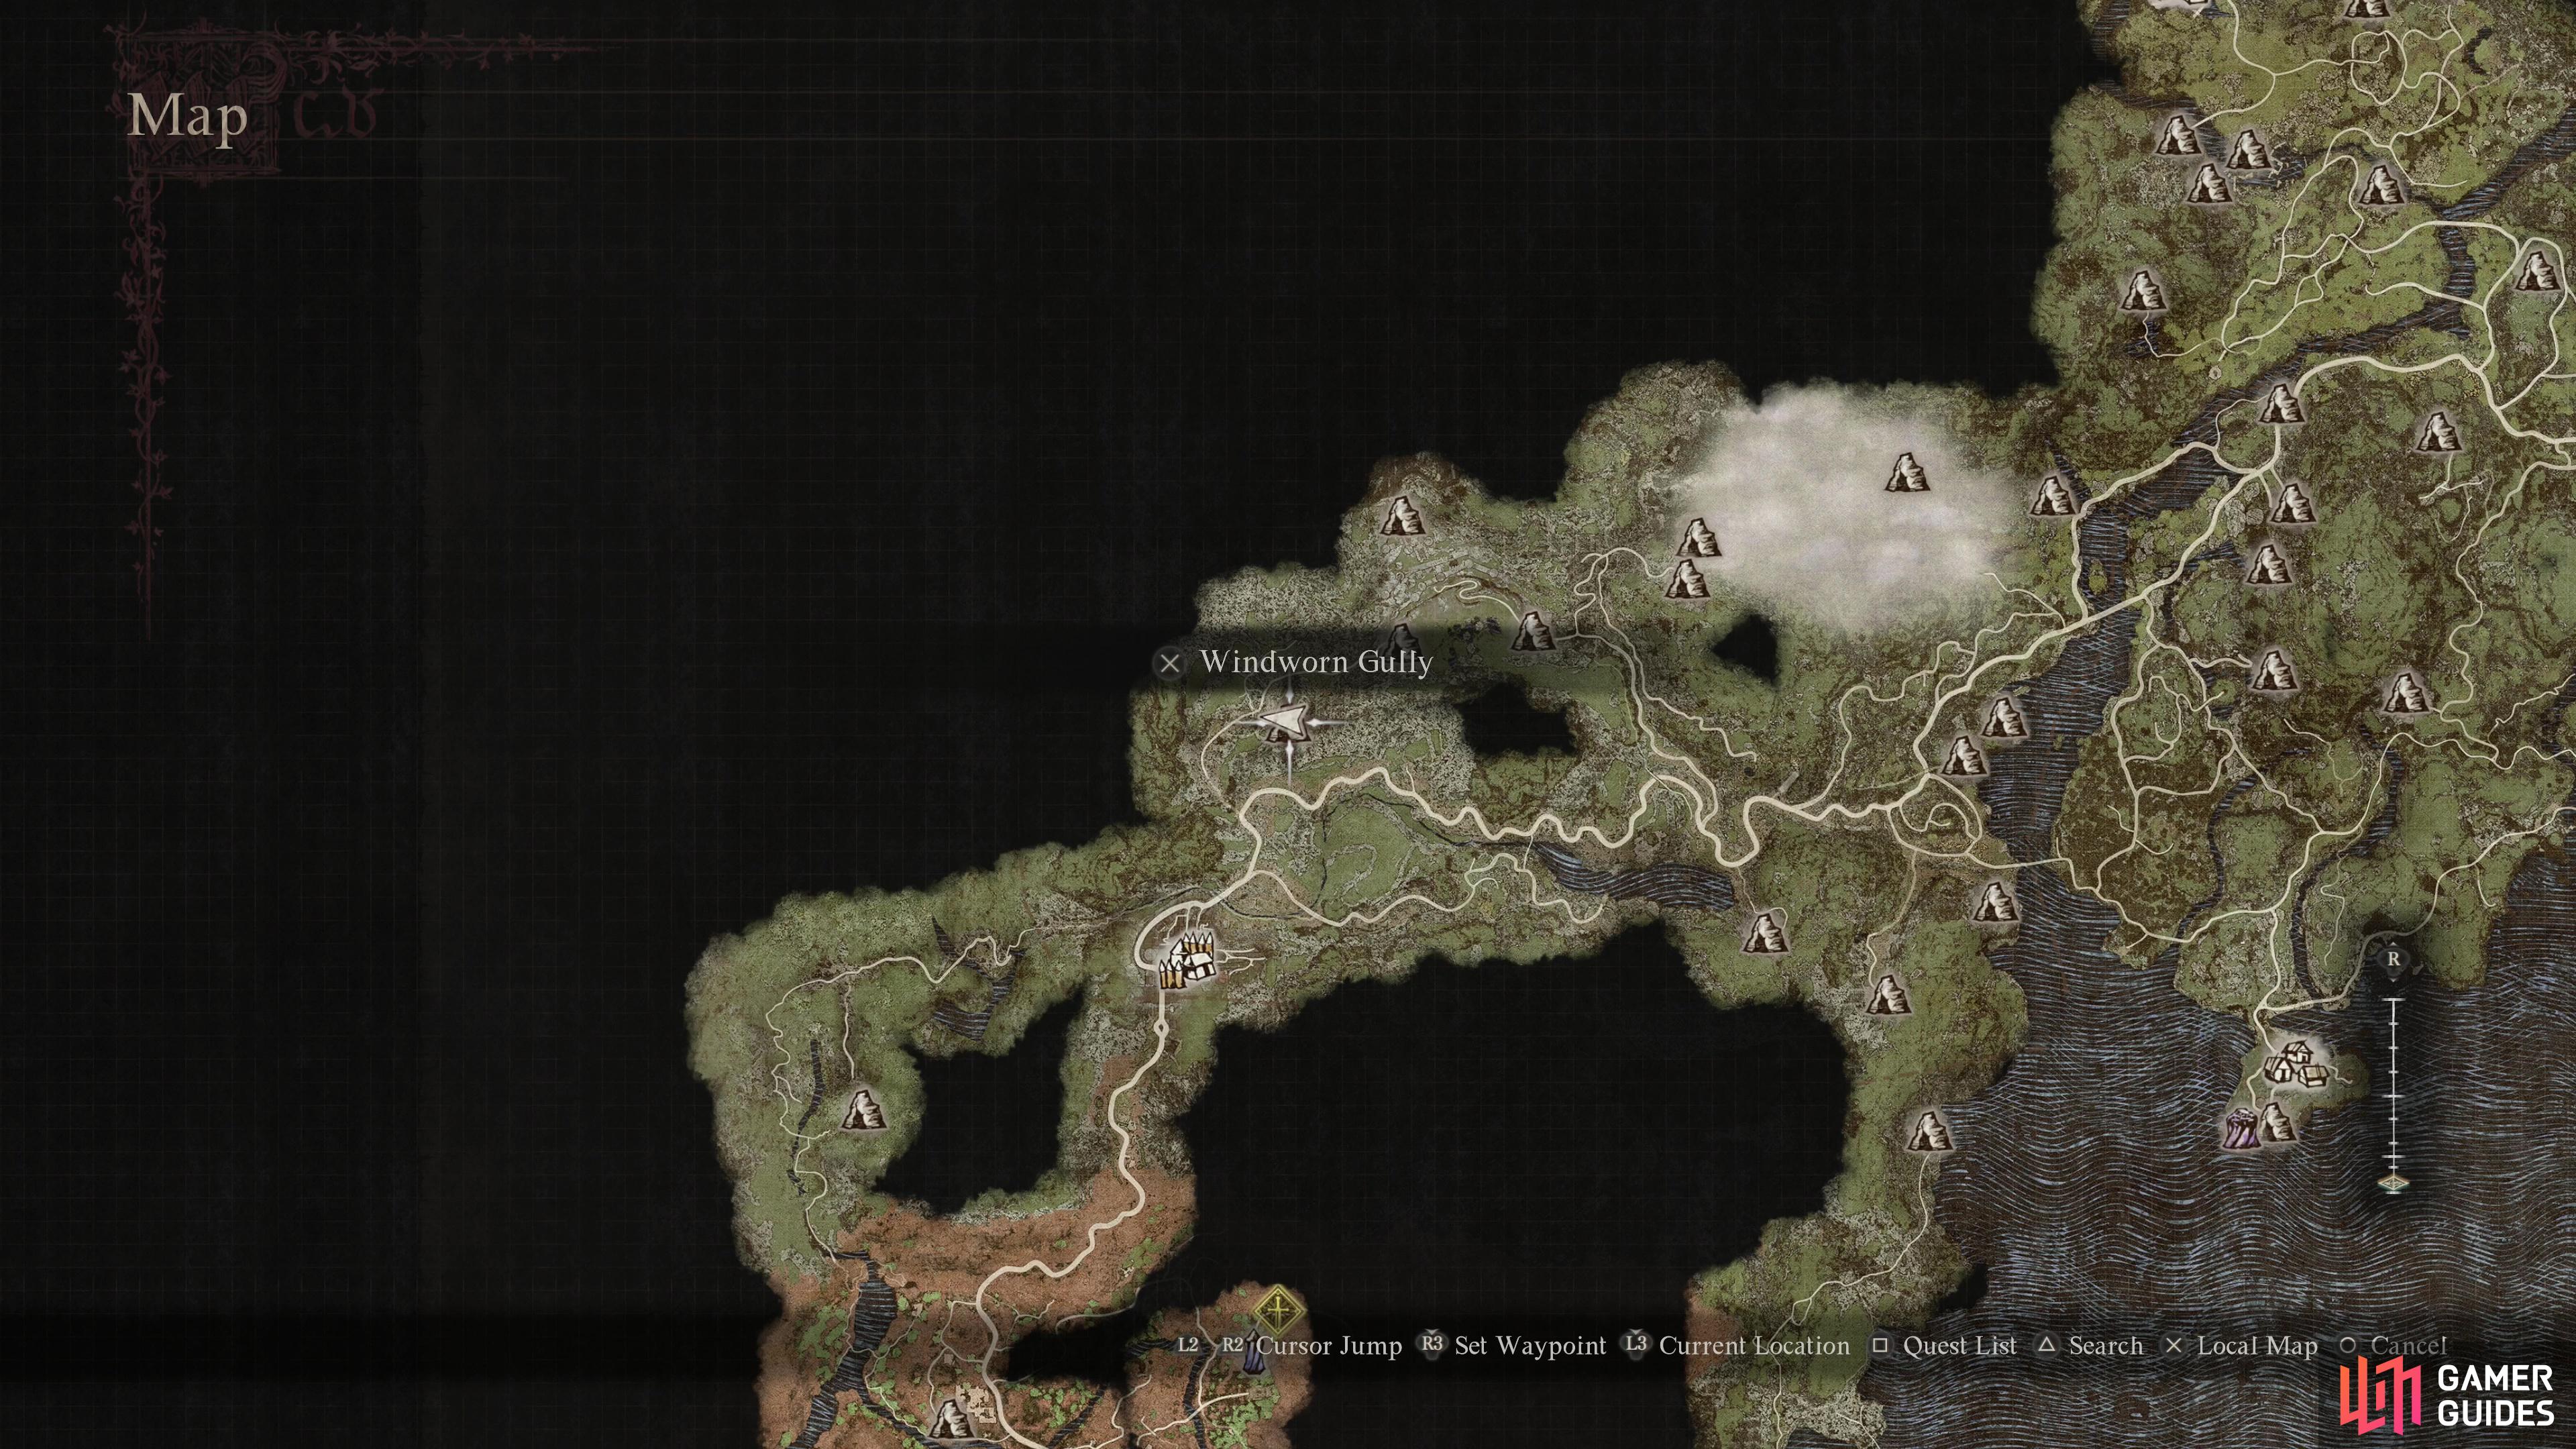
Windworn Gully is an odd dungeon inasmuch as finding it and clearing it out is more difficult than actually tracking down the loot within. The dungeon itself isn’t terribly complex, but it is well-hidden and crawling with midgame enemies, both of which conspire to make you really earn the prize hidden within. You can find its exact location on our interactive map here.
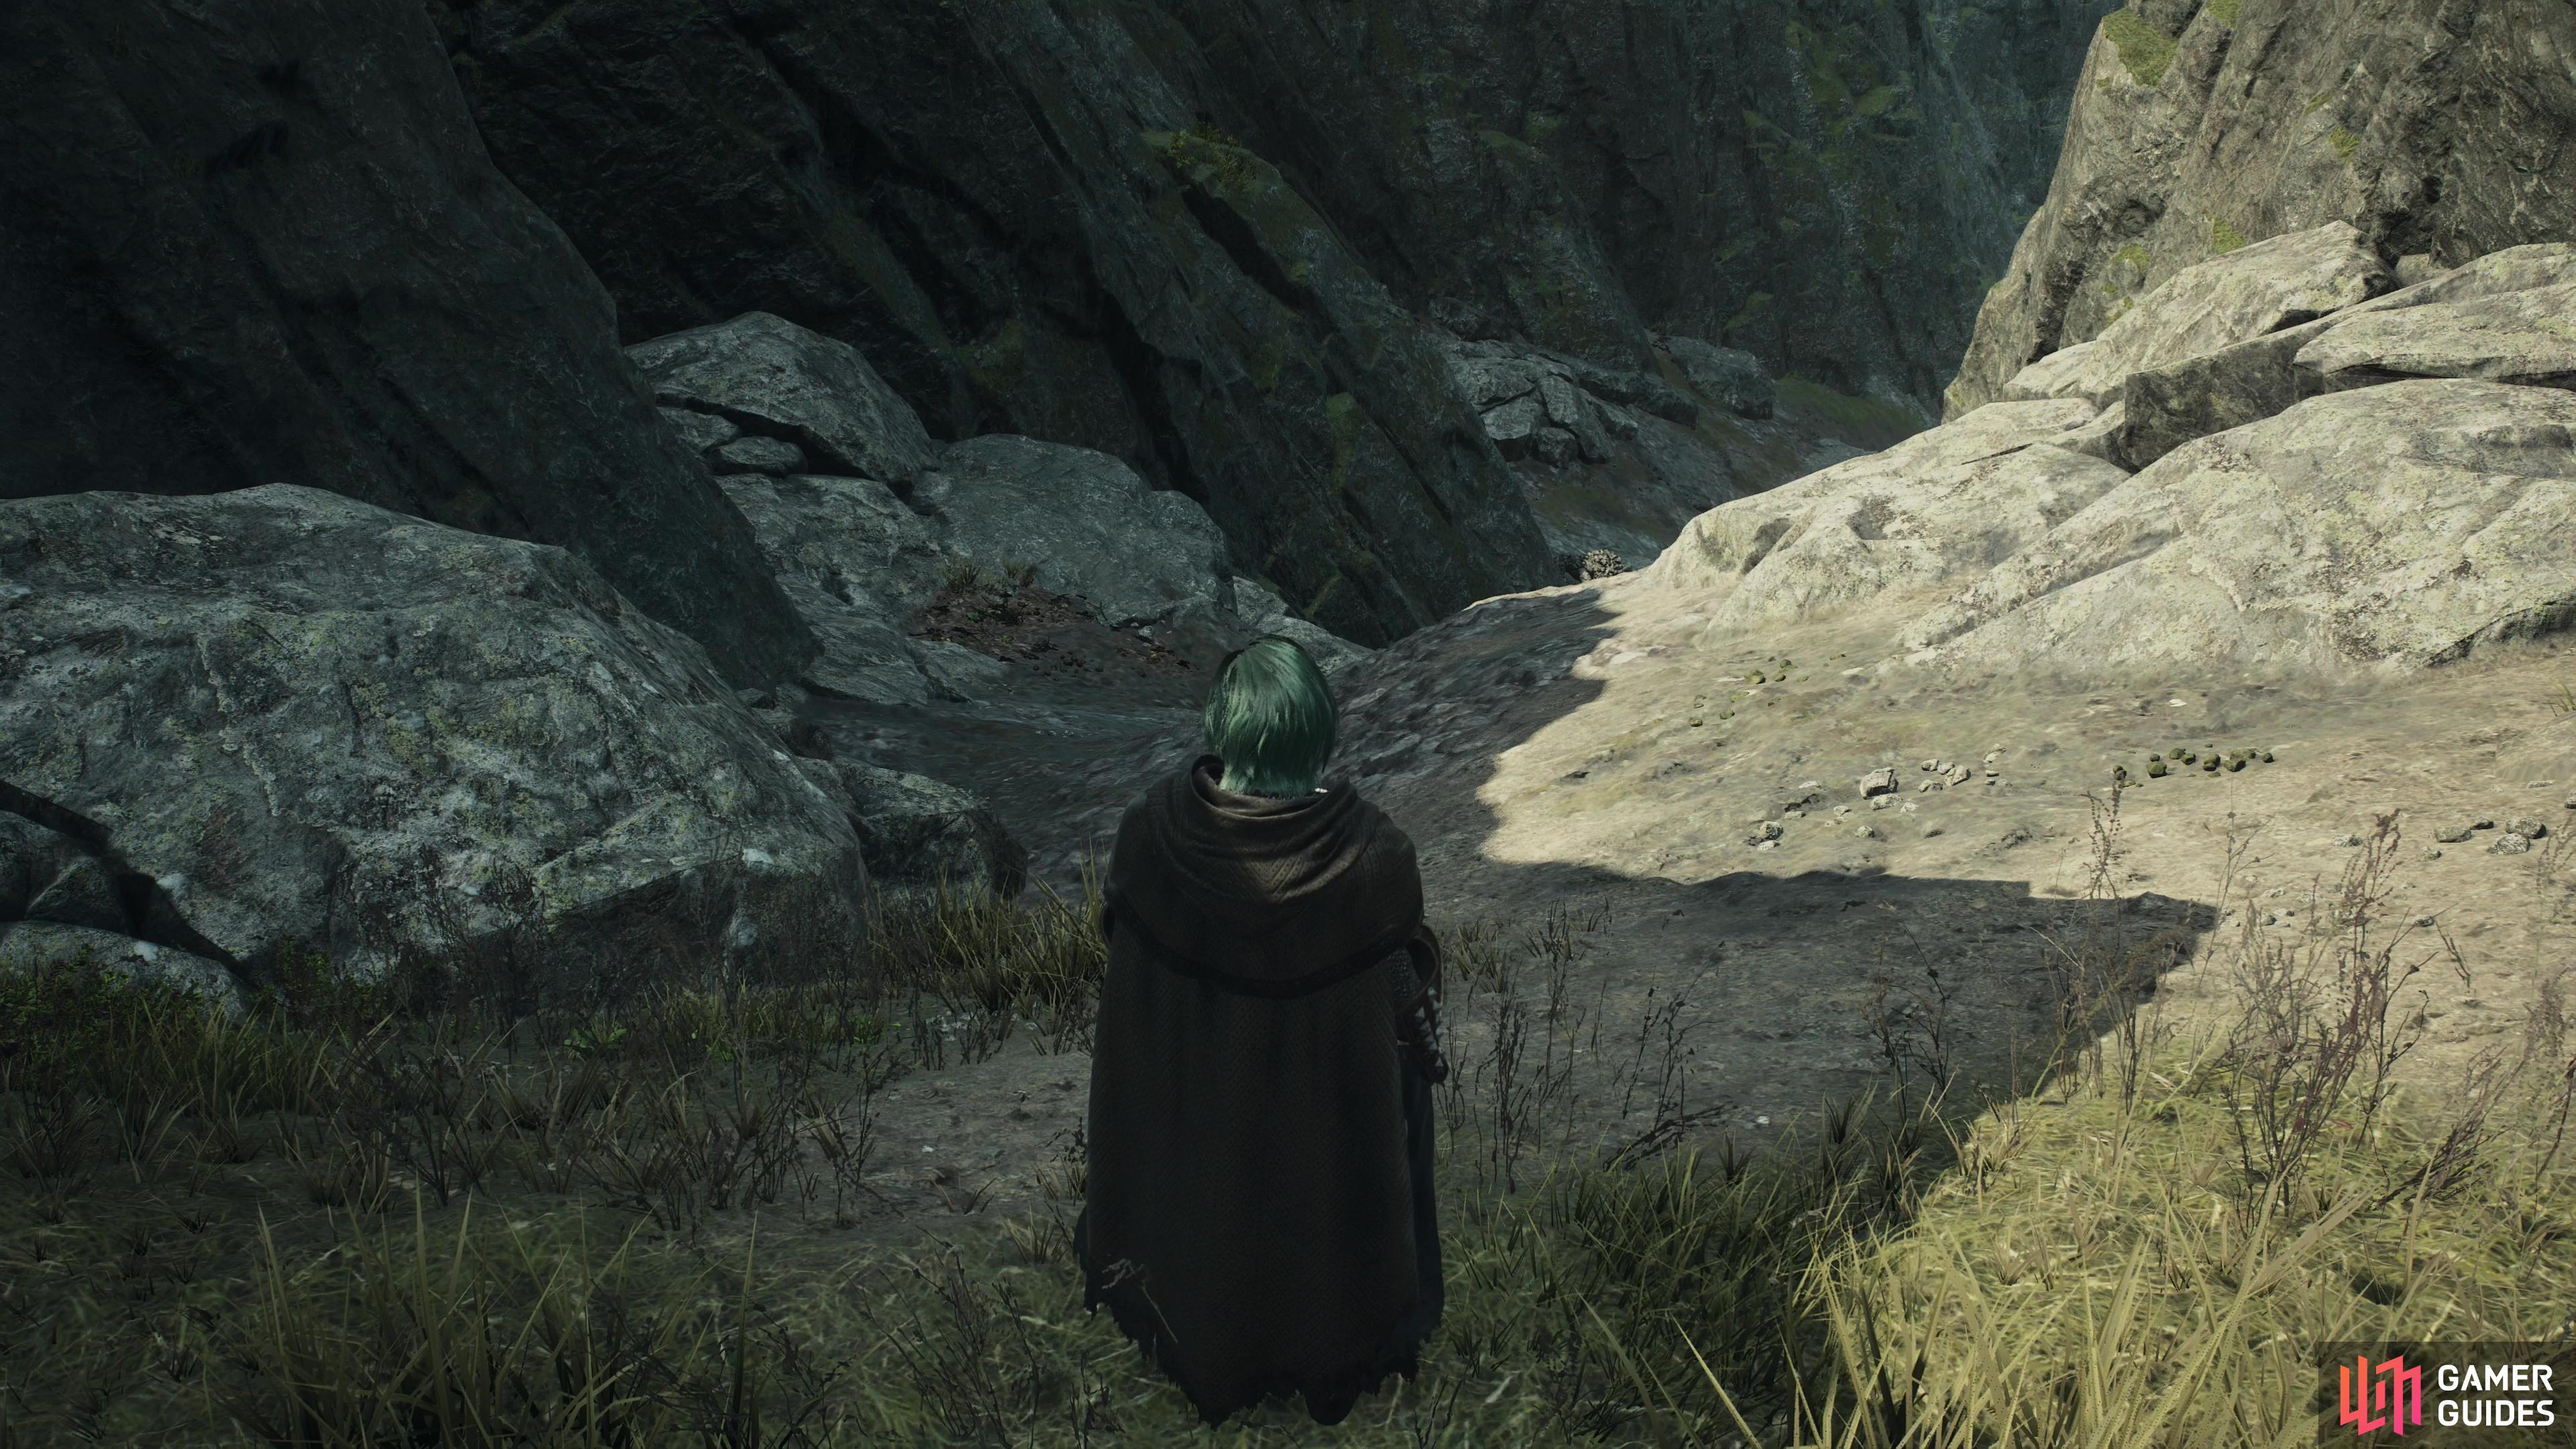
To find this dungeon you’ll need to follow the road northeast, then north from the ![]() Checkpoint Rest Town, but before the road starts to veer east towards eastern Vermund, find a trail leading downhill to the northwest. The word “trail” is used loosely here, as while it appears as a trail on the minimap, it doesn’t look like a trail to the eye, being little more than a rocky, uneven slope off the side of the road you need to pick your way down. Kill the hobgoblins and rattlers that stand in your way and pay particular attention to this
Checkpoint Rest Town, but before the road starts to veer east towards eastern Vermund, find a trail leading downhill to the northwest. The word “trail” is used loosely here, as while it appears as a trail on the minimap, it doesn’t look like a trail to the eye, being little more than a rocky, uneven slope off the side of the road you need to pick your way down. Kill the hobgoblins and rattlers that stand in your way and pay particular attention to this ![]() Saurian variant - if they’re giving you significant trouble, that portends ill for the future.
Saurian variant - if they’re giving you significant trouble, that portends ill for the future.
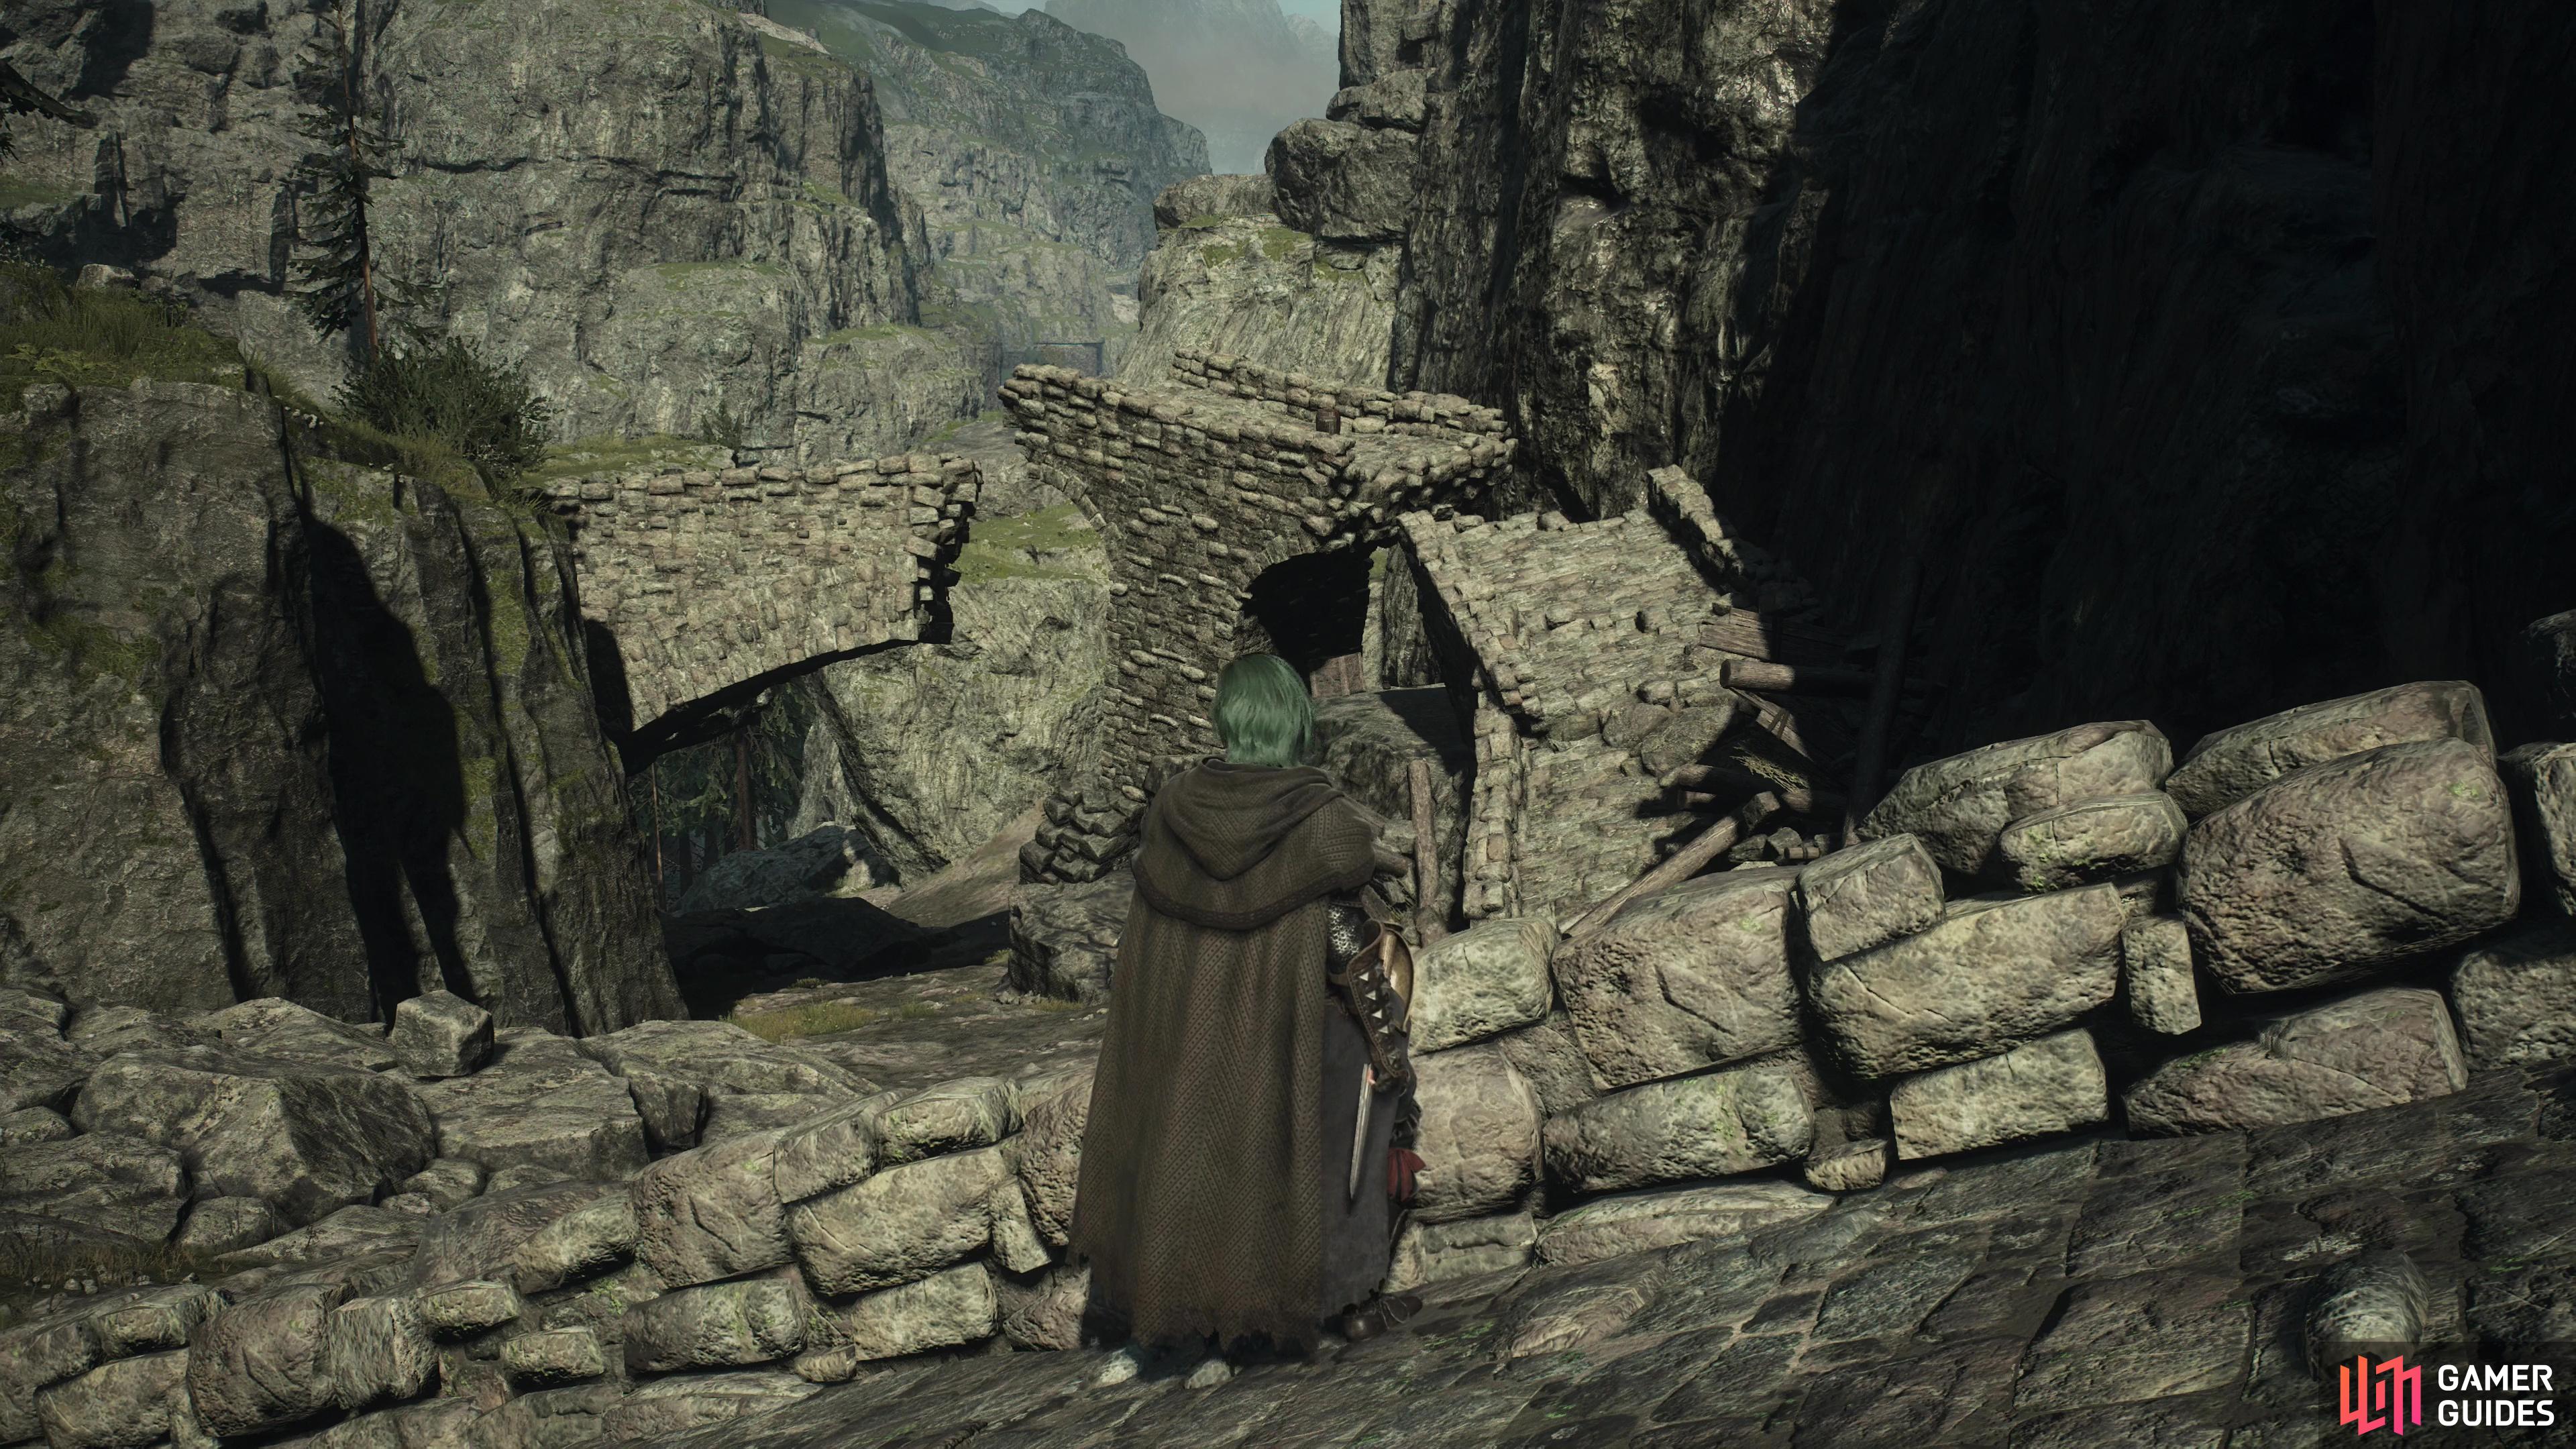
Follow the ravine you find yourself in as you head northwest then northeast until you find some ruined stone bridges ahead. Be on the lookout for a bridge on the ravine floor to the right, which you can climb up to gain height, then jump across to other bridge segments to reach an elevated stretch of land running along the northern edge of the ravine. Make your way a short distance northeast until you find a peninsula jutting out to the southeast, which you can use to jump onto another stretch of land on the opposite end of the ravine. From here all you need to do is climb your way up and to the right to find the cave entrance to the Windworn Gully.
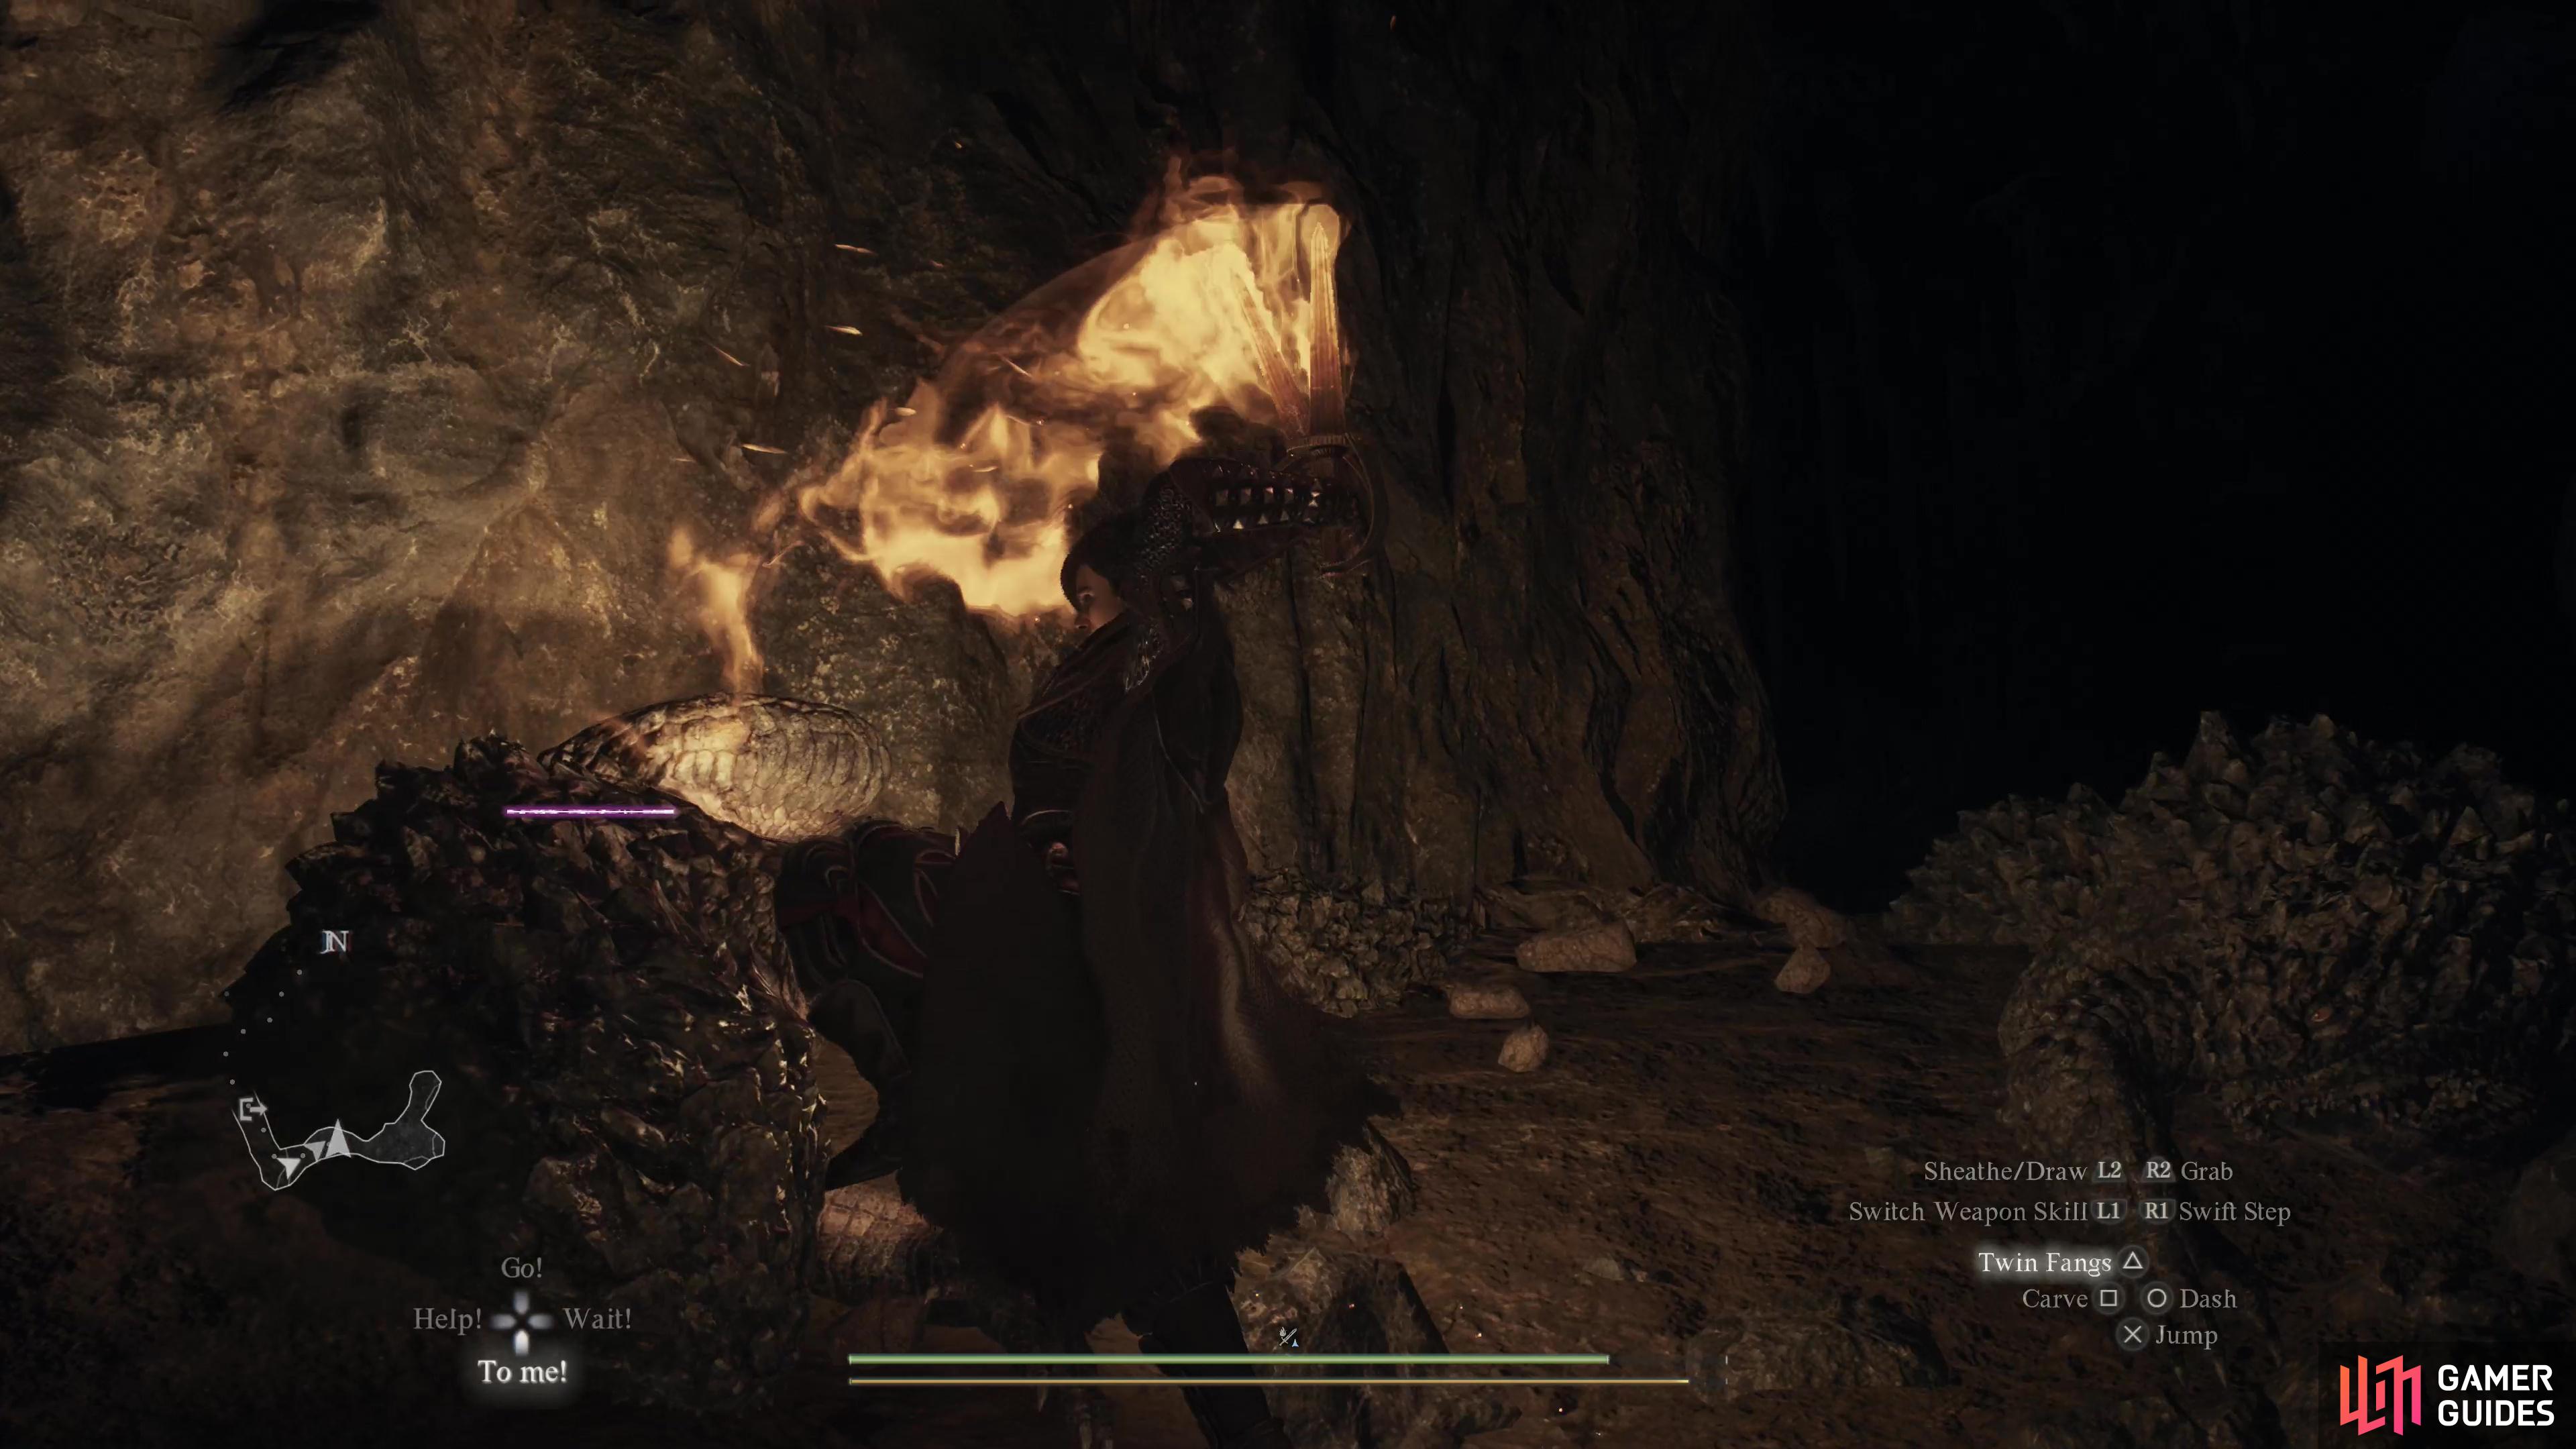
(1 of 3) The Windworn Gully cave is full of Rattlers, which can be difficult to defeat with light arms - draw them off balance or attack the tail to deal damage.
Finding the Bolts from the Blue Enchanted Thief Daggers
Windworn Gully is a fairly standard cavern-dungeon, but it’s absolutely crawling with ![]() Rattlers. These critters are resistant to physical damage, and can deflect lighter attacks from Thieves,
Rattlers. These critters are resistant to physical damage, and can deflect lighter attacks from Thieves, ![]() Fighters and
Fighters and ![]() Archer. A
Archer. A ![]() Warrior’s attacks should be hefty enough to cut through their hide, but otherwise you might need to attack the Rattler’s tails or strike when they’re off balance. Magic also works, of course. Fortunately you likely won’t fight more than two or three at a time, but you do need to be diligent while exploring and watch for them, as they like to cling onto cave walls and will happily ambush you if given half a chance.
Warrior’s attacks should be hefty enough to cut through their hide, but otherwise you might need to attack the Rattler’s tails or strike when they’re off balance. Magic also works, of course. Fortunately you likely won’t fight more than two or three at a time, but you do need to be diligent while exploring and watch for them, as they like to cling onto cave walls and will happily ambush you if given half a chance.
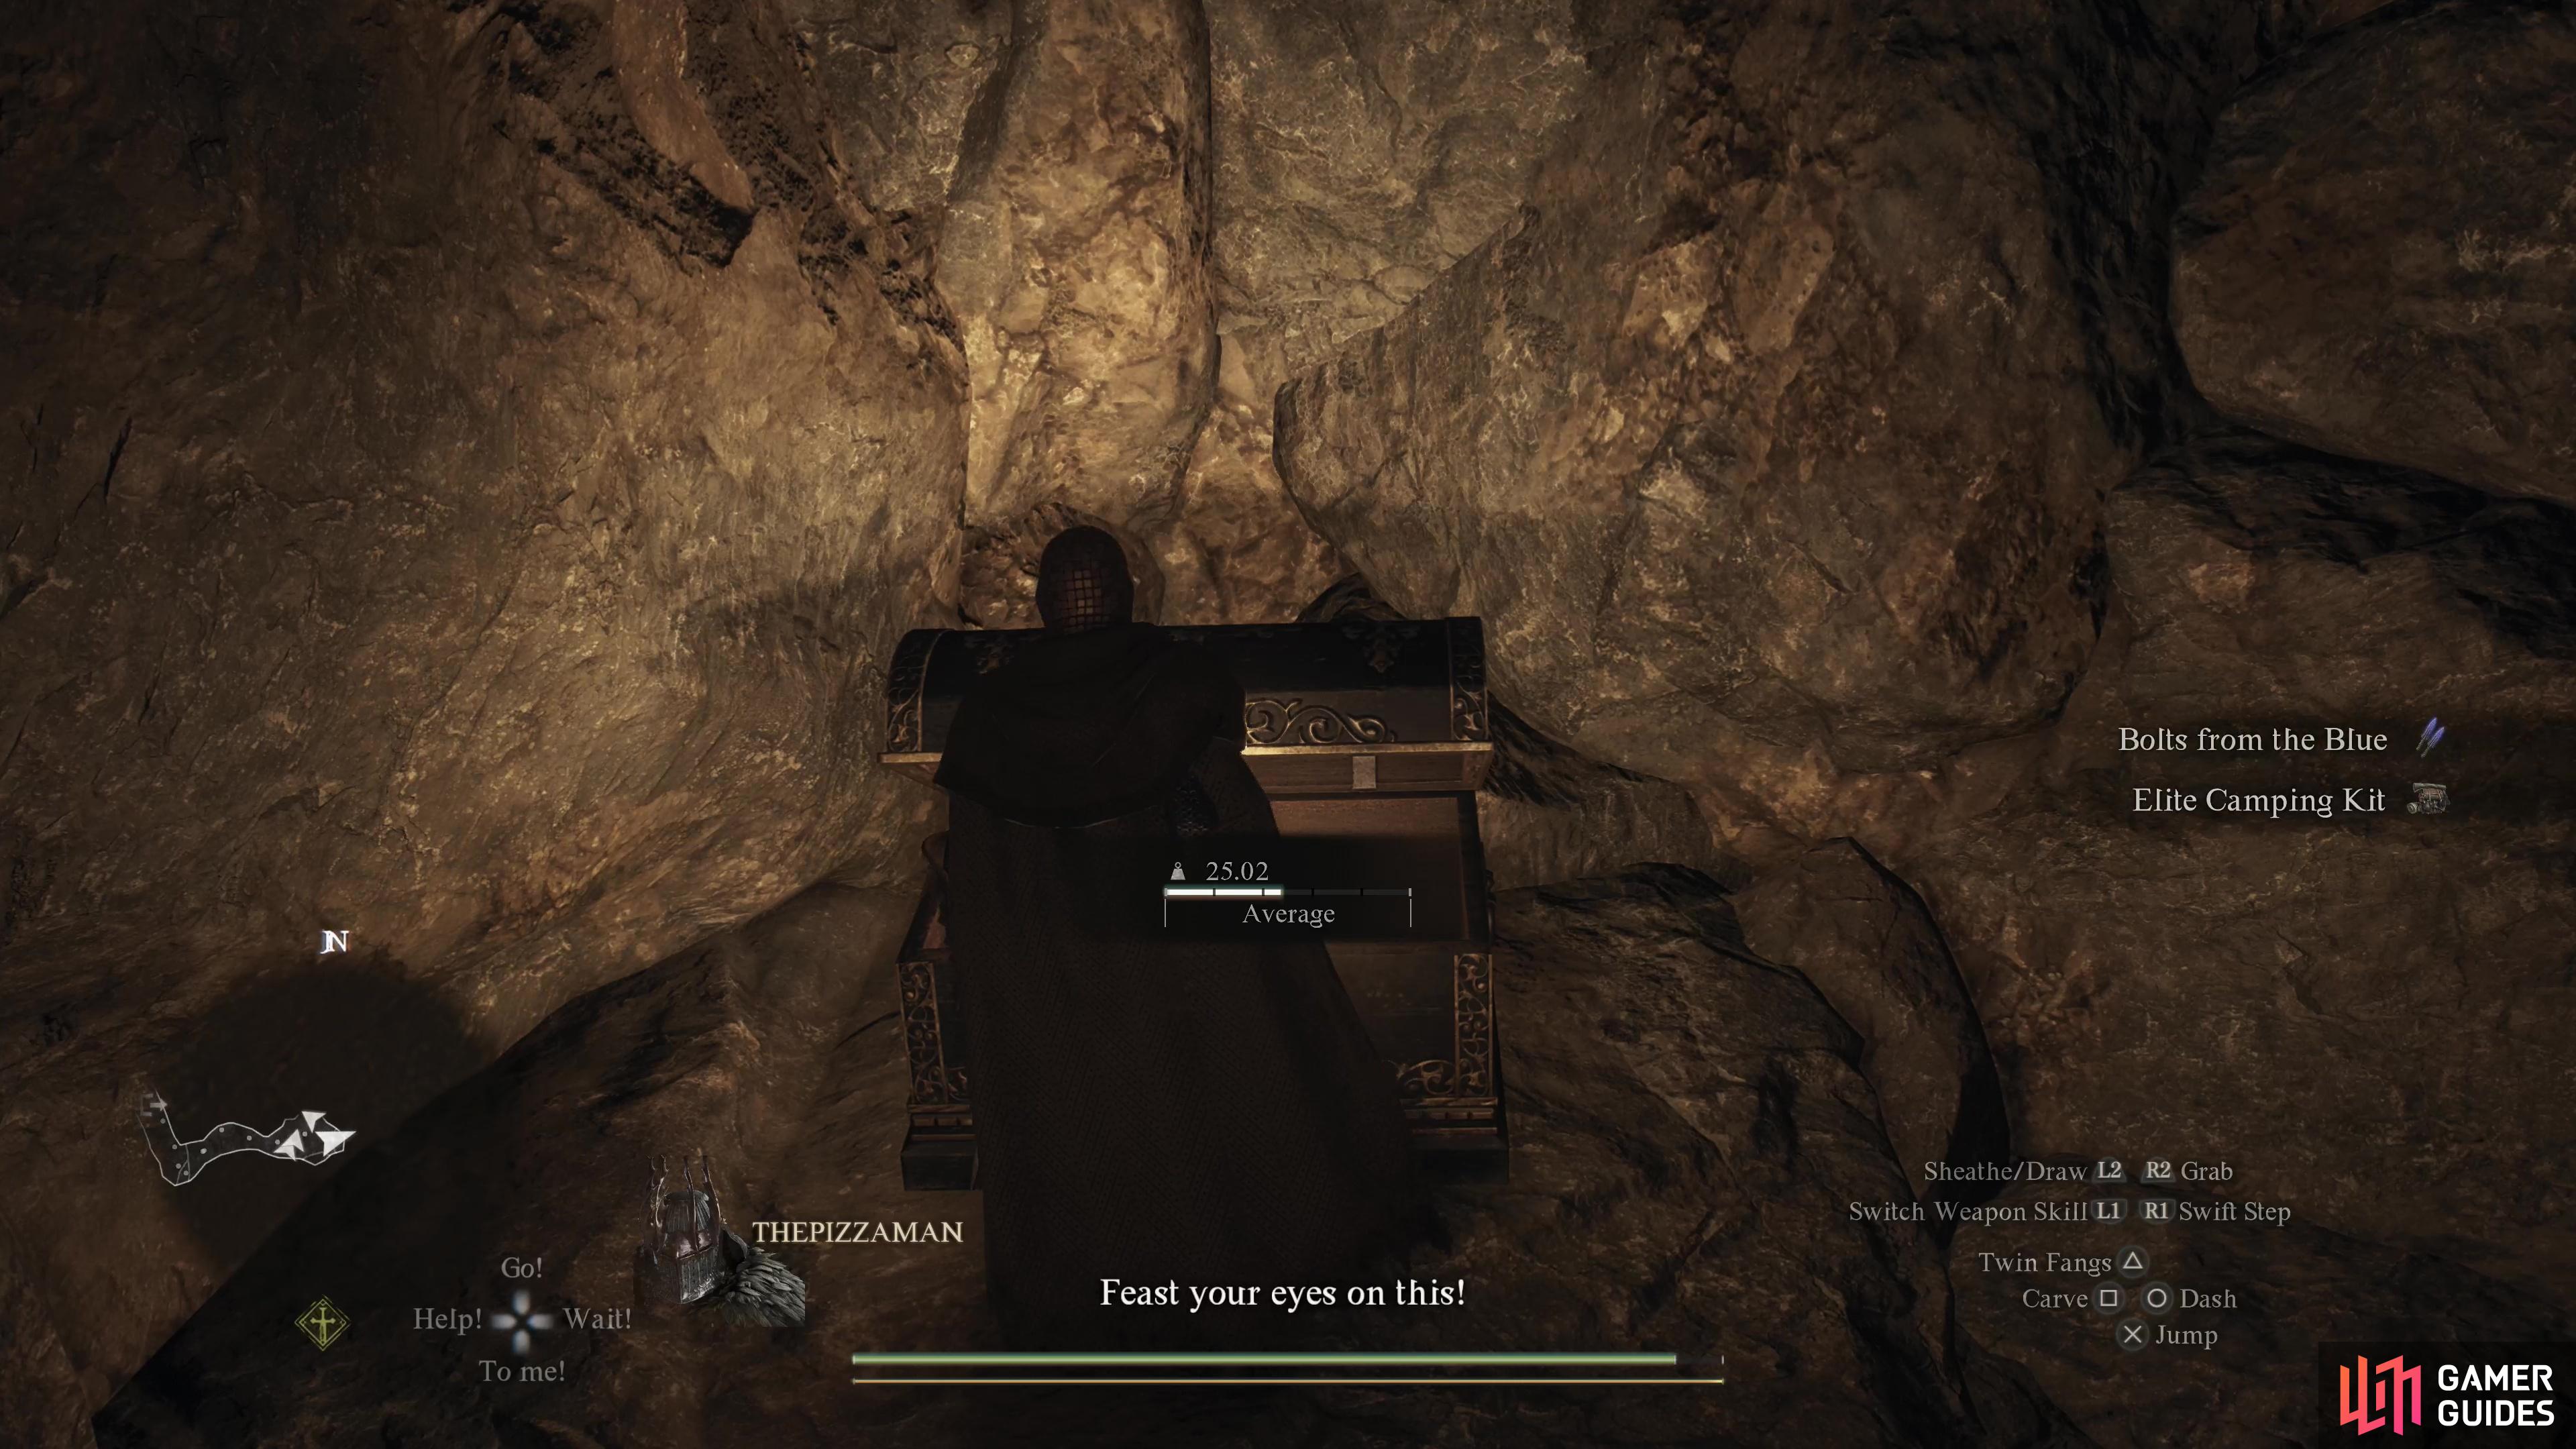
Slay your way south, then climb a ledge and work your way east until you find a chest in a cubby to the east. Inside you’ll find Bolts from the Blue, daggers with an electric enchantment that will help Thieves deal damage to nuisance enemies like ![]() Slimes,
Slimes, ![]() Oozes,
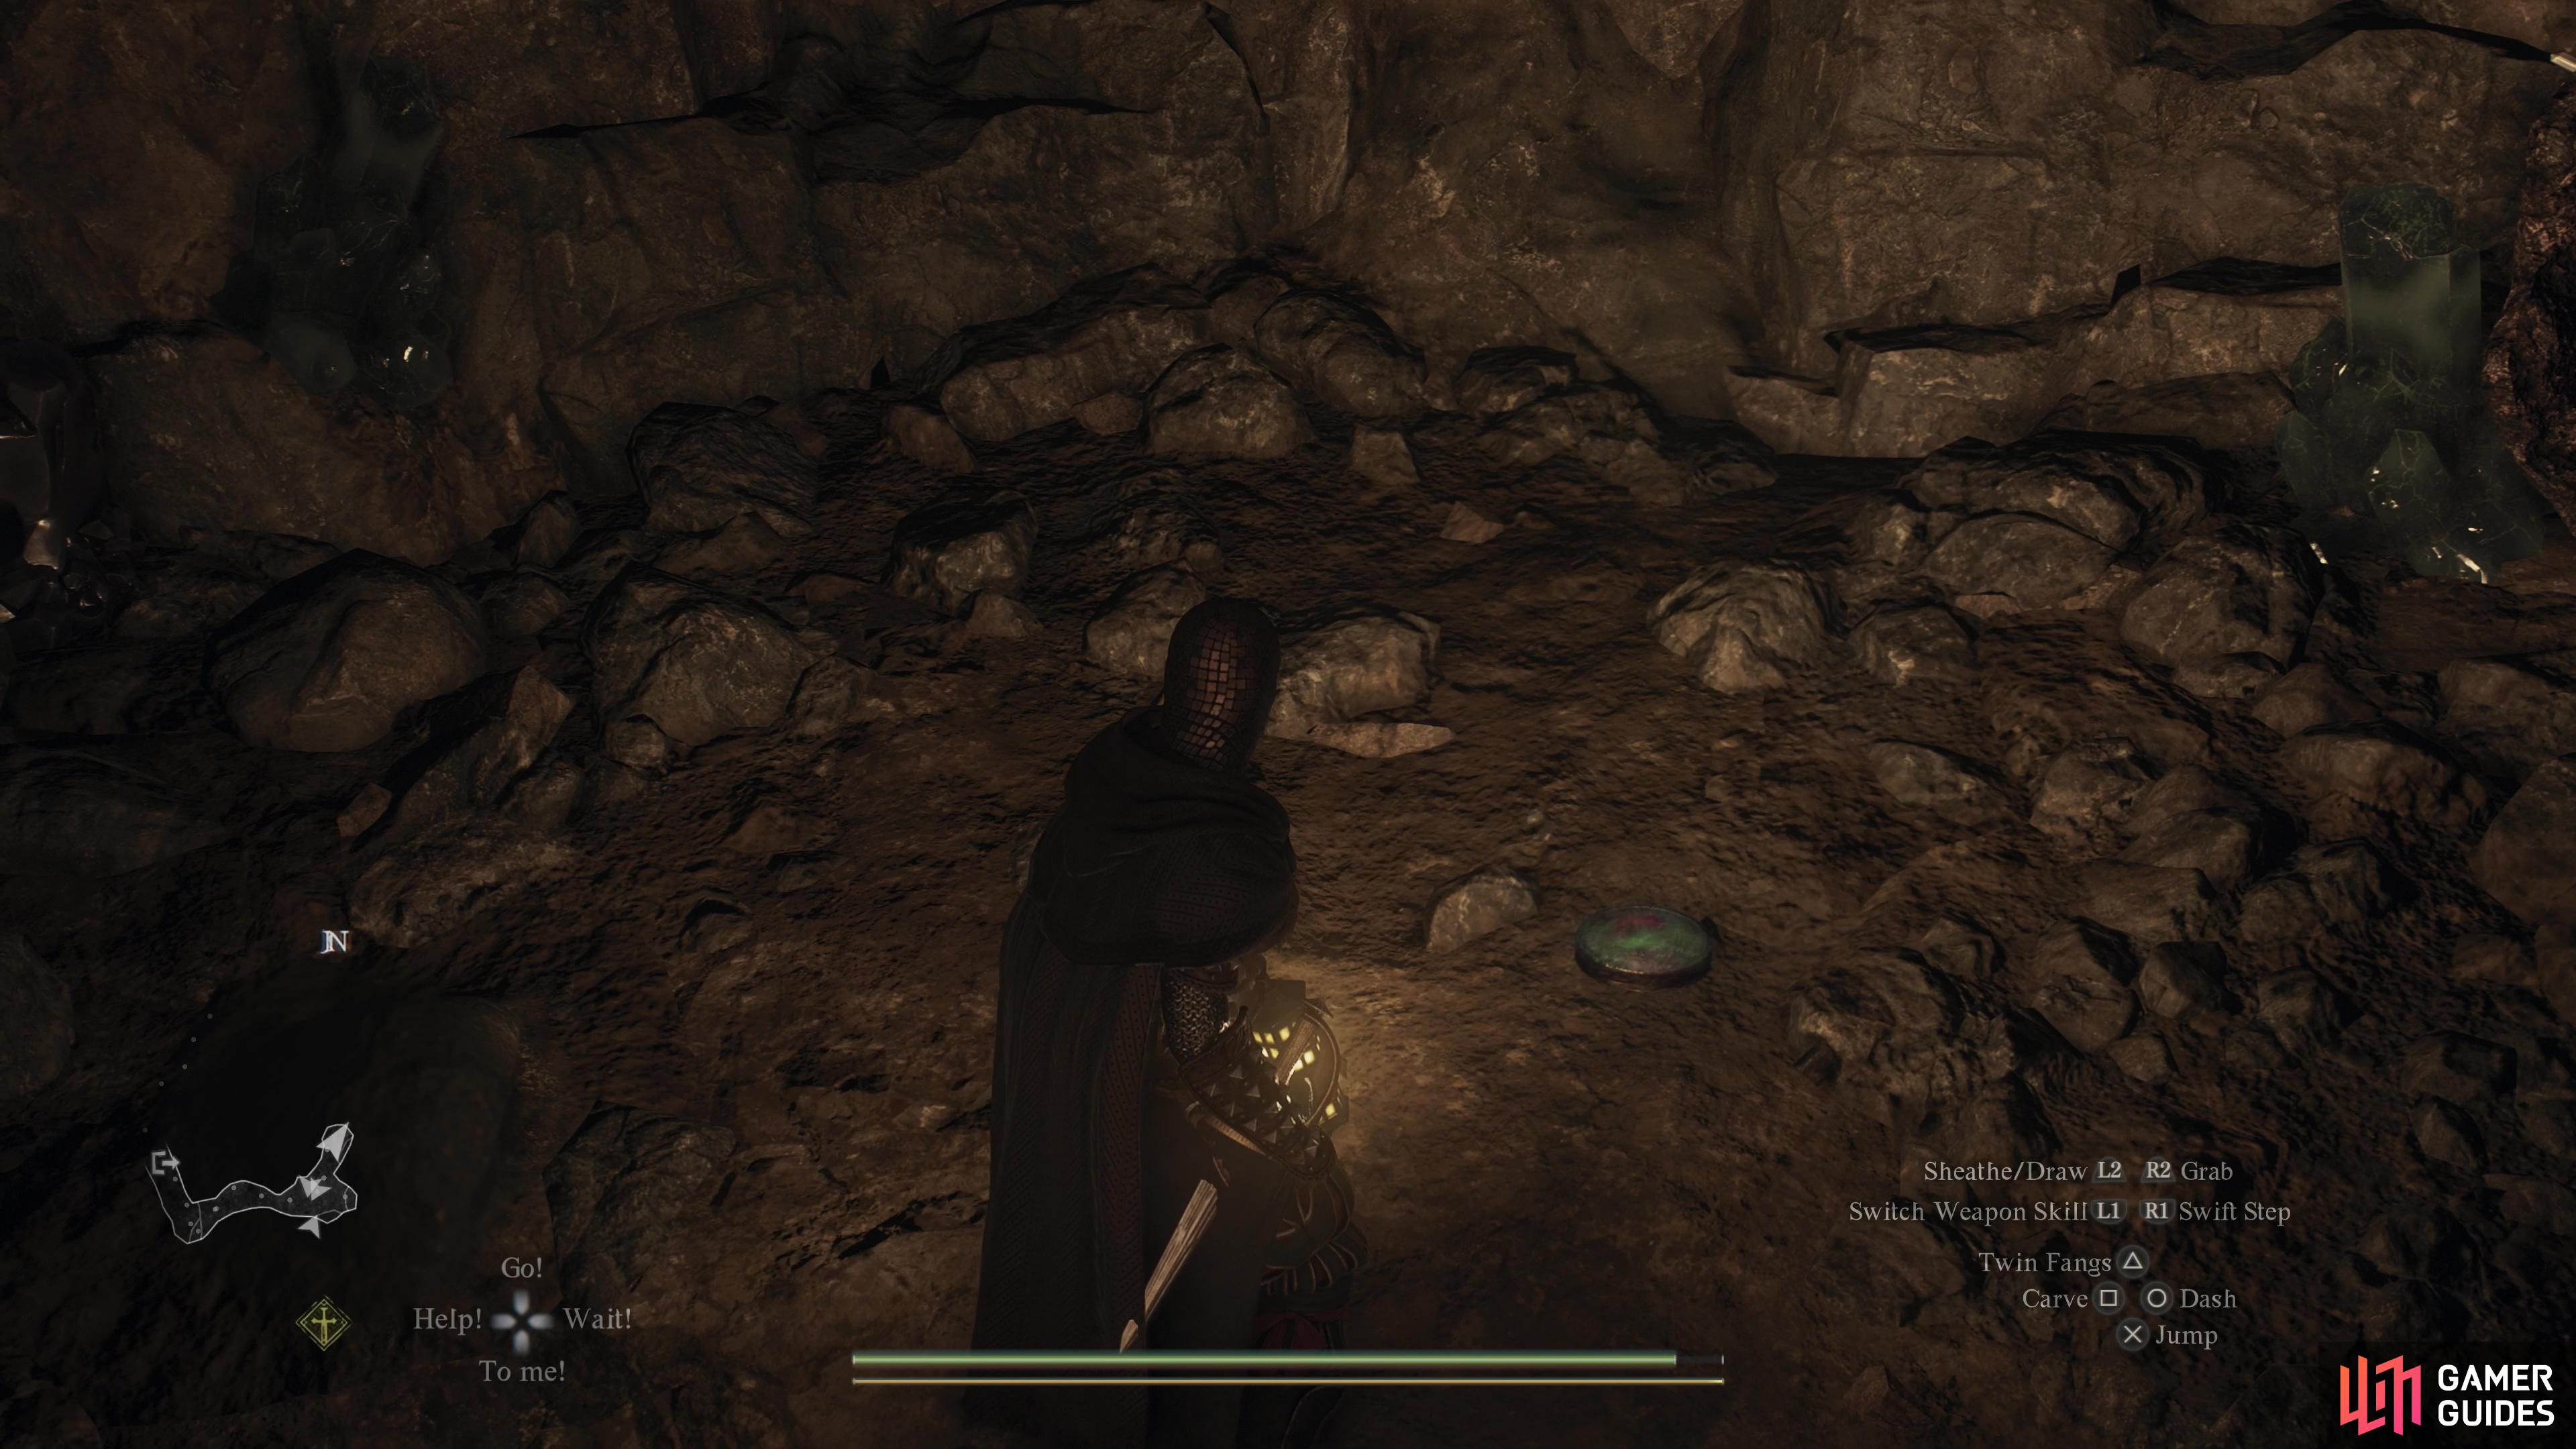
Oozes, ![]() Phantoms and other physical resistant or immune foes. They’re also very, very useful for beheading the medusa, which can help you complete the side quest A Case of Sculptor’s Block. Be on your guard when you loot them, though, as it seems to trigger more Rattlers to emerge from the cavern entrance, forcing you to fight your way out. While the Bolts from the Blue are the top prize from this dungeon, there are also plenty of ore seams you can exploit, which is nice bonus compensation. Finally, you can search the end of the cave - the part that veers northeast - to find a
Phantoms and other physical resistant or immune foes. They’re also very, very useful for beheading the medusa, which can help you complete the side quest A Case of Sculptor’s Block. Be on your guard when you loot them, though, as it seems to trigger more Rattlers to emerge from the cavern entrance, forcing you to fight your way out. While the Bolts from the Blue are the top prize from this dungeon, there are also plenty of ore seams you can exploit, which is nice bonus compensation. Finally, you can search the end of the cave - the part that veers northeast - to find a ![]() Seeker’s Token on the ground.
Seeker’s Token on the ground.

 Sign up
No Comments