
After you finish the main story in ![]() Dragon’s Dogma 2, you’ll find yourself in the post-game world of The Unmoored, provided you impaled yourself with the Godsway. When you awaken in the “new world”, you’ll be given a couple of quests, one to find your pawn (
Dragon’s Dogma 2, you’ll find yourself in the post-game world of The Unmoored, provided you impaled yourself with the Godsway. When you awaken in the “new world”, you’ll be given a couple of quests, one to find your pawn (![]() Dreams Apart), and the main quest,
Dreams Apart), and the main quest, ![]() Halls of the First Dawn. At first, the quest will send you to the
Halls of the First Dawn. At first, the quest will send you to the ![]() Seafloor Shrine to speak to Rothais, but once you’ve spoken to them, the entire shrine area will open up as a hub where you’ll get tasked to evacuate every region, and if you’re successful, the main citizens (shops, blacksmiths, etc.) will end up at the hub, which will come with its own
Seafloor Shrine to speak to Rothais, but once you’ve spoken to them, the entire shrine area will open up as a hub where you’ll get tasked to evacuate every region, and if you’re successful, the main citizens (shops, blacksmiths, etc.) will end up at the hub, which will come with its own ![]() Portcrystal. This quest, or rather the entire post-game, is timed, meaning that you’ll only have a certain amount of time to rescue the world before it gets engulfed by the red clouds. Read on to find out what you need to do to complete Hall of the First Dawn, and in which order you should tackle the quests that come from it.
Portcrystal. This quest, or rather the entire post-game, is timed, meaning that you’ll only have a certain amount of time to rescue the world before it gets engulfed by the red clouds. Read on to find out what you need to do to complete Hall of the First Dawn, and in which order you should tackle the quests that come from it.

Halls of the First Dawn begins when you reach The Unmoored World for the first time.
Visit the Seafloor Shrine
When the cutscene with the Pathfinder finishes, you’ll be left to your own devices. Alongside this quest, you’ll also get Dreams Apart, which involves getting your main pawn back, who has now disappeared, but you can find them in the ![]() Forbidden Magick Research Lab in
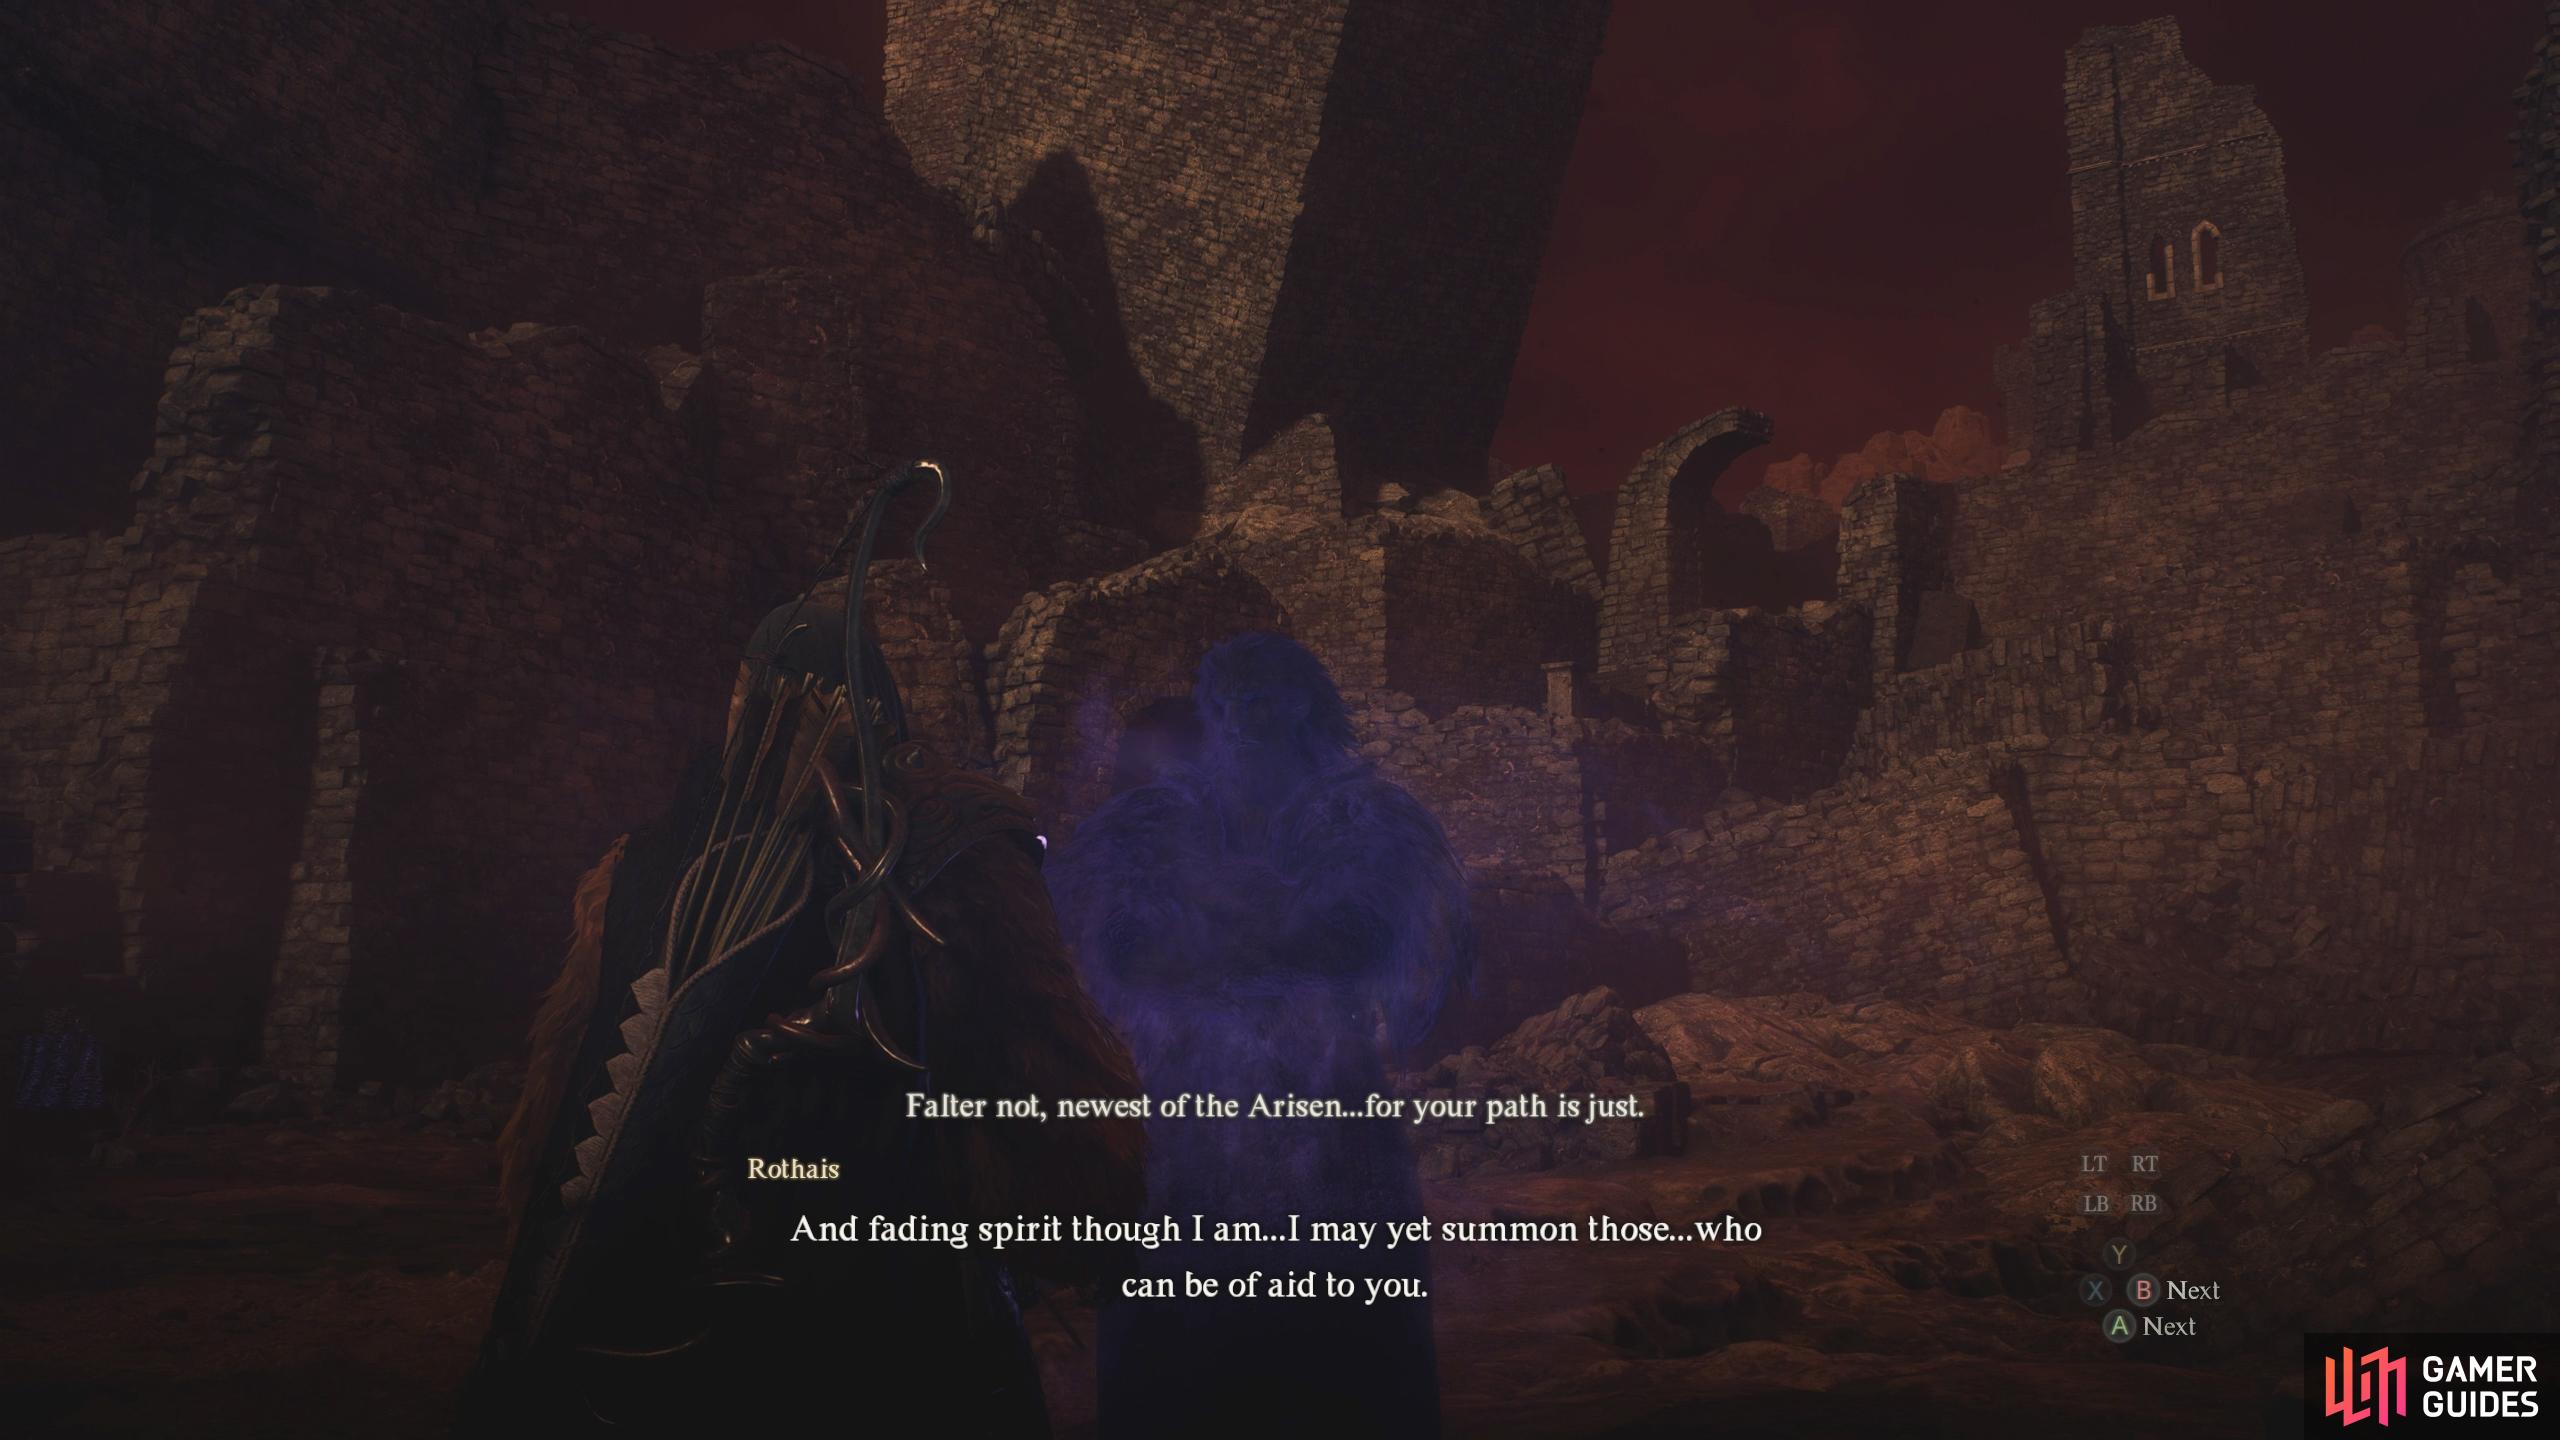
Forbidden Magick Research Lab in ![]() Bakbattahl. Before you get your pawn, head over to the Seafloor Shrine, as you’re somewhat near it anyway. Simply follow the path east, and you’ll end up at the shrine shortly. When you reach the shrine, head toward the blue pillar of light in the center to find Rothais. After a short scene with Rothais, you’ll get another with vocation trainers such as
Bakbattahl. Before you get your pawn, head over to the Seafloor Shrine, as you’re somewhat near it anyway. Simply follow the path east, and you’ll end up at the shrine shortly. When you reach the shrine, head toward the blue pillar of light in the center to find Rothais. After a short scene with Rothais, you’ll get another with vocation trainers such as ![]() Luz (
Luz (![]() Trickster),
Trickster), ![]() Sigurd (
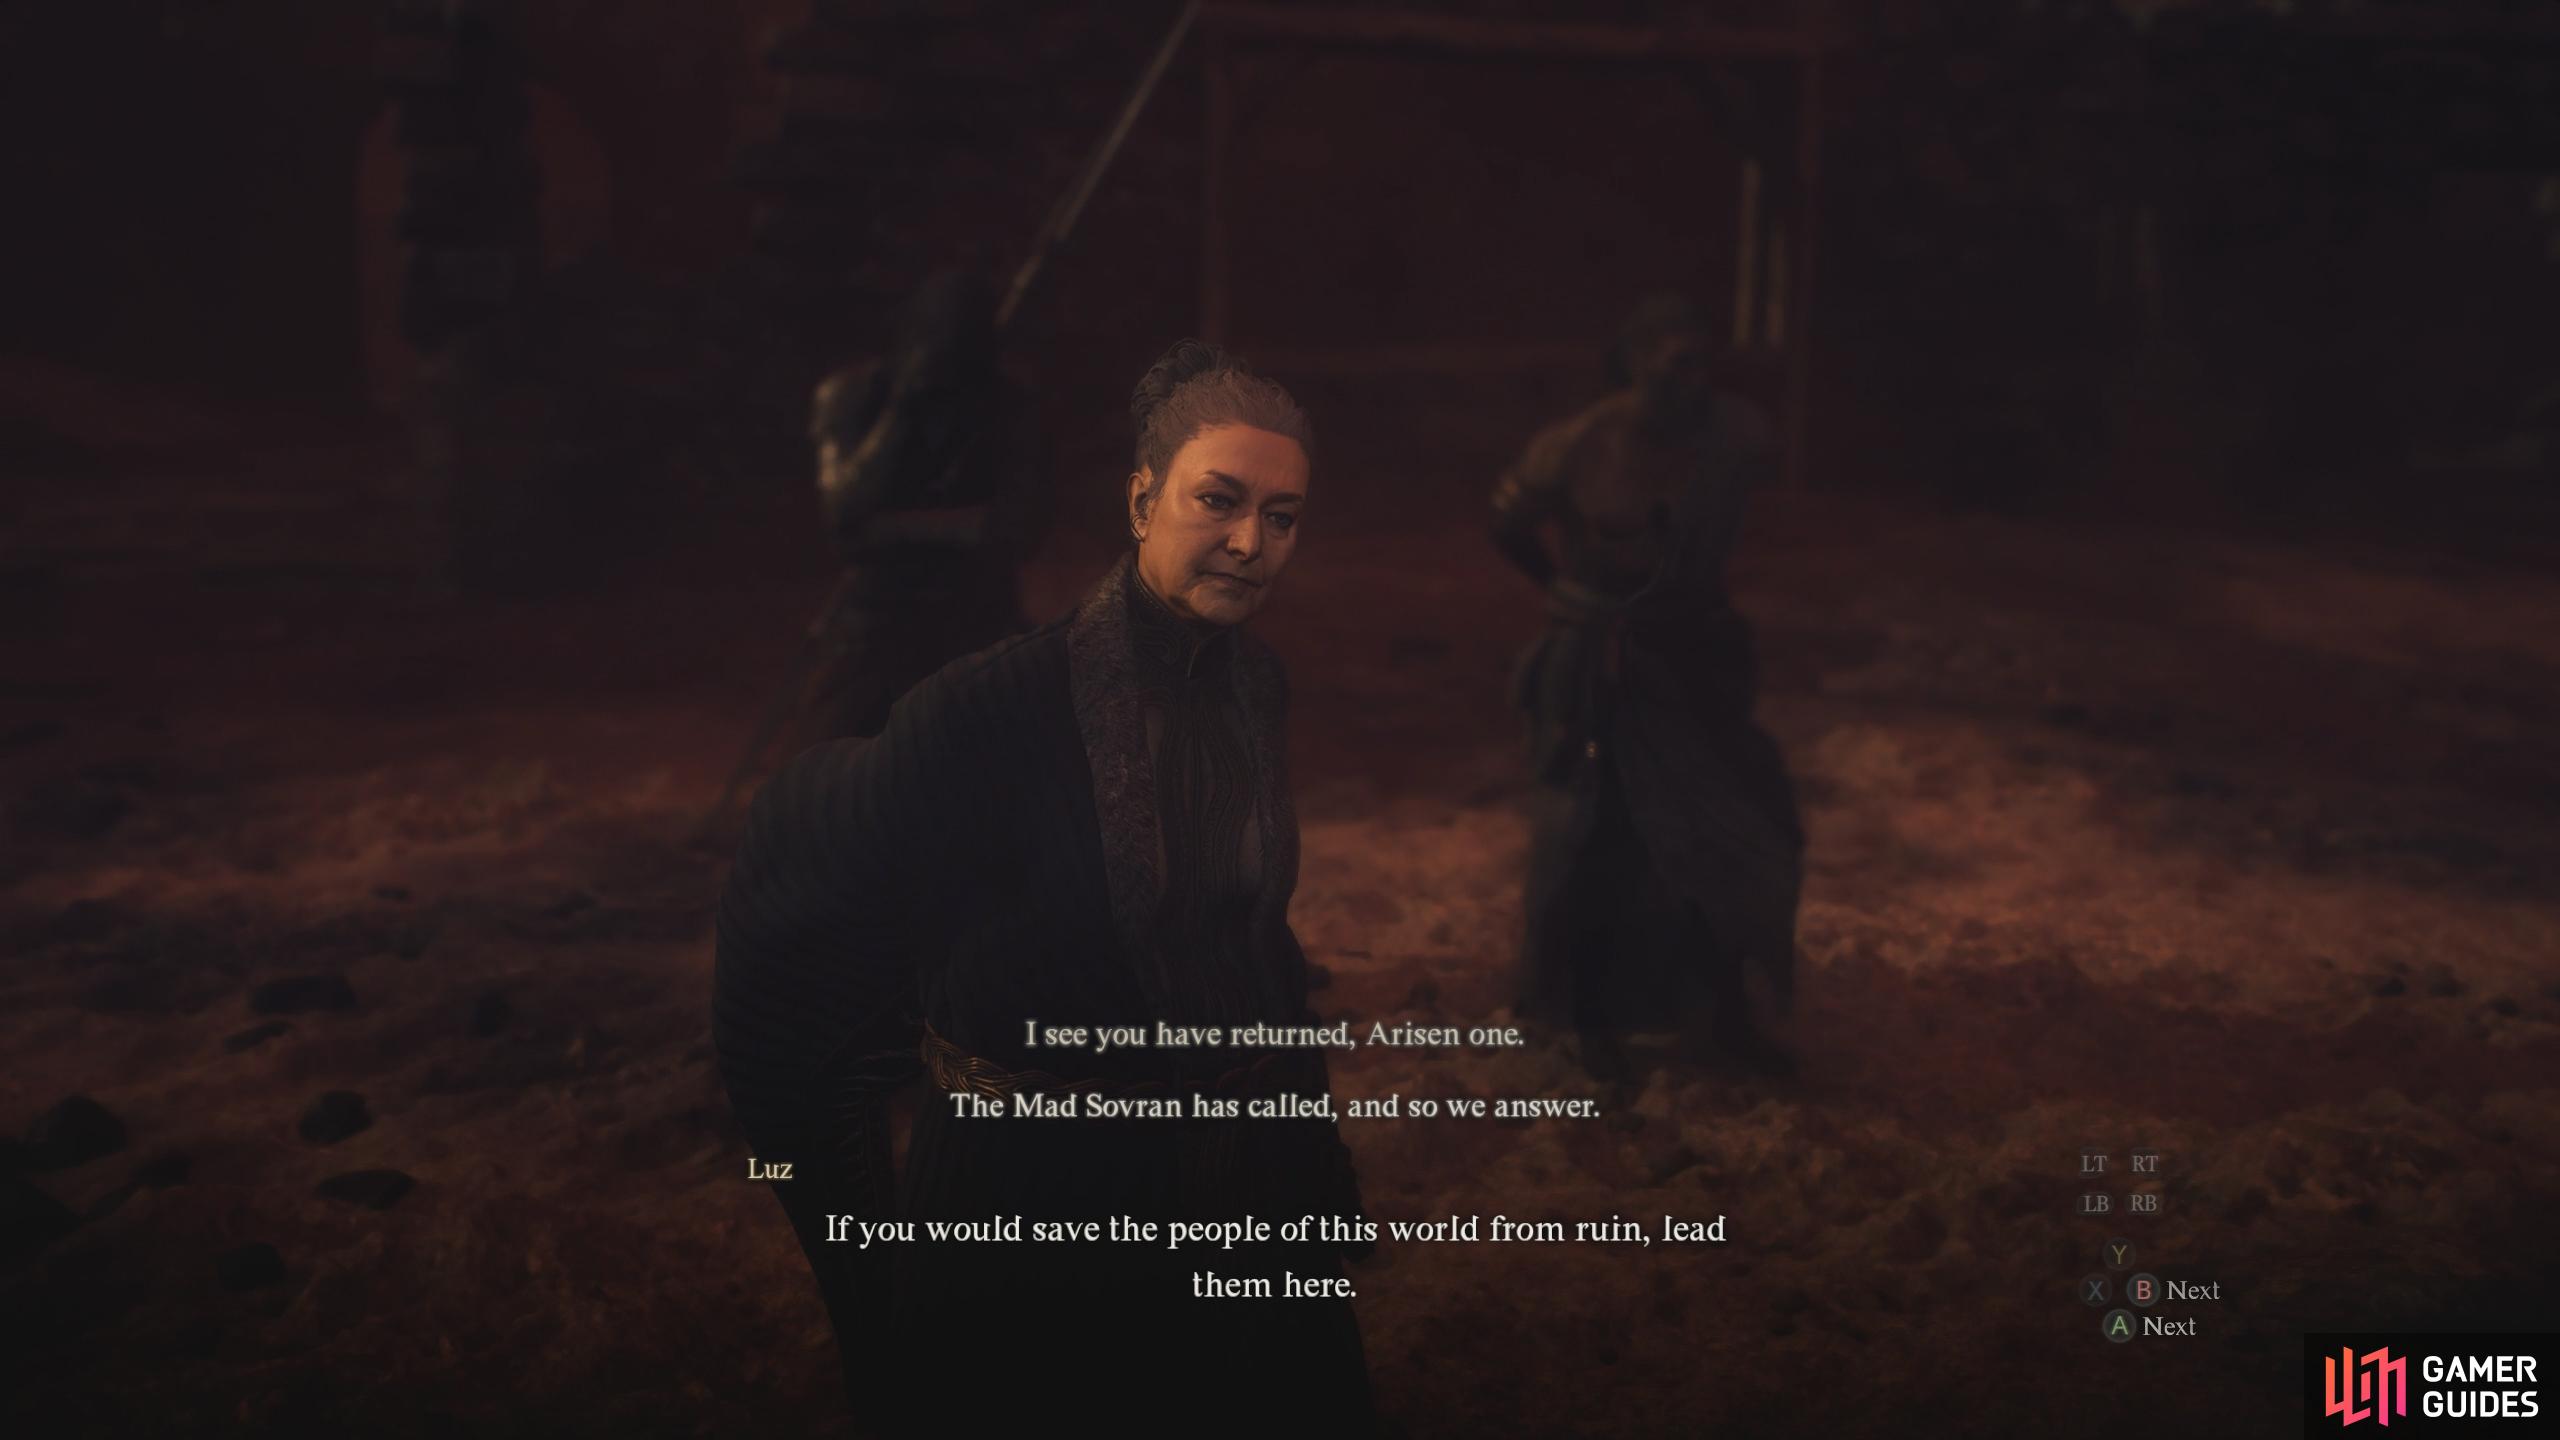
Sigurd (![]() Mystic Spearhand), and the rest of them. Luz will tell you that if you want to save the people, lead them here.
Mystic Spearhand), and the rest of them. Luz will tell you that if you want to save the people, lead them here.
Now, you can do the evacuation quests without starting this quest, but if you did, you’ll need to go back to the areas you’ve evacuated to send them back here, which is why we recommended starting this quest first. After all the scenes, your quest will update to “Lead the Evacuation”. From this point forward, you will have to go to each region, complete their respective quests, and send them back to the shrine, which will expand when you fill it up with more people. This can be done in any order but due to you being on a time limit, you may want to do them in terms of where the red clouds on the map are nearest to. The time limit appears to be generous, so you don’t need to worry too much about it but remember that there is one. If you need to rest at any time in The Unmoored, make sure you do it at the bed in the Seafloor Shrine as time won’t pass here.
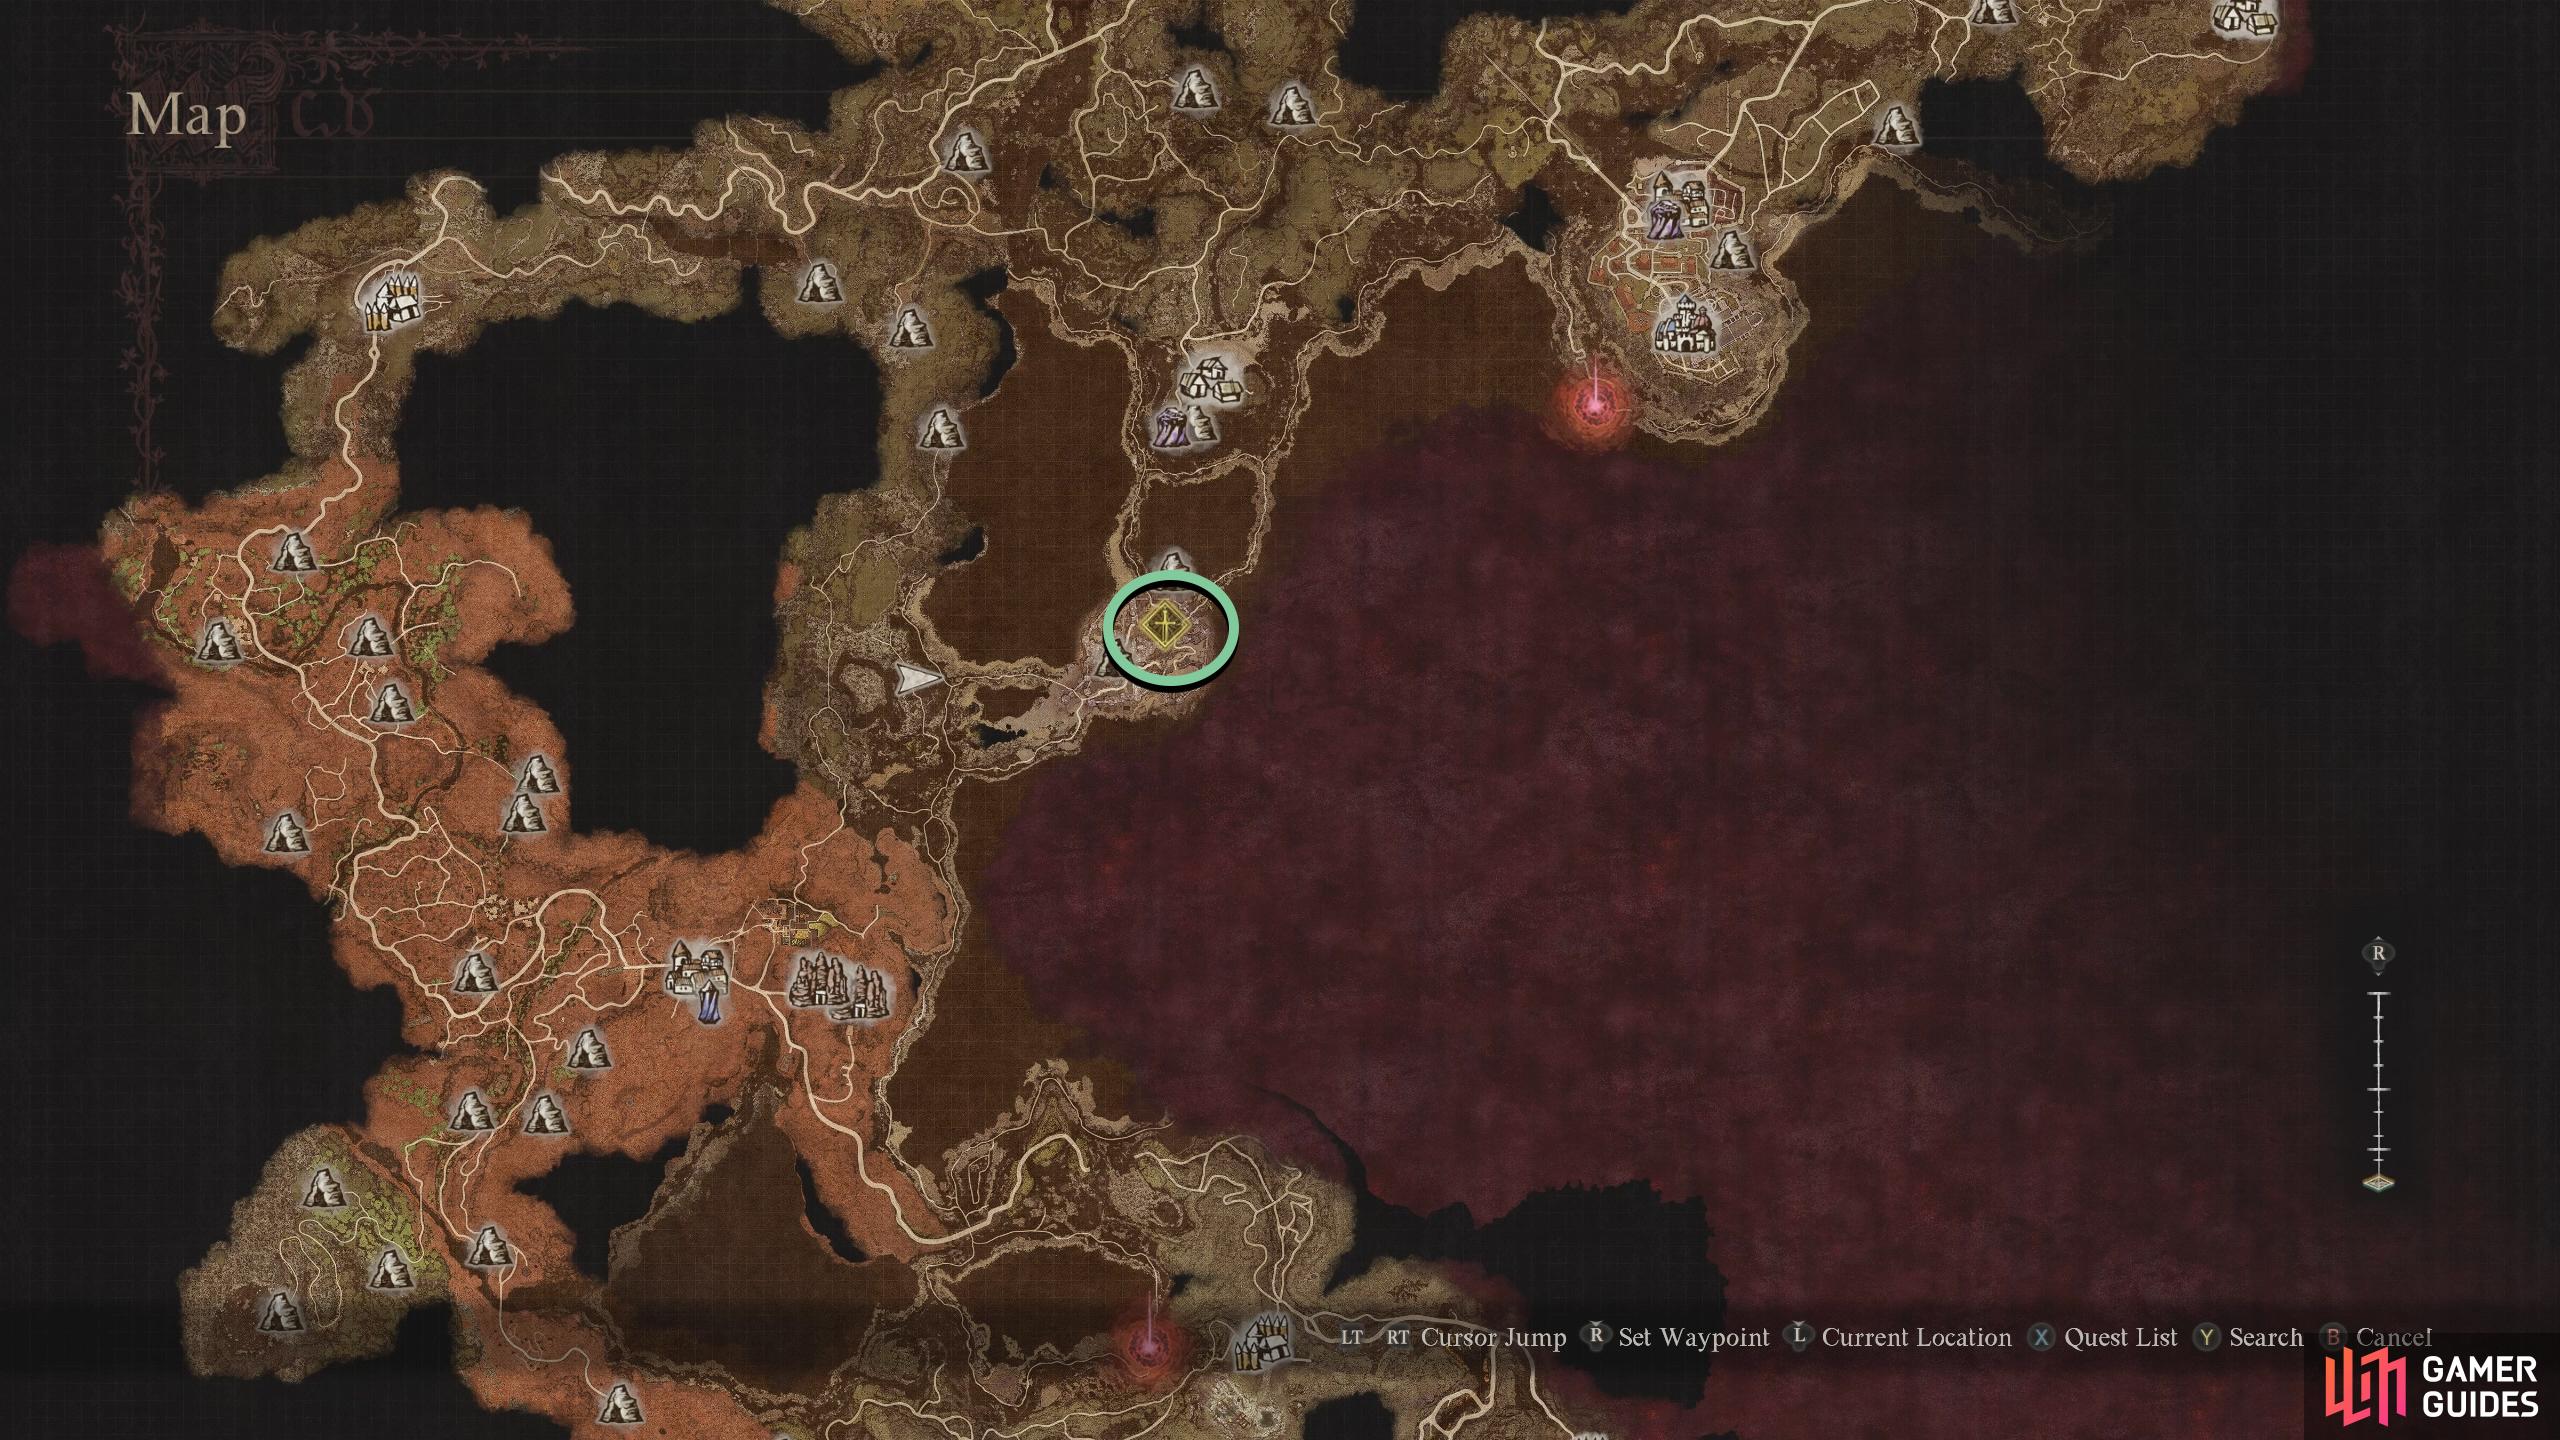
(1 of 2) The Seafloor Shrine can be found in the center of the map, south of Harve Village.
The Seafloor Shrine can be found in the center of the map, south of Harve Village. (left), When you get there, speak to Rothais to begin evacuation of the regions. (right)
Lead the Evacuation
Here is the order we recommend you evacuate the regions, although this is to be safer more than anything else, and you can most likely do it in any order. You’ll be heading to Bakbattahl first, then Island Volcanic Camp, ![]() Excavation Site, back up to
Excavation Site, back up to ![]() Vernworth, and finally,
Vernworth, and finally, ![]() Sacred Arbor. There are six quests in total, seven if you include Dreams Apart, although it’s not related to the main quest, you’ll still want to do it if you want your partner in crime back. For this reason, head to Bakbattahl first, go to the Forbidden Magick Research Lab and then make your way to Phaeus’ chambers on the first floor where you’ll find your pawn.
Sacred Arbor. There are six quests in total, seven if you include Dreams Apart, although it’s not related to the main quest, you’ll still want to do it if you want your partner in crime back. For this reason, head to Bakbattahl first, go to the Forbidden Magick Research Lab and then make your way to Phaeus’ chambers on the first floor where you’ll find your pawn.
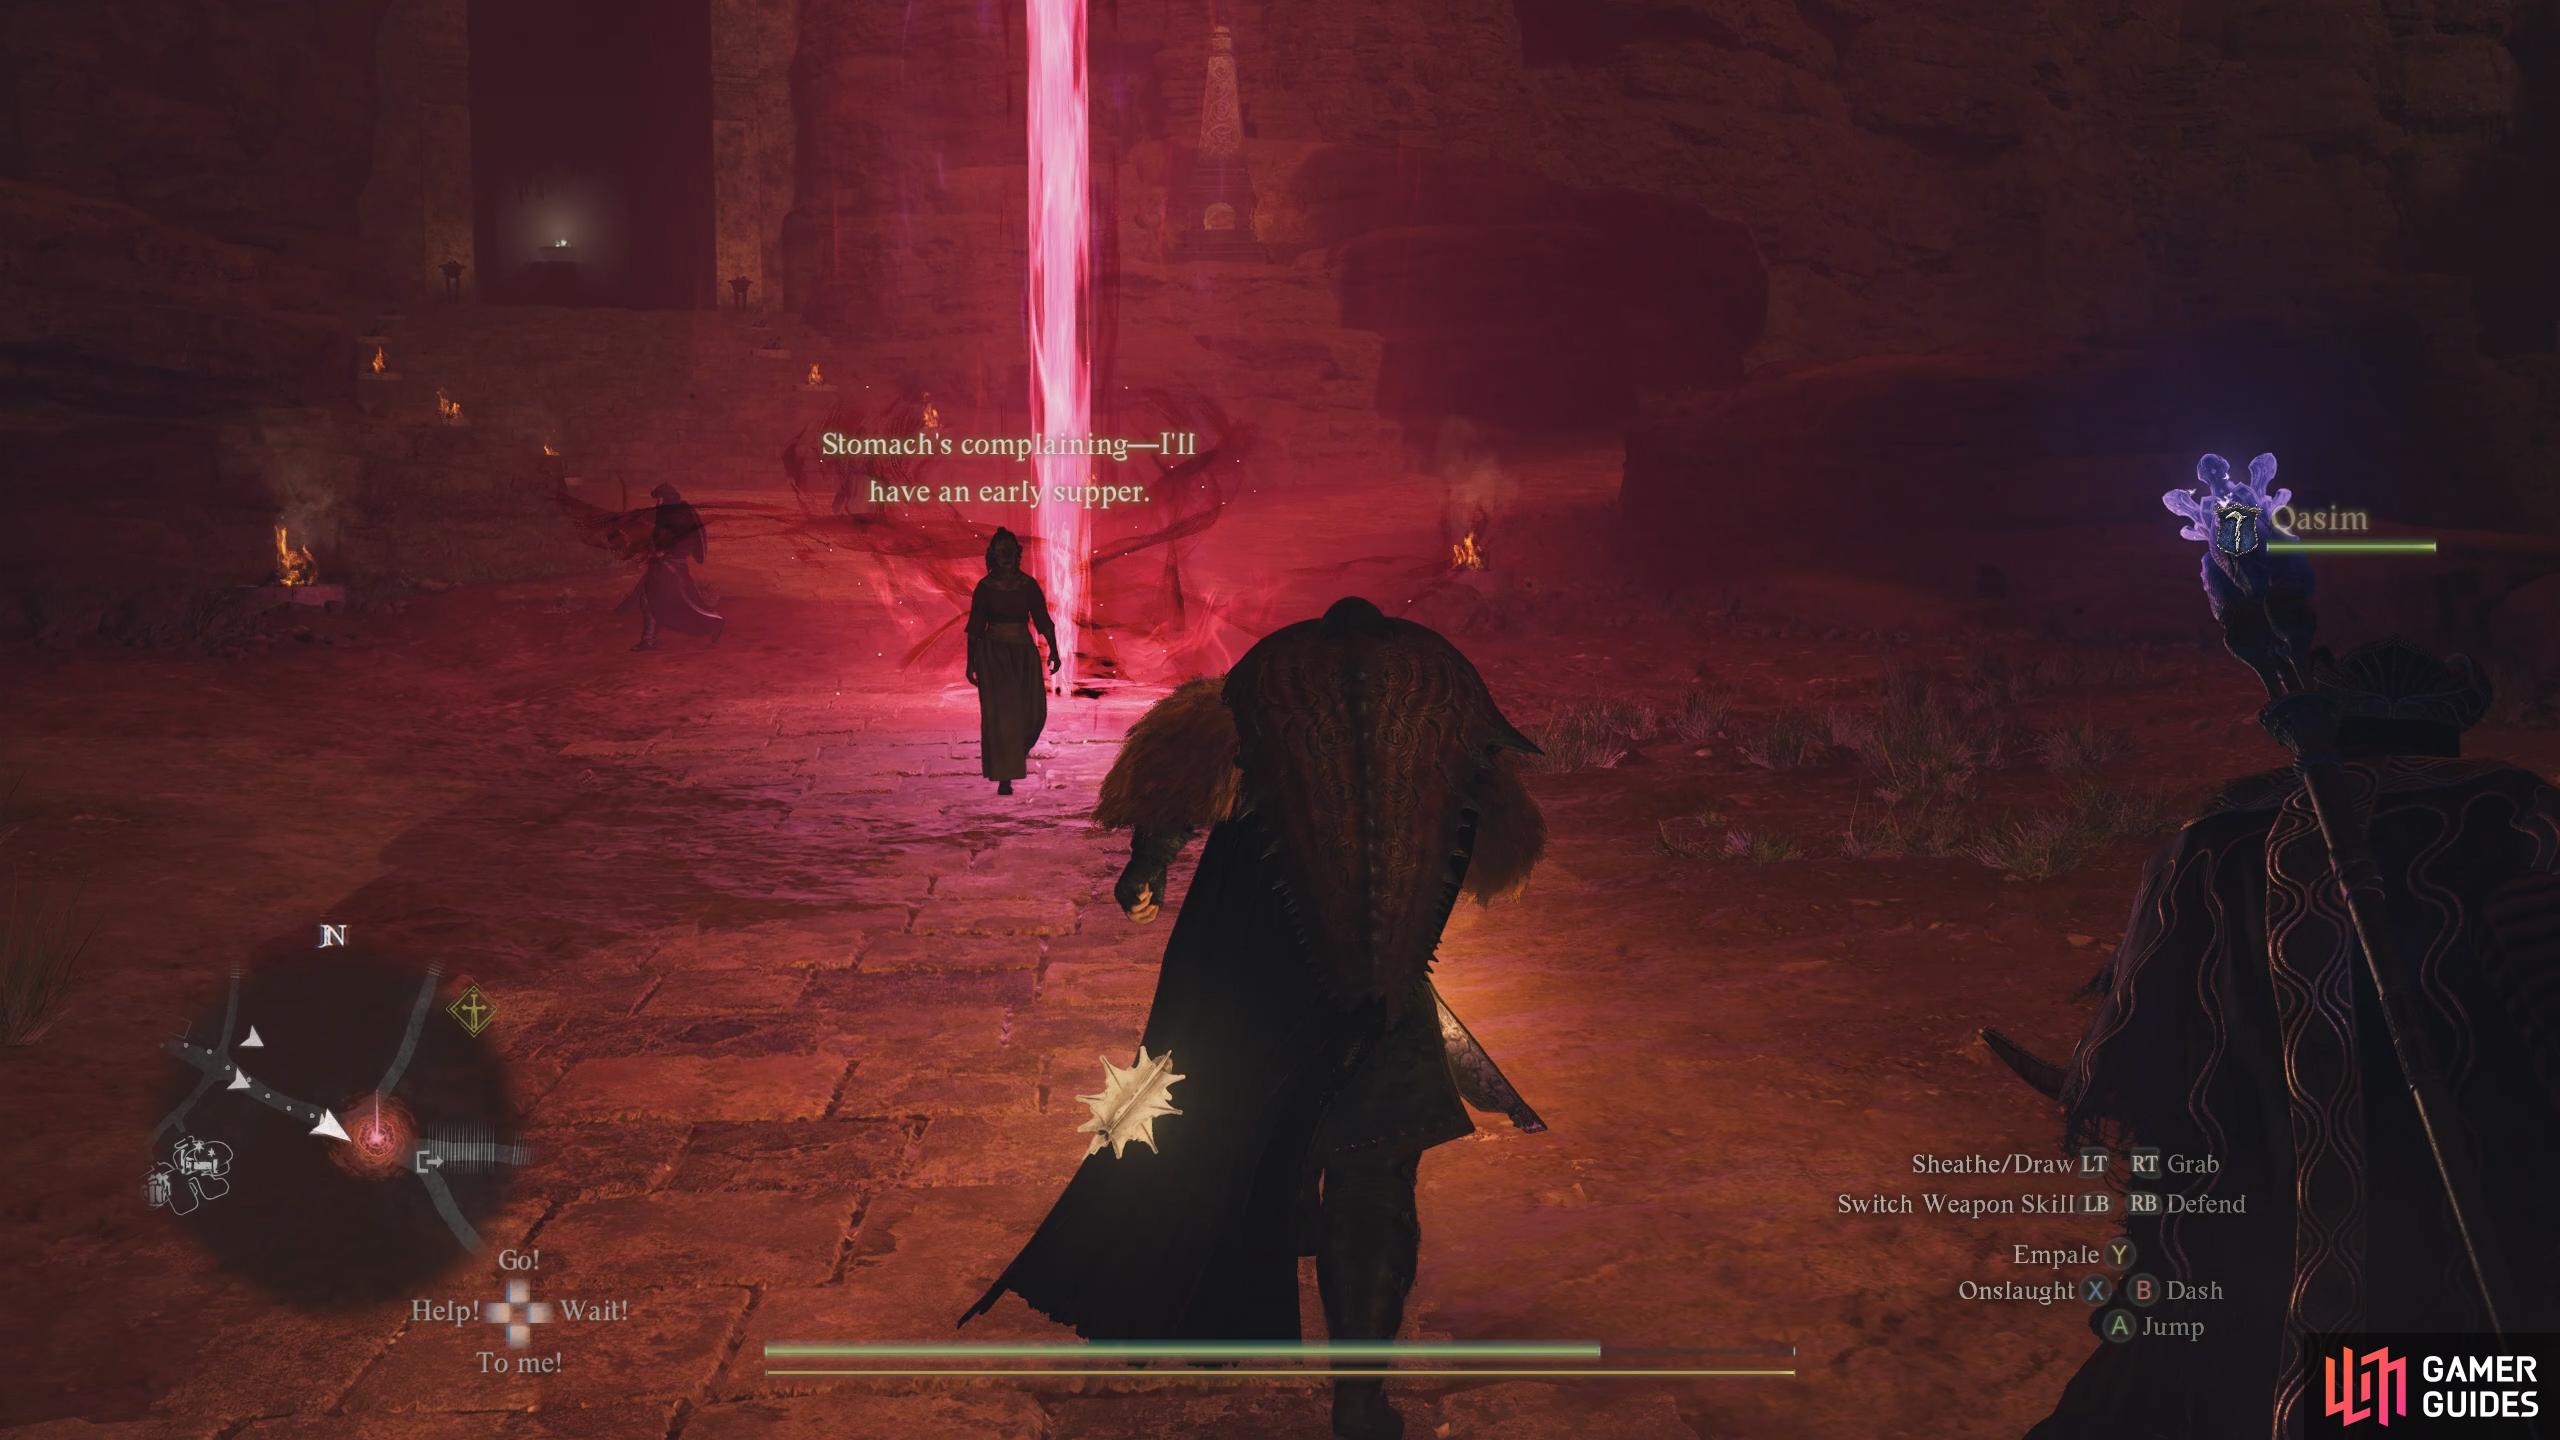
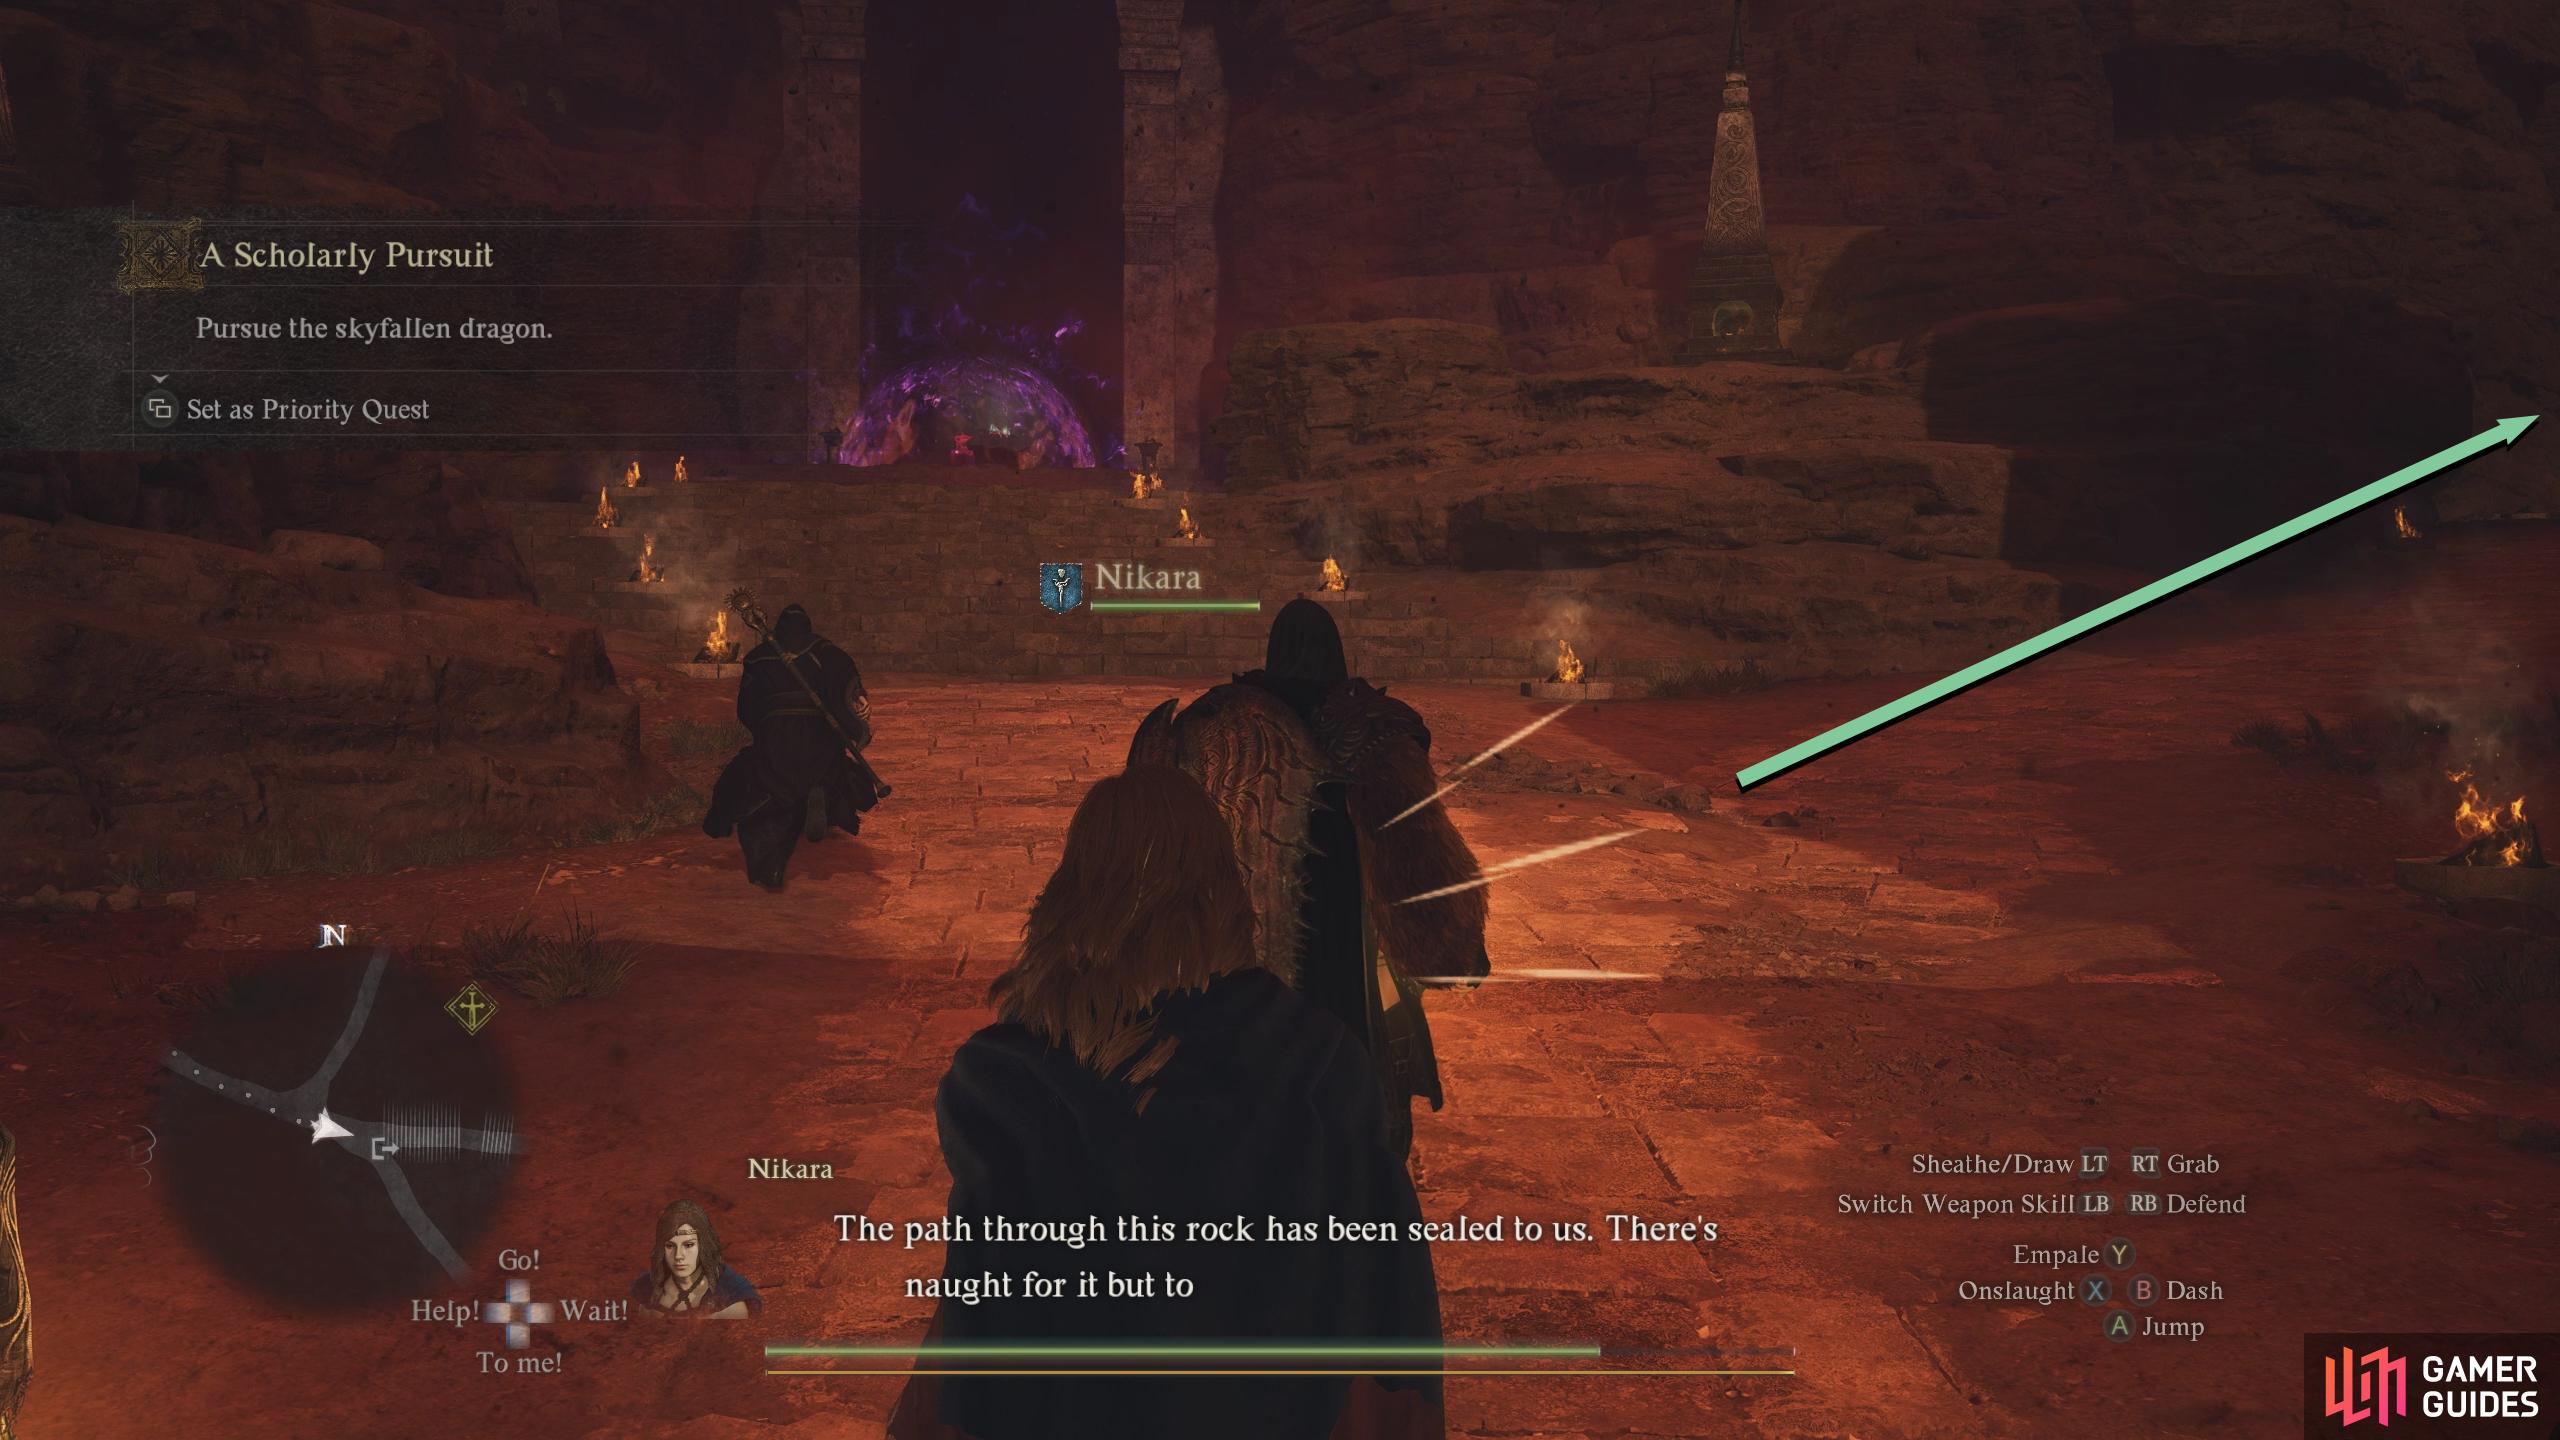
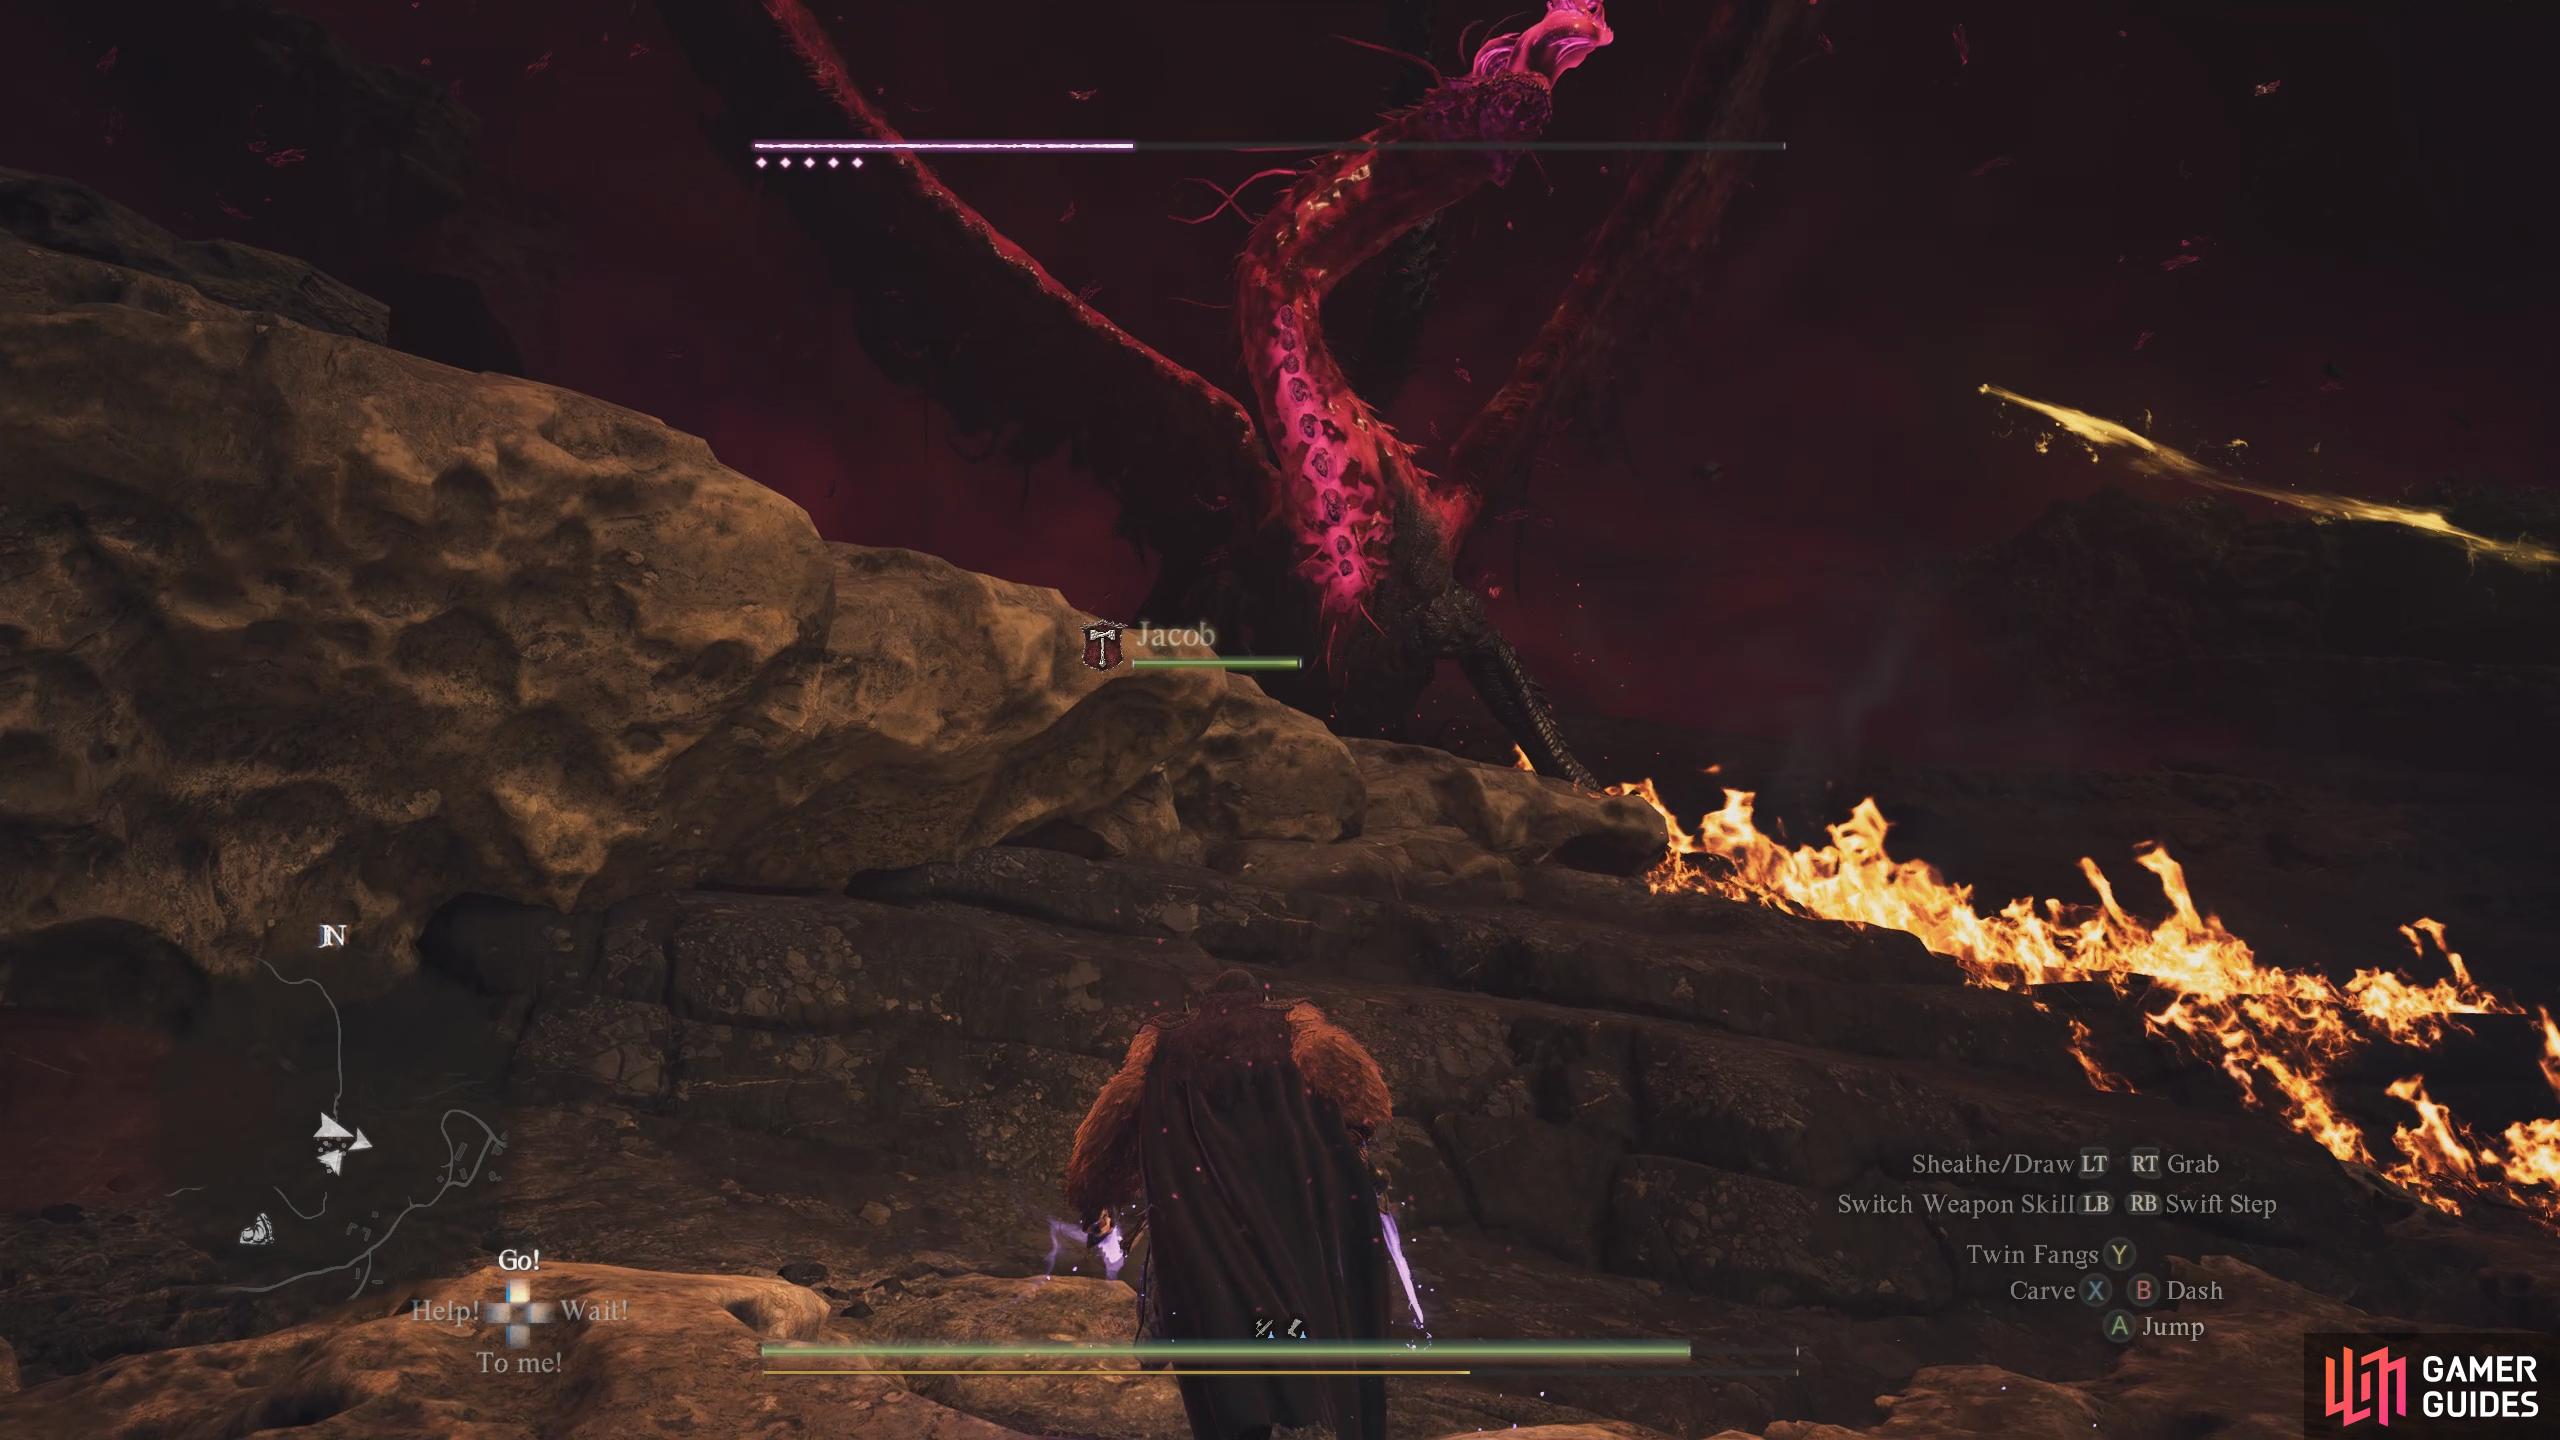
As you approach the Research Lab, you’ll want to start the “![]() A Scholarly Pursuit” quest, which is an introduction to the Purgerner battles with this particular one tasking you to defeat the Battahl Purgener. As you’ll need to do this eventually anyway, and you may as well complete two objectives while you’re there. Simply, head to the pillar of light, draw your Godsway, and that’ll spawn the “battle”. You can find this on the way to the lab. Fortunately, this is more of a gimmick battle than a real one as all you need to do is reach the dragon before you die from its attacks, which are easily avoided provided you keep moving. Note, this isn’t an evacuation quest, but it is one of the five red pillars of light, each with its battle that you’ll want to do while you are in each area.
A Scholarly Pursuit” quest, which is an introduction to the Purgerner battles with this particular one tasking you to defeat the Battahl Purgener. As you’ll need to do this eventually anyway, and you may as well complete two objectives while you’re there. Simply, head to the pillar of light, draw your Godsway, and that’ll spawn the “battle”. You can find this on the way to the lab. Fortunately, this is more of a gimmick battle than a real one as all you need to do is reach the dragon before you die from its attacks, which are easily avoided provided you keep moving. Note, this isn’t an evacuation quest, but it is one of the five red pillars of light, each with its battle that you’ll want to do while you are in each area.
(1 of 2) At the shrine, one of the maisters, Luz will suggest you evacuate the regions while you still have time.
At the shrine, one of the maisters, Luz will suggest you evacuate the regions while you still have time. (left), Head to the pillar of light near the Forbidden Magick Research Lab to start the Bakbattahl Purgener. (right)
Battahl Purgener Fight
For the A Scholarly Pursuit quest, follow the path to the right while avoiding the meteors thrown in your general direction from the dragon, and continue to follow the path that is made obvious due to the rock blocking off specific paths. Eventually, you’ll come behind the dragon, and that will finish the “battle”. A few scenes will follow, and then you’ll regain control. Now, continue to Phaesus’ chambers in the research lab to complete the Dreams Apart quest, and reclaim your pawn, which will complete the Dreams Apart quest. Onto the evacuations, as you’re in Bakbattahl, it makes sense that you evacuate their people first.
(1 of 2) The Bakbattahl Purgener is the only boss fight you don’t actively fight. Instead, you’ll need to reach it from behind.
The Bakbattahl Purgener is the only boss fight you don’t actively fight. Instead, you’ll need to reach it from behind. (left), Follow the path right of the dragon, and continue following it until you get behind it. (right)
Civil Unrest - Bakbattahl Evacuation
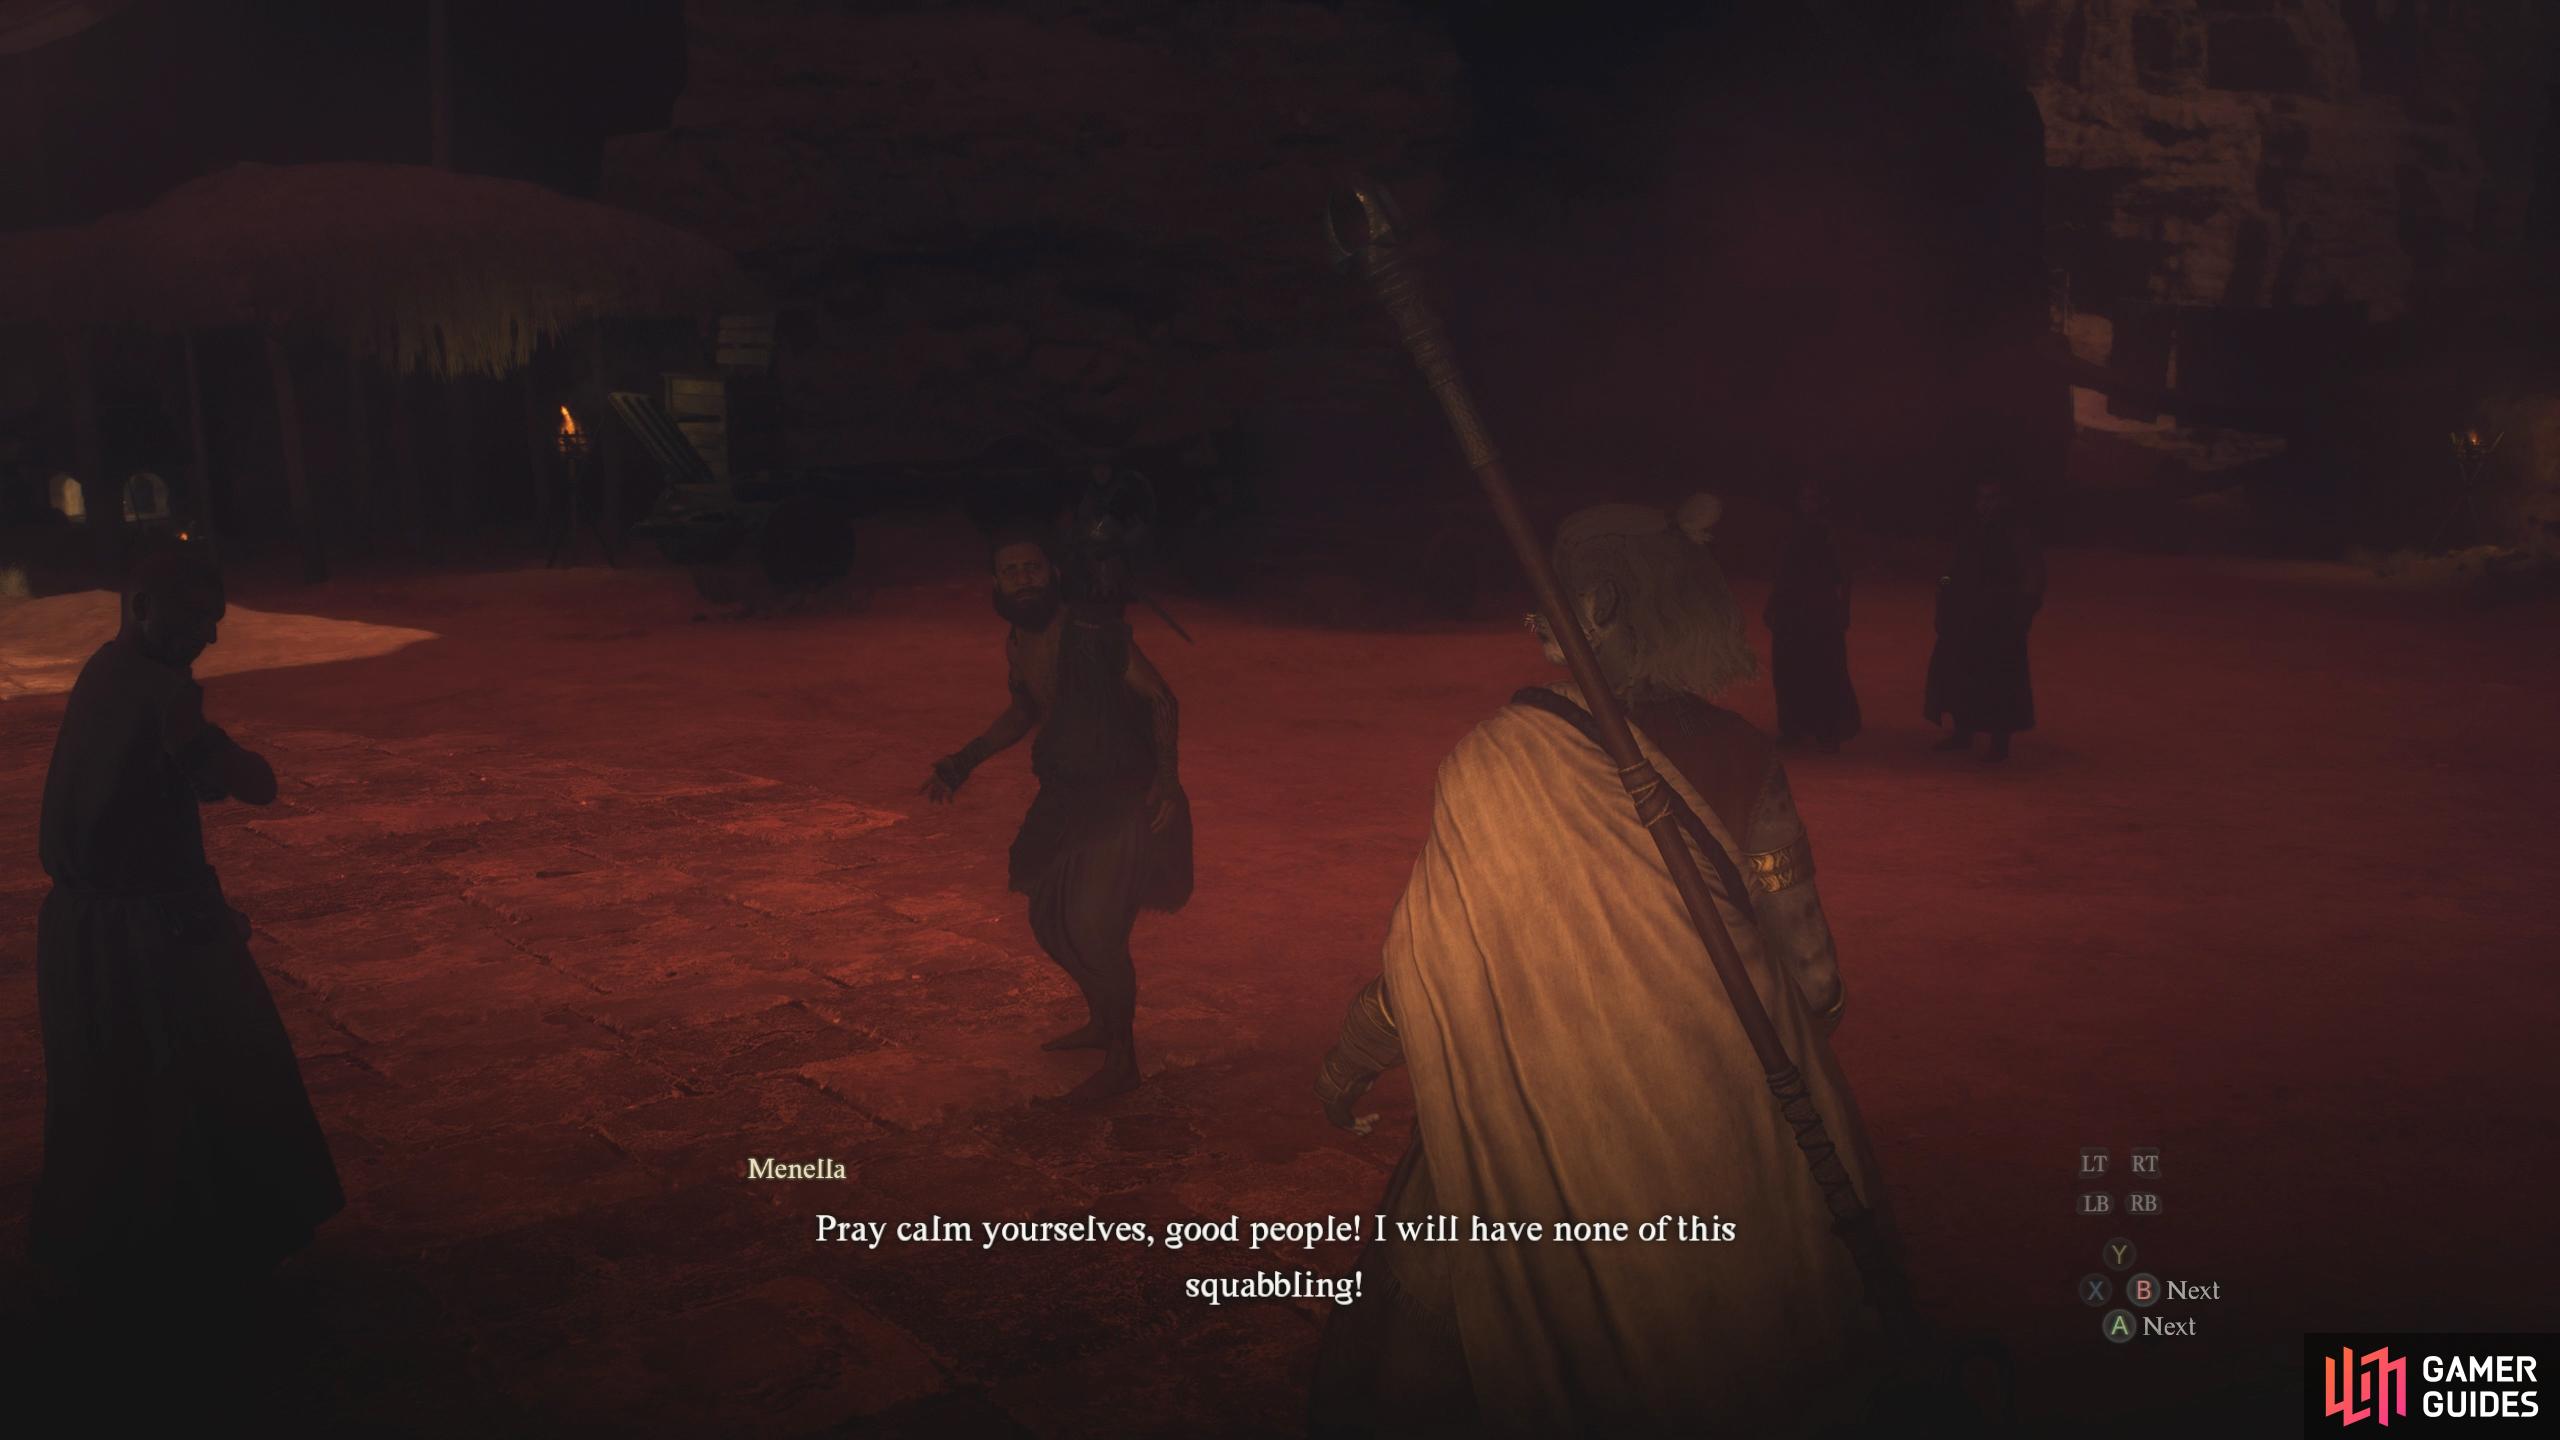
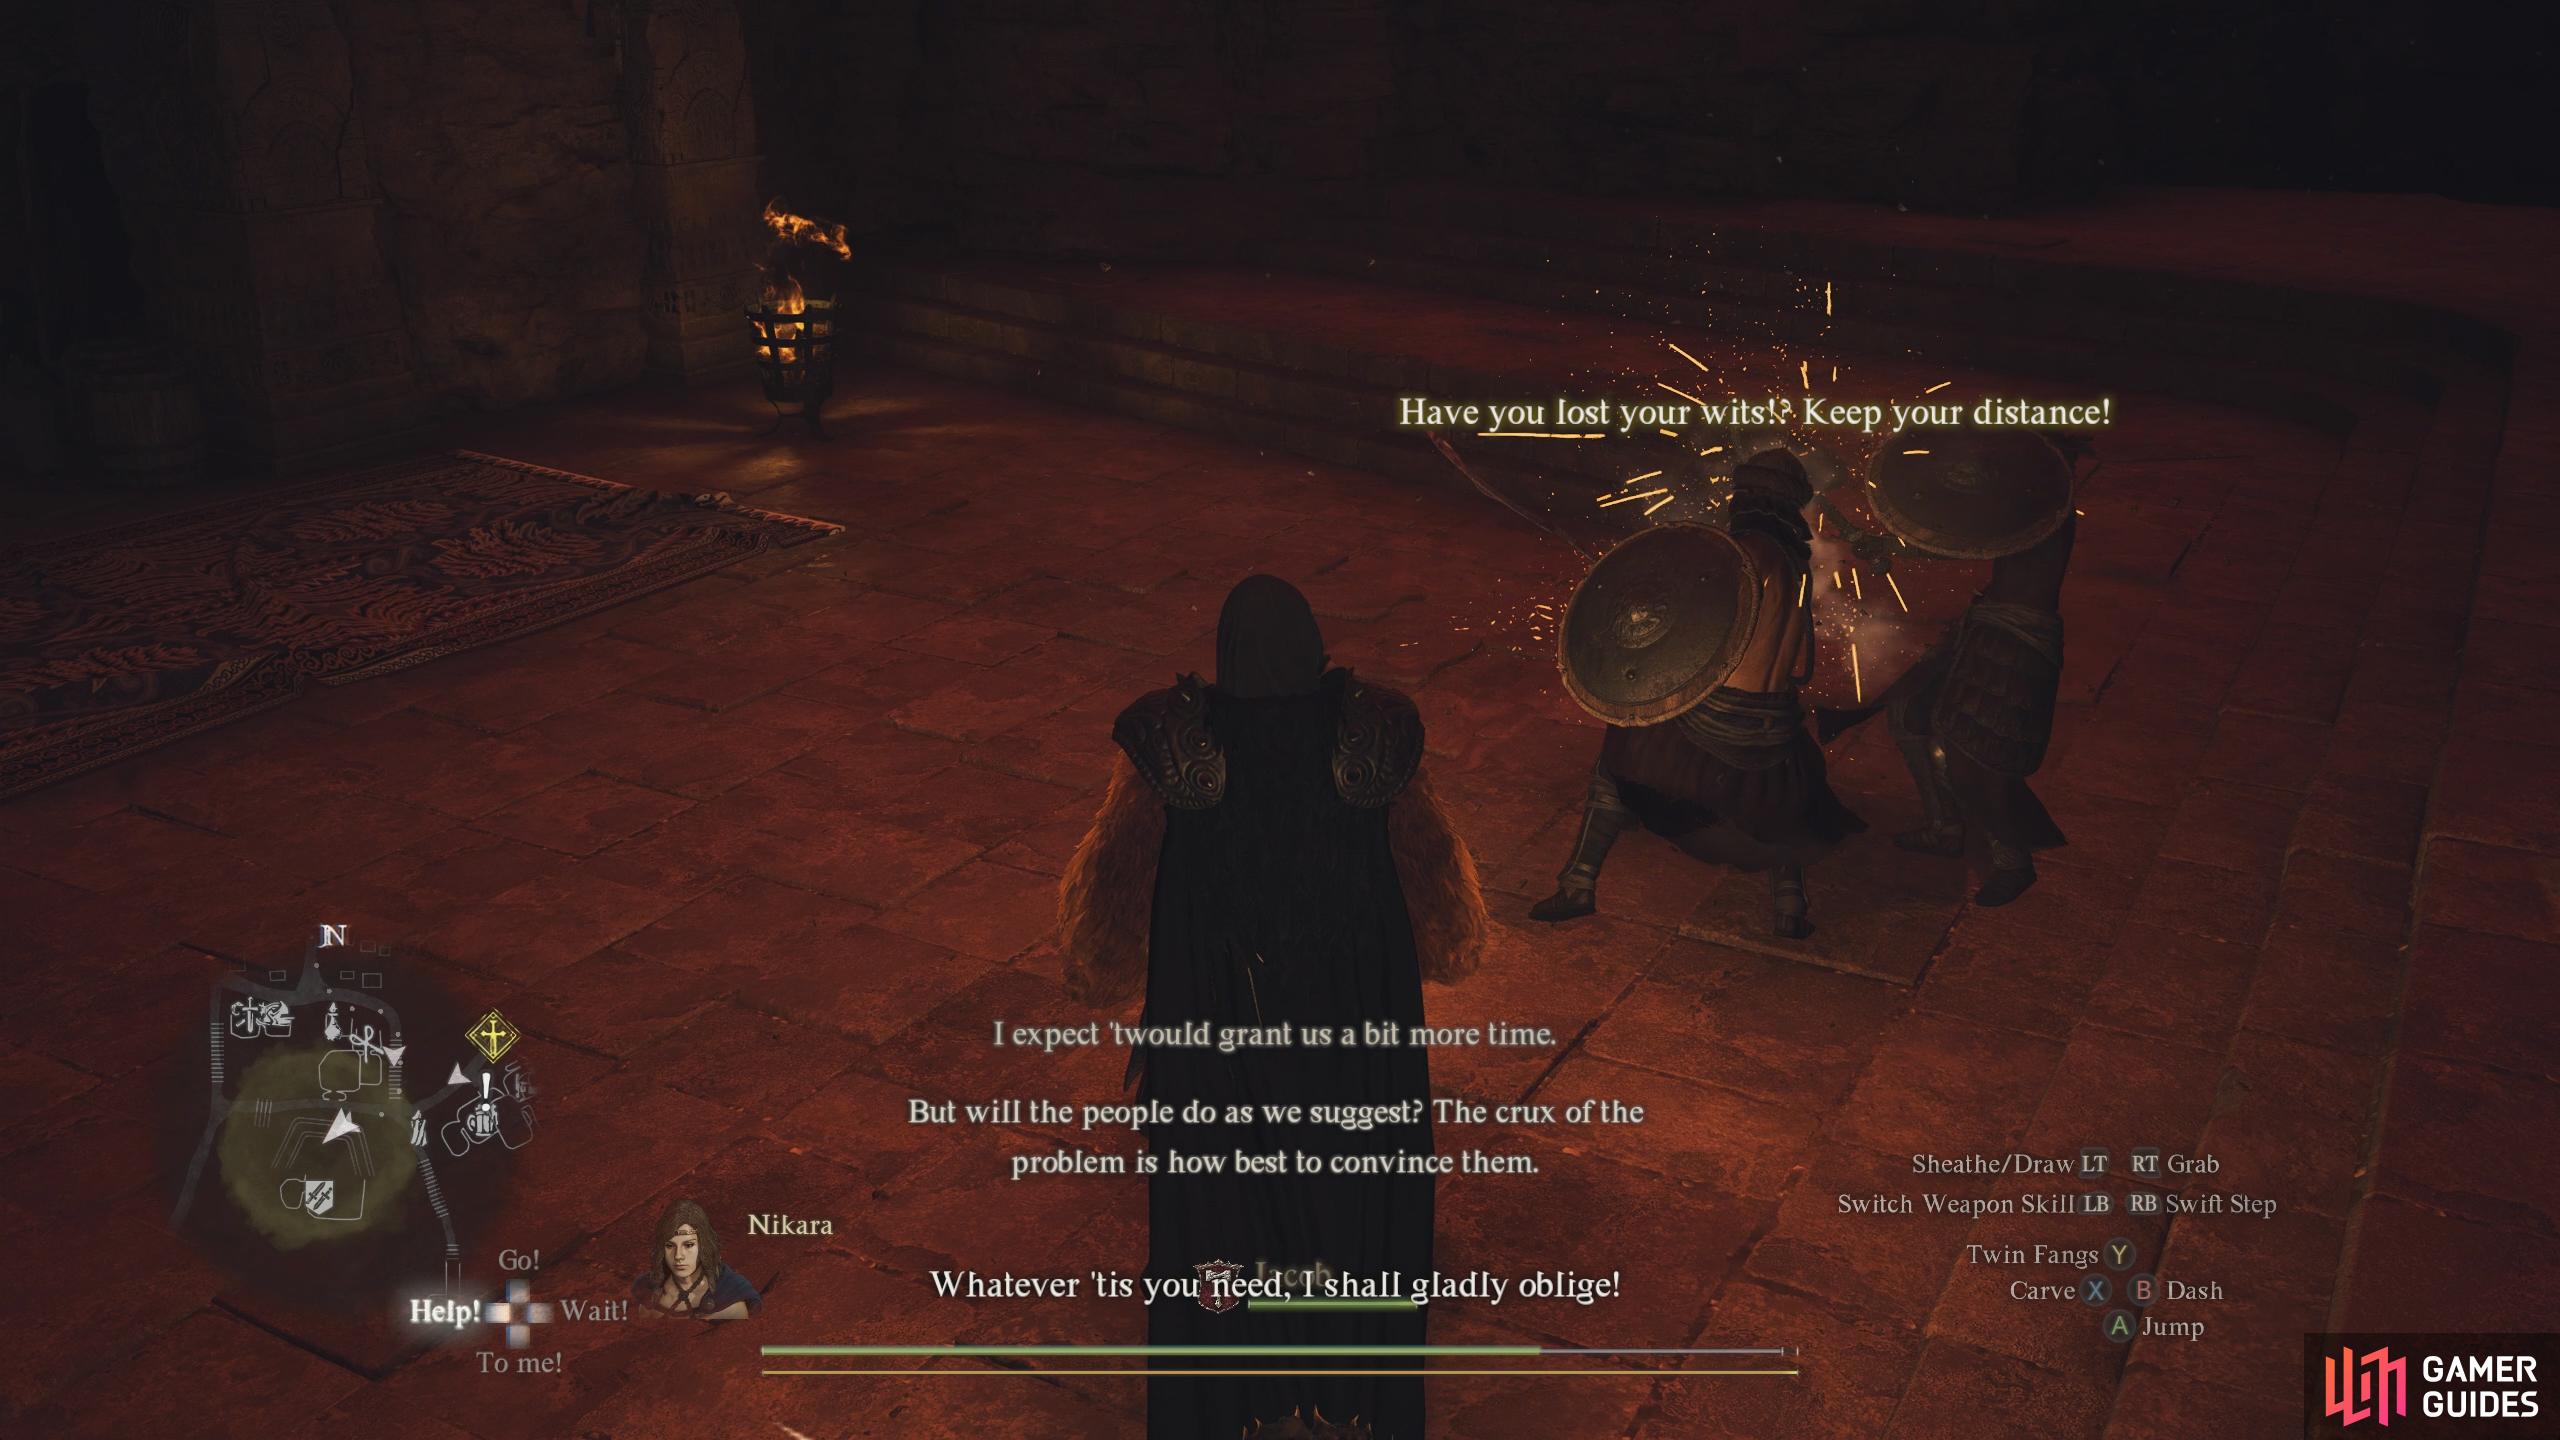
Head back to where you activated the pillar of light (near the research lab) and you’ll get a scene with Menella and a couple of citizens arguing with each other. Head over and talk to Menella, and she’ll agree to the evacuation, but she won’t do it until some citizens’ tempers have been quelled. This will give you the ![]() Civil Unrest quest, where you’ll need to find three groups of people in Bakbattahl who are having heated disputes. Each group will give you a choice on how you handle them, and you’ll get a better reward depending on how you do it. For a full quest walkthrough, follow our Civil Unrest Walkthrough, but in general, runaway/guard against Grantt and Abba in the Residential Ward, tell Glint and Nomos that neither is wrong and feed their children some food, and agree to watch Nabrah and Scario’s duel. Once you’ve dealt with the problems, head back to Menella, and you’ll complete the quest.
Civil Unrest quest, where you’ll need to find three groups of people in Bakbattahl who are having heated disputes. Each group will give you a choice on how you handle them, and you’ll get a better reward depending on how you do it. For a full quest walkthrough, follow our Civil Unrest Walkthrough, but in general, runaway/guard against Grantt and Abba in the Residential Ward, tell Glint and Nomos that neither is wrong and feed their children some food, and agree to watch Nabrah and Scario’s duel. Once you’ve dealt with the problems, head back to Menella, and you’ll complete the quest.

(1 of 4) Speak to Menella near the pillar of light.
The Importance of Aiding Ernesto - Volcanic Island Camp Evacuation
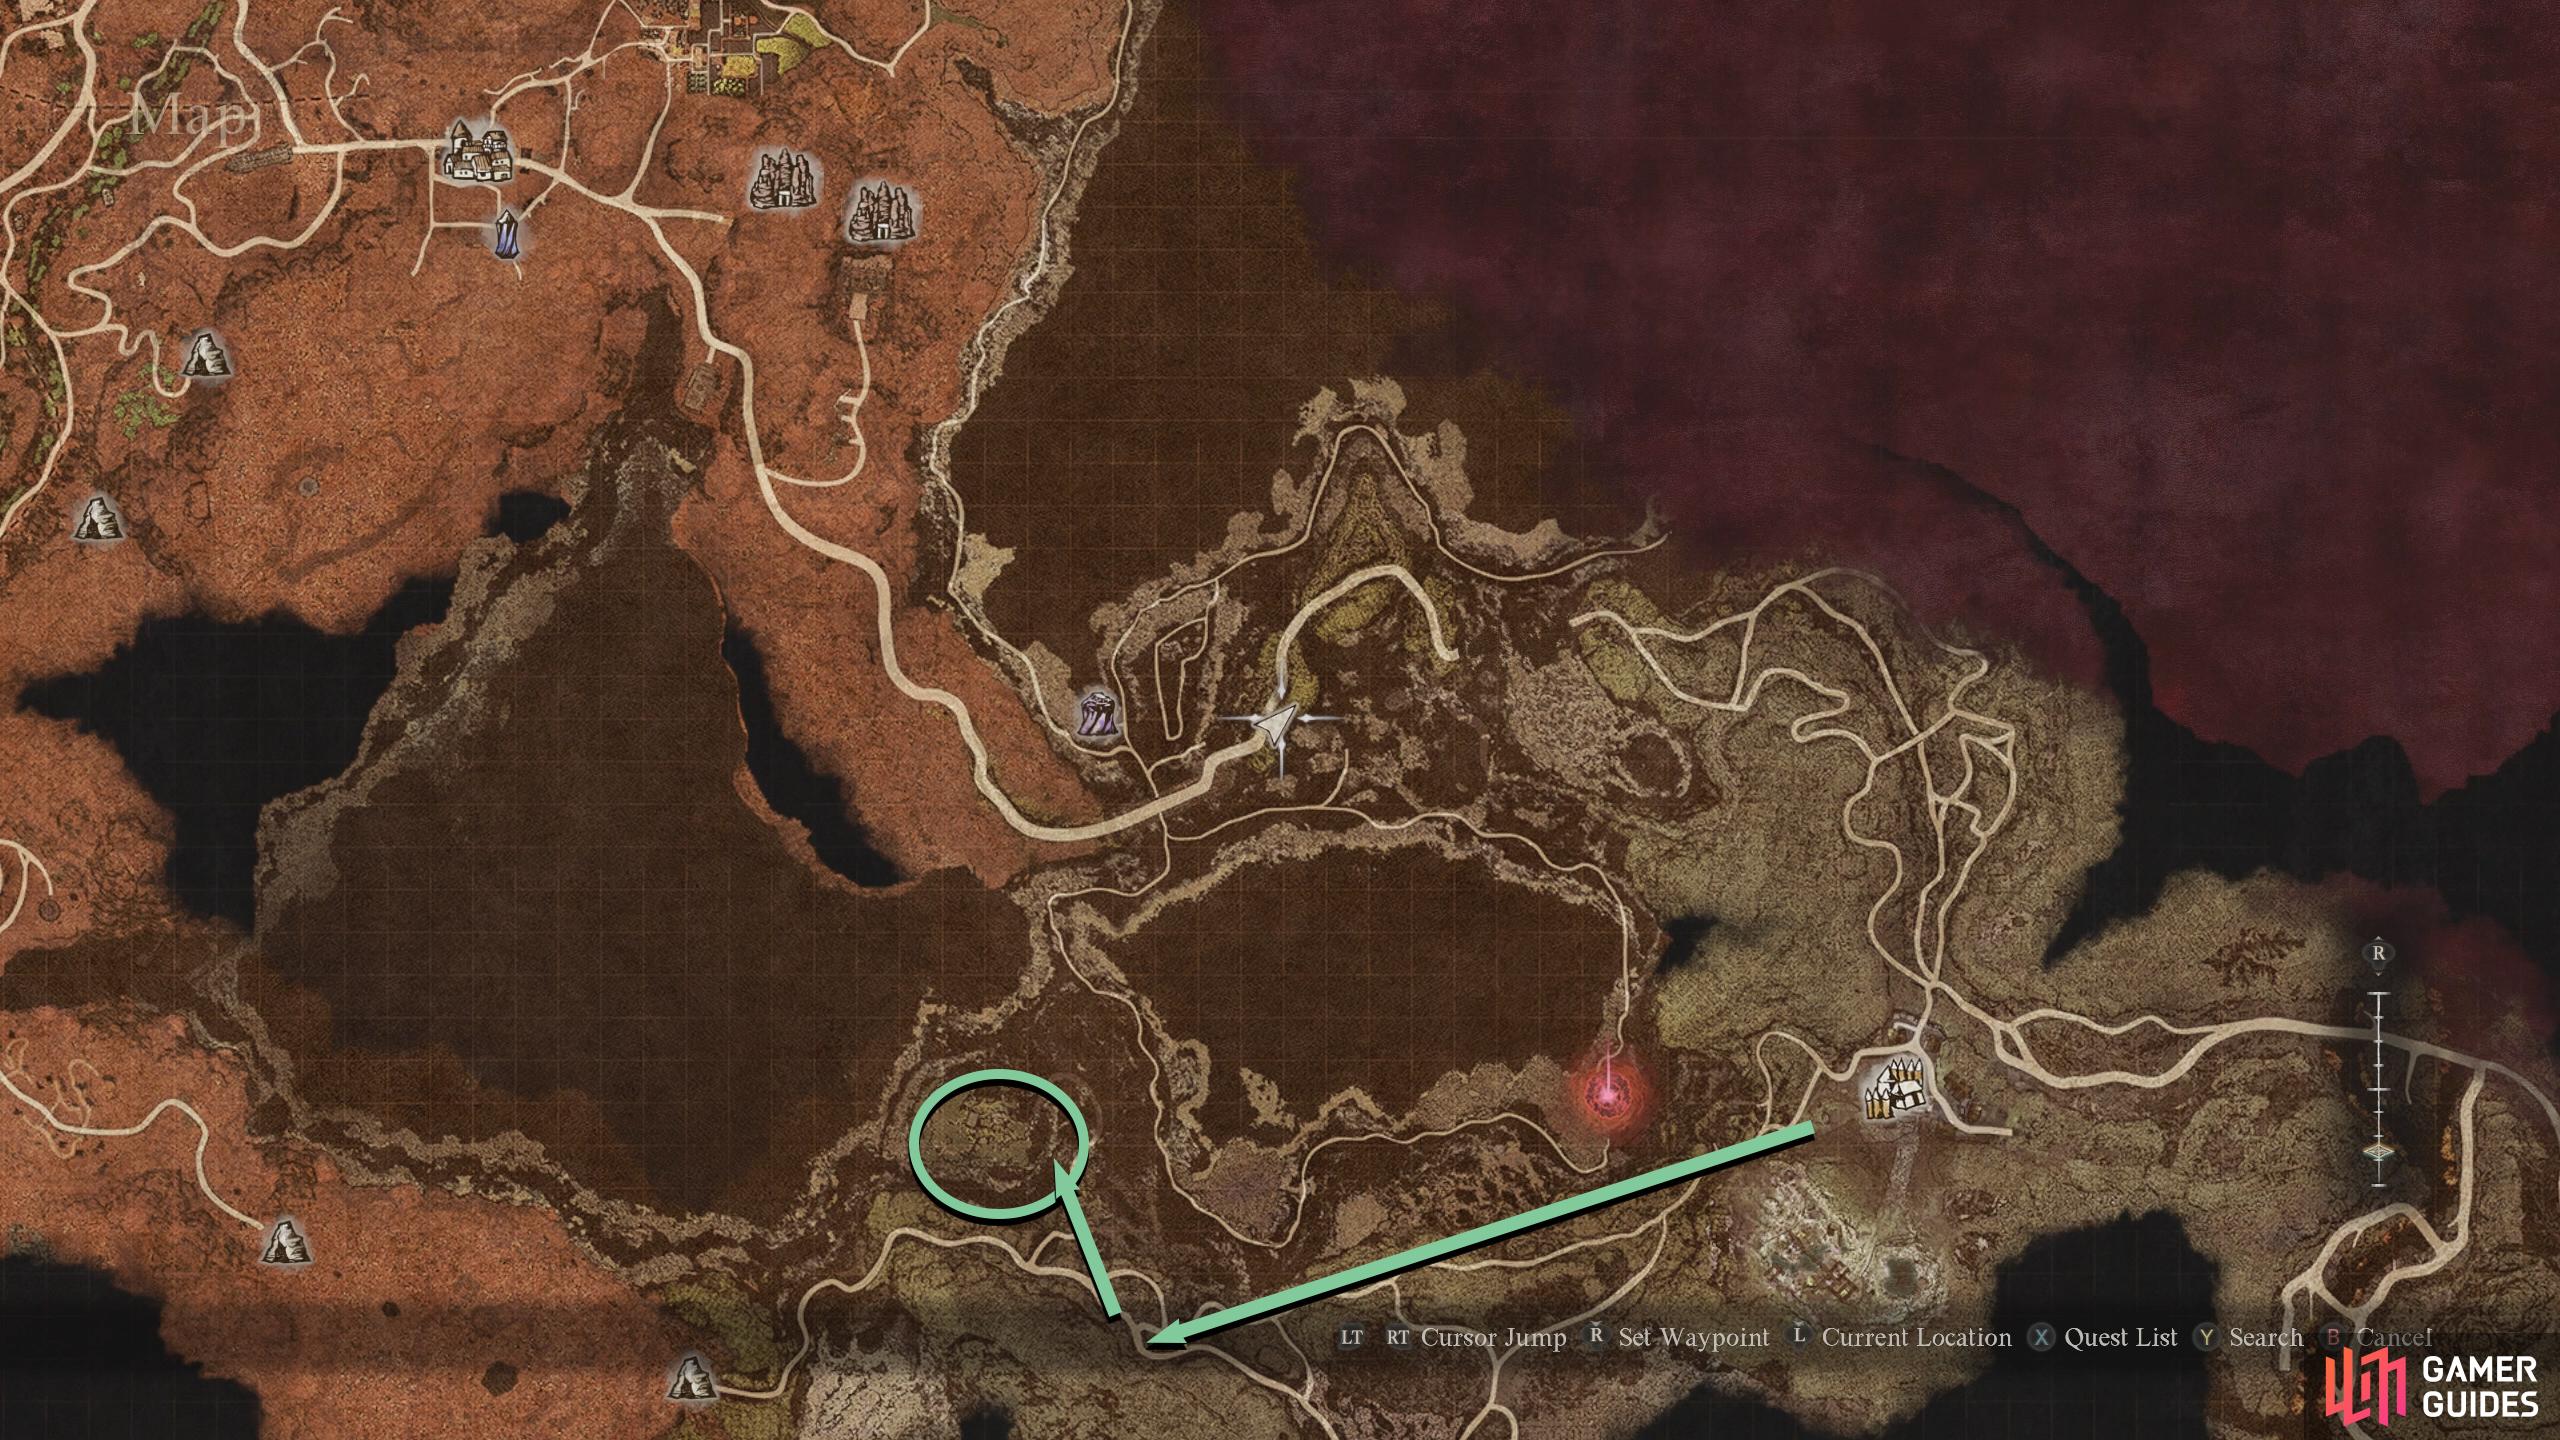
After you finish the Civil Unrest quest, teleport (or walk) to the Agamen Volcanic Island Portcrystal, southeast of Bakbattahl. You want to make your way to the ![]() Volcanic Island Camp in the southeast, which you can do by following the paths, but keep in mind that due to the condition of the realm, some paths will be destroyed, so you may have to deviate a bit to get there. When you reach the Volcanic Camp, make your way to the northern part of the town by going up the slope (or ramps), and speak to the beastren clad in red, Ernesto.
Volcanic Island Camp in the southeast, which you can do by following the paths, but keep in mind that due to the condition of the realm, some paths will be destroyed, so you may have to deviate a bit to get there. When you reach the Volcanic Camp, make your way to the northern part of the town by going up the slope (or ramps), and speak to the beastren clad in red, Ernesto.
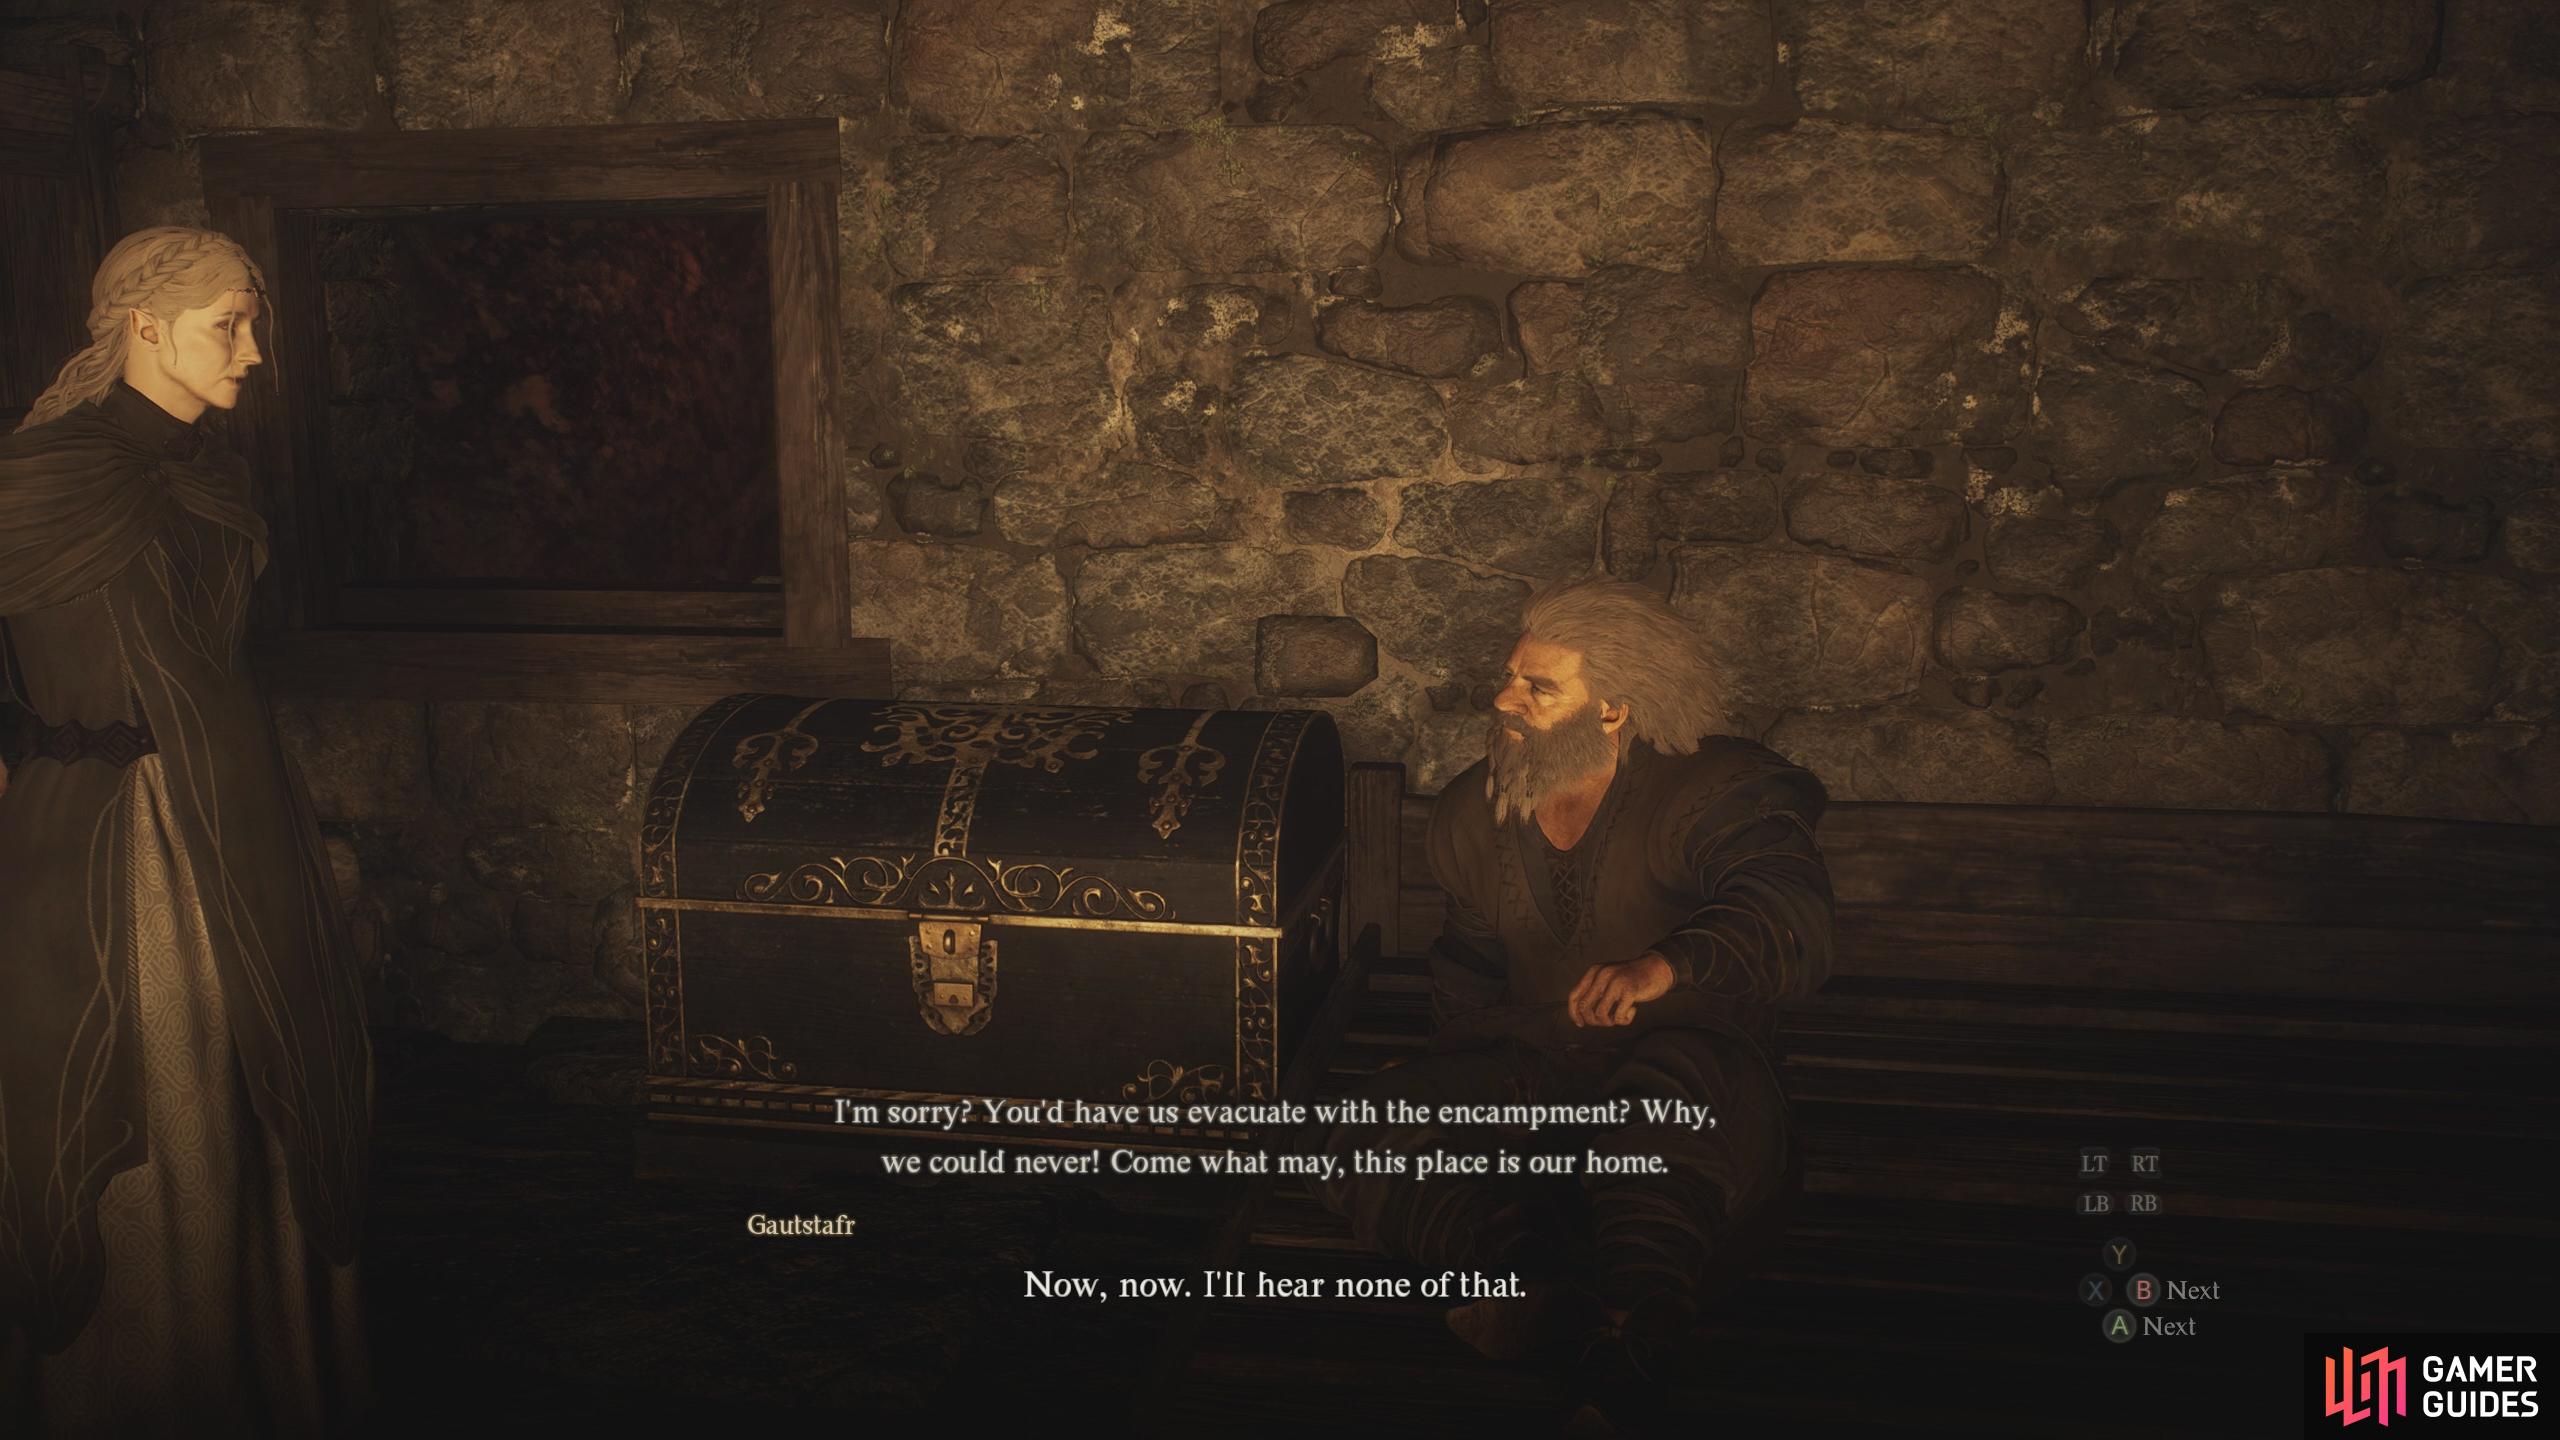
Ernesto will first ask you to convince ![]() Cliodhna and Gautstafr to come with the evacuation because as of right now, they’re happy to stay where they are. If you remember this odd couple earlier, they are the
Cliodhna and Gautstafr to come with the evacuation because as of right now, they’re happy to stay where they are. If you remember this odd couple earlier, they are the ![]() Magick Archer trainer (Cliodhna), and her partner with the bad back (Gautstafr). You can find the pair at their home west of the camp, but due to the changes in the realm, the path differs. On your way there, you may as well tackle the
Magick Archer trainer (Cliodhna), and her partner with the bad back (Gautstafr). You can find the pair at their home west of the camp, but due to the changes in the realm, the path differs. On your way there, you may as well tackle the ![]() Volcanic Island Purgener which is also to the west.
Volcanic Island Purgener which is also to the west.
(1 of 3) Ernesto is in the north of the camp.
Volcanic Island Purgener Fight
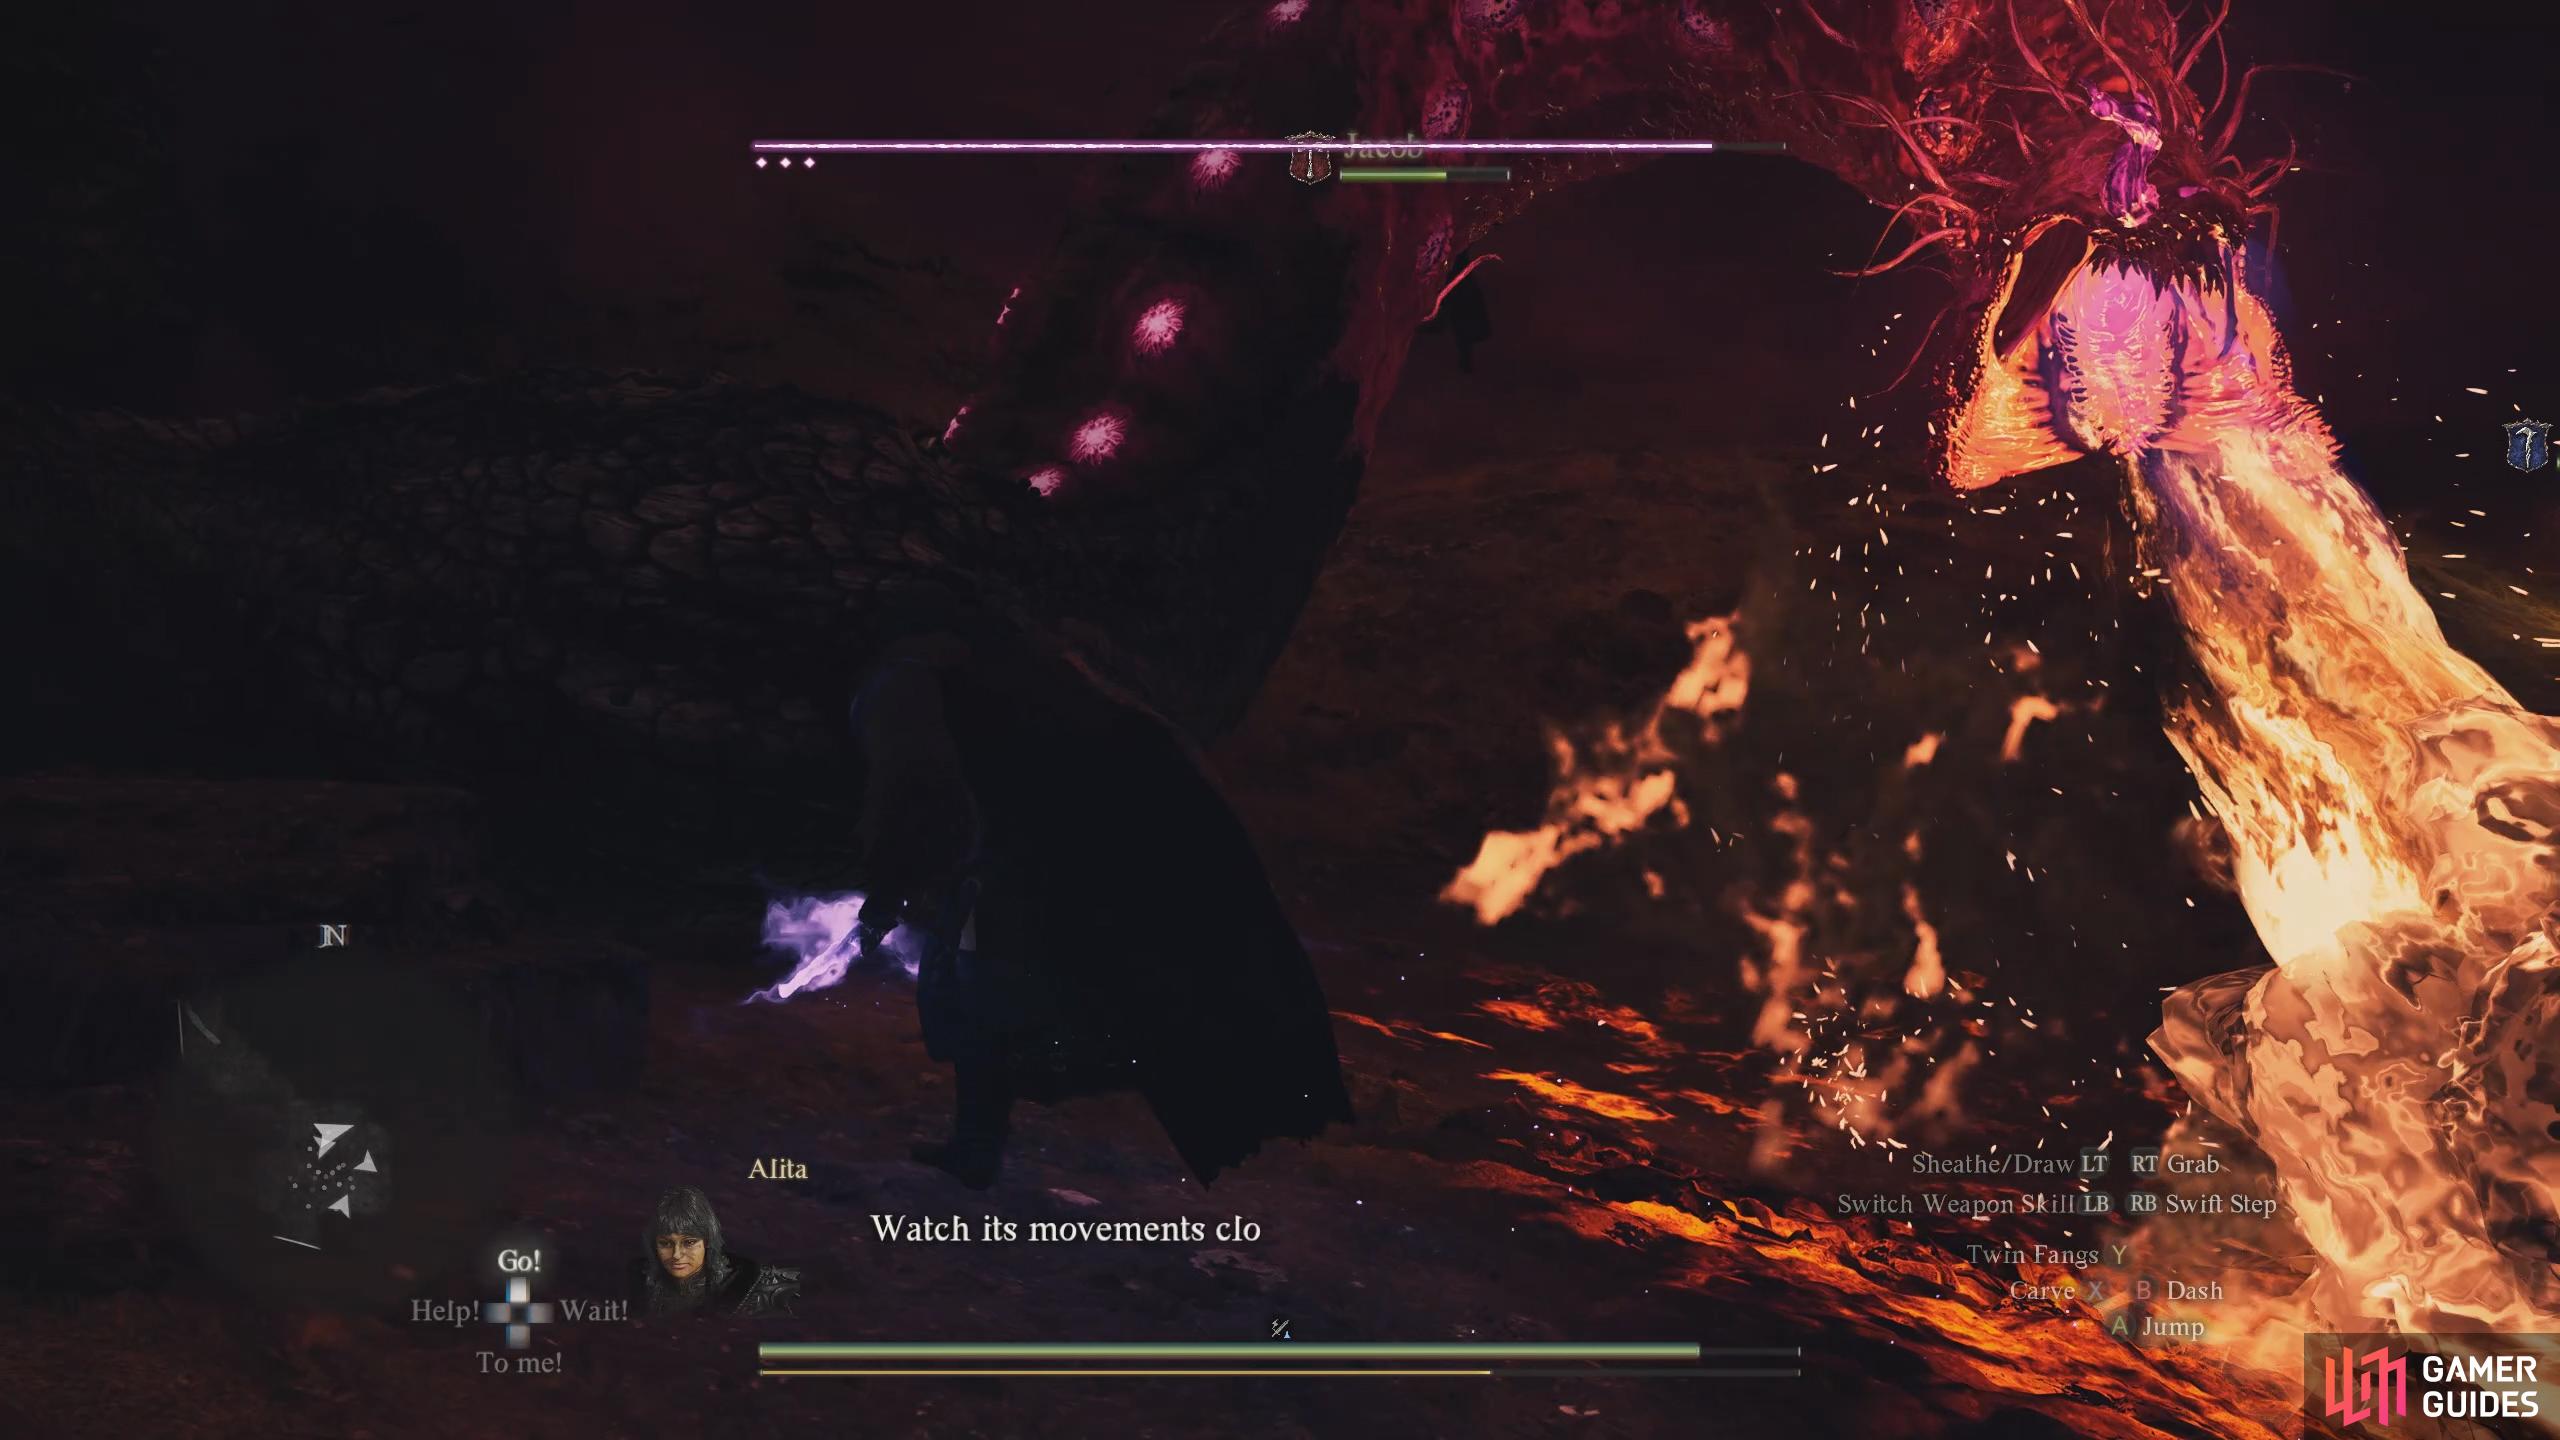
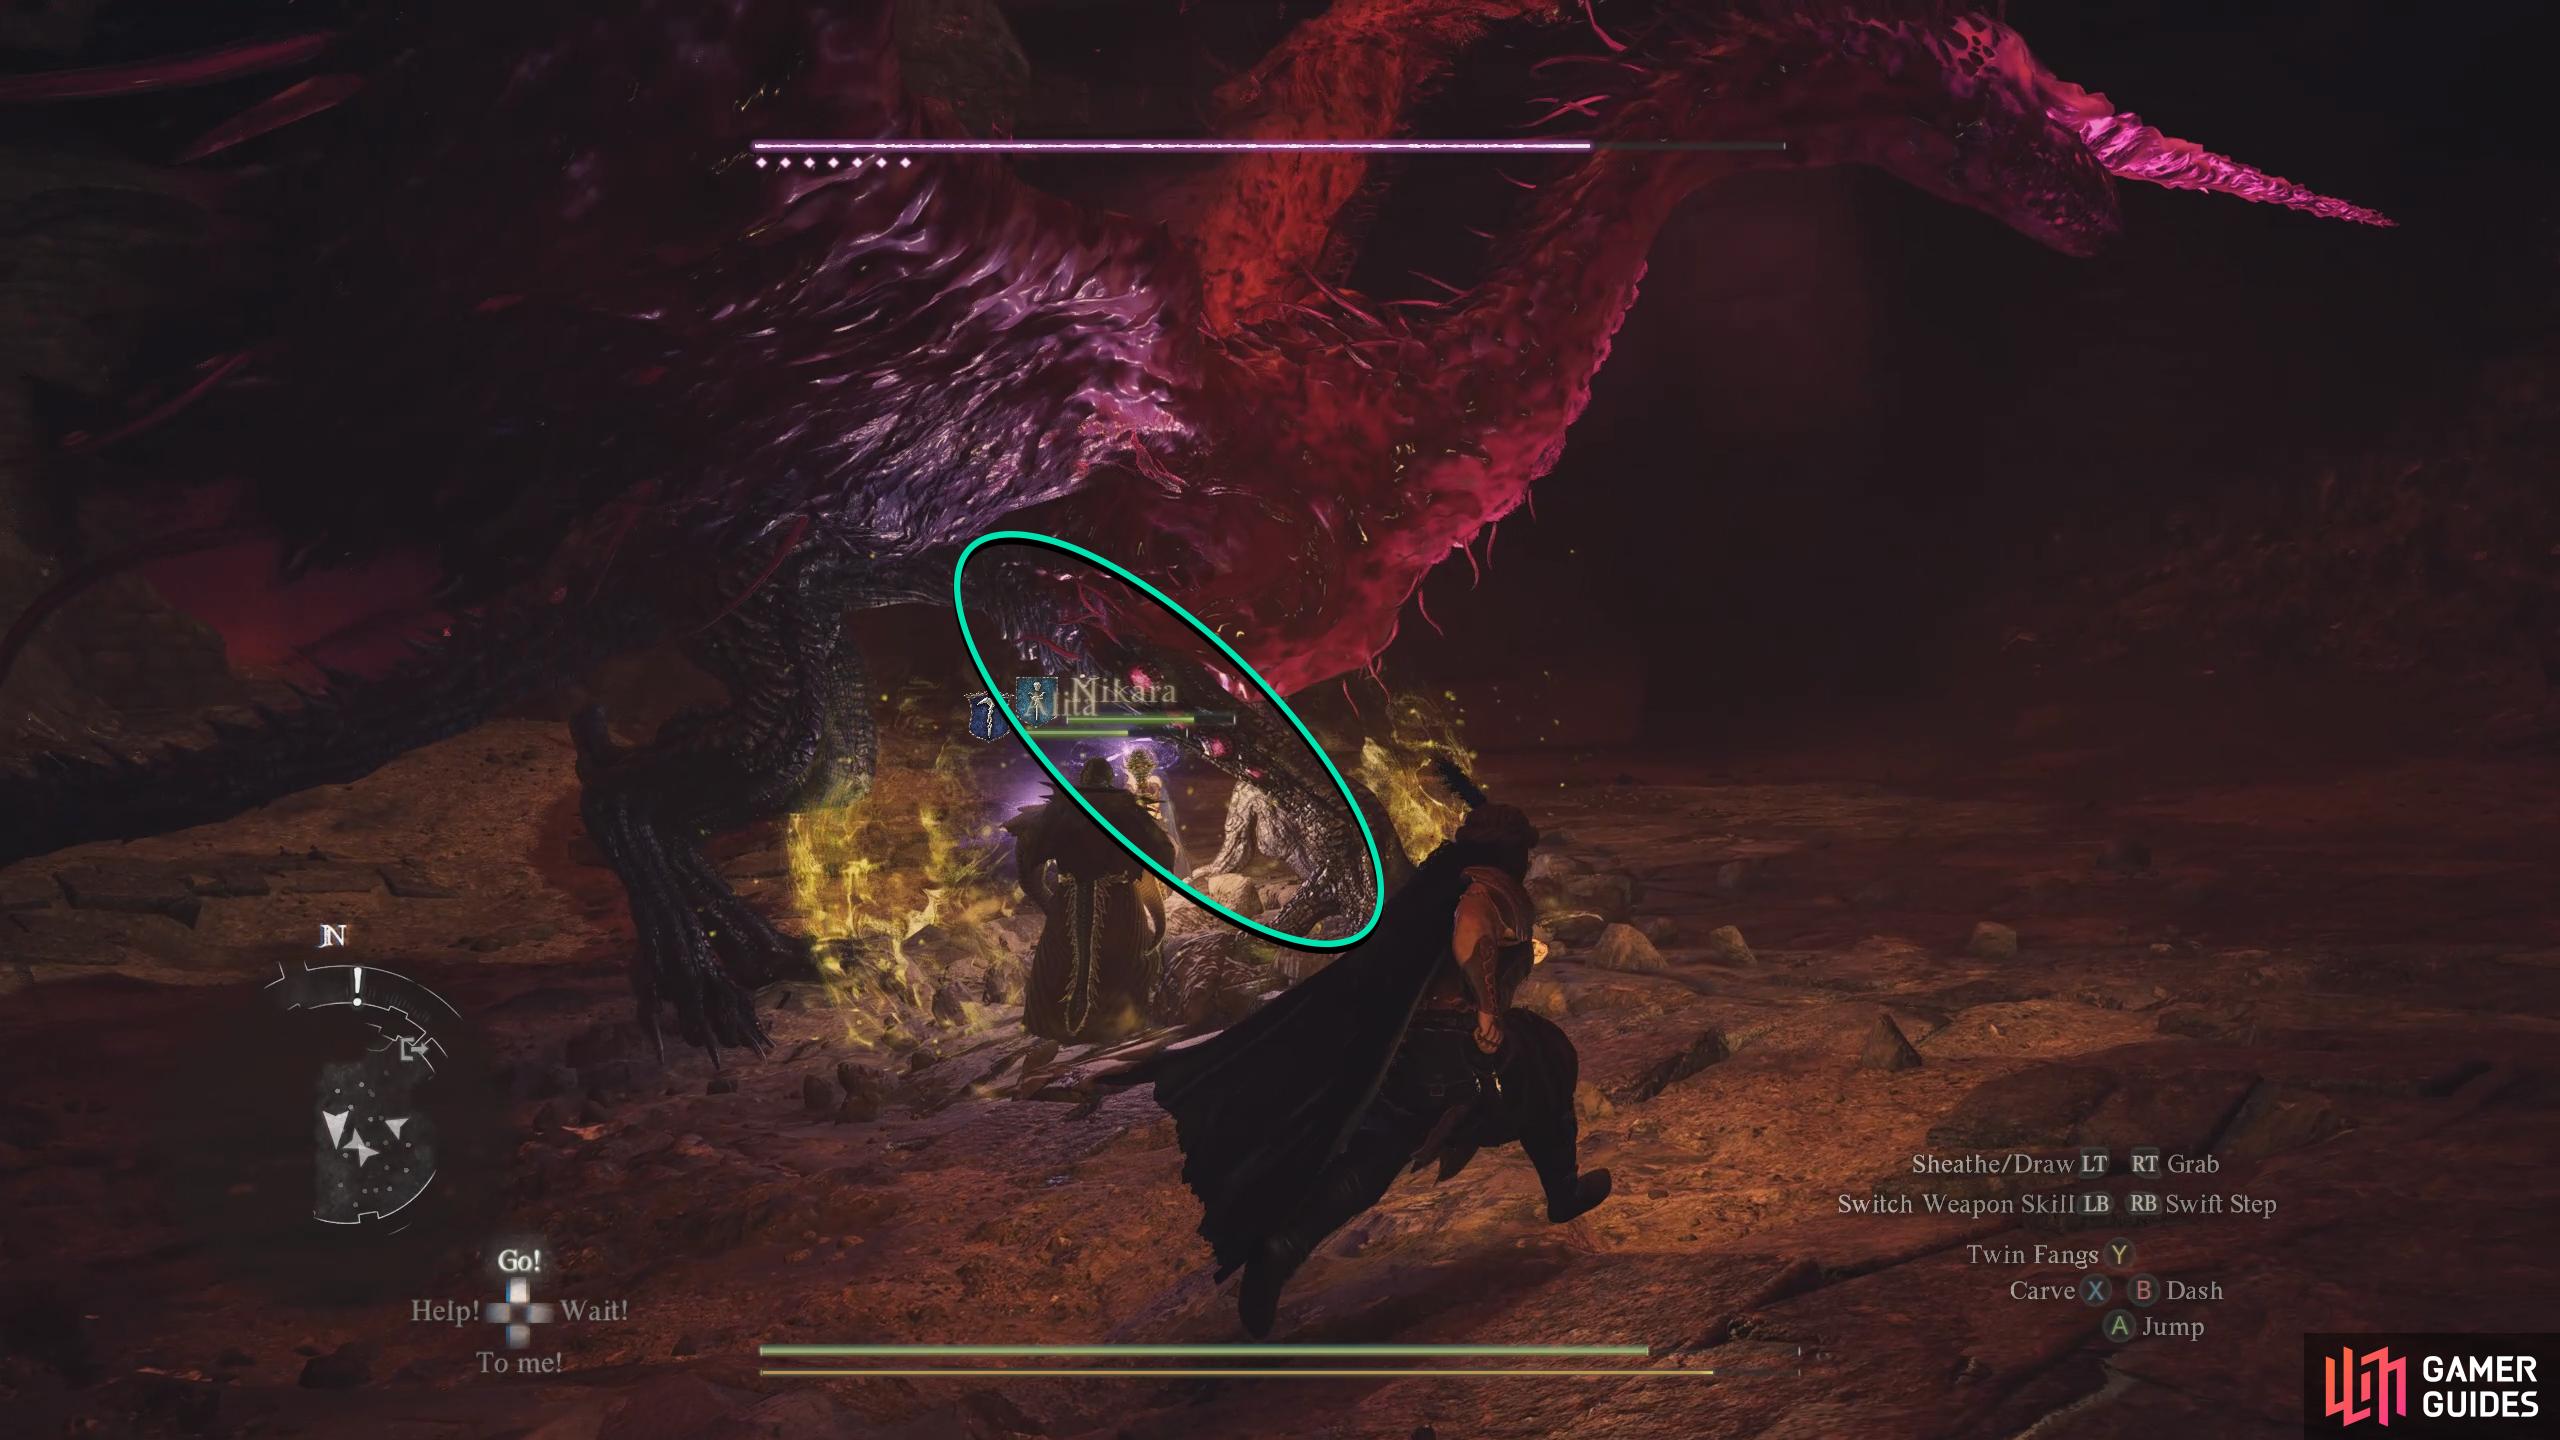
The pillar of light for the Volcanic Island Purgener is due west of the camp, so exit the camp via the western gates, and head west toward the light. When you reach it, use the Godsway and you’ll get a short scene of the boss. Unlike the Battahl Purgener, this one is an actual battle, and a difficult one at that if you’re not in the best gear. In terms of Vocations, we recommend the ![]() Thief or
Thief or ![]() Warfarer with the
Warfarer with the ![]() Skull Splitter skill due to the massive amount of damage this skill does, preferably with the
Skull Splitter skill due to the massive amount of damage this skill does, preferably with the ![]() Zeal Augment from the Warfarer. The battle itself isn’t too different from a regular Dragon battle, but it will have new mechanics. The way you defeat the Purgeners is by destroying all the small red pustules on their body.
Zeal Augment from the Warfarer. The battle itself isn’t too different from a regular Dragon battle, but it will have new mechanics. The way you defeat the Purgeners is by destroying all the small red pustules on their body.
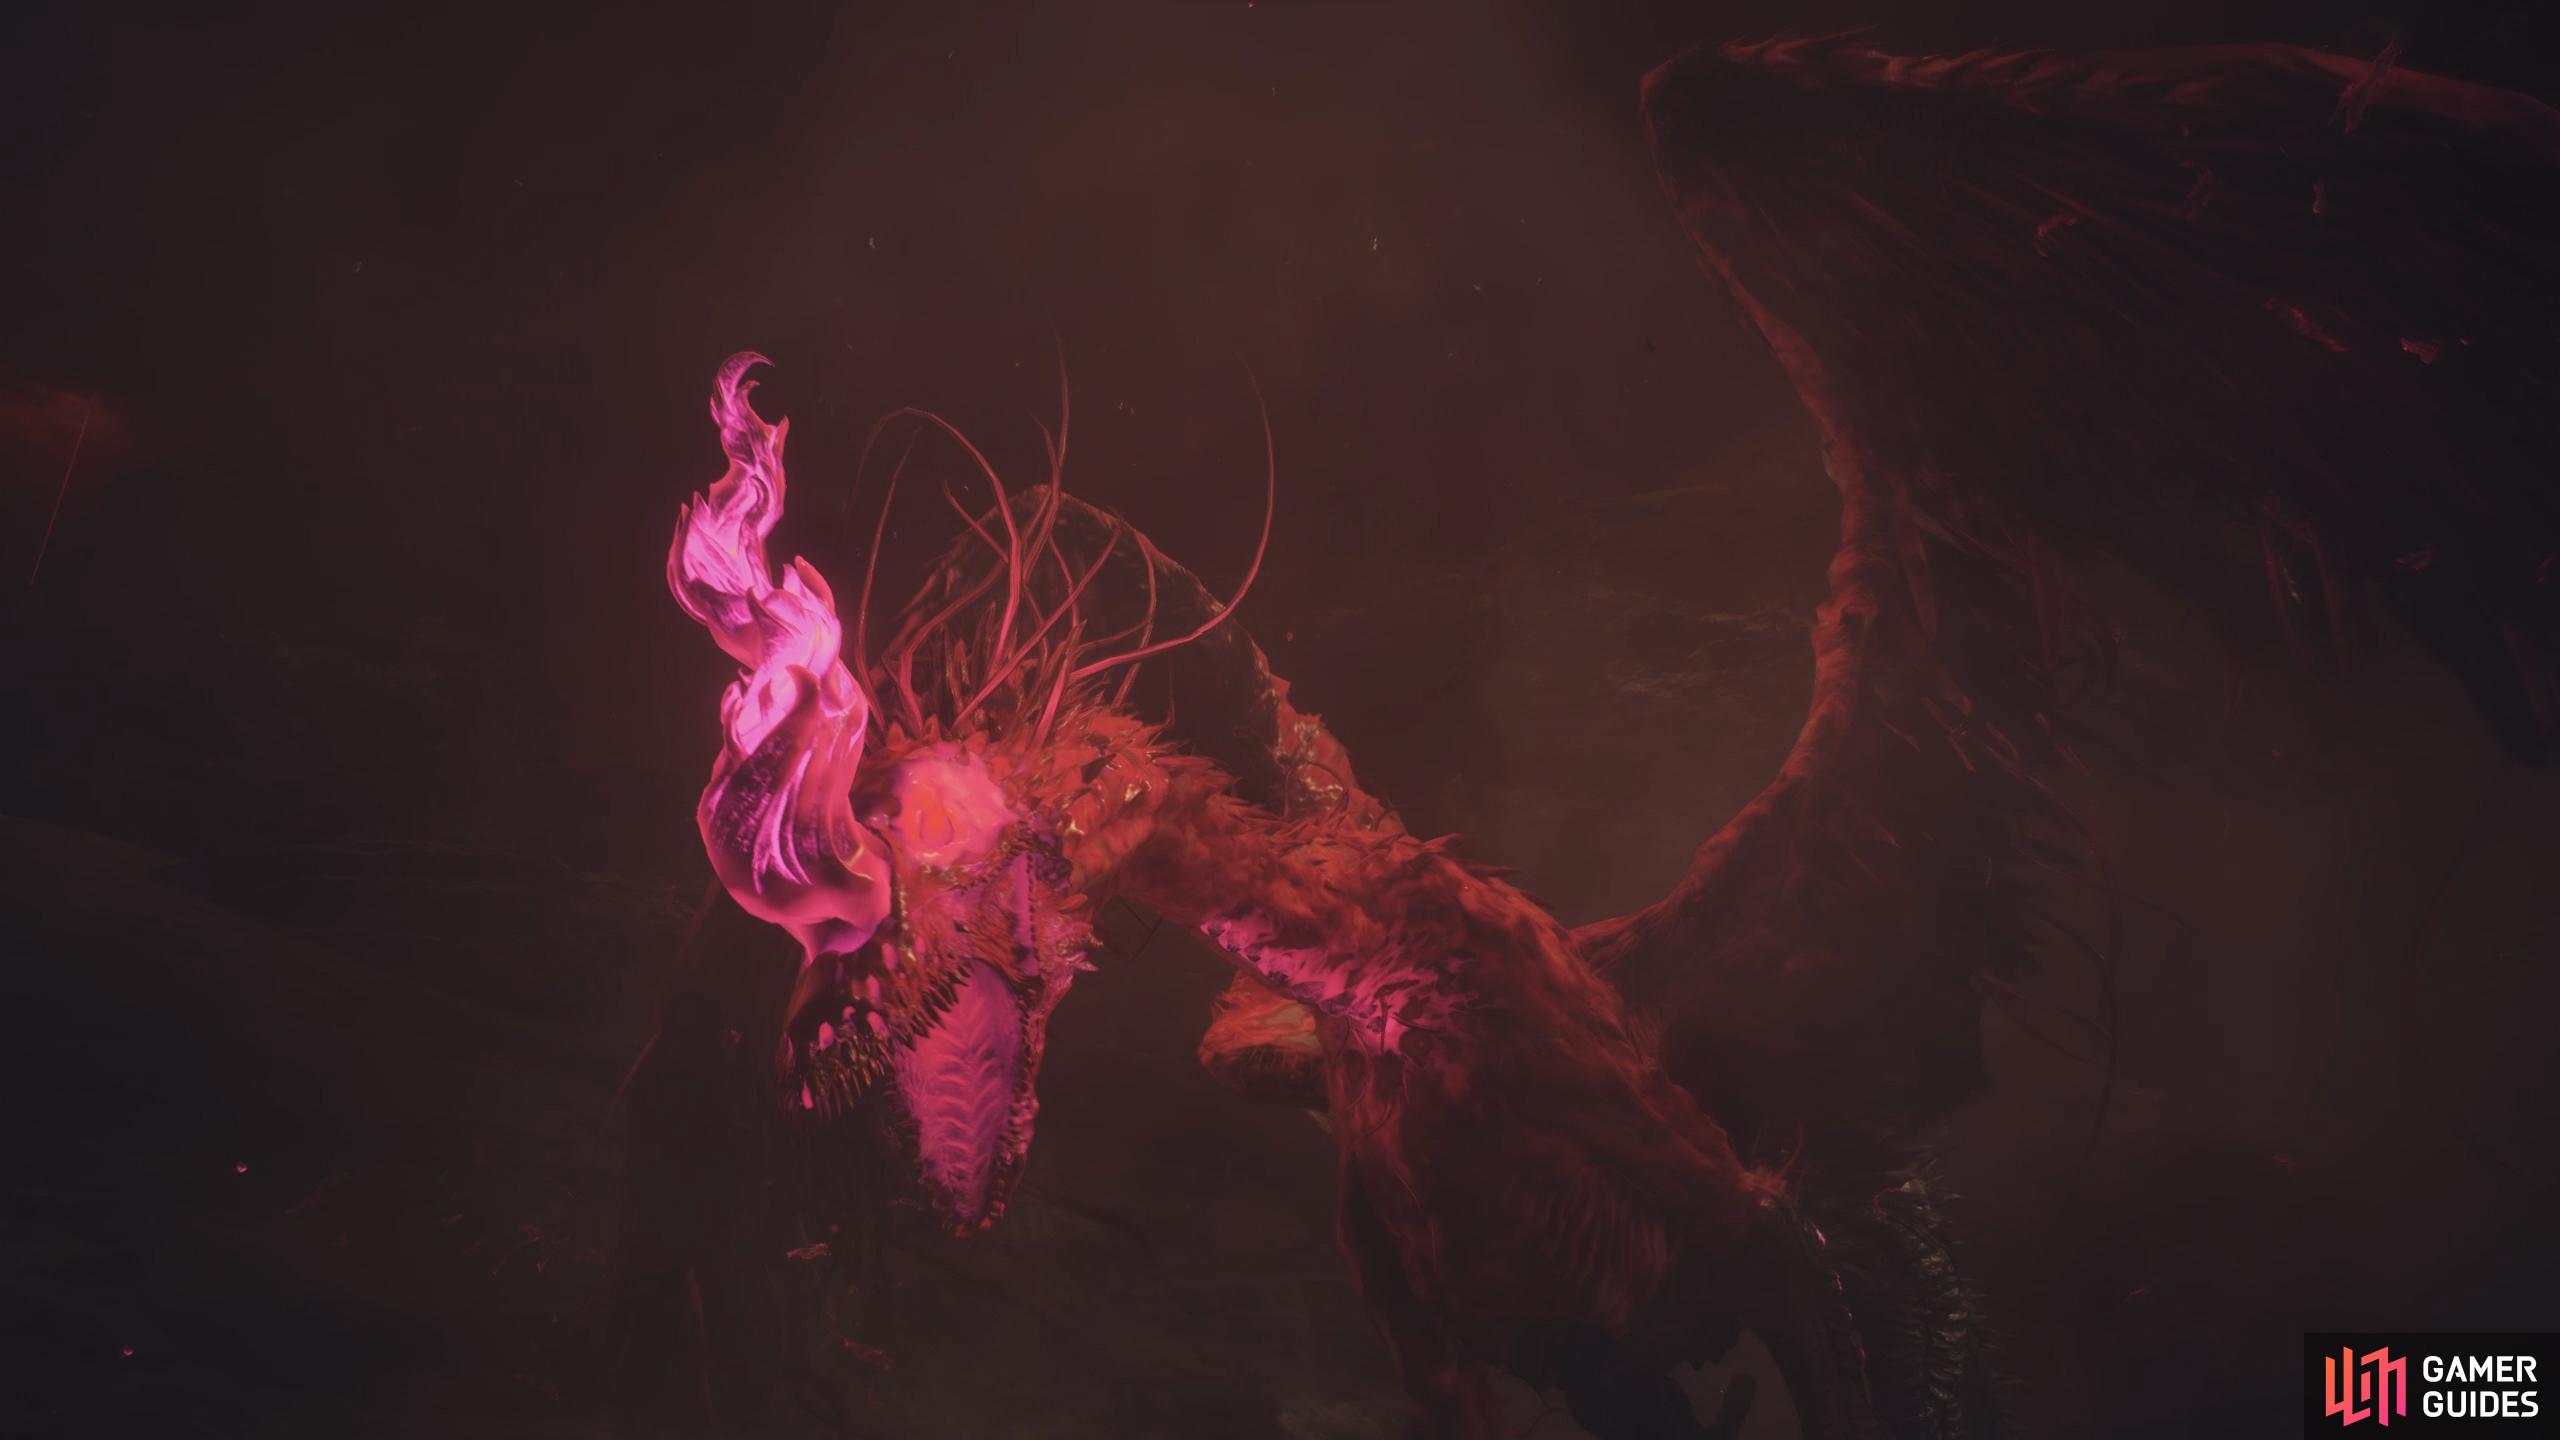
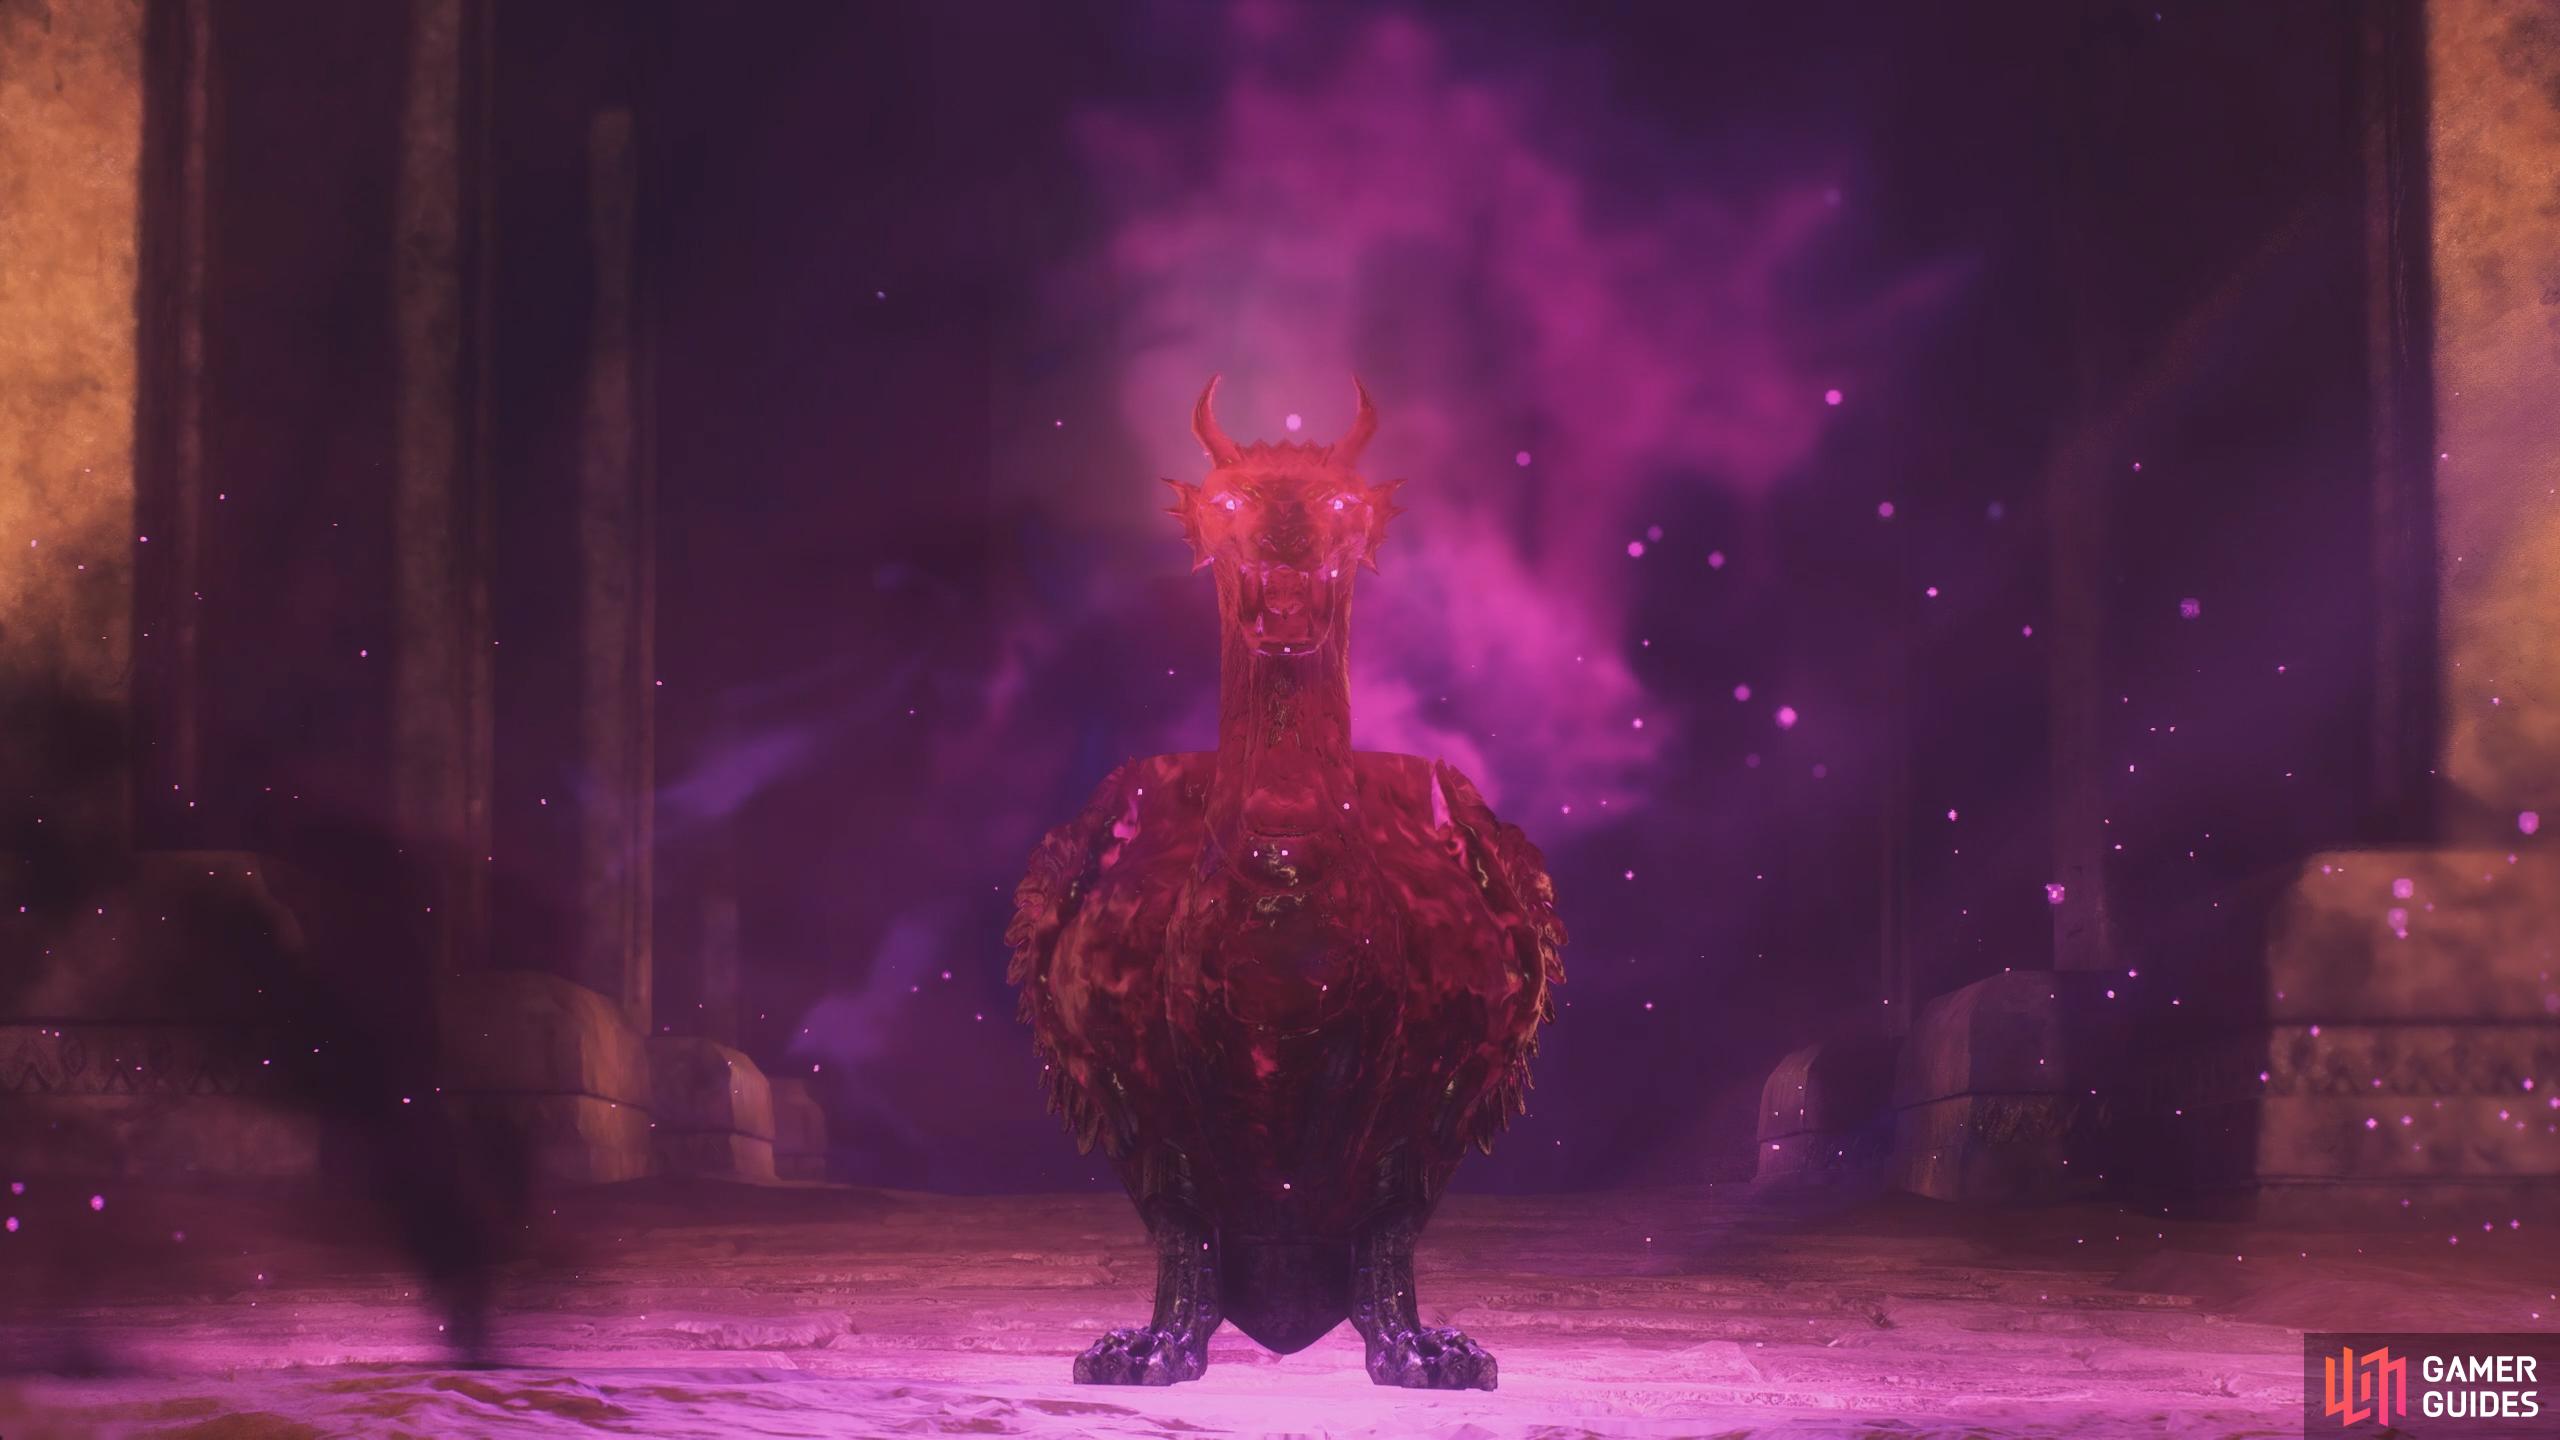
The Volcanic Island Purgener will be a proper battle with various mechanics that will carry across future Purgener battles.
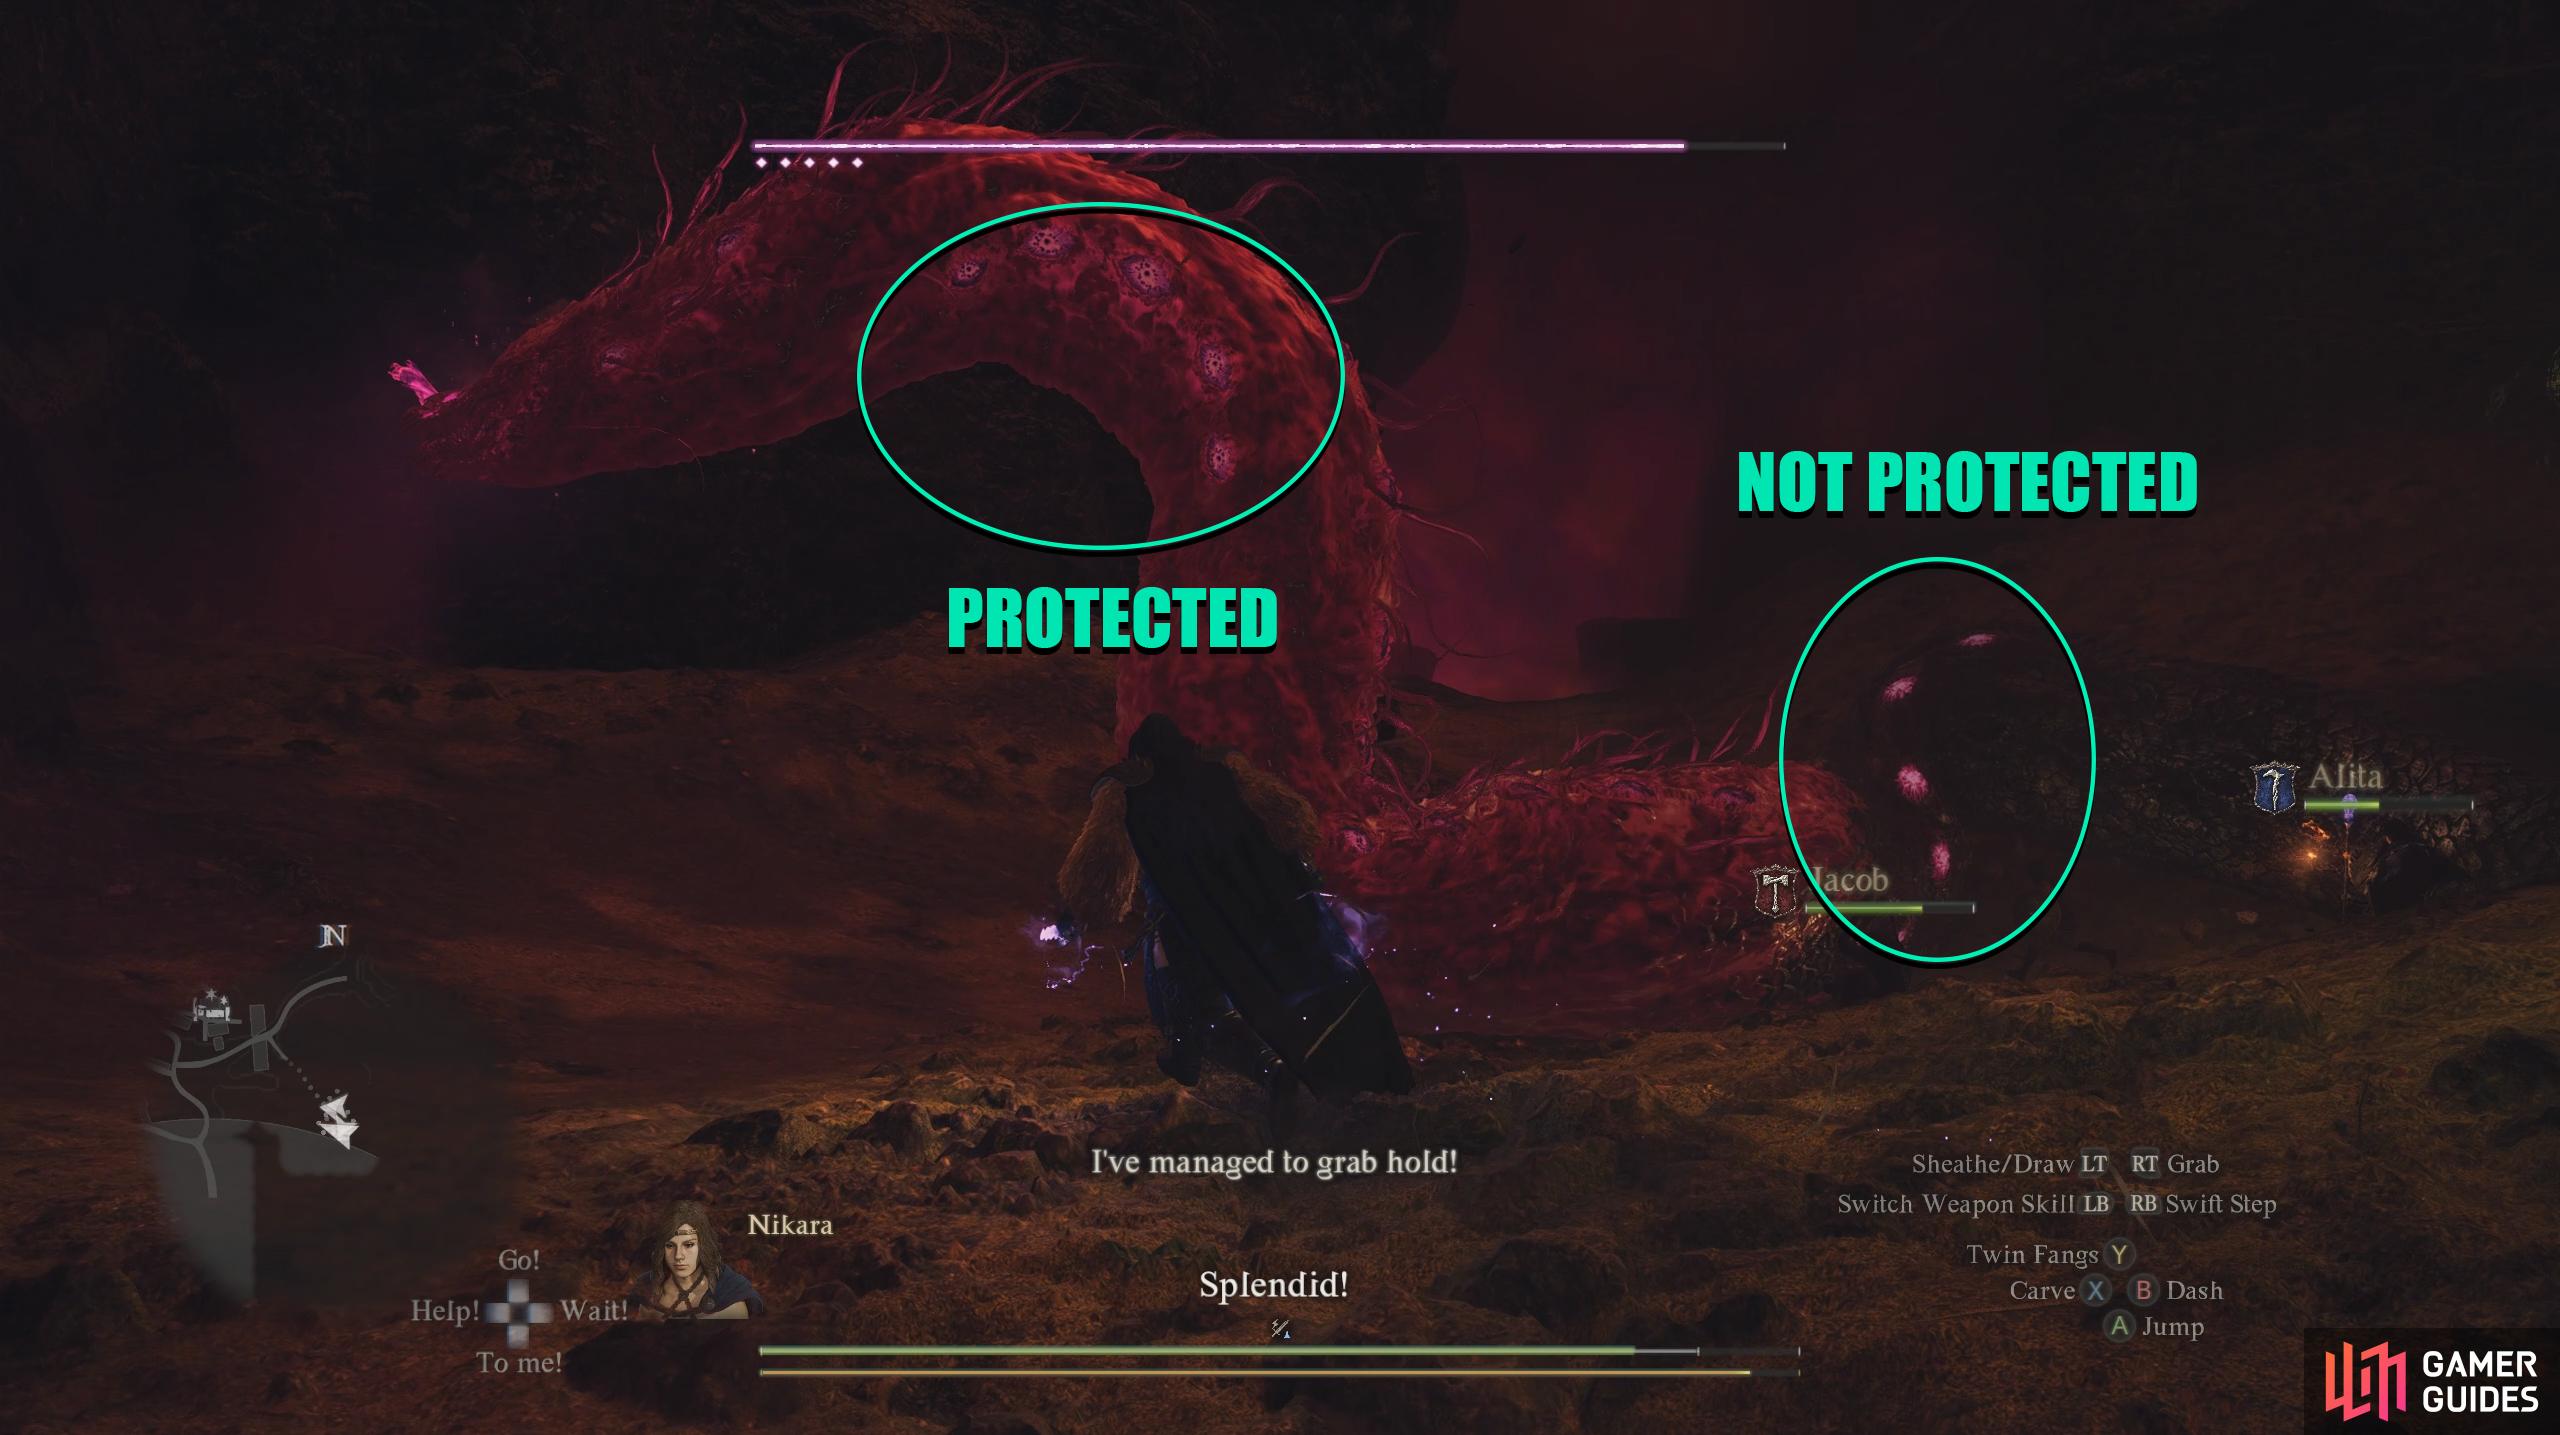
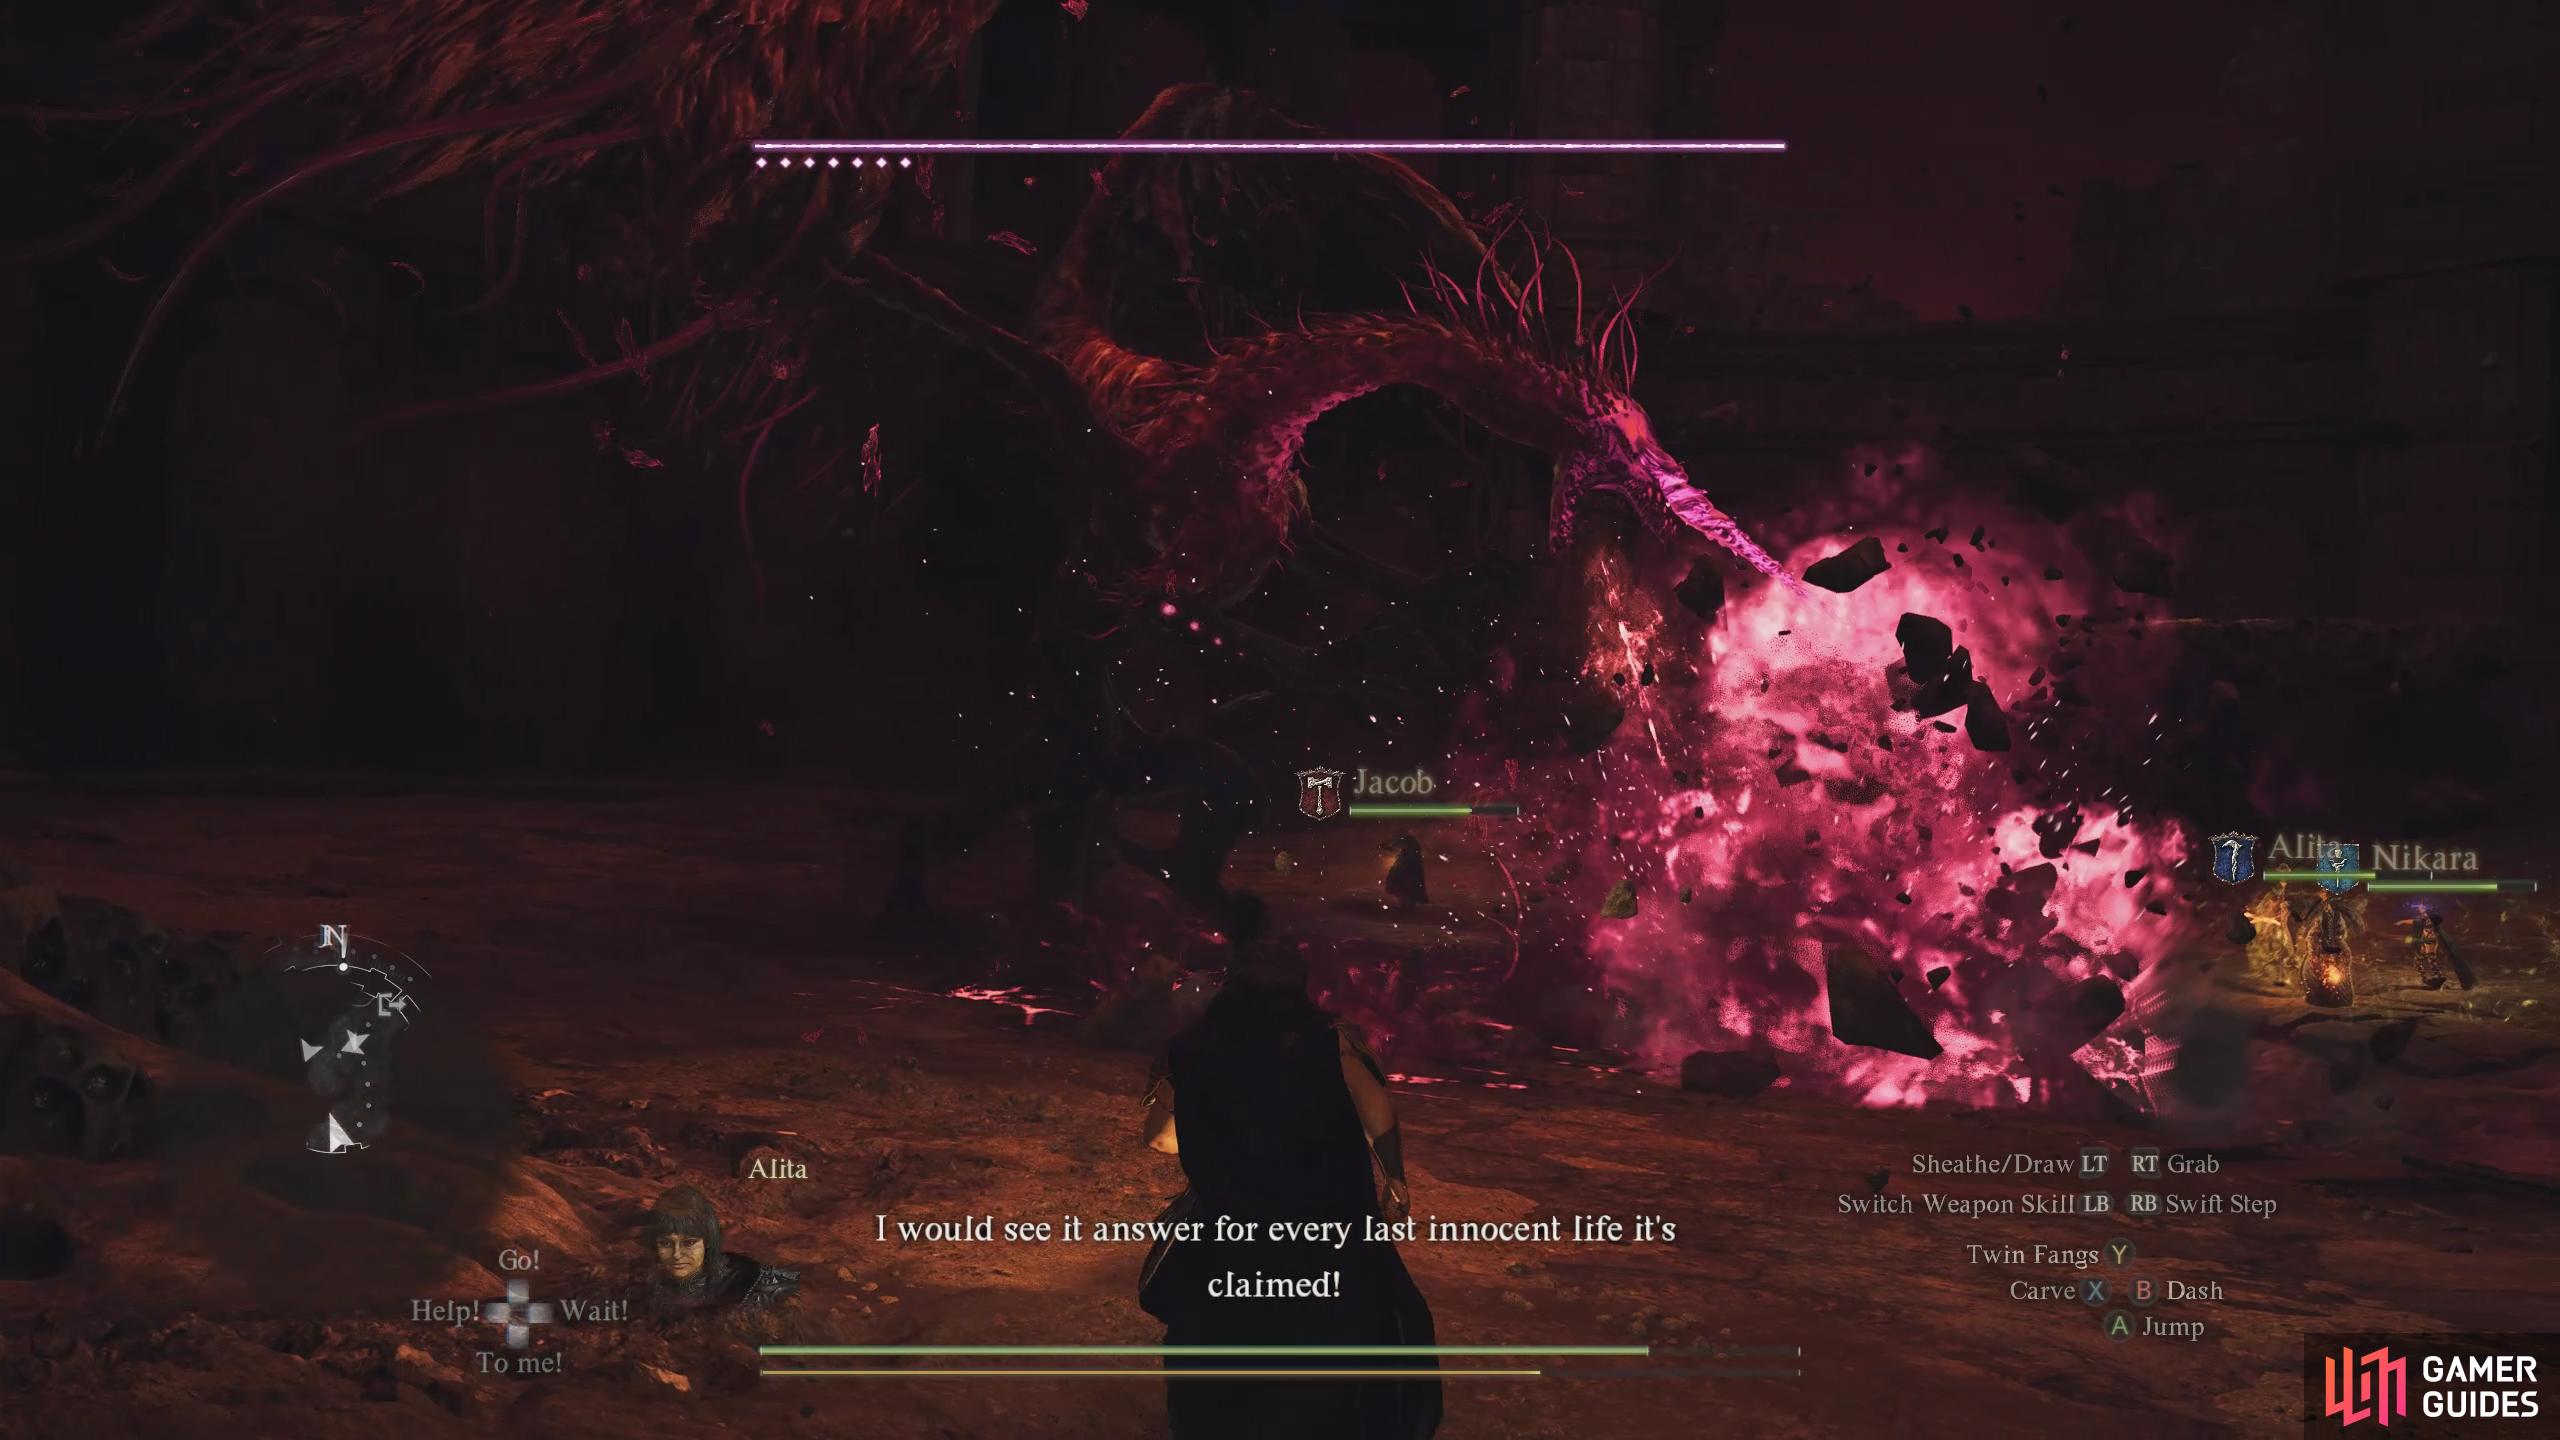
If the area of the body with the pustules is pink, that part of the body will be impervious to any damage, so you’ll need to aim for the parts that are not covered by it. Each time you destroy the pustules that are not protected, you’ll uncover the next set you can attack. Rinse and repeat until all the pustules are destroyed and then attack its head to make it die. This is how it will be for most of the Purgener battles, but sometimes they’ll have variations of this mechanic. Such as the Purgener you’re fighting right now, as it only has one set of pustules, and they’ll be protected at the start of the fight. You can still damage the boss, but you’ll deal significantly less damage. For this fight, you need to wait until the pink shielding disappears before you can deal any real damage. This will turn on and off throughout the fight.
In terms of attacks, the boss will do the traditional Dragon attacks such as slam, swoop, and some magic attacks, but it’ll also have a few new attacks that involve some kind of Brine element (red). One attack is similar to a sweeping fire breath attack, but it’ll be this reddish brine element instead, and that’ll persist on the floor for a little while after. Another attack, and arguably the most damaging, is when it flies into the sky while charging up an attack before a big explosion erupts underneath it creating red spiky pillars out of the ground. For this attack, simply get away from the boss, wait for the explosion, and then keep running to avoid the spiky pillars. When you defeat the Purgener, you’ll receive a modest amount of ![]() Wyrmslife Crystals. Make sure you purchase the best equipment in the game from
Wyrmslife Crystals. Make sure you purchase the best equipment in the game from ![]() The Dragonforged in the Seafloor Shrine with them.
The Dragonforged in the Seafloor Shrine with them.
(1 of 2) You’ll want to attack the small red circles depicted below the Purgener’s head. This is currently shielded.
You’ll want to attack the small red circles depicted below the Purgener’s head. This is currently shielded. (left), The Purgener will frequently charge up and unleash multiple spikes out of the ground. (right)
The Importance of Aiding Ernesto Continued - Volcanic Island Camp Evacuation
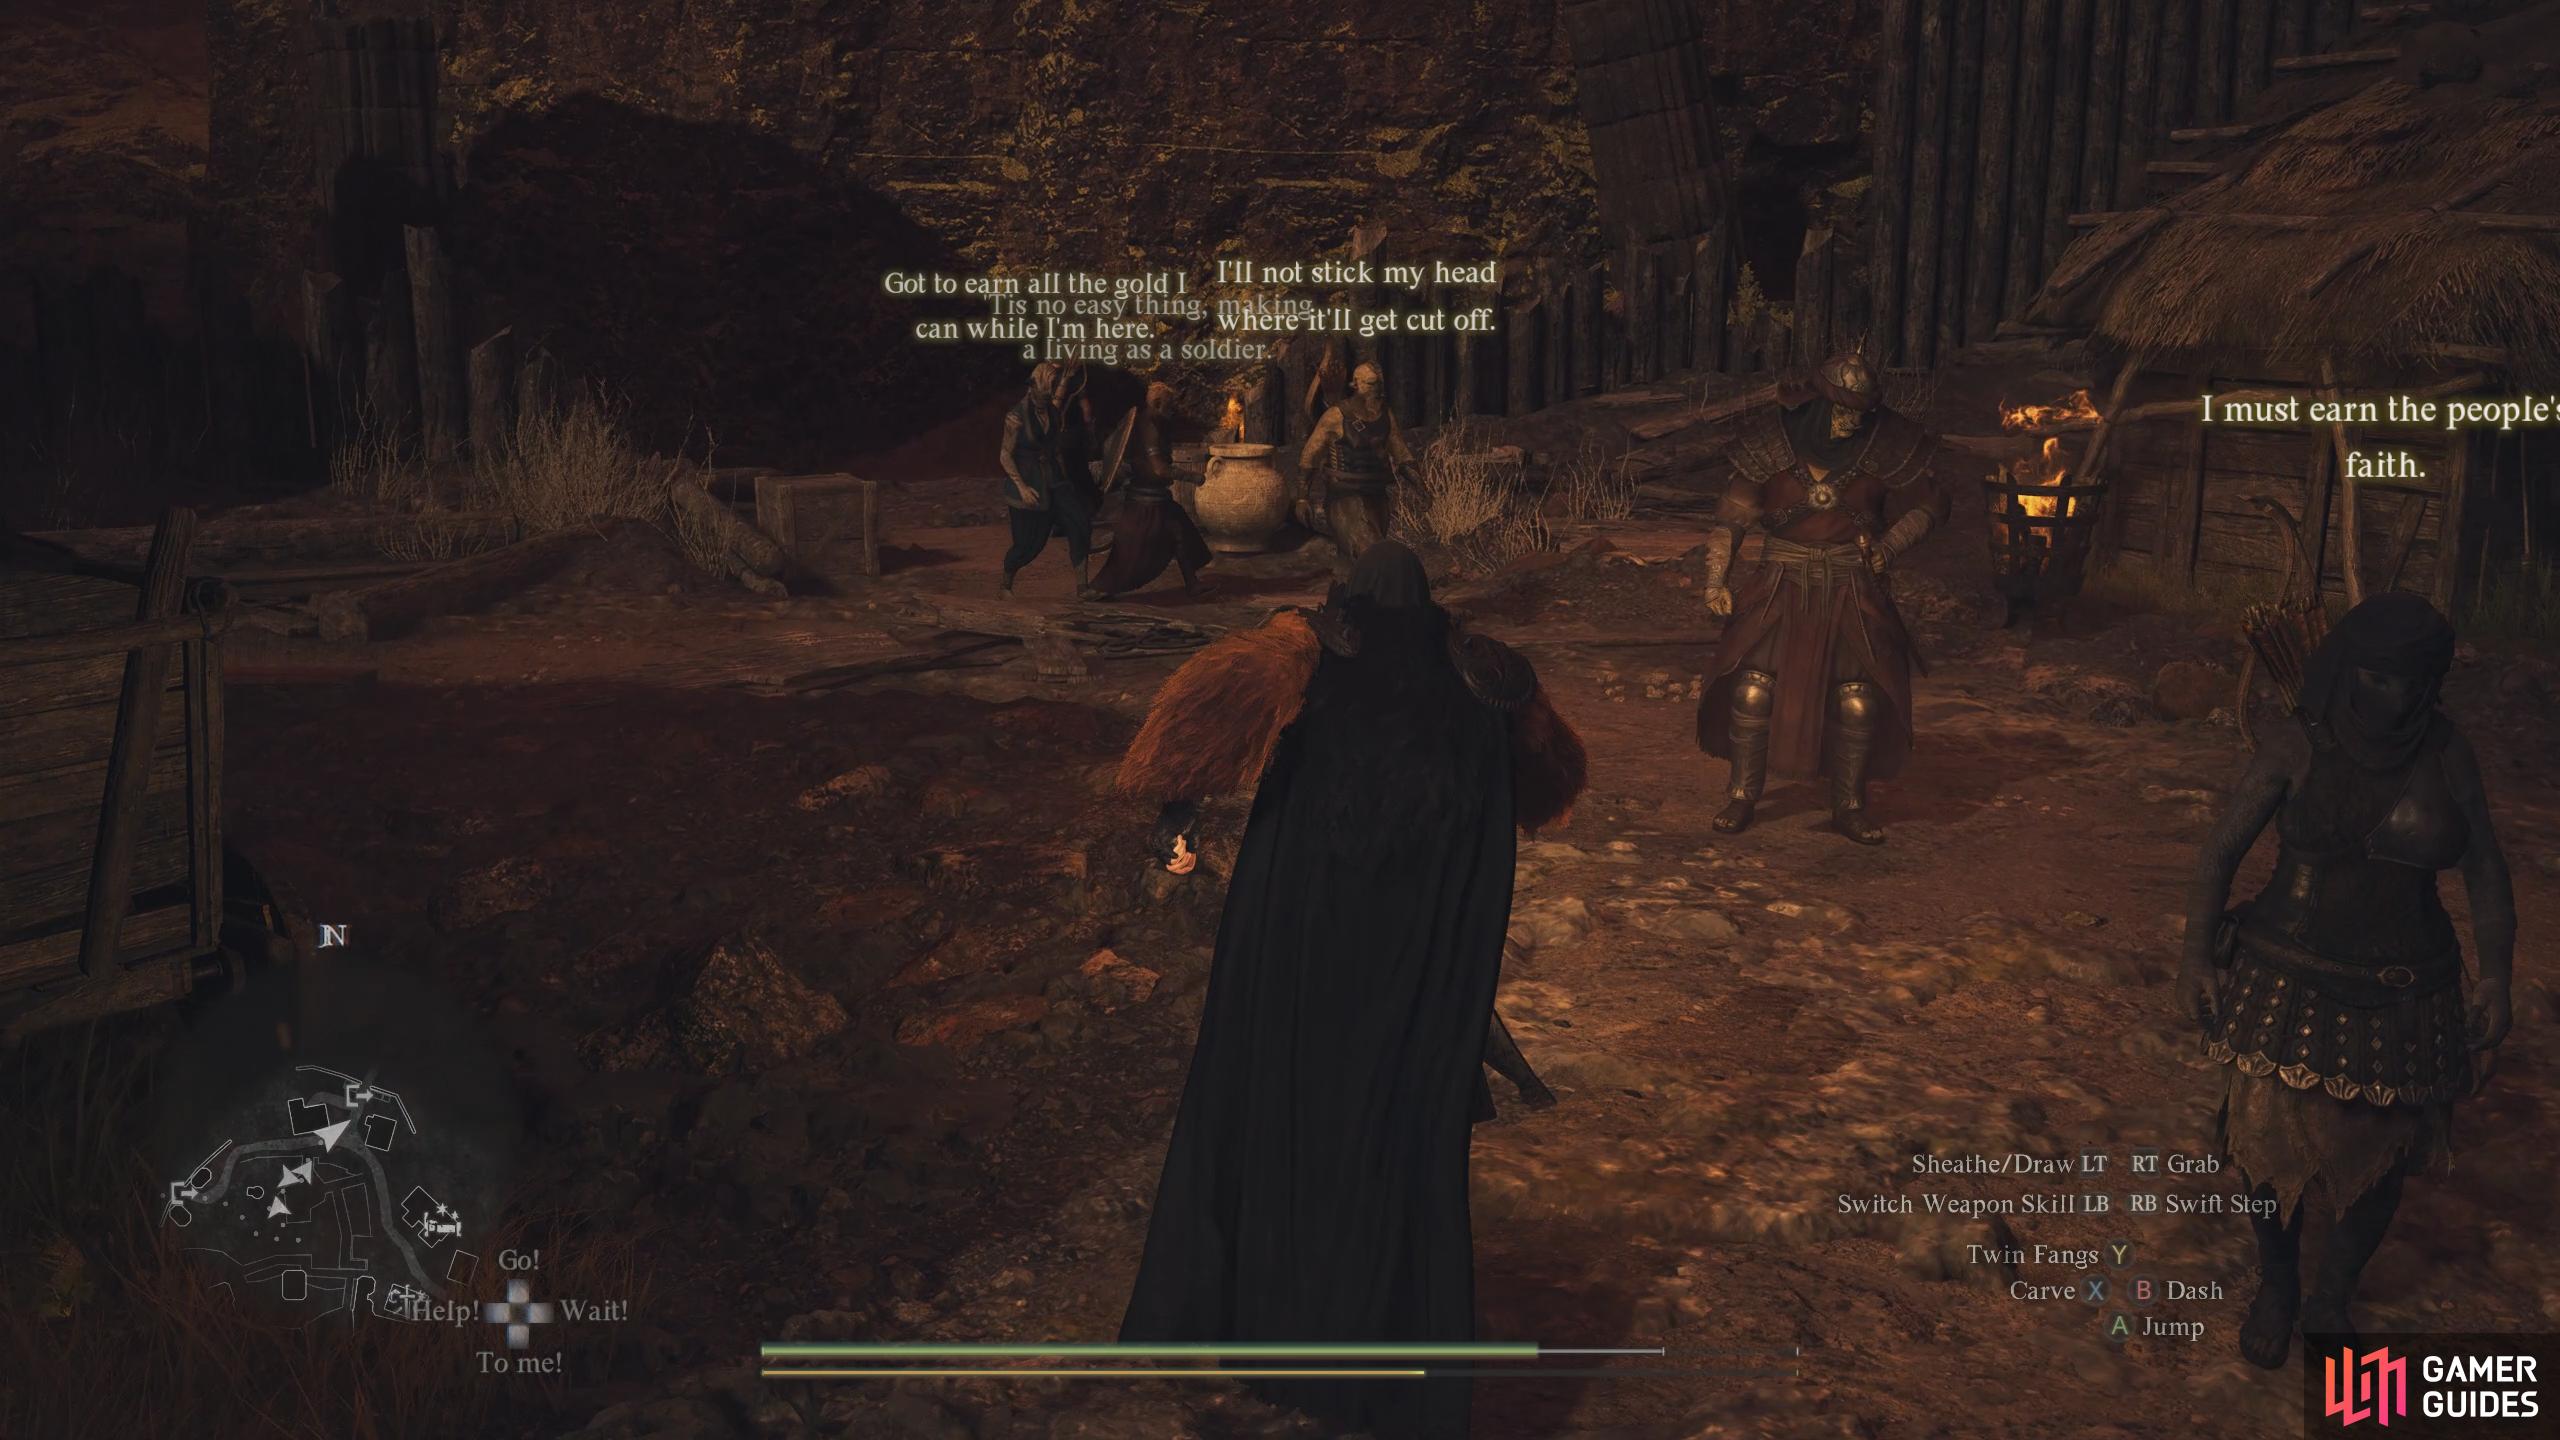
With the Purgener dealt with, proceed west to the ![]() Windwalker’s Home. Try to persuade Cliodhna and Gautstafr to join you and Cliodhna will turn you down. Fortunately, Gautstafr is a bit smarter and will convince her to evacuate. Now, you need to make the long walk back but this time with Cliodhna and Gautstafr. In our game, Gautstafr got bugged in the Magick Archer quest, and still had a bad back (because he didn’t go to the spring). We’re not sure if this changes if you have done the quest already, but if he is still slow, we recommend picking him up and carrying him back. While you do this, you will be attacked by numerous enemies along the path, so make sure you protect the pair or revive them with a
Windwalker’s Home. Try to persuade Cliodhna and Gautstafr to join you and Cliodhna will turn you down. Fortunately, Gautstafr is a bit smarter and will convince her to evacuate. Now, you need to make the long walk back but this time with Cliodhna and Gautstafr. In our game, Gautstafr got bugged in the Magick Archer quest, and still had a bad back (because he didn’t go to the spring). We’re not sure if this changes if you have done the quest already, but if he is still slow, we recommend picking him up and carrying him back. While you do this, you will be attacked by numerous enemies along the path, so make sure you protect the pair or revive them with a ![]() Wakestone should they get killed. Once you’ve escorted them back, Ernesto will have one more task for you, persuade
Wakestone should they get killed. Once you’ve escorted them back, Ernesto will have one more task for you, persuade ![]() Lamond to join them. Lamond is stubborn and will not come with you until you persuade him. Find him (usually by the Hot Spring in the south) and tell him to join you. When you get the choice, tell him to protect the smith and the wife, and he’ll reluctantly agree. For a full walkthrough of the quest, visit our The Importance of Aiding Ernesto Guide.
Lamond to join them. Lamond is stubborn and will not come with you until you persuade him. Find him (usually by the Hot Spring in the south) and tell him to join you. When you get the choice, tell him to protect the smith and the wife, and he’ll reluctantly agree. For a full walkthrough of the quest, visit our The Importance of Aiding Ernesto Guide.

All you need to do now is persuade Lamond to evacuate. Do this by selecting the top option.
Shepherd of the Pawns - Agamen Ruins Evacuation
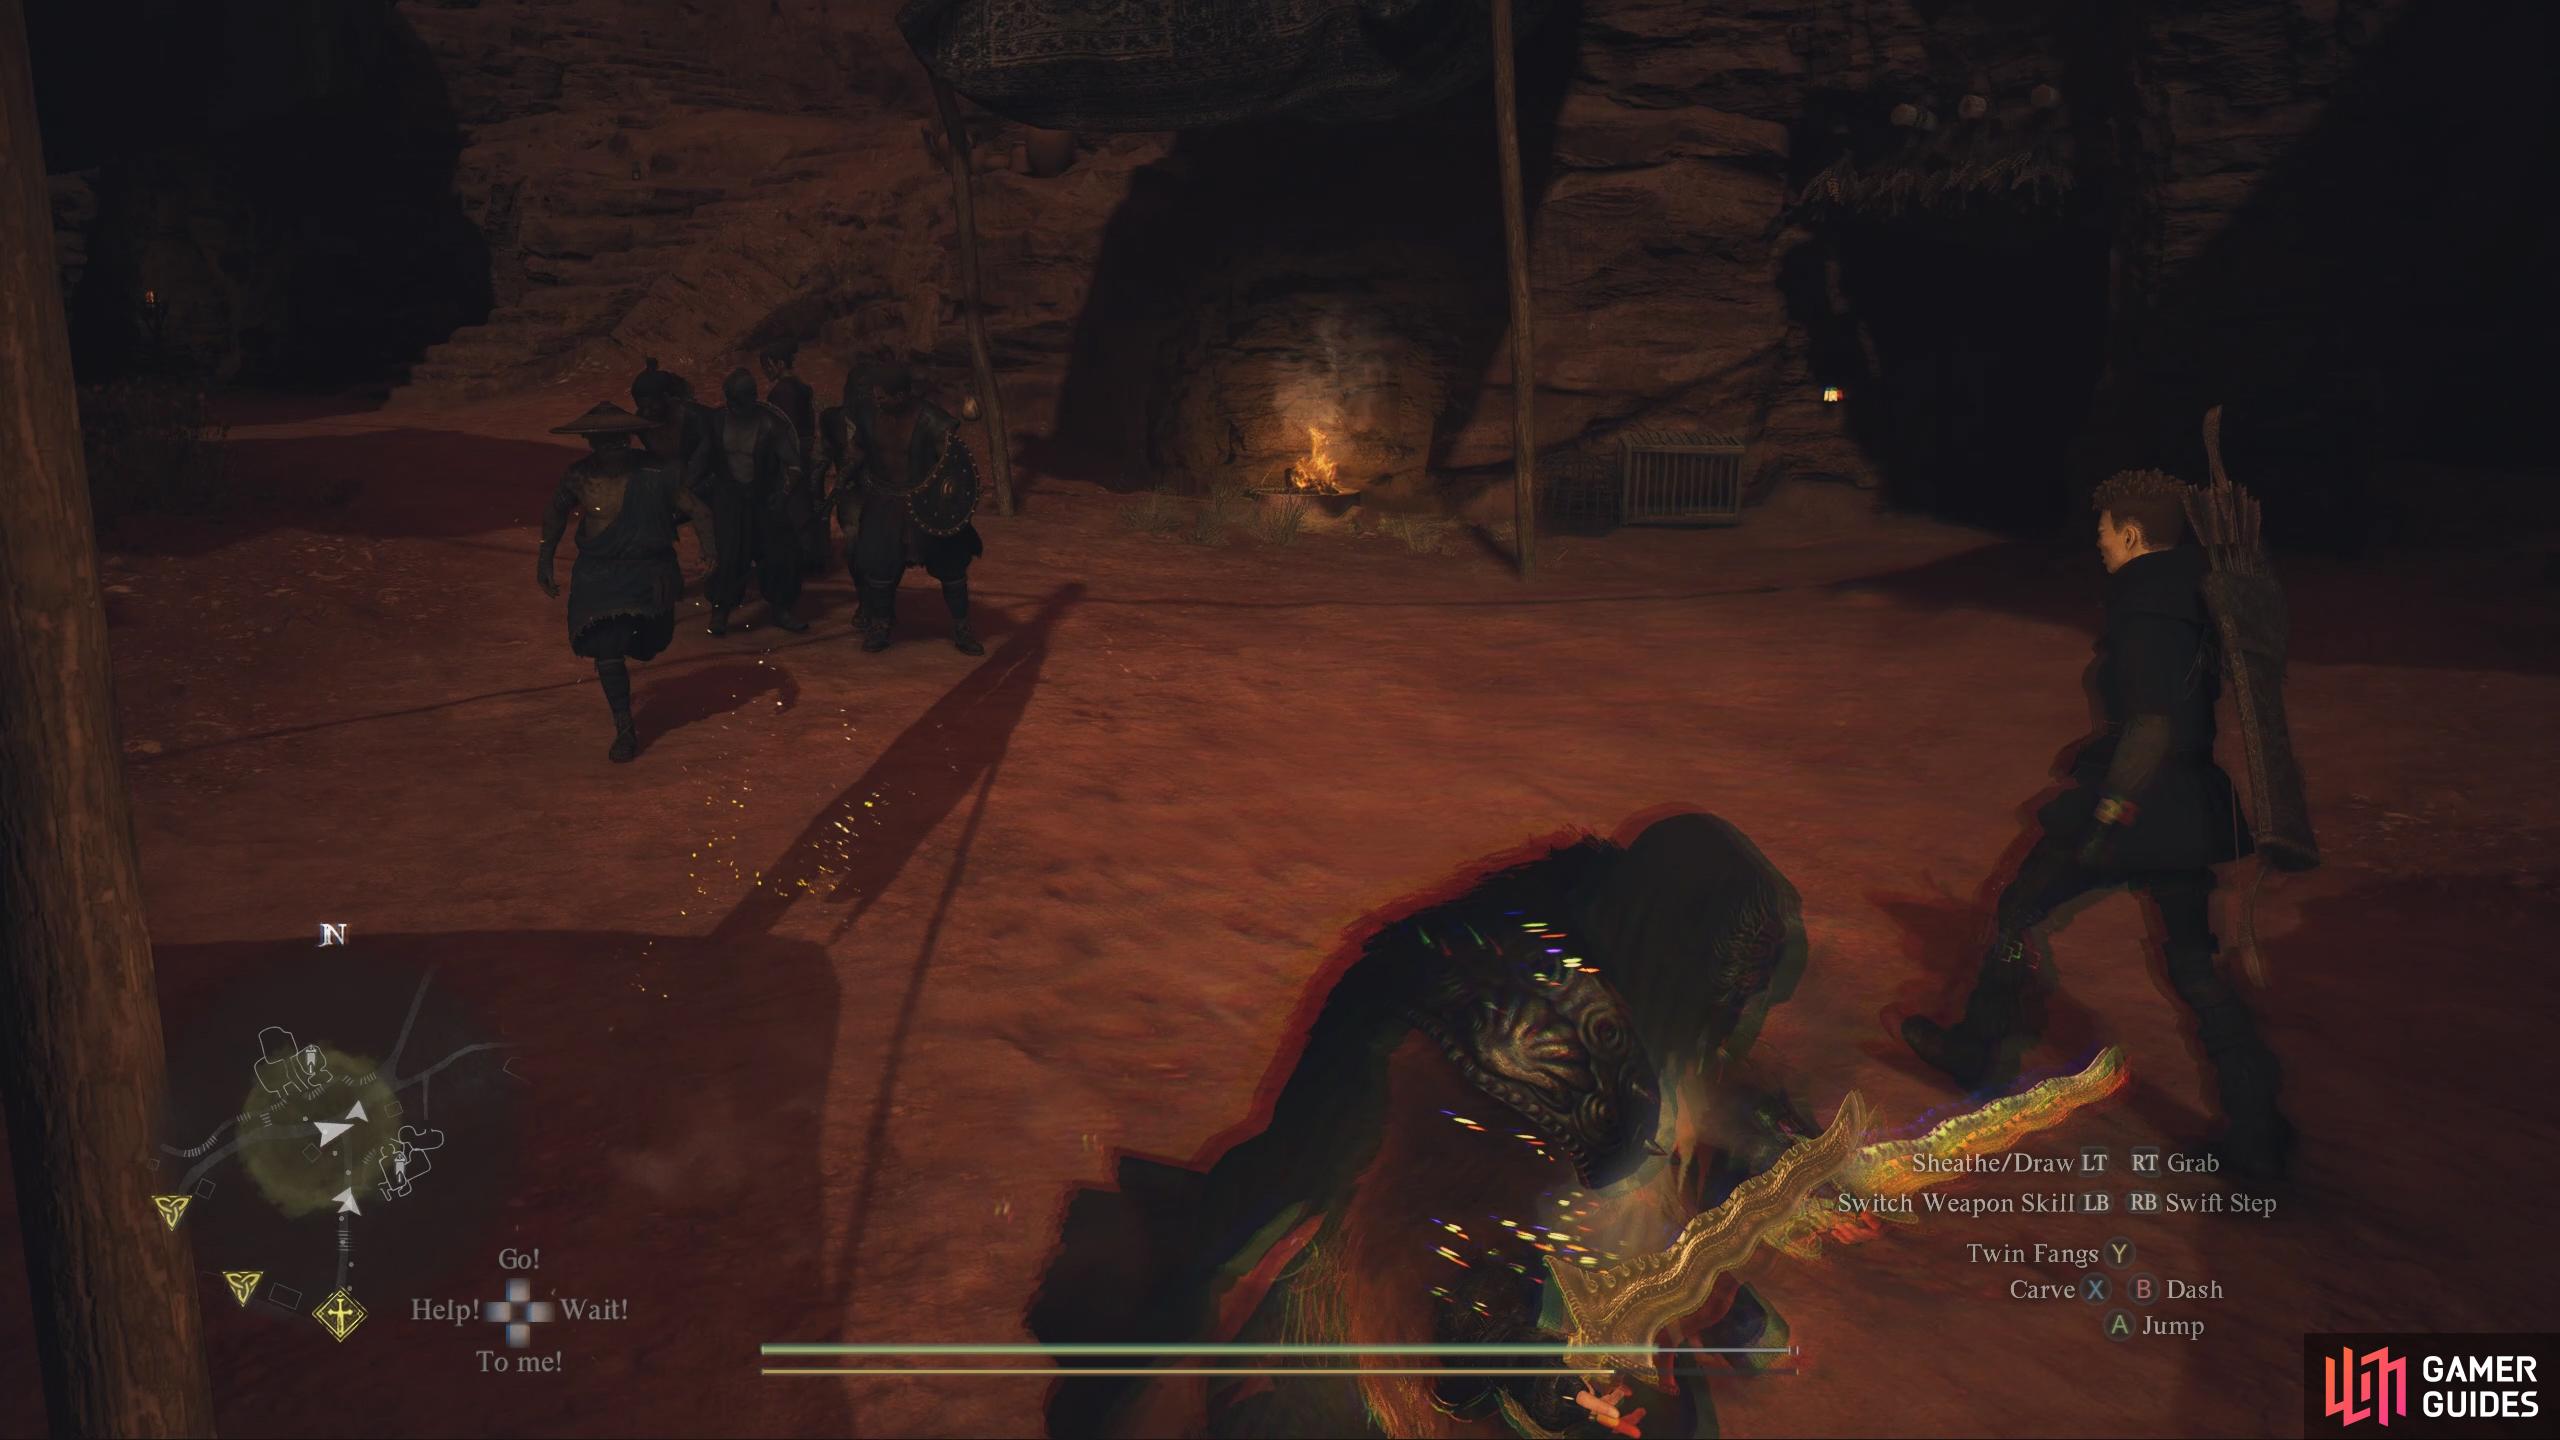
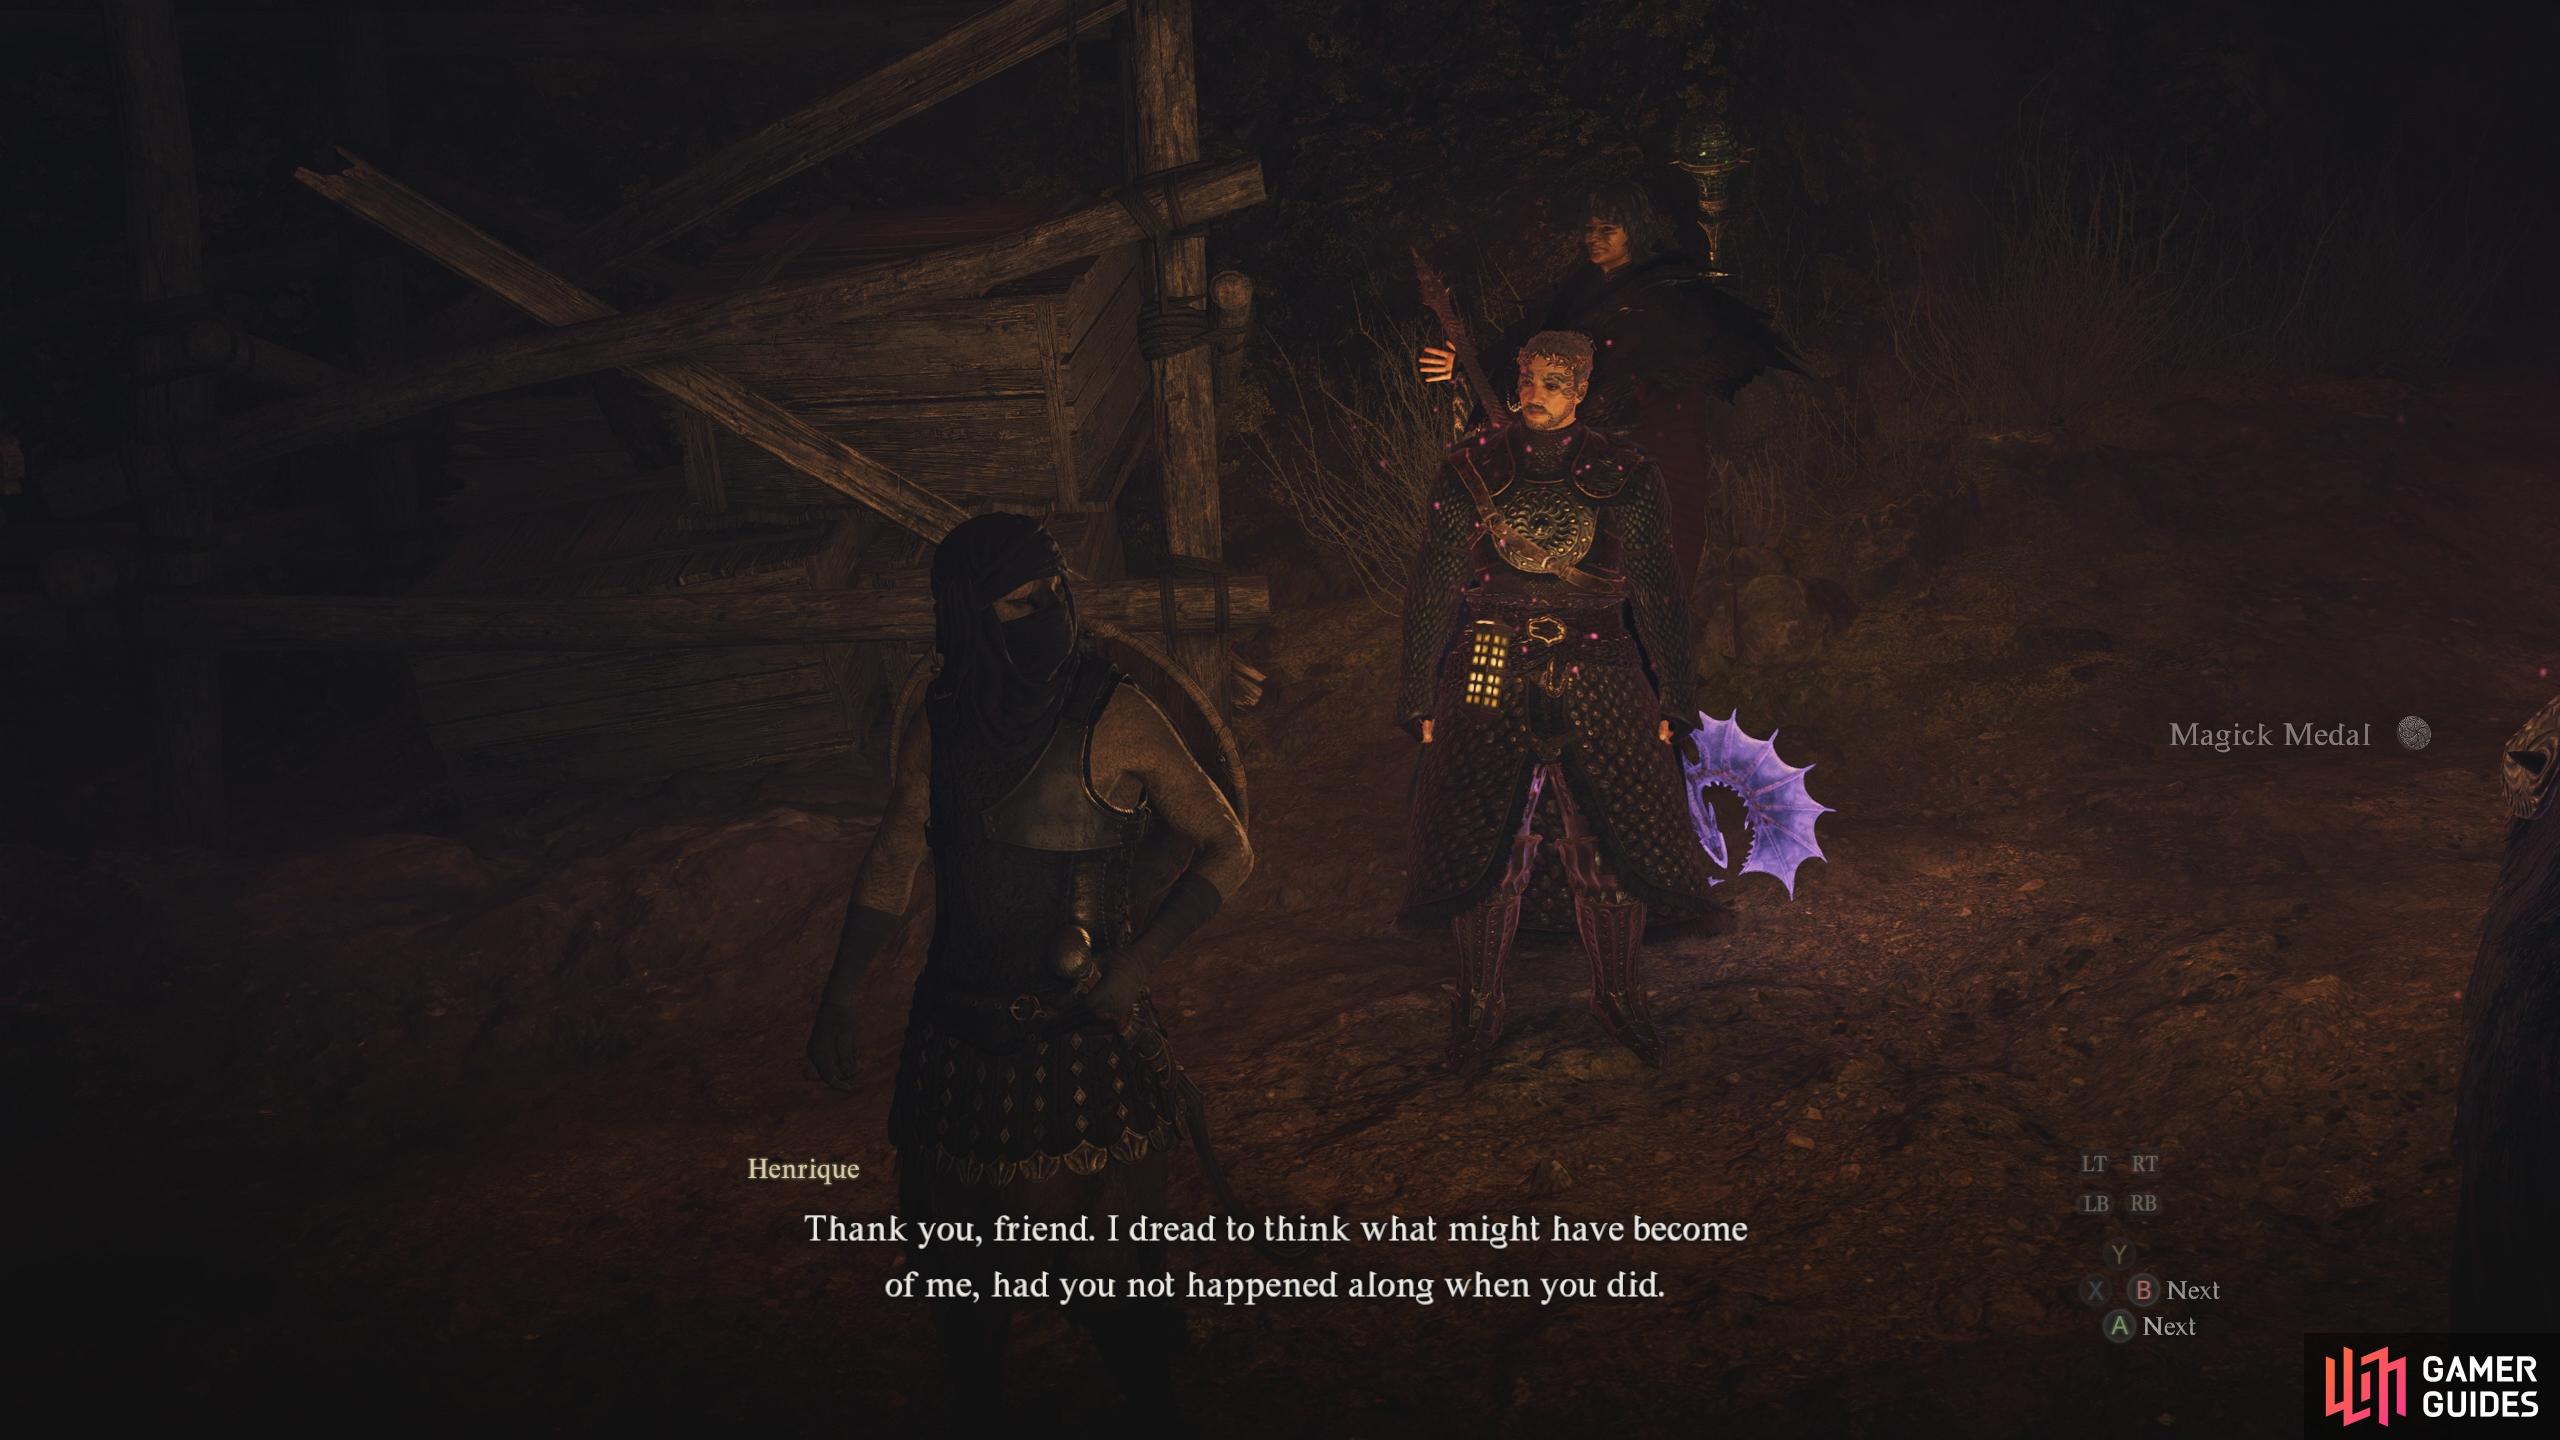
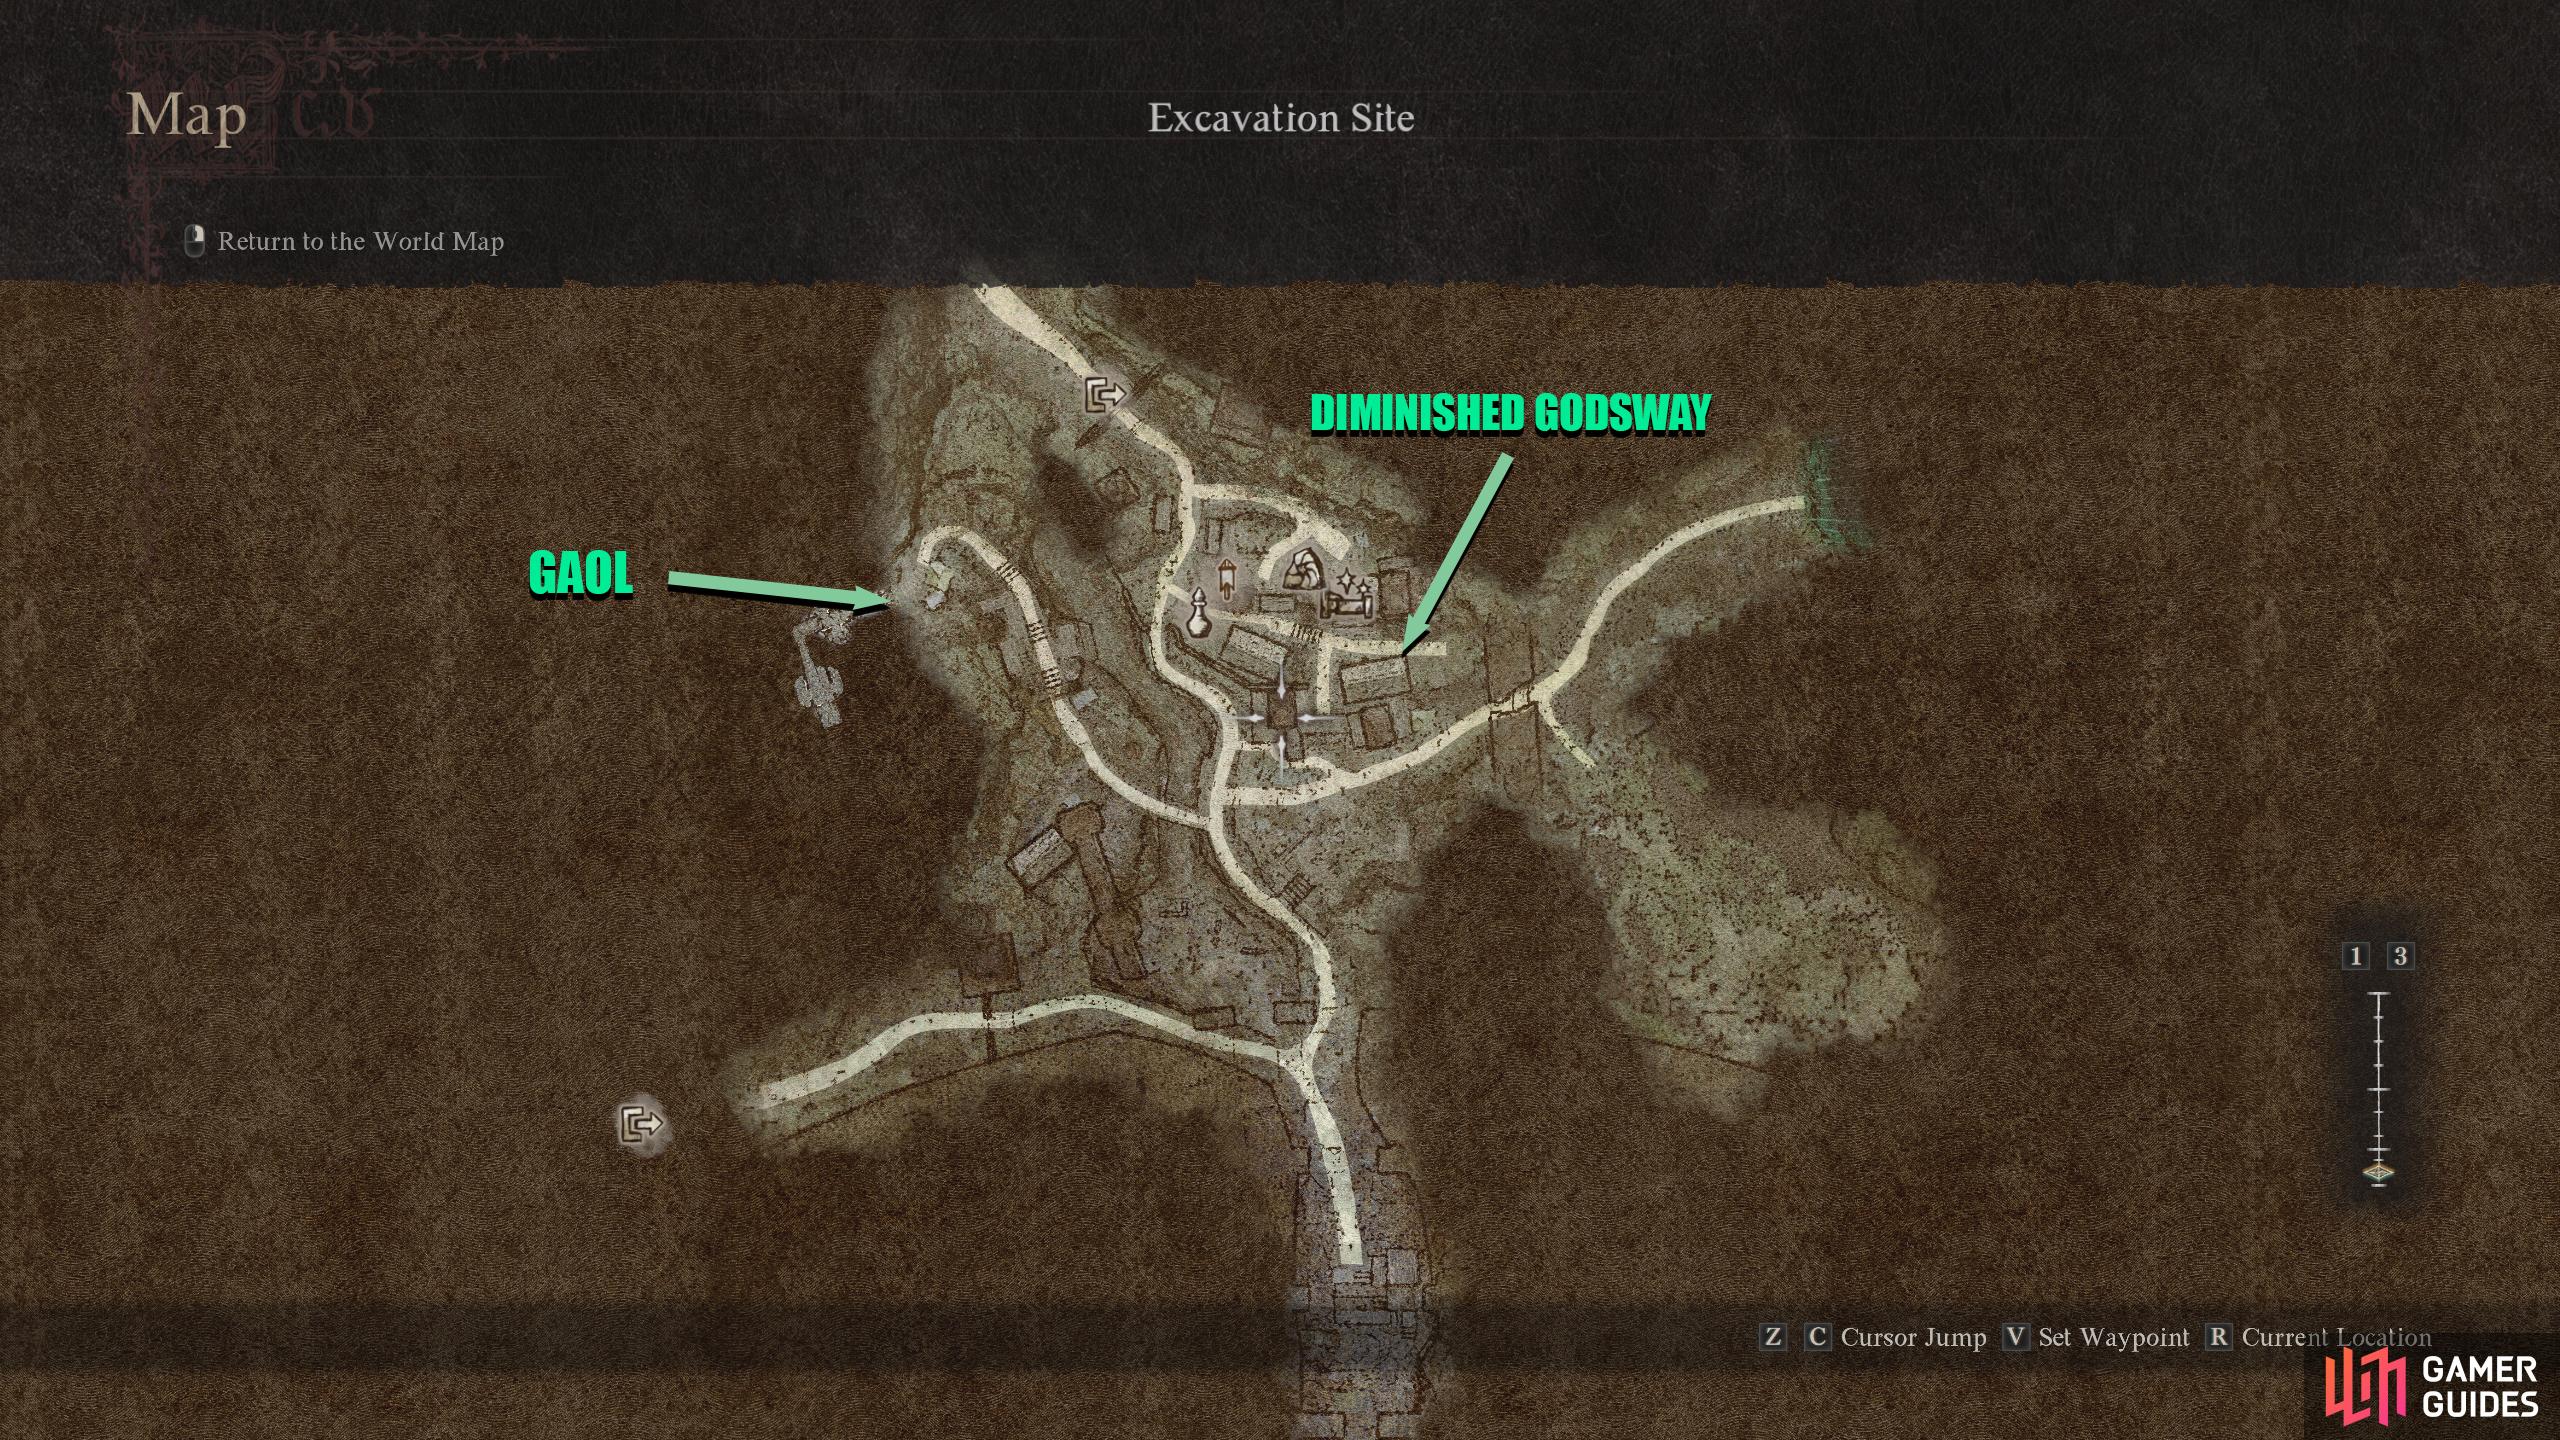
As you’re already in the area, you may as well evacuate the Agamen Ruins (Excavation Site) in the southeast. Exit the Volcanic Island Camp via the northern exit and follow the path east, and then southeast until you reach the Site. As you approach the gates, you’ll encounter Henrique battling a ![]() Golem. Help him defeat it, and he’ll thank you for stepping in. He’ll tell you that he’d gladly accompany you, but he doesn’t want to leave the pawns behind, and right now, they refuse to leave. Follow Henrique to the gaol in the west, and you’ll get a short scene with him and the pawns.
Golem. Help him defeat it, and he’ll thank you for stepping in. He’ll tell you that he’d gladly accompany you, but he doesn’t want to leave the pawns behind, and right now, they refuse to leave. Follow Henrique to the gaol in the west, and you’ll get a short scene with him and the pawns.
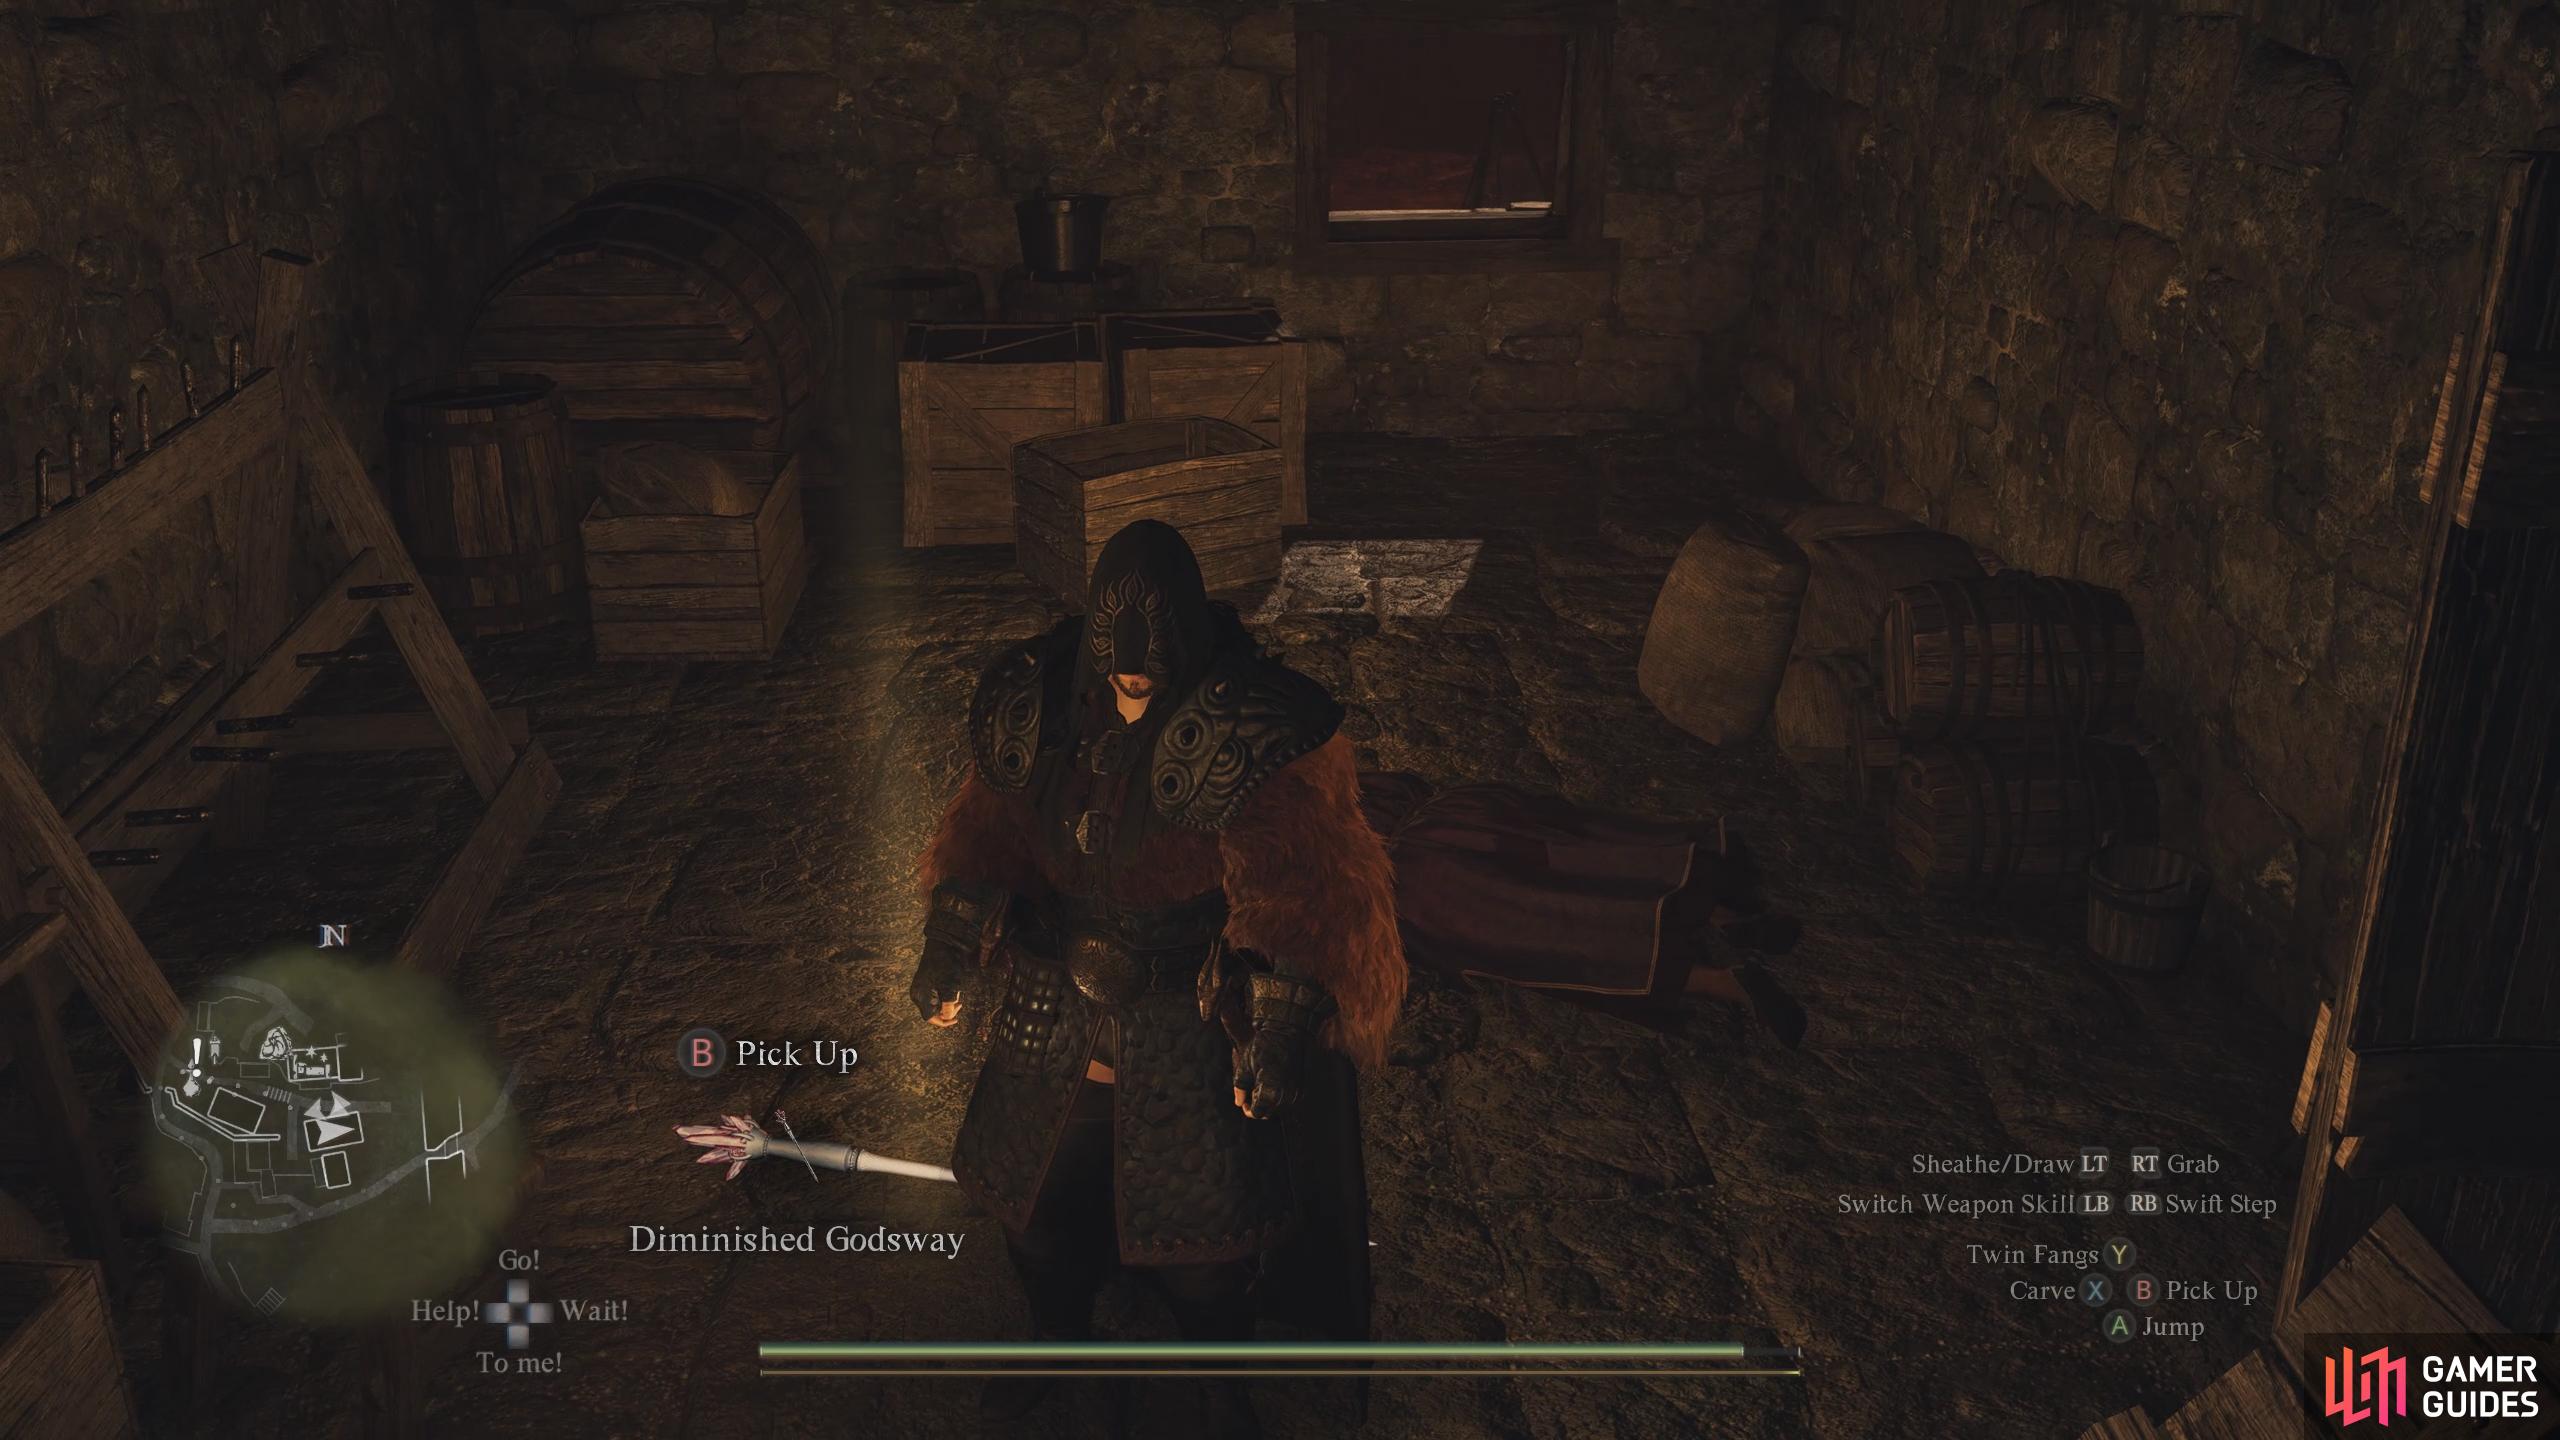
It appears they’re under orders to stay there from the Overseer who disappeared. Furthermore, the Overseer used a Godsway to achieve this. Henrique will give you his key while asking you to find the Overseer, and if not them, then the Godsway. Head to the center of town and unlock the door to the house opposite the Inn. By the entrance, you’ll find the Overseers’ Corpse alongside the ![]() Diminished Godsway. Pick it up and head back to the Gaol and then hand over the godsway to Henrique. The pawns will be freed from their commands, and Henrique will agree to evacuate. For a full walkthrough of this quest, visit our Shepherd of the Pawns Guide
Diminished Godsway. Pick it up and head back to the Gaol and then hand over the godsway to Henrique. The pawns will be freed from their commands, and Henrique will agree to evacuate. For a full walkthrough of this quest, visit our Shepherd of the Pawns Guide

(1 of 4) When you reach the gates, help Henrique defeat the Golem.
Island Encampment Purgener Fight
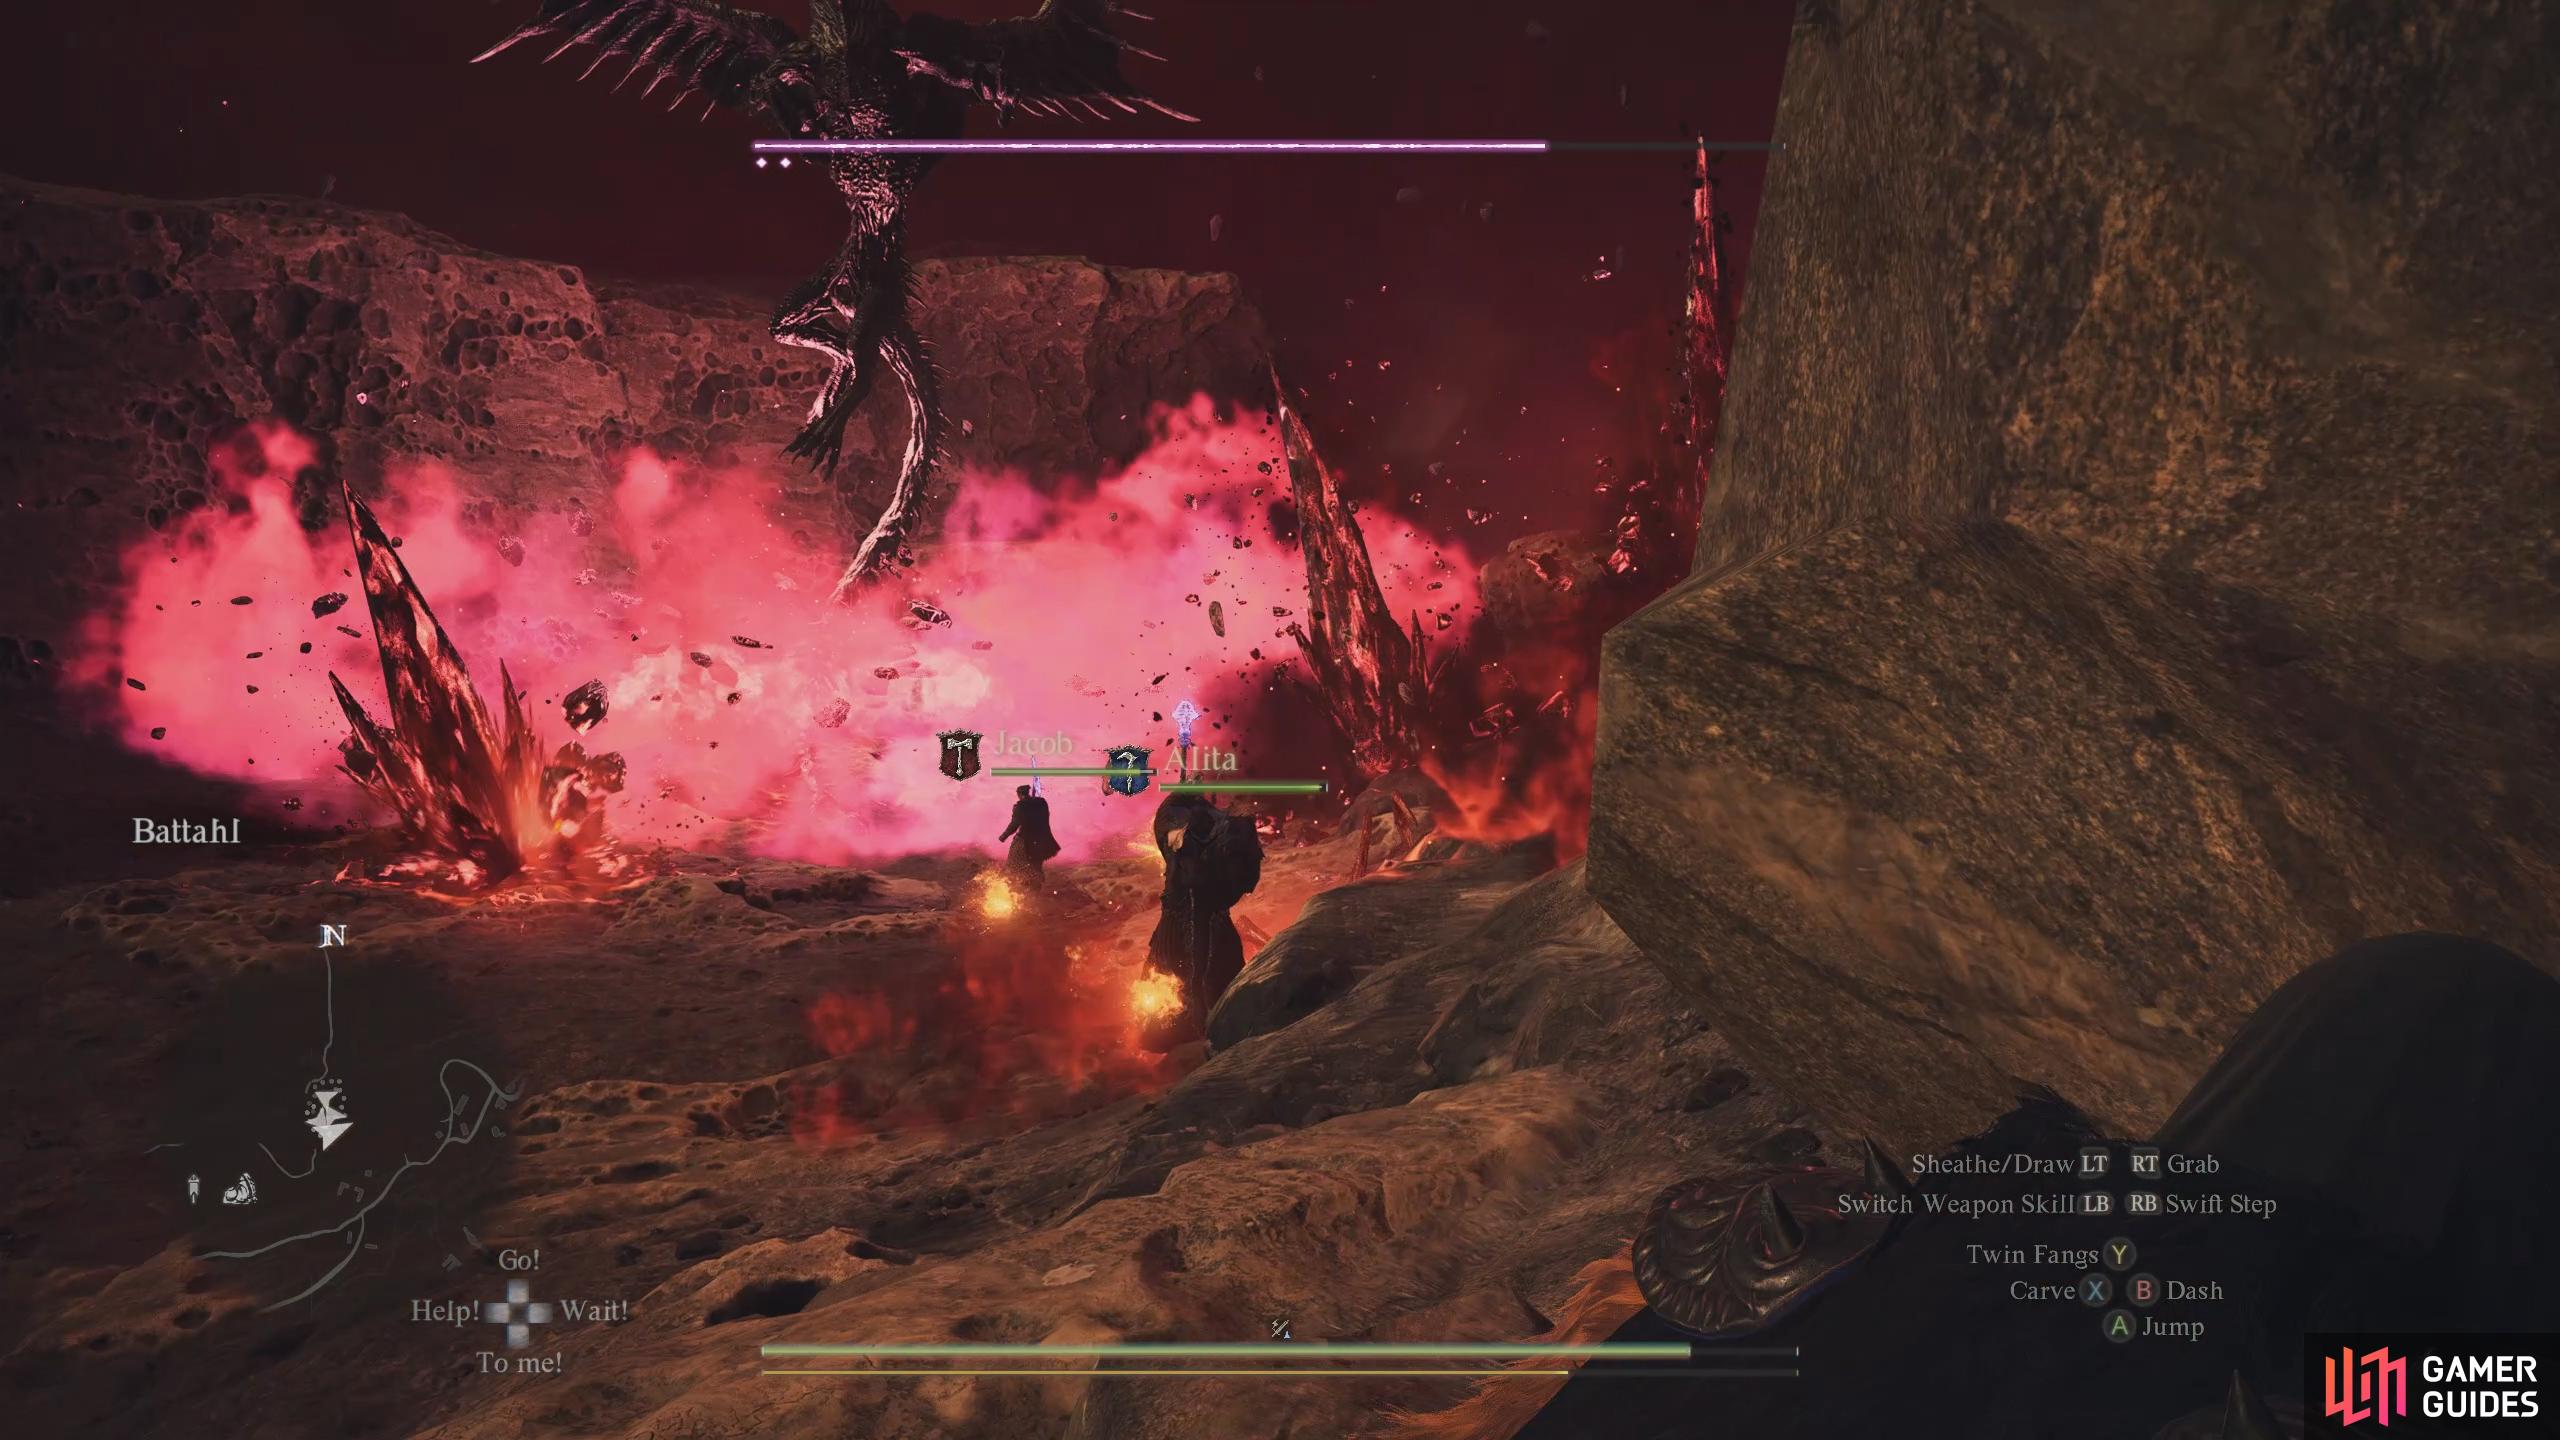
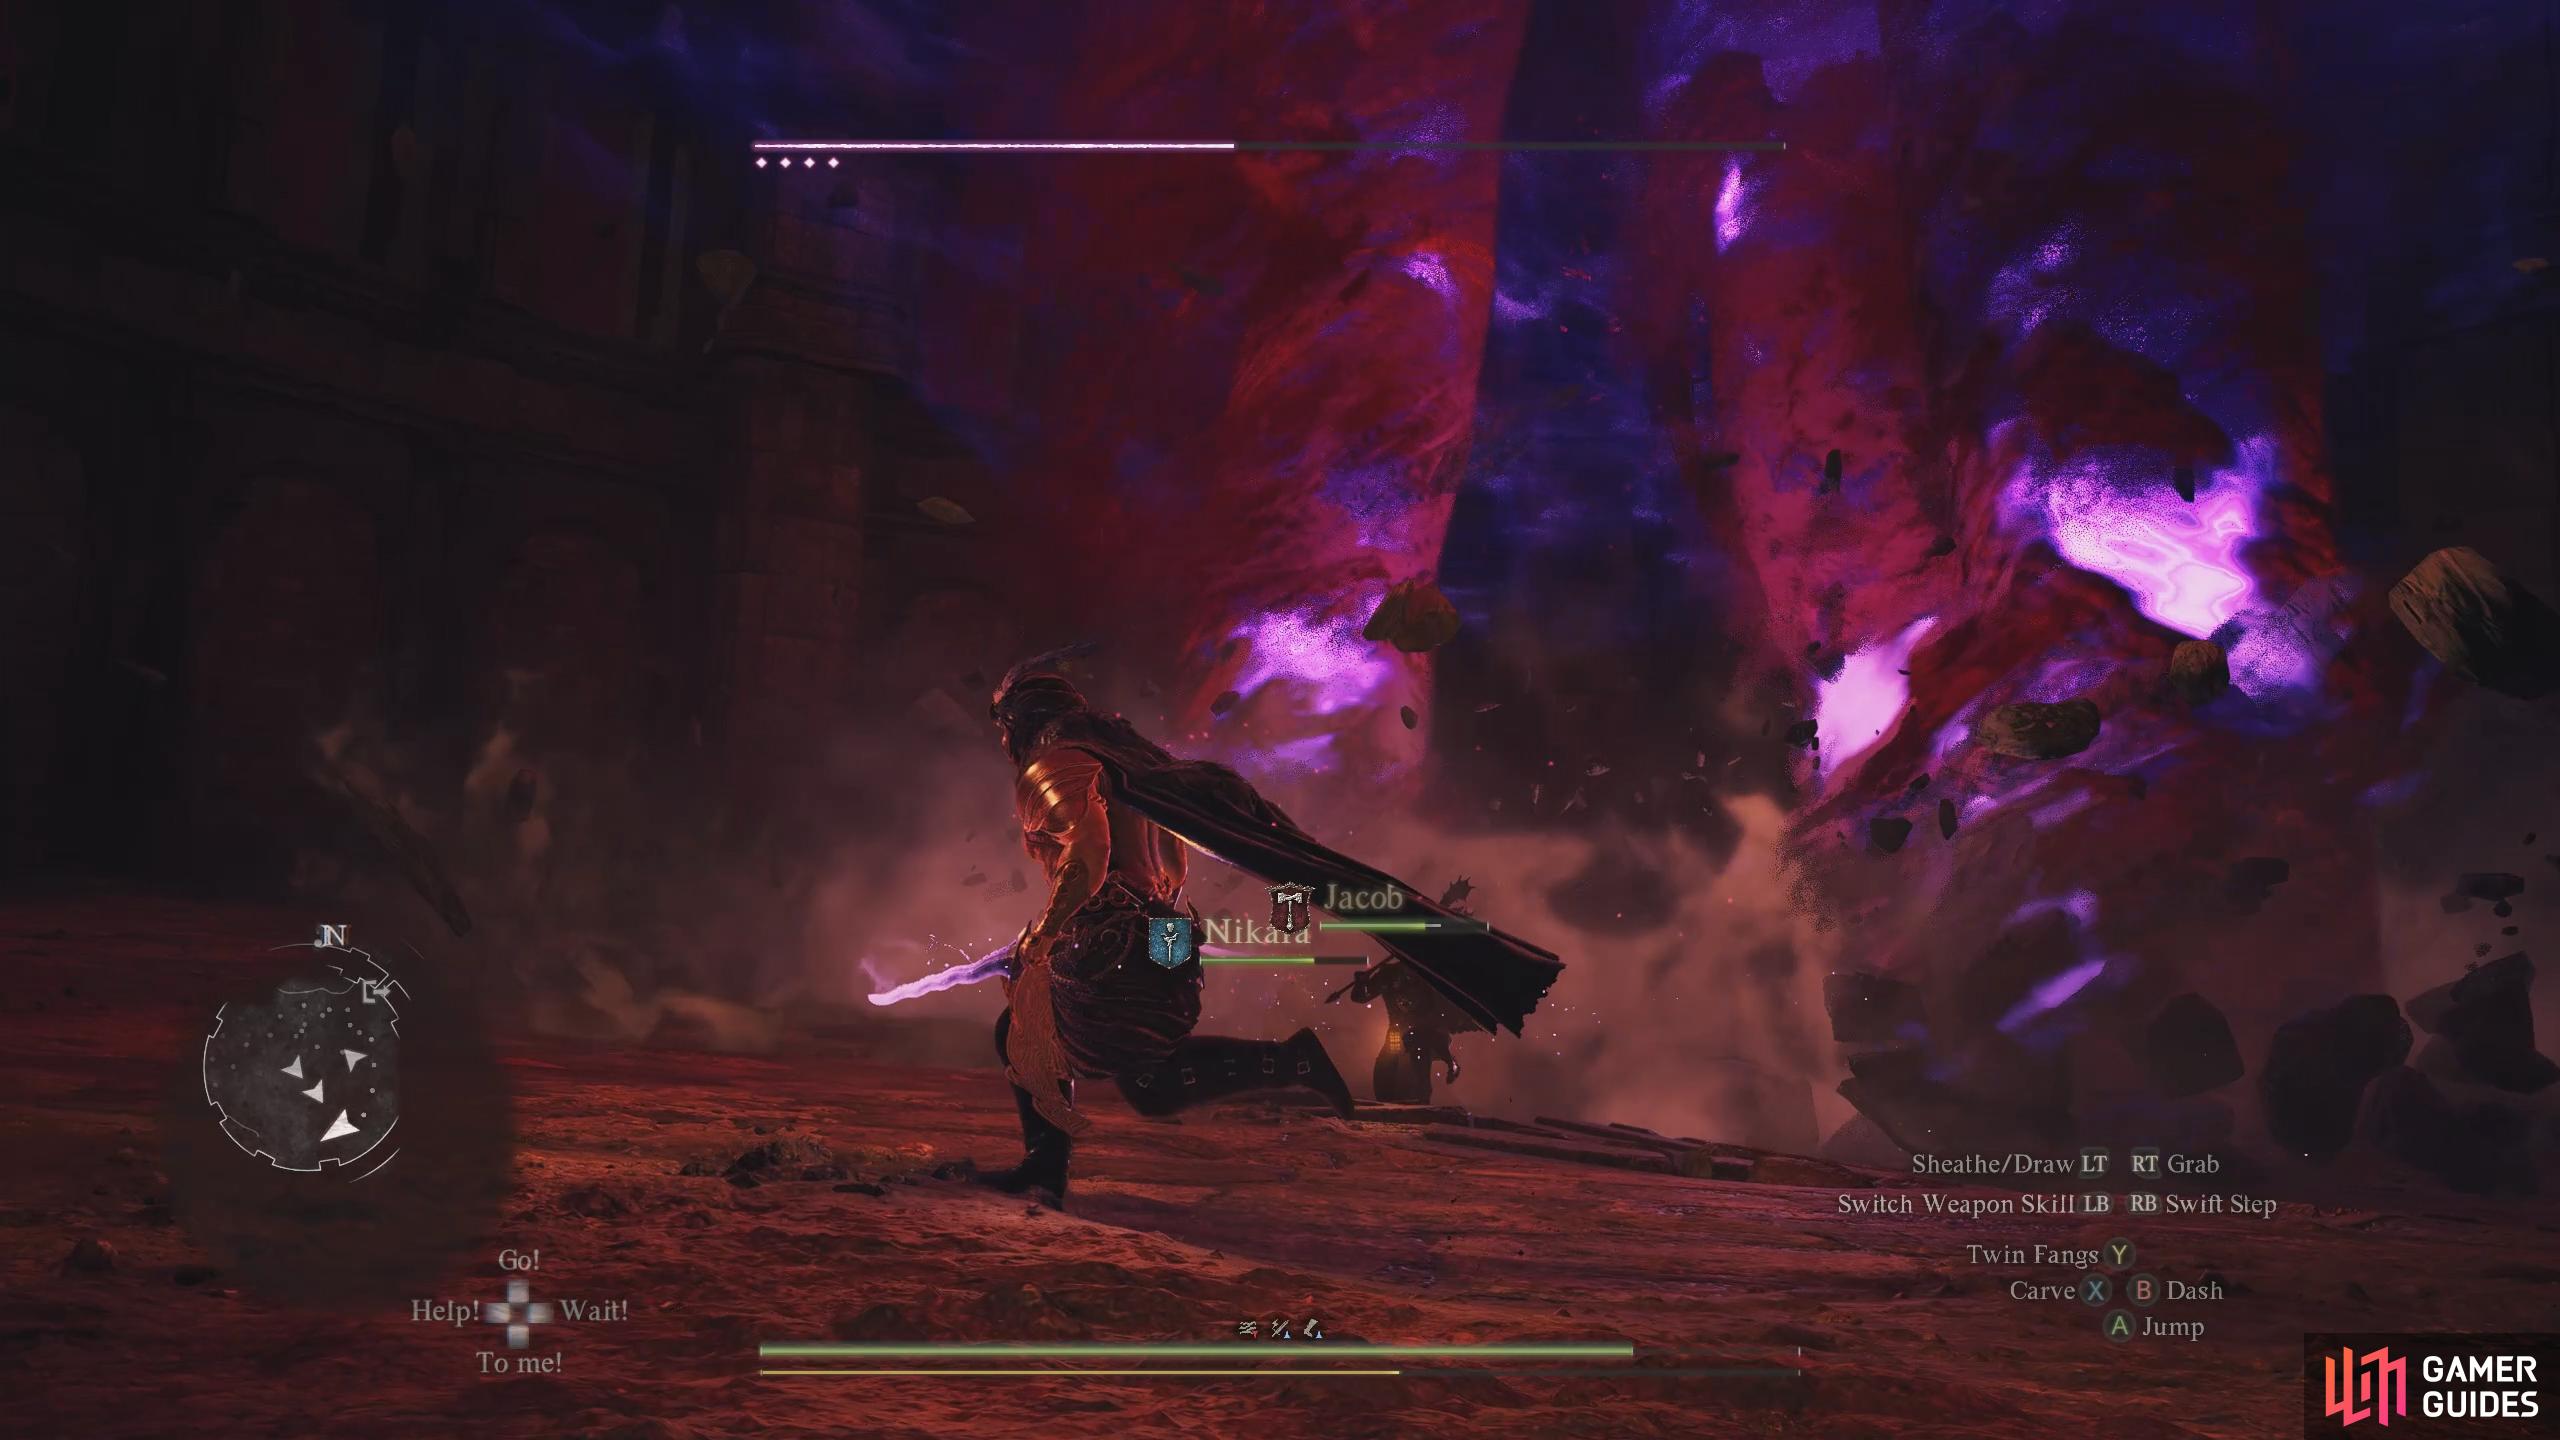
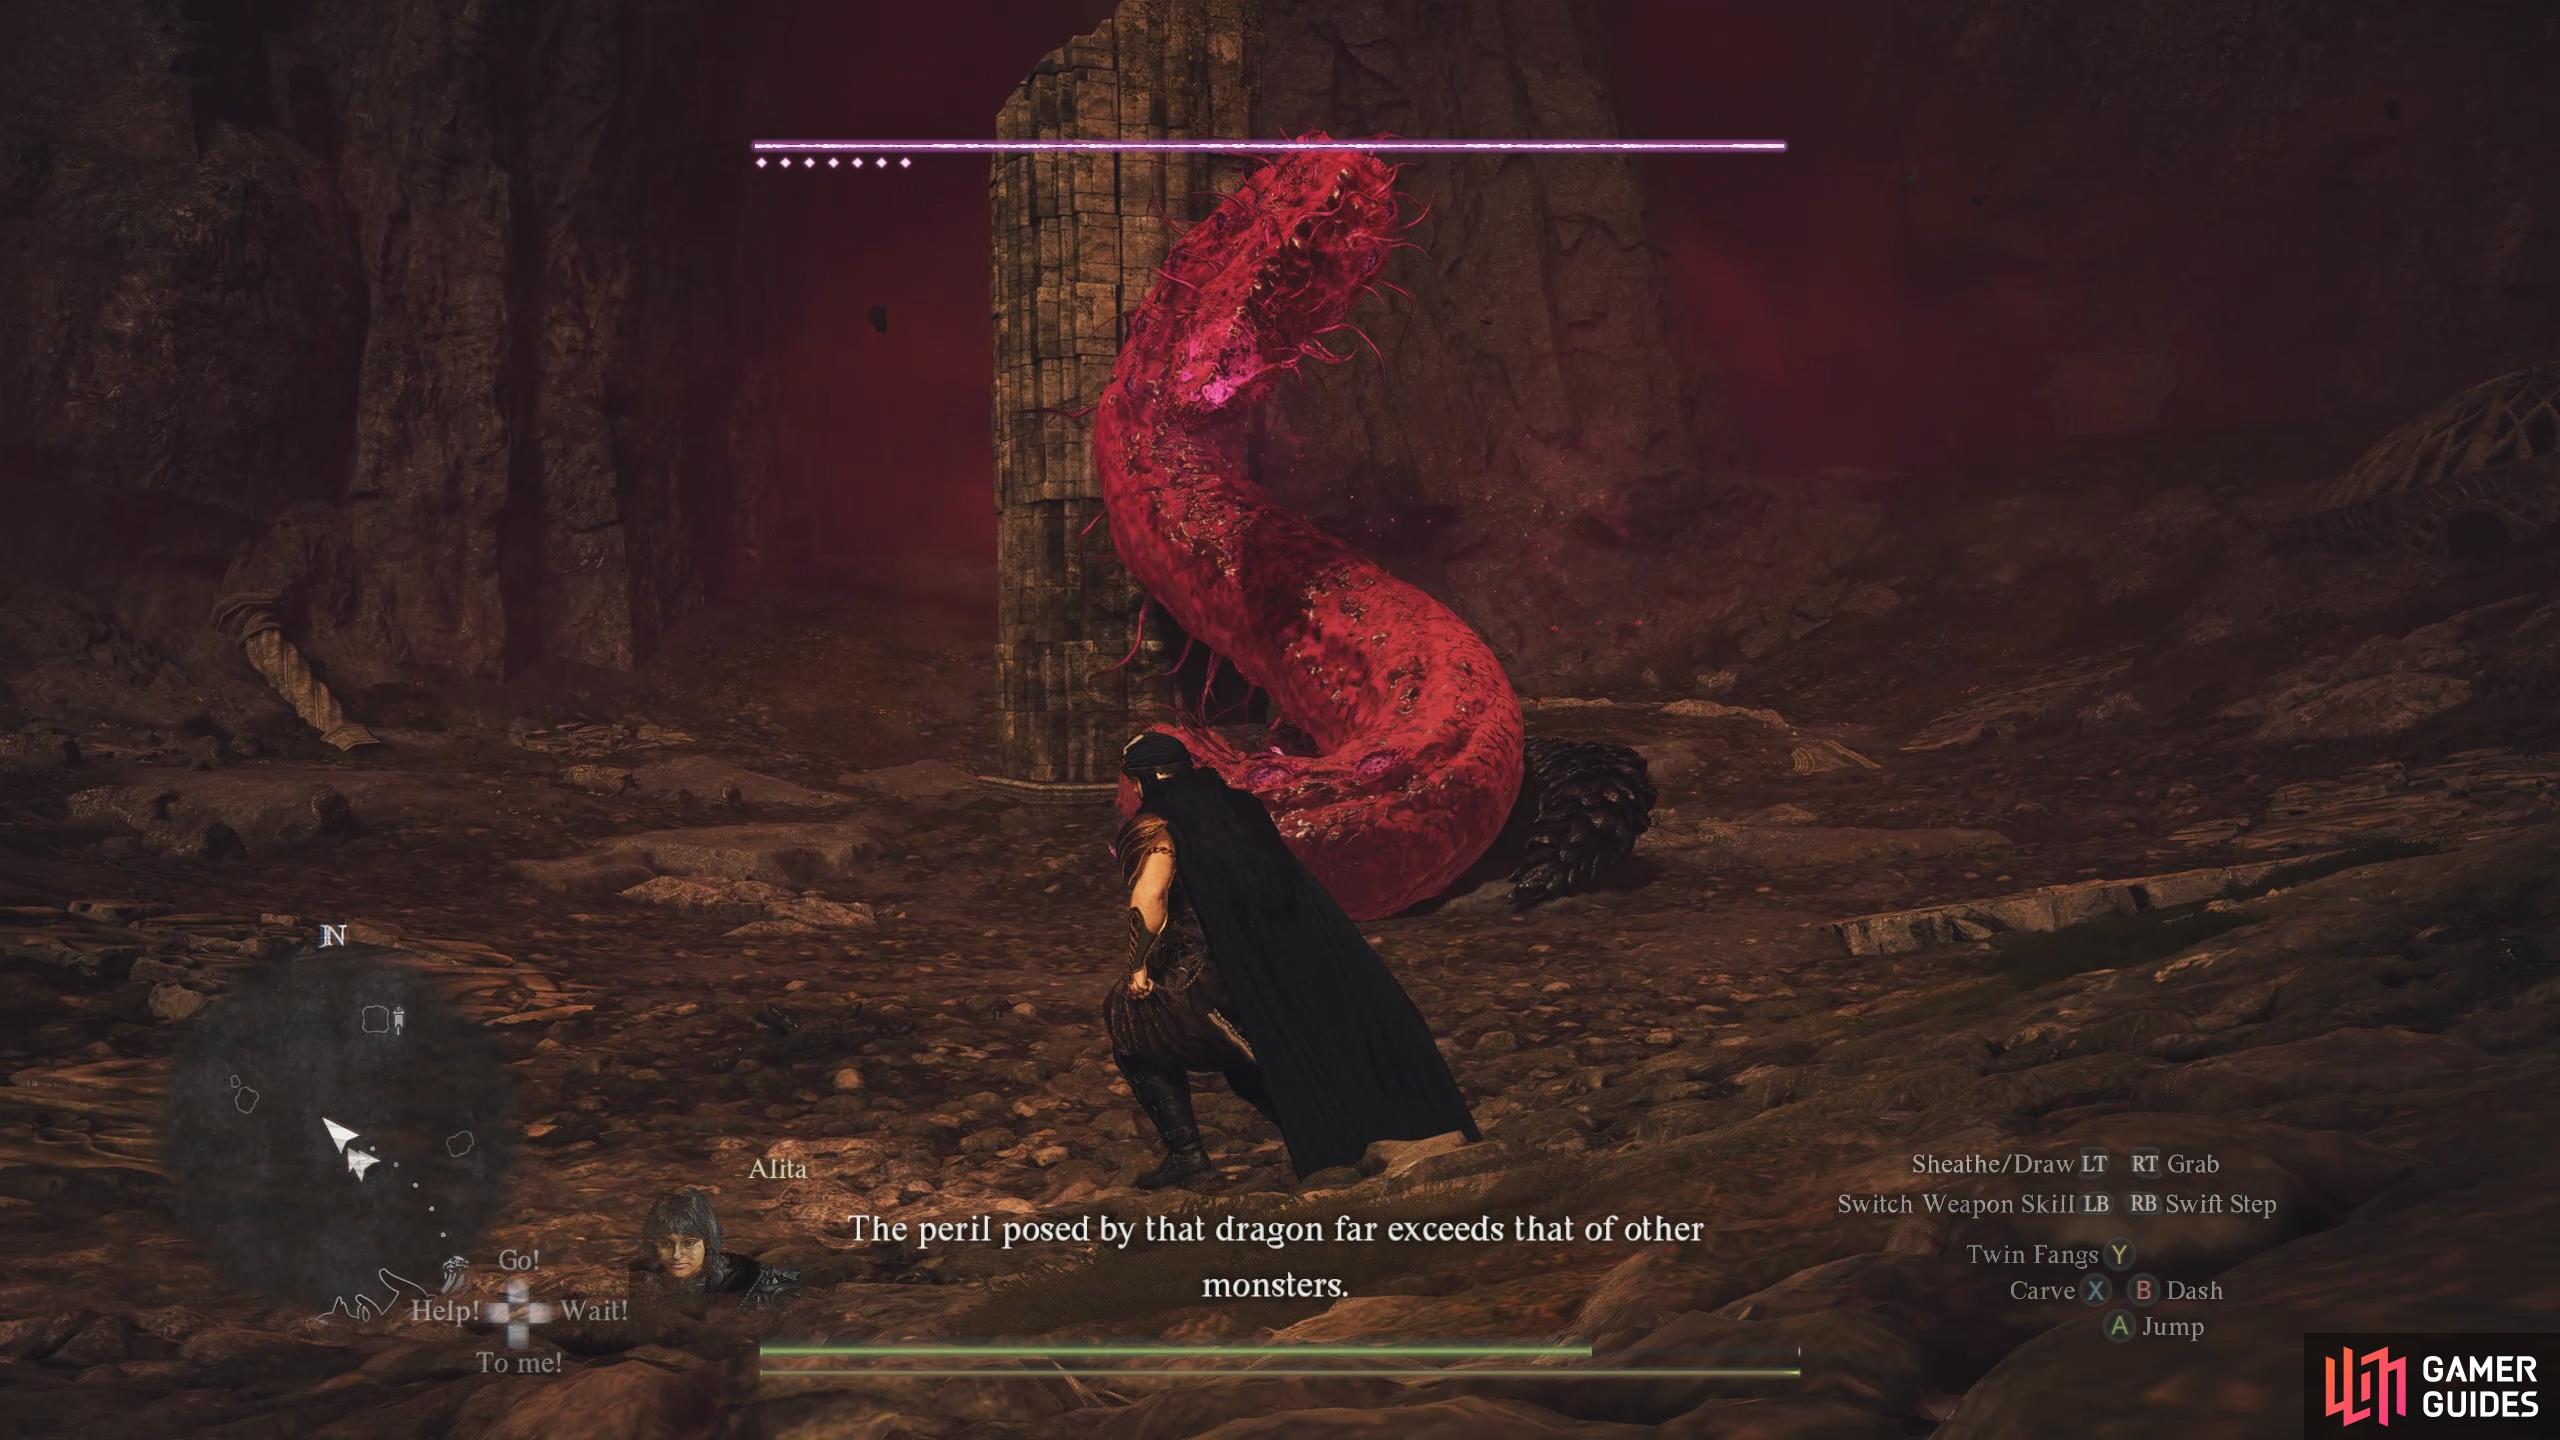
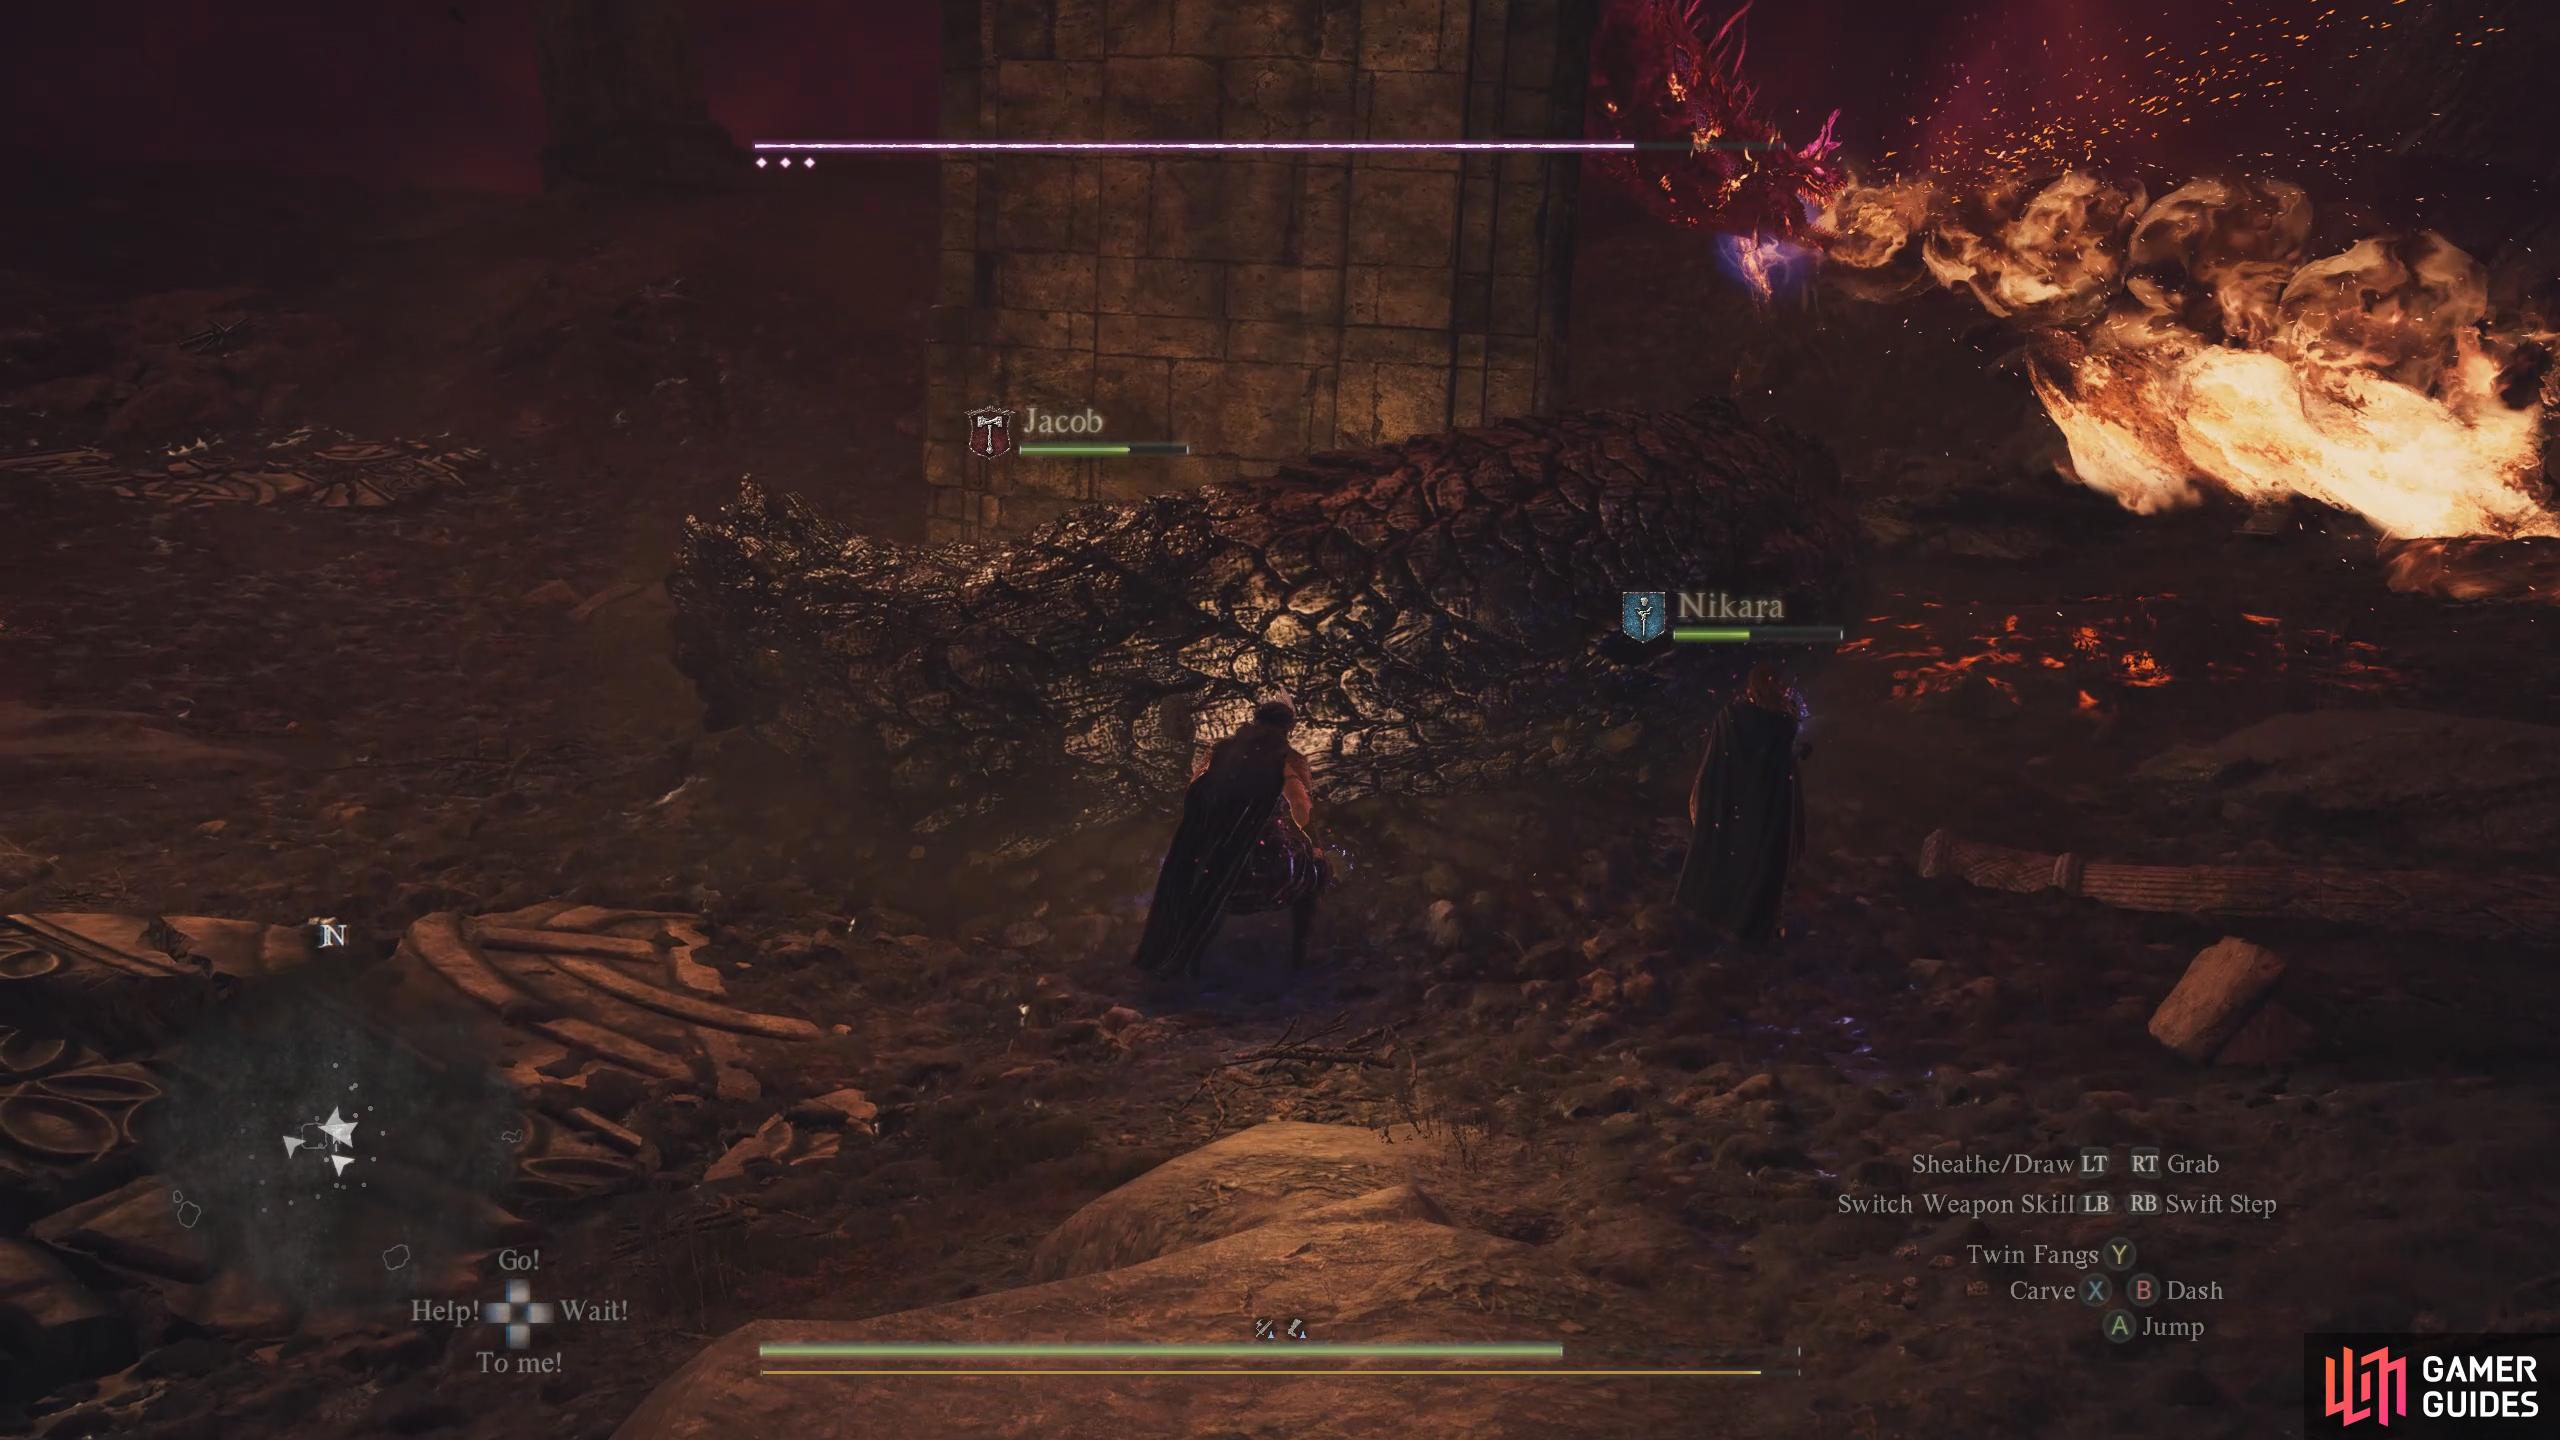
This pillar of light can be found to the southeast of the Excavation Site. Exit the camp via the eastern road, head under the bridge, and go south through the narrow passage at the intersection. Head over to activate the pillar of light with the Godsway and prepare yourself for another boss fight. This Purgener is in the form of a large serpent creature, where it’ll have red pustules from its tail to its head. The battle requires you to defeat each section of pustules before the shielding disappears from the next. This will start at its tail and rise to its head. The most difficult part of this battle is reaching its pustule near its head, as you’ll need to climb up to it if you don’t have a ranged weapon.
Keep attacking the unshielded pustule and once you defeat the last lot near its head, it’ll drop to the floor where you can attack its head. Note, if you attempt to climb the shielded pink part of the boss, you’ll take damage. The battle isn’t particularly difficult due to the boss standing idle for periods, and when it does attack, it’ll predominantly be a sweeping fire-breath attack, which is easy to avoid (just run towards its tail). When it’s nearly dead (last part) it’ll charge up and let loose a large tornado centered around its body. You can tell it’s coming because its mouth will light up as it charges. Simply run away from it and stand near the edge of the battlefield to avoid the attack.
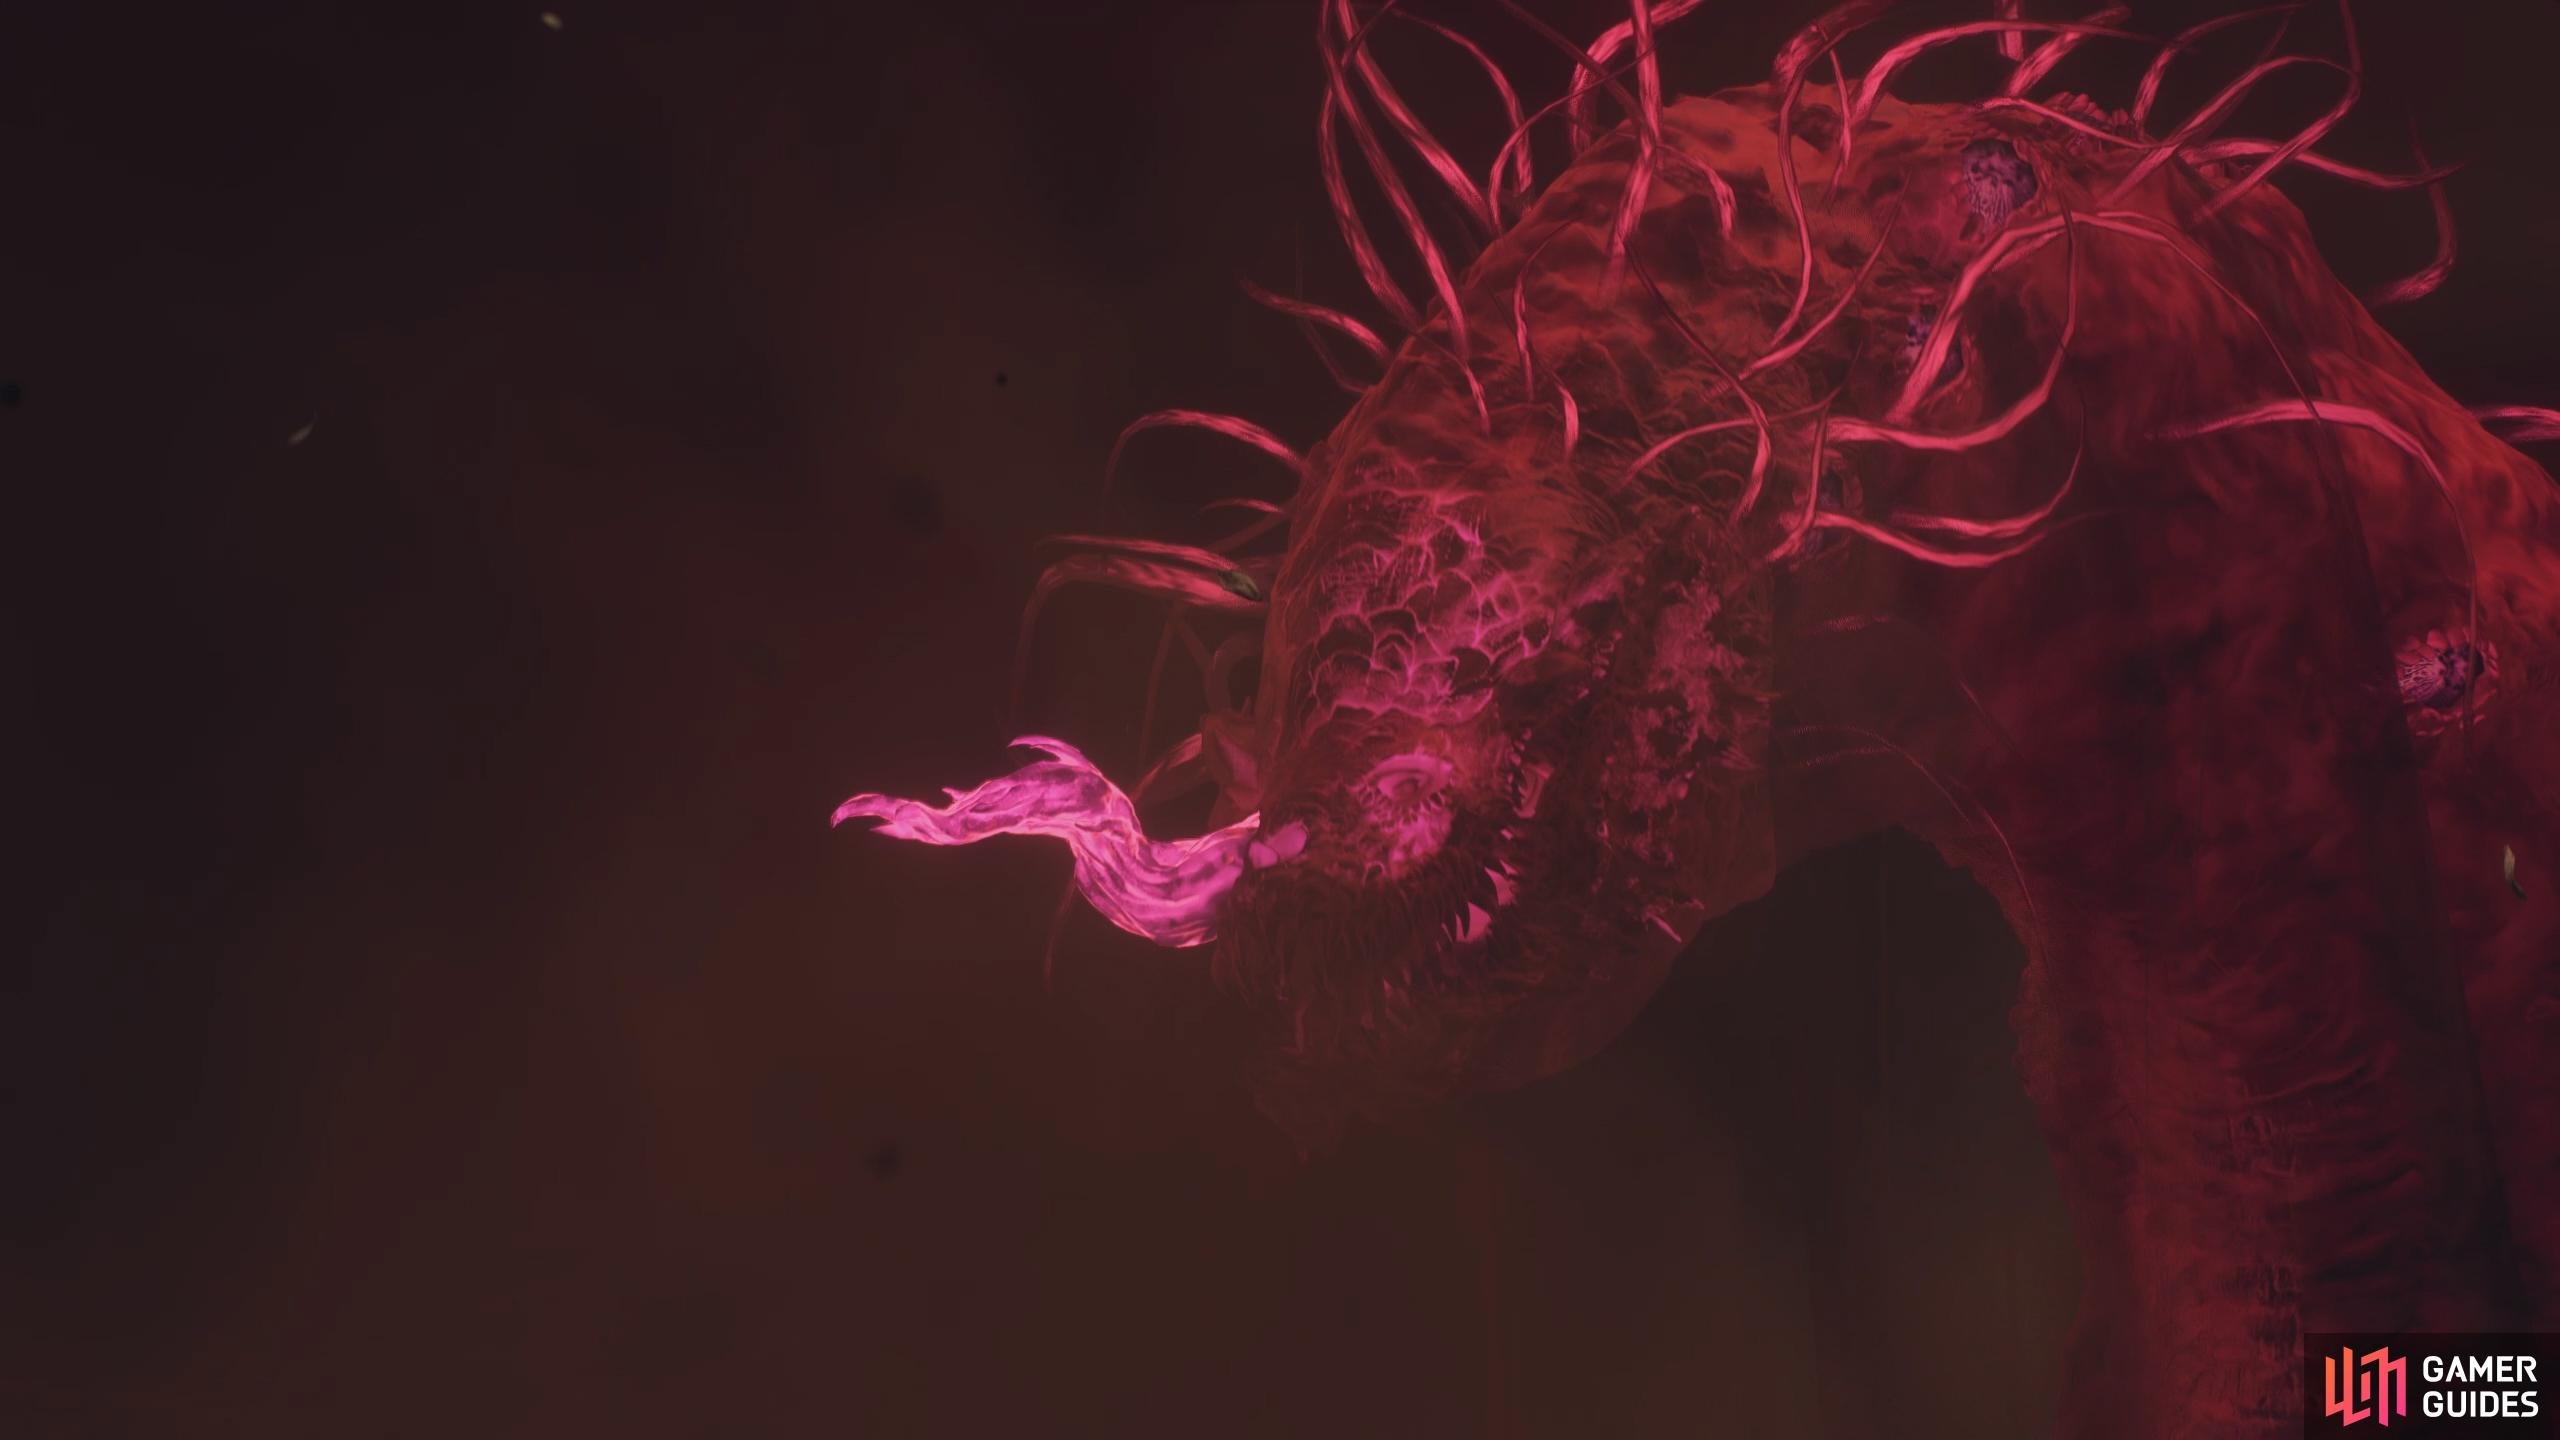
(1 of 4) The Island Encampment Purgener is a serpent-like creature that breathes fire.
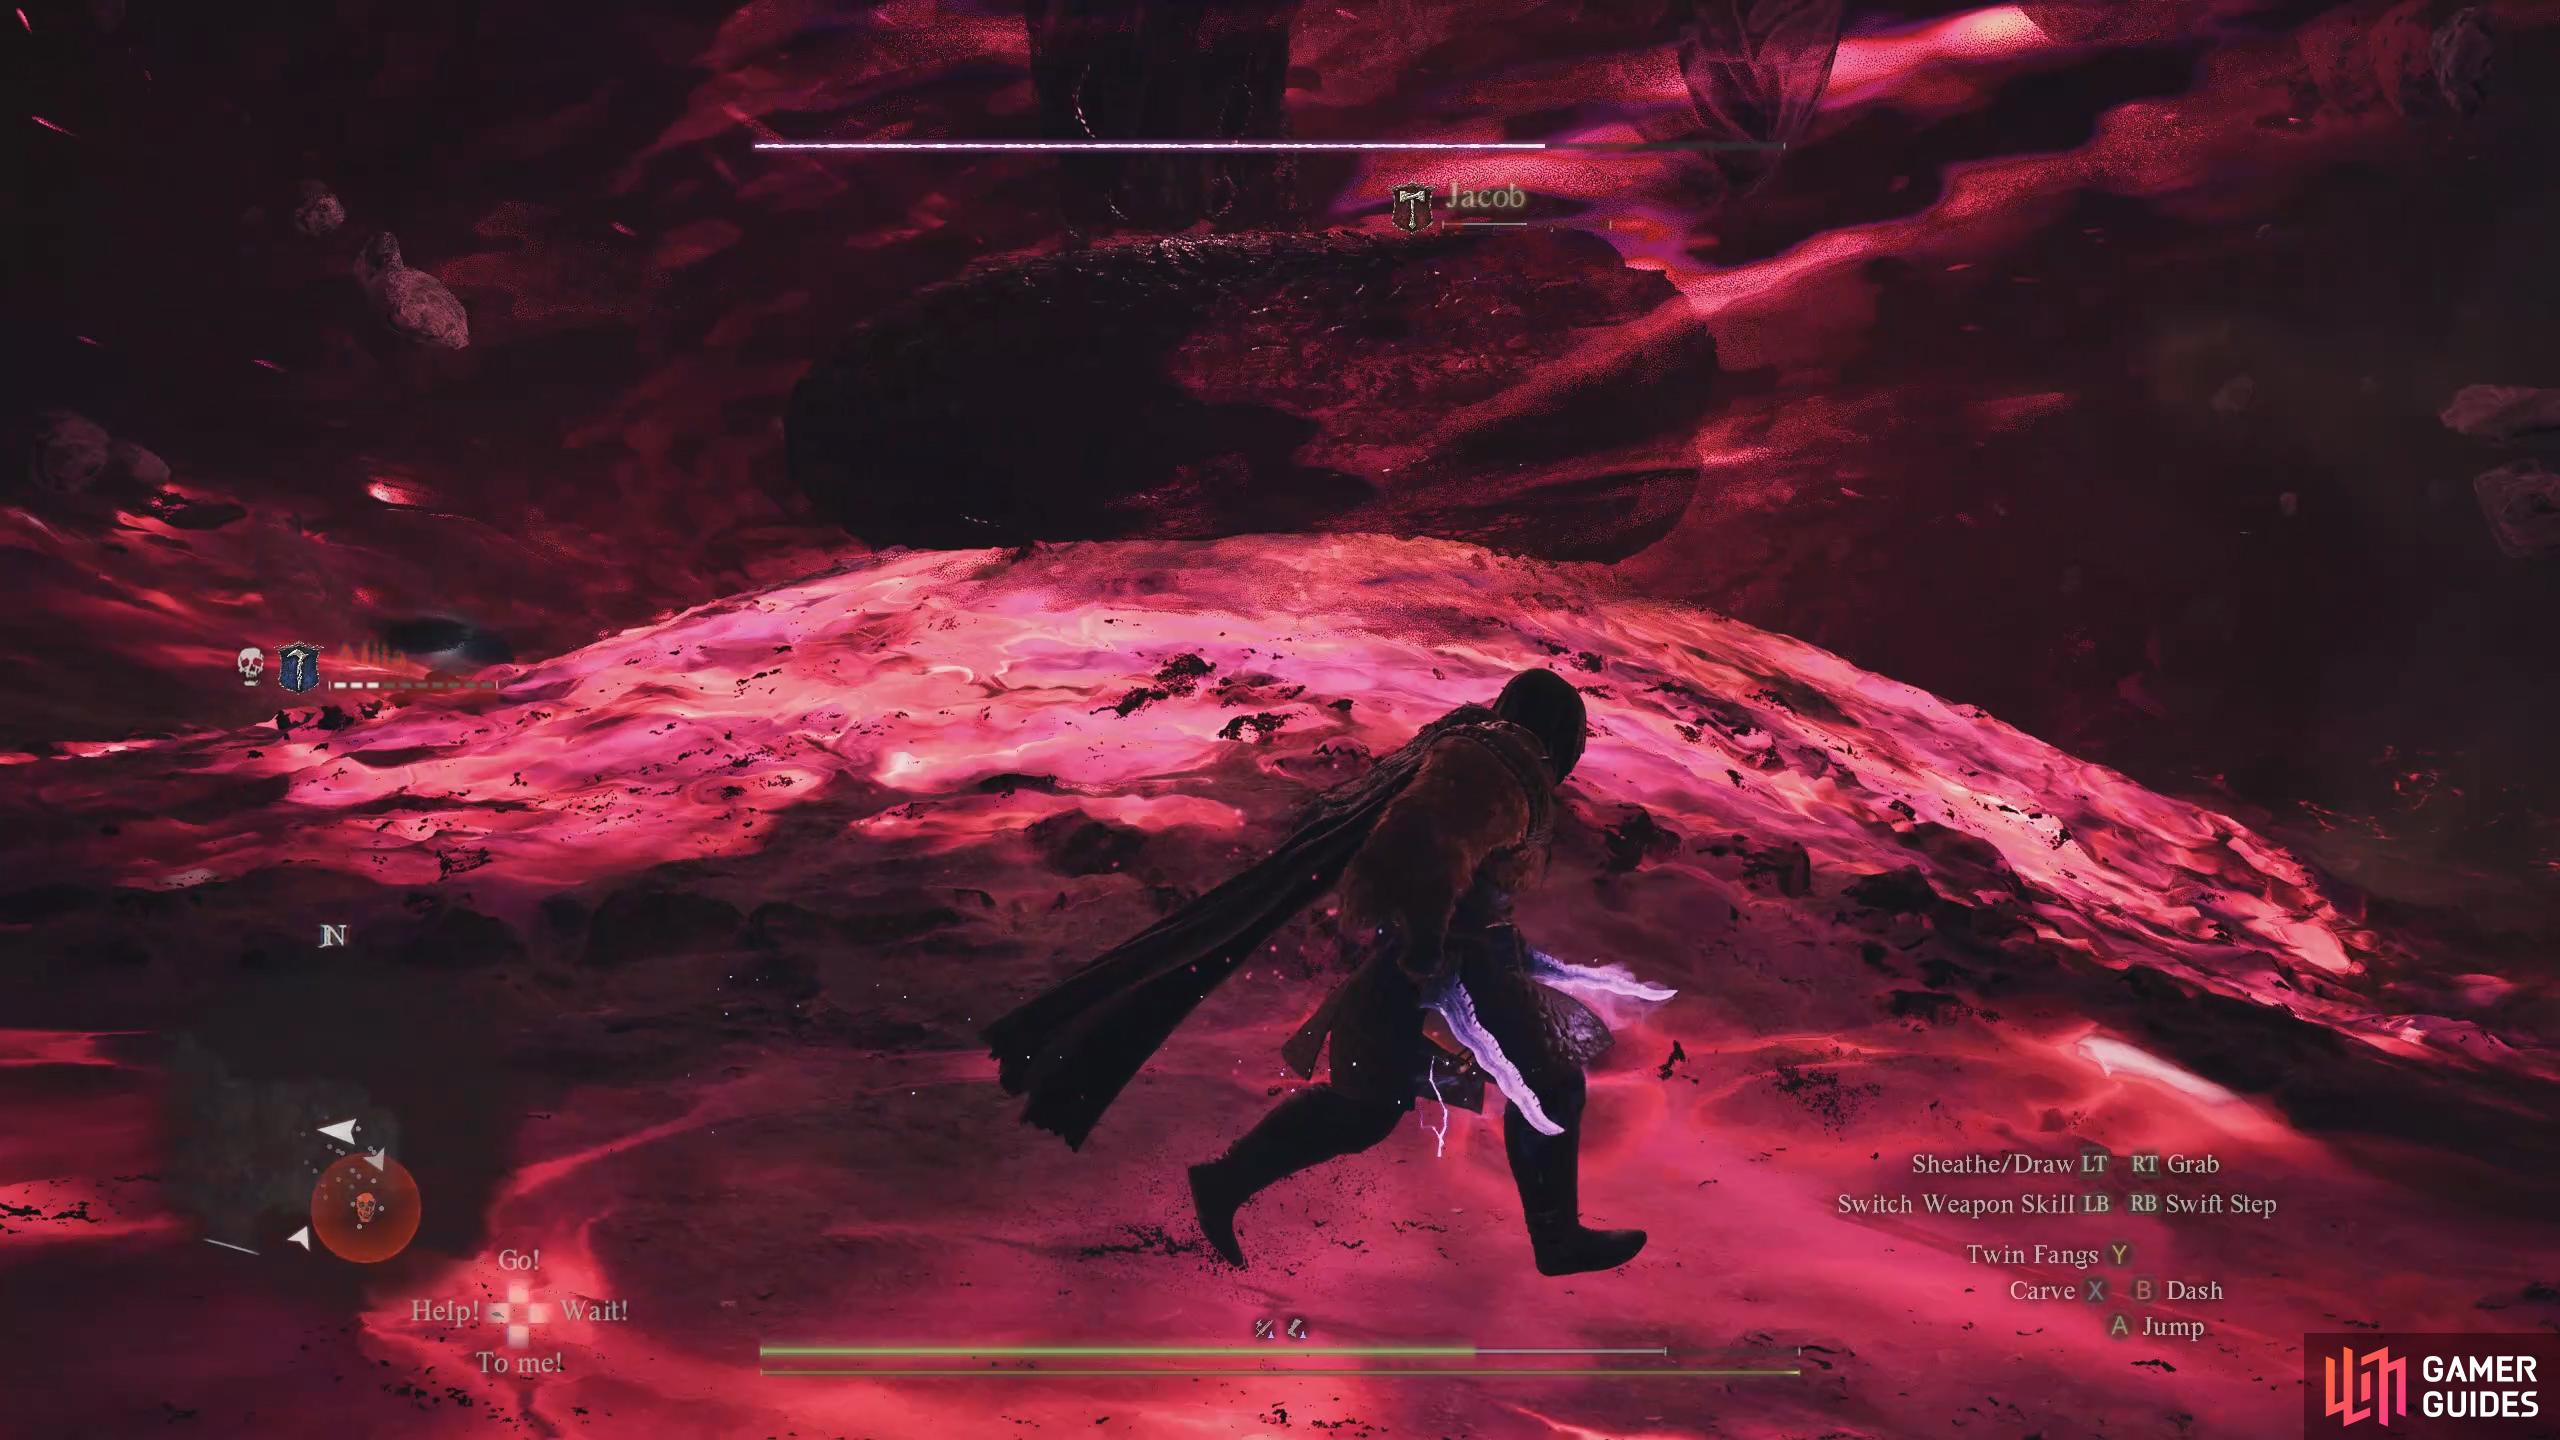
The Regentkin’s Resolve - Vernworth Evacuation
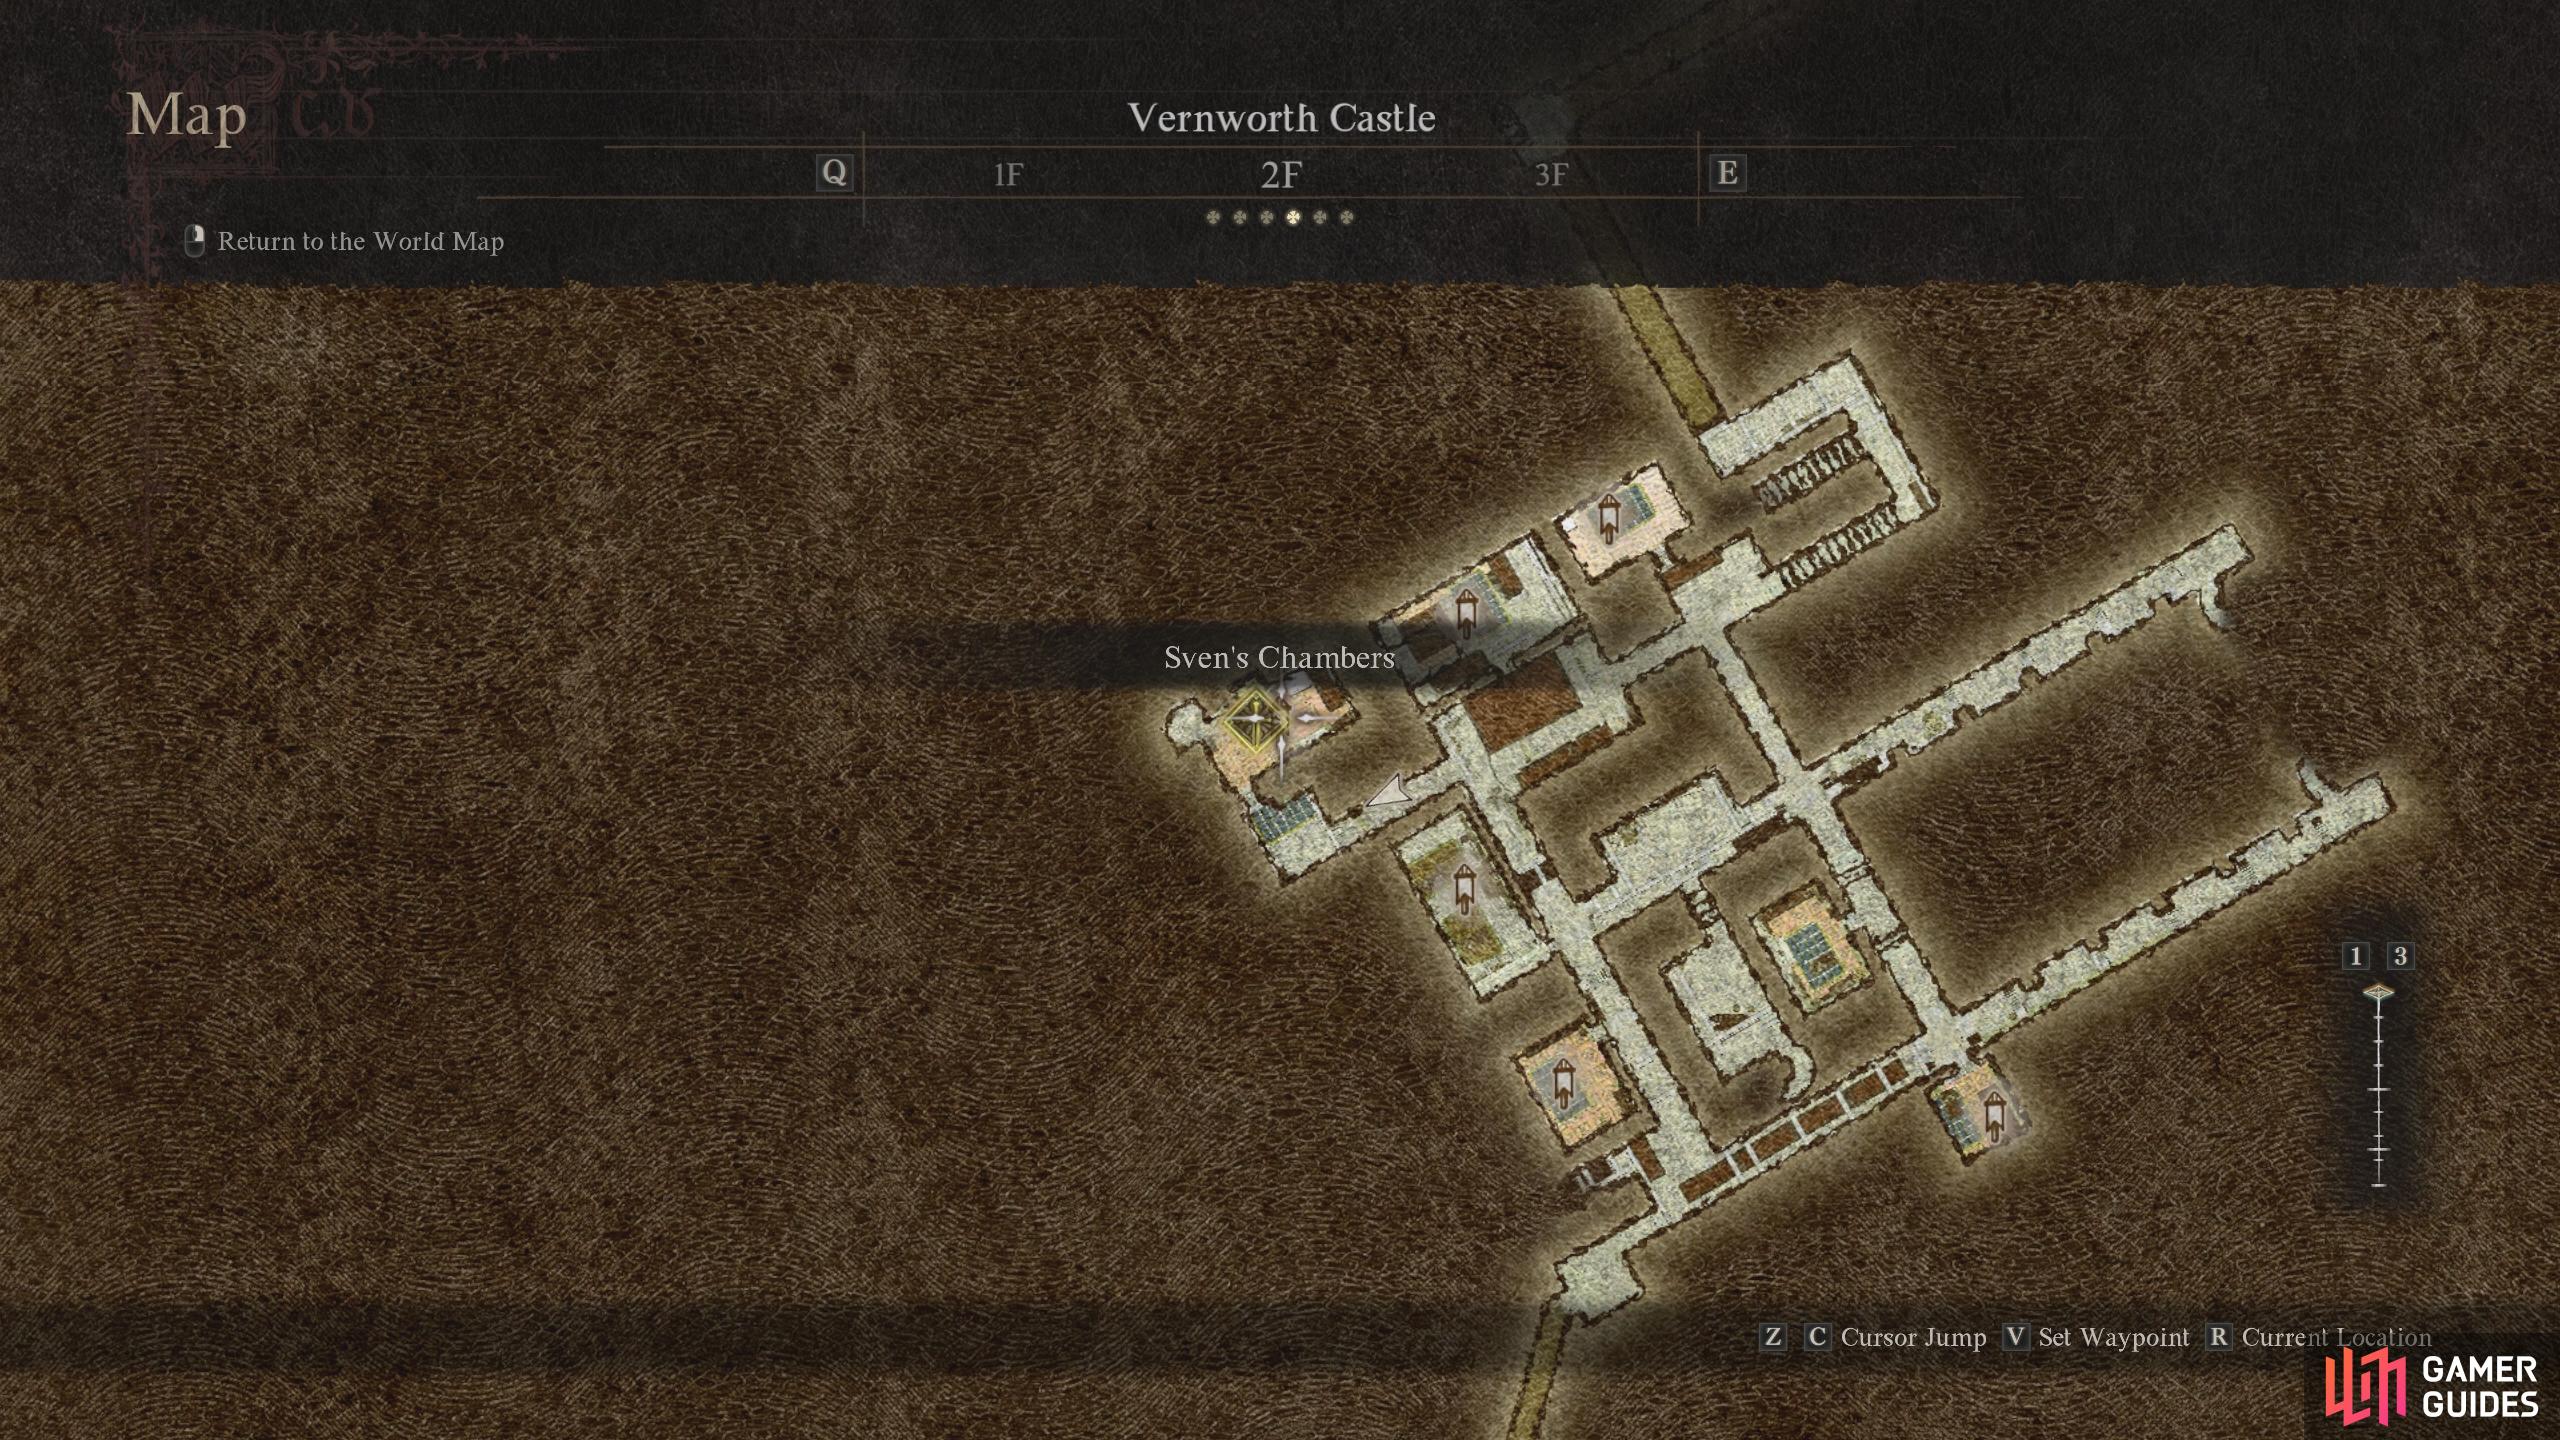
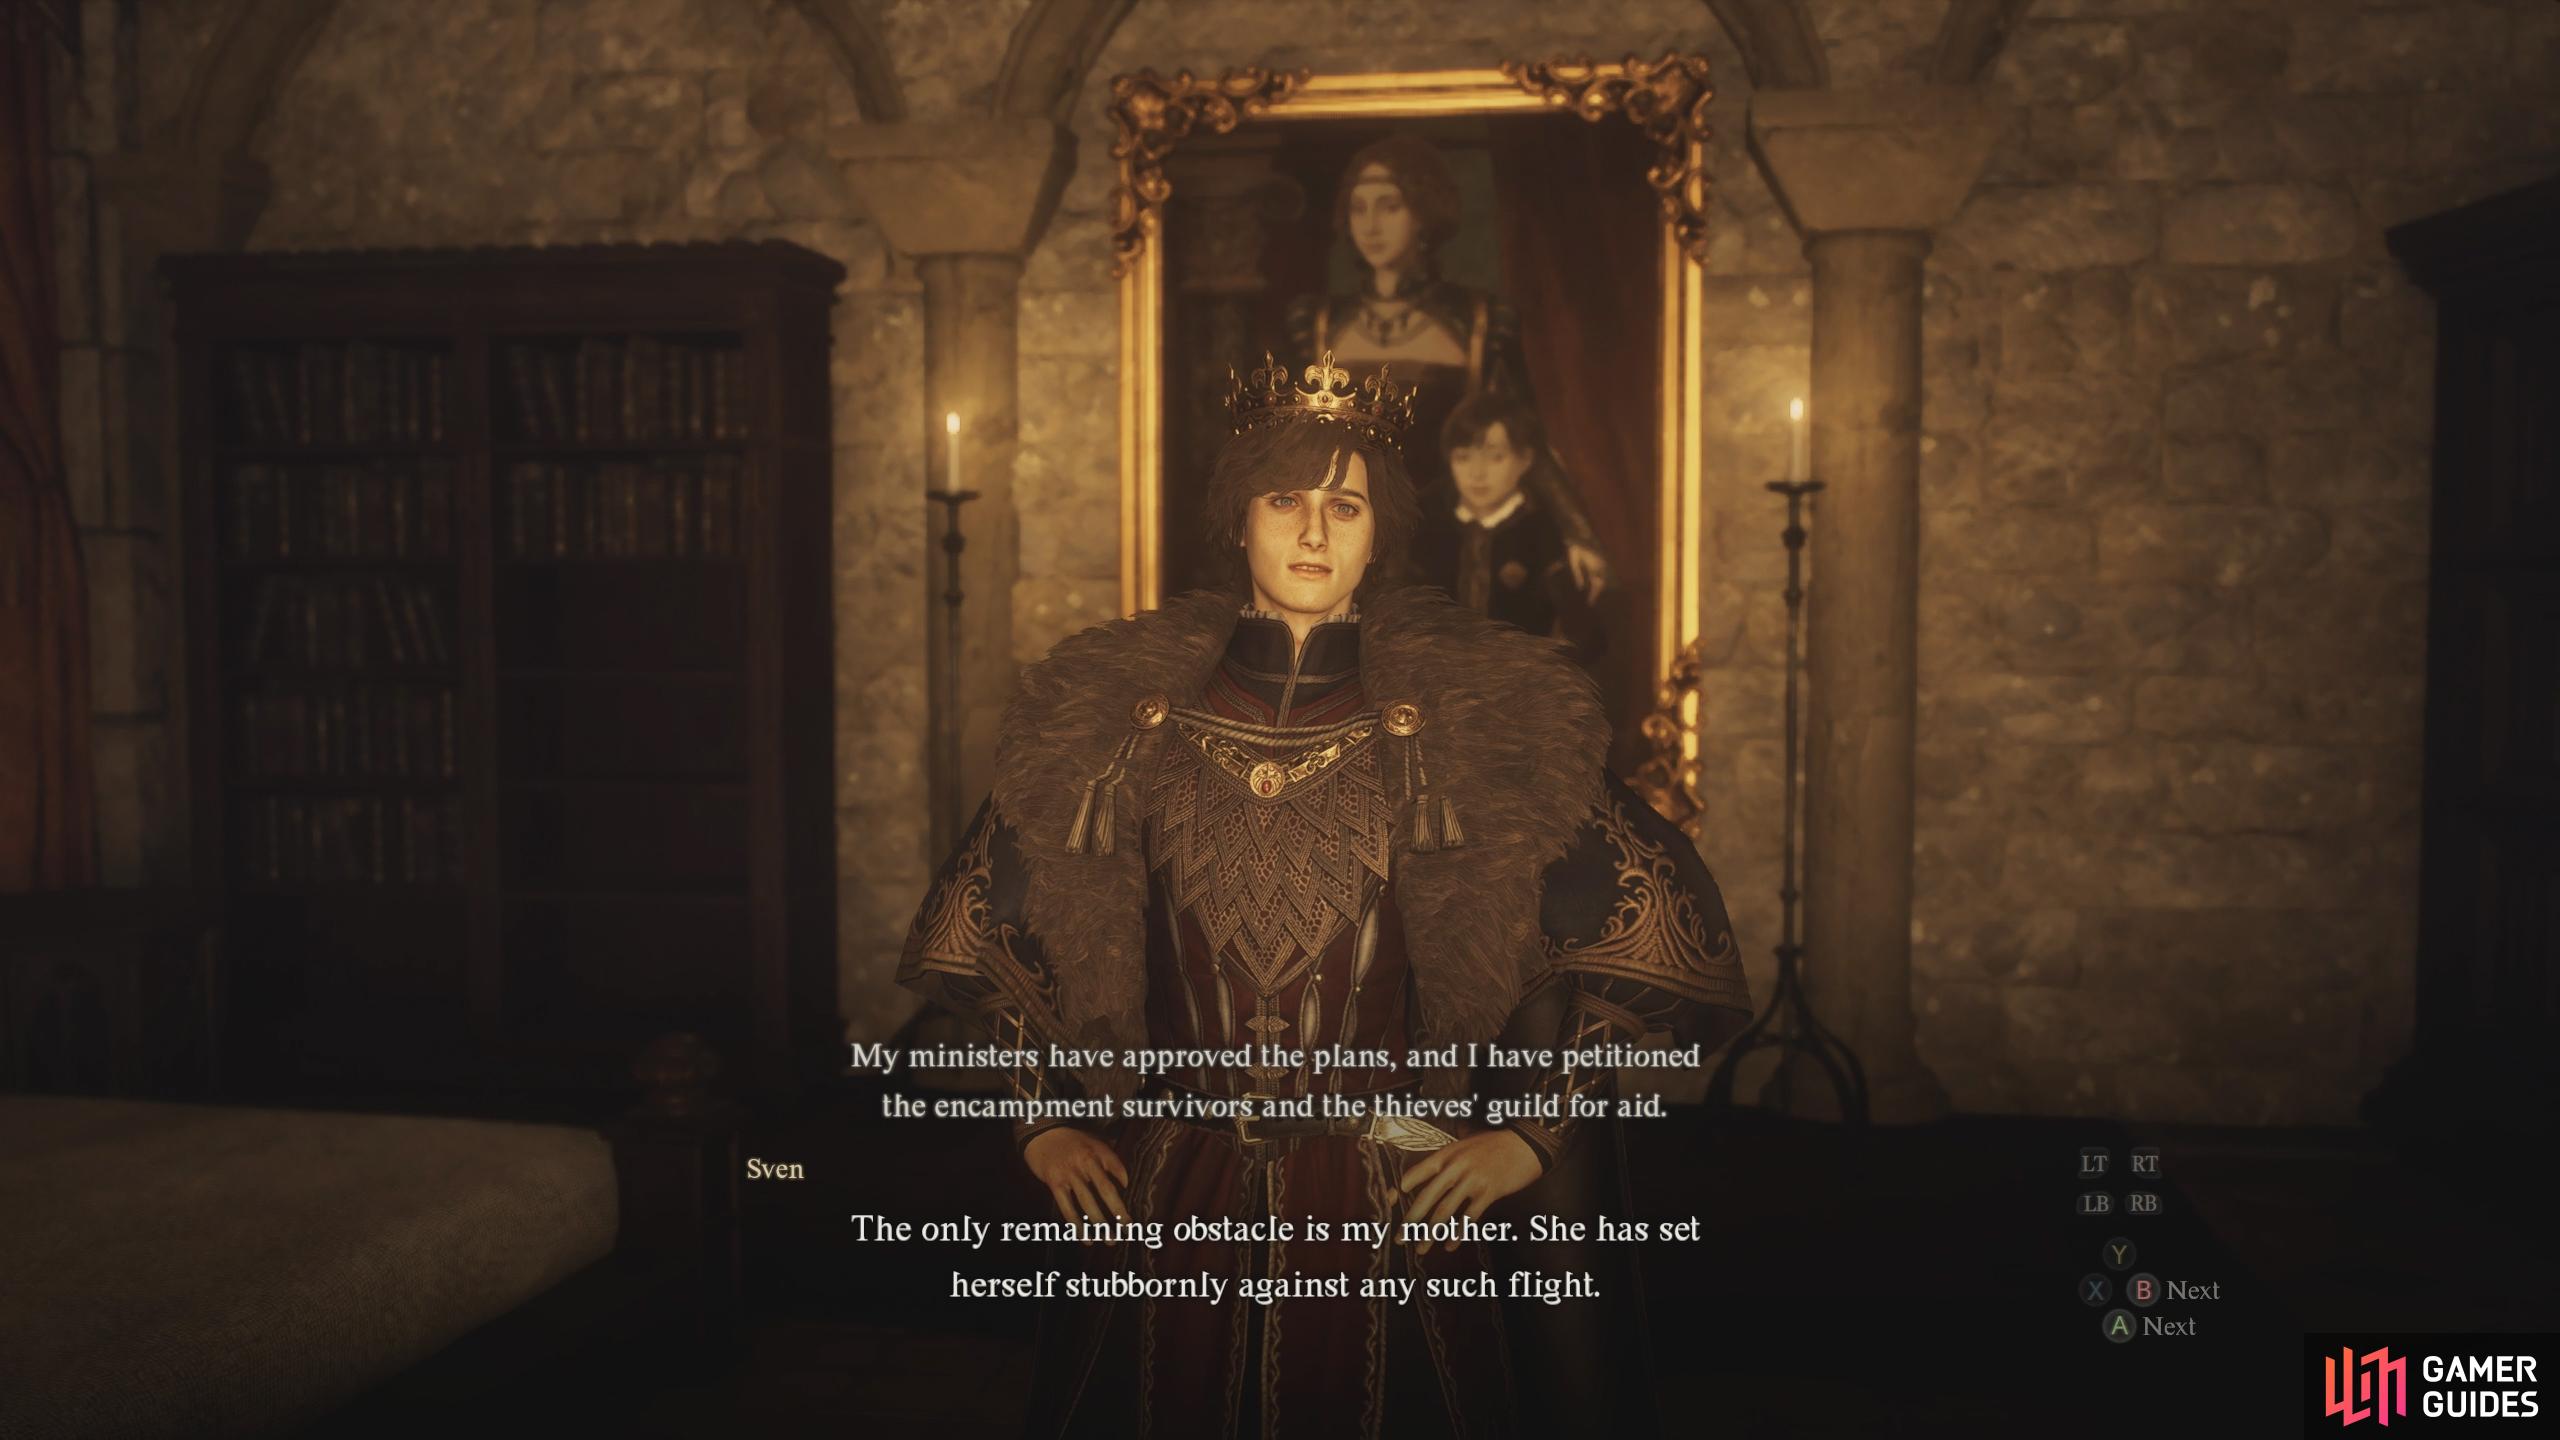
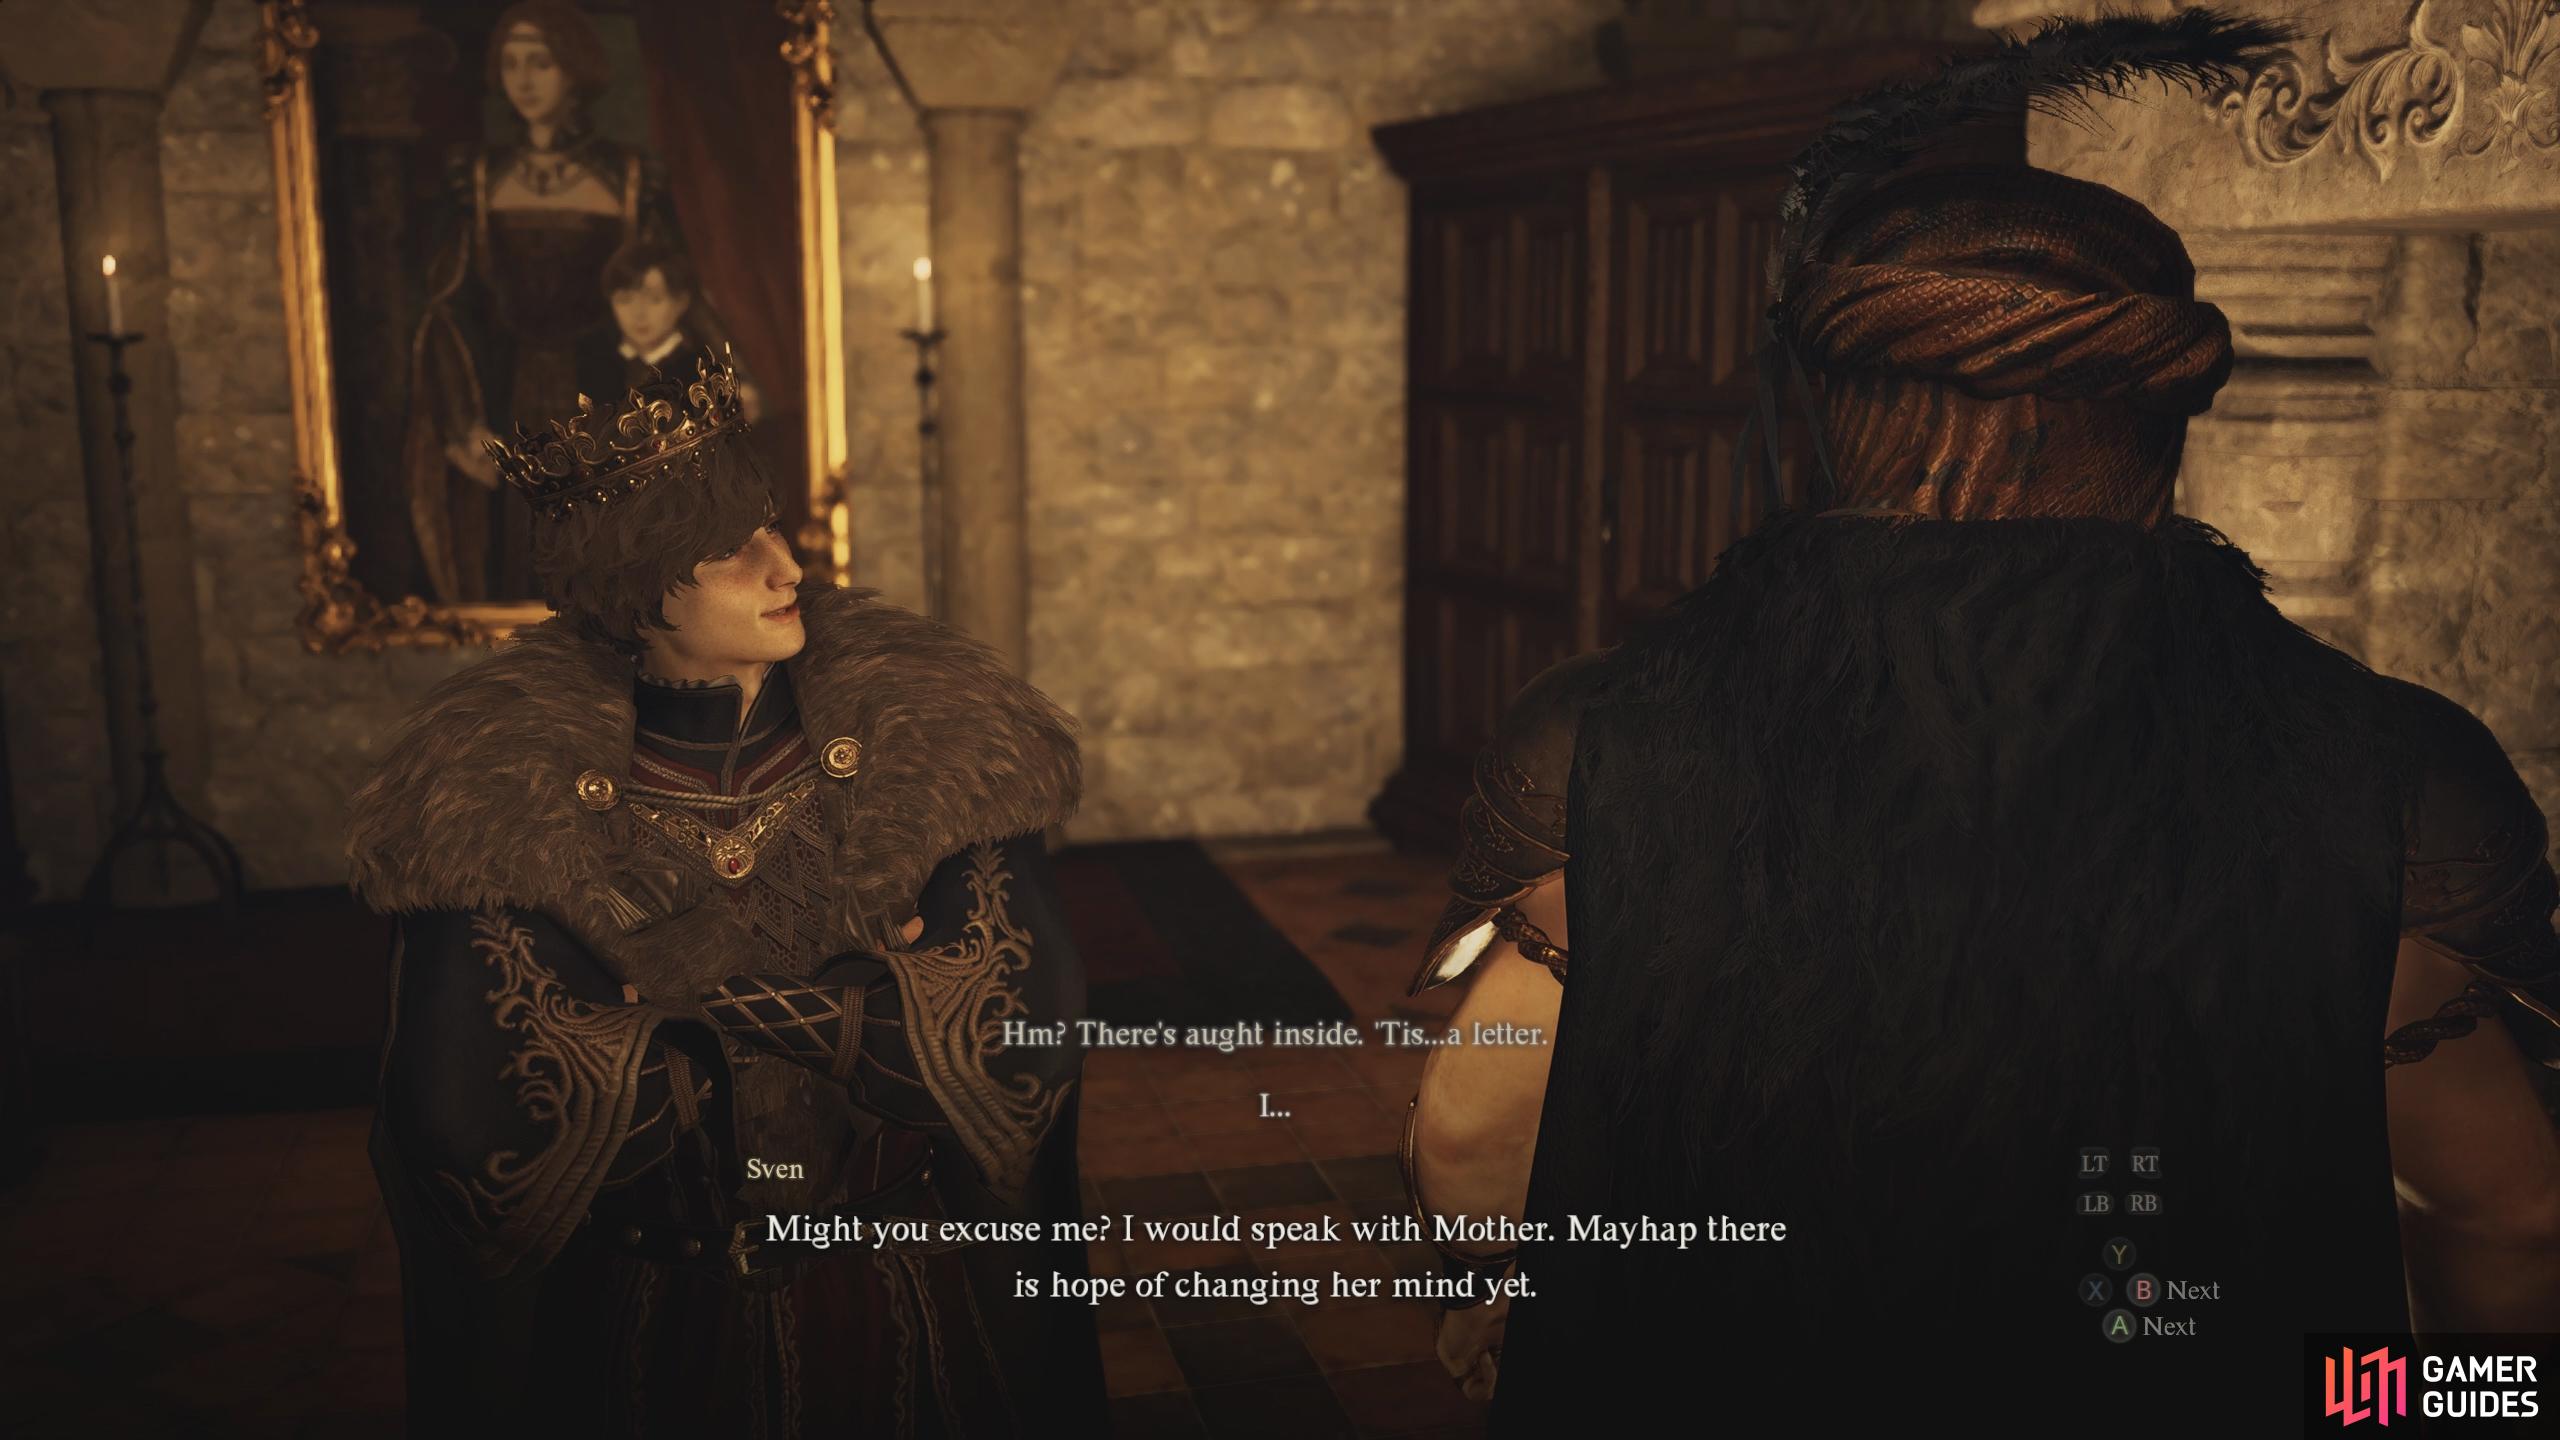
Now that you’ve covered the evacuations in the south, it’s time to take care of the last two in the north with the first being Vernworth. Teleport to the Vernworth Portcrystal, and head to the Stardrop Inn where you’ll find Captain Brant. If he’s not there, pass the time until he is. He’ll give you the quest and tell you to speak to Regentkin Sven, who is in charge of the evacuation these days. You’ll find Sven in his chambers on the second floor, in the northwest corner. Sven will have a couple of tasks for you, one is to acquire the Oxcarts from the vendor, and the second is for you to help his mother, Disa see some sense who doesn’t want to evacuate.
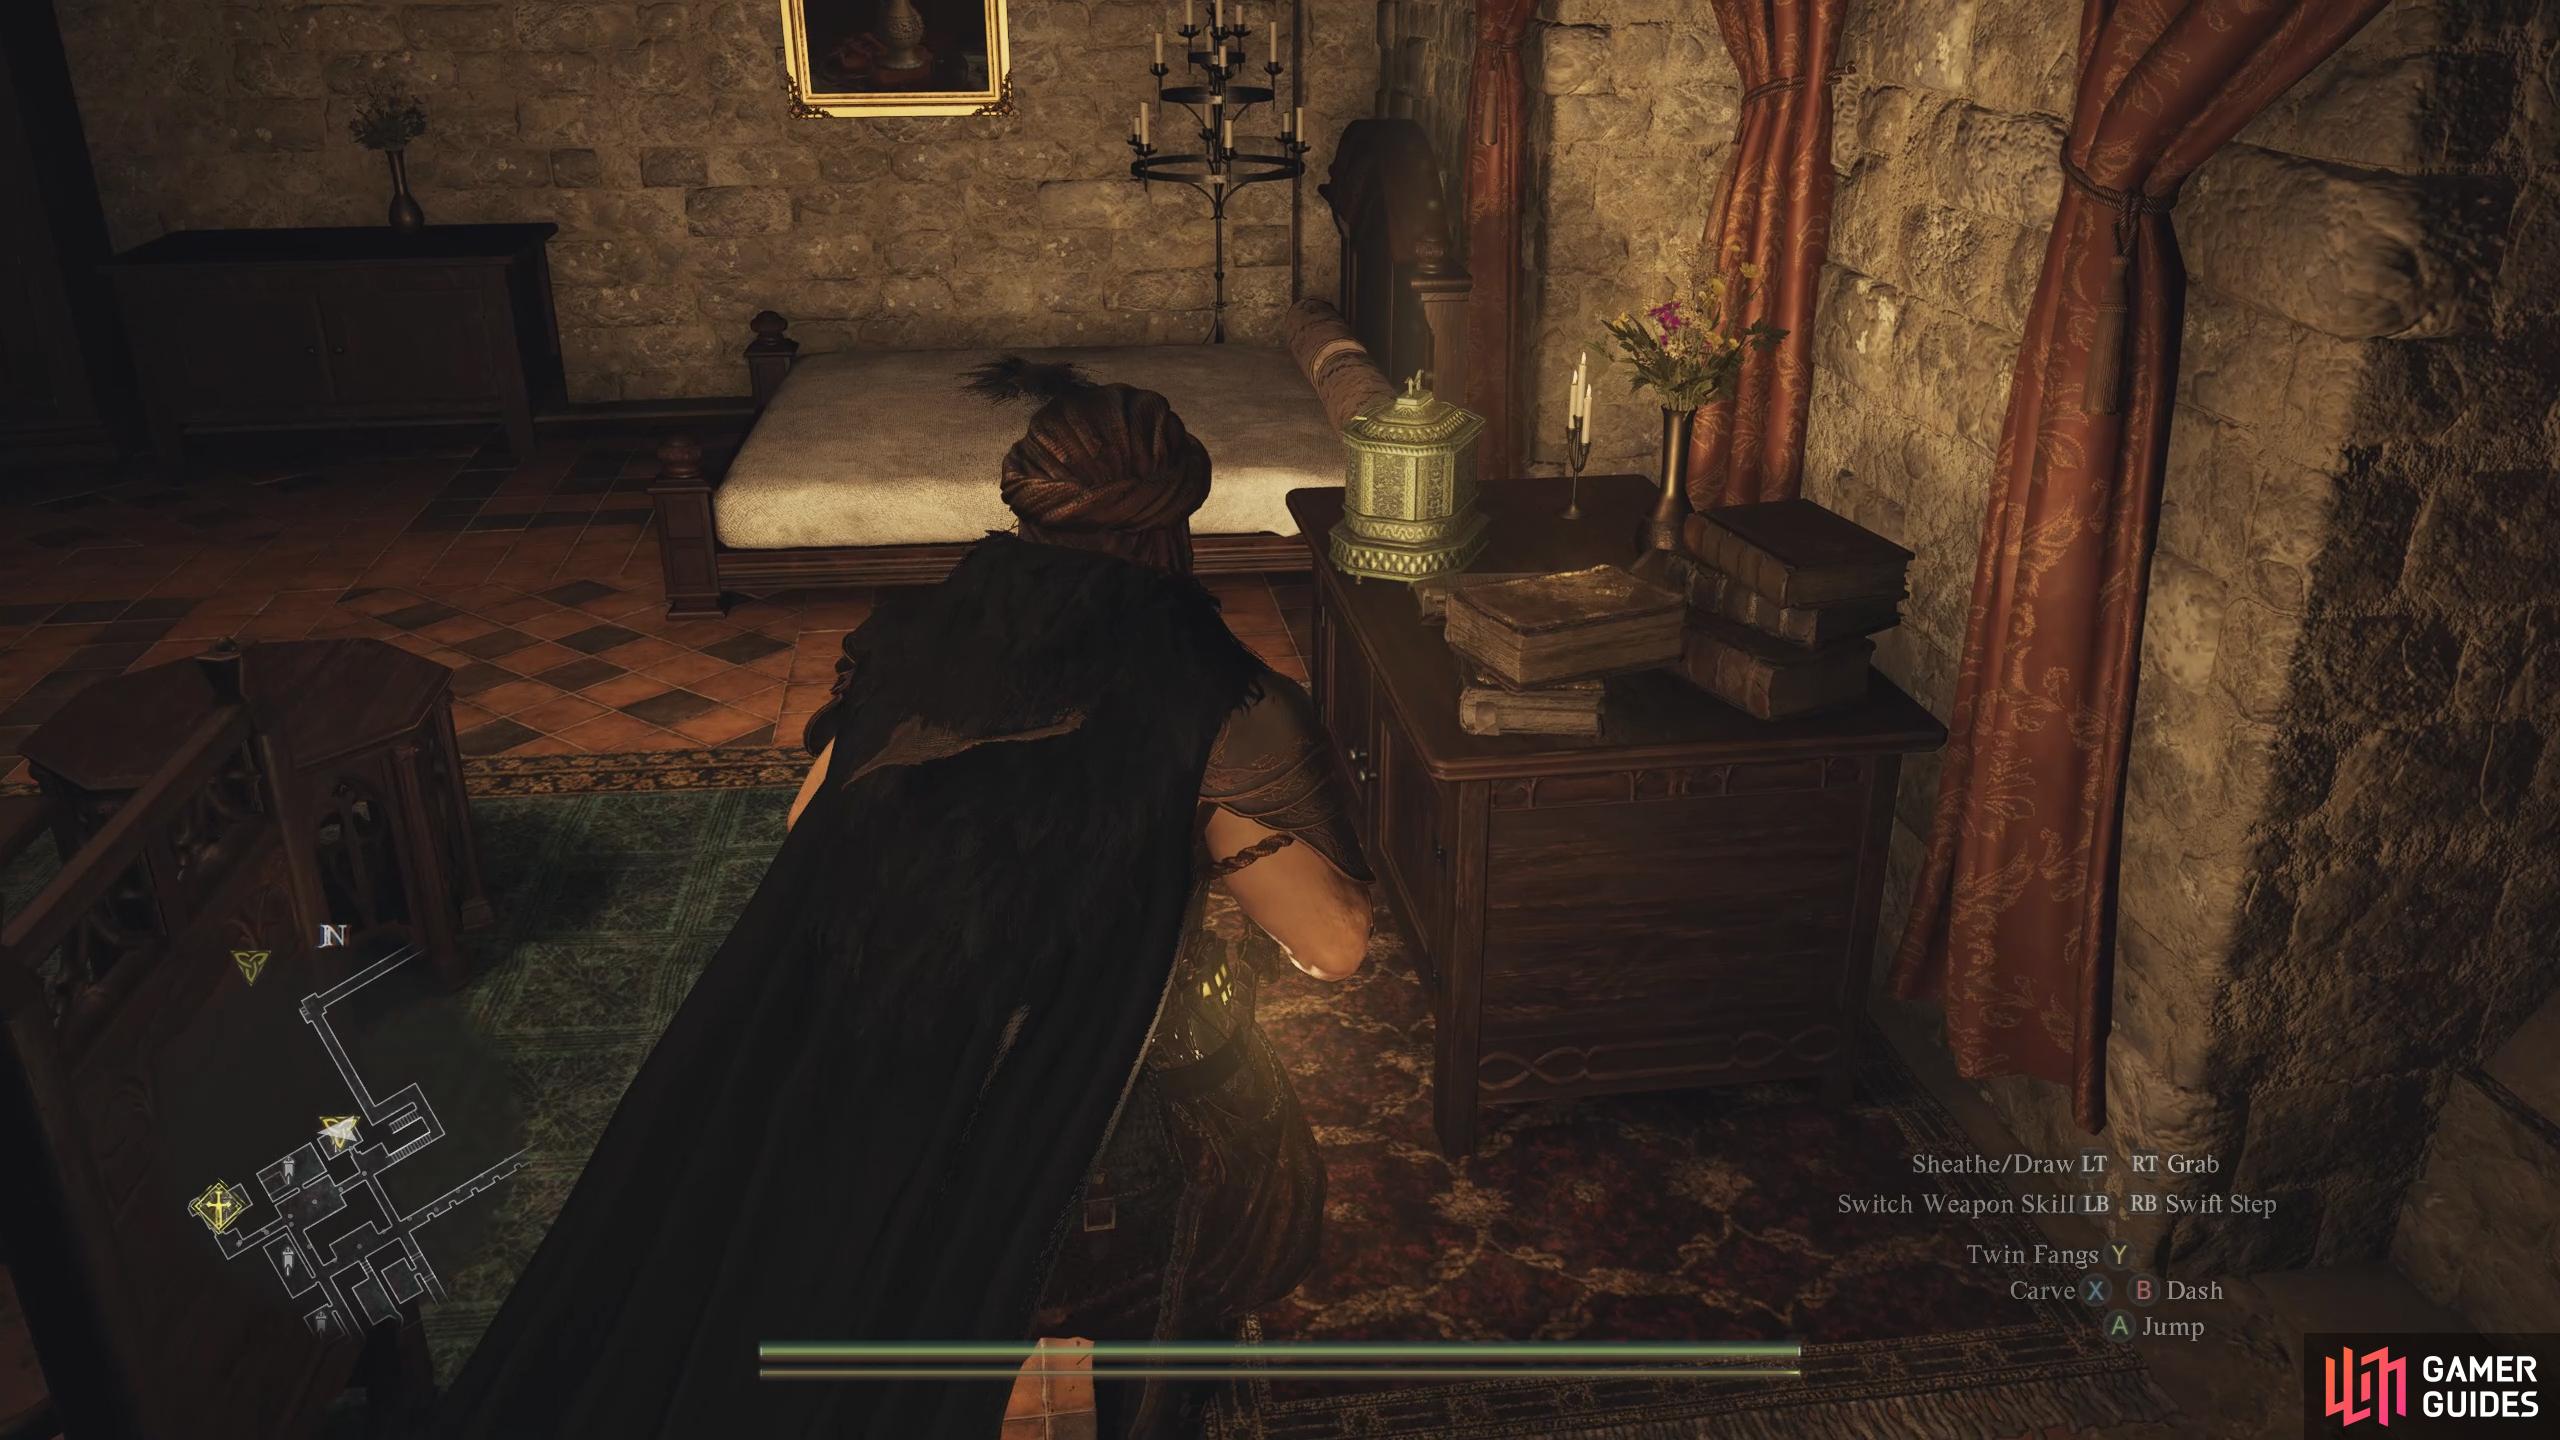
While you’re here, head into Disa’s room down the hall from Sven’s, and pick up the ![]() Ornate Box on the cabinet behind her. If it isn’t there, you may have not done the side quest in Vernworth early in the game. If that is the case, ignore this next part. However, If the box is there, pick it up and take it back to Sven who’ll find a letter in the hidden compartment detailing why his mother did what she did. He will run out and speak to his mother and convince her to evacuate. You can read the letter yourself if you pick it up off his desk and check out the quest log. If you don’t have access to the box, you can pick Disa up and take her to Sven’s chambers, although she will try to get away. Simply keep picking her up and Sven will convince her there.
Ornate Box on the cabinet behind her. If it isn’t there, you may have not done the side quest in Vernworth early in the game. If that is the case, ignore this next part. However, If the box is there, pick it up and take it back to Sven who’ll find a letter in the hidden compartment detailing why his mother did what she did. He will run out and speak to his mother and convince her to evacuate. You can read the letter yourself if you pick it up off his desk and check out the quest log. If you don’t have access to the box, you can pick Disa up and take her to Sven’s chambers, although she will try to get away. Simply keep picking her up and Sven will convince her there.
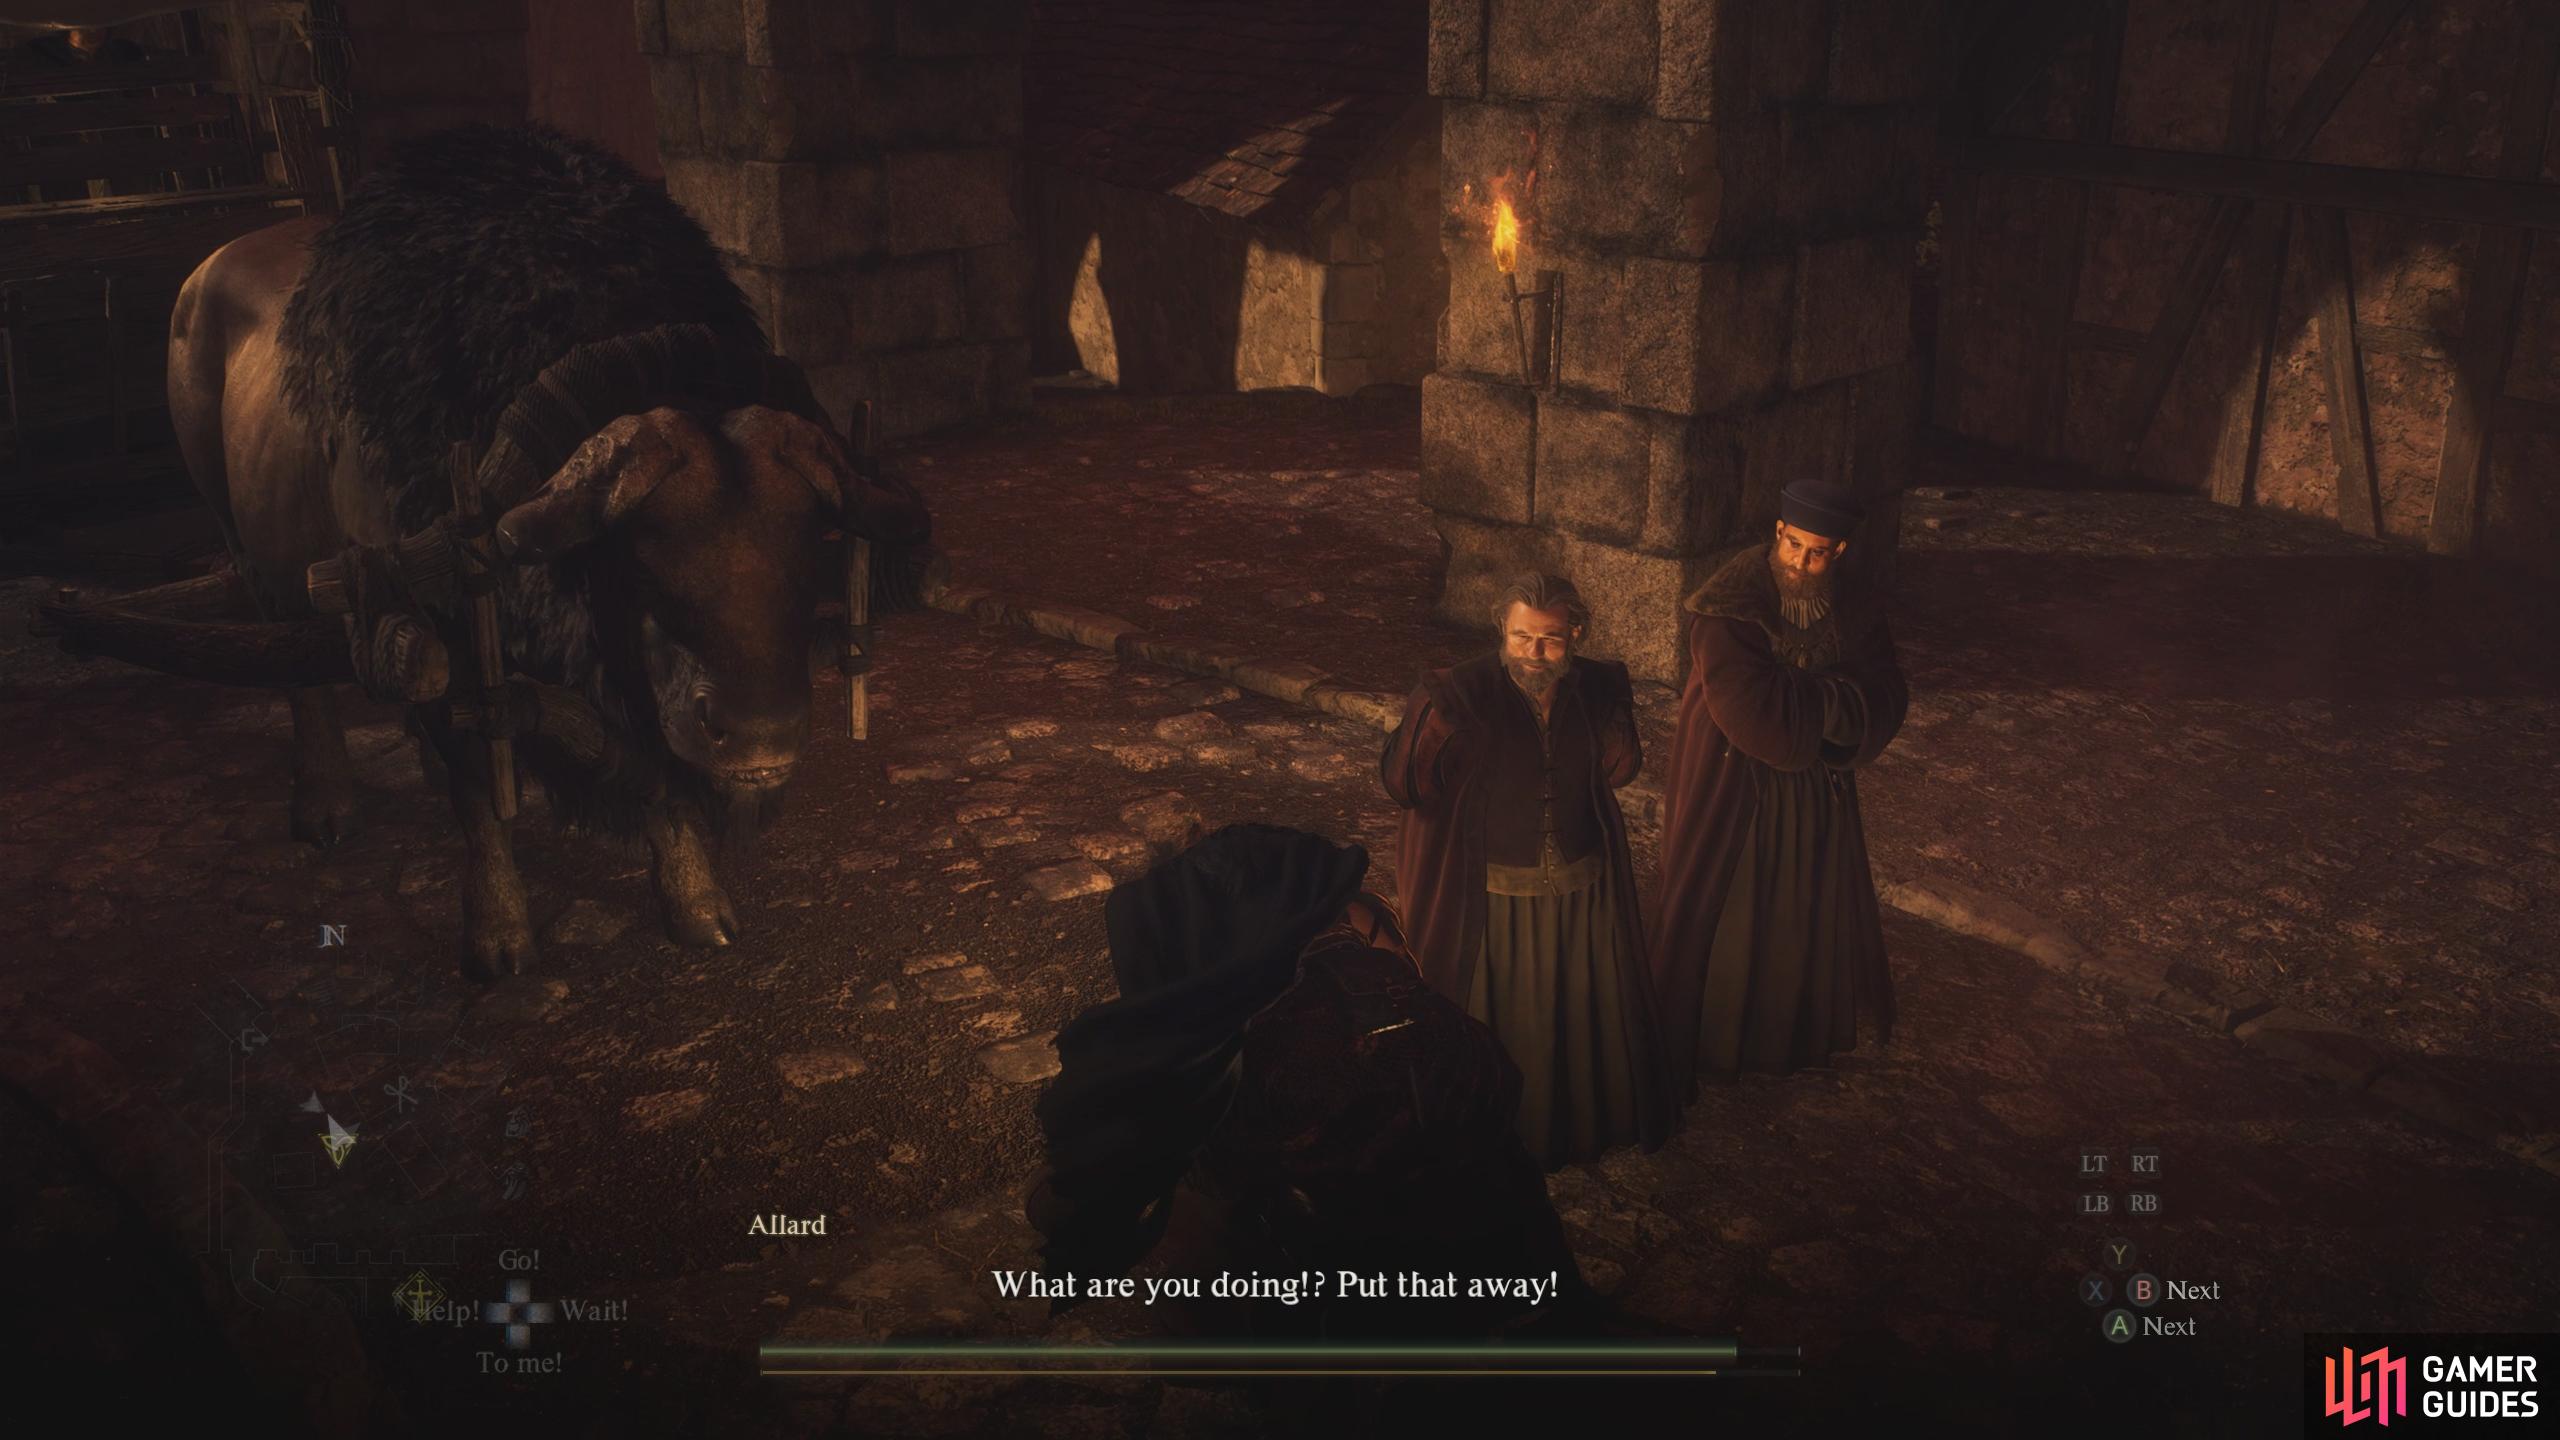
For the Oxcart situation, head to the station north/northwest of town, and you’ll find out someone has purchased all the Oxcarts. That someone is the insufferable Allard, who has only done it to transport his wealth. Either grab, or show your weapons to him, and he’ll run away, leaving the Oxcarts for you to procure. The Oxcart owner will tell you that you can have them, so all you need to do now is head back to Sven and tell him the good news. You can read our full guide on the quest by visiting our The Regentkin’s Resolve Walkthrough.
(1 of 5) You’ll find Sven in his chambers on the second floor of Vernworth Castle.
Vermund Purgener Fight
This pillar of light is situated southwest of the city, but you’ll need to exit the city via the northwest and then head along the path south. Eventually, you’ll end up at some ruins aptly named ![]() Vernworth - Southern Ruins. Make your way through the ruins to find the light and activate it with the Godsway. Although it’s still not particularly difficult, it is the hardest Purgener fight. Once again, it’ll be another dragon, although this one looks a bit like a bird. The
Vernworth - Southern Ruins. Make your way through the ruins to find the light and activate it with the Godsway. Although it’s still not particularly difficult, it is the hardest Purgener fight. Once again, it’ll be another dragon, although this one looks a bit like a bird. The ![]() Vermund Purgener feels more aggressive than the other Purgeners as it’ll throw more attacks at you more often.
Vermund Purgener feels more aggressive than the other Purgeners as it’ll throw more attacks at you more often.
The pustules on this creature can be found on different parts of the boss, with two sets being on either side of both of its front legs, another set on its back/tail, and the final set on its chest. You’ll want to destroy the pustules in this order: Front legs (both), back/tail, and then chest. Once you’ve taken care of them, it’ll drop to the floor, where you can attack its head and finish it off.
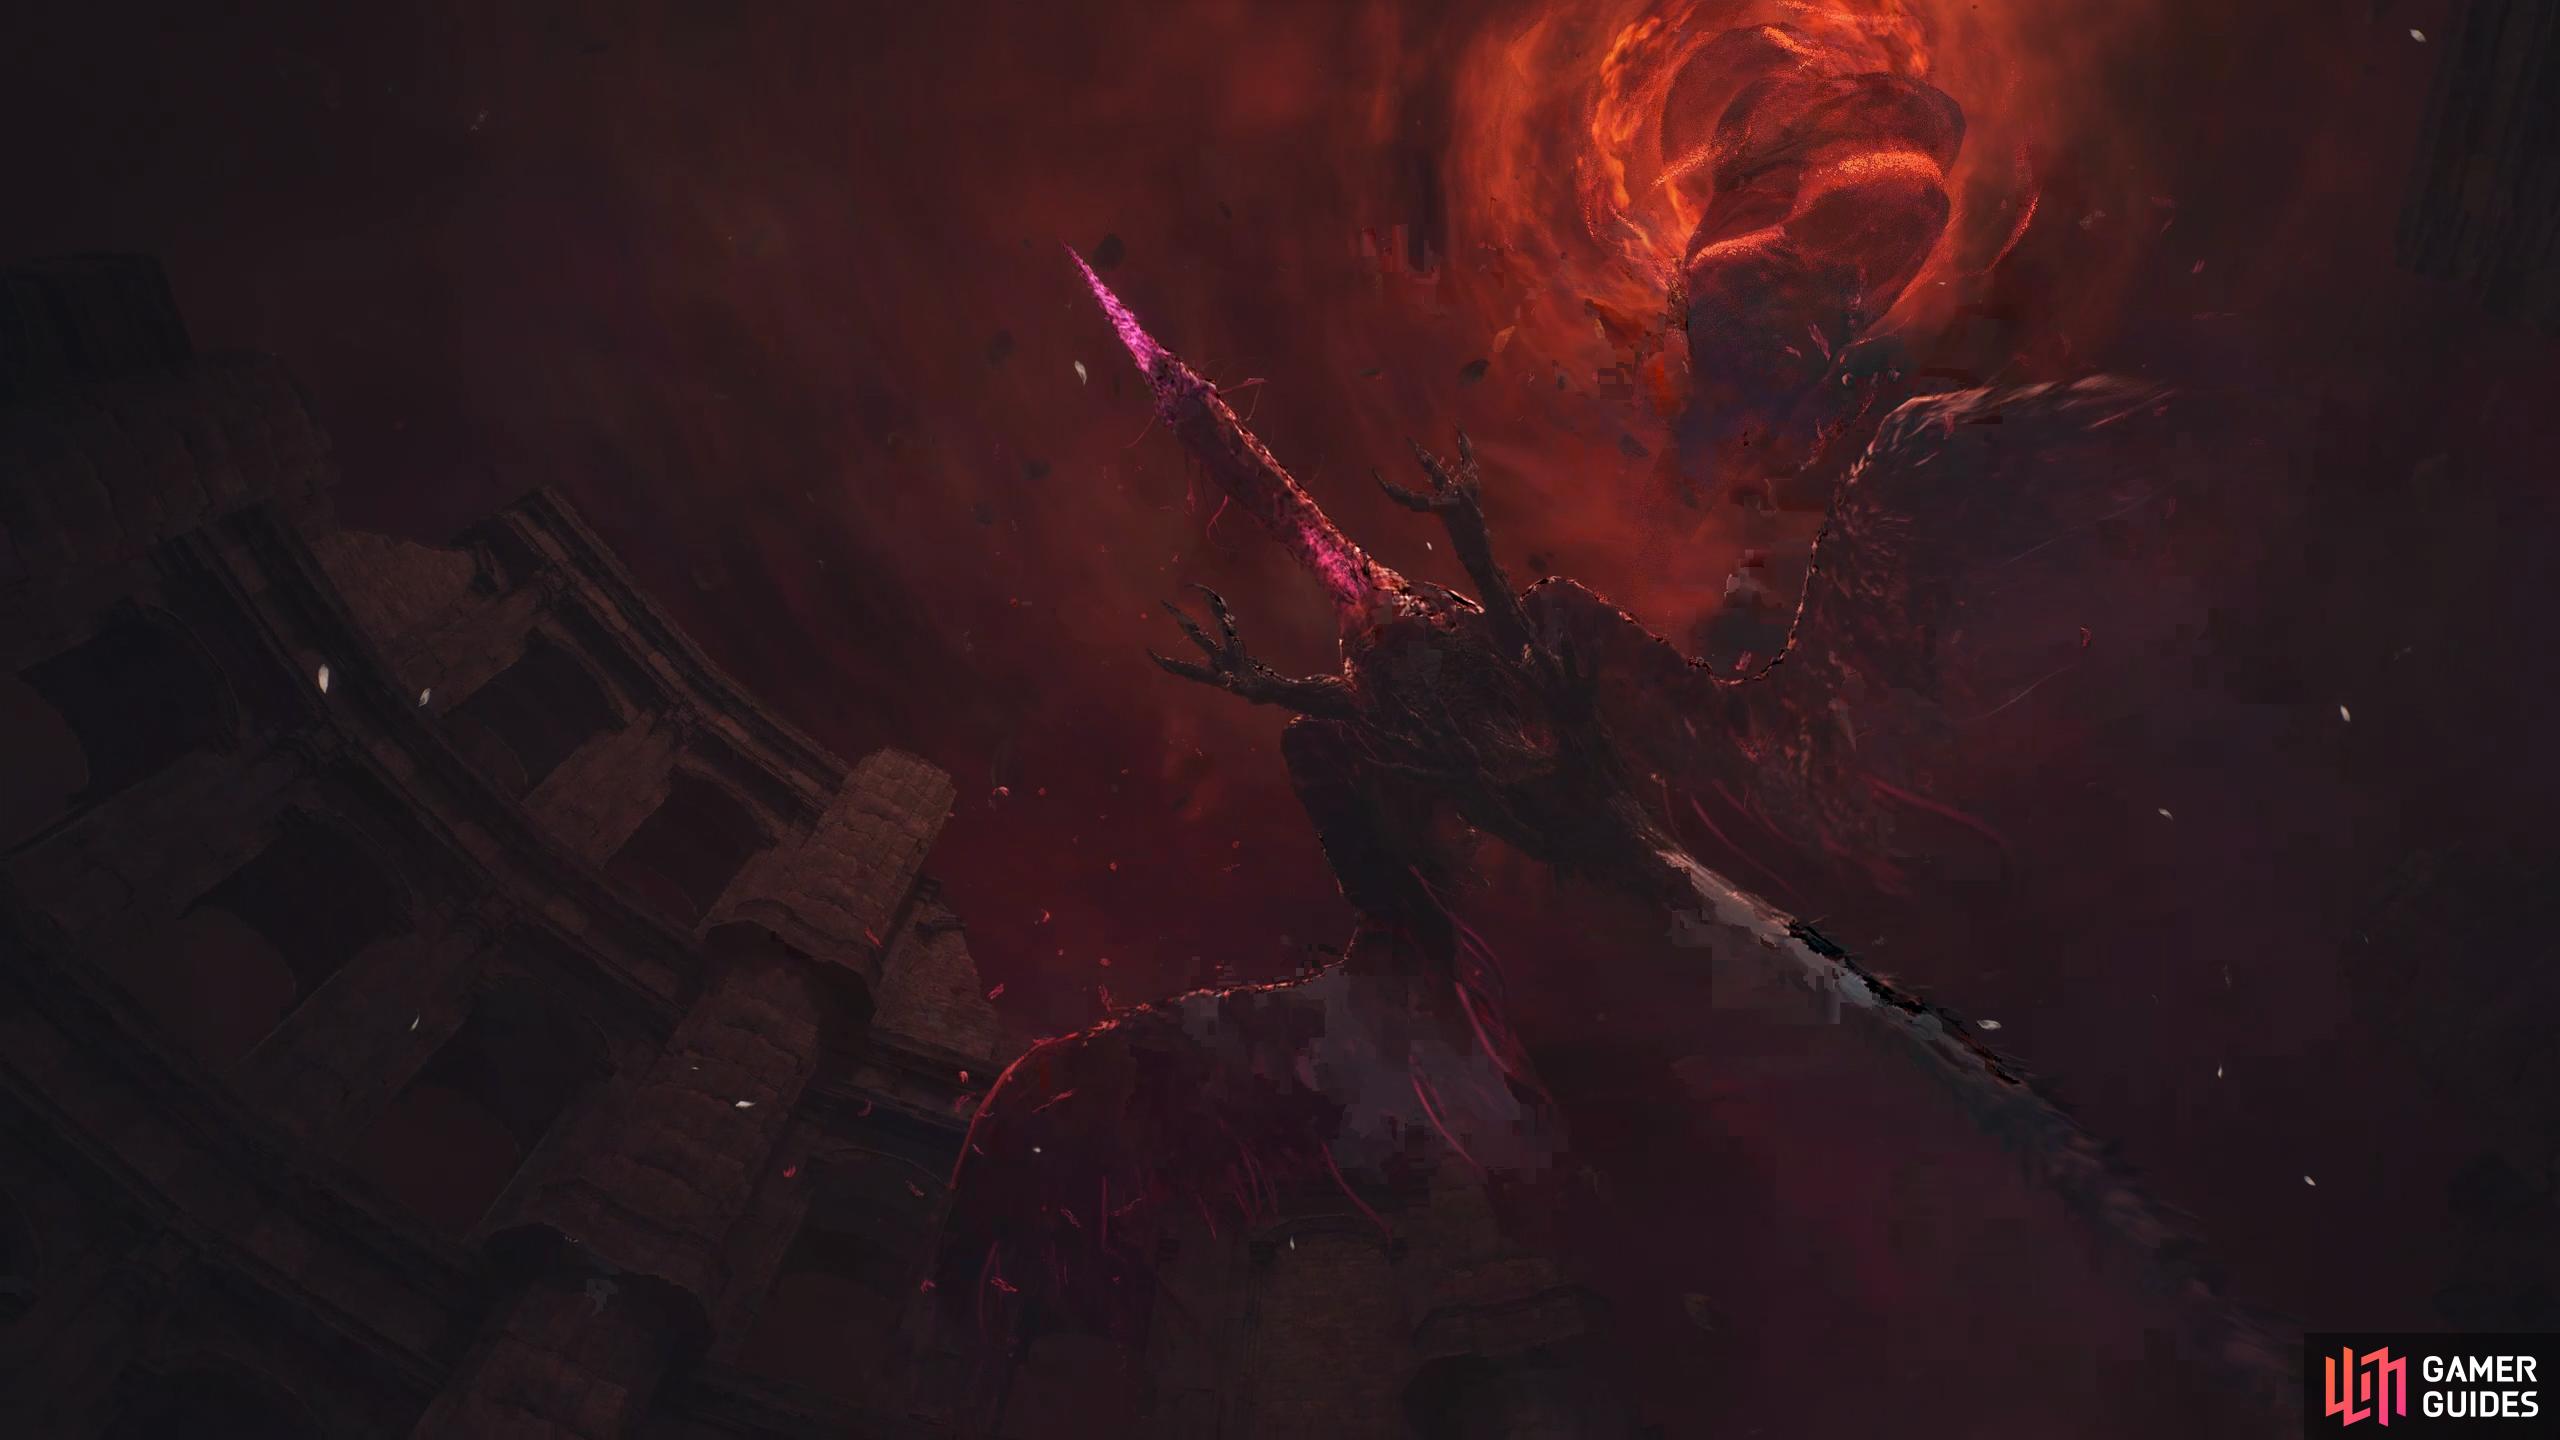
(1 of 2) The Vermund Purgener is a dragon with a bird-like design. This is arguably the most difficult Purgener.
The Vermund Purgener is a dragon with a bird-like design. This is arguably the most difficult Purgener. (left), Attack the unprotected pustules on both front legs, then its back, and finally, its neck. Finish it off by defeating its beak. (right)
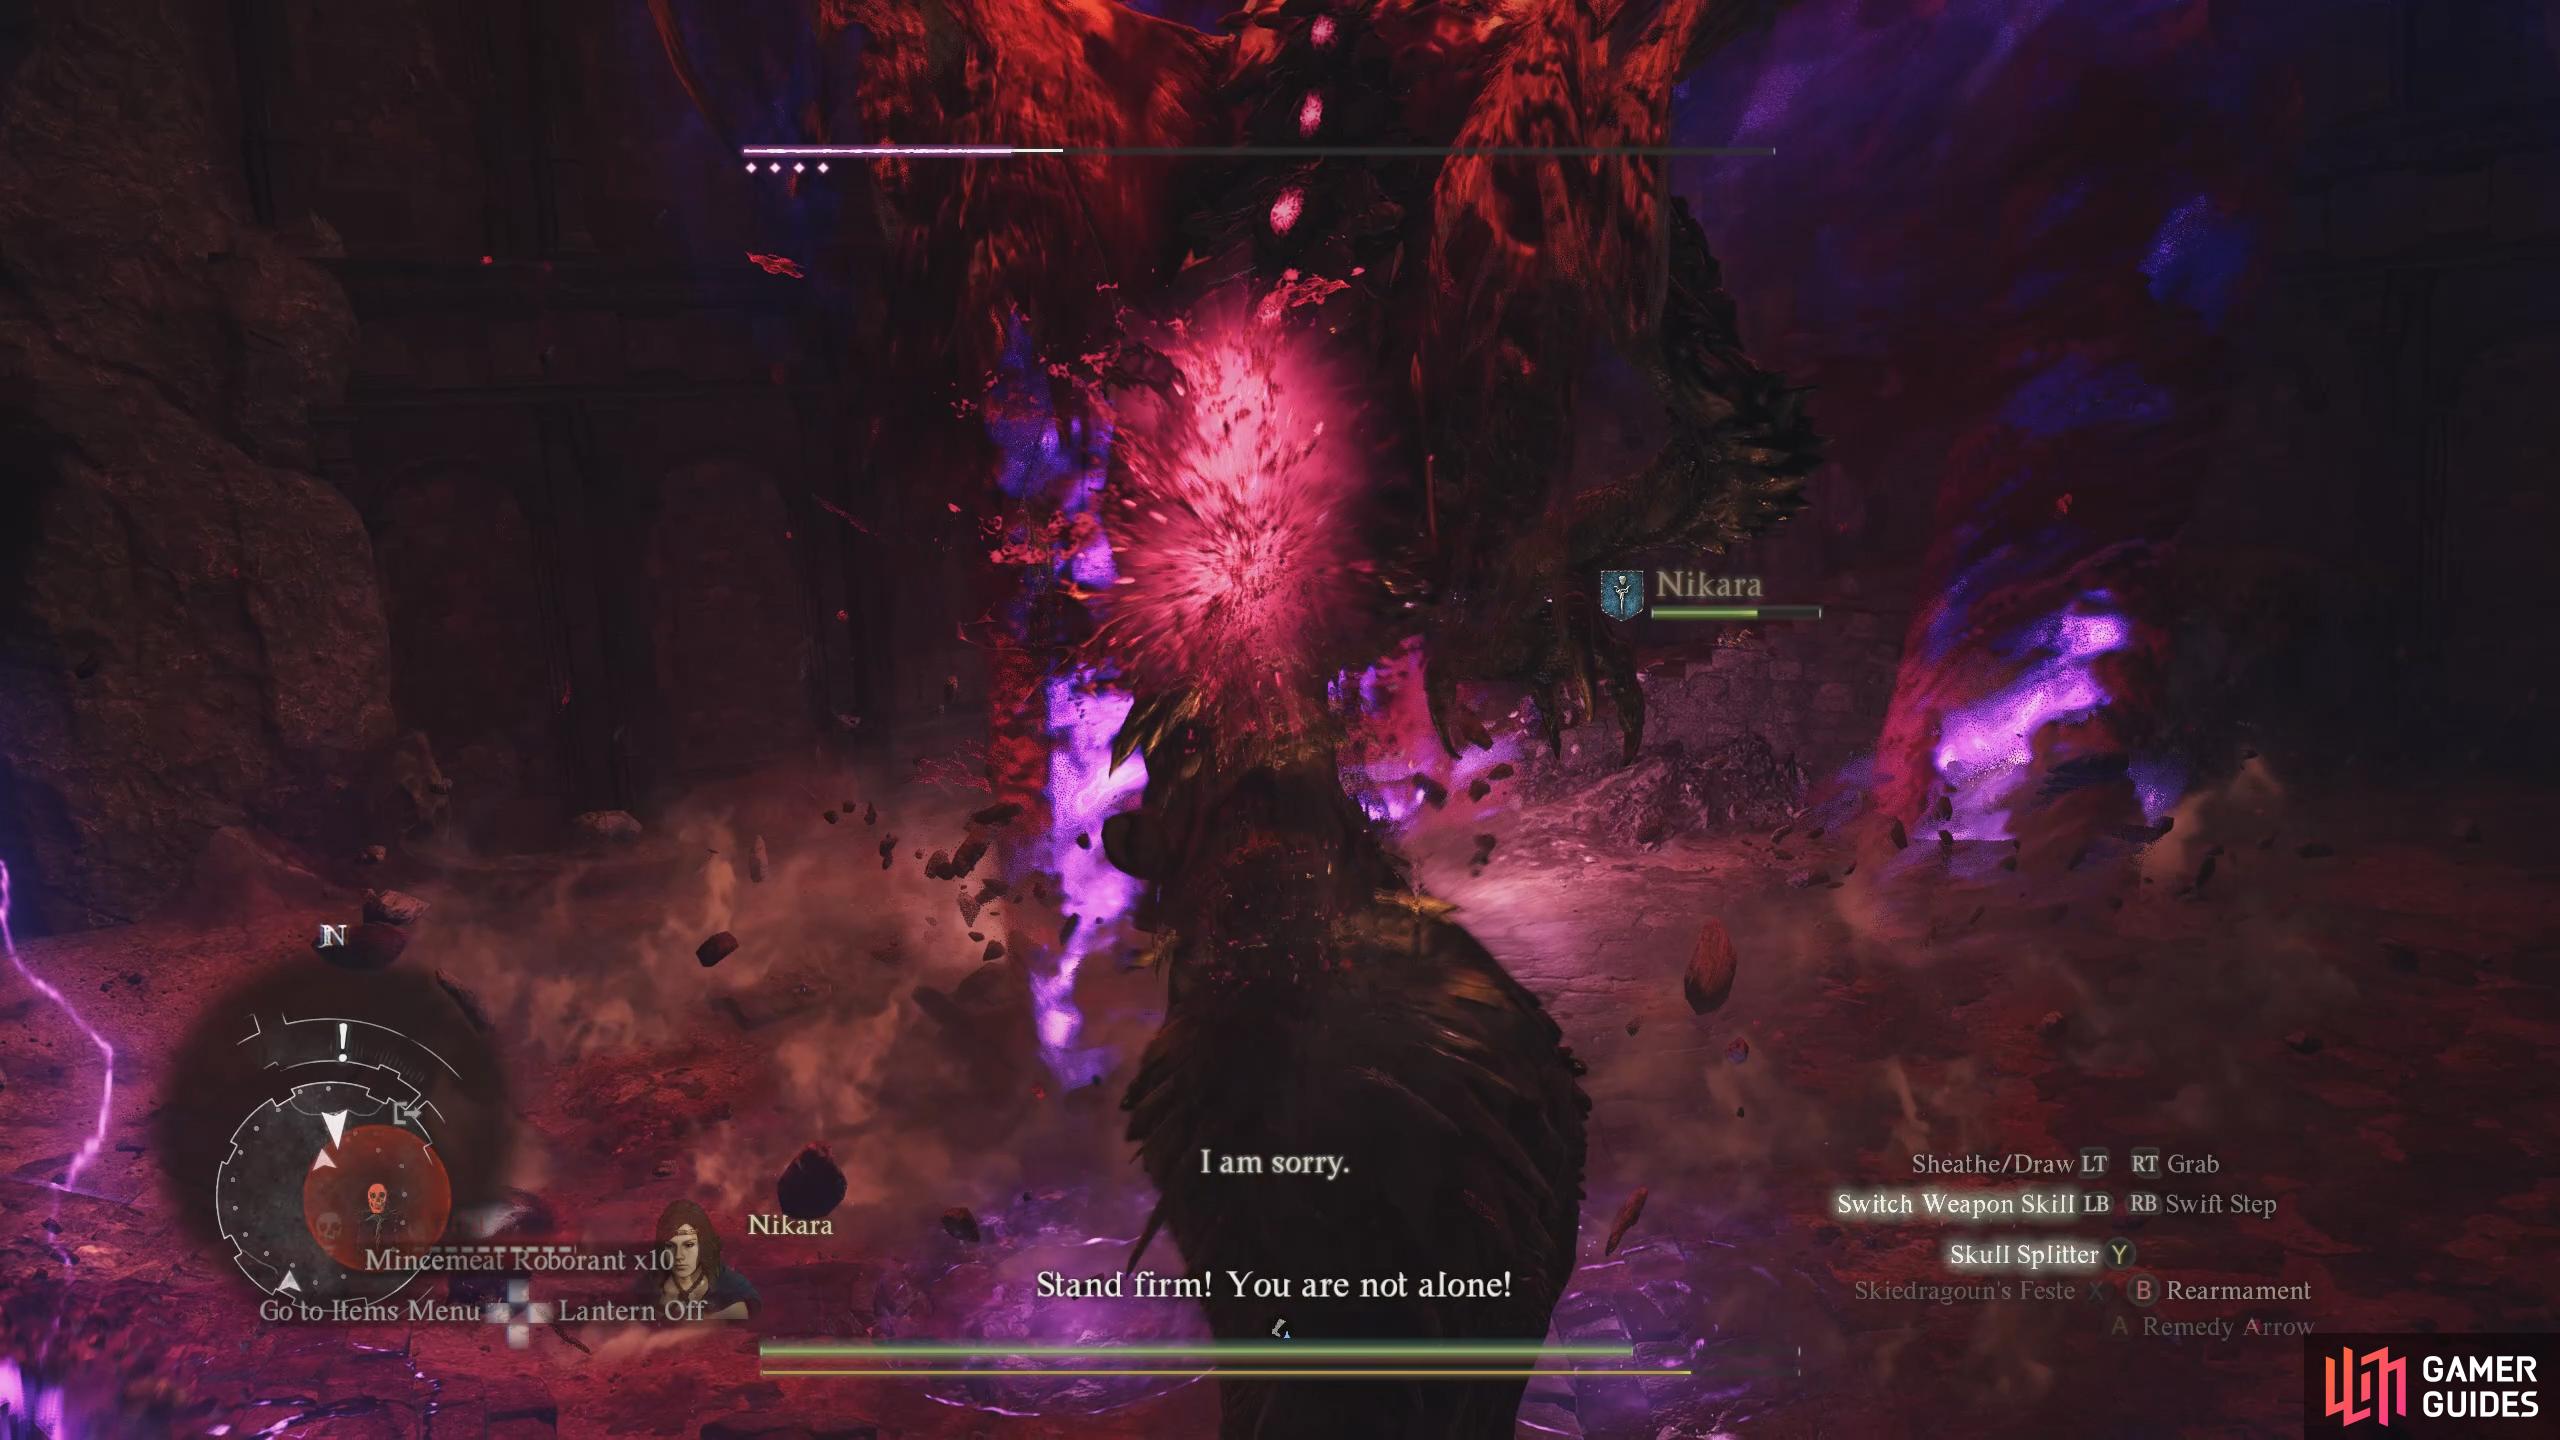
For its attacks, it’ll have a laser beam attack that it’ll repeatedly fire near its body dealing damage to anything near the boss. Make sure you get away when it starts doing this to avoid taking damage. When it flies into the air, it’ll either swoop down at you or slam down, which can be avoided by running away from it. Another attack it has is to make the battlefield rain, which will make you ![]() Drenched before it unleashes a storm of maelstroms and lighting. Unlike the
Drenched before it unleashes a storm of maelstroms and lighting. Unlike the ![]() Island Encampment Purgener, this tornado has multiple smaller ones that start near the boss and gradually head outwards. While this is happening, lightning bolts will strike the ground. The easiest way to deal with this is to get to the edge of the battlefield and be mobile. Note, when it does this, you can climb up the raised platforms behind it and attack the pustules on its back.
Island Encampment Purgener, this tornado has multiple smaller ones that start near the boss and gradually head outwards. While this is happening, lightning bolts will strike the ground. The easiest way to deal with this is to get to the edge of the battlefield and be mobile. Note, when it does this, you can climb up the raised platforms behind it and attack the pustules on its back.
When the back is dealt with, the shielding will disappear from its neck. You should be able to deal a lot of damage to this while it’s downed from destroying its back. Attack the pustules, and when it gets up, it’ll most likely do another storm attack, but it won’t be foreshadowed by rain. Avoid the attack and the Purgener will begin to throw everything it has at you, including tail swipes, storms, and laser beams. It can also send out lightning bolts without the tornadoes, so be prepared to dodge the purple markers on the floor. The last attack to watch out for is a breath attack straight in front of it. This will most likely not hit you, but your pawns instead. During this phase, you’ll be attacking its beak. At times, it will stab its beak at you, which is a good time to get some attacks on it. Chip away at the beak, and you’ll finally take it down.
(1 of 3) It has a few devastating attacks. One of these is a laser beam type attack which deals damage around the boss.
Wandering Roots - Sacred Arbor Evacuation
Saving the easiest quest to last, head to Sacred Arbor, northwest of Vernworth. You should have a Portcrystal here, if so, teleport to it, otherwise, make your way to it. When you get there, head to the first circular platform and speak to Glyndwr who will tell you that his father won’t give the orders to evacuate due to tradition. If you’ve done the quests and ![]() The Ailing Arborheart, Out of the Forest, and Into the Forge, you can get an
The Ailing Arborheart, Out of the Forest, and Into the Forge, you can get an ![]() Arborheart Cutting from
Arborheart Cutting from ![]() Taliesin. Then, you want to head back to Seafloor Shine and place the cutting in a mound of dirt found in the northwest of the hub. However, you can talk to Taliesin (provided you have a pawn with the Woodland Wordsmith Specialization) three times and he’ll give in and agree to evacuate. For a full guide of this quest, visit our Wandering Roots Walkthrough. The rewards appear to be the same, so if you’re feeling lazy, choose this approach. Once you finish this quest (or the last evacuation quest), you’ll finish the entire quest line.
Taliesin. Then, you want to head back to Seafloor Shine and place the cutting in a mound of dirt found in the northwest of the hub. However, you can talk to Taliesin (provided you have a pawn with the Woodland Wordsmith Specialization) three times and he’ll give in and agree to evacuate. For a full guide of this quest, visit our Wandering Roots Walkthrough. The rewards appear to be the same, so if you’re feeling lazy, choose this approach. Once you finish this quest (or the last evacuation quest), you’ll finish the entire quest line.


(1 of 4) Speak to Glyndwr on the first circular platform in Sacred Arbor. He will take you to his father, Taliesin.
Sacred Arbor Purgener
This boss can be found inside Sacred Arbor, north of the Portcrystal. It’s in the area with ![]() The Waters of the Spirits point of interest. There’s not much to say about this boss as it is, unfortunately, a carbon copy of the Island Encampment Purgener, and it plays out the same, at least it did for us. It’ll be another serpent boss with the same pustule locations, and it’ll breathe fire. Once you’ve defeated the last Purgener, head back to the Seafloor Shrine for a scene where one more pillar of light will appear, but that’s a different quest.
The Waters of the Spirits point of interest. There’s not much to say about this boss as it is, unfortunately, a carbon copy of the Island Encampment Purgener, and it plays out the same, at least it did for us. It’ll be another serpent boss with the same pustule locations, and it’ll breathe fire. Once you’ve defeated the last Purgener, head back to the Seafloor Shrine for a scene where one more pillar of light will appear, but that’s a different quest.

 Sign up
No Comments