If you haven’t any in stock, craft some arrows and some Poison Arrows before heading into the cave. Inside you’ll find a Bear. Kill it by hitting it with a Poison arrow, then shooting it in the head twice with regular arrows whilst it is stunned before switching back to Poison Arrow again to stun him once more before using regulars. Alternate until the Bear is dead.
Skin the Bear and the Deer carcass in here before flipping on your Survival Instinct to locate the cave’s weak wall. Approach this and use your pickaxe to knock it down.
Enter the hole in the wall and follow the passage down until you reach the first, larger cave area. Loot the chest here containing a Relic [02/10 – Glass Vase] and the pile of Byzantine Coins nearby. Continue along the path until you dive into a pool of water below.
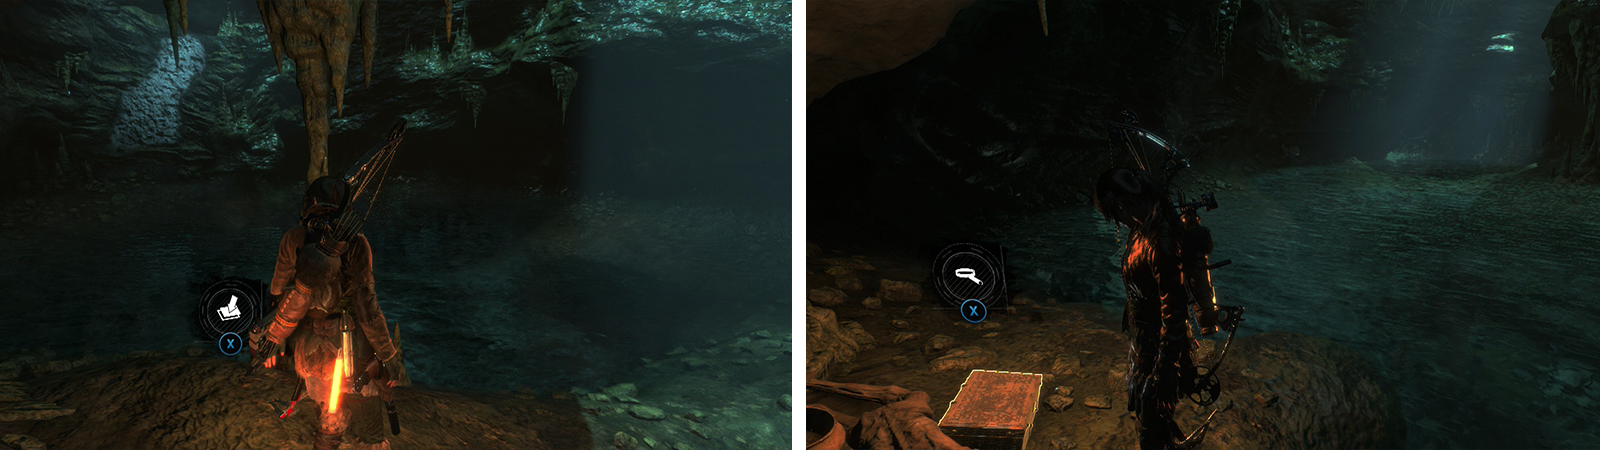
After jumping down into the pool of water loot Survival Cache 03 (left) and Relic 03 (right) before continuing.
Swim to the rocky platform on the right of the area to find a Survival Cache [03/06] . Before proceeding further, look back towards the ledge you jumped down from, on small slivers of land at the base of this wall you’ll be able to find a chest containing a Relic [03/10 – Soldier’s Pendant] on the right and an Explorer’s Satchel and cylinder of reagents by the scalable wall on the left.
Swim to the opposite end of the pool from where we entered and dive underwater. Follow the underwater tunnel here until you can surface at the end. Keep moving along the set path until you find a camp fire. In the corner behind this there is another Survival Cache 04/06] .
Approach the camp fire to unlock a new Base Camp ‘Geothermal Cavern’. You can use the Base Camp here to apply any upgrades you require and spend any skill points you have. Exit the Base Camp menu when you are ready to continue.
Enter the pool of water behind the Base Camp and instead of heading for the far side, look for a submerged doorway on the right. Dive underwater and proceed through the tunnel until you reach the stairs at the end. At the top there is a cylinder of resources and an Archivist’s Map . There is also a Survival Cache [05/06] hidden along the left hand wall (from the initial entry point).
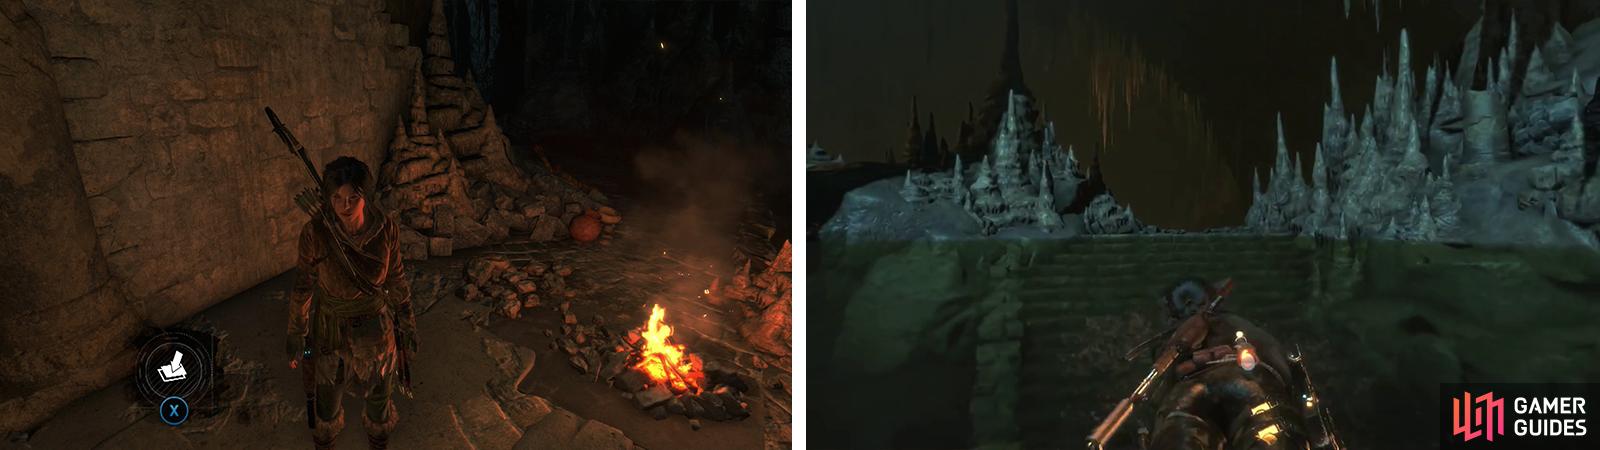
Grab Survival Cache 03 by the Camp Fire (left). Enter the water (right) and look for an underwater tunnel to the right leading to a room with Survival Cache 04 and an Archivist’s Map.
Return through the underwater tunnel to the previous pool of water and head for the bank opposite the Base Camp to continue.
Follow the stairs down until you reach a gate with some yellow gas seeping from a crack to the right. Shoot the gas with a fire arrow to detonate it. Continue through the now disappeared gate to find the puzzle room of this Challenge Tomb.
Once inside, move to the end of the platform on the left to find a Document [02/08 - Greek] . Drop down to the floor below and near the base of the stairs to the right there is a second Document [03/08 – Greek] .
Make your way to the large iron gate at the back of the chamber (you’ll see the Challenge Tomb’s Codex through it). From here, look back into the room. There is a water- filled pool in the center of the room and on either side of the platform we entered is a rope covered lever. Use Rope arrows on both levers this will drain the pool and release a green gas into the room (which will make your screen go a little fuzzy). Whilst this is happening, quickly run into the empty pool to find a cage at the bottom. Interact with this to release it before the water rises once again.
Use the wheel mechanism on the crane here to lift the cage out of the water. Move over behind the crane and shoot the counterweight to rotate it. This should place the cage above the middle of the pool right in line with the iron door.
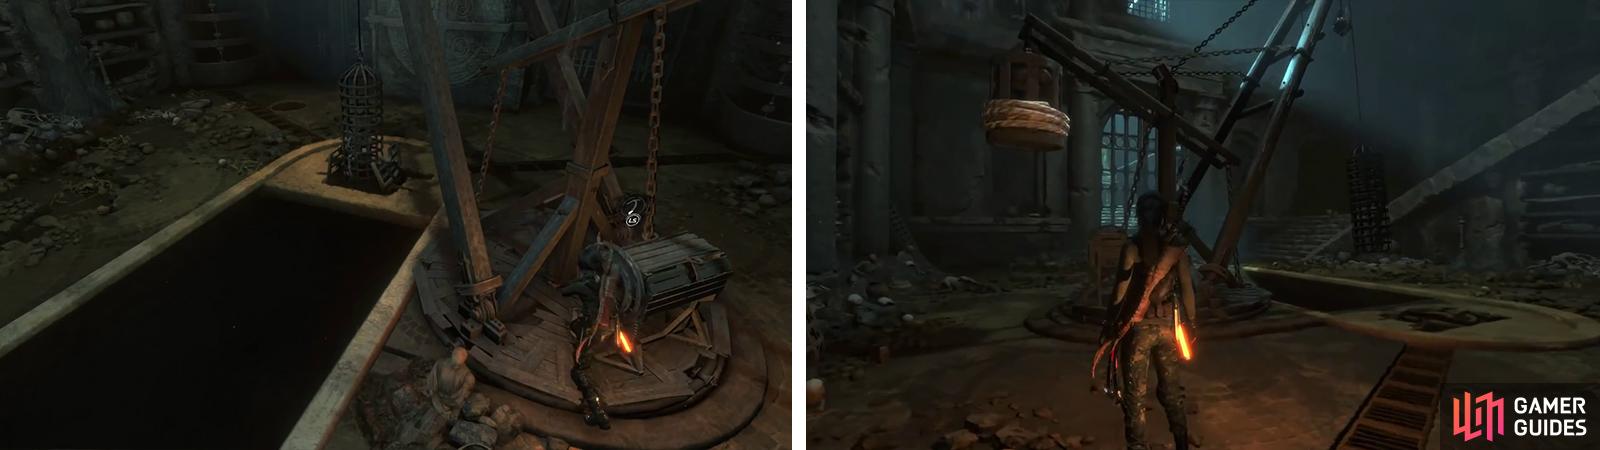
Use the wheel to raise the cage out of the floor (left). Use Rope Arrows to rotate the crane so that the cage is above the pool in the centre of the room (right).
Climb around halfway up the stairs on the side of the room. Again, you’ll want to hit the rope levers either side of the top platform to release the gas. Ensure that you are out of the green haze before shooting a fire Arrow into the source of the gas. This will explode, sending the cage through the iron door at the back of the room.
Move through the destroyed gate and at the top of the stairs there is a cylinder/box of reagents, a piece of Magnesite Ore and the Challenge Tomb’s Codex we can interact with on the altar here to complete the Challenge Tomb [01/01] .


Backtrack your way through the cave until you are back outside again.
No Comments