Objective: Follow the Trinity helicopter to the old Soviet Weather Station
As soon as you regain control of Lara, you’ll be back in the Soviet Installation map. Our current position is one that we were unable to access earlier so there are a few collectibles about. There is also a new Base Camp ‘Copper Mill Bridge’ nearby. You can use the Base Camp here to apply any upgrades you require and spend any skill points you have. Exit the Base Camp menu when you are ready to continue.
Objective: Find Sofias Strongbox of gear
Head to the objective marker nearby and loot the marked Strongbox [12/14 – Gear: Broad Head Climbing Arrows] . You’ll find a Document [25/26] on a crate by the camp fire, a piece of Magnesite Ore on the nearby mine cart and in the distance by the fence, there is a Survival Cache [18/21] . From the front of the truck, look around the corner of the building to the right to find an Archivist’s Map .
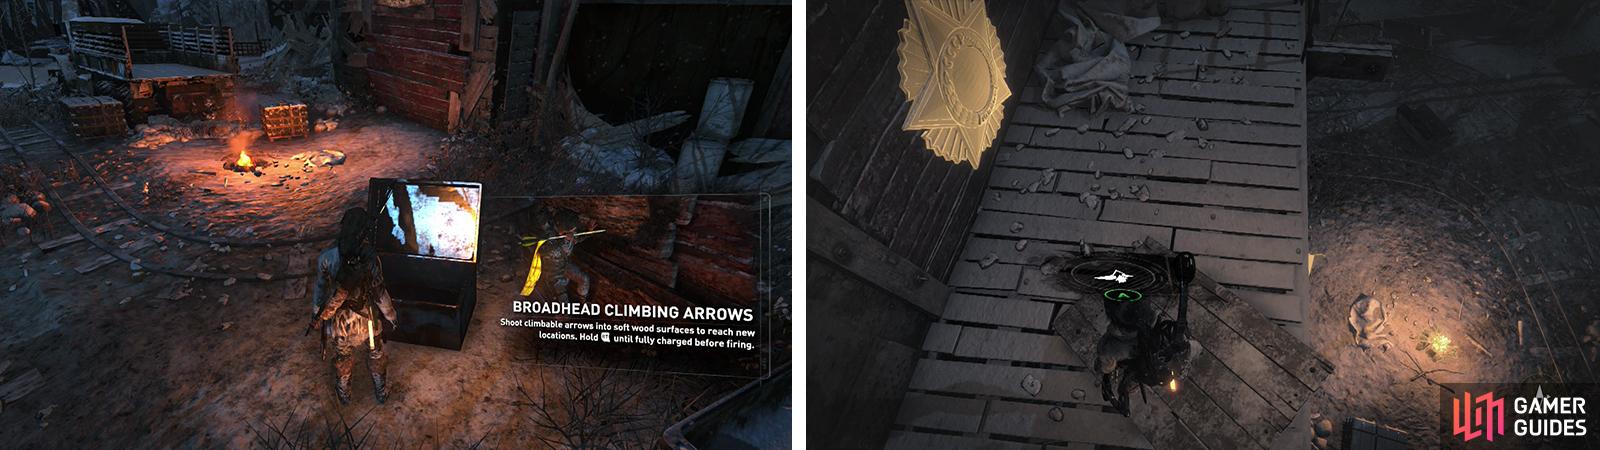
Loot Strongbox 12 for the Broadhead Arrows (left). Climb the wall nearby for Mural 12 (right).
Objective: Infiltrate the Research Base
Return to the Base Camp and look for the weak wood on the wall of the building beside it. Use your Broadhead Arrows to climb to the ledge at the top. Here there is a Mural [12/12 - Russian] . Ride the zip lines by the Mural here to continue across successive zip lines down until you reach the icy ledge below the path to the Supply Shack and the Gulag.
Use the Broadhead Arrows on the weak sections of the walls to the right to create a passage we can jump across to the far side. Climb the stairs here and at the top, turn to the left to find a Flag . Cut this down using the Combat Knife [Capture the Flag 01/07] . Continue onwards until you reach the Supply Shack. There is another Flag here [Capture the Flag 02/07] .
Enter the Supply Shack and spend your Byzantine Coins on. At this point, I had sufficient coins to purchase everything in stock bar the Shotgun and the Assault Rifle. I’d recommend that you do the same!
Return to the Base Camp outside and look for the weak wood on the wall beside it. Use your Broadhead Arrows to climb to the ledge at the top. As soon as you pull yourself up you’ll find a Document [26/26] on a table. By the table, look for a gap in the railing above the cliff and drop down to the small ledge below there is a Survival Cache [19/21] here.
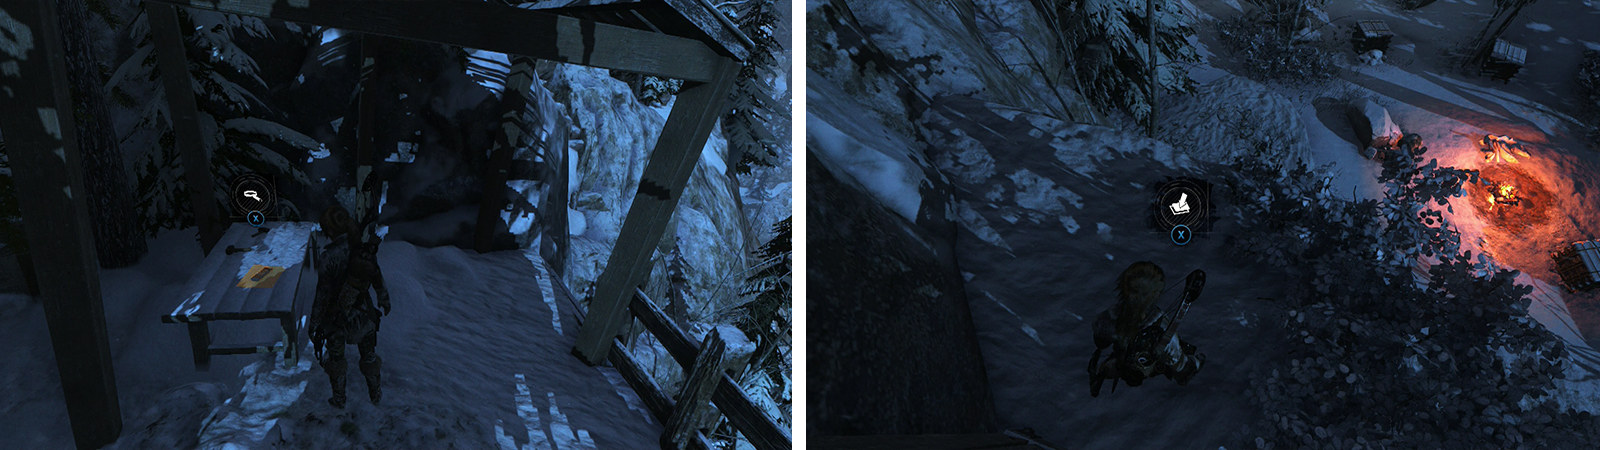
Use broadhead arrows to climb the wall by the supply shack. At the top is Document 26 (left) drop down to a ledge beneath this with Survival Cache 19 (right).


Climb back up to the top of the cliff and open the nearby Strongbox [13/14 - Weapon Part: Heavy Pistol Part 04] . Follow the path around the next corner and look out for a body in the snow holding an Explorer’s Satchel . Very close to this body, by a rock in the center of the pathway you’ll also find a Survival Cache [20/21] .
Proceed along the snowy pathway and enter the cave located at the end for a scene.
No Comments