You’ll be able to accept this side-mission by speaking to the wounded Remnant Soldier inside the cave that we clear during the side-mission ‘Dangerous Territory’. This time around, he’ll be there with the general we met earlier and they’ll want us to return to the prison for a bit more fun.
Head for the nearest Base Camp and fast travel to the ‘The Gulag’ Base Camp.
As soon as you arrive, turn around and move through the thick snow, water-filled tunnel and storage building until you find the open doorway leading back outside. Looks like some of the Trinity soldiers are still hanging around! There are four in this area and the can be found in the following locations:
- One will walk past the door in front of you and stand on the wooden platform to the left.
- Two will remain stationary in the open area ahead.
- One will patrol in a large circle around the open area ahead.
This is quite simple to do quietly. Simply wait for the closest enemy to walk passed the door to the left and then step out and perform a silent takedown on him. In the courtyard opposite, wait until the patroller reaches the far, right side before killing the two stationary guards with head shots. Finally, kill the patroller when he comes back into view.
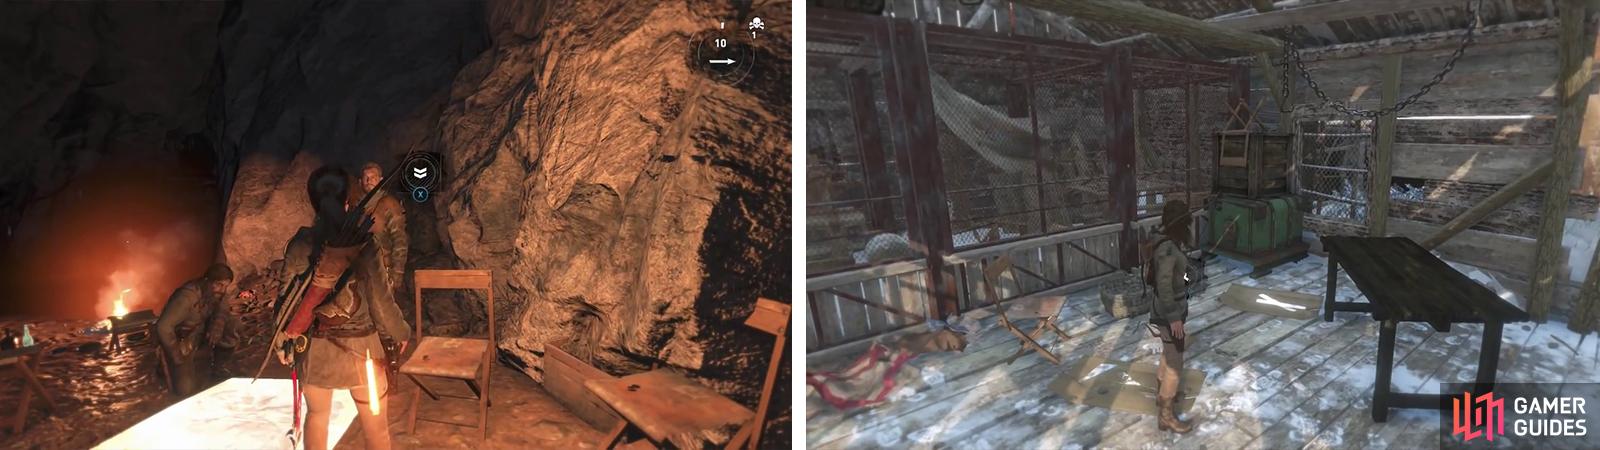
Speak with the fellows in the cave to start the mission (left). The Troop Movement Plans can be found in the building here (right).
Enter the building on the far side of the courtyard the enemies were located in. Inside, on the floor to the left there is an object we can inspect [Troop Movement Plans] – use your Survival Instinct if you have trouble locating it. Once you have examined it, backtrack to the ‘The Gulag’ Base Camp.
Continue to the north and through the gate here. Make your way over to the far, right hand building from the entrance to the area. Inside, on the floor is another object to interact with [Guard Schedule] . Keep moving through the Gulag in the same way we went through previously. In the small building following the excavator stretched over the path, you’ll find the final object [Archaeological Discovery Evidence] on a desk just inside the door to the left.
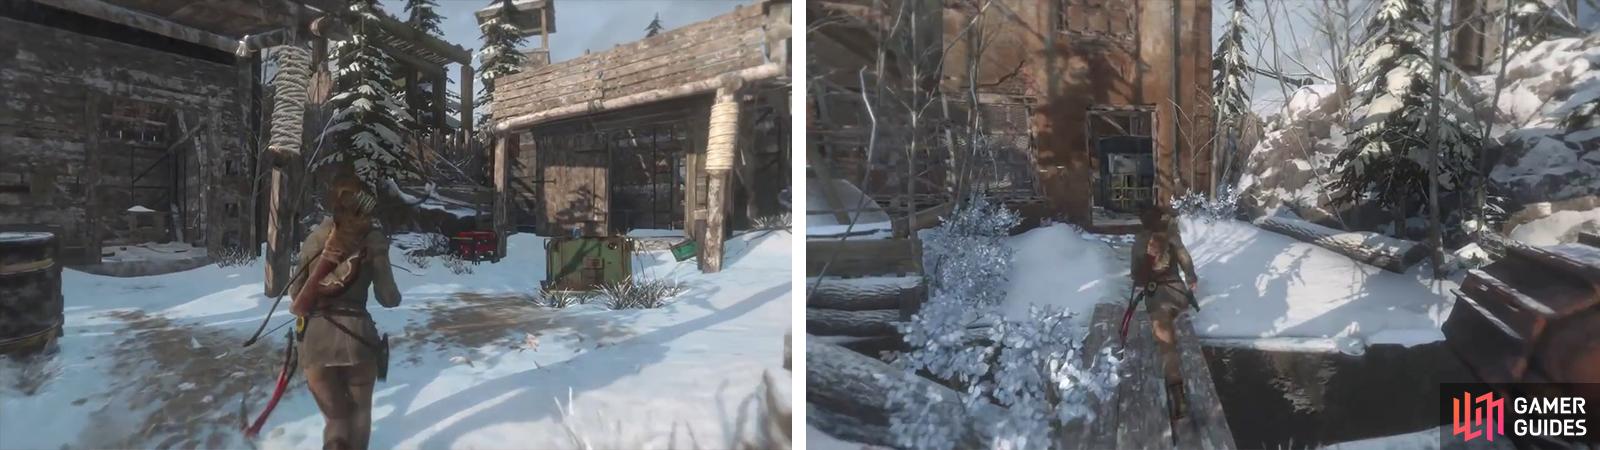
The Guard Schedule is in the building to the right (left). The Archaeological Discovery Evidence is in the building past the excavator (right).
Head back to the ‘The Gulag’ Base Camp and fast travel to either the ‘Hidden Refuge’ or ‘Lumber Camp’ Base Camps. Return to the cave with the quest giver and hand in the side-mission for your reward.
No Comments