You’ll be able to accept this side-mission by speaking to the wounded Remnant Soldier by the shack located in between the ‘Logging Camp’ Base Camp and the saw mill. Look at the map – see the pulsating green circle to the north? This indicates the location of a cave that we’ll need to clear of wildlife.
Make your way over to the cave entrance. Just to the right of this, near a bridge you’ll find a Monolith and although we won’t be able to decipher it until we have level 3 proficiency in Russian, it’s good to mark it on your map for now.
Enter the cave when you are ready to continue. You should earn [Into Darkness Challenge 04/05] at this point.
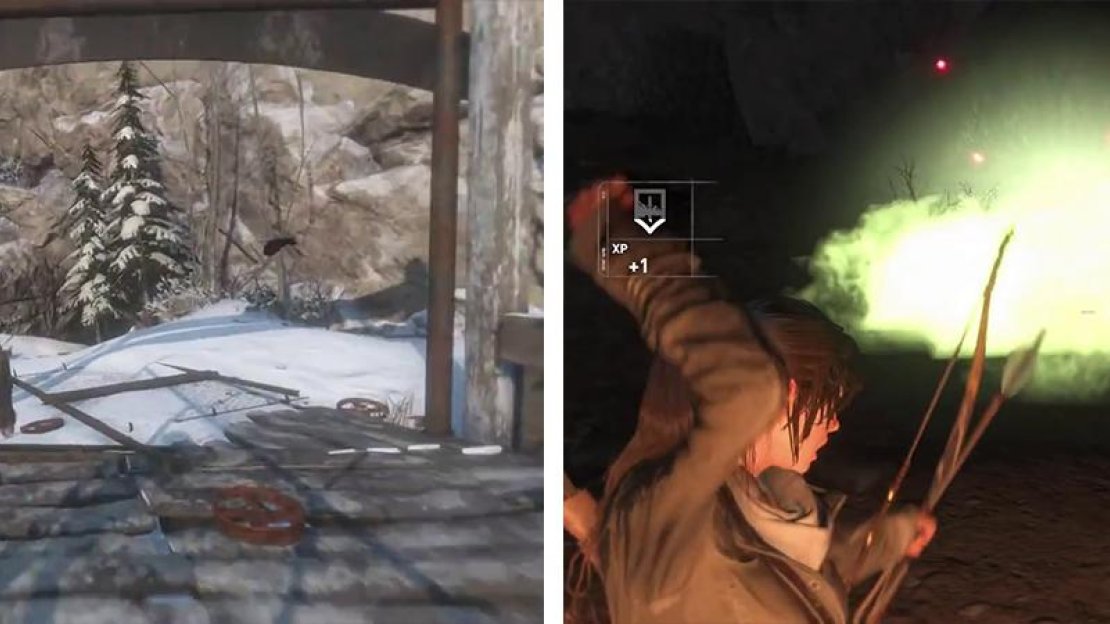
Cross the bridge to the north (left) to reach the target cave. Inside, use the Poison Arrows to deal with the wolves quickly (right).
At the base of the ramp, look to the left for a vein of Magnesite Ore and loot the nearby Mushroom if required and make sure you have some Poison Arrows ready. Proceed cautiously into the tunnel by the base of the ramp. There is another vein of Magnesite Ore along the right hand wall, but leave that for now as you have more pressing matters to attend to.
There are five Wolves up ahead and as you move through the tunnel they’ll spot you and attack. We’ll need to kill them all to complete the mission. Try to pick one or two off with the bow as they approach, but there is no way you’ll be able to shoot them all so don’t be afraid to fall back into the previous room.
It’s a good idea to return to the previous room anyway and run laps of the area to get the wolves to gather together. When they stack up, it gives you a great opportunity to hit them with a Poison Arrow to eliminate several at once. Keep moving to avoid the wolves, rinse and repeat until they are all dead.
Loot their corpses before returning to the quest giver for your reward.
If you return to the cave, our buddy whom we just completed the quest for will have found his way there already (if not, use a Base Camp to fast travel somewhere and back again). He’ll be there with the Remnant general and they’ll give you another side-mission ‘Gulag Recon’ .

No Comments