Now that we have the Broadhead Arrows in our possession we can nab the remaining collectibles in the Flooded Archive area. The fastest way to get to the area of interest is to use a Base Camp to fast travel to the ‘Ridgeline’ Base Camp in the northwest section of the Geothermal Valley region.
From the camp fire, cross the river to the east and follow the path until you reach the broken bridge. Use the tree branch to swing across to the far side. Enter the cave a little further along the track to find yourself back in the Flooded Archive region.
Drop down to the floor below and backtrack through this area in the opposite way we came from earlier. Head up the stairs and through a pair of underwater tunnels. As soon as you surface at the far end of the second underwater tunnel, you’ll see a weak section of wood on the wall to the left.
Use your Broadhead Arrows to climb to the ledge above. Proceed down the slope in front and when you reach the chasm use the grapple axe on the hanging beam to swing across to the far side. Climb the scalable wall here.
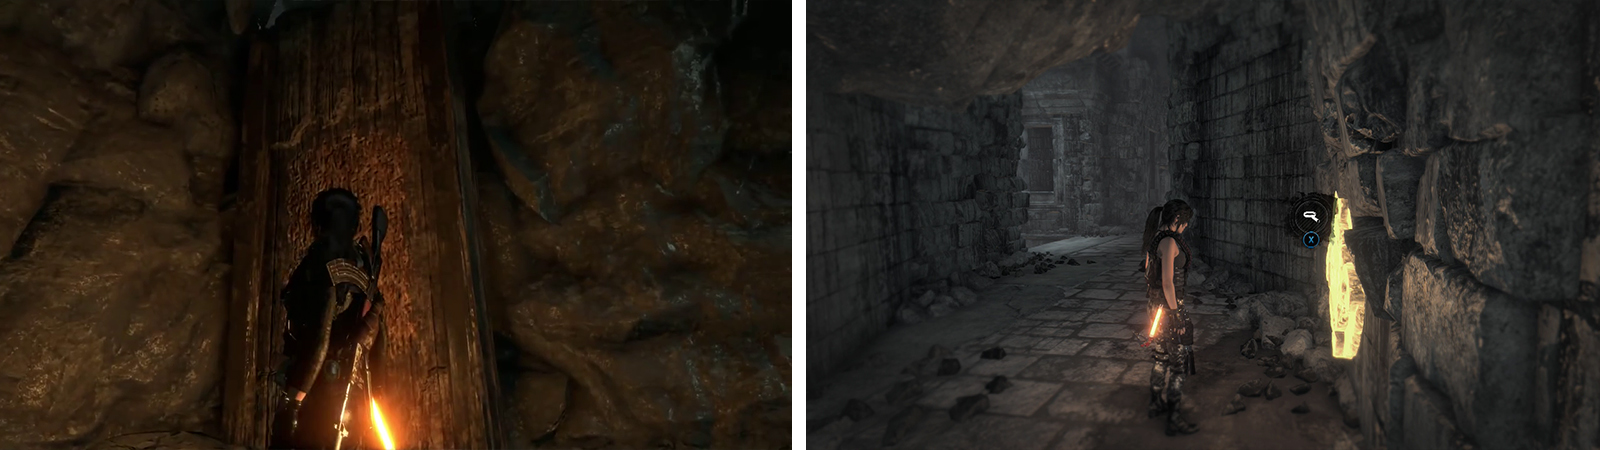
Use the Broadhead arrows to climb the weak wall at the end of the Flooded Archive (left). Follow the path through here until you reach Mural 03 (right).
Follow the passage at the top, across the bridge beam and jump across the subsequent gap. Crawl through the small gap at the base of the wall to the right. Follow this path and keep an eye out on the right hand wall for the area’s final Mural [03/03 – Greek] .
Just past the Mural, there is an opening we can drop down into to land on a wooden platform below. Drop to the floor below this and destroy the vessel of Greek Fire by the door to blow it open. This will place us back in the large chamber where we toppled the statue to progress earlier. Make your way over to the ‘Greek Fire Depot’ Base Camp here.
From here we’ll want to fast travel to the ‘Chamber of Records’ Base camp on the eastern side of the region map. Move through the crack in the wall by the camp fire and upon reaching the far side, look on the floor in the beam of the flashlight to the left to find a Coin Cache [02/03] .
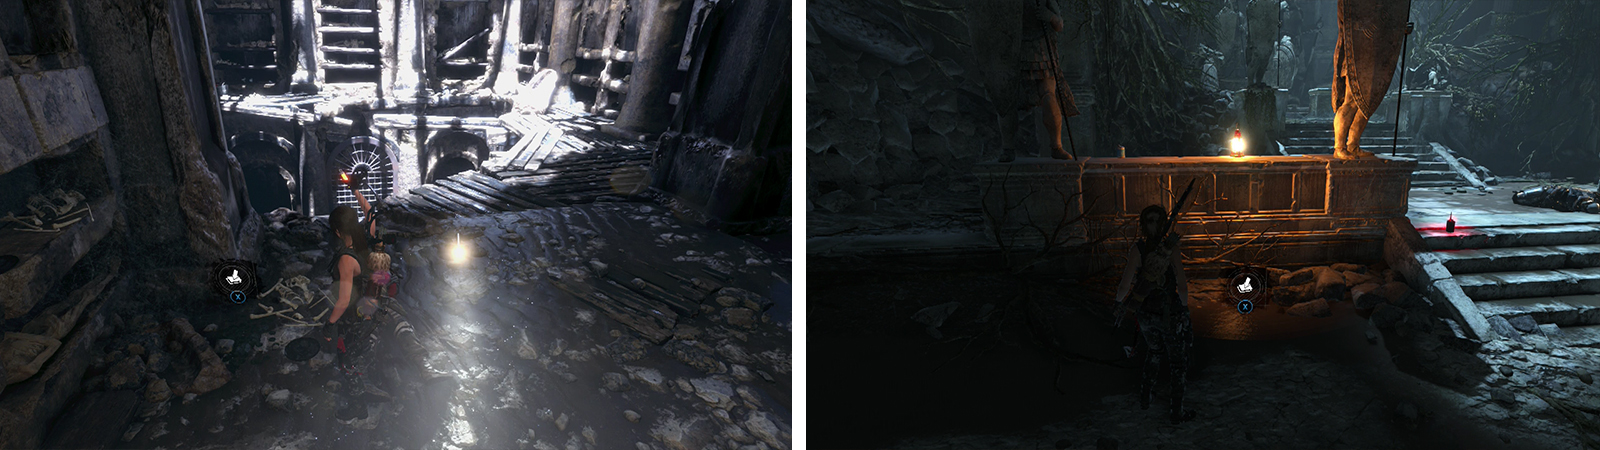
Coin Cache 02 is found at the entrance to the region (left). Coin Cache 03 is located in the room with the Atlas (right).
Return back through the crack to the Base Camp and continue through the hallway beyond, down the stairs until you reach the large room below where we found the Atlas earlier. Be careful – occasionally a group of Trinity Soldiers will be patrolling about this area and they’ll have a Flamethrower enemy with them. On the lower level, just to the left of the stairs leading to the platform that held the Atlas there is a Coin Cache [03/03] .
At this point you should be all done with this region’s collectibles. Return to the closest Base Camp and fast travel outta there!
No Comments