Objective: Infiltrate the ruins and find Sofia
When you regain control, you’ll be in another outdoor tent-filled market area in some hiding place shrubs behind cover with six enemies occupying the zone ahead of you. Before we do anything, you’ll want to craft some arrows so hit the RT button to fill your quiver. When you are ready to kick some ass, scope out the area.
If we are stealthy, we can make it through this area relatively quickly, however as per usual, the second you are detected, the guards will break off and behave erratically, leaving you to use more traditional shooter methods to take them all out. Before you have been detected however, from our initial position, you’ll find enemies in the following locations:
- Two standing by the fire in the area directly in front of you.
- One patrolling by the pair of stationary guards in front.
- Three standing in the back, right corner of the area from the entrance. They will split up if you approach them.
To begin with, hop into cover behind the short wall to the right. Wait here until the patrolling guard comes and stops on the other side of the wall. As soon as he starts moving again, sneak up behind him and perform a silent takedown. Shoot a Poison Arrow at the ground between the pair of stationary guards ahead to eliminate them both.
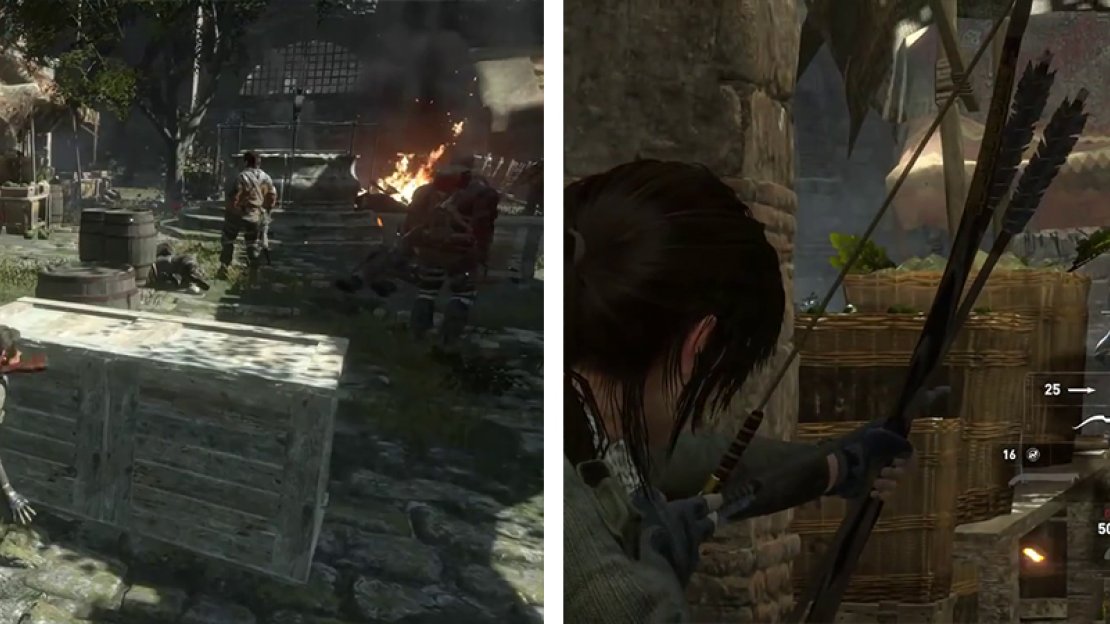
We need to clear the courtyard of enemies (left). use Poison Arrows to do so quickly (right).
Move up to where the stationary guards were standing. Turn on your Survival Instinct to locate the three enemies standing in the distance to the right. From here, perform a head shot on the central guard with a Poison Arrow. This should knock out all three of them at once to clear the area.
If things do go south during the encounter, there are plenty of cans/jars and bottles about to create projectiles and several boxes of ammo and quivers of Arrows littered liberally throughout the area so feel free to go all out with your ammo.
When you are ready to move on, head back to the start and look for the yellow and white tent to the left (from our initial entry) there is a Walkie-talkie [Cut Short 02/06] hanging inside. Move to the opening that the three enemies were guarding. On the tents either side of this you’ll find hanging Walkie-talkies to destroy [Cut Short 03/06 and 04/06] . There is also a tree for Hardwood to the left, a small side-passage on the right beneath the archway with a crate of Salvage and next to the flare on the far side of the archways more Salvage .
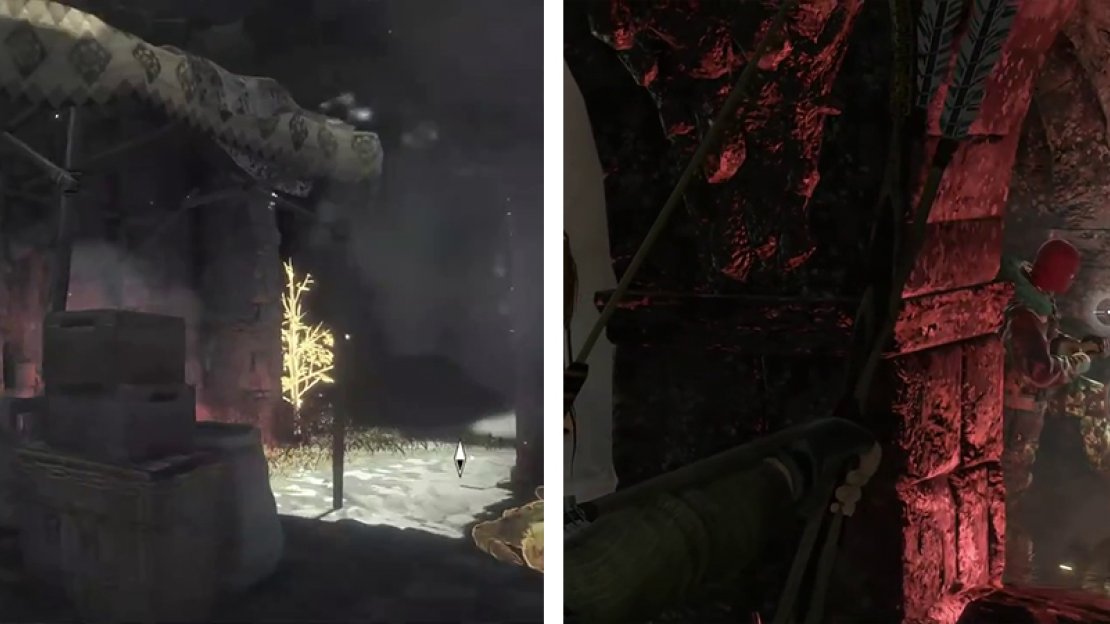
Keep an eye out for the Walkie-talkie challenge items (left) - there are three in this first area. Kill the two enemies in the first underground tunnel (right).
Follow the slope down to reach and underground area. There are a pair of enemies ahead, neither of whom will notice you unless you make noise or draw attention to yourself. Either wait for them to separate and sneak up and knife them both, or whilst they are together down them at the same time with a Poison Arrow.
Grab the Mushrooms and the Ammo from the left if required and enter the next hallway. Pick up the Magnesite Ore you pass on the left if you need it.
At the end of the hallway, you’ll hear a commotion going on in the next room. There are four enemies in here and killing them stealthily makes things a lot easier. From our initial position, you’ll find enemies in the following locations:
- One with his back to you just at the exit to the tunnel.
- One to the right by a stone pillar.
- Two by the dead Remnant inspecting the body.
An easy way to stealth this area is to sneak up and kill the fellow with his back to you as soon as you enter. Next, you’ll want to line up a headshot on the fellow leaning against the pillar to the right before quickly firing a Poison Arrow at the other pair of enemies to take them out before they spot you.
Return to where we entered the room and look in the small, side-tunnel opposite to find a crate of Salvage , a box of reagents and some Magnesite Ore . Loot the room we just cleared of any boxes of Ammo you require and grab a bottle or can to take with you (if you are into that sort of thing). Near the archway leading to the exit there are Mushrooms to the right and a pile of Byzantine Coins to the left.
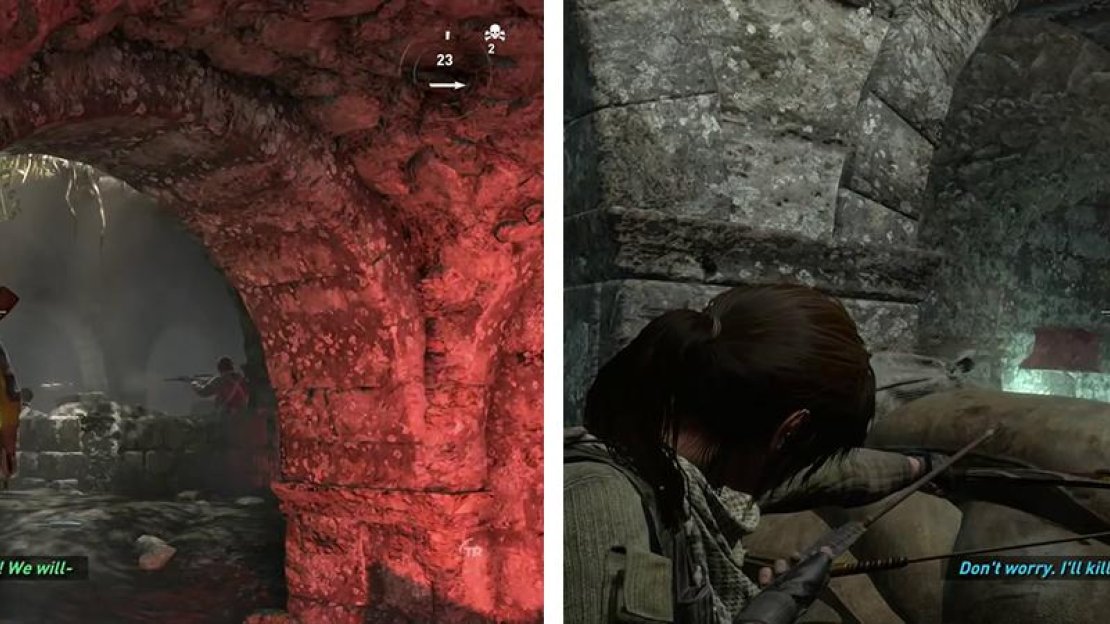
Eliminate the group of enemies at the end of the hallway (left). After dropping through the floor, you’ll need to deal with another pair below (right).
Move through the archway and towards the light to reach a new area.
When you are back in control, move up to the sandbags in front and peek around the corner to the left. There are a pair of enemies ahead who will examine the wall here. Use one of the bottles nearby to craft a Molotov or use a Poison Arrow to take them both out simultaneously.
Behind you there is a Mushroom by the back wall. Down the corridor to the right, where the enemies originated from you can find a barrel of reagents and a second Mushroom to loot. When you are ready to continue, move over to the hole in the wall the enemies were inspecting and Lara will squeeze through to the next room.
Sneak to the left and you’ll come across four soldiers and a couple of prisoners. Fortunately, all of the bad guys are fairly close together and a single Poison Arrow into the center of them will kill them all at once. If not, use whatever weapons you feel like to deal with the survivors.
Once they are all dead, a scene will play.
Objective: Find the ammunition cache
Once the scene has run its course, stick on your Survival Instinct to find the weak wall in the corner nearby. Use your pick axe to bring it down and proceed inside. Drop down to the passage below and inspect the left wall for a Mural [01/01 - Greek] .
Scramble up the wall opposite the Mural and move along the pathway until Lara peeks out of a window.
Objective: Find a way to destroy the blockade
After Lara is finished looking out the window, drop down to the next room below for a short scene after which we’ll be able to use Grenade Arrows .
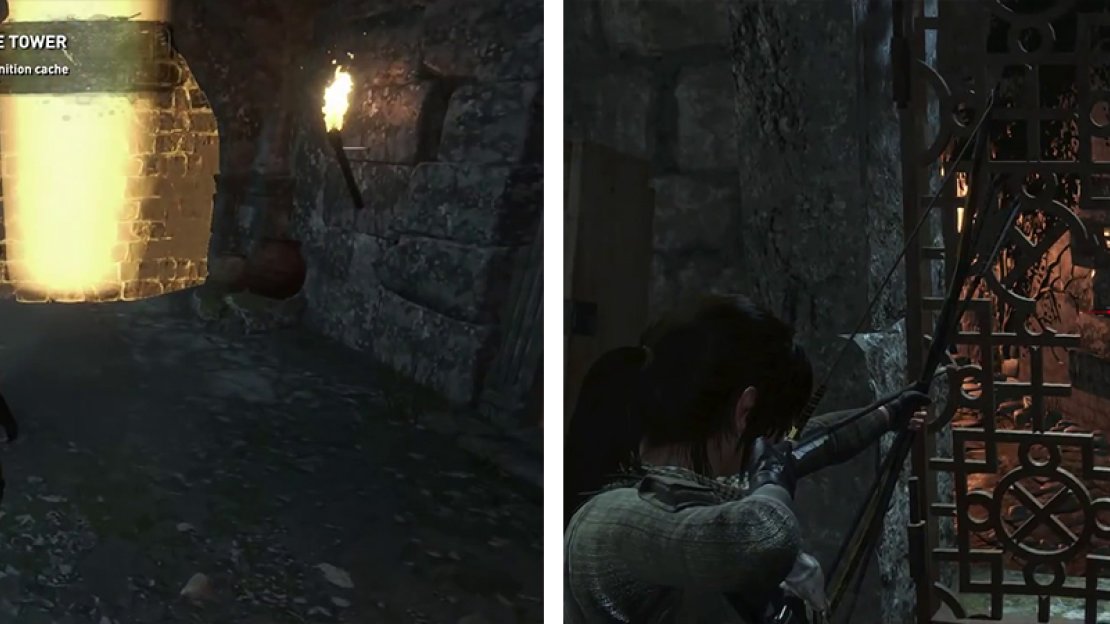
Break down the weak wall (left) and follow the passage to the Grenade Arrows. Use the Grenade Arrows to destroy the blocked door (right).
Objective: Destroy the blockade to free the Remnant
Explore this small room for a quiver of Arrows, a chest containing a Relic [02/03 – Deer Charm], Oil, a crate of Cloth , a piece of Magnesite Ore and some more Grenade Arrows . Return to the previous hallway and shoot the barrier through the hole in the window. Another cut-scene will play.
Objective: Breach the gate to the tower courtyard
Following the scene, enter the door that you just blew up and look along the ground by the left hand wall for a pile of Byzantine Coins . There are also some Mushrooms on the far side of the room opposite the door. Return outside and follow the set path.
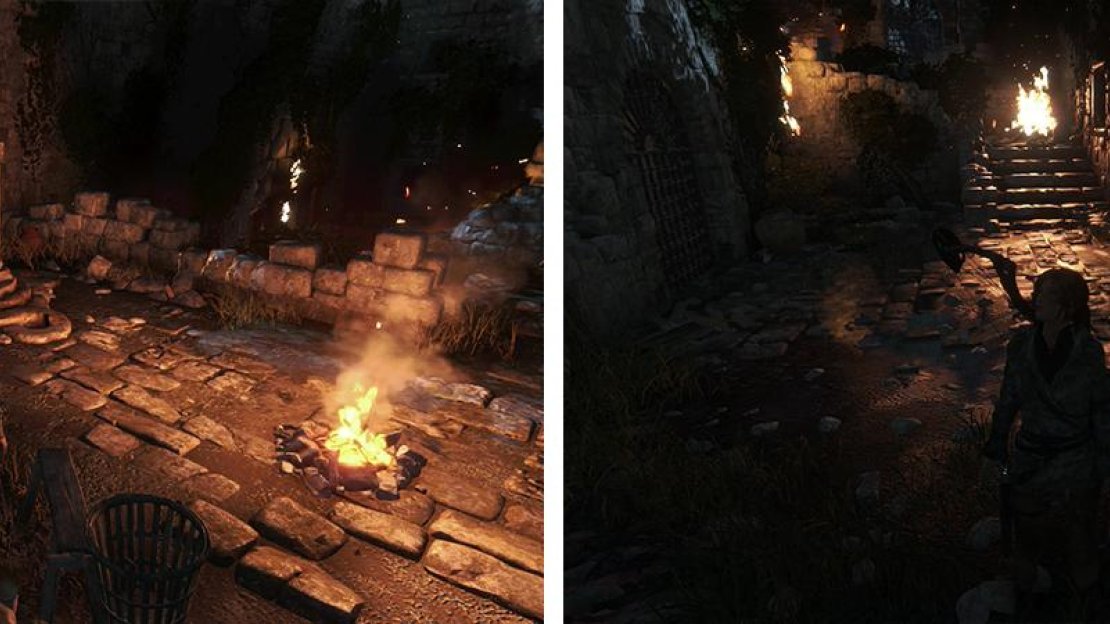
After a short distance you’ll come across a new Base Camp ‘Riverside Landing’. Beside this, there is a Monolith to decipher and a Document [05/10 - Greek] on the table behind the camp fire. You can use the Base Camp here to apply any upgrades you require and spend any skill points you have. Exit the Base Camp menu when you are ready to continue.
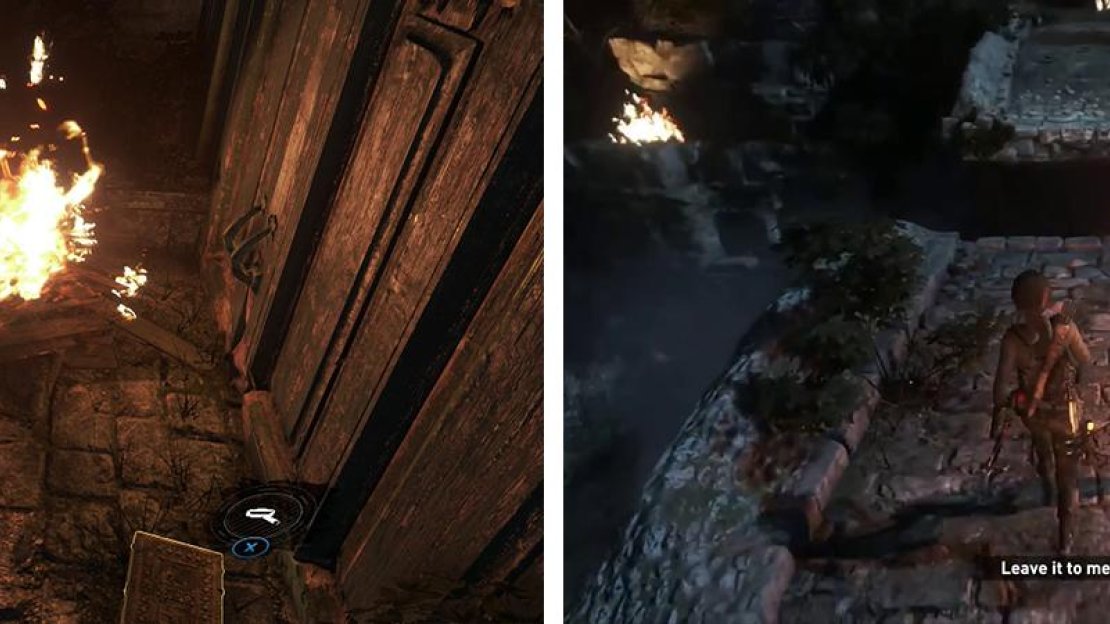
Once you have deciphered the Monolith, return to the door we blew open a moment ago to find a Coin Cache [01/03] in the dead end beside it. Fast travel back to the ‘Remnant Bazaar’ Base Camp to locate a second Coin Cache [02/03] on the large, rocky platform to the left of the burning gate at the north end of the area. Fast travel back to the ‘Riverside Landing’ Base Camp to continue.
There is a Monolith and Document 05 by the Base Camp (left). Coin Cache 02 can be found by the destroyed door (right).
Leave the Base Camp and take the stairs up. When you reach the locked door, follow the wooden beams to the right until you reach the next balcony. Loot the Document [06/10 - Greek] and proceed to the far end of the platform.
Shimmy along the wall here before jumping across to the stone archway and climb up. Look to the left as you climb up to find a chest with a Relic [03/03 – Bullae] . Continue along the stone path here, grabbing the crate of Salvage as you go.
Jump to the far side of the bridge, loot the Grenade Arrows from the corpse and shoot one at the barrier at the end to open a hole we can crawl through.
Relic 03 is located at the end of the bridge (left). We’ll need to destroy the gate at the oppposite end of the bridge (right) to progress.
Objective: Attack Trinity to lure the helicopter out
As soon as you crawl out the other side of the gate, you’ll be immediately attacked. Quickly get into cover. As with most of the full-on combat sections in the game you’ll want to stay in cover as much as possible. Watch out for grenade indicators that flash up on the screen and if necessary use your scramble moves to reach another piece of cover before it explodes.
There are three enemies in the small courtyard to begin with and they will be joined by a further three who will hop down from the top of the wall at the back of the area. There are a couple of places where we can loot Grenade Arrows here, so feel free to use them to knock enemies down quickly. Poison/Grenade Arrows are especially effective when the enemies drop down from the wall as they will land relatively close to one another, making them an easy target for a multi-kill.
Once the area is clear, loot any Ammo boxes and Grenade Arrows that remain and look to the left of the next barrier to find a small covered area with a crate of Salvage, a container full of reagents and a Strongbox [03/03 Gear: Enhancement Tool] .
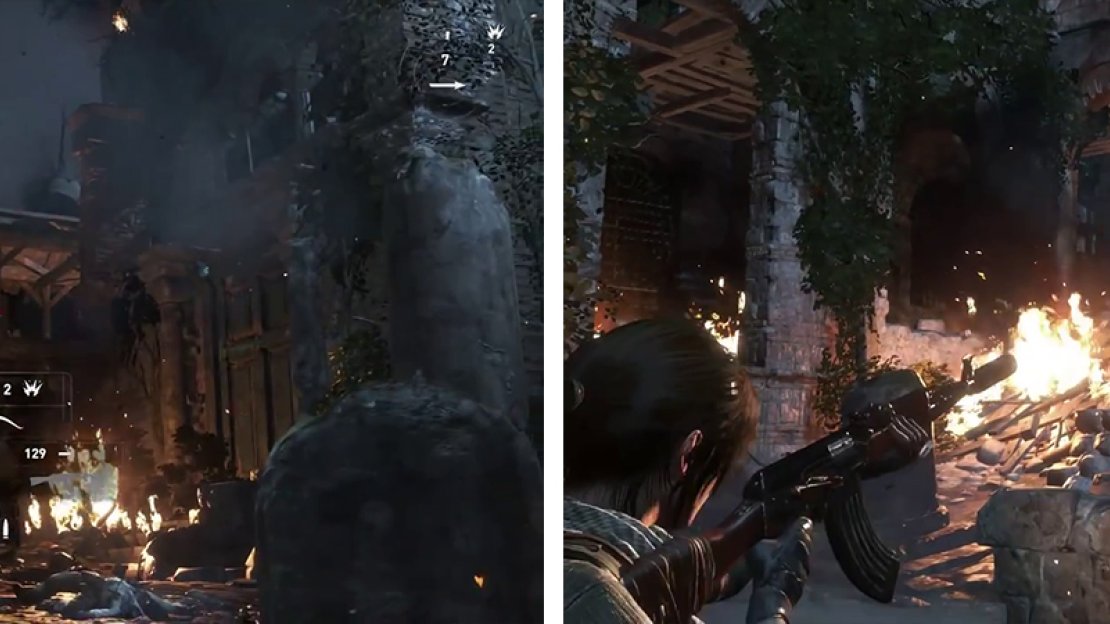
Blow up the barrier with a Grenade Arrow and head up the stairs to continue. At the top, enter cover and eliminate the three enemies in the courtyard with you. Move up slightly until you see the wooden walkway overhead with a pair of enemies. Shoot one of the red barrels on the walkway to bring it down in a hurry.
Look in the ruin at the top of the stairs to the right of the entrance for a crate of Salvage and a box of Ammo. Beneath the tent to the left of the entrance is some Grenade Arrows, a crate of Salvage and a hanging Walkie-talkie [Cut Short 05/06].
Shoot the barrels on the wooden walkway to bring it down (left). Continue to fight through the ruins (right) until you reach the next Base Camp.
Move towards the back of the area, keeping your gun at the ready. There are a couple of enemies up the stairs to the right that we’ll need to ascend and they can often charge into the area or sit back and lob grenades at you. Either way you’ll need to deal with them before continuing.
As you reach the next open area, you’ll have to contend with 3-4 Trinity soldiers who will take up residence in a ruin at the top of a short set of stairs ahead. Get in cover and take them out however you see fit – note that there is a red barrel in the back left corner of the room where they set up. There is also a crate of Salvage in here to loot on the way through.
Continue out the back of the ruin for a scene.
No Comments