Now that we have the Combat Knife, Fire/Grenade Arrows and Broadhead Climbing Arrows in our possession we can nab the remaining collectibles in the Soviet Installation area and complete the outstanding challenges. Use a Base Camp to fast travel back to the ‘Logging Camp’ Base Camp in the Soviet Installation map.
From the ‘Logging Camp’ Base Camp, look to the west along the wire fence to find a Flag . Approach and cut this down with the Combat Knife [Capture the Flag 03/07]. Head across the river to the north and follow the bank to the right, past the bridge to find a Monolith that we didn’t have the language proficiency to unlock. At this point however, you should have no problem deciphering it to add the final Coin Caches to the map.
Heat back to the west along the river bank and around halfway between the Monolith and the ‘Hidden Refuge’ Base Camp markers on the map, there is ledge behind the guard tower here housing a Coin Cache [04/09] .
Cross back to the other side of the river and head east, until you reach the Lumber Mill. Climb up onto the low roof on the east side of the building, jump across to the suspended ladder to reach the roof proper. Here there is another Flag [Capture the Flag 04/07].
Return to ground level and continue along the river bank to the east until you see a bridge leading north to another building and guard tower. Climb the red cylinder in this area and at the top there is a Flag – approach and cut this down [Capture the Flag 05/07]. At the base of the cylinder is a cave blocked by a metal barrier. Use the Grenade Arrows to blow it down. Inside there is a vein of Magnesite Ore and a Strongbox [14/14 - Weapon Part: Break-Action Shotgun Piece 04] .
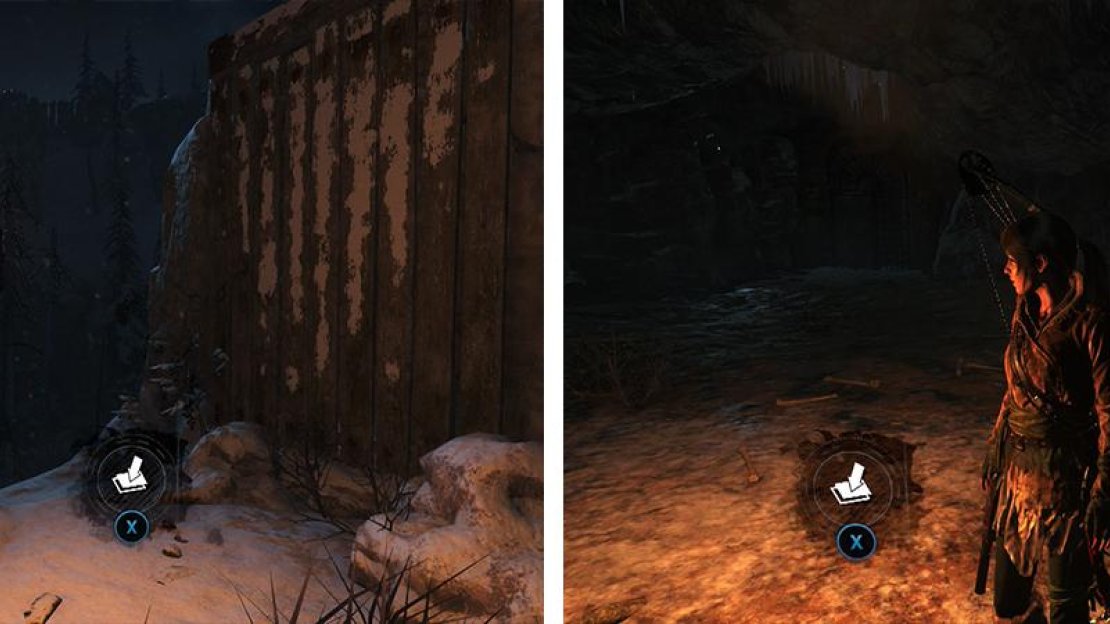
Return to the Lumber Yard across the river and look for a cave just to its east – watch out for either a group of enemies patrolling around this area or a pack of Wolves (no doubt you’ll encounter a group of one or the other). Climb the wall to the right of the cave entrance and follow the set route. You’ll come across the next Coin Cache [05/09] at the base of one of the walls we need to scramble up.
Coin Cache 05 is found halfway up the tall rock structure (left). Coin Cache 06 is located in the cave leading to the Voice of God Challenge Tomb (right).
Return to ground level and continue to the east. Enter the cave leading to the ‘Voice of God’ Challenge Tomb that we completed earlier. In the first cave area there is a Coin Cache [06/09] by the entrance.
Exit back to the main area and turn to the left. Follow the cliff to the south until you reach the next cave. This is blocked by a metal barrier. On the ground just outside of this is a Coin Cache [07/09]. Destroy the barrier with your Grenade Arrows, inside there is a vein of Magnesite Ore , some Oil and an Explorer’s Satchel .
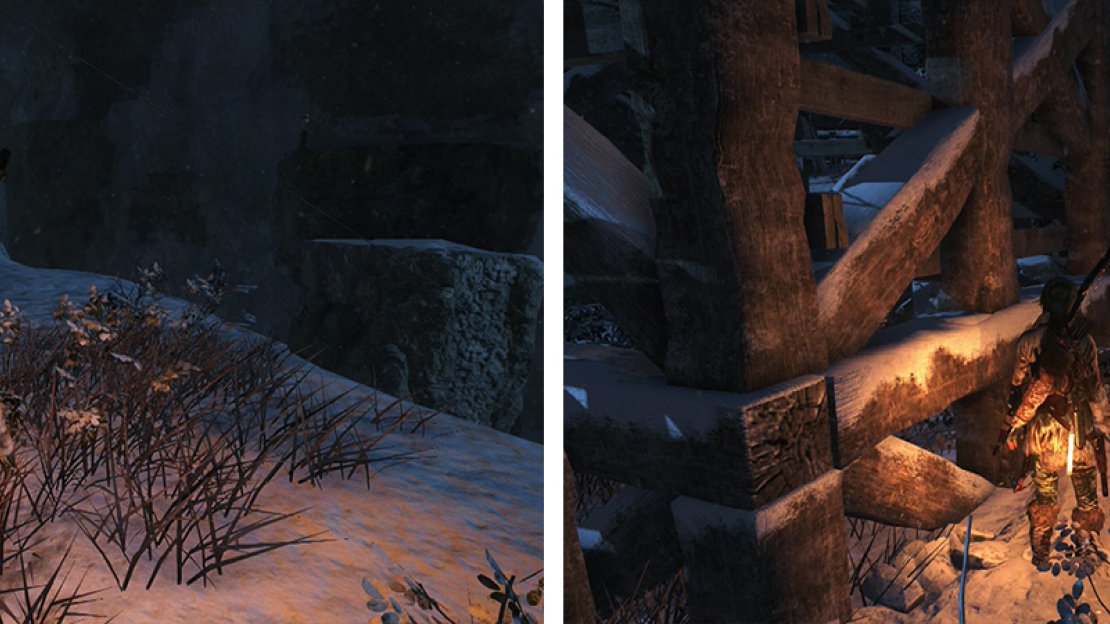
Once you are back outside, continue to the south and look for a guard tower in the distance. Approach this and you’ll find a Flag [Capture the Flag 06/07] just to the north of it. On the rocky outcrop just south of this same guard tower there is a Coin Cache [07/09] . Drop down and explore beneath the broken wooden bridge area along the edge of the cliff directly to the west to uncover a Survival Cache [21/21] .
Survival Cache 21 is located at the clifftop near the Copper Mill (left). Coin Cache 08 (right) is behind the silo near the ‘Logging Camp’ Base Camp.
From the previous Survival Cache, locate the large pillar of rock in the river here with a zip line above it. Move into a position in line with this and look down from the cliff. There should be a small ledge below. Jump down to this. Destroy the metal barricade blocking the entrance to the cave here before proceeding inside. As you enter you’ll be attacked by Wolves so use your Poison/grenade Arrows to deal with them quickly. Loot the cave for two veins of Magnesite Ore and three batches of Mushrooms .
Exit the cave and jump into the river below. Swim to the northwest until you find the entrance to the frozen river we can climb up. Return to the ‘Logging Camp’ Base Camp. Now that we have the last Monolith deciphered, you can find another Coin Cache [08/09] in the narrow gap between the silo and the fence. Return to the nearby Camp Fire and fast travel to the ‘Copper Mill Yard’ Base Camp.
Continue through the nearby gate to the ‘Copper Mill Yard’ Base Camp. From the camp fire here, look just to the north to spy another Flag [Capture the Flag 07/07] . Head through the gate that was previously blocked by the rope barricade and climb the ladder on the train. Jump across the adjacent rooftops until you reach the next ladder hanging from above. At this point, look to the left to spot a rope barrier that we can pull down. Inside the room behind this, you’ll find a Poster [Difference of Opinion 07/07] use a Fire Arrow to destroy it.
Drop to the ground outside and make your way to the northeast corner of the area. There is a cave entrance blocked by a metal barrier. Use a grenade Arrow to remove it. Inside there is a vein of Magnesite Ore and two piles of Byzantine Coins .
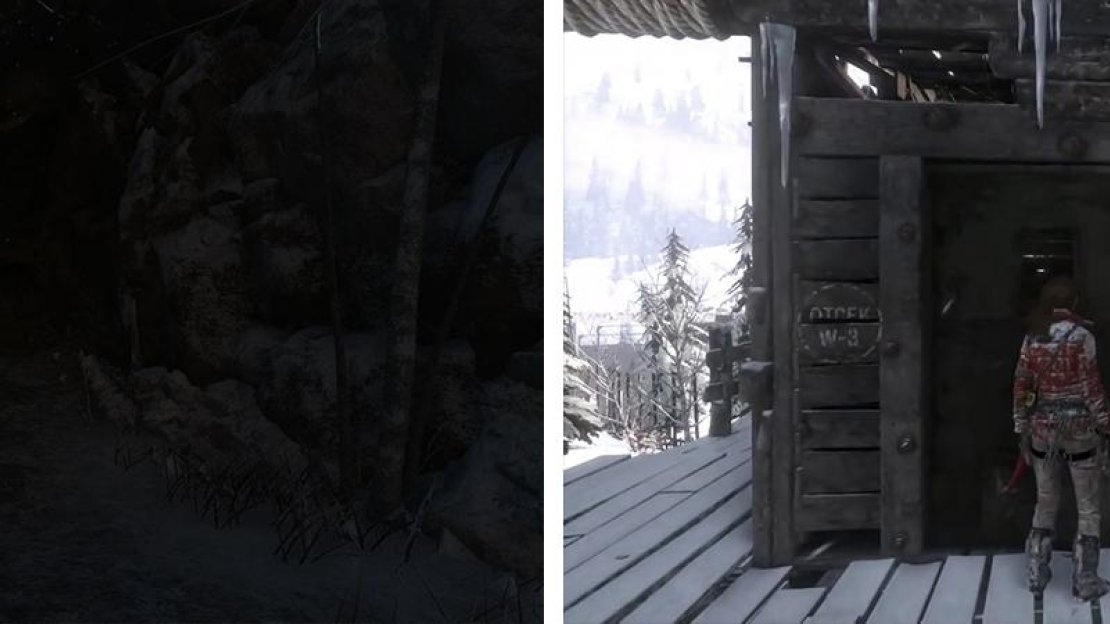
Return to the nearest Base camp and fast travel to the ‘Installation Vista’ Base Camp on the far southwestern side of the map. From here, make your way to the guard tower and zip line down to the entrance to the first Crypt area. Through the crack, right before the entrance to the cave there is a Coin Cache [09/09] .
Coin Cache 09 is by the entrance to the first Crypt (left). Once you have all of the Coin Caches, return to the Supply Shack (right) to purchase the remaining items.
Finally, we’ll want to fast travel to the ‘Communications Tower’ Base Camp and visit the Supply Shack to purchase the remaining items for sale.
At this point you should be all done with this region’s collectibles. Return to the closest Base Camp and fast travel outta there!


No Comments