Objective: Follow the Mongolian path and search for signs of the Lost City
As you enter the cavern you’ll see an ice wall ahead. This will break if you jump to it, so to save a little time, simply drop down to the icy slope below it to reach the area below.
Upon landing, immediately turn around to find a small wall we can climb to a ledge above (following this path all the way will return us to the top of the slope we just slid down). Climb up to the first ledge to find a scroll for Document [01/04 - Russian] . Drop back down to the area below and enter the tunnel ahead. Follow it until it empties into a larger cavern with a small river inside.
Look on the left hand side of the room from the entrance for a chest containing Relic [01/03 – Bone Arrowhead]. Be sure to examine the head of the arrow to boost Lara’s Mongolian language skill!
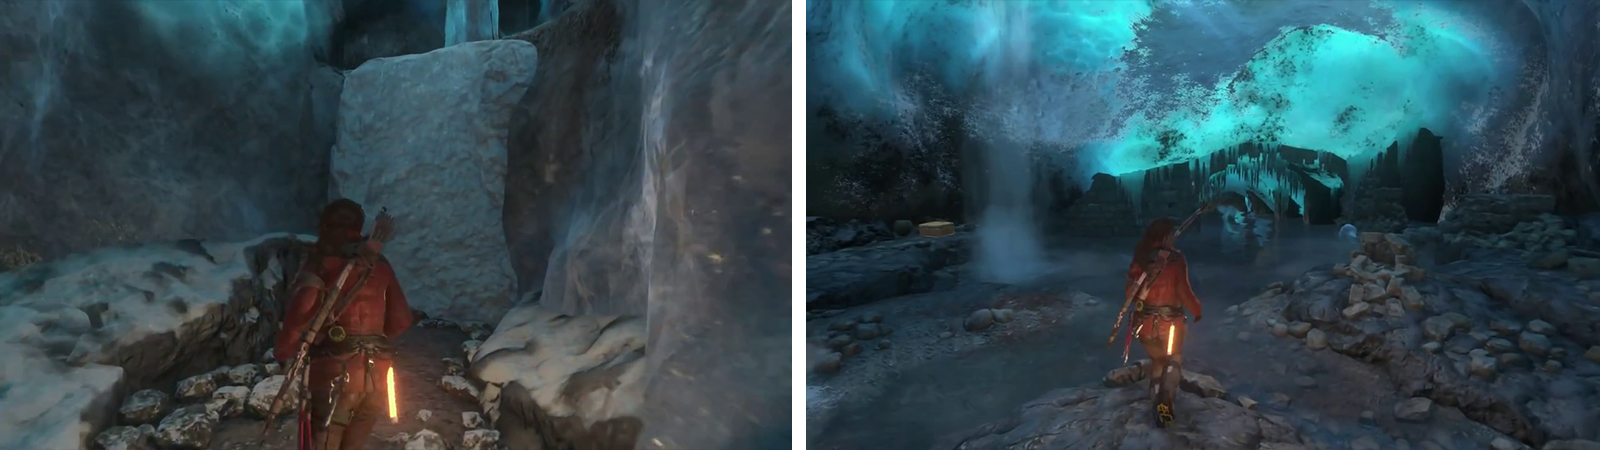
After sliding down the slope, look to the right for a ledge with Document 01 (left). Before entering the water, look to the left for a Relic (right).
Enter the water and swim into the tunnel it is occupying. Use the LT/L2 button to dive under the archway when necessary. Around half way through the waterlogged tunnel, you’ll see another entrance on the right side of the main tunnel. Dive under here and climb out onto the platform inside to find a crate of Salvage and a chest containing Relic [02/03 – Paiza]. Examine the text on the back of the Relic to increase Mongolian language proficiency.
Return to the watery tunnel and swim all the way to the end. Here you’ll find dry land and a new Base Camp. Use this to apply any upgrades you require and spend any skill points you have.
Before continuing, on the far right side of the room you can find a barrel containing herbs. In a chest to the left of the Base Camp is a crate containing other crafting resources. When you are good to go, continue up the ramp and continue into the tunnel at the top.
Hop across the gap to the narrow platform ahead when you reach the next room and proceed around the corner. After a brief scene jump to the ice wall and scale it to the top. Climb up onto the wooden platform above and follow it to the left.
A short distance along the path, you should spot a fairly large, wooden support beam sticking out over the cliff to the left. From here we can jump across to the ice wall opposite and climb to the top to find the path leading to the first Challenge Tomb.
Alternatively, you can continue a little further along the wooden path to reach the objective marker.
No Comments