You can check out the wooden silo platform nearby for two boxes of Salvage and a crate of reagents. At the top, inside the silo itself is a barrel containing reagents and by the zip line, a bird’s nest we can loot for Feathers. Ride the zip line down to land in a fenced area.
As you land, examine the crate of Salvage by the building to the left. Inside the building you’ll find a Document [07/26 - Russian]. Leave the building. Make your way a short distance to the east to find a large saw mill building with a truck parked out front. Grab the crate of Salvage to its left. Climb the ladder to the right of the truck to find the first Communications Repeater [01/05] . Destroy this.
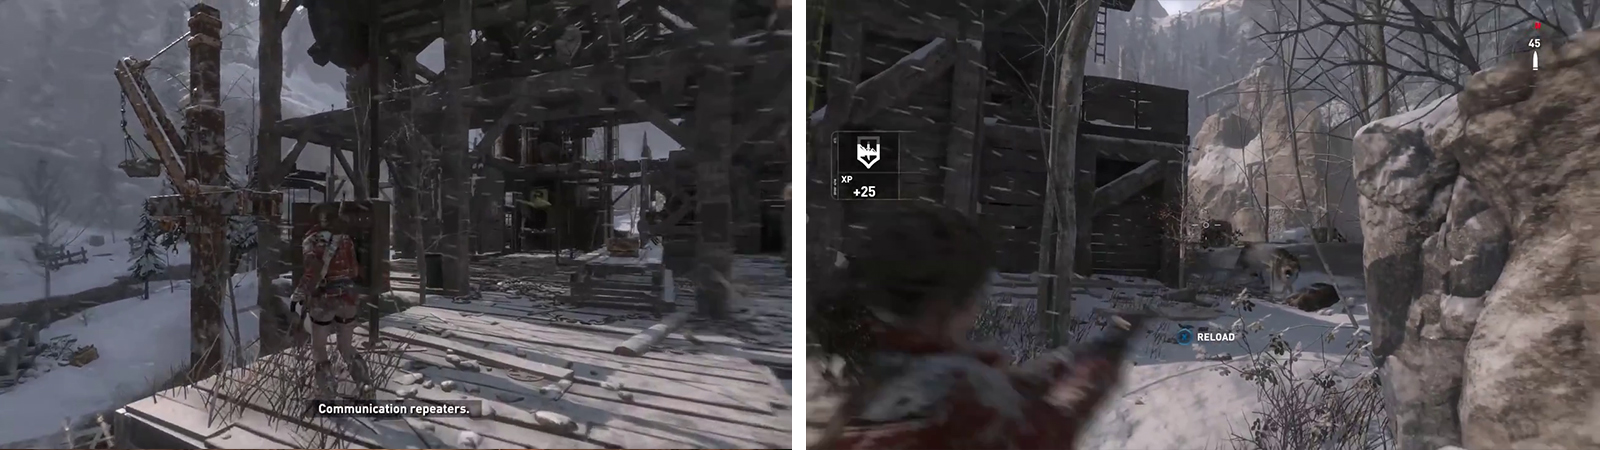
The first repeater is at the saw mill (left). Watch out for the pack of wolves roaming nearby (right).
Explore the saw mill, but be careful as there is a pack of wolves just to the east who will attack you if alerted. It’s a good idea to head shot one of them from a distance and the others should run away into the nearby cave, allowing you to explore unfettered.
On the southeastern side of the saw mill is a low, slanted roof that we can climb up onto. There is a Mural [05/11 – Russian] on the side of the wall here. From this rooftop we can also sprint and jump to a hanging ladder nearby. At the top you’ll find a pair of bird’s nests to loot for Feathers and a Strongbox [02/14 - Weapon Part: Compound Bow Part 01] . Find a safe location from which to drop down to the middle level of the saw mill. There is a pair of crates with Salvage on this level an in the northernmost, outdoor portion of the level you’ll find a chest containing Relic [02/18 – Family Photo] in a small cage. Examine the back of the photo for a small boost to your Russian language proficiency.
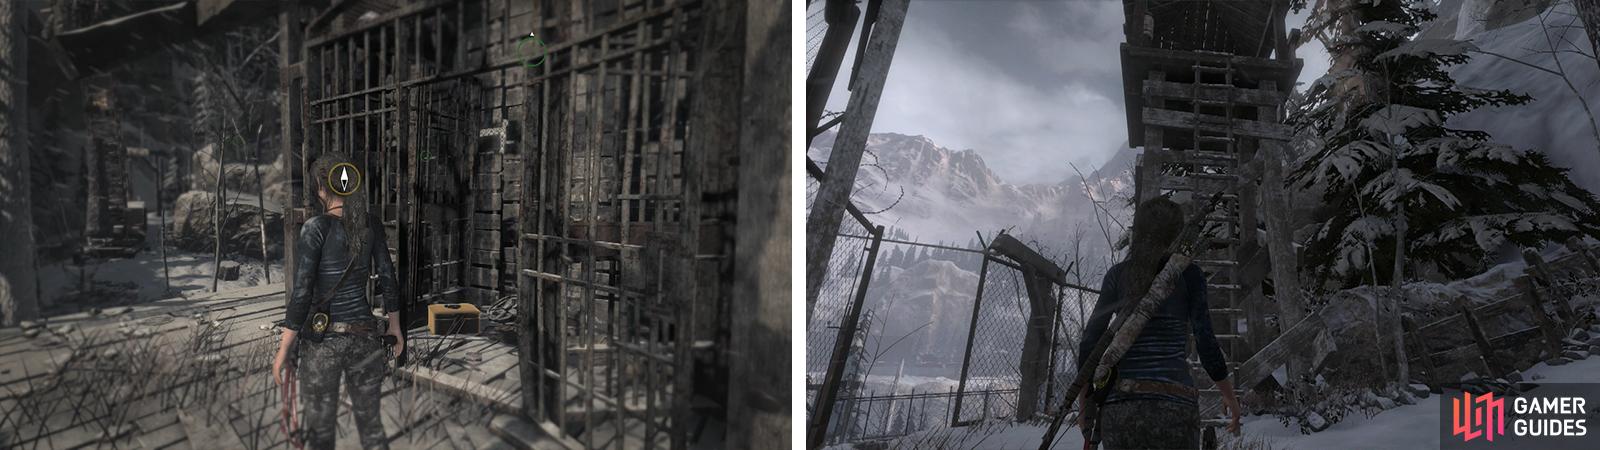
In the north part of the saw mill you’ll find Relic 02 (left). Across the river to the north is a guard tower with Relic 03 (right). Repeater 02 is near this.
Just north of the saw mill is a log placed across the frozen river, forming a bridge to the far side. Enter the gate and interact with the Communications Repeater [02/05] here to destroy it. Afterwards, climb the guard tower to find a chest containing Relic [03/18 – Wish Maker Toy ]. Inside the larger building here you’ll also find a box of ammo, a crate of Salvage and a Strongbox [03/14 - Weapon Part: Semi-Auto Pistol Part 03] . There is also a blocked cave here that we can’t open just yet (Requires Gear: Explosives ). As such, lets return to the saw mill.
Directly east of the saw mill you’ll find a cave beneath a large rock structure. Pull out a weapon and slowly proceed inside [Into Darkness Challenge 03/05] . There are two wolves in the first room and you should be able to take one out with a headshot before they notice you. Take you the other as soon as possible afterwards. Alternatively, let them charge at you and hit them both with a Poison Arrow as they approach.
Once it is clear, explore the cave to find several Mushrooms, two veins of Magnesite Ore and an Archivist map which will add Relics to the map. Exit the cave and find the ice wall nearby. Climb to the very top of the rocky structure here, looting the bird’s nests for Feathers if required as you go. At the very top you’ll find Communications Repeater [03/05] . Sabotage this.
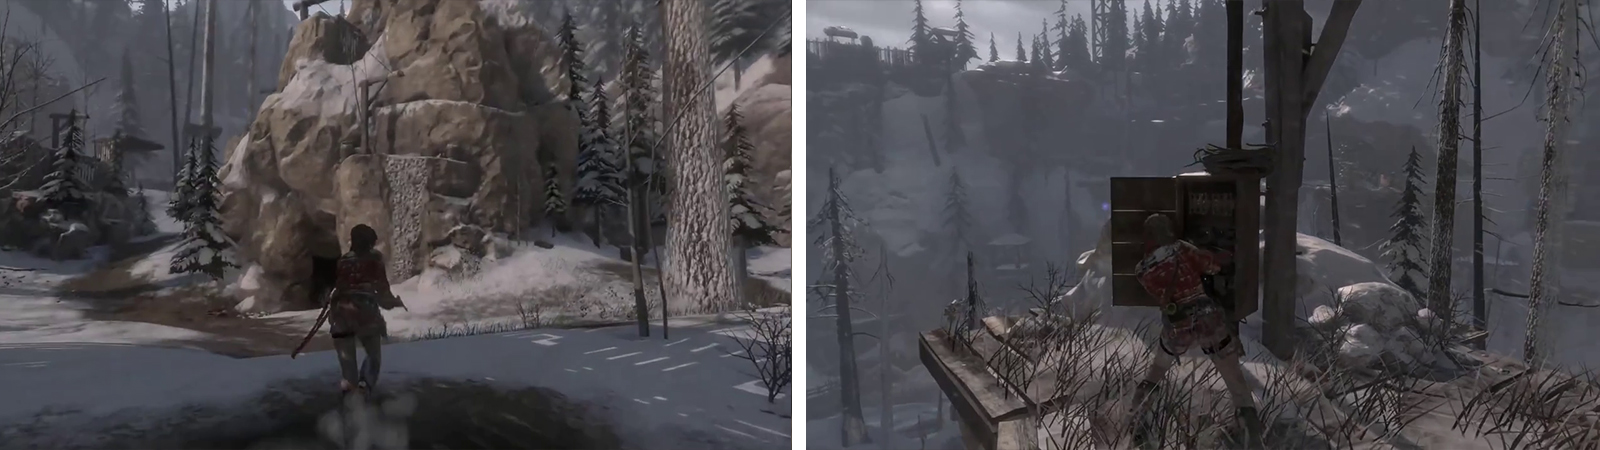
Climb the rocky structure to the east of the saw mill (left) and at the top you’ll find Repeater 03 (right).
Use the zip line here to descend to a platform below with a crate of Salvage. Grab this and drop to the ground. At the eastern-side base of the rocky structure with the wooden hunting platform just north of the larger structure we just ziplined down from you can find Survival Cache [05/21] .
Orient yourself towards the objective marker and ignore the cave to its right for the moment. To the right of the cave is a platform that we can climb up to that holds the fourth Communications Repeater [04/05] to disrupt. You can scramble up the nearby wooden wall and jump to another platform to find a crate of Salvage .
Return to the objective marker, and from it climb the wall to the north. At the top you’ll find a new Base Camp ‘Sheltered Ridge’, a pair of Salvage Crates and another Communications Repeater [05/05] to destroy. You can use the Base Camp here to apply any upgrades you require and spend any skill points you have. Exit the Base Camp menu when you are ready to continue.
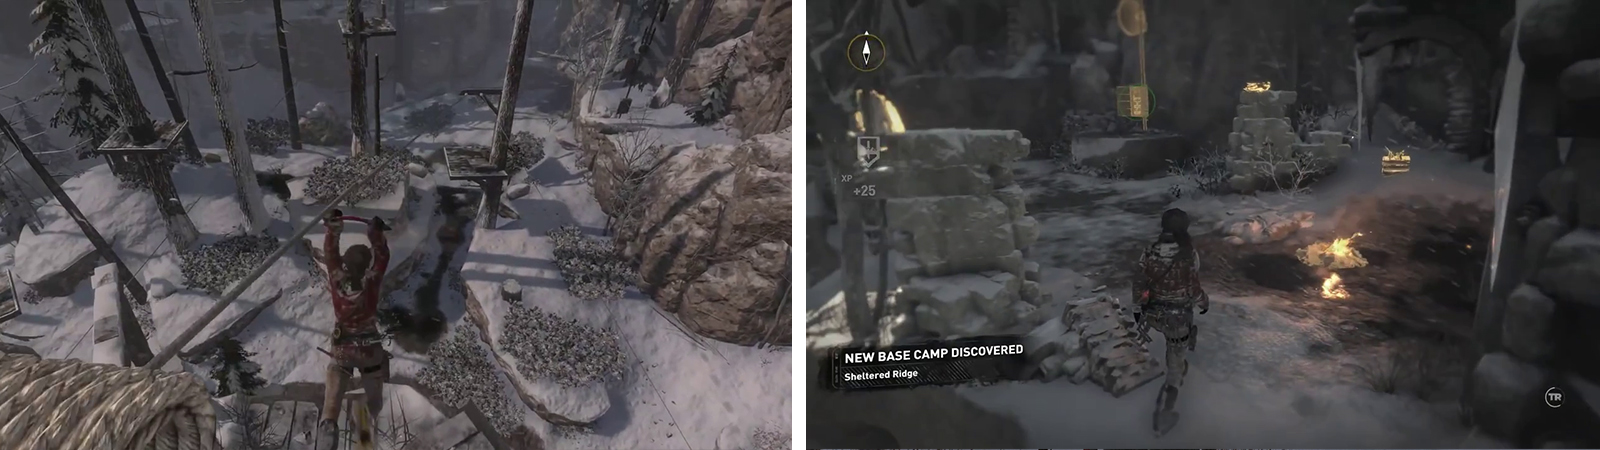
You’ll see Repeater 04 on a ledge to the right as you zipline down from Repeater 02 (left). Repeater 05 can be found by a Base Camp (right).
If you have destroyed all five Communications Repeaters use the Base Camp to fast travel back to the ‘Logging Camp’ Base Camp to speak with the fellow who gave you the side-mission.
Use your new Lockpick toy to open the Strongbox by the fire for [04/14 - Weapon Part: Semi-Auto Pistol Part 04].
At this point, let’s go and do the first optional Challenge Tomb in the area.
No Comments