Objective: Retrieve the Atlas from the archives before Trinity
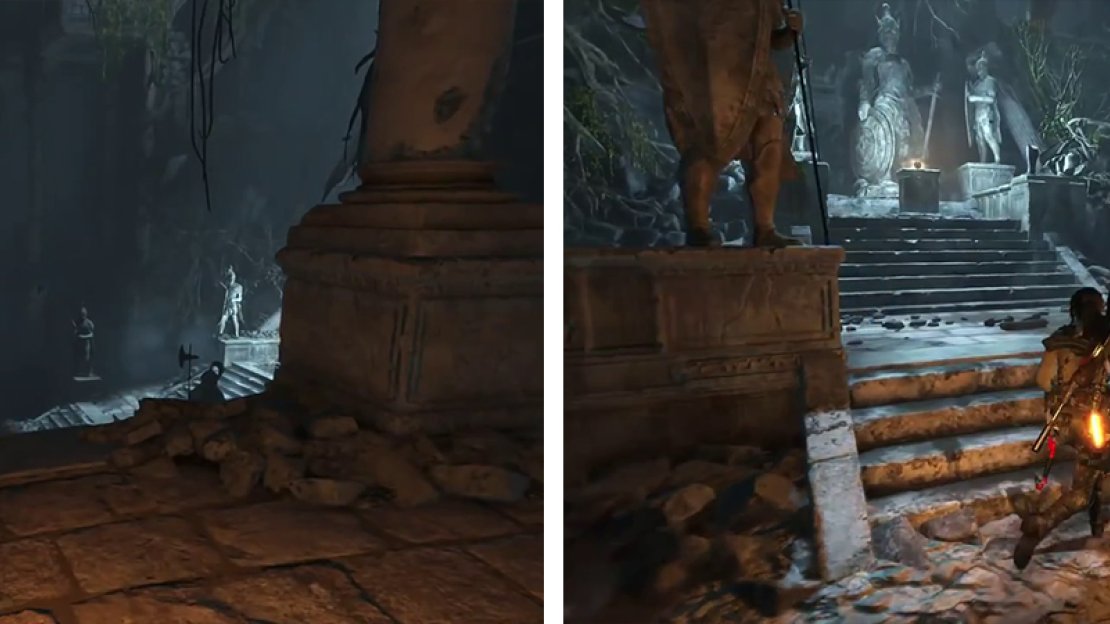
Once the fire has let up a little, proceed through the passage. After the short flight of stairs, look in the side-area to the right for a basket of Herbs and a Document [02/05 - Greek] . Return back, past the stairs and drop down onto the ledge below.
Around halfway along the ledge you’ll be in line with a chandelier hanging from the roof to the left. Jump towards this and use the grapple axe to swing from it. Hit the grapple axe a second time at the end of the first swing to hit a second chandelier. This will swing you across to raised ledge on the far side of the room. You’ll find a basket of Herbs and a Document [03/05 - Greek] here.
Swing across the rafters to a passage on the far side for Document 03 (left). Approach the artefact to continue (right).
Drop down to the floor below and make your way to the objective marker. Approach the artefact for a scene.
Objective: Survive Trinity’s assault and escape with the Atlas
As soon as the scene ends, you’ll be immediately attacked by a group of 6-8 Trinity soldiers. Fortunately, Lara will automatically get into cover behind a row of statues to prevent taking damage form the initial volley of enemy fire. The attackers will drop down into the room from the balcony on the left (where we entered from initially) and from the right side of the room.
You’ll want to prioritize the enemy or two who will charge your position whilst brandishing combat knives. Other than that, it’s basically your standard third-person shooter fight, so make sure you scramble between the available pieces of cover when grenades come flying your way! There is a quiver of Arrows behind both statue bases on this platform and both pieces of cover also feature bottles and jars to craft explosives with. Additionally, the area is filled with those large vessels containing Greek Fire – shoot these to cause large explosions and the quick death of nearby enemies.
Loot the bodies for Ammo and resources and the rest of the room for a basket of Herbs and a couple of pieces of Magnesite Ore before proceeding through the open doorway.
As you move into this room, fire will spread across the doorway behind you, preventing retreat. At the same time a smoke grenade will go off and a group of four spec ops soldiers will rappel in at the far end of the room. Fortunately, they have weapons equipped with laser sights so are relatively easy to locate.
If you have a Poison/Grenade Arrow handy, shooting this into the group of enemies whilst they are crowded together is a great way to thin the numbers quickly. If you don’t have any special arrows handy, there are plenty of jars/bottles and vessels of Greek Fire about to help out. It’s also a good idea if you need to fight them, to take up position behind cover on one of the raised sections of the room. This gives you a decent vantage point over the enemies and will make you harder to hit.
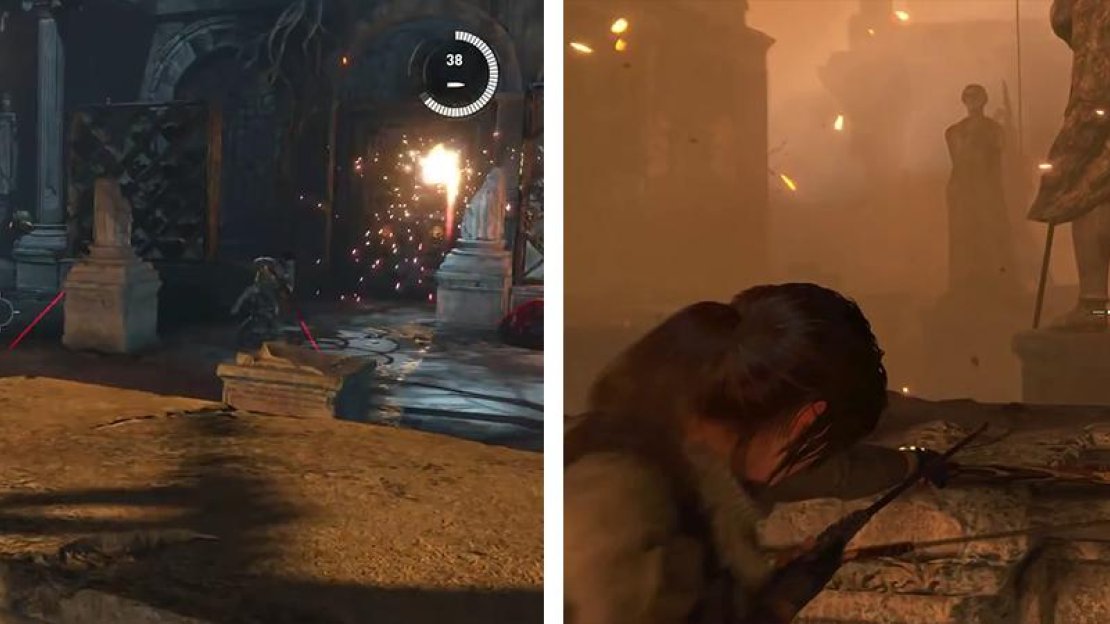
Use the Greek fire to help clear out enemies (left). In the second room, eliminate the enemies - use their lasers to help identify their positions (right).
Once the initial group of enemies has been dealt with, a second group will begin cutting through the door at the end of the room opposite our entry point. Again, if you have Poison/Grenade Arrows available, it’s a good idea to shoot them as the door comes down to take out a good number of enemies at once before hunting down and killing any stragglers.
After clearing the area, loot the two baskets of Herbs located along the wall just to the right of the entrance and on the right hand balcony overlooking the exit. There is also a piece of Magnesite Ore on a ledge we can jump to above and to the left of the exit.
When you are ready to proceed, head through the door that the Trinity soldiers just blew open for us and proceed down the slope.


No Comments