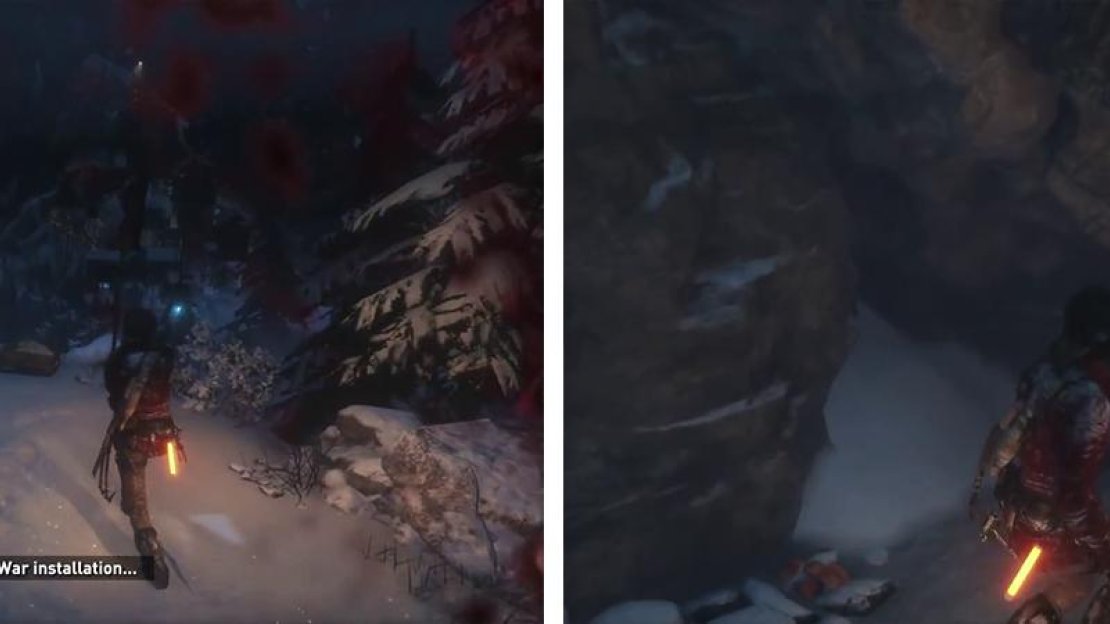
Objective: Gather resources and heal injuries
Once we are back in the ‘real’ world, we’ll be tasked with gathering resources to heal Lara’s wounds. If you turn on Lara’s Survival Instinct, the game will highlight three objects nearby – a pair of small trees and a crate. Move over and interact with all three of these items of interest. After doing so, hit the button prompt to heal and Lara’s objectives will update.
Objective: Find a way to defeat the bear
Head back in the direction that we came and scramble climb up the large wooden wall at the end. Loot the Mushroom in the middle of the path here. At the end, look for a wooden wall on the left and scramble up it to find a cylinder of resources. Drop back down and climb the ice wall. Loot the crate of Salvage at the top.
Use the zip line here to slide down to the previous area. You’ll land right next to a Monolith which we can interact with (requires level 1 Mongolian language) to reveal the Coin Cache locations on the map. Just to the southeast of the monolith is Survival Cache [03/03]. On the eastern end of the ledge across the frozen river to the south is Coin Cache [01/03].
When you regain control, follow the objective marker to open the chest here (left). Find and loot the Mushrooms (right).
Follow the objective marker to the cave in the northeast corner of the area (we grabbed the ore and Document from here earlier!). At the base of the ledge to the right of the cave entrance you can find a Coin Cache [02/03] – its directly south along the east wall. Enter the cave and acquire the pair of mushrooms. Return to the Monolith and loot the crate of cloth nearby.
Objective: Return to camp to upgrade arrows
Return to the Base Camp but before entering the menu, follow the short path leading west from the Base Camp. At the base of the cliff at the end you’ll find Coin Cache [03/03].
In the Base Camp menu, we’ll need to enter the ‘Ammunition’ section of the inventory menu and purchase the ‘Poison Arrows’. It’s also a good idea to invest any skill points you have in a skill of your choice.
Exit the Base Camp menu when you are ready to continue. A scene will play.
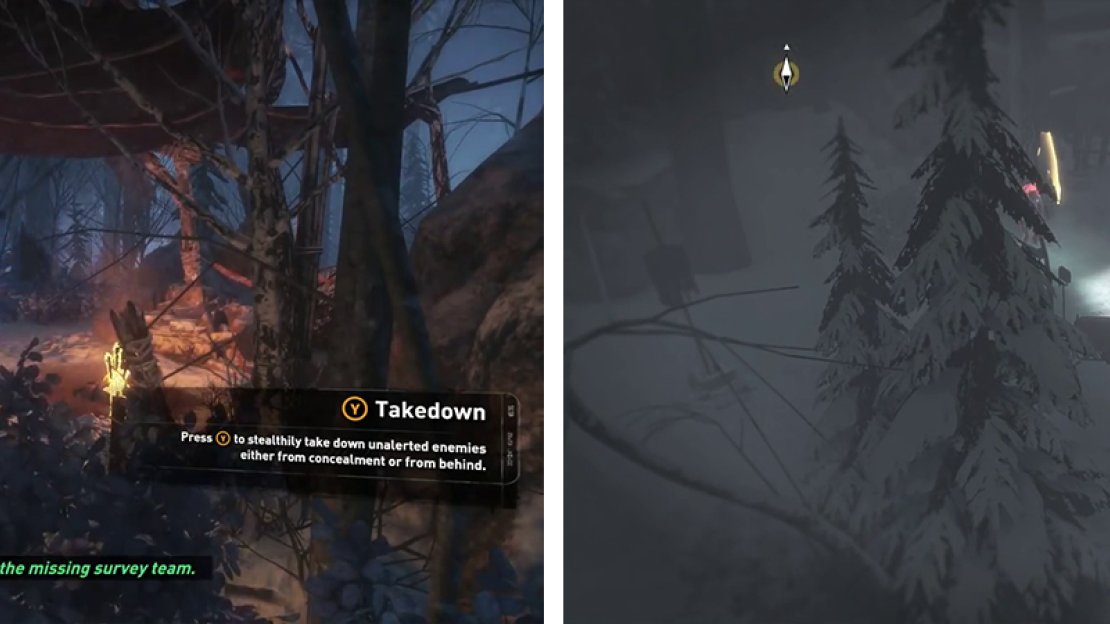
When you regain control, you’ll be in a tree above a soldier. Wait for him to get into range and then hit the button prompt when it appears over his head for a silent takedown. Enter the bushes ahead. Another soldier will approach and from the bushes you can perform a takedown on him. Doing so whilst he’s speaking on the radio will earn you an achievement/trophy.
Objective: Sneak or fight past the Trinity soldiers to reach the cave
Grab the quiver of Arrows at the Base Camp and proceed back towards the objective marker. There are a further six guards patrolling the area and we’ll either need to kill them all or sneak by them to where we bumped into the bear earlier. To make things easier, keep an eye out for their flashlights and be sure to follow their patrols and take them down once they are isolated (if you feel like stealthing them that is!).
The enemies can be found in the following locations:
- 2 will patrol around in the area between the Base Camp and the entrance to the objective marker. Once near a hanging body on the northern side of the area and another in the southern portion of the zone.
- 1 will patrol around the northeast corner of the area.
- 1 patrols near the Monolith.
- 2 will stay around the entrance to the objective marker.
In order to complete the challenge for the area we’ll need to kill and loot the bodies of three enemies, so you may as well kill them all! Practice using your Bow from a distance or more efficiently, observe their patrol routes and use the bushes and branches above to ambush them when you see the opportunity.
Hide in the bushes to takedown enemies (left). Use the bushes and tree branches to observe enemy patterns (right).
Before continuing to the area with the bear, look on the crate in the middle of the clearing for a new collectible that the bad guys have brought with them – Document [05/06]. Use the tree at the base of the wall and scramble up to the branch above. From here jump to the ledge above and head to the bear’s cave once more.
Objective: Defeat the bear
The opening in front of the cave is where we’ll be fighting the bear in a moment, so familiarize yourself with it. There is a stack of Arrows on the far right hand wall of the area and a crate of Cloth by the entrance. In the clearing are several rocks and trees that we can use to maneuver around when the bear attacks.
To begin the fight, proceed into the cave until you see the bear in the distance. Shoot the bear with an arrow to alert it before quickly sprinting back to the entrance to the cave.
The bear is very quick and can do a LOT of damage, so when you are not shooting, make sure you are sprinting! If he gets too close, use your dodge move to avoid his melee attacks and try to cut tight turns around the trees and the rocks in the clearing to try and slow it down.
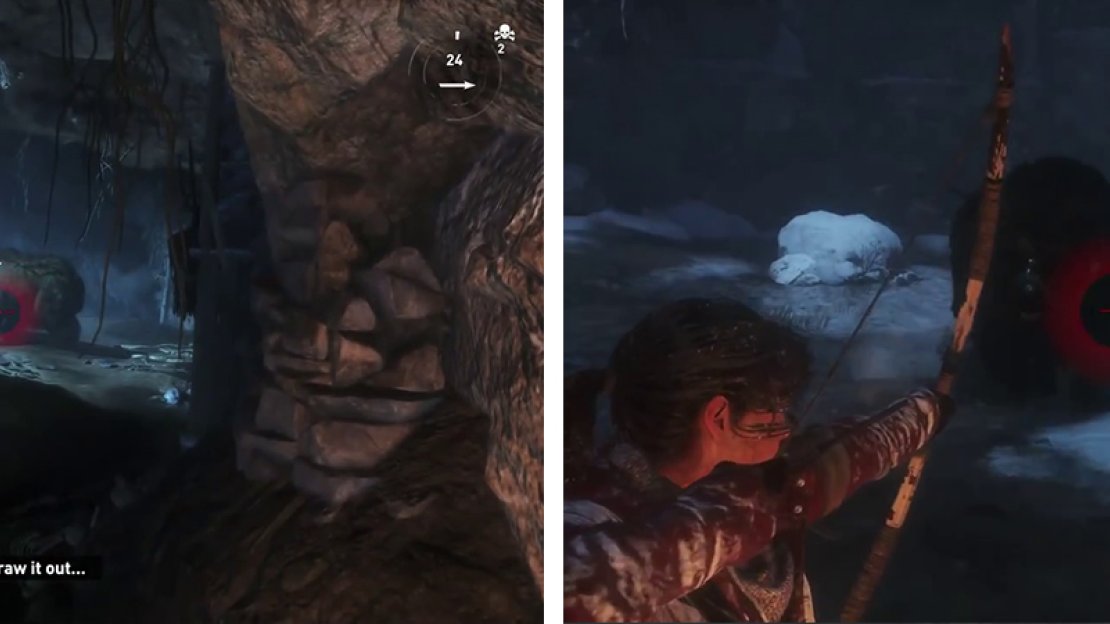
To defeat the bear, we’ll need to shoot it with the Poison Arrows that we just finished crafting and when it is stunned by them, quickly fire off several additional normal arrows for extra damage. You’ll need to repeat this process until it drops.
Enter the cave and use Poison Arrows on the bear (left). Draw it out of the cave to fight in the clearing (right).
If you are having trouble with this method, try to kill the Bear by hitting it with a Poison Arrow to stun it, before shooting it with regular arrows. Use a Poison Arrow again when it recovers to stun it once again and then hit it with regular arrows once more. Alternate until the Bear is dead. You should be able to deal with it before it leaves the cave.
Once the bear is dead, be sure to loot its body for a Bear Hide .
Objective: Explore the cave to find an exit
Head back into the cave once again and make your way back to where the bear was standing around, looting the Mushrooms in the tunnel on the way (if you want to restock your Poison Arrows).
In the bear’s lair, there are several items to loot. By the entrance is a barrel containing Herbs, there is a box and a dead deer that we can interact with to loot Hides . Near the exit is a scroll for Document [06/06 - Russian] and a Strongbox [01/01 – Weapon Part: Semi-Auto Pistol Part 01] .
Break down the weak wall here and continue into through the tunnel behind it into the next map zone – the Glacial Cavern.


No Comments