The eighth challenge Tomb can be found by the base and to the east of the main waterfall west of the village farmstead. The area in front of it is rather barren and our location of interest is the cave at the back of this area.
If you haven’t any in stock, craft some arrows and some Poison Arrows before heading into the cave. Inside you’ll find a Bear. Kill it by hitting it with a Poison arrow, then shooting it in the head twice with regular arrows, then a Poison Arrow again and regulars. Alternate until the Bear is dead.
The Bear’s cave has a pair of Mushrooms and two veins of Magnesite Ore to loot. At the back of the room you’ll find a weak wall we can break down leading to the Challenge Tomb area.
Enter the pool of water here and with your Rebreather, you’ll be able to dive and swim through the underwater tunnel here. When Lara surfaces at the far end, check out the small platform on the right for a crate of Salvage before heading through the crack in the ruined doorway at the end of the area to continue.
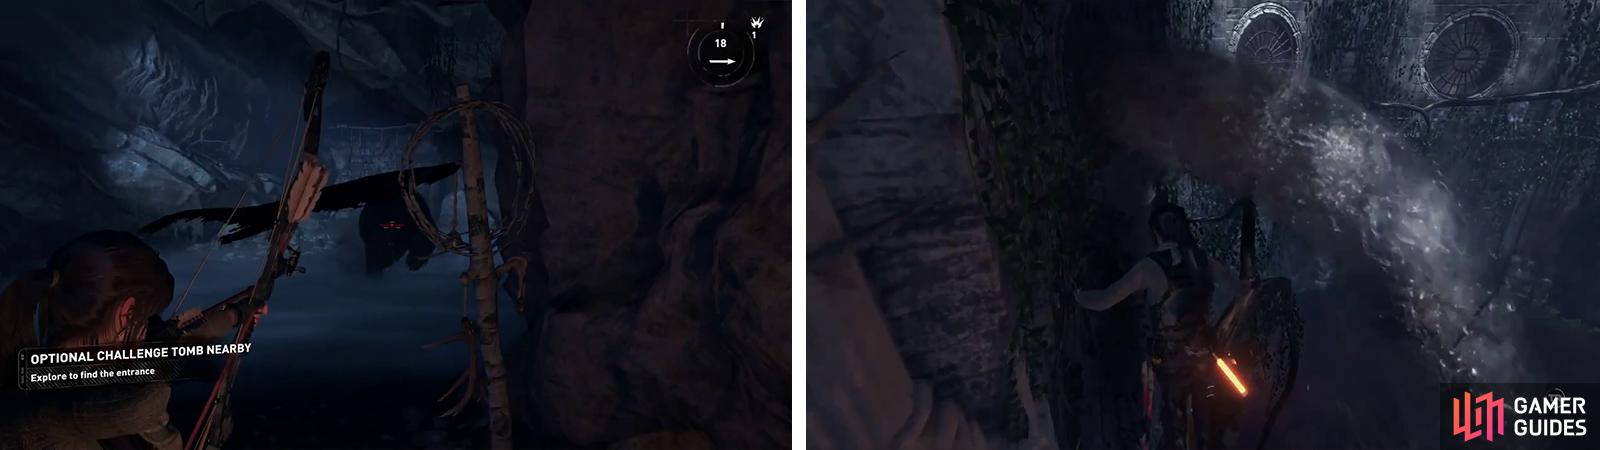
Enter the cave and kill the cave inside (left). Inside, avoid the water pipes whilst crossing the narrow platform (right).
On the far end of the crack, you’ll need to navigate your way across a narrow branch linking the current platform with another in the distance. To make things a little trickier the game has also placed a whirlpool of death below and three pipes that will periodically shoot water over the branch that we need to cross and of course this water is capable of knocking you into the whirlpool below. As such, work your way along the branch slowly, wait for a pipe to stop shooting water before moving past it and stopping by the next pipe. Wait for it to blow its load and move on to the next and repeat until you reach the far platform.
Scramble up the wall on the platform at the end to find a new Base Camp ‘Whirlpool Sanctuary’. You can use the Base Camp here to apply any upgrades you require and spend any skill points you have. Exit the Base Camp menu when you are ready to continue.
Before leaving the room with the Base Camp, be sure to open the chest containing a Relic [12/13 – Scroll Case] . Investigate the leather strap on one side of the case to boost your Greek language proficiency.
Proceed through the next tunnel and be prepared to shoot three elements of a swing trap that will trigger as you pass through. Upon reaching the far end of the corridor, inspect the base of the statue on the right for a chest containing a Relic [13/13 – Ivory Jar] .
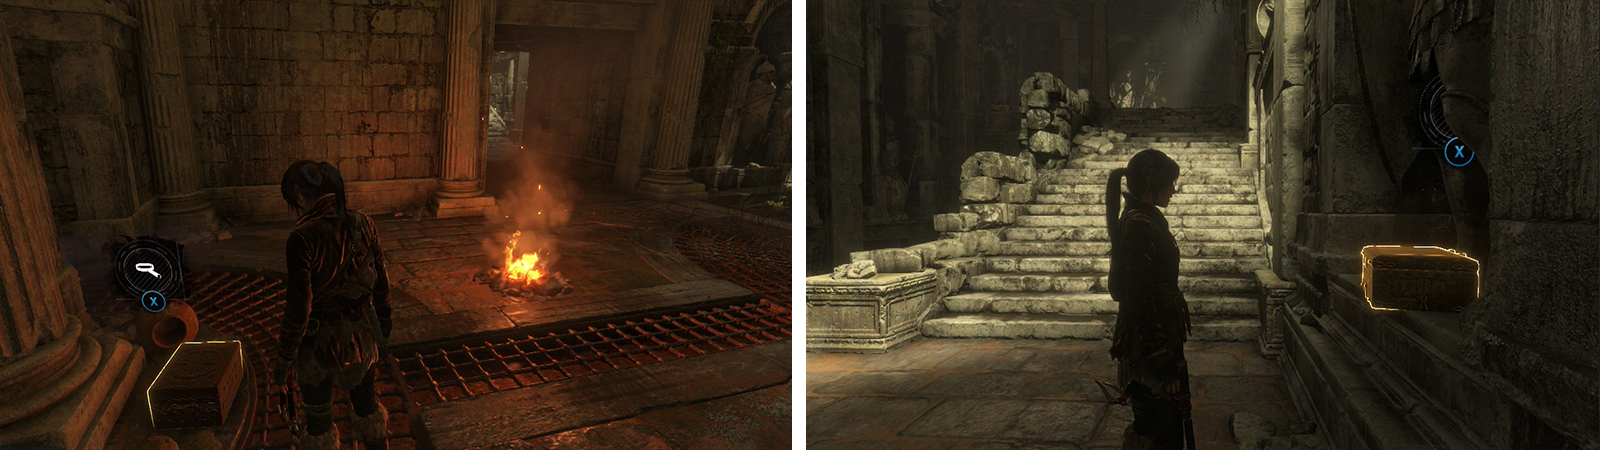
Relic 12 can be found by the Base Camp (left) and Relic 13 is found in the next room at the base of the set of stairs (right).
Dive into the water below. Turn to the right and swim to the platform ahead to find an Archivist’s Map . Hop back into the water and swim over to the boat opposite the entry point. Climb aboard and stand by the roped up section at the front of the boat. Look back to where we dived down from. Beneath this, you’ll see a beam with an attachment point for our Rope Arrows. Connect the boat to the beam.
Interact with the wheel mechanism on the boat and reel the boat in so that it is in the center of the circular room. From this location, look right to spot another rope-covered beam in the distance. Use the Rope Arrow to hit the new target to attach the boat. Again, once it is connected, use the wheel mechanism to move the boat to the beam’s location. When you arrive, jump to the platform on the right.
Drop into the water and swim to the lever with the rope pillar on the far side of the room here. Note the underwater rope spool with the handle that you’ll swim by to get to the destination. To solve this room, you need to grab and pull the lever with the rope pillar at the back of the room to lower the water level. Lara will release the lever so run over to where it retreats and quickly shoot the previously submerged rope spool in the main chamber before the water rises again.
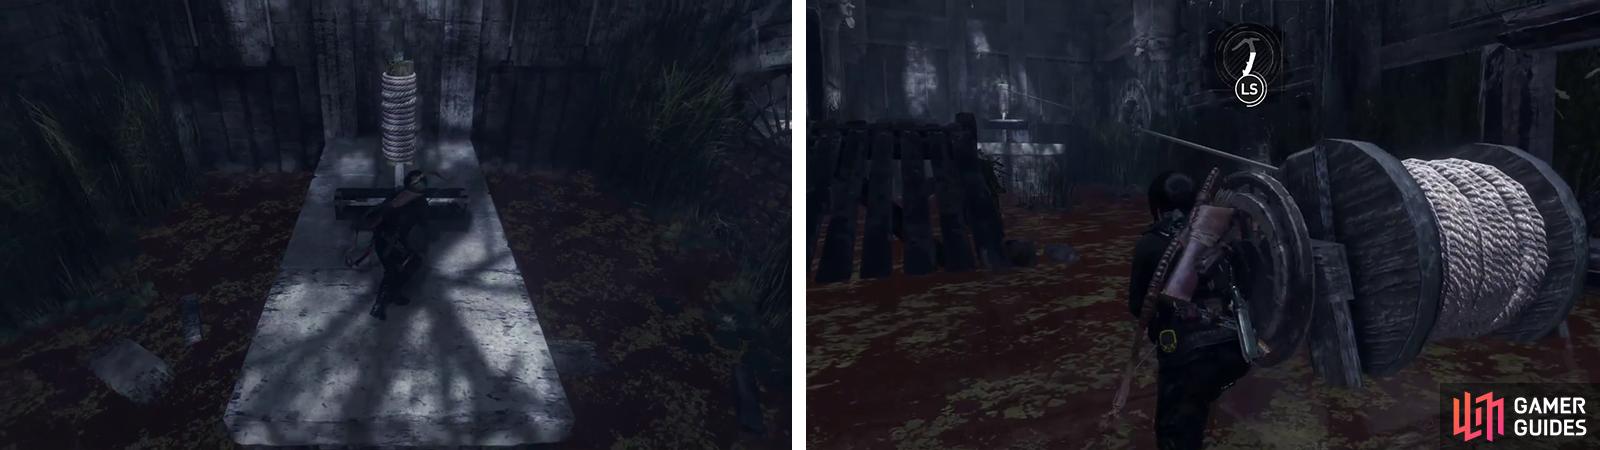
Press the switch into the wall (left) and attach it to the spool in the water. Manipulate this to lower the water level (right).
Once the lever is attached to the spool, pull the lever one more time to lower the water level again. Quickly swim/run over to the spool and interact with the wheel mechanism on the side. Use this to pull the level all the way out again to lower the water level in the Challenge Tomb for good.
Return to the main chamber and hop back aboard the boat. Use the Rope Arrows to attach the boat to the rope beam above the opposite end of the chamber from its current location (where we scored the Archivist’s Map earlier). Wind the boat in so it is next to the platform.
Hop out of the boat and dive under the cracked wall to the left. Here you’ll find an identical lever with a rope pillar to the one that we manipulated in the previous puzzle room. Pull the lever all the way out and wait for all of the water to drain before releasing it. Quickly stand by the lever and shoot the rope pillar on the front of the boat through the open doorway before the water rises again.
Use the wooden platforms here to get back outside again (and grab the cylinder of reagents as you go). Return to the boat and use the wheel mechanism to pull the level all the way out again to lower the water to its lowest level permanently.
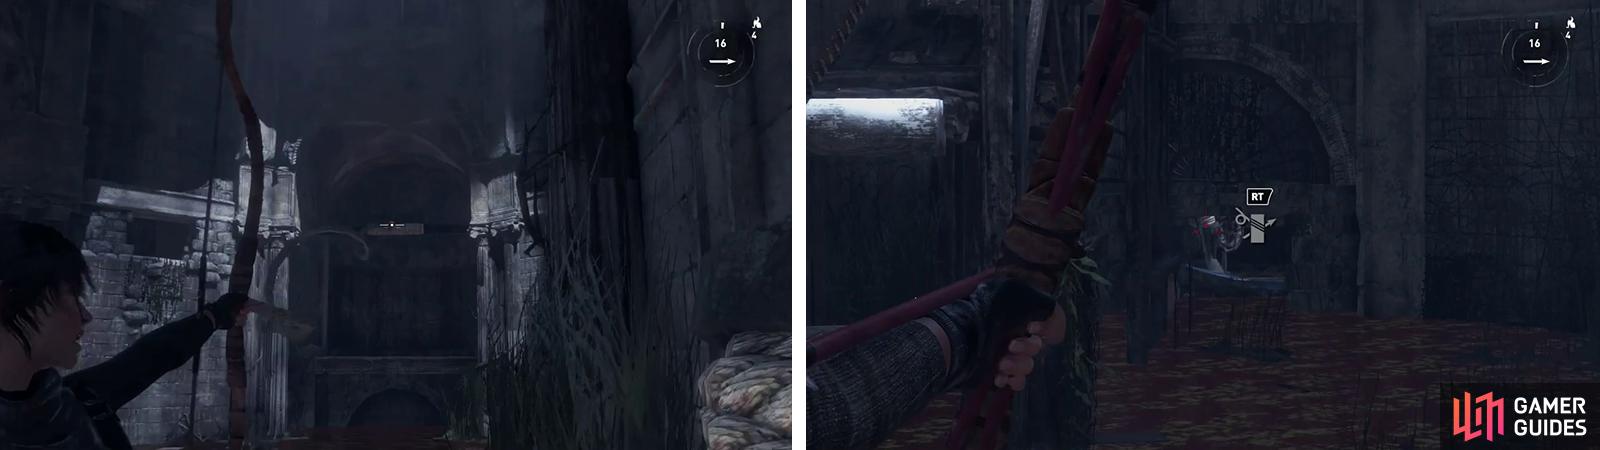
Use the Rope Arrows to draw the boat to the far ends of the room (left). Inside, use the switch to lower the water and then use a rope Arrow to attach it to the boat (right).
Make your way to the large, iron gate opposite the entry point to find several explosive crates now present at its base. Shoot these (from a safe distance, obviously) to blow a hole in the gate. Enter and grab the pile of Byzantine Coins on the floor to the right. Climb up to the platform with the altar and interact with the Codex it houses to complete the Challenge Tomb [04/04] .
Return to the center of the main chamber. There are now accessible piles of Byzantine Coins located below our initial entry point and in the passage to the right (opposite the boat’s current location). Once you have looted those, take the newly uncovered stairs. At the top of these stairs there is a Document [32/33 - Greek] .
Use the Rope Arrow to remove the barricade to the right and head up the next set of stairs to return to the Base Camp.
No Comments