Objective: Reach the copper mill
Make your way over towards the objective marker indicating the Copper Mill. Be sure to check out the cave on the eastern side of the map, just north of the entrance to the Copper Mill. Use your Rope Arrows to pull down the wooden barricade. Inside you’ll find a Strongbox [07/14 - Weapon Part: Compound Bow Part 03]. There is an additional cave further north that is inaccessible for the moment (we need explosives) and on the ground outside it, you’ll find a Coin Cache [3/9].
Approach the gate to the Copper Mill and proceed inside. In the courtyard here you’ll find a new base Camp ‘Copper Mill Yard’. You can use the Base Camp here to apply any upgrades you require and spend any skill points you have. Exit the Base Camp menu when you are ready to continue.
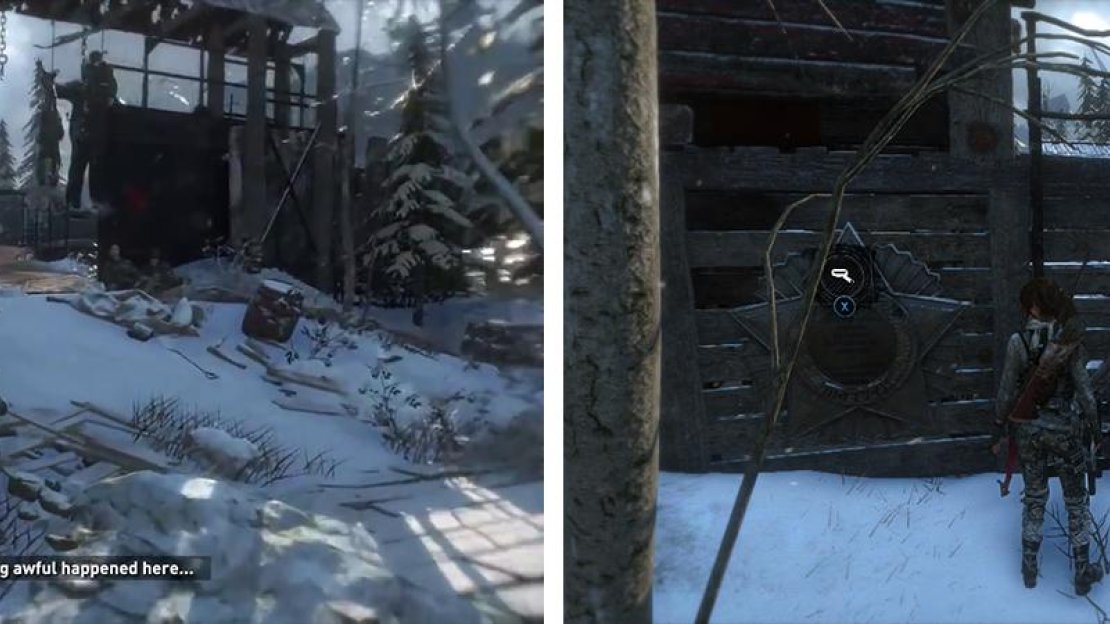
Approach the Copper Mill (left) and grab Mural 09 before using your Rope Arrows to open the gate (right).
In the courtyard with the Base Camp, you’ll also find a Monolith we can decipher for Coin Cache locations and on the wall opposite the entrance, a Mural [09/12 - Russian] . Use the Rope Arrows to remove the barrier from the nearby gate.
The area behind the gate has a few items to check out. Directly to the left as you enter is a set of stairs. Climb these and enter the door at the top to find a basket of Herbs and a chest containing Relic [12/18 – The Game ] on the desk (inspect the pieces located at the base of the relic to boost your Russian language proficiency). Near the base of the stairs, there is another rope-covered obstruction that we can remove with Rope Arrows. Inside you’ll find a crate of Salvage and a cylinder of reagents. Between the closest train and the fence to the left you’ll also find another crate of Salvage .
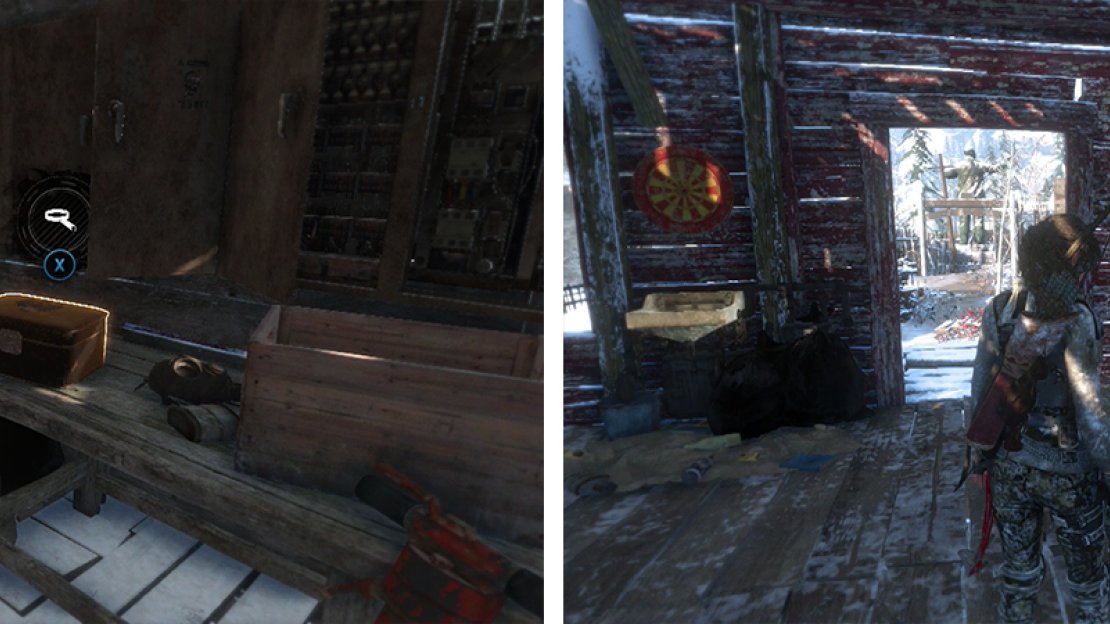
Inside the gate to the left is a building containing Relic 12 (left). Document 19 can be found in the shack opposite the gate (right).
In the back of the flatbed truck at the center of the area you’ll find a crate of Salvage . You can also find a Document [19/26 - Russian] on a table in the small shack opposite the entry point. Behind the shack and just by the far end of the train car on the left you can also find Survival Cache [14/21] . Inside this train cart you’ll also find a cylinder of reagents.
Climb the ladder on the middle train carriage when you are ready and hop across to the ledge on the nearby building to get over the fence. Look down towards the gate behind and to your left and use the Rope Arrow to destroy it, creating a shortcut back to the previous area. Note the rope wall on the left (there is a Poster in here but we’ll be back for this later when we have Fire Arrows) and climb the next ladder. At the top, head to the right and use the Rope Arrows to remove the blockage ahead. Jump across to the walkway it was blocking.
Enter the door and grab the crate of Salvage and the Document [20/26] from the table on the left before climbing the ladder to the level above. Upon reaching the top, Lara will learn how to craft Molotov Cocktails.
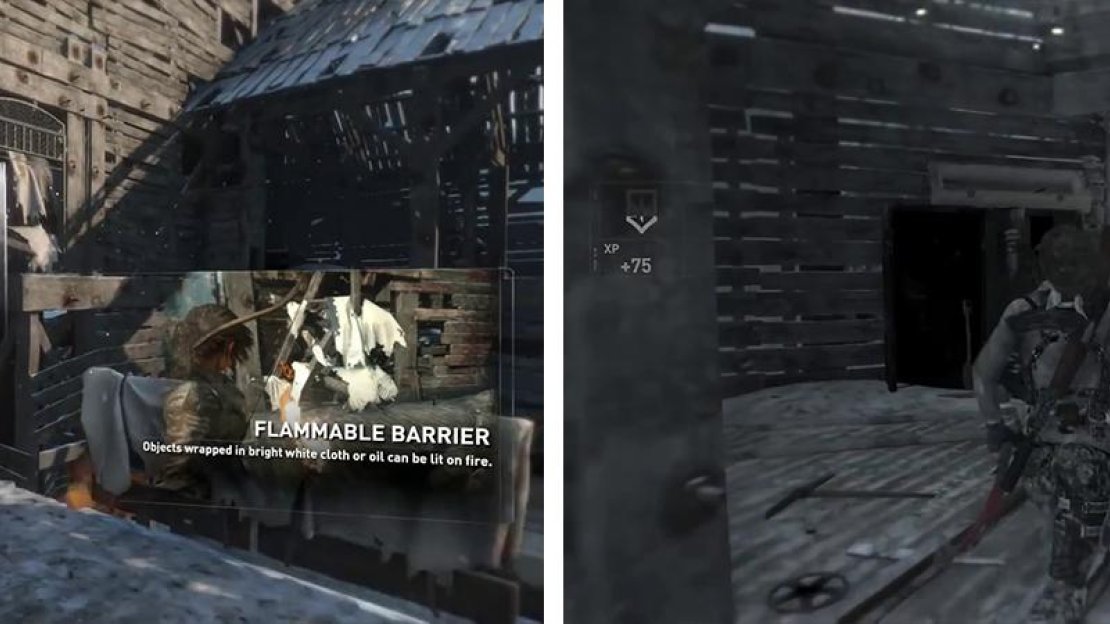
Grab Document 20 before climbing the ladder (left). There’s a group of enemies - hit them with a Molotov to earn an achievement/trophy ‘Firestarter’ (right).
Similarly to the Fragmentation Grenades, Molotov Cocktails require bottles that you find in the environment. Combining these with cloth will create the projectile. These are handy for quickly taking out enemies and for burning down white blockages made of canvas. You should take the time to craft one now.
There are three enemies out the next door, two on the walkway with you and a third on a ledge above and to the left at the top of a set of stairs. Wait for the two enemies on the lower level to be close together and hit them with the Molotov Cocktail. Take cover and shoot the enemy on the balcony.
Once all three are dead, you can loot the area. There are couple of boxes of Salvage and some Magnesite Ore to grab. Our objective is located at the top of the stairs where the third enemy was located but before we head up, there is some other stuff to do!
Just to the right of the stairs, you’ll see a climbable wall with a door blocked by canvas. Grab one of the bottles lying about and craft a Molotov. Destroy the blockage and grab another bottle from nearby before climbing up. Inside you’ll see a Poster [Difference of Opinion 01/07] . Craft another Molotov and hurl it at the Poster to destroy it. Loot the rest of the room for two boxes of Salvage and a Relic [13/18 – Dog Tags] . Inspect the back of the Relic to improve Lara’s Russian.
Exit the room here and look immediately to the left to spot another platform we can jump to. Once across, to the left you’ll find a passage below leading to a Challenge Tomb (we’ll get there in a second) and to the right you’ll spot a ladder we can sprint and jump to. At the top of said ladder you’ll find a crate of Salvage and an Archivist’s Map . Grab the map first and then return to the previous platform. Find the entrance to the lower passage here and drop down inside.
Use a Molotov to destroy the blockage for Relic 13 and a poster (left). Cross the gap to the ledge beside this and drop down to find a Challenge Tomb entrance (right).
Here you’ll find several lockers to loot for resources/lockpick XP, a crate of Salvage and a Strongbox [08/14 - Weapon Part: Compound Bow Part 04] . There is also a green button which we can press to open the way to the next Challenge Tomb – the Red Mines, which we should totally do now.


No Comments