Find the path leading directly north out of the village farmstead. Cross the river using the wooden platforms and look for the Bull’s-eye [Bull’s-eye 07/08] below the wooden deck running along the far cliff wall. When you come to it, utilize the hanging log to Rope Arrow swing across to the far ledge. As you land, look against the wall to the left for an Explorer’s Satchel .
Crawl beneath the wall here and prepare yourself to fight four wolves at once. An easy way to deal with them is to shoot a Poison Arrow on the ground in front of you and wait for them to run into it and pass out. Once they have been dealt with, look for a tree by the fence on the right side of the area with a Bull’s-eye [Bull’s-eye 08/08] hanging from one of its branches.
Open the nearby gate with your pickaxe to enter the Challenge Tomb area.
Once you have passed through the gate, climb the stairs to the right and follow the passage until you reach a room with a crack we need to squeeze through. Be sure to grab the pile of Byzantine Coins near the entrance.
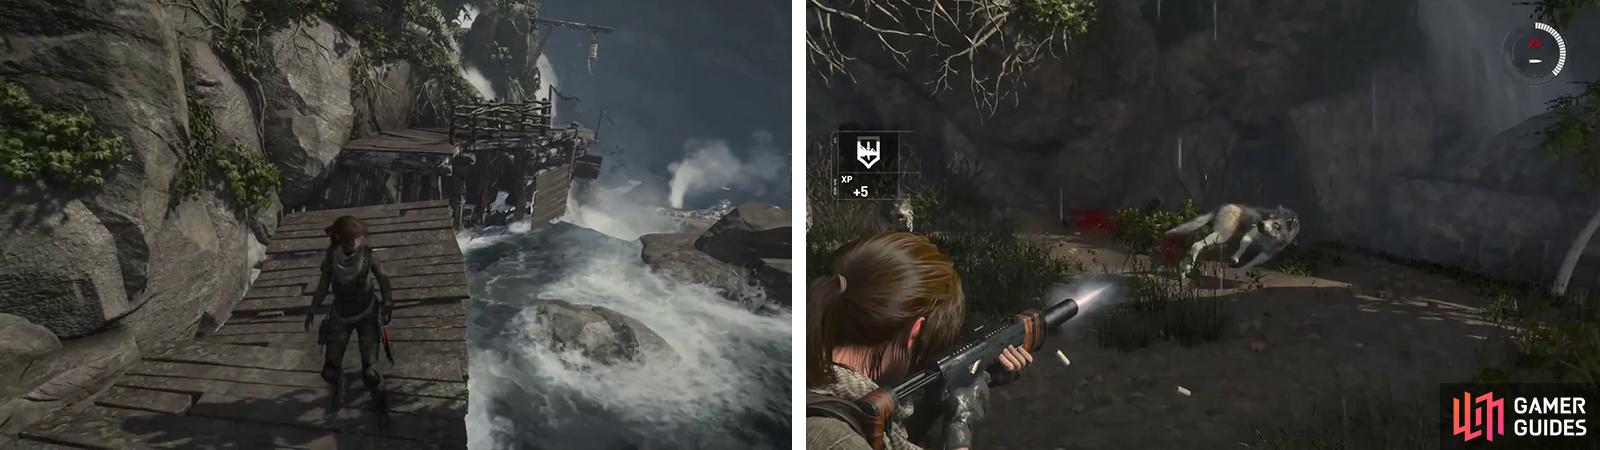
Follow the walkway north from the village (left). After crawling through the gap at the end kill the wolves (right) before progressing.
After passing through the crack, continue through the low tunnel and into the flooded room. Make your way over to the stairs ahead and look over the wall by the circular structure between the two sets of stairs to find a Survival Cache [02/20] . At the top of the stairs you’ll find a chest containing a Relic [03/13 – Belt Buckle] on a sarcophagus to the right.
Follow the passage into the next room where you’ll find a new Base Camp ‘Infirmary’. You can use the Base Camp here to apply any upgrades you require and spend any skill points you have. Exit the Base Camp menu when you are ready to continue. In this immediate area you’ll also find a cylinder of reagents and a Document [07/33 - Greek].
As soon as you enter the next doorway we’ll be in the Challenge Tomb’s main puzzle room. Let’s loot it before we get started! From the entrance, turn right and look beside the set of stairs for a Survival Cache [03/20] and some Mushrooms . Enter the water here and swim to the far right side of the pool, there is a hidden tunnel along the wall here we can dive under and swim through. At the far end you’ll find some solid ground with an Explorer’s Satchel and to its left a Survival Cache [04/20] . Swim back through the tunnel to the main room.
Survival Cache 03 is on the right side of the puzzle room (left). Swim through the underwater tunnel nearby to find Survival Cache 04 and an Explorer’s Satchel (right).
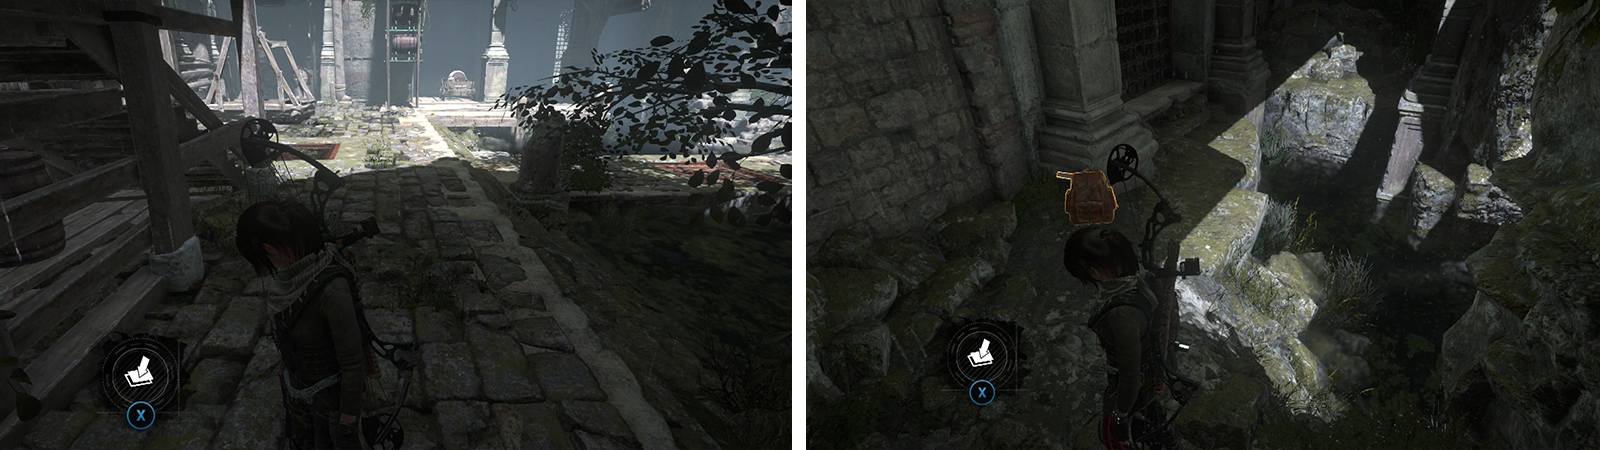
On the opposite side of the pool form the entrance you’ll find several Mushroom locations and a chest containing a Relic [04/13 – Necklace] . Drop down into the hole to the left of the Relic and loot the cylinder of resources. Step onto the platform here and use the Rope Arrow to attach the platform to the hanging object above it.
Return to the entrance to the room and with it at your back, look to the left to spot a second wooden platform at ground level with a hanging bucket behind it and a cart just to their right. Approach the cart first and push it out into the room as far as possible. Next move into position where you can see the hanging bucket. Beside this, you should be able to make out a small lever on the ledge above. Shoot this with the Rope Arrow to have the bucket fill with water. At this point, run over to stand next to the bucket and shoot the cart with a Rope arrow to connect the two.
With all of the pieces now in place, we can climb the stairs to the right of the entrance. At the top use the swing poles to reach the first elevator and then jump across the platforms provided to reach the second. From here jump to the handholds on the far wall and shimmy all the way to the right until you can pull yourself up.
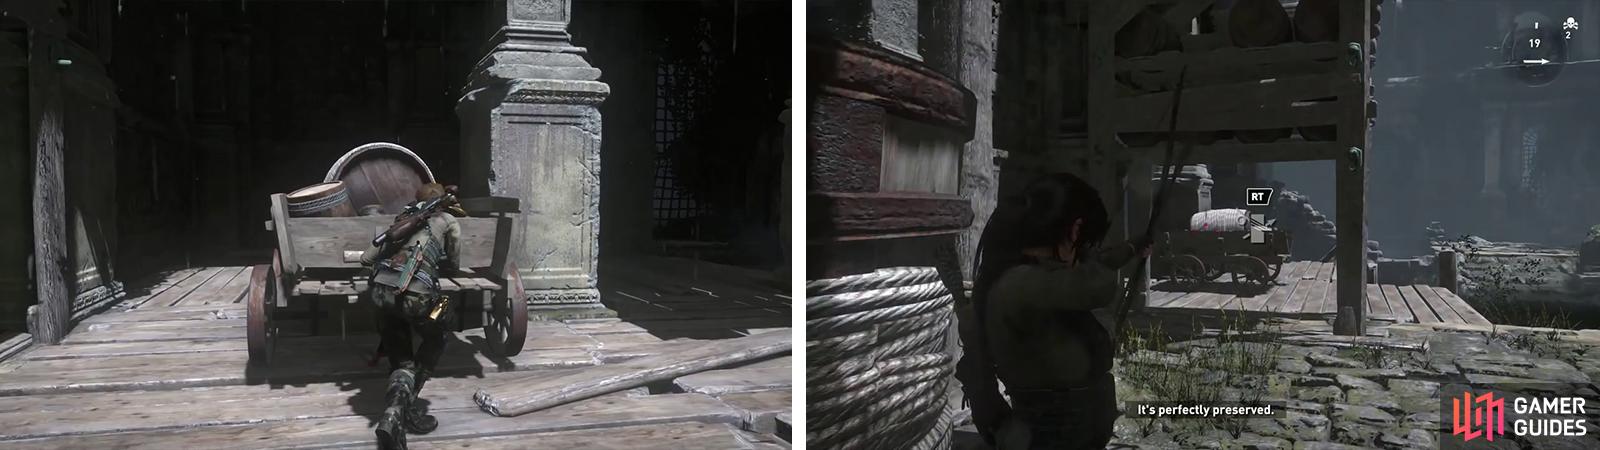
Pull the cart into position (left). Pull the lever with a Rope Arrow to lower the bucket and then attach it to the cart with a Rope Arrow (right).
Once up on the ledge, look on the railing to the left for a Document [08/33 - Greek] . Enter the doorway behind to find a crate and cylinder of reagents, a basket of Herbs , Mushrooms , an Archivist’s Map and the Tomb’s altar containing a Codex that we can interact with to complete the Challenge Tomb [01/04] .
Exit the door and use the zip line to the left to quickly return to the entrance. Use the Base Camp to fast travel out of there!
No Comments