Objective: Ride the gondola across the valley
Following the cut-scene, hop aboard the gondola and shoot the roped up lever once again to have the gondola start moving back the way it came.


Once the ride starts moving move to the front. As the gondola navigates its way along its set route, you’ll be able to shoot some additional Hanging Lanterns for the ‘Over the Cuckoo’s Nest’ area challenge. They can be found in the following locations:
- After crossing the first wall, there is a second stone archway ahead. The Hanging Lantern [Over the Cuckoo’s Nest 04/10] is below this.
- Another Hanging Lantern [Over the Cuckoo’s Nest 05/10] can be found on the wall above and slightly to the right of the stone archway described above.
- The next Hanging Lantern [Over the Cuckoo’s Nest 06/10] is in a small wooden cradle below the waterwheel ahead.
- The next seventh and eighth Hanging Lanterns [Over the Cuckoo’s Nest 07/10 and 08/10] are located beneath large stone archways on either side (left and right) of the main route of the gondola around halfway across.
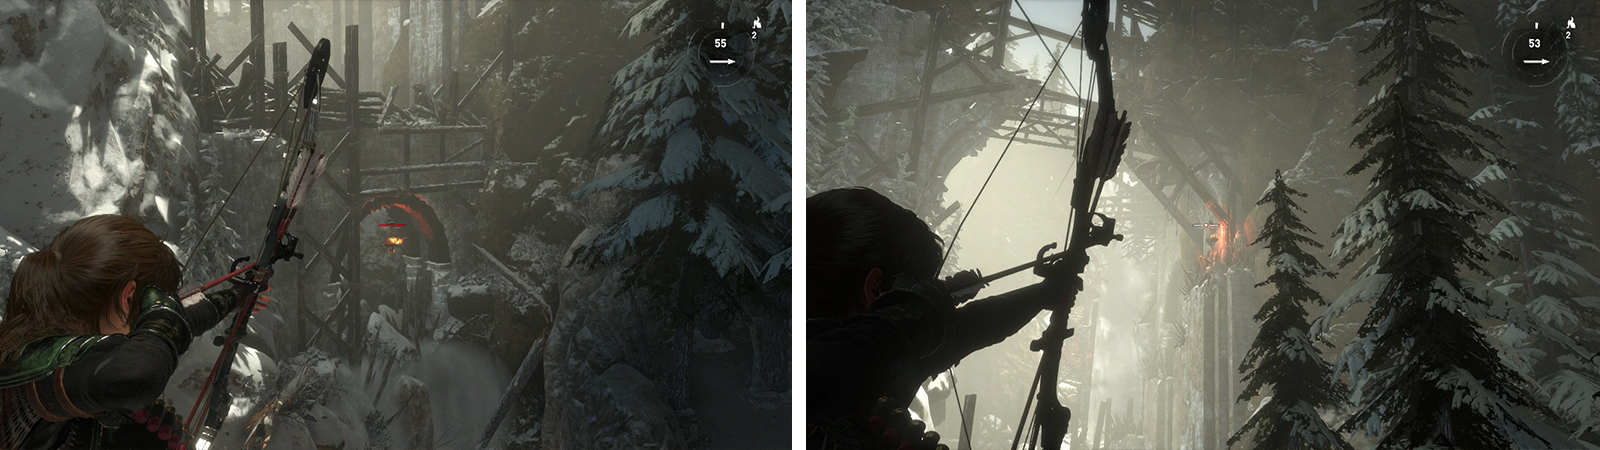
You’ll be able to find all 10 hanging lanters along the path of the gondola.
- The ninth Hanging Lantern [Over the Cuckoo’s Nest 09/10] is hanging below the platform that the gondola docks at the far end of the valley.
- The final Hanging Lantern [Over the Cuckoo’s Nest 10/10] is actually back near the start. Once the gondola has parked on the far side of the valley, look back towards where we came and find the water wheel in the distance. You should be able to make out the glow of the Hanging Lantern hanging from the scaffolding just to its left.

Once you have arrived via gondola on the far side of the valley, don’t dismount just yet. Instead, look for the nearby waterfall – you should be able to spot some torches behind it. Run and jump through the water to find a small, hidden room containing a Document [13/21 - Greek].
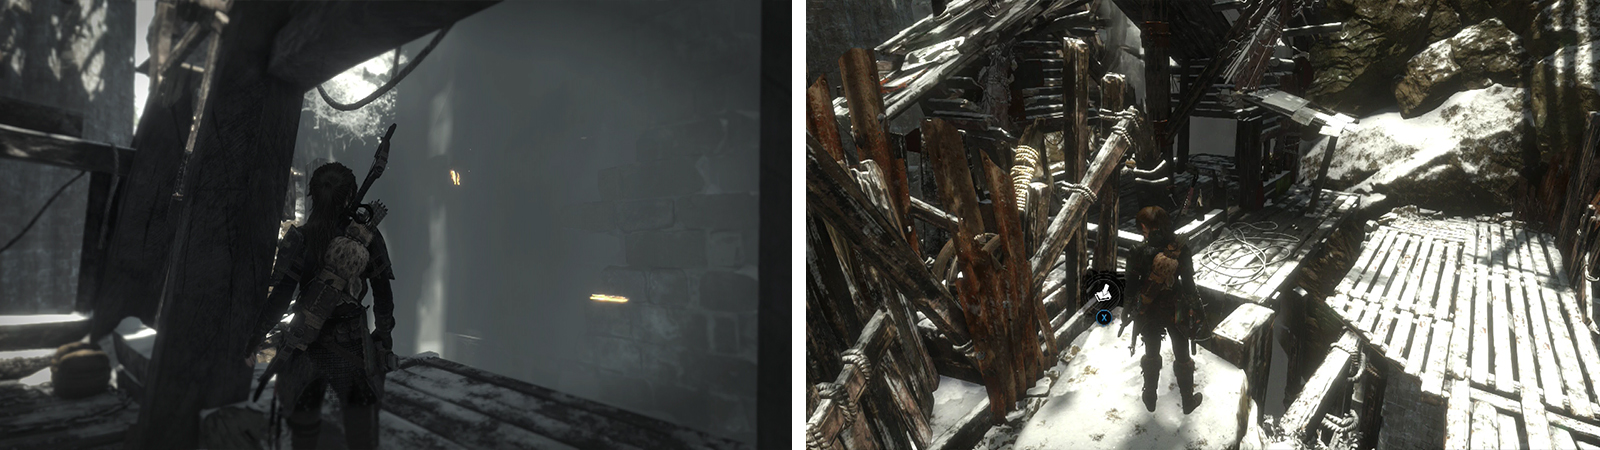
After riding the gondola, look behind the waterfall nearby for Document 13 (left) and on the nearby platform for Survival Cache 03 (right).
Hop off the gondola and climb the wooden ramp to the right. At the top, hop onto the section of ground overlooking the gondola to find a Survival Cache [03/06] .
Continue to follow the set path until a cut-scene triggers.
No Comments