


Tutorials - Moving and Interacting
The game opens up with a cinematic depicting a parade celebrating a marriage, then it will cut to a meeting about war. This all serves to set up the two main players in Ivalice at the moment; the Archadian Empire and the Rozarrian Empire, as well as the consequences faced by smaller states caught between their struggle for supremacy. Alliances and wars, the substance that consumes the lives (sometimes literally) of royalty, but the common folk are by no means spared from the effects of these games. Speaking of which, after the cinematics end, you’ll find yourself in control of a character named Reks. An allied warrior named Basch will wake you up, ask you some questions, then show just where you stand in the pecking order.
When you’re finally done with the chatter, you’ll enter a tutorial. Use the [Right Stick] to rotate the camera and use the [Left Stick] to move your character around - a little pressure makes you walk, more pressure makes you run. Once you’re ready, walk (or run) north to Basch and when you get close enough he’ll tell you about the “Talk Icon”, which allows you to converse with characters bearing the appropriate icon by getting close to them and pressing [X]. Do as Basch says and give it a try by heading northeast and talking to the Dalmascan by the gate. He’ll give you some good advice, after which Basch will interrupt and state the obvious.
Head over to the nearby gate and an “Action Icon” will appear over your head, which Basch will also explain. Simply put, when this appears it lets you know there’s something you can investigate or interact with - doors, chests, switches, etc. Simply press [X] to interact with the nearby object, in this case, the gate. Note that the icon changes from one exclamation point to two (surrounded in an explosion bubble). The former indicates an object of interest is nearby, but not in range (or you’re oriented wrong to interact with it), while the latter indicates that you can now interact with the object. Approach the gate and press [X] to open it, after which the first round of tutorials will end and you’ll enter the fortress.
Tutorials - Party Menu and Battle Menu
Once inside the fortress, Basch will chat with you about the “Party Menu”, which you can open by pressing [Triangle]. Before you have the chance to open your Party Menu, however, you will be thrown into your first battle. If you didn’t read the Battle System section of the guide, then you’ll get a brief overview here. The red line that is connecting from the enemy to you is a “Target Line”, which indicates that an enemy is targeting you. A blue “Target Line”, on the other hand, indicates that you are targeting an enemy. Once you have an enemy in your sights press the [X] button to enter the “Battle Menu”, select the “Attack” option, then move towards the enemy to carry out the attack option.
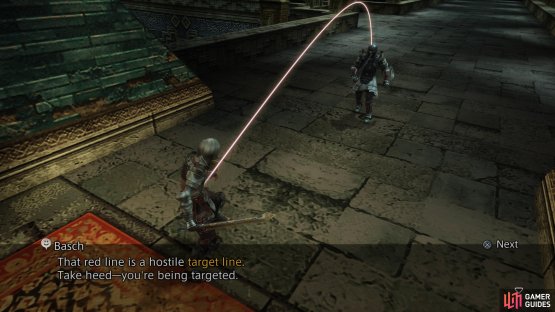
(1 of 2) Red lines indicate than an enemy is targeting you (or another party member)


Red lines indicate than an enemy is targeting you (or another party member) (left), while a blue line shows what enemy you (or another party member) is targeting. (right)
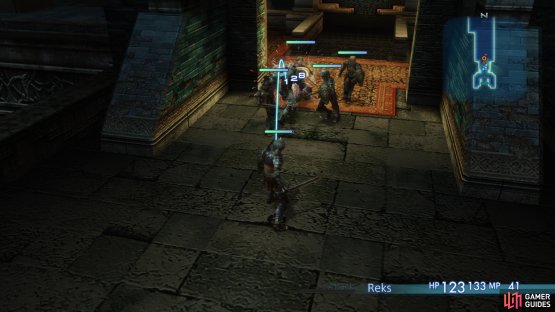
While it might be nice to get adjusted to the battle system a little bit on this foe, your companions quickly join in and strike him down before you have a chance to fiddle around too much. Don’t worry, there’s plenty more to come, and things are still quite simple for now. Simply press [X] when you see a foe (or a red Target Line indicating a foe has seen you!) to enter the Battle Menu, from which you can select Attack, Magicks & Technicks (use spells and abilities) and Items. Anyway, move forward a bit to initiate a cutscene, leading to the game’s first “boss”, Air Cutter Remora.
Boss - Air Cutter Remora
This isn’t really much of a boss, as you have a lot of help against it… so much so that it’s basically incapable of stopping you. Simply walk up to it and start smacking it around via the Attack command. It’ll stop to respond with a somewhat damaging Remora Strike attack periodically, after which you’ll be promptly healed by your allies. Once the boss’ health gets to a certain point, a cutscene will play out where Basch will perform a special attack to end the battle.

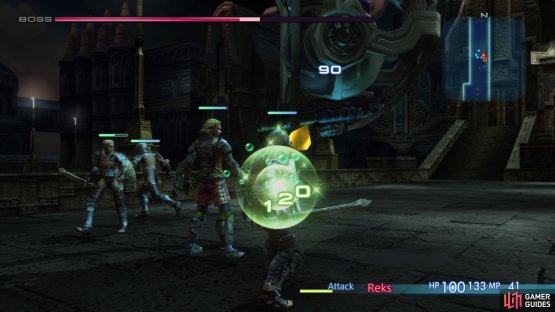
(1 of 2) Remora Strike is the only attack that will damage you here
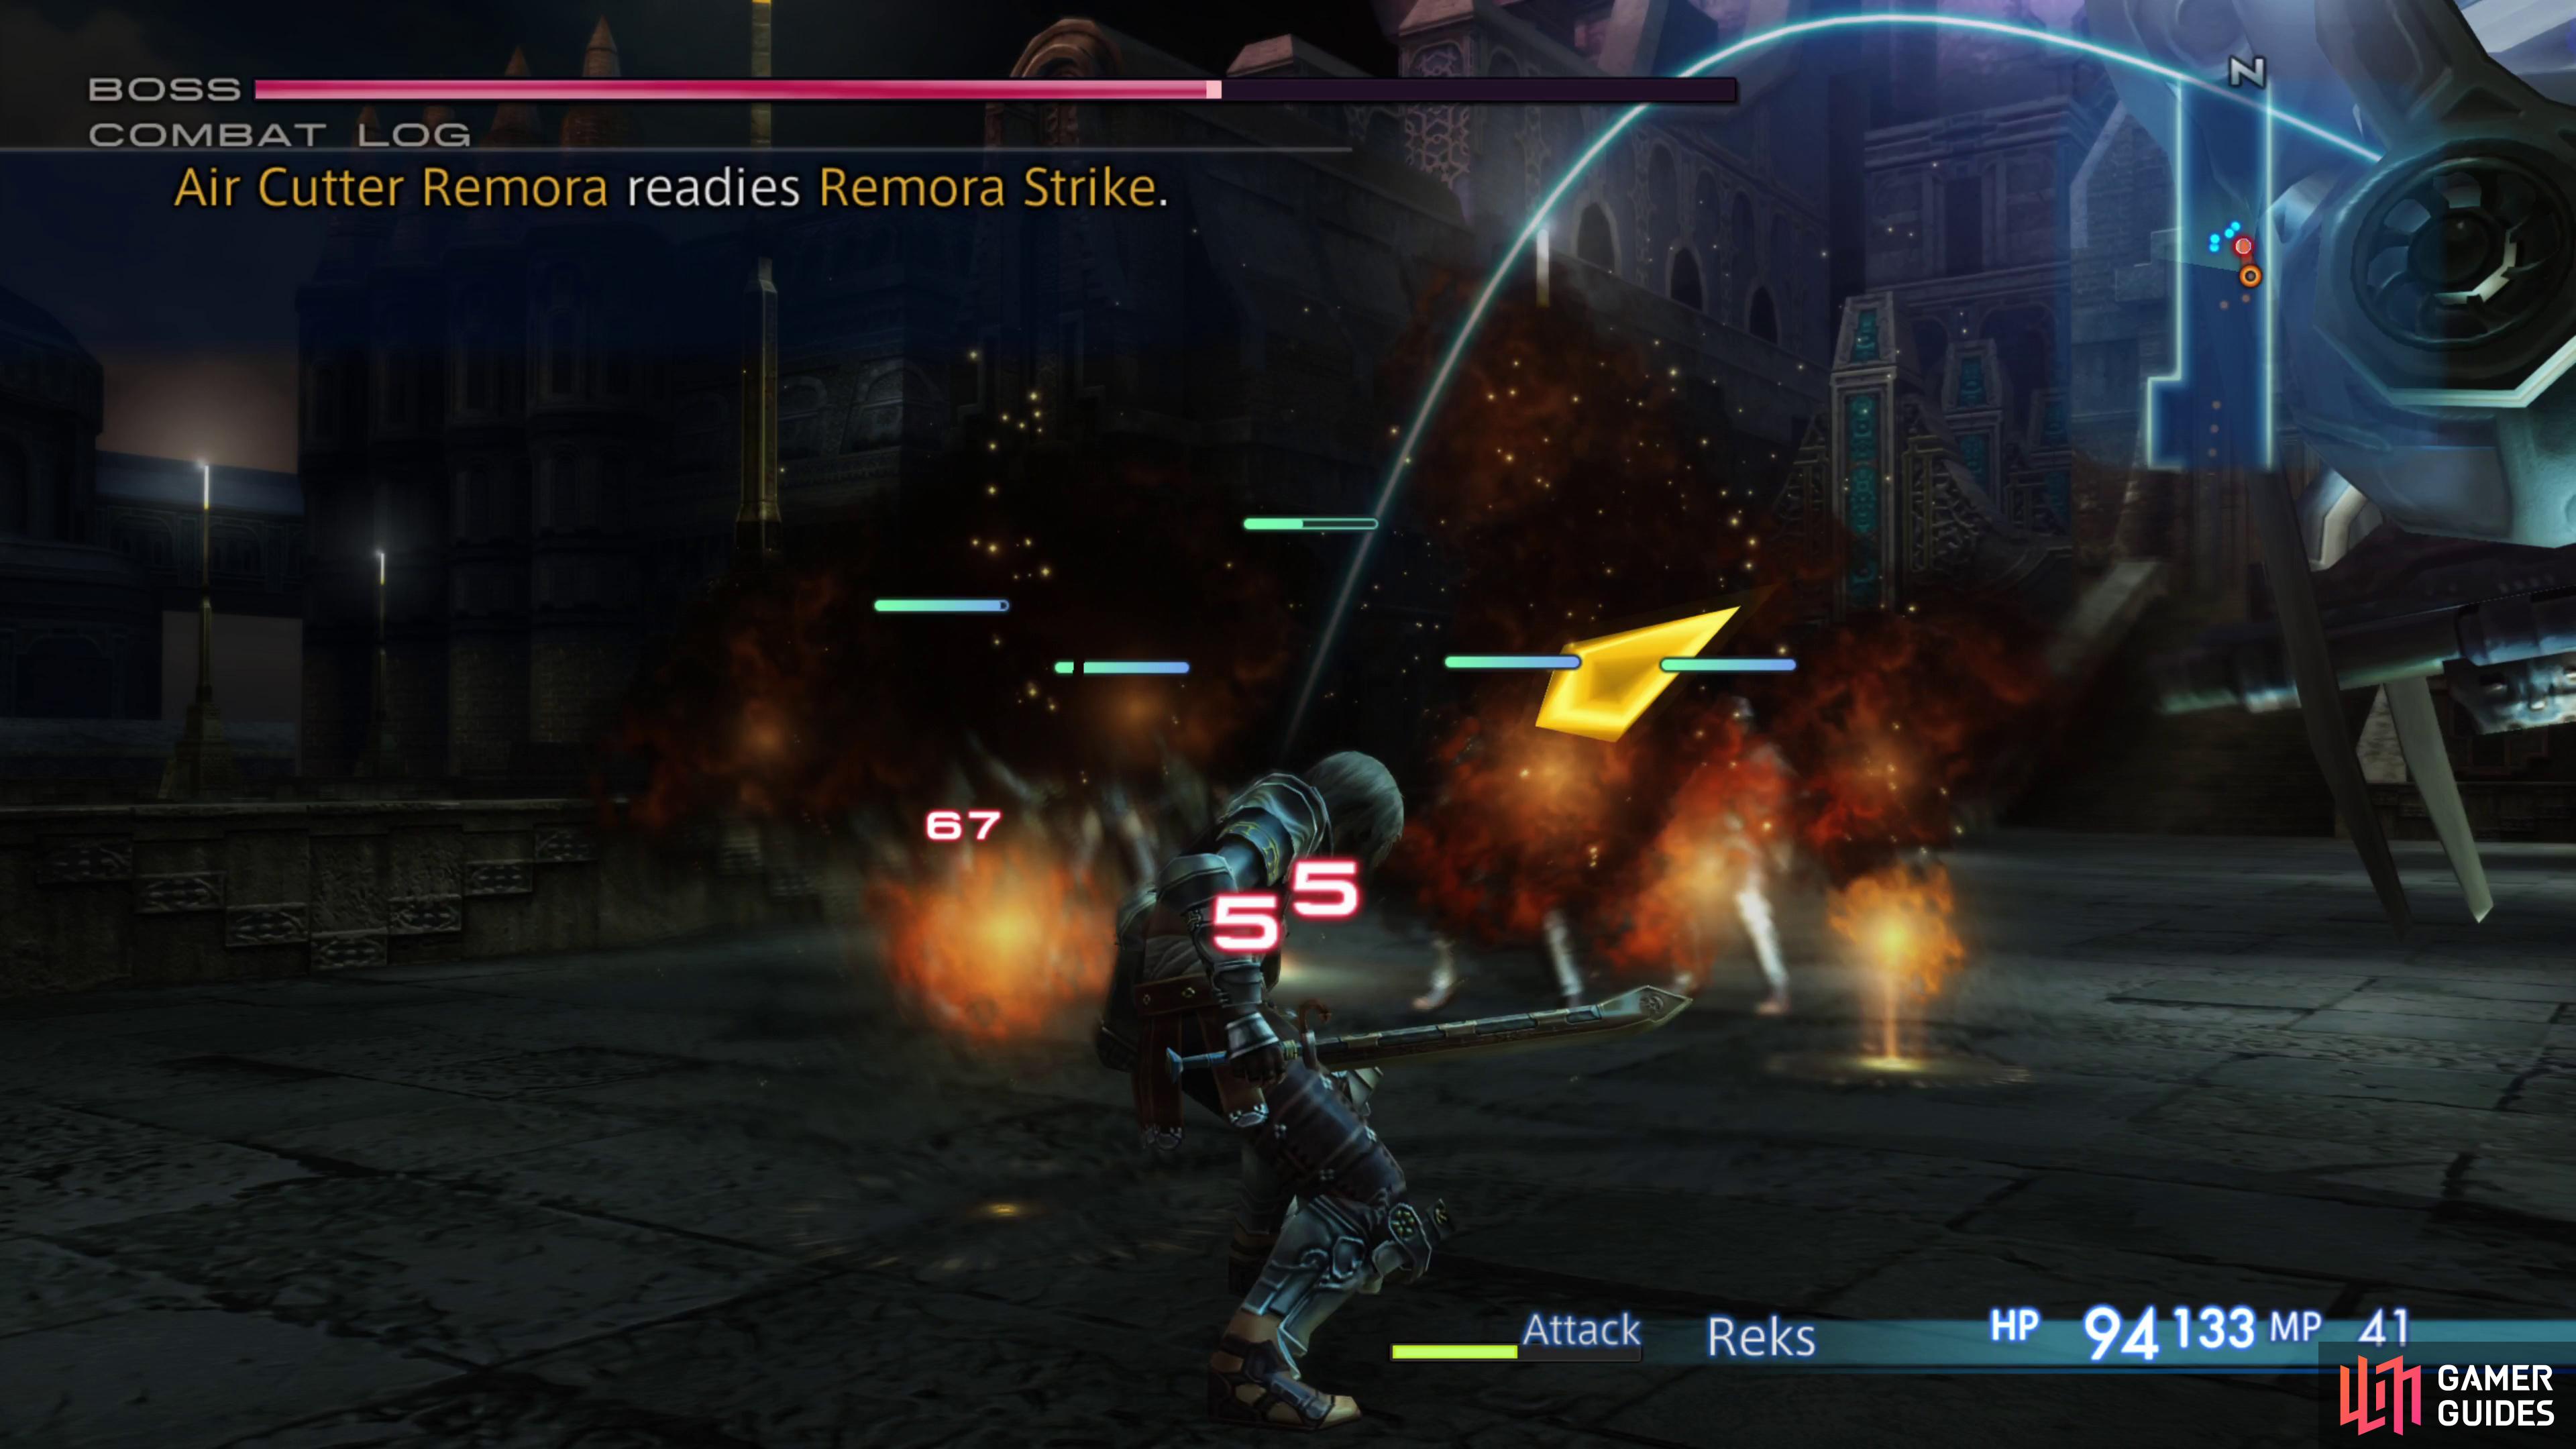

Remora Strike is the only attack that will damage you here (left), but fear not, your allies will use an infinite amount of Potions on you. (right)
Tutorials - Maps and Escape Mode
After Tonberry’s jolly good performance, he’ll fly off and leave you to proceed deeper into the fortress. Help fight off some Imperial Swordsmen and make your way north up some stairs to the next area, the transition to which is marked by a line of blue orbs. When you reach the area transition, Basch will stop you and warn you of the fortress’s supposedly labyrinthine interior… which is really just an excuse to get him talking about the “Minimap”. This handy device is located at the top right of the screen, but if it proves insufficient for your needs, you can always press the [Touch Pad] and bring up the “Location Map”, a more detailed full screen map. If that, too, fails you, press the [L3] button (press down on the [Left Stick]) to bring up the more detailed Location Map on the game screen as you play, which will more accurately track your progress through large, complex areas.
Continue on to the area transition to enter the swanky interior of Nalbina Fortress. After a bit of chatter, you’ll find yourself at a four-way intersection. There’s nothing to the west or east, so continue north until you find some more foes, including an Imperial Magus. Basch will proceed to lecture you on the better part of valor, informing you that you can hold down the [R2] button to enter “Escape Mode”. While in Escape Mode you’ll put away your weapon and ignore enemies, helping to facilitate a brave retreat, although enemies will still whack you around while you’re running with your tail between your legs. That may just come in handy later, but for now, you might as well just cut down everything you see. Once the Imperials are dead, turn east and enter a small room to find a treasure chest ( Potion ) in the southeastern corner of the room. You don’t get to keep any goodies you find right now, but they might just come in handy until the end of the prologue.
Return to the hallway and continue north to reach a three-way intersection, then turn west and north again. If you take the first opportunity to turn east, you’ll find the next area transition - some stairs to the north. On the other hand, there’s some treasure to be had, if you want it. Simply continue north past the first turn to the east and take the second turn east when the path north ends. Kill another Imperial Swordsman, then turn north again to find a chest ( Potion ) sitting next to some comically large barrels. Return back south and go down the previously-neglected eastern passage to find the stairs leading up to the next level.
Tutorials - Save Crystals
When you arrive on this level, immediately head south to find Basch standing in front of a large, swirling blue crystal. JRPG veterans should be able to identify this object immediately - the fabled “Save Crystal”! Simply approach the gem and press [X] to save your progress. Even better, simply touching one of them will fully restore your HP (Hit Points), MP (Magick Points) and Mist Charges (more on that when applicable). You’ll learn to love them. Save, refresh yourself, then head upstairs to the next area.
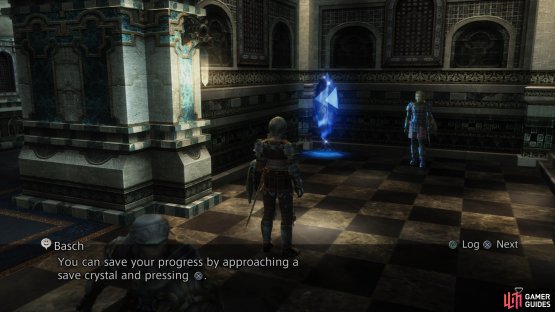

(1 of 2) Not only will you be able to save your progress at these crystals
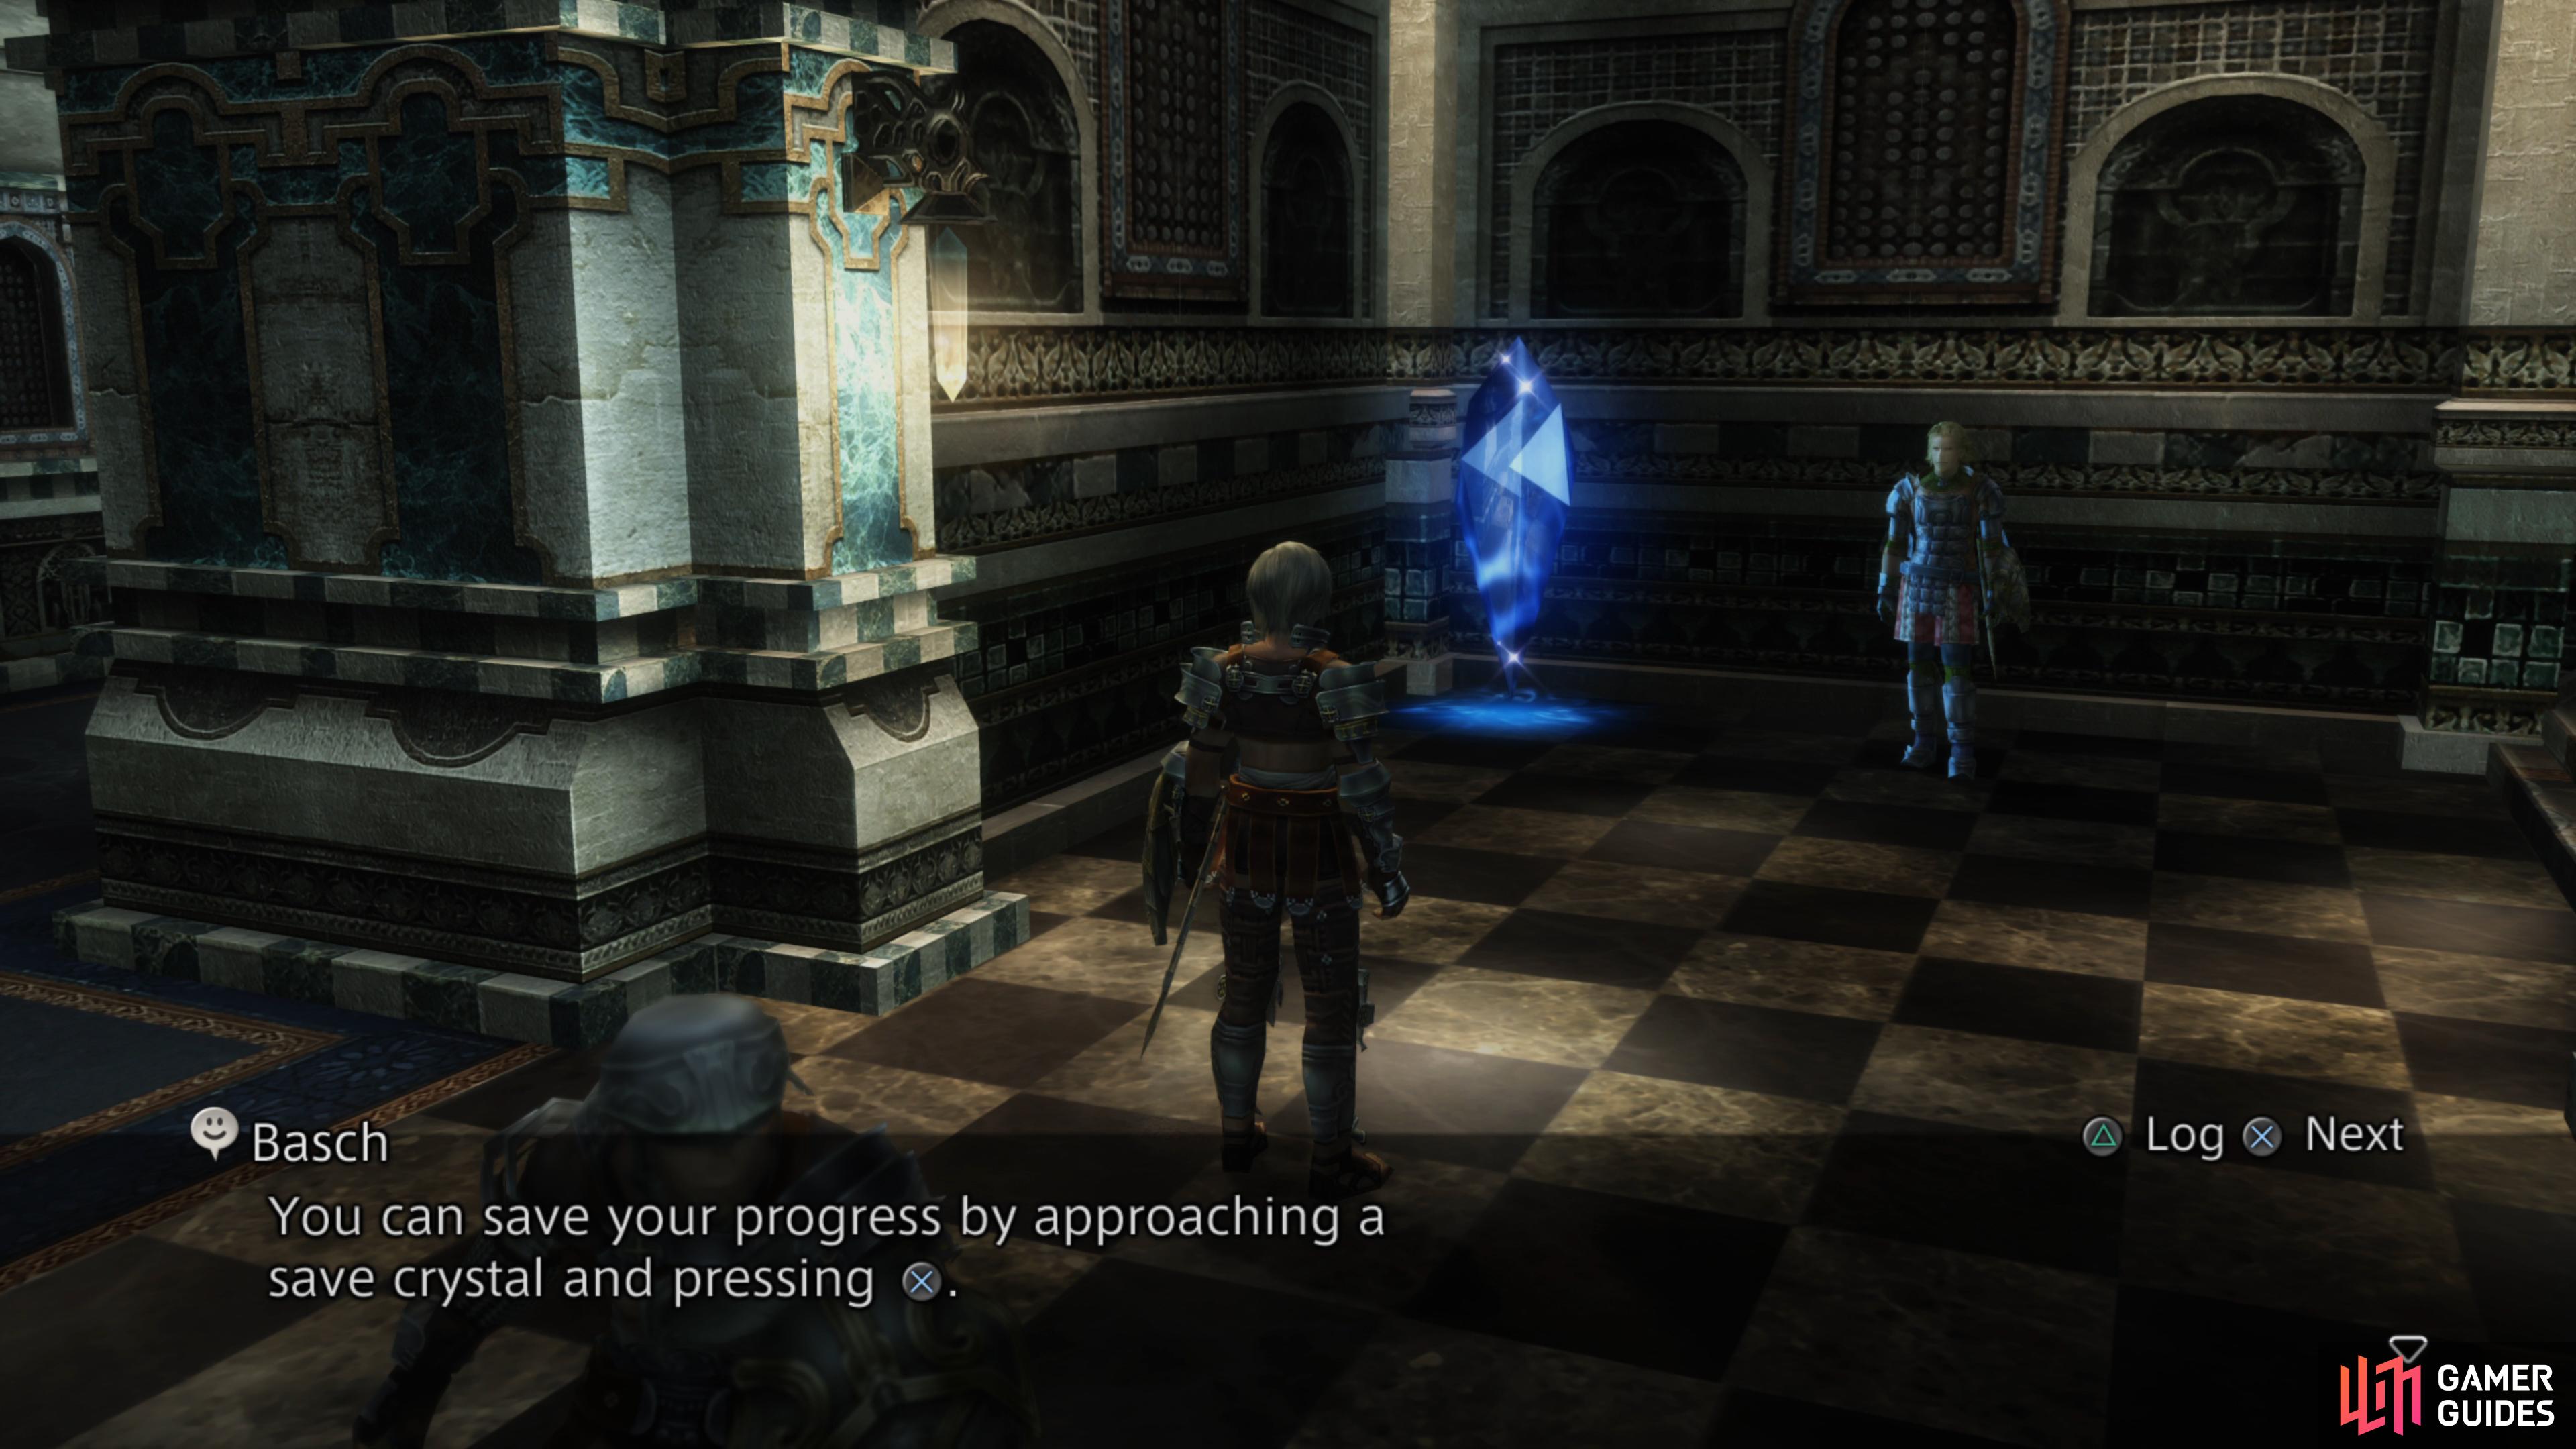
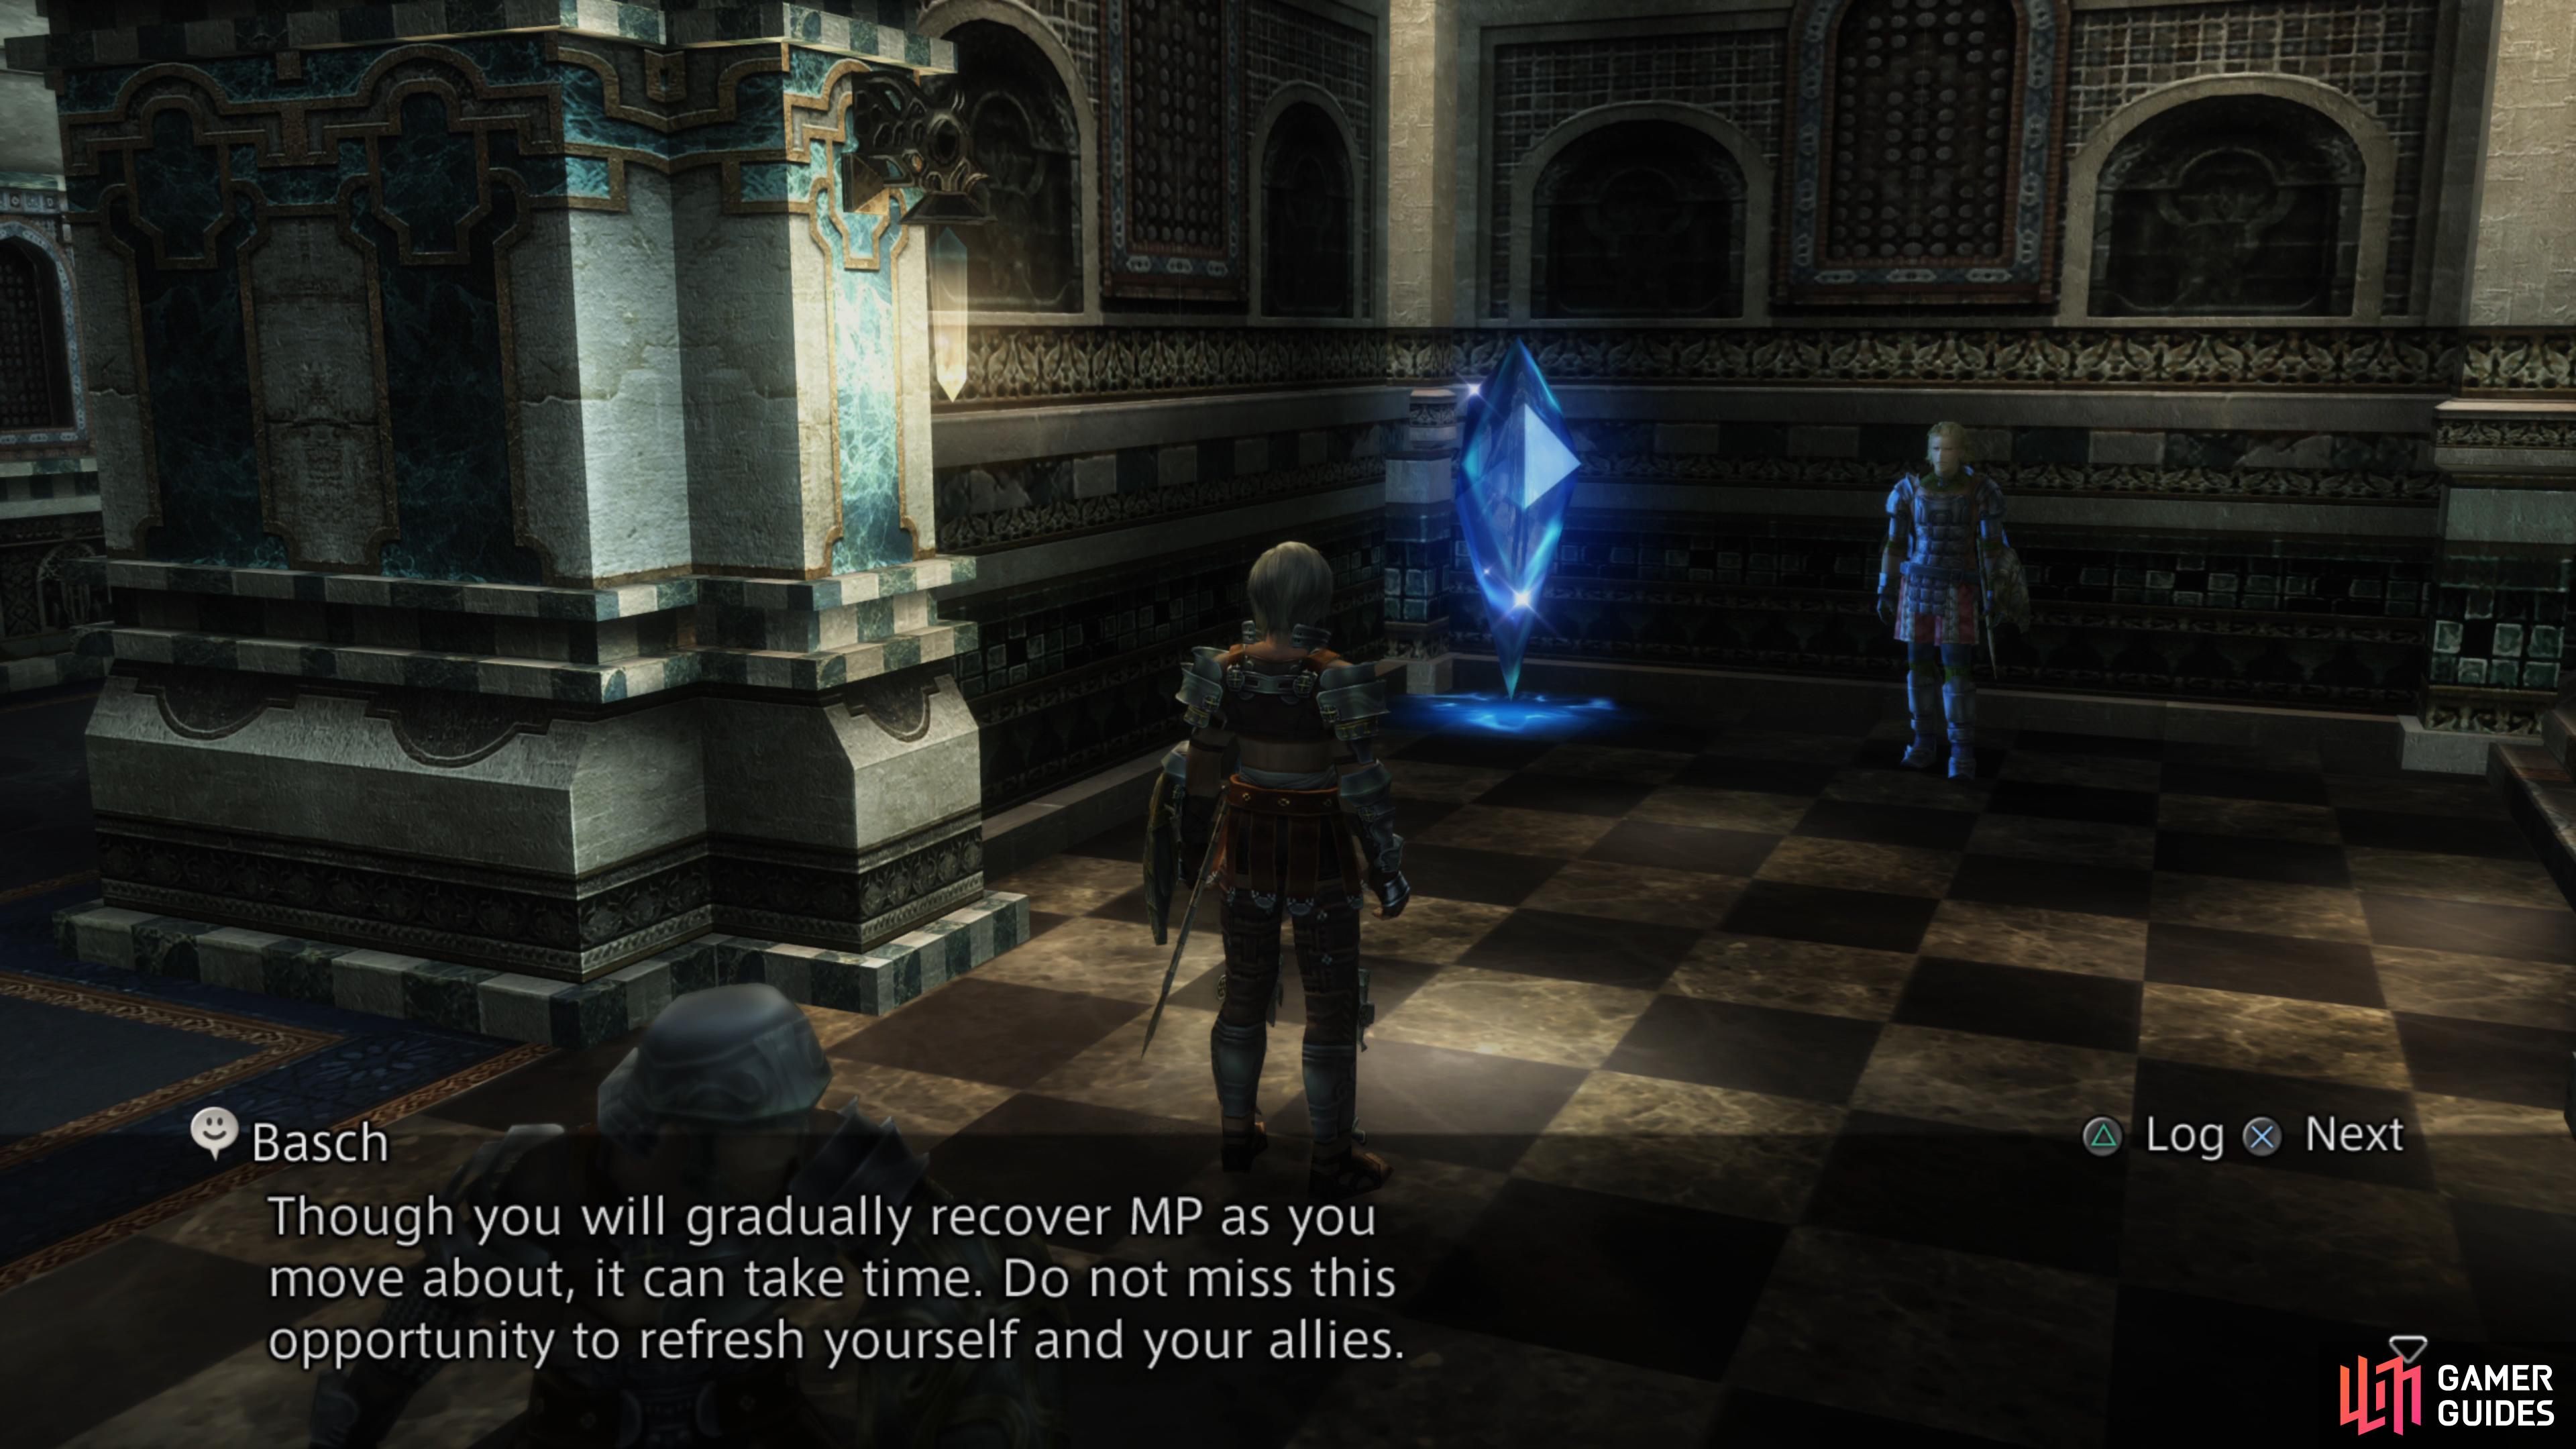
Not only will you be able to save your progress at these crystals (left), but they’ll also replenish all of your HP and MP. (right)
Once upstairs, Reks will mistake himself for a competent warrior and offer to perform a rearguard defense. This leaves you stranded against three Imperial Swordsmen. Simply attack them (two hits should kill each of them) and if your health gets too low for comfort, simply heal by opening the Battle Menu, selecting the “Magicks and Technicks” option, then the “White Magick” submenu, and finally “Cure”. Don’t worry about expending MP, it’ll replenish gradually as you walk about (but not while standing idle!).
When you stand victorious over your vanquished foes, turn west, then south down a hallway to reach some “Passage Doors”. Open them, then continue south to reach another three-way fork. East is a dead-end, so turn west, then go through some doors to the north and approach yet another set of doors to trigger a cutscene.

For the Homeland
Faced the Archadian Empire as an initiate in the Order of the Knights of Dalmasca.

15
No Comments