


Information
| Type | Petitioner | Location | Reward |
|---|---|---|---|
| Notice Board | Warrior Guromu (Jahara: Lull of the Land) | Henne Mines, Phase 1 - Dig | 2200 Gil, Carmagnole |
Stats
| Lv | HP | Weakness | Steal |
|---|---|---|---|
| 35 | 31161 | – | Pebble, Float Mote, Vanishga Mote |
Resistances
| Resistances | Status Immunities |
|---|---|
| Dark, Earth, Fire, Holy, Ice Lightning, Water, Wind (Halves) | Blind, Confuse, Disable, Disease, Doom, Immobilize, Oil, Petrify, Poison, Reverse, Sap, Silence Sleep, Slow, Stop |
Strategy
Pick up the bill from a Notice Board, head to Jahara, and from where you appear (in the Banks of the Sogoht area) make your way west into the Lull of the Land area. Here you can find Warrior Guromu waiting for you along the southern end of the zone. Chat with him and he’ll implore you to return to the Henne Mines and smite the Mindflayer, against whose attacks the Garif are powerless.
Once the hunt is properly started, return east to the Banks of the Sogoht area and talk to Gurdy the Moogle to rent a Chocobo, then ride through the Haulo Green area and to The Shred. Once you’re in the Henne Mines, pass through the North Entrance zone, activate the Gate Switchboard, and continue on through Pithead Junction A and Phase 1 Shaft to reach the Phase 1 Dig zone. Here you’ll need to make your way to the southern-most edge of the area, fending off Redmaws and Nightmares as you go.
When you finally spot Mindflayer, be sure to cast Shell on your entire party (or equip Shell Shields or the like). An ideal party for this battle should include a White Mage, a Time Battle Mage, and a competent warrior (Knight/Bushi, Shiraki/Foebreaker). The Mindflayer employs many magicks including Bio, Blizzara, Drain, Fira and Thundara. Worse, yet, are its technicks, including Dark Shock (inflicts Blind and Sap), Invert (reduces a character’s HP to an amount equal to their current MP) and Time Requiem, which can inflict Stop on all characters in an area. Shell will help with this, and there’s nothing that prevents you from swapping out an afflicted character with a fresh one, if it hits. Ideally Shell will keep at least one character safe, but failing that the swapped-in character can help their allies by using Dispel, a Chronos Tear, or Remedies (if they have Remedy Lore 3).

Talk to Warrior Guromu (left) to learn about the Mindflayer, then ride a Chocobo to the Henne Mines (right).
While Invert is one of its more dangerous attack, its other magicks and technicks can prove dangerous, as well, but there is a fine way of dealing with those attacks, and the Vorpal Bunny showed you the way. Cast Berserk on the Mindflayer and it’ll largely substitute its impressive magick and technick arsenal with much, much weaker melee attacks. It will still use Invert while inflicted with Berserk, but it’s a much more manageable fight, all things considered. Be sure to start out the fight with Dispel to clear Faith, Haste and Shell, as this will futher reduce the potency of its attacks and leave it susceptible to your own. It’s immune to nearly every status effect and only takes half damage from every element, so assaulting it with magicks is not advised. Dispel, Berserk, then whittle it down with melee attacks.
If you didn’t use Berserk, it may use Soul Etude when its low on HP, fully restoring the monster, after which it’s fond of following up with Heroes March, which will bestow Bravery, Faith, Haste, Protect and Shell on itself followed by Mystery Waltz, which will increase its level by 20%. All in all, it amounts to one hell of a second wind.
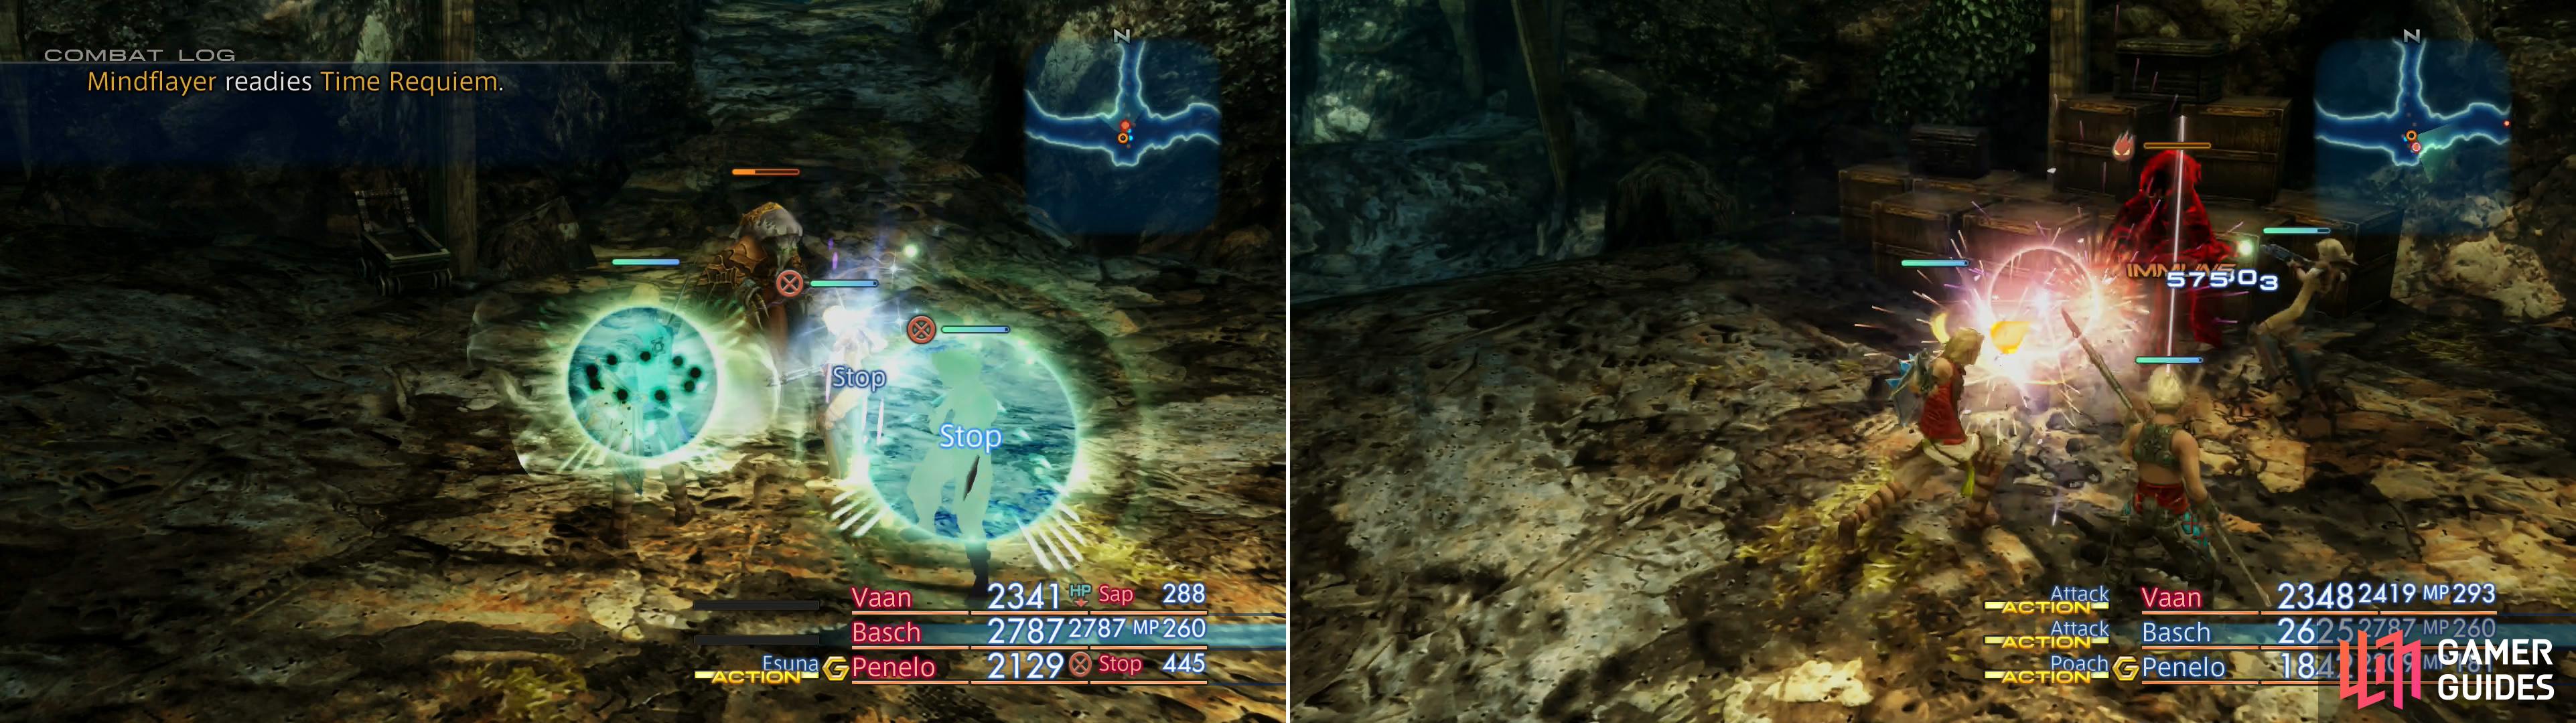
The Mindflayer can use many nasty attacks, like Time Requiem (left), but if you inflict Berserk on it, it’ll abandon those dangerous abilities (right), making the fight much easier.
Once Mindflayer falls, backtrack through the Henne Mines and return to Warrior Guromu in Jahara, who will reward you for your deeds, and mention that their Geomancer wishes to speak with you.
No Comments