| Bestiary |
|---|
| Dire Rat |
| Items In This Area |
|---|
| Orrachea Armlet |
Garamsythe Waterway
Two years have passed since the end of the prologue, and you now find yourself cast in the role of Vaan, a street urchin who is presently employed as a rat catcher in Rabanastre’s sewers. After a brief bit of chatter with another youth - Kytes - you’ll be left to the task of killing the three Dire Rats in this area. Vaan isn’t quite as powerful as Reks was, as you have no magick at your disposal, and no allies to help you, but you still massively out-power them. They’ll further oblige you by only attacking one at a time.
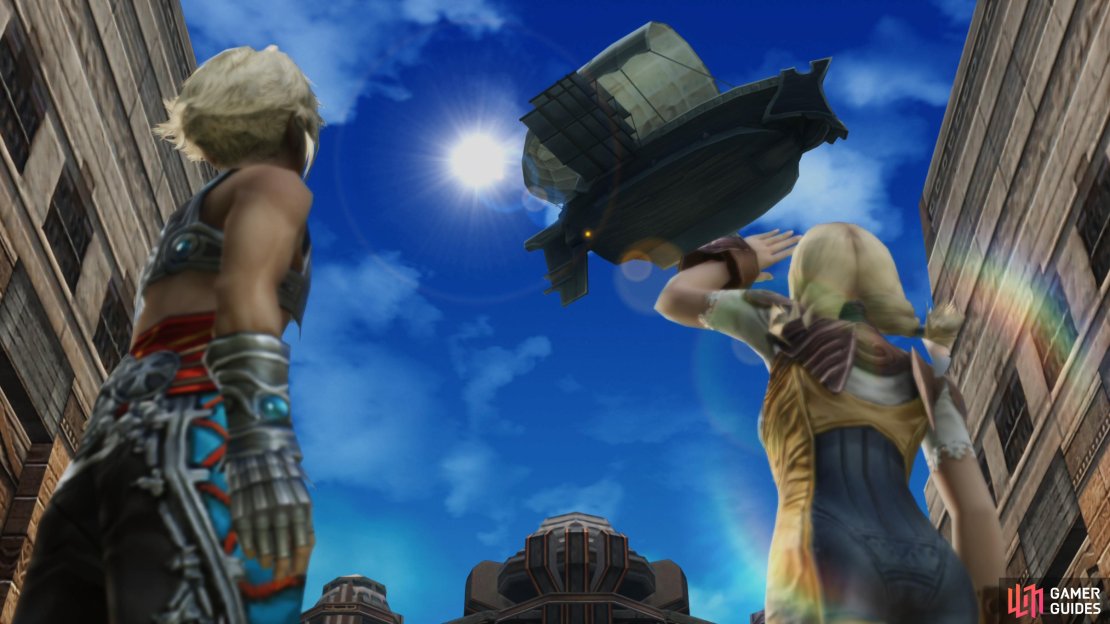
After felling the Dire Rats, Kytes will congratulate you on your minor accomplishment, after which you’ll vacate the sewers - the Garamsythe Waterway. Watch the cutscene that follows, which establishes the heavy-handed Archadian occupation of Rabanastre, showing Vaan’s hatred of the aforementioned empire and his sticky fingered form of revenge. You’ll also be introduced to Penelo, Vaan’s childhood friend, who extorts a tax out of him before suggesting he go talk to Migelo for some honest work.
(1 of 2) You can attempt to steal from the Dire Rats
You can attempt to steal from the Dire Rats (left), you’ll then be employed by Migelo to do some more productive work. (right)
Migelo’s Chore
When you’re back in control of Vaan, you’ll find yourself on a bridge in Rabanastre’s East End area. The path west is currently blocked by some agitated Imperials - ones who are perhaps looking for a certain thief - so you’d be better off heading east for now. There are plenty of people you can talk to in this area, which will provide you with information on the heightened Imperial presence in the city and the cause, as well as Migelo’s role in the affair, but nothing of any real consequence.
From where you start, make your way east off the bridge you started on until you reach a more open area. Note the shop to the north (Yugri’s Magicks); this section of the city is littered with shops, lining the streets to the north and south. There’s precious little you can do right now with the limited resources at your disposal, so head down the street to the south until you find Migelo. Vaan will automatically start chatting with the old Bangaa, who is quick to dash his dreams of a desert adventure. Instead, he’ll give you a somewhat more mundane task - seek out Kytes and get the kid back to work!
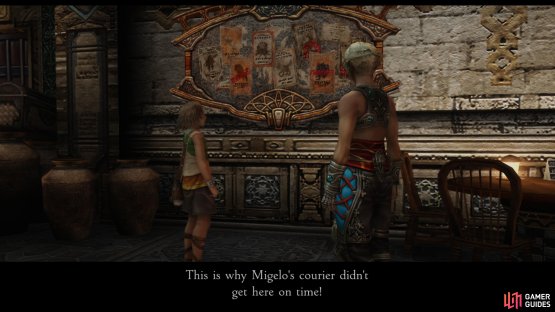
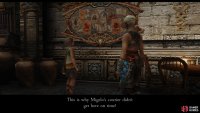
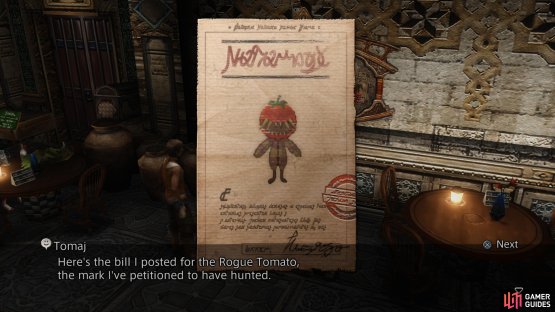
Well, a job is a job, right? Make your way north back to the clearing, then continue north until you find the Sandsea to the east. Enter the establishment and you’ll find that Kytes has worked himself into a fit over some notice board. As Vaan chats with him, he’ll decide that Kytes might be on to something - at the very least, hunting some beastie in the desert sounds more interesting than playing courier for Migelo. Another Rabanastran - Tomaj - will show up and explain monster hunting to Vaan, or rather, to you.
(1 of 2) Find Kytes in the Sandsea
Find Kytes in the Sandsea (left), where you’ll be introduced to the hunter’s profession by Tomaj. (right)
Tutorials - Hunts and License
Upon notice boards, you may find the odd outstanding bounty, posted by a petitioner in the hopes that some brave hunter may show up and rid the world of whatever monster they have a grievance with - the Mark. Find a promising notice, talk to the petitioner who posted it, hunt the Mark, then return to the petitioner for a reward. Easy peasy! To help get you started, Tomaj will give you a Clan Primer , an Orrachea Armlet and a Writ of Passage .
The Clan Primer (which is now an option in the Party Menu) allows you to look at your current and past Hunts, an in-game Bestiary and Traveler’s Tips. First, note your Clan Rank and Clan Points in the bottom right of the screen. These will be more important later, but for now all you need to know is that defeating monsters (especially Marks!) will earn you Clan Points. As far as the Hunts menu goes, you currently have little to look at, save the entry for the ongoing Rogue Tomato hunt. If you want to know more about a hunt (say, its location) checking this menu can come in handy, especially since you can press [Square] in the individual hunt menus to view where the petitioner or critter is.
The Bestiary is another straight-forward tool, as it records every enemy you’ve currently slain. Keep in mind that you need to completely fill your Bestiary (kill one of every type of monster in the game) for the Scrivener trophy, so checking your progress - and noting omissions - can’t hurt. While this doesn’t count towards the Scrivener trophy, also note that most creatures (except unique enemies like Marks and Rare Game) have a number to the right of their names, under the “Need” column. This is how many of each particular monster you need to kill to unlock the second page of its Bestiary entry, which is almost exclusively flavor text and lore.
Finally, you have the Traveler’s Tips menu, which is merely a log of tutorials. If you forgot how any previously-given tutorial works (and you’re too lazy to scroll back through this guide), check here for a recap.
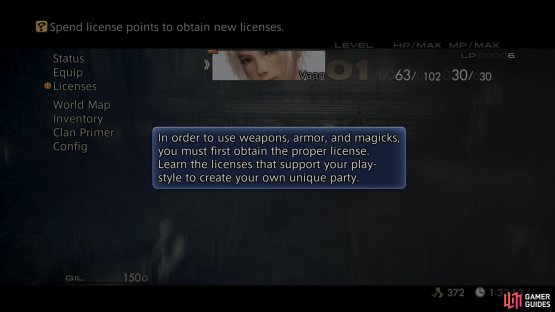
As for that Orrachea Armlet that Tomaj gave you… turns out you can’t make use of it yet, as you don’t have the license for it. Don’t try to make sense of licenses, just accept them for the gameplay mechanic they are. What do they do, then? Well, almost every item you can wear, every magick you can cast, every technick you can use and a variety of passive abilities that boost various parameters all require licenses. When you defeat enemies, you earn License Points (LP for short), which are used to activate the licenses you have access to. The licenses you have access to, aside from a few low-level abilities that vary depending on the character (like Vaan’s Steal technick) are determined by your class, or job, of which there are twelve. Classes, then, are little more than a collection of licenses which determine what a character can do - what weapons and armor they can equip, what magicks they can cast, what technicks they can use, and so forth.
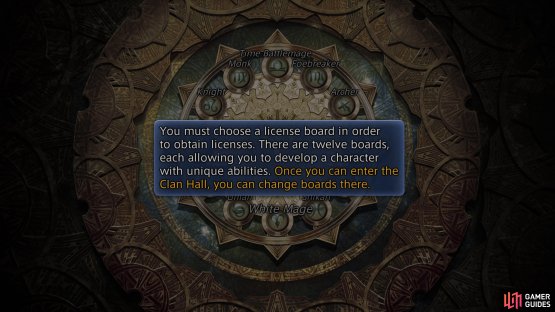
When you’re done talking to Tomaj, enter your Party Menu and select the Licenses submenu, then select Vaan’s vacant License Board to get to the class selection menu. Here you can choose your first class for Vaan, of which you’ll get a total of two per character throughout the game. You’re stuck with only your first class for a while, though, and the choice is irreversible until later in the game where you’ll have the ability to change your job(s), so choose wisely. For now, just preview each board, if you wish, and note the licenses on them, which denote weapons, armor and accessories that can be equipped, magicks and technicks that can be learned, and passive abilities which can be activated via the expenditure of License Points. Also note the “islands” of licenses floating around each License Board. These may be unlocked later, but the means of unlocking them are… limited, so some tough choices must be made - you won’t be able to get everything.
(1 of 2) To equip anything, you need the corresponding license
To equip anything, you need the corresponding license (left), you’ll no longer be locked into your choice of job thanks to the most recent patch. (right)
On each License Board are various “Quickening” licenses, whose names vary based on the character in question (Vaan’s first is called “Red Spiral”). These are usually tucked away in various pockets of License Boards, often with another license or two behind them. Do not pick any of these Quickening licenses yet unless you know what you’re doing. You can only learn three of them for any one character, after which they vanish - perhaps sealing off the licenses behind them. When you advance the story sufficiently and assign jobs to various characters, you’ll have a better grasp of what each job offers, where the Quickening licenses are and what licenses hide behind them. It would be a shame to miss out on a powerful weapon, technick or magick because you hastily picked too many Quickening licenses in ignorance.
Exploring East End
After you’re done fidgeting around in your Clan Primer and picking your License Board, as well as chatting with the patrons at the Sandsea, it’ll be time to leave the bar and make use of the other gift Tomaj gave you - the Writ of Transit. This will get you out of the city gates, specifically the east gate, which is located in Southern Plaza, which is, of course, to the south. That means you’ll be running south through East End, and now that you’ve been to the Sandsea and picked your License Board, all the shops lining East End will be open for business. Might as well go give them a look-see, learn a few more game mechanics, and ogle loot you can’t currently afford.
- Batahn’s Technicks:
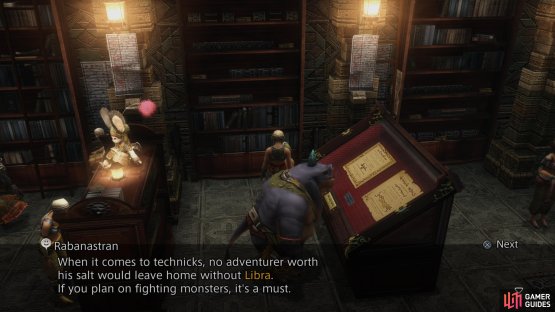
Just across the street (southwest of the Sandsea) you’ll find Batahn’s Technicks. Inside this shop, you’ll find a Rabanastran who will tell you about Libra, its effects and, if you talk to him a second time, a “secret” about the ability and what the colors of creature names tell you. Batahn himself will sell you the Libra ability - yes, magicks and technicks must be purchased (or looted), just like weapons and armor. If your chosen License Board has the license for it and you get the Gil, it might just be worth a buy, as it shows detailed information about an enemy. Libra will also help in seeing traps, another mechanic which will appear later on in the game.
- Yugri’s Magicks:
Around the corner, to the south of Batahn’s Technicks, you’ll find Yugri’s Magicks, where you can purchase a variety of basic magicks, which is obvious from the name of the shop. These include Blindna (White Magick 1), which cures the Blind status, Cure (White Magick 1) which heals a target, Fire (Black Magick 1) which deals Fire damage to a target and Slow (Time Magick 1) which halves the rate at which a target’s ATB gauge fills. Talking to the patrons will also help you be wary of elementals and their distaste for mortals dabbling with magicks around them, and remember that MP regenerates as you walk around.
(1 of 2) You can talk to patrons in the various shops in Rabanastre to get helpful tips
You can talk to patrons in the various shops in Rabanastre to get helpful tips (left), such as how the Bazaar system works. (right)
Leave Yugri’s Magicks and make your way south to find Panamis’s Protectives, which is the first store to the east. Inside you can talk to a Journeyman Seeq who will tell you about licenses, which you’ve probably heard enough about already. You can also buy (or rather, helplessly ogle) new armor here. Again, just make sure you have the license before you go buying something.
- Amal’s Weaponry:
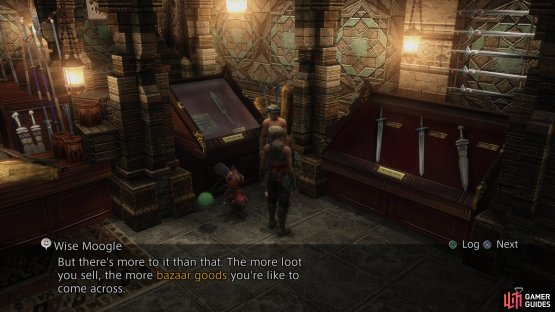
Across the street and to the south you’ll find Amal’s Weaponry, inside of which you’ll find some patrons that’ll give you advice. A Seeq will inform you that many monsters you’ll encounter out in the field are, in fact, somewhat passive (if territorial), and if you keep your distance they’ll be quite content to leave you be. In the corner, a Novice Adventurer will whine about his poverty, only to have a nearby Moogle tell him the importance of selling loot. Not only is this a fine source of Gil, but circulating monster bits may lead to bazaar items being available for purchase. Good to know.
- Migelo’s Sundries:
The last and least interesting shop is, of course, Migelo’s Sundaries, which currently only sells two types of ammunition for weapons you don’t yet possess, and some basic curatives. Eye Drops cure the Blind status, and Potions restore HP. Other than chat with Penelo and Migelo, there’s little to do here.
Into the Estersand
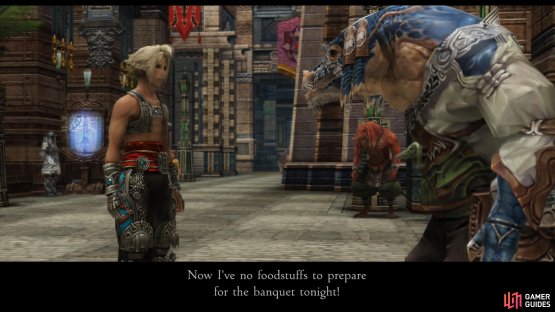
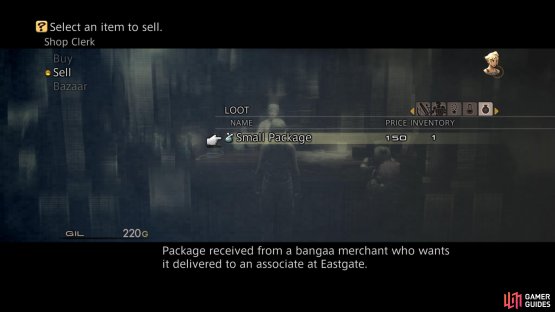
When you’re ready to press on, simply use the area transition west of Migelo’s Sundries to reach the Southern Plaza area. Talk to a green Bangaa - Desert Merchant - standing near the fountain in the middle of the area and he’ll ask you to deliver something to a friend who wasn’t timely enough to make it through the gates to get a Small Package. A simple enough task, but note the Bangaa’s warning. You can, in fact, sell the Small Package to any merchant for a cool 150 Gil, if you’re so inclined. Either way, head down the stairs to the east and approach the gate to have a bit of an altercation with a dullard of a guard.
(1 of 2) A Bangaa merchant will give you a Small Package to deliver. You can sell it off
A Bangaa merchant will give you a Small Package to deliver. You can sell it off (left), or deliver it as requested. (right)
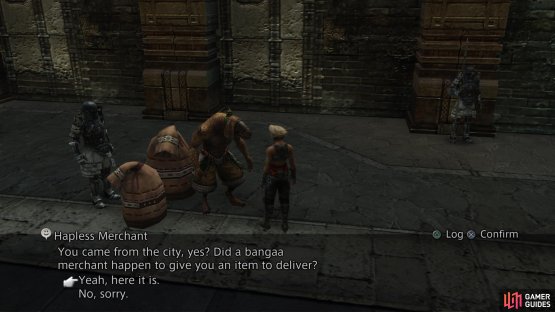
After the encounter you’ll find yourself in the Eastgate section of Rabanastre. Here, you can bother guards and citizens standing in queue - and stand in line yourself if you want to get back into the city. You can also talk to a Hapless Merchant Bangaa and give him the package his fellow left into your care. Your reward for this good deed? Nothing. Hand it back for empty, useless karma, sell it for a few Gil, or keep it, if you just like having an inventory that’s needlessly diverse. When you’re done bothering folks, continue east to the area transition that’ll take you to the Estersand.







No Comments