


| Bestiary |
|---|
| Balloon • Facer • Ghoul • Mateus (Esper) • Negalmuur (Rare Game) • Vinuskar (Boss) • Zombie Warrior |
| Items In This Area |
|---|
| Ashura • Enchanter’s Habit (Drop from Ghoul) • Icebrand (Steal from Zombie Warrior) • Golden Staff • Hammerhead • Hunting Crossbow • Kiku-ichimonji • Loxley Bow • Obelisk • Pirate Hat (Steal from Facer) • Platinum Sword • Power Rod • Ras Algethi • Recurve Crossbow (Steal from Balloon) • Ruby Ring • Sage’s Ring • Thief’s Cuffs (Steal from Vinuskar) |
Cold Distance (West)
Return to the Ward of the Sword-King and make your way back to the fork, at which continue north to reach a small little chamber you should have opened the way to earlier by interacting with the giant sword “Stone of Judgment at the southern end of the area. This room is barren save for a Way Stone, and since you’re finally, mercifully done with this area, it’s time to use it. Doing so will teleport you back to the Ward of Measure area, near the entrance to the Stilshrine, freeing you to leave, use the nearby Gate Crystal, and do any business you may need to do… sell off an abundance of Dark Magicite and Festering Flesh, perhaps?
Do whatever you wish with your newfound freedom, then make youre way back to the northern end of the Ward of Measure. Remember the staircases to the east and west of the entrance? The door at the bottom of the western path is now open, so head downstairs and pass through the door. From where you appear at the northern end of this zone, make your way south and smite a Miriam Guardian, then turn west at the first opportunity to find an area transition to the Walk of Prescience.
Walk of Prescience
Down the walkway ahead of you (to the west) you’ll see a Balloon merrily floating about. Indeed, these pests litter every route of this zone. In the largest, southern-most passage (the center of which is lined with traps) you’ll also find another new foe - the Facer. At the western end of the central path you’ll find a chest which always contains a Ruby Ring , after which the chest will never again respawn.
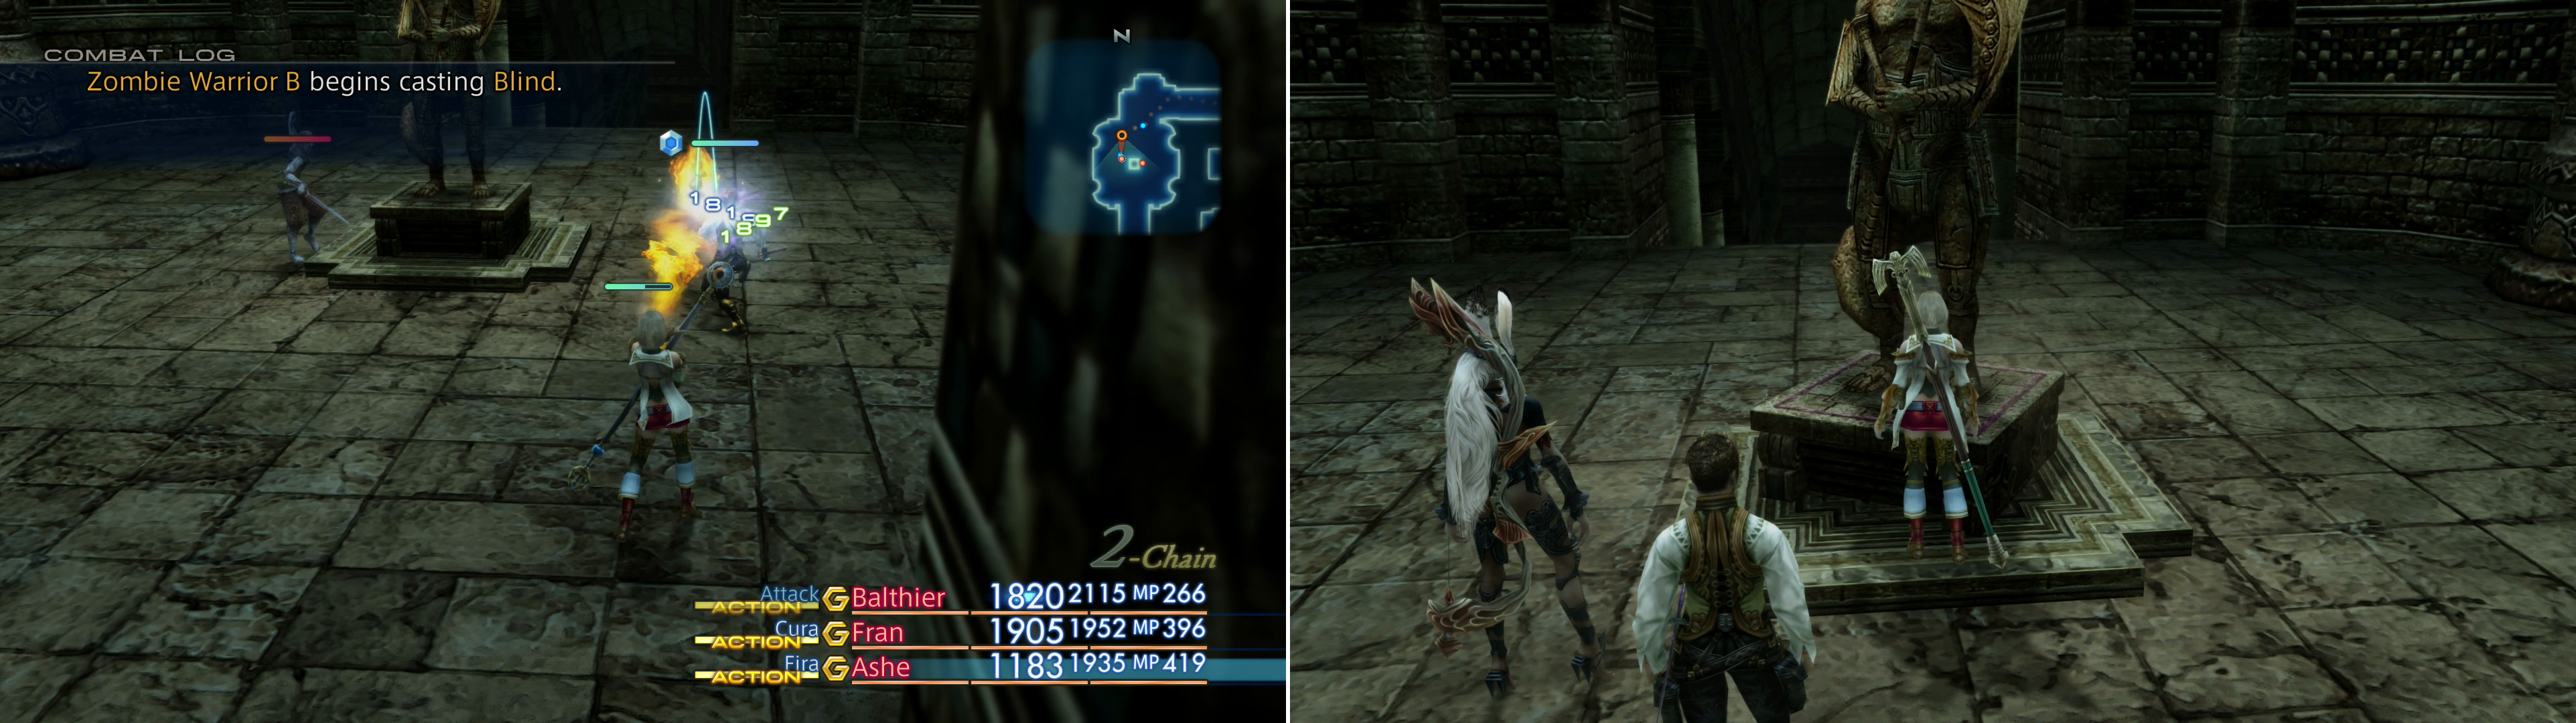
Kill the monsters around the Stone Brave (left) then rotate that statue until it’s facing the center of the Stilshrine - the Cold Distance area, to be precise (right).
Finally if you follow the northern-most passage to the west you’ll find an area transition leading further into the Stilshrine. Along the way you’ll likely have to fend off more Balloons, Facers and some Zombie Warriors. Kill the monsters and note the “Stone Brave” statue they seemed to be guarding. Interact with it and read the inscription to find out that these three “guardians” need to face “the blade”, then examine the statue and rotate it clockwise once so it’s facing east. You’ll know it’s facing the right direction when the statue’s eyes start glowing purple. With that, you’re done with this zone, so continue south to the next area.
Balloon :
Another Bomb-type enemy, the Balloon is not docile like some early Bombs have been, merrily wading into combat with whatever adventurers they catch sight of. That said, they don’t have much in the way of offense, possessing only one magick - Protect, which is odd since they can inflict Oil with their melee attacks, despite not being able to exploit it. They can, however, use Self-Destruct, and that seems to be the crux of their offense; simply stay alive until they can explode. With just under 2,000 HP, their odds of success shouldn’t be great. They can drop Bomb Ashes, Fire Magicite, Eye Drops or a Scorpio Gem, you can steal a Handkerchief, a Chronos Tear or a Recurve Crossbow and they can be Poached for Bomb Ashes. They are weak to Water and absorb Fire.
Facer :
Unlike the Miriam Facer, these critters are in your bestiary, and in appearances they’re very similar to the Ragoh you encountered in the Tomb of Rathwall. While they don’t have as many HP as their location-specific counterparts, they do have a much wider variety of abilities, including the Aerora, Aquara, Dark, Flash, Protect and Shell magicks and the Lunge, Screech, Self-Destruct and Stone Gaze technicks. They can drop Earth Magicite, a Solid Stone, a Potion, or a Hi-Potion, you can steal Earth Magicite, an Aquarius Gem or a Pirate Hat and they can be Poached for a Solid Stone or an Aquarius Gem.
Zombie Warrior:
A more powerful form of Zombie, they can cast Blind, Confuse and Silence, which can make them annoying enough. In addition, their technicks include Lunge, Scream and Water Spout. They can drop Dark Magicite, Festering Flesh, a Soleil Fang or an Icebrand , you can steal a Handkerchief, 16 Gil or a Capricorn Gem and they can be Poached for Foul Flesh or Festering Flesh. Like all proper undead they are harmed by curatives, are weak to Holy, and absorb Dark.
Walk of Reason
Continue south down the hallway you start out in, killing Zombie Warriors until you’re compelled to turn east and confront a door. Open it and enter the chamber beyond, wherein you’ll find a trap waiting foolish adventurers in the center, and a host of Zombie Warriors burrowed and waiting to ambush you. Provide them with a second taste of death and make sure it sticks this time, then pass through another doorway to the east to reach the largest area of this dungeon.
Enemy diversity is also high here, as the low areas are populated with three different sorts of undead; Zombie Warriors, Ghasts and Ghouls, all of which count towards the same battle chain. On the high ground, on the other hand, you’ll find Balloons and Facers. This area consists of many alcove-lined hallways of various elevations, connected by the odd stair case. That being the case, it’s somewhat of a bother to describe in detail, nor is there a reason to explore every nook and cranny - the treasure will serve as a fine guide through the area.
Ghoul :
If Ghasts and Zombie Warriors weren’t undead enough, the Ghouls further diversifies the undead crowd. They have around 2,000 HP and can further increase their longevity with Protect and Shell magicks. As for offense, it’s pretty standard for undead in the Stilshrine, consisting of Leech, Lunge, Poison Touch and Scream. They can inflict Poison with their melee attacks. They can drop Festering Flesh, Storm Magicite, an Enchanter’s Habit or a Hi-Potion, you can steal Storm Magicite, a Rime Fang or a Capricorn Gem and they can be Poached for Foul Flesh or Festering Flesh. They are harmed by curatives, absorb Dark and are weak to Holy.
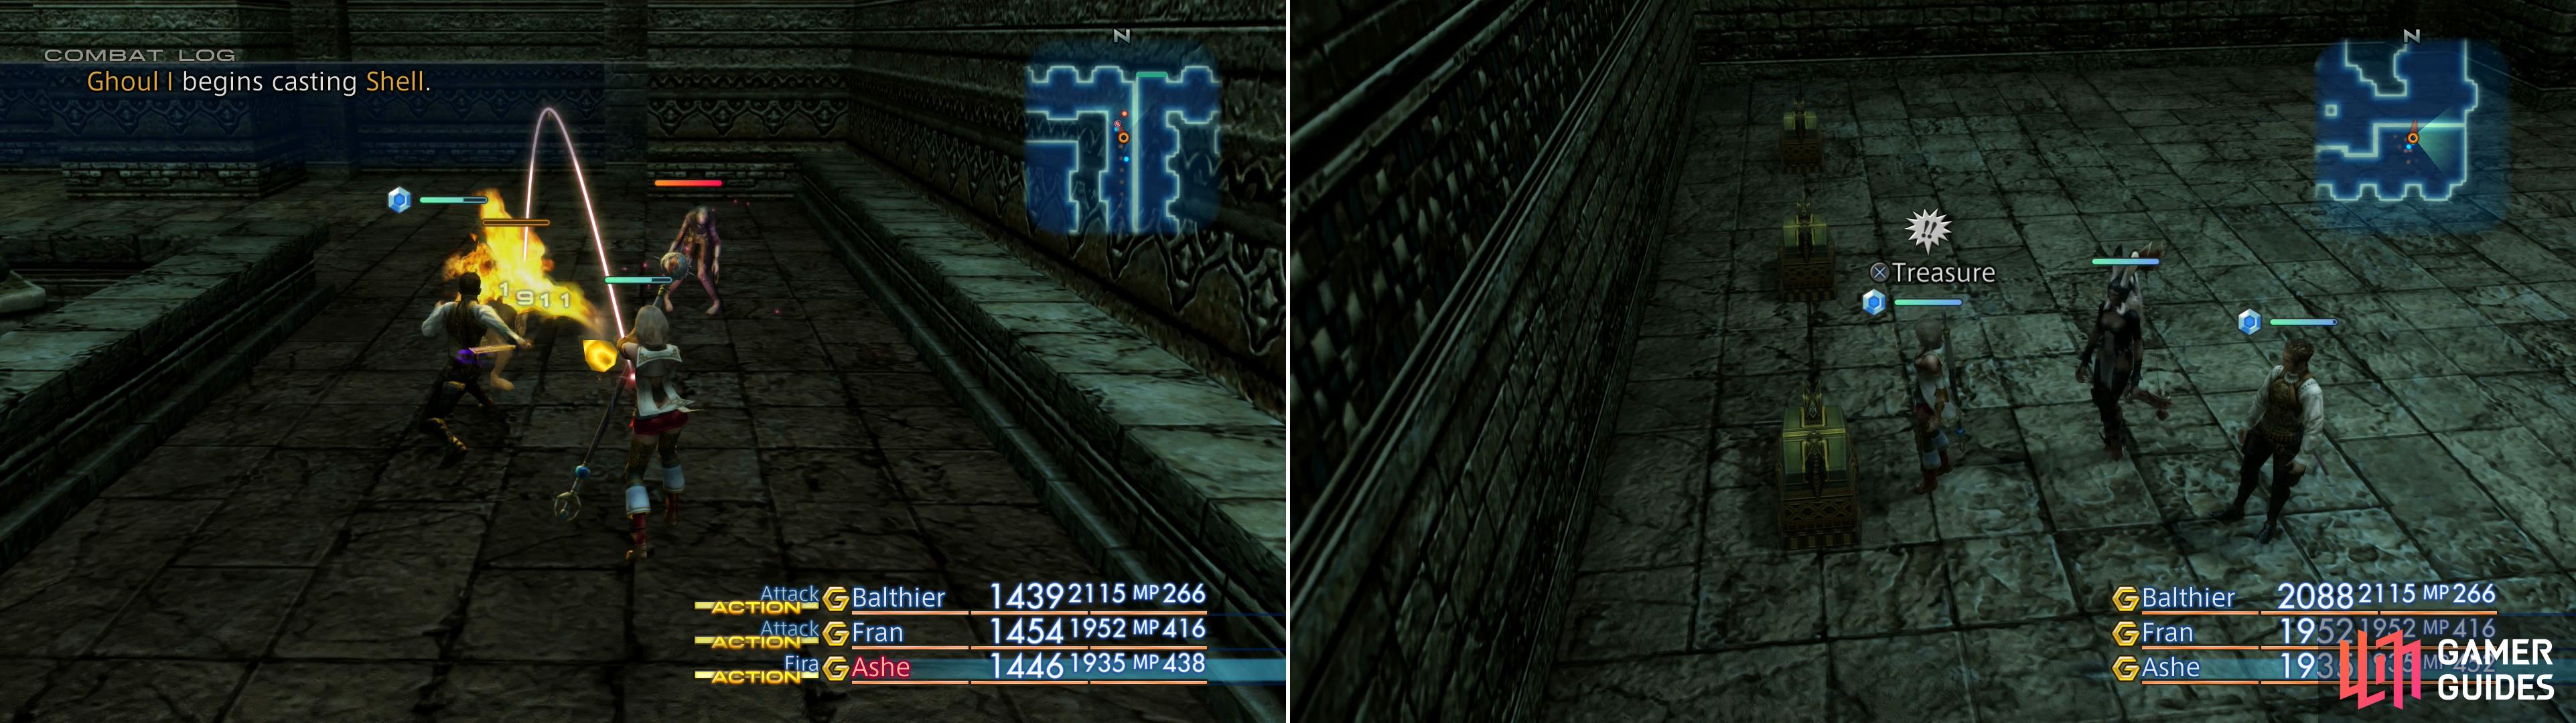
The lower parts of the Walk of Reason are polluted with a variety of undead (left), but there’s also a good bit of treasure to be found down here, as well (right).
From the eastern doorway of the chamber along the western end of the level head south, then east until you reach some stairs leading up. Note them, then ignore them and instead continue south, then east again, slaying undead as you go. Eventually you should reach a small chamber at the southeastern end of this area, where, along the northern wall you may find four chests. From west to east they may contain an Ashura , a Platinum Sword (Swords 6), an Obelisk and a Hunting Crossbow . Of these chests, everything but the Ashura is random - the western-most chest will always contain an Ashura, but will not respawn once plundered.
More monsters prowl near the second Stone Brave statue (left), which also needs to be turned until its eyes glow purple (right).
That’s the last of the treasure clusters in this area, but there are still three more loner chests out there with treasures in them. Head south down the walkway and when you reach the stairs you used to get up here, continue south, then west, where you’ll find a three-way fork, in the middle of which is another “Stone Brave” statue. Interact with and rotate it counter-clockwise once so it’s facing north, check it’s eyes to make sure they’re glowing. Two down, one to go.
Now that you’re done fiddling with this “guardian”, turn north and follow the walkway until you find stairs to the west. Ignore them and continue north to find a chest in a niche to the east, wherein you might find a Loxley Bow . Return south to the Stone Brave and continue east, then north until you find a passage to the west, which connects two hallways running north/south. Head west into the connecting passage and search the northern wall to find a chest which may yield a Ras Algethi . Continue west, then turn north to find an area transition. Before you venture into the next zone, however, turn east and search the wall to the south to find the final chest in this zone, which can forfeit a Hammerhead .
Backtrack west and north to the stairs you ignored earlier and head up the previously neglected stairs, turn east when you reach the top of the stairs, then south to find another flight of stairs. Ascend these stairs to reach the highest, central walkway in this area, at the northern end of which you can find three chests, which contain, again from west to east, a Power Rod, a Kiku-ichimonji (Katana 3) and a Golden Staff (Staves 4).
Cold Distance (East)
You’ll now find yourself in the eastern end of the Cold Distance zone, which is occupied by two Miriam Guardians. Head east, then turn north to find an area transition to the east, which leads to a new area. From here you can continue north to find the door leading back to the Ward of Measure area, which you can open from this side. Do so to spare yourself the bother and open up a shortcut, then head through the area transition on the eastern end of the zone.
Boss - Vinuskar
| Vinuskar | . |
|---|---|
| Level | 27 |
| Weaknesses | N/A |
| Resistances | N/A |
| Immunities | Confuse, Disable, Disease, Doom, Immobilize, Oil, Petrify, Poison, Reverse, Sap, Silence, Sleep, Stop |
| Safety | No |
| Drop | N/A |
| Steal | Knot of Rust (55%), Thief’s Cuffs (10%), Damascus Steel (3%) |
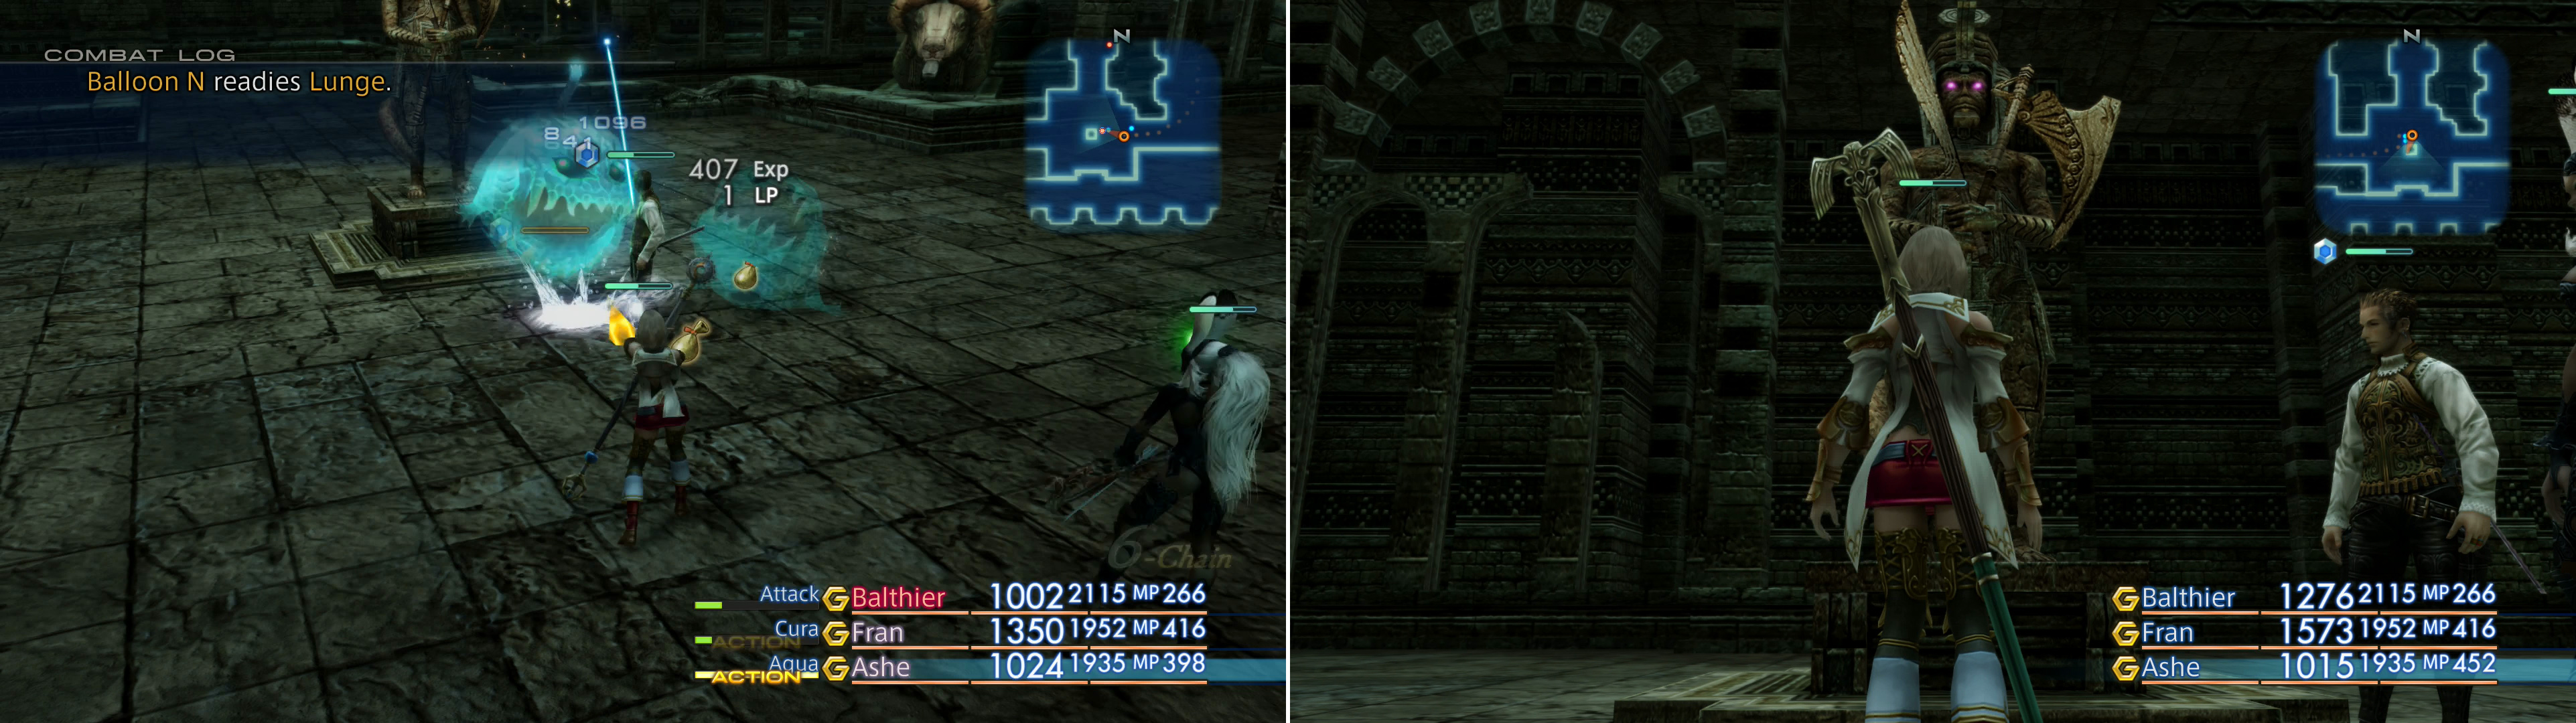
Compared to the loot bonanza in the previous area, this place is pretty tame. Head down two flights of stairs and turn east and head through a door. If you were hoping for “guardians” that were a little more feisty than the rotatable statue in the previous area, you’re in luck, as a more… dramatic form of guardian arises to test your mettle. Note that when the battle begins you’ll be informed that your metallic gear is being affected by a magnetic field. This will slow characters down depending on the type of weapon they’re using, with typical melee weapons (Swords, Axes & Hammers etc.) suffering the most, while Guns and Bows get off with no such penalty. Odd.
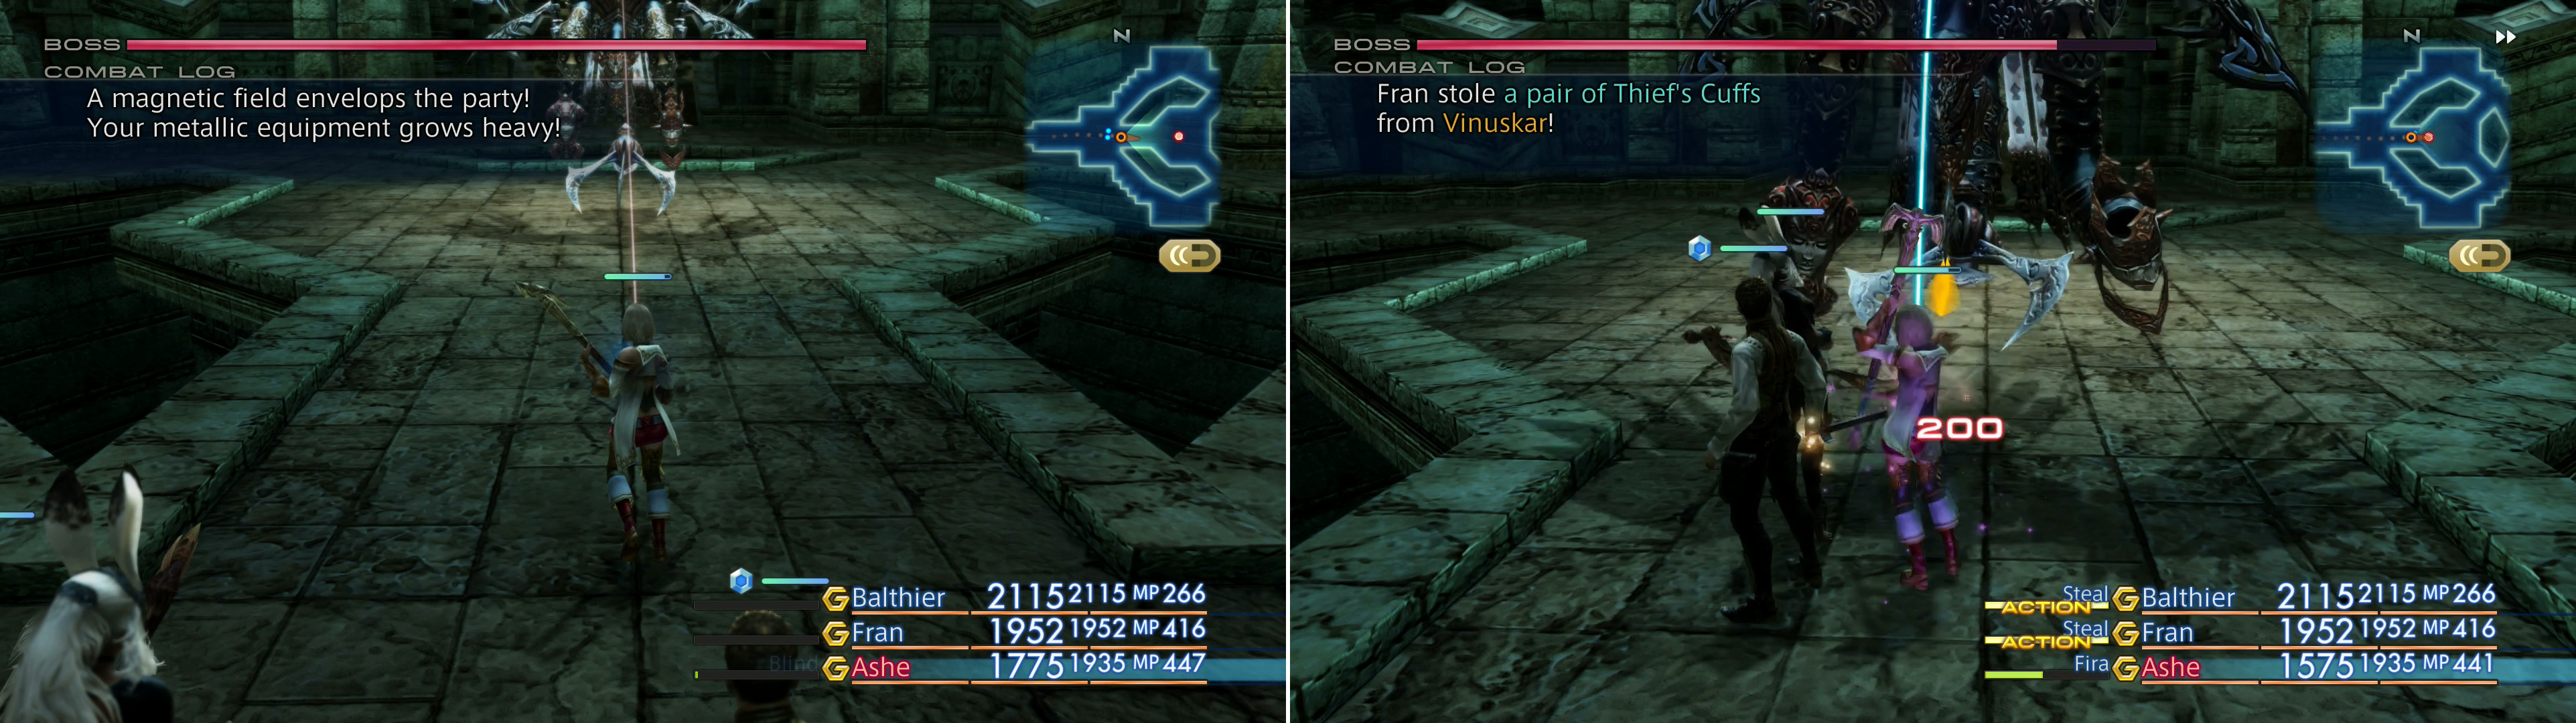
During the battle with Vinuskar you’ll be hampered by a “magnetic field” (left), but don’t let this dissaude you from stealing another pair of Thief’s Cuffs from him (right).
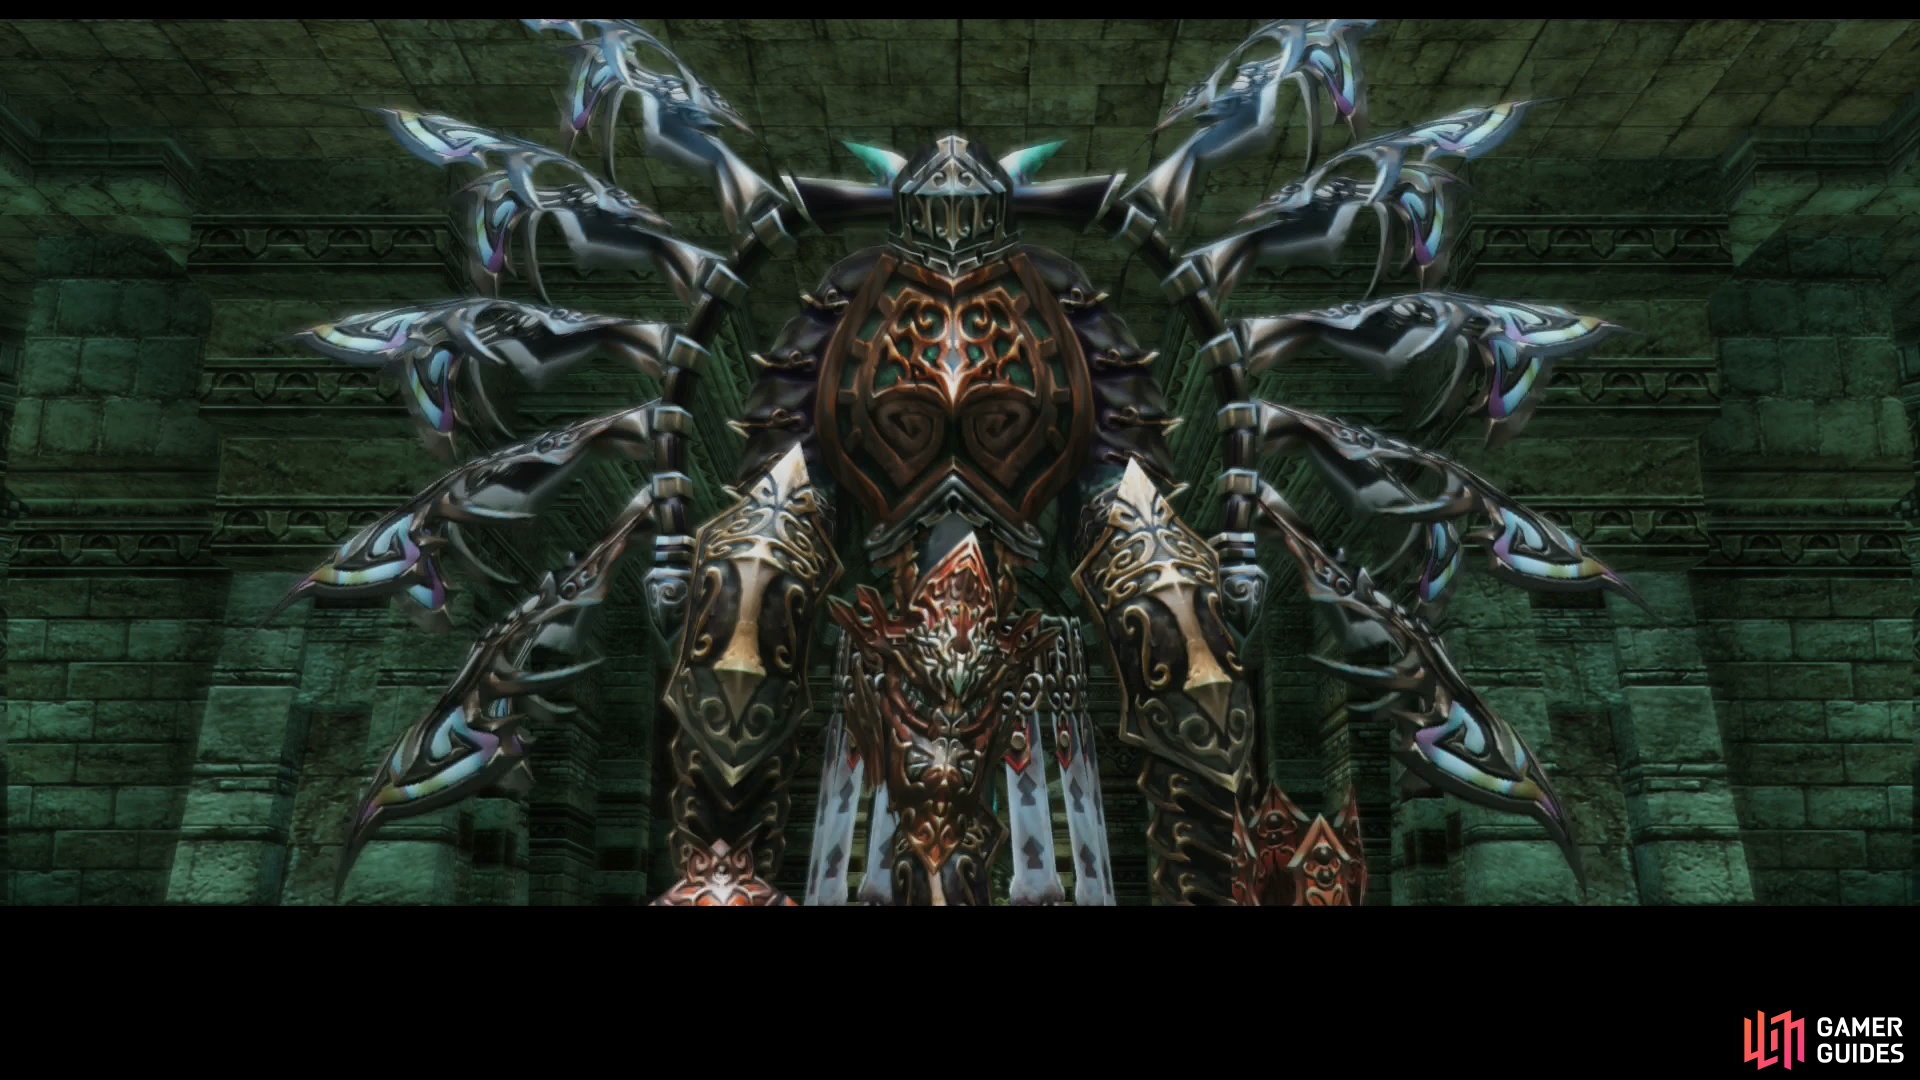
If you were expecting an epic showdown, you may be disappointed by Vinuskar, as it possesses a mere 15,000 HP (strong for a common foe, but nothing special compared to Rare Game and Hunts you may have completed) and unimpressive Attack Power. It’s neither weak to nor strong against any element, but it is immune to all debilitating status effects save Blind and Slow. It can make use of the Break and Slow magicks (the former of which inflicts Petrify) while its technicks include Crown (can inflict Confuse), Gnaw, Lunge and Sword Dance, the latter being an area-of-effect attack which Vinuskar will start to perform when its HP are depleted below half. Inflict whatever status effects you wish, be wary of Confuse and pummel this boss into submission.
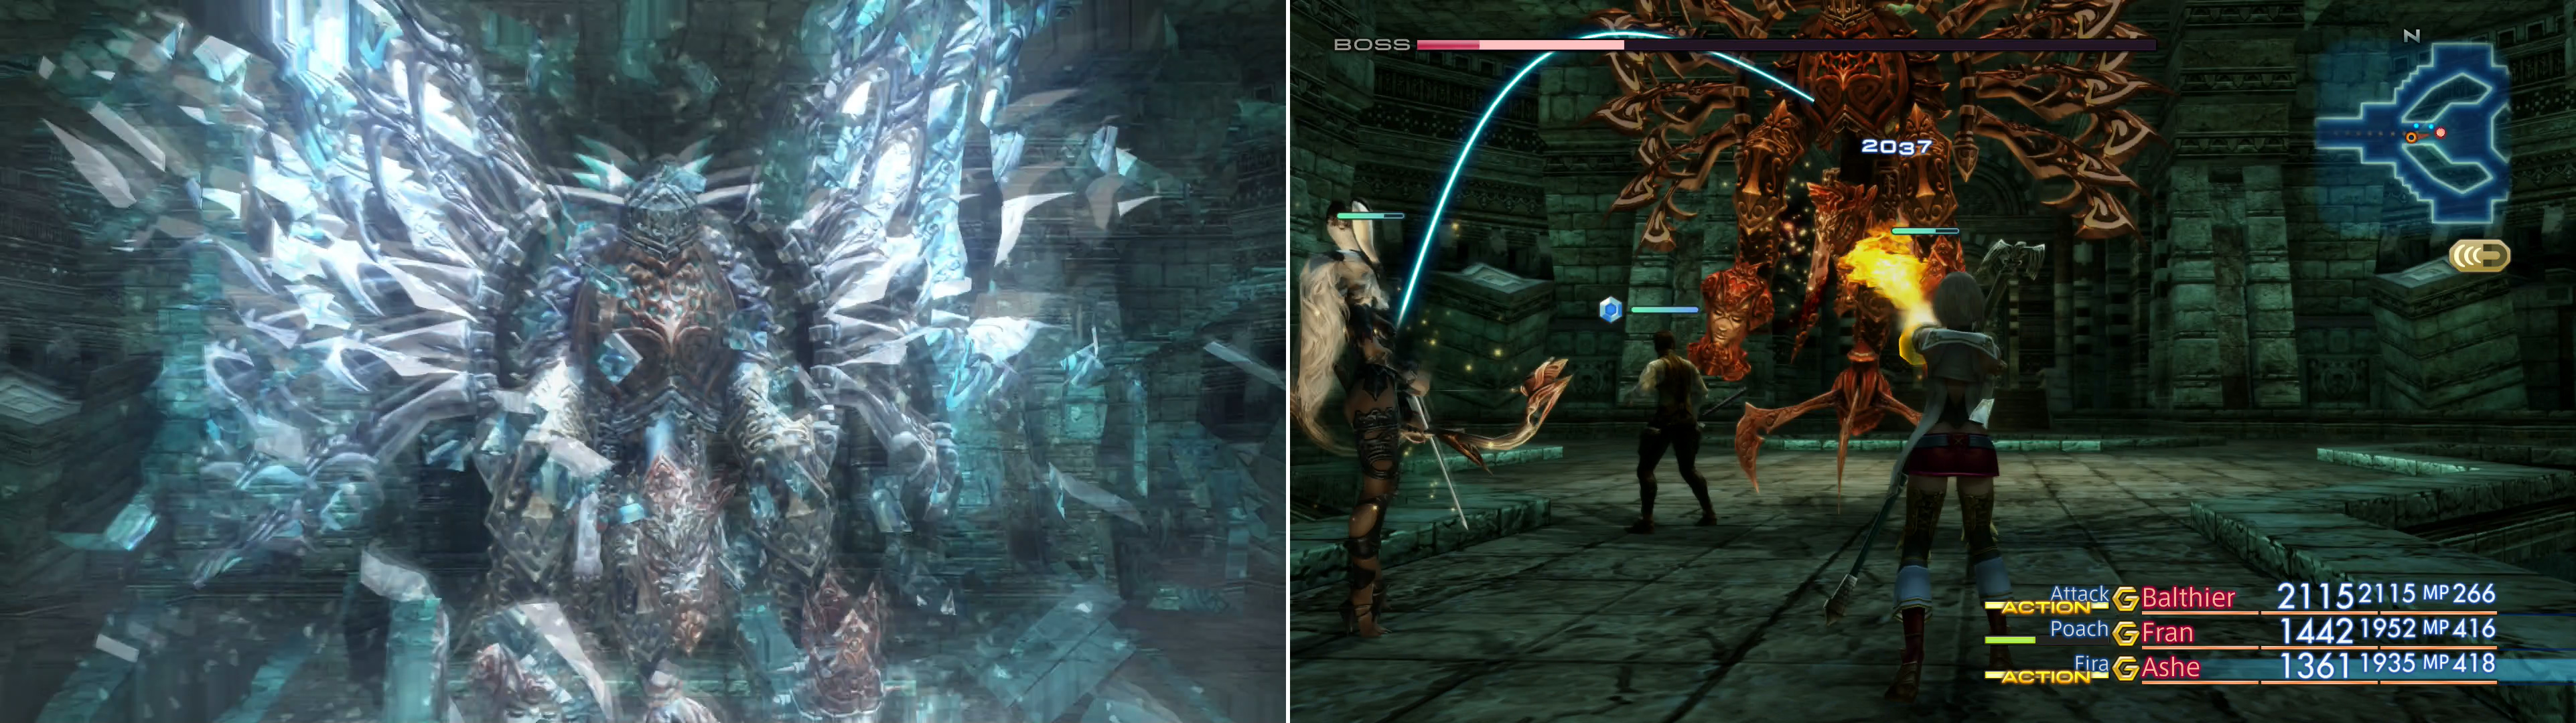
Once sufficiently injured, Vinuskar will start using his Sword Dance attack (left), but despite his last-gasp offense, he shouldn’t be much of a challenge to a decently-armed party (right).
The most interesting thing about this boss are the items you can steal, which include a Knot of Rust, Thief’s Cuffs or a hunk of Damascus Steel. You should have at least three characters who can use the Steal command, so getting ahold of three Thief’s Cuffs is a no-brainer. If you attempt to steal with a character wearing Thief’s Cuffs you have a 30% chance of nabbing this accessory. If you fail, you can simply quit, load the auto save, and try again. If you can’t be bothered, never fear - you can find more of these later on.
Once Vinduskar is smote, watch its death throes, enjoy your victory anthem, and when you’re back in control continue east and head up some stairs, where your way will be impeded by a chest. Teach it a lesson and plunder it to obtain a Sage’s Ring, a handy accessory that reduces all MP costs by half and causes the wearer to absorb Holy damage. Having appropriately repented for darkening your path, the chest with thenceforth vanish, never to appear again.
Continue east through the next door, behind which you’ll find a small chamber wherein the final rotatable statue lurks. Interact with this “Stone Brave” and turn it clockwise once so it’s facing west. Make sure its eye light up, then explore the southern end of the room to find an ornate urn containing them map for the Stilshrine of Miriam. Better late than never, right?
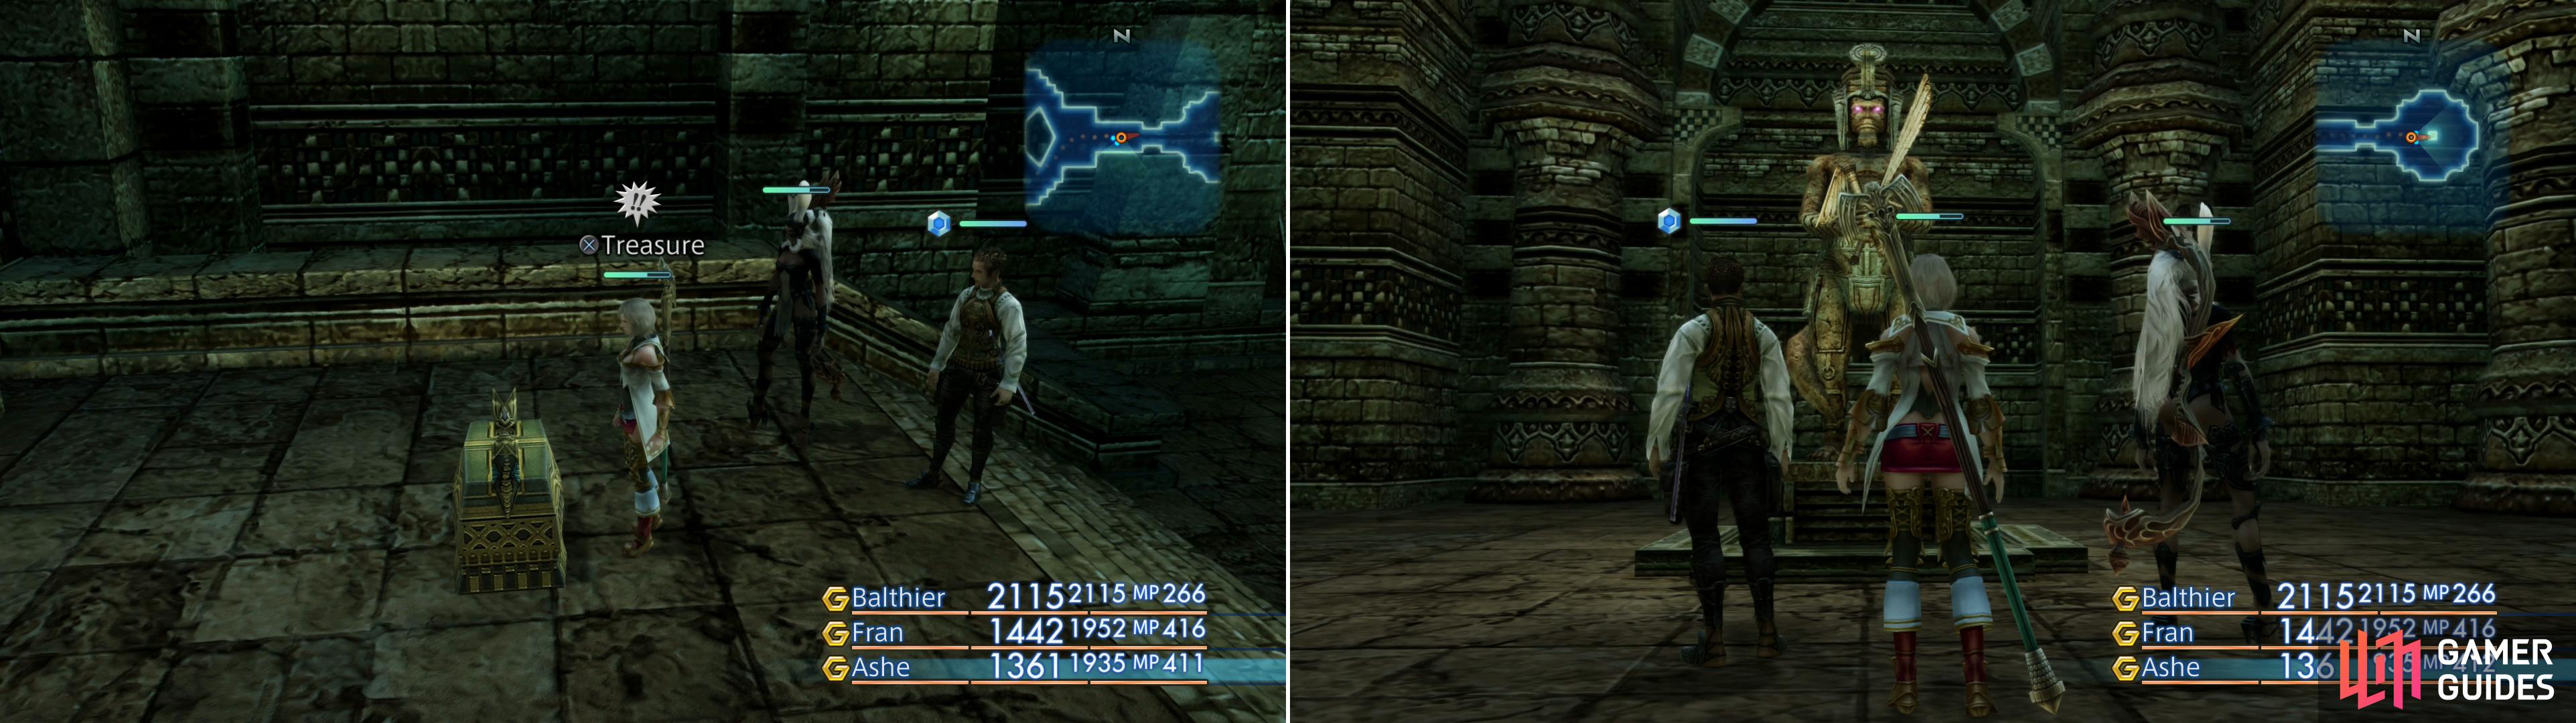
Be sure to grab the Sage’s Ring from a chest after the battle with Vinuskar (left), then manipulate the last Stone Brave (right).
With all three Stone Braves turned towards the center of the Stilshrine, backtrack west to the Cold Distance area, where you’ll witness a scene confirming you turned the statues correctly. You’re almost done now, just one more trial to overcome. Return to the Ward of Measure area (the first interior area of the Stilshrine) and use the Way Stone on the southern end of the zone to teleport back to the Ward of the Sword-King area. Make your way south through this area one more time, killing any Miriam Guardians and Blood Gigas foes that may have respawned in your absence. Beyond where Darkmare once awaited you’ll find that the “Sword of Justice” is no longer blocking your way. Continue south and kill another pair of Blood Gigas foes, then note the door to the south. Beyond lies the final challenge in the Stilshrine.
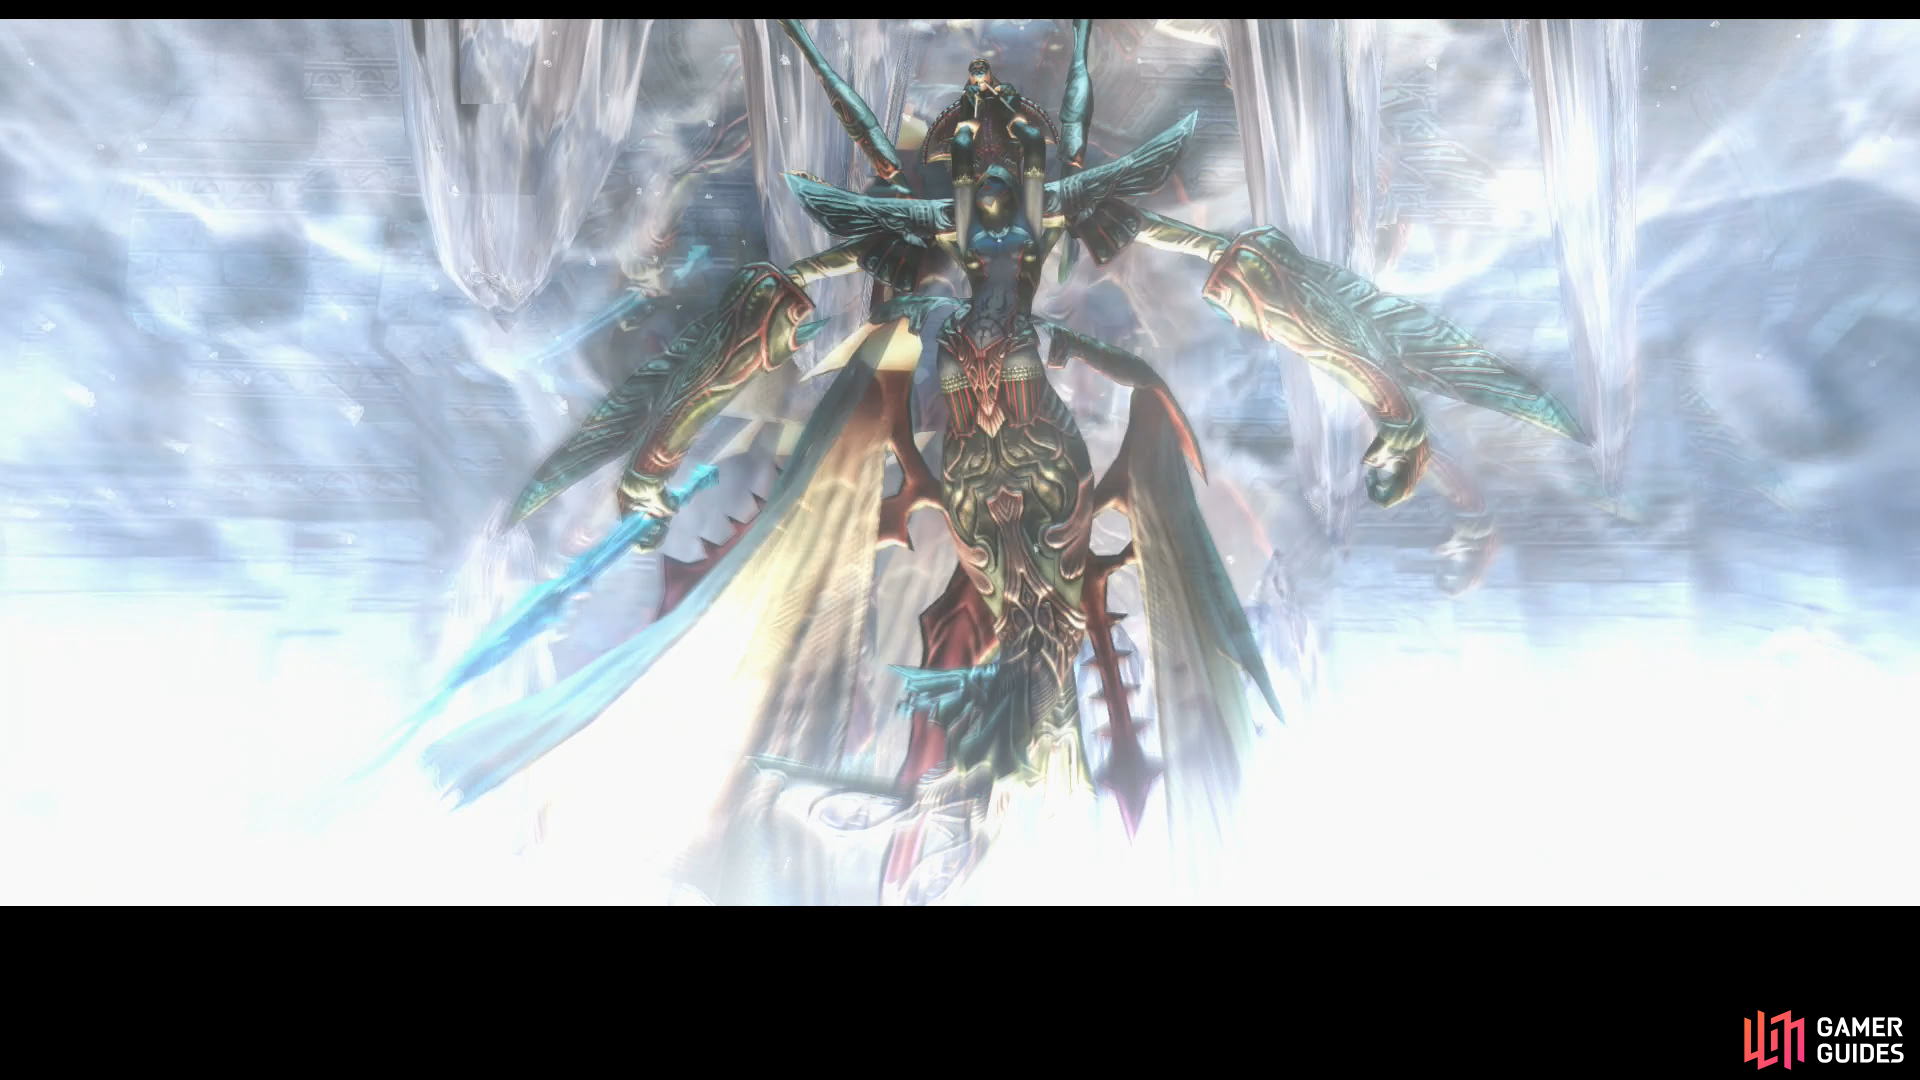
Boss - Mateus, the Corrupt
| Mateus | . |
|---|---|
| Level | 30 |
| Weaknesses | Lightning |
| Resistances | Ice (Absorbs), Dark, Earth, Holy, Water, Wind (Negates), Fire (Halves) |
| Immunities | Confuse, Disable, Disease, Doom, Immobilize, Lure, Petrify, Poison, Reverse, Sap, Silence, Sleep, Stop |
| Safety | No |
| Drop | N/A |
| Steal | Pisces Gem (55%), Elixir (10%), High Arcana (3%) |
In the chamber beyond the Sword of Judgment you’ll find that, like in the Tomb of Raithwall, an Esper guards the treasure of the Dynast-King. In keeping with the dominant element of the area in which you find yourself, the Esper here, Mateus, is an Ice elemental Esper, and is joined in this battle by five Ice Azers. These Ice Azers appear like Ice Elementals, but fortunately are far weaker, possessing under 3,000 HP. They can, however, be annoying, especially in tandem with Mateus’s offensive prowess, as they can utilize Blizzard, Curaga and Sleep magicks. They can drop Ice Magicite, an Ice Stone, a Feystone, or an Ice Crystal and you can steal Ice Magicite, a Feystone or an Ice Crystal from them, if you bother stealing. They are weak to Lightning, absorb Ice, and are immune to every other element.
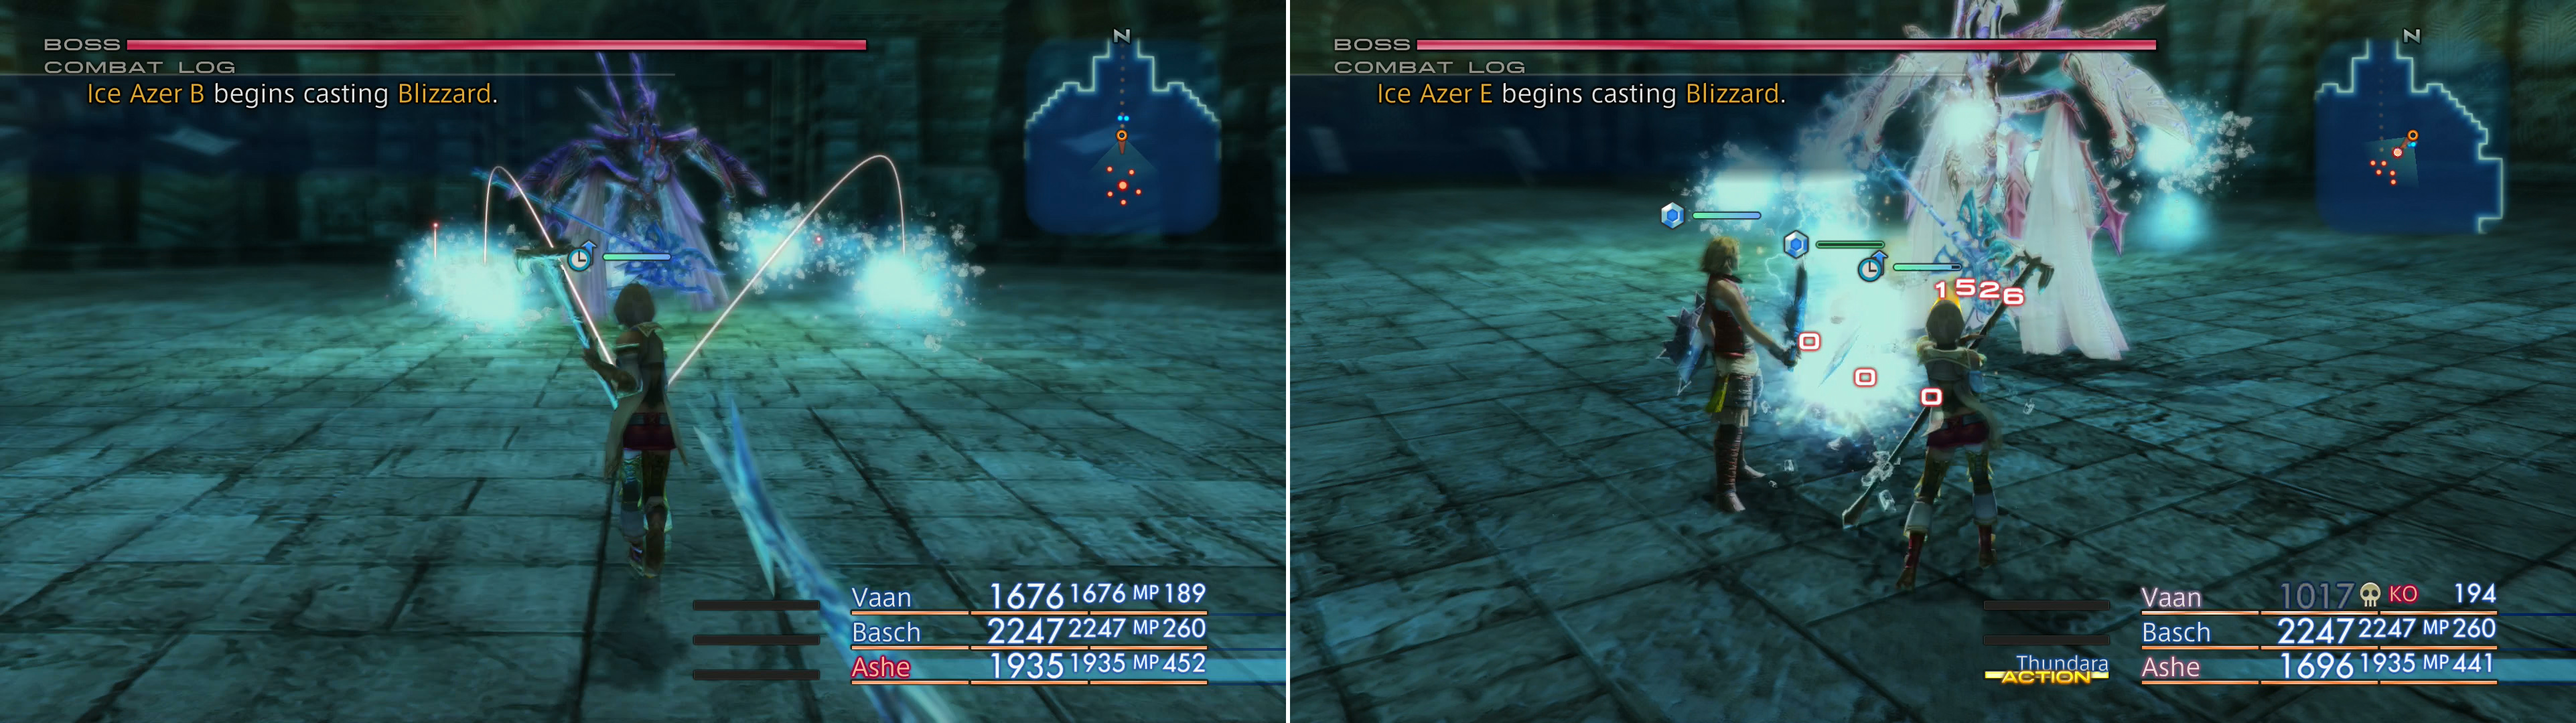
Mateus is joined by several Ice Azers, who will pelt you with various magicks during the fight (left). While it may be tempting, magick may not be the best answer to Mateus or her Ice Azers, as she’s fond of using Reflect (right).
Before you go blasting them with Thundara, however, be wary of Mateus, as she’ll start the fight with Reflect active. Mateus is no joke, offensively, but getting hit with your own magick is likely far more dangerous to you than Mateus on her own will be. You can remove Mateus’s Reflect with Dispel, but she’ll immediately cast it again. If you want to utilize magick in this fight, you’ll have to either cast Reflect on your entire part so you can bounce magick off yourself (which will interfere with healing, of course) or stick to magicks that don’t target Mateus; Thunder isn’t as potent as Thundara, but it’s much safer.
In addition to Reflect, Mateus can also cast Slow and use the technicks Flash-Freeze and Chain Magick, the former of which will deal Ice damage to one character, while the latter will free her of the burden of filling her ATB bar when casting spells. All in all, her basic melee attack - while still painful - is her least effective attack. When pressed (her maximum HP are below 50%) she’ll start mixing Blizzaja into her routine, which will deal heavy damage to the entire party and possibly inflict the Sap status. Given that most of her attacks deal Ice damage, wearing an Ice Shield, a Lamia’s Tiara, and/or a Tourmaline Ring comes recommended, especially since the latter will also prevent Blizzaja from inflicting Sap. Mateus takes extra damage from Lightning, so if your Uhlan is up to snuff, equip them with the Storm Spear and they’ll do well.
Of all the status effects, Mateus is only susceptible to Oil and Slow, both of which are of dubious value consider she can bypass ATB considerations for her spells entirely, and she only takes 50% damage from Fire attacks in the first place. Like the Ice Azers, she takes no damage from any other element besides Fire (half damage) and Lightning (150% damage). She absorbs Ice.
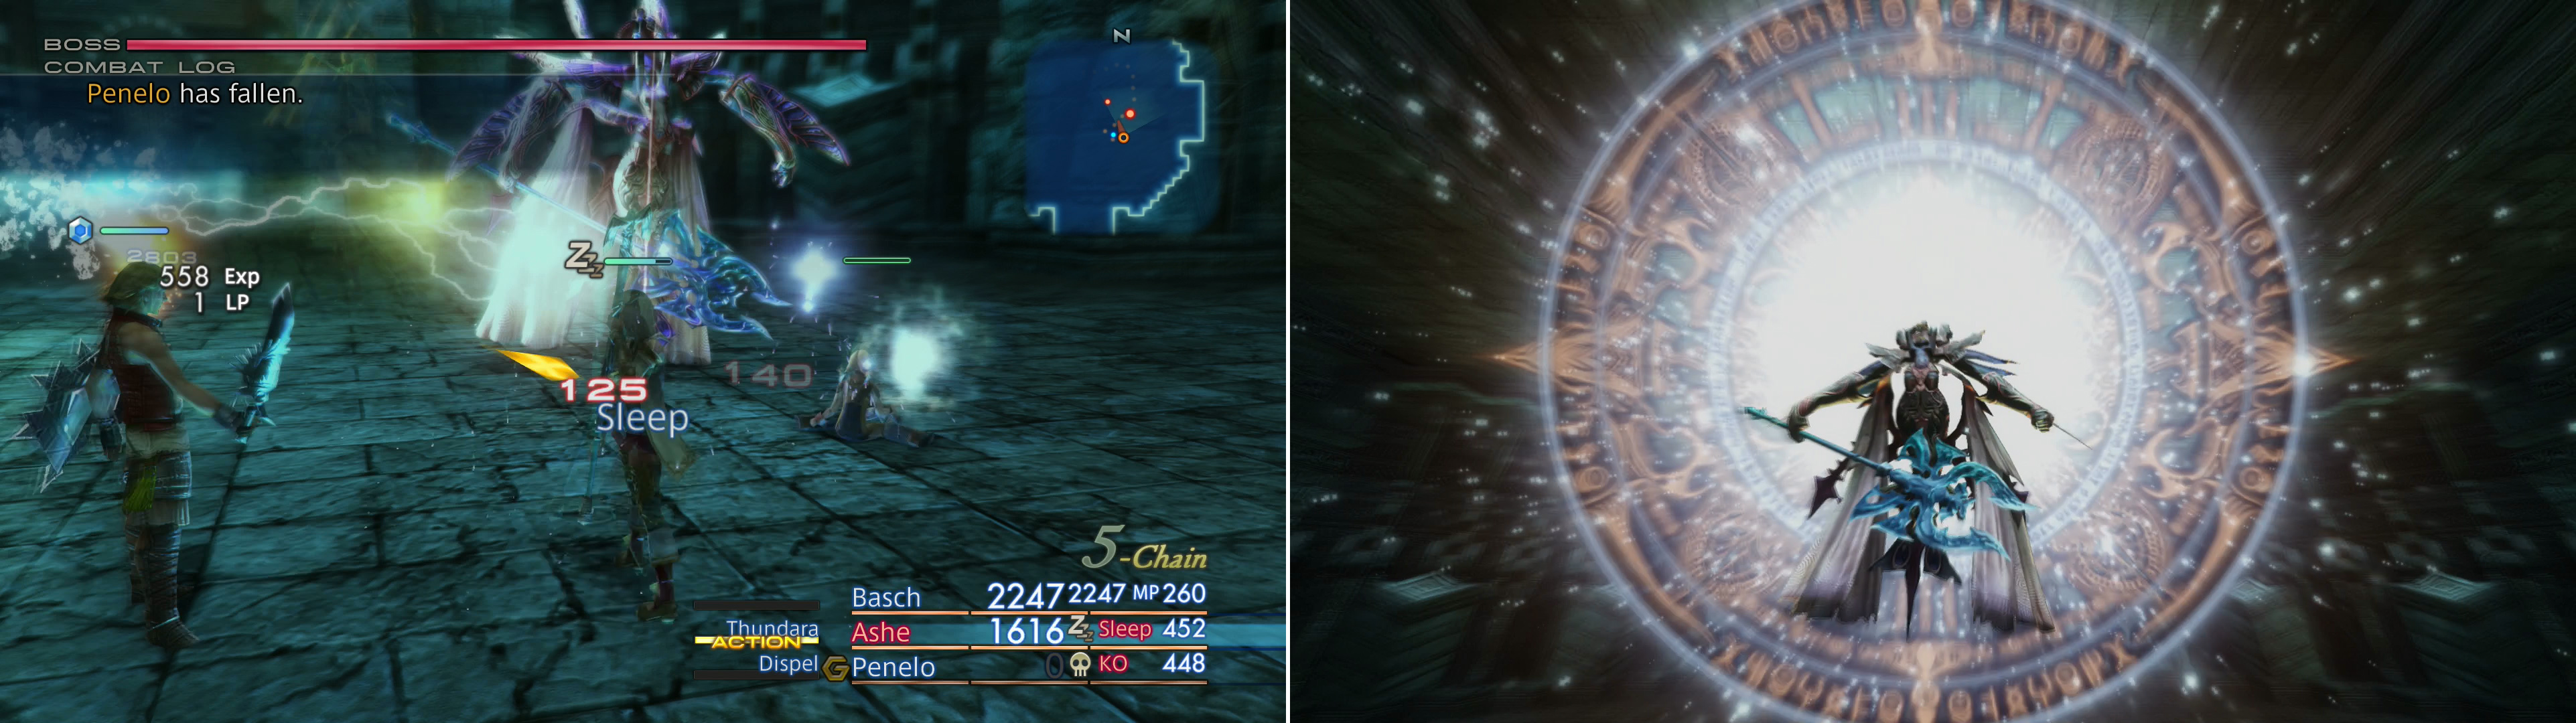
If you Dispel Mateus’s Reflect, you may get enough of a window to use Thundara to clear up Mateus’s minions (left). Be wary, however, as she’ll use Blizzaja when she’s hard pressed (right).
Once Mateus has been tamed, the next time you check out your License Board she’ll be added to everybody’s board. Like with Belias, you can only assign her to one character, and it’ll be the extra licenses she unlocks that determines where she goes. In this case, it’s a no-brainer, as the Knight will get access to the White Magick 6 and White Magick 7 licenses. Sure, the Knight is a melee class, but who can go wrong with Curaga and Esuna?
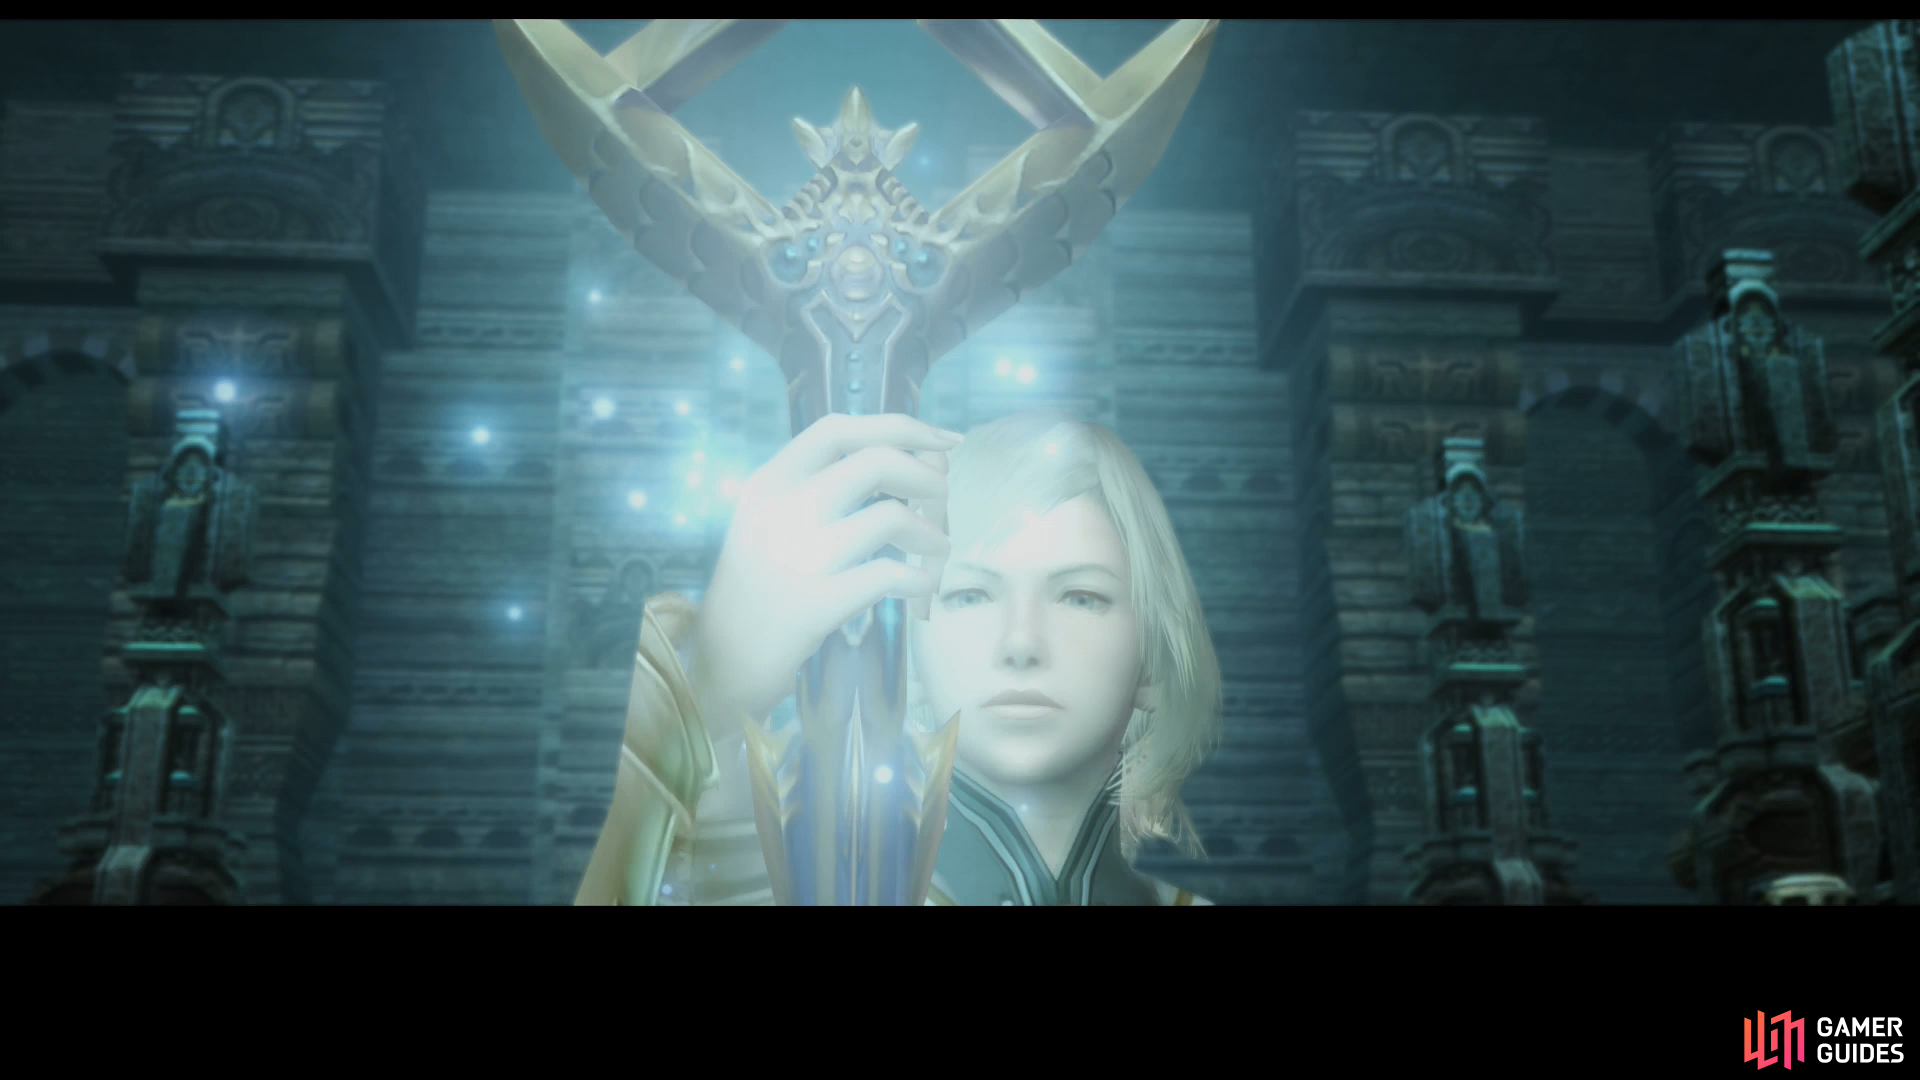
Do what you will with Mateus, then loot the room she occupied, where you can find a chest to the east (always contains a Bubble Mote, doesn’t respawn) and a chest to the west (Elixir, also doesn’t respawn). Once done, continue south to a new area - the Vault of the Champion, where you can claim your prize: the Sword of Kings. As you approach, watch some scenes, where Ashe will claim the sword of her ancestor only to balk when it comes to testing the tool out, much to the delight of Rasler’s ghost.
So, yeah, Ashe is almost certainly going insane, but hey, you got the Sword of Kings, so… win? Exit the interior of the Stilshrine and return to the Walk of the Mind Area, where the Gate Crystal rests, and move towards the floating crystal of game-saving joy, near which you’ll trigger a scene. Bad developments in the skies, and not to put too fine of a point on things, smoke rises from the mountains to the north.

Awesome and very entertaining. Finally got a chance to sit down and give this game the attention it deserves. Thanks for helping me make sure I didn't miss anything along the way!
Thanks for using our guide!