


Watch the scenes that follow your battle with Cid, which further the political developments within the Empire and Ondore’s response. Back in Balfonheim, Reddas will explain Ondore’s political situation, the state of the looming war between the Empire and the allied Rozarrian and Resistance forces. Basch grasps Vayne’s plan to eliminate both of his foes in one fell swoop, and Balthier will chime in with a rather direct, if sensible solution to the Nethicite problem. Looks like you need to head to the Mist-riddled depths of Giruvegan to settle the score with Cid, deprive Vayne of his Nethicite and perhaps gain a lovely stone of power all your own…
Saccio Lane
Before that, however, you might as well check out the pirate city of Balfonheim Port, as there’s shopping to do, NPCs to talk to, hunts to take on, and… well, frankly with the gear and XP you’ve gained since the last diversion from the main story (the hunts after the Stilshrine of Miriam), an optional dungeon or two you can clear. You’ll find yourself in control of Vaan, who is in the company of some of Reddas’s subordinates, Raz, Rikken and Elza, the latter of which is hostile. Don’t mind her, though, nobody who dresses like that has an opinion worth worrying about. Rikken will tell you a bit about the Feywood, which can be reached via the Golmore Jungle. Mist. Puzzles. All that good stuff.
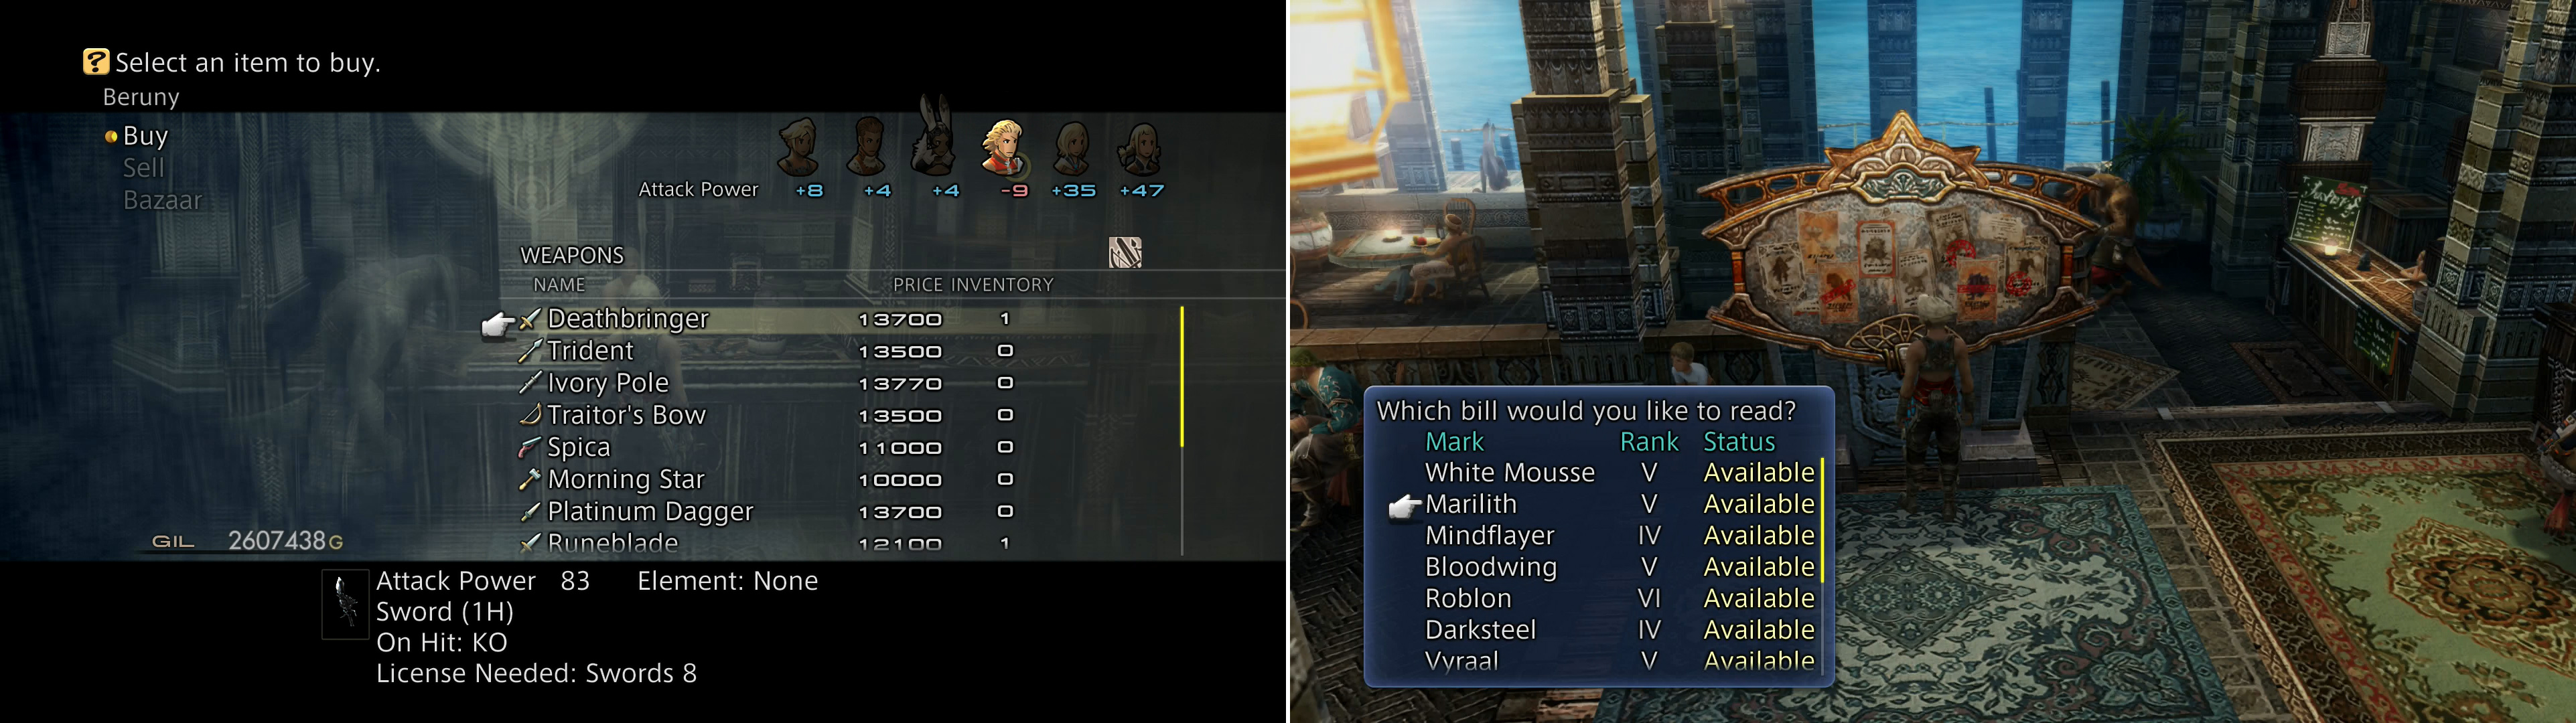
You can buy a variety of new arms and armor at Balfonheim Port (left), as well as check out a variety of hunts (right).
Quayside Court
There’s precious little to do in the Saccio Lane area besides talk to the NPCs that line the street, so continue northeast then north to reach the next area, the Quayside Court, where you’ll find more NPCs to chat with, as well as a tavern (complete with a Notice Board), Beruny’s Armaments and Odo’s Technicks shop. You won’t find any new technicks in Odo’s Technicks shop, but in Beruny’s you’ll find an assortment of high-quality weapons and armor.
If you went through the trouble of stealing Deathbringer from Ithuno in the Barheim Passage earlier, you may be saddened to learn that it’s now just an ordinary shop weapon. If you’ve got the Gil and a desire to get quick upgrades, buy anything that suits your fancy, otherwise… well, you’ll be able to find most of it in upcoming areas. Expect to pay between 8,100 Gil and 13,770 Gil for each new weapon or piece of armor. As for the tavern, The Whitecap, inside you’ll find a Notice Board, as mentioned earlier. Give it a look-see if you wish and note the following marks: Darksteel is the sole remaining Rank IV Mark, and its extermination is long overdue, but with the power you’ve been accumulating it should prove easy prey. Bloodwing, Lindwyrm, Marilith, White Mousse and Vyraal are Rank V Marks, and they should all be within your means to defeat as well. Hunting them all will take you far and wide, in many cases back to higher level sections of dungeons you’ve cleared before: Barheim Passage, Garamsythe Waterway, Zertinan Caverns, to name a few. It provides a fine excuse to finally clear those areas out, and such fare will be covered after your business in Balfonheim and other areas is finished.
When you’re done gazing at future endeavors, leave the tavern and note the five area transitions that adorn the Quayside Court. The three to the north lead to the small Canal Lane zone, while the one to the east leads to the shop-lined Gallerina Marketplace.
Canal Lane
This area has little of interest in it, unless you like hearing people talk about Reddas (the most popular subject in Balfonheim, followed by the Empire’s influence on the port - the two are often intertwined). There are two Port Villas in this area, one of which contains anti-Reddas malcontents, and the other houses pro-Reddas bootlickers.
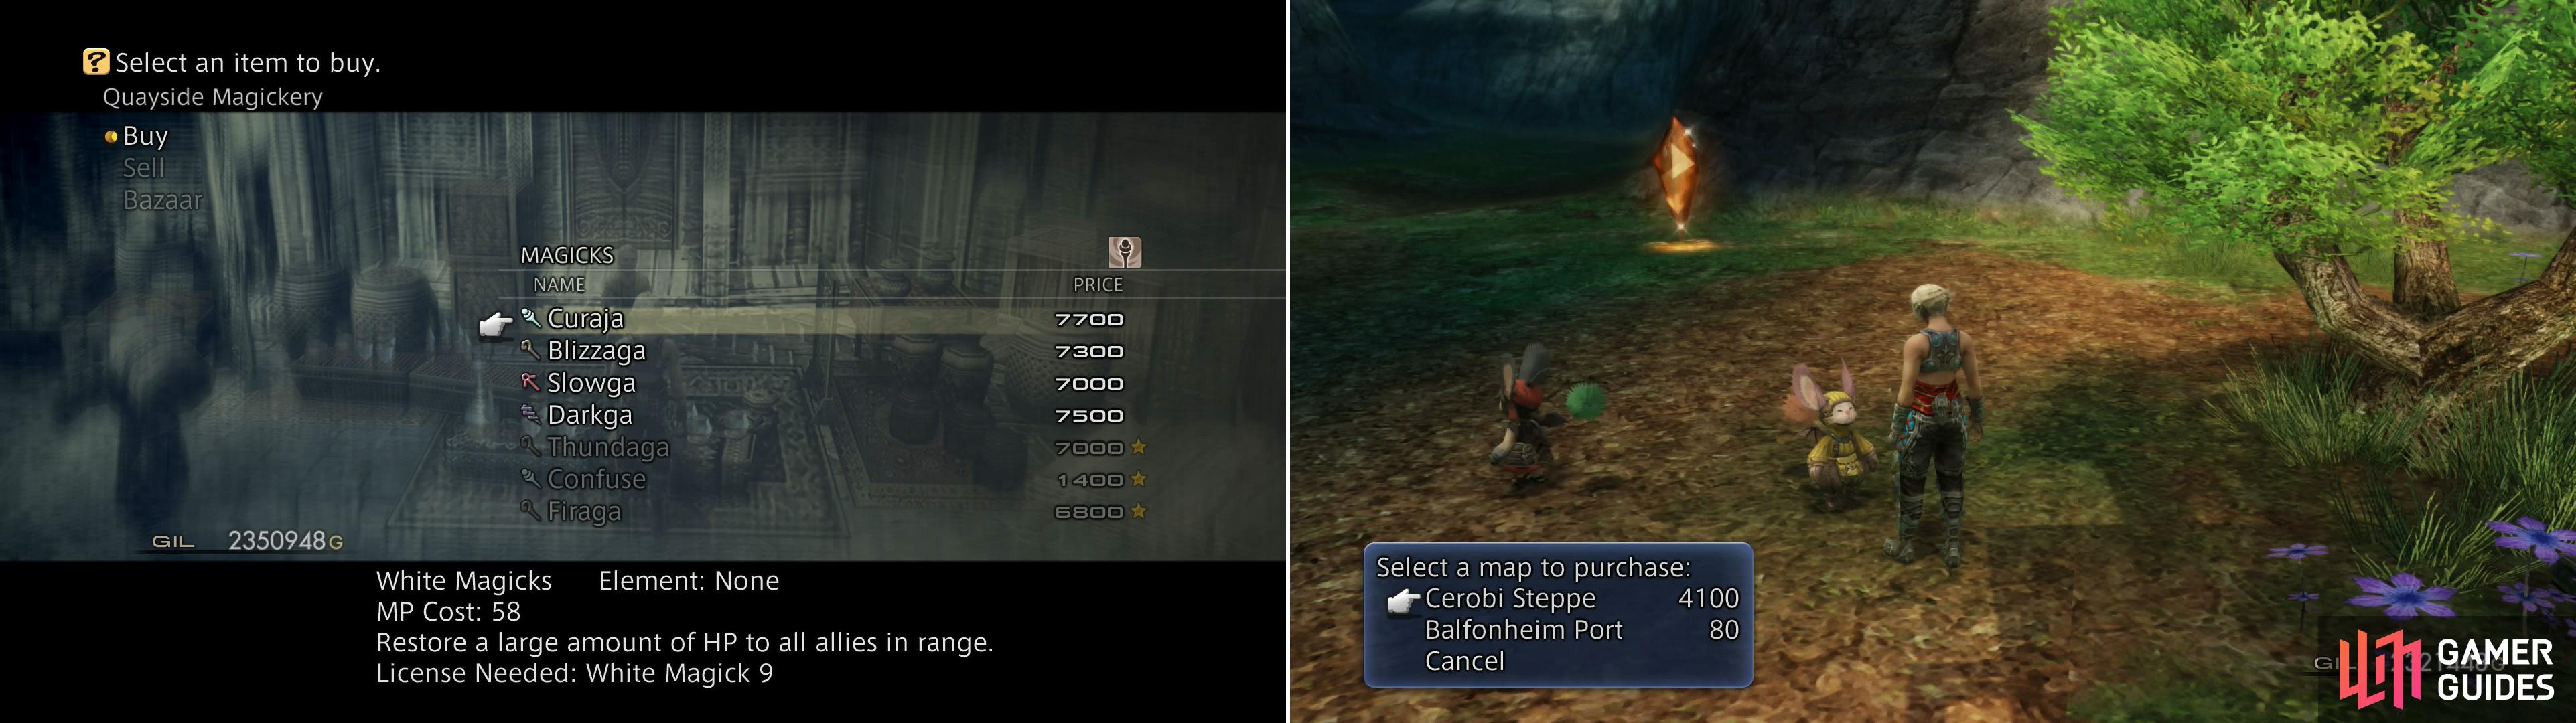
Be sure to pick up the new magicks for sale here, including the tremendously useful Curaja (left). As is the norm, you can also pick up maps by visiting a Cartographer Moogle (right).
Gallerina Marketplace
In this bustling market street you’ll find three shops, the first (western-most) of which is The Leapin’ Bangaa, who sells a variety of accessories and the same curatives you could find in Archades. Waterfront Gambits sells - what else - Gambits. Best of all is the Quayside Magickery, where you’ll find four new spells for your collection, including Curaja (White Magick 9), Blizzaga (Black Magick 10), Slowga (Time Magick 9) and Darkga (Arcane Magick 2). Buy what you wish, then note the two exits along the eastern end of the zone, one to the south, and another to the north. The former leads to the Chivany Breakwater area, while the latter leads to the Sea Breeze Lane area.
Chivany Breakwater
This area is noteworthy for one reason - it leads to the Aerodome, and unlike many Aerodomes, this one actually has functional flights on your first visit! Still, it’s arguably easier to just use a Teleport Stone to get around, and unless you’re dying to talk to the NPCs in this area, there’s really no need to bother with it.
Sea Breeze Lane
There are a few points of interest in this area, including the Chocobo-mounted merchant Dyce, whom you met in the Ogir-Yensa Sandsea an age ago. He hasn’t updated his stock since then, so there’s likely little you need from him, but you can buy Gysahl Greens and Teleport Stones, if you wish. For a bit of quick cash, turn southeast from this mounted merchant to find a chest along the stone arch, which should contain 5,280 Gil. You can also find a Gate Crystal nearby with which to use any of those Teleport Stones you may have just bought, something you’ll be doing shortly. Lastly, there’s a Cartographer Moogle who will sell you maps of Balfonheim Port and the nearby Cerobi Steppe, which lies to the north.
| Cartographer’s Guild - Maps | . |
|---|---|
| Cerobi Steppe | 4,100 Gil |
| Balfonheim Port | 80 Gil |
Speaking of which, the Cerobi Steppe connects Balfonheim Port and the Tchita Uplands, and it’s suitably populated by high level monsters (around level 40 or so), which should, sequentially speaking, be the next area you’d challenge. Of course, the Cerobi Steppe is completely optional, so there’s no need to ever really go there, if you don’t wish. In fact, there’s a great deal of optional - but interesting and lucrative - content you can persue now, and to this end Balfonheim Port marks a great divergence in the guide. There’s relatively little that unlocks (gear, magick, technick, hunts, etc.) between Balfonheim Port and the following story sections that isn’t best saved for post-game play, making this a fine time to stop and take care of most mid-level hunts and dungeons.
The Cerobi Steppe is home to marginally more powerful monsters than you’ve faced thus far (about on par with those you’d encounter if you continue with the story by going to the Feywood), but you can find top-tier gear there… if you’re willing to invest a good bit of time. Before that, however, there’s one outstanding sidequest you could see to that earns you somewhat inferior gear, but is much easier to complete. There’s also the matter of starting to hunt down Trophy Rare Game and a few side quests that start in Balfonheim Port that can be attended to. After those sections are covered, it’ll be time to deal with mid-level dungeons like the Barheim Passage, Zertinan Cavern, Garamsythe Waterway, and Stilshrine of Miram before finally returning to hunting down Rank V Marks. It’s a lot of adventuring, and if you complete it all you’ll probably find the rest of the story to be rather trivial by comparison. For that reason (or if you just can’t be bothered), if you want to continue directly with the story skip ahead to Chapter 7 - The Reins of History , otherwise continue with Chapter 6 - Sidequests After Archades .
No Comments