| Bestiary |
|---|
| Croakadile (Mark) • Giant Tortoise • Rain Dancer (Rare Game) • Silicon Tortoise • Wooly Gator. |
| Items In This Area |
|---|
| Feathered Cap • Feathers of the Flock • Flametongue • Golden Armor • Golden Helm • Green Beret • Green Beret (Drop from Hyena) • Iron Pole • Magoroku • Mitre (Steal from Rain Dancer) • Officer’s Hat (Steal from Silicon Tortoise) • Regen • Rose Corsage • Serpent Rod • Sirius (Steal from Wooly Gator) • Slasher • Soldier’s Cap (Steal from Giant Tortoise) • Survival Vest • Traveler’s Vestment • Traveler’s Vestment (Drop from Ichthon) |
Walk in the Rain
Now that you’ve hunted down new loot (some of which you have no bother having at this point in the game, but isn’t that the fun part?), completed side quests, hunts, and other business, it’s time to head to the Giza Plains… well, after one last stop in Rabanastre, anyways. Make your way to the Sandsea and peruse the Notice Board to find the Croakadile Mark. This critter dwells in the Giza Plains during the rain, so you might as well kill it while it’s in season. You might as well also pick up the hunt for the Enkelados while you’re here, as you’ll be heading to the Ozmone Plains soo enough. That done, make your way to the Southgate area of Rabanastre and exit out the southern area transition.
When you return to the Giza Plains the differences between the dry season of the past and the rainy seasons of the present should be clear to see. There are the same number of areas that are in the same locations relative to each other as before… just the low areas are now filled with water, so the contours of each area may be quite different.
The enemies are also a rather mixed bag of old foes with important differences, and new foes. You’ll still encounter Hyenas, the sole Giza Plains species not driven out by the rain, but hydrophilic critters from other lands that you’re familiar with have now migrated here, like the Gigantoad and Ichthon. Despite being the same enemy, as far as the bestiary is concerned, they’re much higher level than ones you’ve fought before, so expect them to do more damage and have more HP.
In addition, their items are slightly different. Hyenas can now drop a Fire Stone, Wolf Pelt, Green Beret (Light Armor 5) or a Hi-Potion. You can steal a Fire Stone, a Wolf Pelt, or Festering Flesh, and you can Poach them for a Wolf Pelt or Festering Flesh. Ichthons now drop a Fish Scale, a Water Stone, a Traveler’s Vestment (Mystic Armor 4), or a Potion, you can steal a Fish Scale, Eye Drops, or a Phoenix Down, and they can be Poached for a Fish Scale or a Potion. None of the loot they drop is terribly worth grinding, and the gear they drop can be plucked out of chest with less bother.
Hyenas are the only beasts native to the Giza Plains that remain in the rainy season, albeit more powerful versions (left). Knock over white, Withered Trees when you find them (right).
Throne Road
You start out, of course, in the Throne Road area, which is now populated solely by Gigantoads and Hyenas, neither of which should be much of a threat. The depressed central part of the area is now a shallow pond, but you can still make it down to the Nomad Camp to the south via a circuitous route. The chests in this area are largely uninteresting, containing either a Lightning Fang or some curative, although it should be noted that there’s a chance these curatives will be somewhat uncommon. Worth plundering if you pass by, but not worth zoning in and out for.
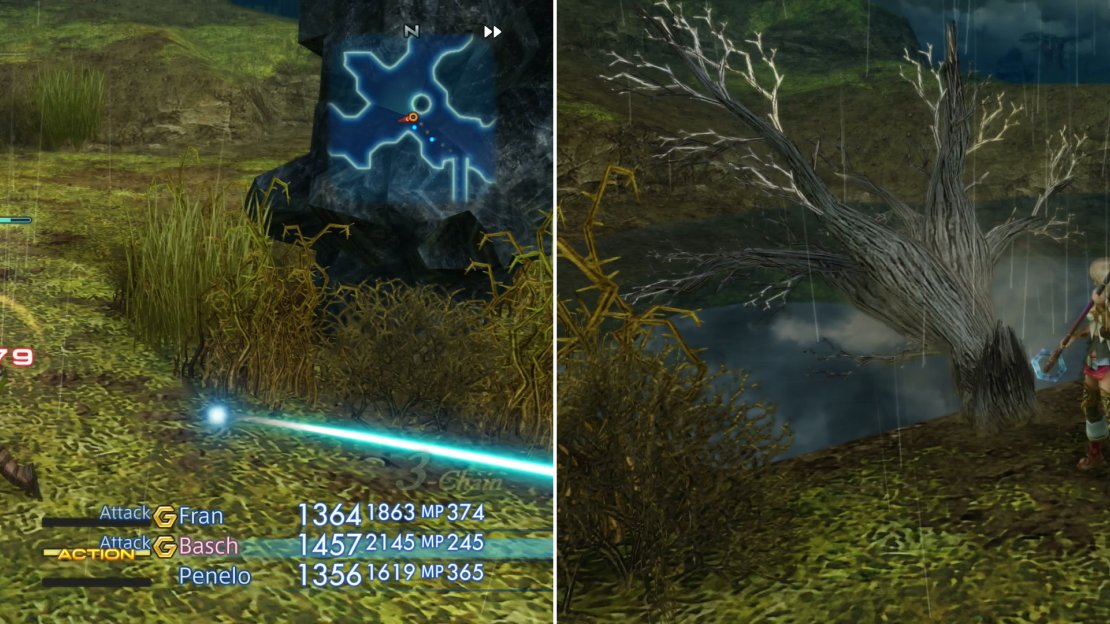
Other than that there’s only one thing to really do in this area. Make your way to the southern end of the level by working your way around clockwise, passing through a narrow, tree-lined stretch guarded by a sneaky Gigantoad. Beyond this point you’ll reach the southern shore of the rainy season pond. To the south is the area transition to the Nomad Camp, but your attention should be focused to the western shore of this pond, where, just south of a trap you’ll find a small white tree - a “Withered Tree” standing precariously near the edge of the water. Give it a good whack with your weapon and you’ll send it floating downstream. Sometimes nature needs a helping hand, right? More importantly, if you clog up the river enough, you may find new paths open to you, so let’s keep an eye out for more dead flora to send downstream, eh?
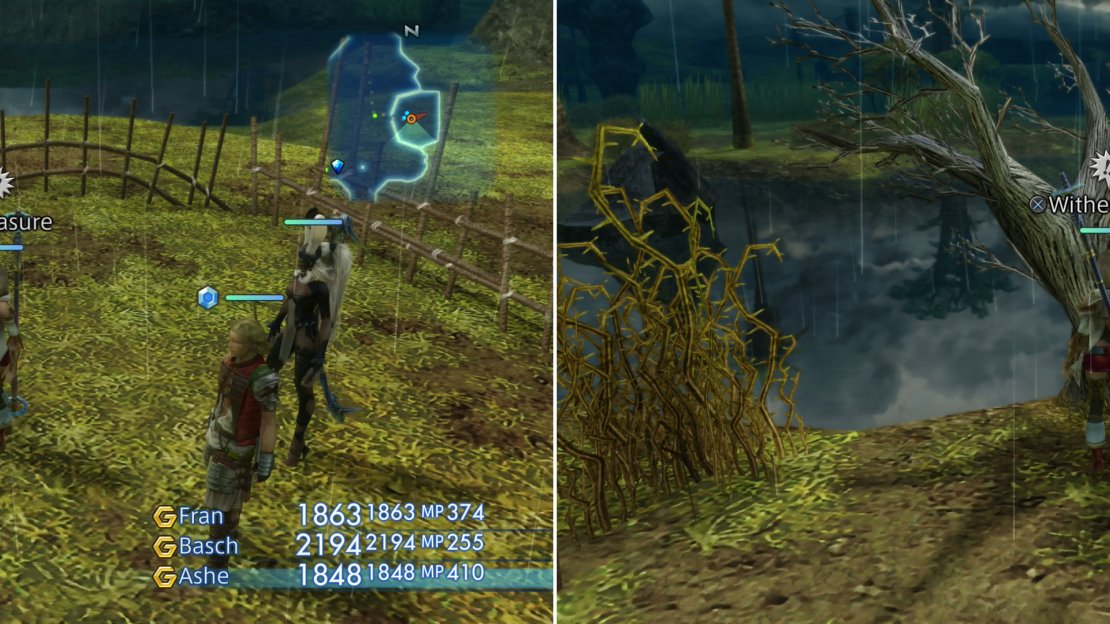
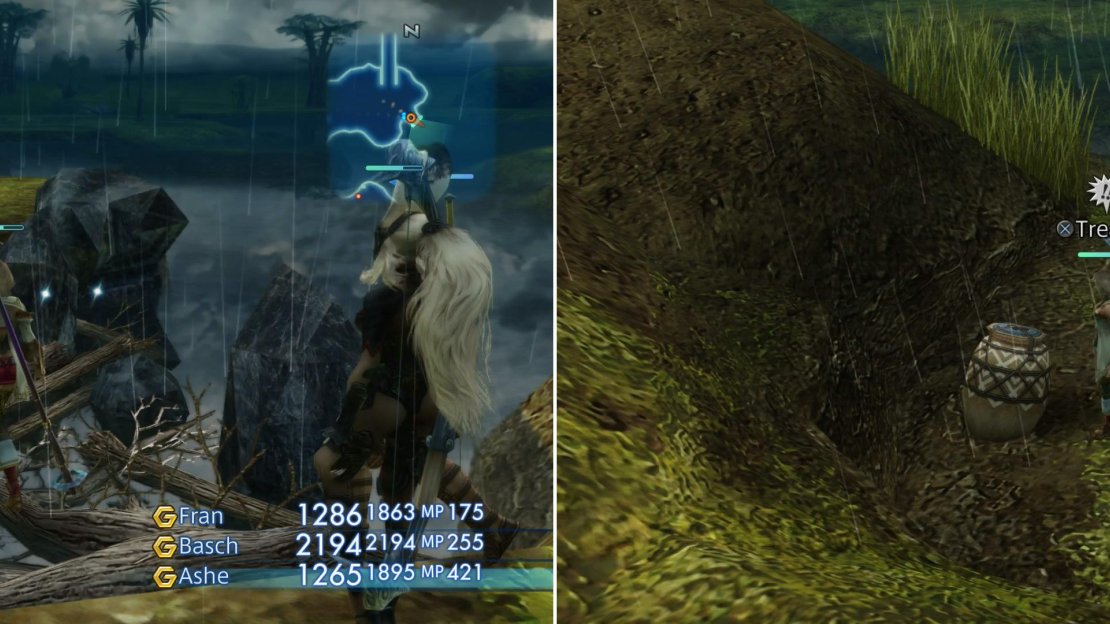
Grab the Regen magick out of the urn in the now-deserted Nomad Village (left) then knock over yet another Withered Tree (right).
Nomad Camp
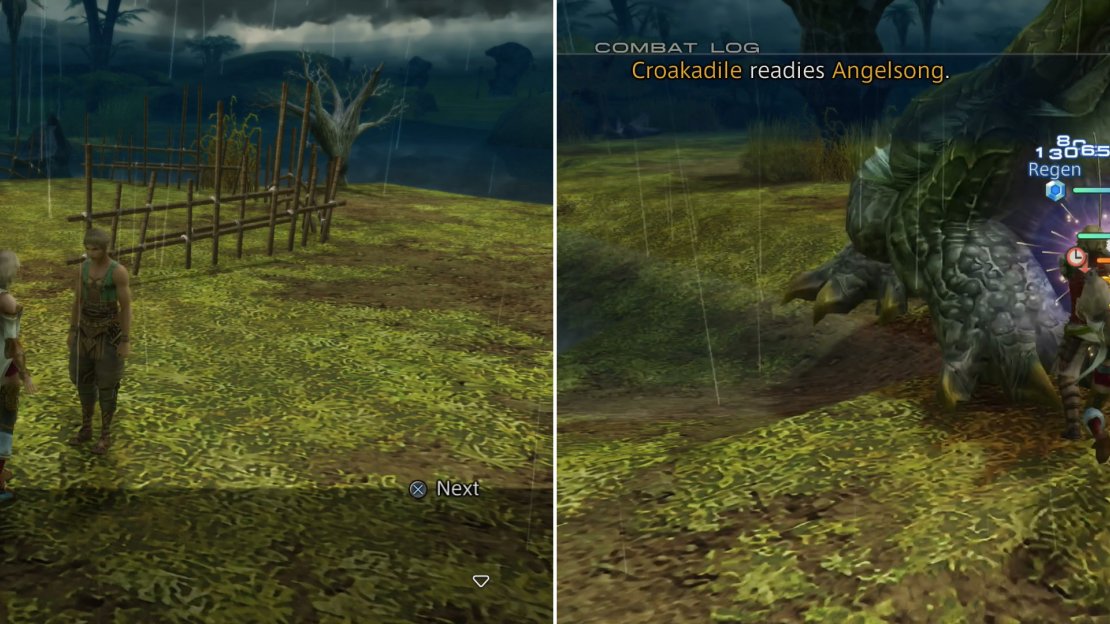
When you’re done picking on trees, make your way south to the Nomad Camp, where you’ll find three points of interest. If you picked up the Croakadile hunt back in Rabanastre, you’ll find Sadeen waiting for you near the entrance to the Cockatrice pen. The poor man is inconsolable, and barely manages to mumble something about a ring before imploring you to kill the beast that wronged him. This properly starts the hunt “A Ring in the Rain”.
That done, head east into the vacant Cockatrice pen to find an urn that contains the Regen magick (White Magick 6). This spell will counter Sap, and heals the recipient gradually over time. Not an ideal restorative if you’re fighting a dynamic foe that can deal heavy damage, but if you’re fighting throngs of weaklings (say, grinding?) it might keep you healthy.
Leave the Cockatrice pen and search the eastern shore just south of the pen, where you’ll find another Withered Tree. Topple the dead tree and watch it float away, contributing to your budding bridge. That done, turn west and make use of a Save Crystal, if you wish, chat with a Moogle and Seeq traveler, then exit out the area transition to the west to reach the Toam Hills area.
Toam Hills
In this area you’ll find no significant treasure, but there are a few critters worth noting. In addition to the standard Hyenas and Gigantoads you can also find Ichthons near the water, especially at the far southeastern end of the area. In addition, you’ll encounter a Wooly Gator along the southern end of the area.
Wooly Gator:
These hairy, freak-faced reptiles start out docile, but when roused to anger you’ll find that they’re somewhat stronger than the smaller foes in the Giza Plains during the rains, although not as much as their size might otherwise suggest. Their Sonic Fangs attack can deal heavy damage, and their Flash attack can inflict Blind. They can also cast Shell to protect themselves from magick damage. They can drop Braid Wool, a Wind Stone, an Alarm Clock or a Hi-Potion, you can steal Braid Wool, a Prince’s Kiss or a Sirius from them, while they can be Poached for Braid Wool or Fine Wool. They are weak to Earth.
Rain Dancer:
The Toam Hills is one of the three areas in which the Rain Dancer can spawn, the other two being the Warrior’s Wash area and the Gizas South Bank area. The Rain Dancer is Rare Game that resembles an Ichthon, and like Ichthons, they tend to pop out of water. They’re also some of the easiest, most commonly-spawning Rare Game you’ll encounter, as they have a 20% chance to spawn in each of the three areas. To increase your chances, you can simply zone in and out of an area, then go search for it.
As for the monster itself, it’s not terribly strong. It boasts around 8,000 HP and hits harder than most beasts, but nothing Cura can’t fix. Its Sonic Turn attack will strike all nearby enemies, making it its most damage attack. Drawing its attention with a melee character and keeping ranged characters at a distance will keep this attack from having too much of an impact, however. It can drop a Fish Scale or an Ichthon Scale, you can steal a Mitre (Maces 2), and it can be Poached for a Pebble or a Dorsal Fin. The Mitre is the only item it has to steal, so as long as you keep at it, you’ll get it eventually. Whether it’s worth the bother or not is a questiong worth considering. It’s weak to Fire and absorbs Water, but it can also be incapacitated with a wide array of status effects, including Stop, Sleep, Silence, Blind, Disable, Immobilize and Slow.
Aside from the new monsters, there’s only one thing worth mentioning in this area. From the Nomad camp head west, cross a bridge, then turn south until the path turns east. From here simply follow the path east until you reach the clearing in the southwestern corner of the area. In the dry season this was home to a pack of Hyenas led by an Alpha Hyena, and there was an urn wherein you found the Blind magick. Now, however, you can find some Ichthons on the northeastern shore, near another Withered Tree. Topple the tree and watch it float away.
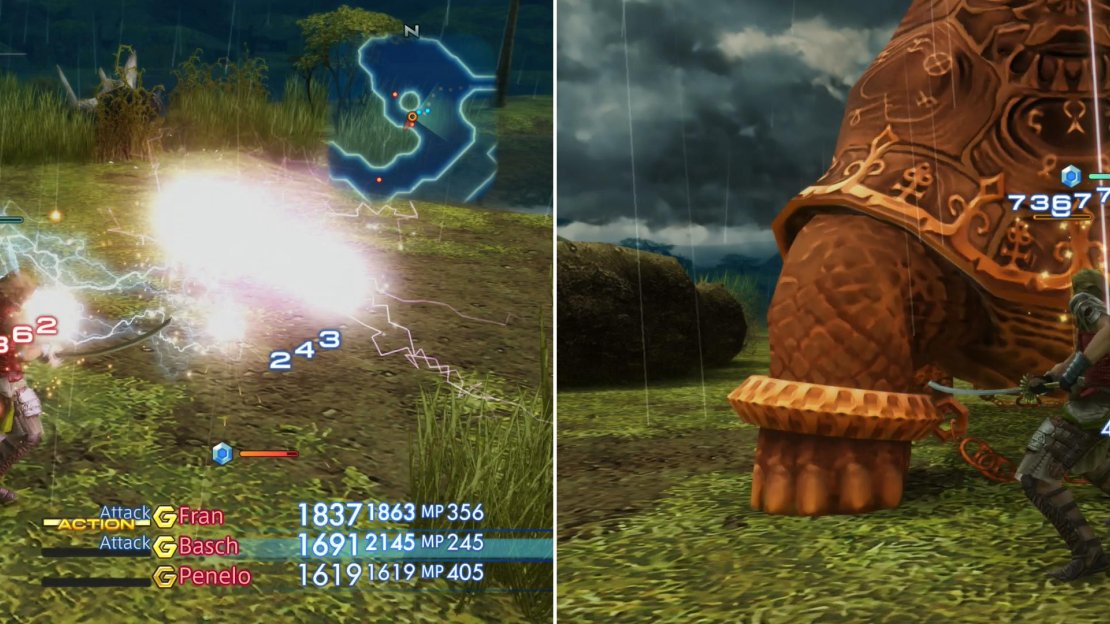
While not as powerful as Entites, the Storm Elemental can still be a difficult foe (left). The Giant Tortise, on the other hand, isn’t quite as powerful as it is large (right).
Warriors Wash
Make your way to the northern end of the Toam Hills area to find an area transition to the Warrior’s Wash zone, the northwestern most of the areas in the Giza Plains. In this area you’ll find Hyenas and Gigantoads, as well as two new beasties. First up is the Storm Elemental, which, like the Entites in the Sandsea and Westersand, probably should be avoided. That said, it’s significantly weaker than the Gnoma Entite or the Salamand Entite, and if you spent a bit too much time leveling, you may actually be a match for it. Best come prepared, though, as it can cast a variety for status-effect magicks, as well as Thundara, which will hit for around 800~ damage. For the sake of argument, however, it’ll be assumed you don’t mess with them yet, and as with the other elementals, if you leave them alone and don’t cast magicks near them, they’ll leave you alone. Furthermore, they only show up when it’s actively raining.
Giant Tortoise:
The other new monster - the Giant Tortoise - can be found along the northern end of the area. Their name really says it all, they’re giant tortoises! They boast a relatively high number of HP, but otherwise aren’t too impressive. They can cast Water, perform the Sonic Turn technick which hits all nearby foes, use Flash, which can inflict Blind, and remove status afflictions with Purify. They do more damage when at full HP, and gain a defensive boost when their HP are low. They can drop a Turtle Shell, a Water Stone, a Phoenix Down or a piece of Water Magicite, you can steal a Water Stone, an Aries Gem or a Soldier’s Cap, and they can be Poached for a Turtle Shell and a Prince’s Kiss. They are weak to Fire and absorb Water.
Now that the monsters have been covered, it’s time to get to the looting. Yes, there’s actually loot in this area! From the area transition to the Toam Hills, make your way northeast, then northwest until you reach a fork, at which turn southwest to find a small strip of land that may house an urn, inside of which you may find a Green Beret. Not too exciting, but easier to get than by farming Hyenas.
Return to the fork and continue north a short distance until you find a small peninsula to the southwest. Here you can find two urns, the northeastern one (against some rocks) can yield a Feathered Cap (Mystic Armor 4). For the last bit of loot you’ll need to make your way to the northeastern most point of the level, past the dormant dark crystal, east of where the Giant Tortoise dwells. Here you’ll find another urn sitting at the edge of the water, inside of which you may find a Rose Corsage.
With that, you’re done with this area. Make your way to the center-east end of the zone to find the area transition back to the Throne Road area. Return there and pass through it, continuing east until you find another area transition, this one leading to the Gizas North Bank area.
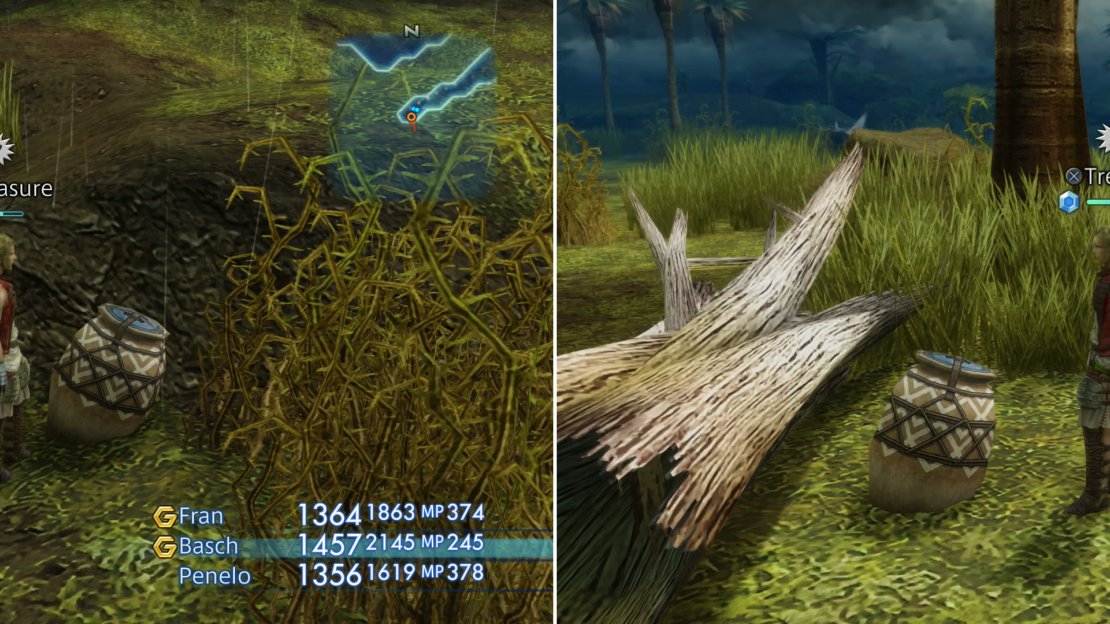
The weather isn’t the only thing that has changed in the Giza Plains, new treasures like the Slasher (left) and Iron Pole (right) can be obtained.
Gizas North Bank
New area, same monsters. You can expect to encounter Ichthons, Hyenas, Gigantoads, Storm Elementals and Giant Tortoise here… almost every critter you can run into in the rainy season! Keep that in mind as you go hunting treasure, of which there’s a bit. First, however, make your way east from the area transition to the Throne Road, then turn southeast when obliged by the contours of the zone. Keep an eye on the eastern edge of the area as you go, however, and you should spot another Withered Tree along the banks of the river. Toss it into the water, then continue south.
When you reach a four-way fork you’ll have a few options available to you. The eastern branch ultimately leads to the area to the south - Gizas South Bank - which you’ll get to soon enough. The southern pass leads to a narrow, wet stretch of land at the end of which may be an urn, in which you might be fortunate enough to find a Slasher (Axes & Hammers 3). On the other hand, if you go west (avoid the leech trap - it’ll suck up all your MP!) you can follow the water’s edge to the south as it runs southwest, then northwest. You’ll find another urn near a log, inside of which you may find an Iron Pole (Poles 3).
Gizas South Bank
In this area you’ll find Gigantoads, Hyenas and perhaps a Storm Elemental, depending on the weather. From the area transition that divides the Gizas North Bank and Gizas South Bank areas head southwest until you reach a fork, at which turn west down a watery peninsula occupied by Gigantoads. Turn south when you must and at the end of the peninsula you’ll find an urn that may possess a Golden Helm (Heavy Armor 4).
Backtrack east to the fork and continue east until you find a bridge to the south. Cross the bridge and turn southeast to find some Entangled Wood floating in the water, stuck in place by some rocks. This is the result of all the Withered Trees you’ve been knocking over, and it looks like a few more could form a crude bridge. Something to keep in mind for later. Turn west and follow the edge of the area to find another urn near the shore, behind some grass. This urn may yield a Leather Gorget .
Crystal Glade
Make your way to the southwestern end of the Gizas South Bank area to find the area transition to the Crystal Glade area. No annoying kids this time, but you’ll still find a Save Crystal which can you can use to save you progress and replenish yourself. More importantly, search to the north of the Save Crystal to find a Withered Tree, which you can shove to contribute to your burgeoning debris bridge.
Talk to the petitioner, Sadeen, in the Nomad Village (left) then fulfill his wish and smite the Croakadile (right).
Hunt - Croakadile
| Croakadile | . |
|---|---|
| Level | 24 |
| Weaknesses | Fire |
| Resistances | Water (Absorbs) |
| Immunities | Confuse, Disable, Doom, Lure, Oil, Petrify, Poison, Reverse, Sap, Sleep, Stop, |
| Safety | Yes |
| Drop | N/A |
| Steal | Horn (55%), Pointed Horn (10%), Aries Gem (3%) |
Continue northwest from the Crystal Glade area, which leads to the Starfall Field area. Here you’ll find no monsters save the Croakadile, presumably driven off by the Mark. Continue west to the center of the area, where you’ll find the Croakadile. This beast boasts nearly 20,000 HP and can do a fair bit of damage, although nothing truly worrisome. It prefers to start out the battle by giving itself Regen via the Angelsong technick, but it can use the Renew magick which will restore its health fully. Otherwise, it inflict Sleep with its normal attack and can double its level via Growing Threat when its HP are low. So long as you wear Nishijin Belts and don’t let it linger once its health is low, you shouldn’t have any trouble. Inflicting Immobilize and/or Blind might make this fight a bit easier, but neither are really necessary. You can steal a Horn, a Pointed Horn or an Aries Gem from it. It’s weak to Fire, and absorbs Water.
Starfall Field
After defeating Croakadile, you can leave the area and return freely, which will spawn the normal assortment of baddies. A Wooly Gator, Hyenas, Gigantoads, the normal fare. There are no items of interest in this area, but there is a certain tree you need to visit… Make your way to the northeastern end of the level, more specifically to the coast just south of the area transition leading to the Toam Hills area, where you’ll find the last Withered Tree. Send it crashing into the water to finish up this area.
This should be enough to complete your rough bridge in the Gizas South Bank area, but before you head off into the unknown, return to the Nomad Camp area and talk to Sadeen, who rewards you before asking you to take the ring to some woman, after which he’ll appear… decidedly translucent. Creepy!
| Reward (For crushing the Croakadile) |
|---|
| 1,200 Gil |
| Serpent Rod x1 |
| Teleport Stone x1 |
You won’t be able to deliver that ring to its rightful owner during the rainy season, so you might as well hold onto it until you can For now, there’s one more place to explore in the Giza Plains during the rains, and be forewarned, the monsters there are rather strong. Stronger, even, than some of the beasties you may have encountered in the previous sections if you went hunting for loot (Mosphoran Highwaste, Zertinan Caverns, The Yoma, Barheim Passage, etc). If you went after that aforementioned loot you shouldn’t have too much trouble, but it’s still a bit of difficulty spike. Save at the Save Crystal in the Crystal Glade and try it out, if you can handle the beasts there’s some good treasure to be had.
Knock down all the Withered Trees to form a debris bridge (left) beyond which the loot is notably superior to what is found in the rest of the Giza Plains (right).
Tracks of the Beast
Return to the Gizas South Bank area and continue to the bridge that runs north-south, connected the two halves of the area together. Southeast of that bridge you’ll find another sort of bridge - the debris bridge you created by chucking poor, defenseless trees into a watery grave. Examine it, then cross it to reach the Tracks of the Beast area.
Silicon Tortoise:
In this area you’ll encounter only one type of foe, the Silicon Tortoise. Boasting a level in the mid-30s, they probably out-level you by a bit, do pretty hefty damage, and have over 12,000 HP. Engage them with characters who are aided by Protect and have Cura ready to go. They are rather spread out, so you should only have to fight one at a time, and while they possess various magicks - Thundara, Blizzara and Aquara - these attacks are far weaker than their physical blows. If you have a Time Mage, casting Stop on them can all but win the fight outright, while Sleep also works, if you’re willing to pelt them with Fire magick afterwards. They can drop an Aged Turtle Shell, a Water Crystal, a Teleport Stone or an Aries Gem, you can steal 100G, an Aries Gem, or an Officer’s Hat (Light Armor 8) and you can Poach them for an Aged Turtle Shell or an Ancient Turtle Shell. They’re weak to Fire and absorb Water.
Should you manage to best these beasts, you’ll be free to loot the area, and there’s plenty of fine loot to be had. From the entrance to this area, let’s explore south, then east, generally moving counter-clockwise and picking up all the treasure that spawns. First head southeast, then south to find an urn near a tree, which may contain a Flametongue (Swords 4). From here turn east and navigate around the water to reach a large dark crystal, along the southwestern side of which you may locate another urn, out of which you might pull a Traveler’s Vestment . Turn south from this last urn and you’ll spot a trap near the water, behind which a chest can spawn. Navigate the trap and scour the chest to find a Survival Vest (Light Armor 5).
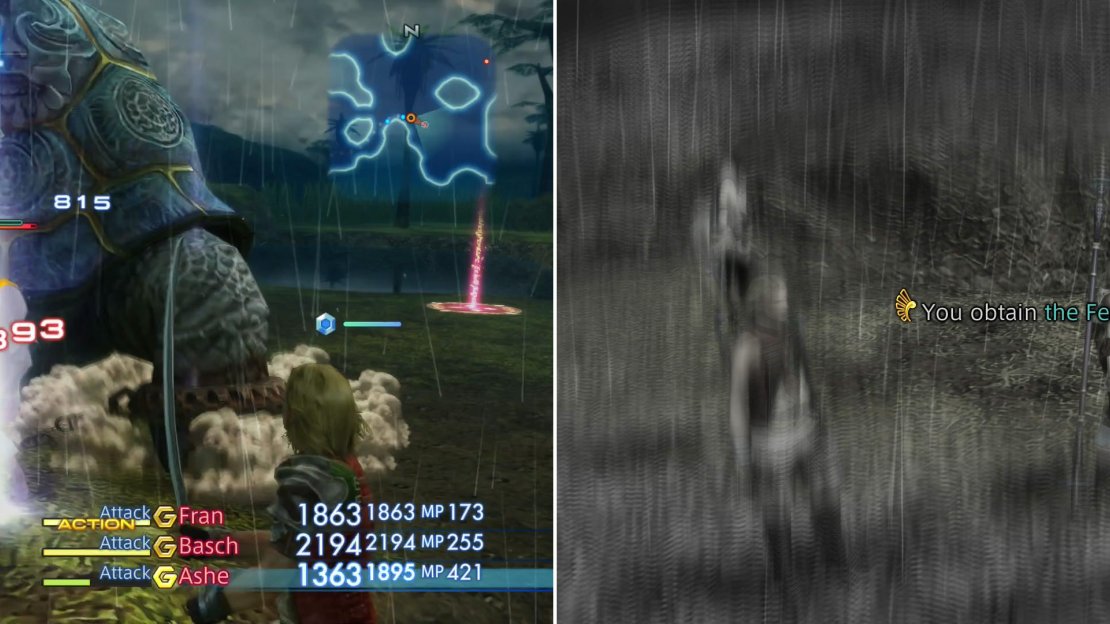
Be wary, however, as Silicon Tortoises prowl beyond the debris bridge (left). While you’re here, be sure to grab the Feather of the Flock item (right).
Next make your way northeast, east, south, then southeast to reach the southeastern-most corner of the area, where you’ll find an ornate urn near a trap. Pillage this pretty piece of pottery to obtain the Feathers of the Flock item. This is involved in a quest later, but it’s a bit too west for it right now, so you’ve no choice but to wait until the weather improves.
Follow the eastern edge of the area north, then work your way around some water and turn east to find a chest sitting on the grass near the boundary cliffs of the area, inside of which you may find a suit of Golden Armor (Heavy Armor 4). Continue following the eastern boundary of the area northwest and if you’re lucky another urn will spawn, which can yield a Main Gauche (Daggers 3). Finally, turn southwest to find another, smaller dark crystal, against which lean two urns. The one to the south contains little of interest, but the northern one can forfeit a Magoroku . Far easier than getting it from the Urutan Exile, although a bit tardy.
All of this loot might seem a bit underwhelming if you did the previous two sections, and indeed, it really can’t compared with the likes of a Diamond Helmet, Burning Bow or Deathbringer. The most interesting bit of loot, however, is the Main Gauche, whose Attack Power might leave something to be desired, but it boasts an absurdly high Evade rate. It’s not a bad weapon to equip when you’re trying to steal or Poach, rather than kill. With that you’re done with the Giza Plains again. Return to the Starfall Field are and make your way to its southern-most point, where you’ll find an area transition leading to the Ozmone Plain.
No Comments