| Bestiary |
|---|
| Flan (Boss) • Firemane (Boss) • Garchimacera • Ghost |
| Items In This Area |
|---|
| Bowgun • Bronze Armor (Drop from Garchimacera) • Kotetsu • Longsword • Silken Shirt • Silken Shirt (Steal from Ghost) |
No. 11 Channel
Leave the treasure chests behind and head uphill to the south to reach the East Sluice Control area, which is ominously empty. Carry on through the area until you reach a Save Crystal, after which head up some stairs to the north. These stairs lead to a suspiciously large, level chamber, and if your gamer senses were tingling, well… you’ve got good instincts. Witness some Imperial soldiers fighting a mysterious woman after which Vaan interferes and gets himself caught up in the fight.
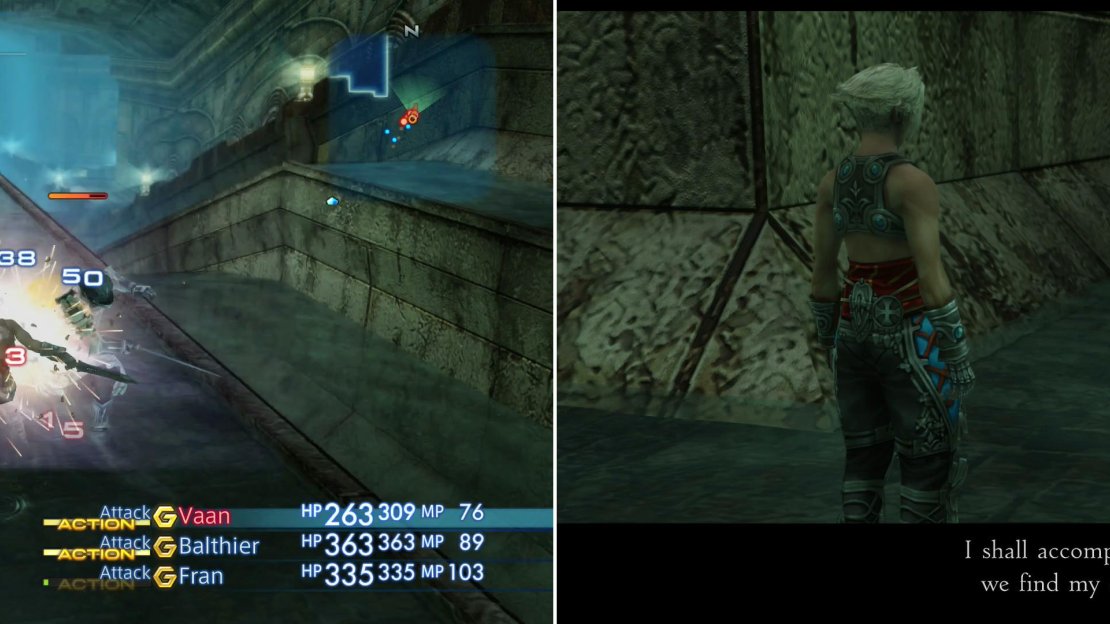
When you’re back in control you’ll find yourself facing off against several Imperal Swordsman foes, who are fairly weak combatants. These ones, being on the lower-level end of the spectrum, drop (or can be robbed of) restoratives that improve as they level up. Unfortunately, that means right now you’ll be getting Potions and Phoenix Downs, which are hardly worth any effort to obtain. Strike them down, after which the woman Vaan rescued will introduce herself as Amalia and join your party as a guest.
Fight off the Imperial Swordsmen (left) after which Amalia will reluctantly join your party as a guest (right).
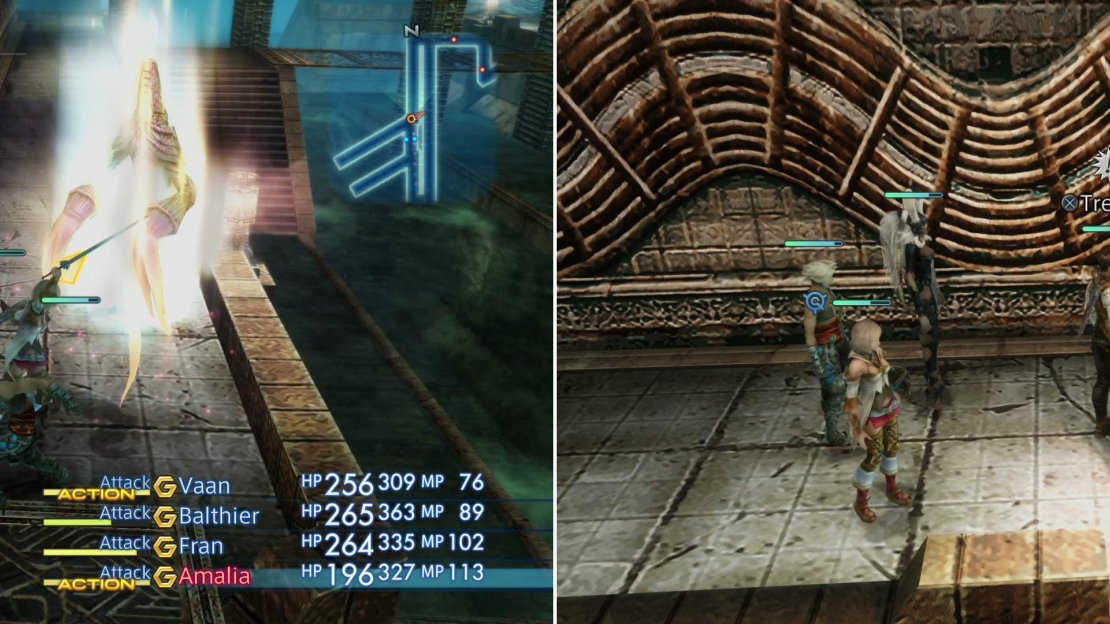
As Balthier explains, guests function like a fourth - albeit usually quite temporary - party member. You can give them commands via the Battle Menu, change their Gambits, even take direct control and make them your party leader. You cannot, however, remove them from your party lineup (enter the Party Menu, select the Party option, then press [X] to depress their icon - hence removing them from the party), change their equipment or alter their licenses. For her part, Amalia is pretty servicable at this point in the game - she’s set to attack foes and cast Cure on injured allies.
In a suspiciously-large area you’ll be ambushed by some Flans (left). Fran’s Fire magick will make quick work of them (right).
Southern Sluiceway - Flan Battle
Exit the area where you fought the Imperials by heading west to reach the next area - the Southern Sluiceway. Continue west and ahead you’ll find another large, suspiciously open area. Sure enough, gamer instincts are correct again, as you’ll be met with four Flan enemies when you enter this area. Another Final Fantasy staple, these gooey monsters are presented collectively as a boss encounter of sorts. There’s four of them, and they’re fairly resistant to physical attacks, although their own physical offense leaves much to be desired. They do back this up, however, by being able to cast a variety of spells, including Cure and Blind. Cure will extend the duration of the battle, while Blind will make character frequently miss with physical attacks, and should be quickly cured with Eye Drops.
| Flan (x4) | . |
|---|---|
| Level | 5 |
| Weaknesses | Fire |
| Resistances | N/A |
| Immunities | Petrify |
| Safety | Yes |
| Drop | N/A |
| Steal | Potion (55%), Caramel (10%), Sagittarius Gem (3%) |
Fran shines in this battle, as she innately comes with the Fire magick, to which these Flan are weak. A single cast of Fire probably won’t kill one, but it’ll severely weaken it and speed the process up quite significantly. Whittle them all down with Fran, then finish them off one at a time to put an end to this fairly easy battle.
Bask in the tragically under-utilized victory anthem, after which explore down two side passages - one to the east, one to the west - to find chests, one containing a Phoenix Down , the other a Hi-Potion . These chests do not respawn. Once done, carry on down some stairs to the west to reach the next area.
West Sluice Control
Another relatively large, open chamber! This time your gamer senses are mistaken - there’s no major battle here, just a chance to spawn a chest with, at best, a Dark Mote in it. If you want a fight, however, make your way to the western end of this chamber to provoke a Gigantoad, which launches out of the deep water of the canal and attacks. Gigantoads are the only familiar faces in this part of the Garamsythe Waterway, as this area is dominated by stronger beasts than Dire Rats and Steelings.
Ghost :
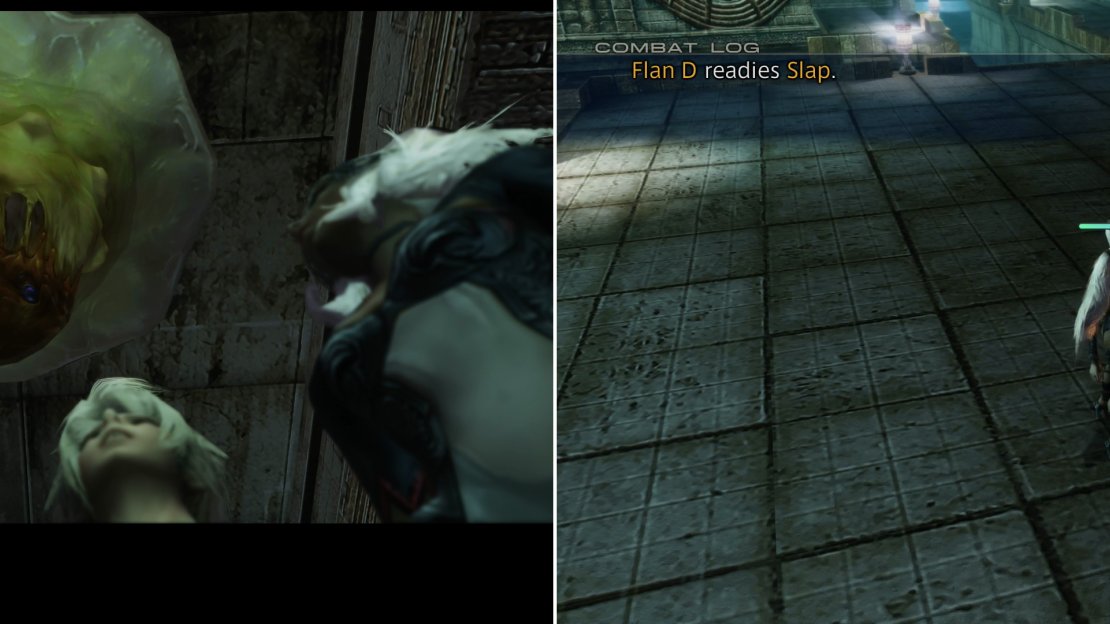
Indeed, head up the stairs to the south and cross a bridge to the west to find the first such foe - the Ghost. Offensively they’re capable of casting all the basic elemental magicks (Fire, Thunder, Blizzard) as well as the Blind magick, which can be a nuisance. The spells hit considerably harder than most physical attacks you’ve encountered, but take a while to cast. Their physical attacks, by comparison, aren’t anything to worry about, although they can inflict the Slow status when they hit. Defensively, they’re capable of phasing in and out of existence, causing ill-timed attacks to be wasted. They can drop a Glass Jewel, a Dark Stone, a Teleport Stone and a Potion, while you can steal a Glass Jewel, Echo Herbs and a Silken Shirt (Mystic Armor 2) from them. Be sure to grab several Glass Jewels and Dark Stones, as they contribute to quite a few Bazaar bundles. Ghosts, like all undead, are injured by curative magicks and items, are weak to Holy, and absorb Dark.
Ghosts have the annoying habit of teleporting when you’re about to attack (left). Endure them and other foes and plunder chests as you work through the sewers (right).
Garchimacera :
Another flying pest - the Garchimacera - can be found in this area, just across another bridge north of where the first Ghost was encountered. They’re less sturdy than Gigantoads and Ghosts, and their damage is downright laughable. They make up for it somewhat by being able to cast Fire, however, and their combo potential is quite high. The most annoying thing about Garchimaceras is the fact that they can inflict the Blind status with their physical attacks. They can also use the Leech technick, which steals HP from the target and heals the Garchimacera - fortunate, then, that their physical attack is so weak. Garchimaceras drop a Demon Eyeball, a Fire Stone, a suit of Bronze Armor (Heavy Armor 1) and a Phoenix Down, and you can steal a Demon Eyeball, 10G or a Dark Mote from them. Obtain at least three Demon Eyeballs before you move on to unlock all its possible Bazaar bundles. Garchimaceras are weak to Water.
Now that you’ve acquaintanced yourself with the new foes in this area by slaying them, return to the southwestern corner of the area, between the bridge the Ghost was on and the bridges the Garchimaceras were on. Before the first bridge to the north you’ll find a chest, inside of which is a Soleil Fang . This item can be used to inflict area-of-effect Fire damage. Continue north across two bridges, then down a ramp to reach the next area.
No. 10 Channel
Continue down the ramp to the north and when the floor levels out note a fork in the path - you can go down some stairs and pick on a Gigantoad or continue on level ground. Either way you’ll come aross a bridge, but the loot is on high ground. Stay on high ground and when you reach the bridge turn southwest to find a chest which can contain a Silken Shirt. Backtrack to and cross the bridge to the north, then immediately turn southwest to find another chest, which may yield a Bowgun (Crossbows 1).
Return back northeast to the end of the bridge, then continue north, where you’ll encounter a Ghost and another trio of Garchimaceras. Kill all the monsters and continue north until you find a bridge to the east, then turn south and go down some stairs. Shortly beyond the stairs the walkway will curve. Along the curved wall here you’ll find another chest, which might possess a Longsword . Failing that, however, it may also be fairly generous with the Gil it’ll give you as a consolation prize. Continue north from this chest and when you reach a three-way fork turn east to reach the next area.
Central Waterway Control
You’re now in the Central Waterway Control area, where you’ll find a number of Rusted Devices which aren’t functional. All in all, this place doesn’t have much going on, it’s just a safe area. Make sure to restore yourself by touching the Save Crystal and save the game, if you wish, then head through the door to the north.
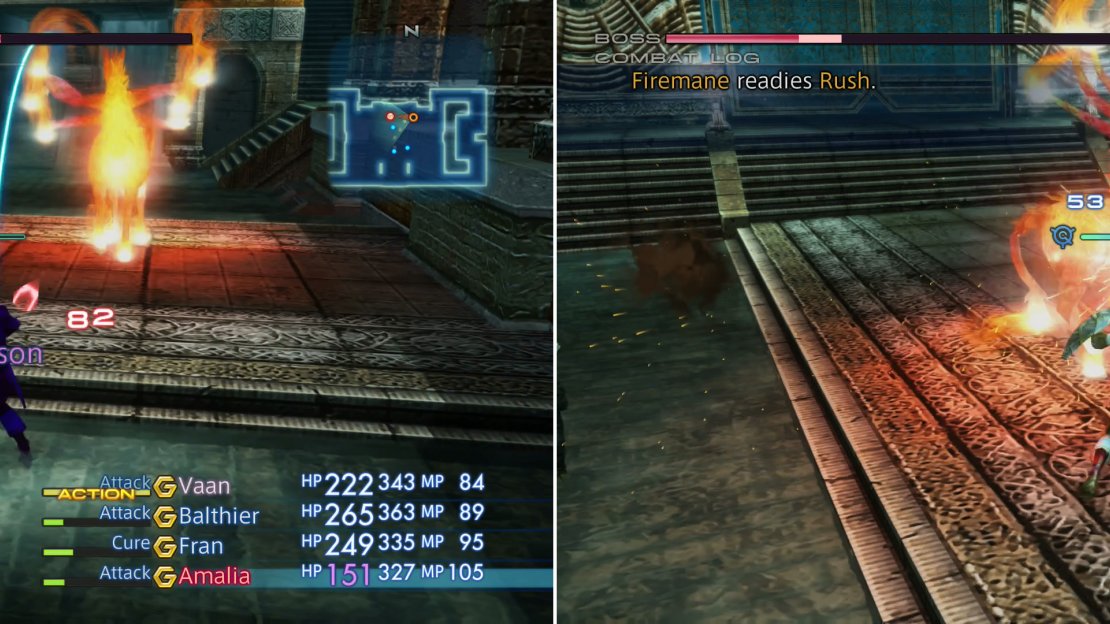
Firemane’s Bushfire attack deals heavy damage and inflicts Poison (left). The fiery ghost-steed can be cut down easily enough, although you’ll find the task easier if you lure it into water (right).
Boss - Firemane
| Firemane | . |
|---|---|
| Level | 7 |
| Weaknesses | Water |
| Resistances | N/A |
| Immunities | Confuse, Disease, Doom, Lure, Petrify, Poison, Reverse, Sleep |
| Safety | Yes |
| Drop | N/A |
| Steal | Potion (55%), Phoenix Down (10%), Grimoire Togail (3%) |
As soon as you enter this area you’ll find yourself in a fight with Firemane, who, as its name suggests, is a horse-like spirit comprised of flame. The good news is that it’s weak to Water, the bad news is that you don’t have any Water magicks to hit the beast with. Shame. You can, however, considerably boost your physical damage by luring Firemane onto the water along the eastern and western ends of the chamber. Accomplish this by holding down [R2] to enter Flee Mode, then run there with your party, wait for Firemane to follow, and attack it when it’s standing on the water.
Now that your own offensive power has been boosted, it’s time to discuss Firemane’s attacks. It has three physical attacks, a basic attack (35~ damage), and a Kick and Rush attack (both of which do 45~ damage). Firemane hits hard, but if you have Ashe and Fran both set up with a Gambit to case Cure, they should be easily capable of out-healing Firemane. Its one truly dangerous attack is Bushfire, which it’ll perform at rare intervals. This attack deals 80-100 damage to the entire party and has a chance to inflict Poison, in which case it can make keeping up with healing quite unmanageable. Just be sure to pop whatever Antidotes and Potions are necessary after such an attack and keep whittling the fiery steed down.
After you vanquish the infernal apparition, you’ll finally escape the Garamsythe Waterway… although not in the manner you would like.


No Comments