| Bestiary |
|---|
| Nidhogg (Mark) |
Hunt - Nidhogg
| Nidhogg | . |
|---|---|
| Level | 10 |
| Weaknesses | Fire |
| Resistances | Water (Absorbs), Dark, Earth Holy, Ice, Lightning, Wind (Halves) |
| Immunities | Disable, Disease, Doom, Lure, Oil, Petrify, Poison, Sap |
| Safety | Yes |
| Drop | N/A |
| Steal | Antidote (55%), Tanned Hide (10%), Aries Gem (3%) |
This hunt was doable enough before, but now that you have a full party it should be even simpler. Assuming you picked up the quest from the Notice Board in the Cloudborne, make your way back to the Lhusu Square area and head downstairs from the Save Crystal to find a Seeq named Aekom, who will complain about the evil snake in the mines. Looks like you’ll have to do what the professional parivir guards can’t and put down this exceptionally dangerous raksas, er, fiend.
You’ll find this beastie with little trouble, as it brazenly slithers about in the Transitway 1 area of the Lhusu Mines. Before you engage it, make sure you cast Protect on your party, as all its attacks are physical in nature, and this will greatly reduce incoming damage. You also won’t be hurt by trying to weed out the weaker monsters prowling about before focusing on Nidhogg.
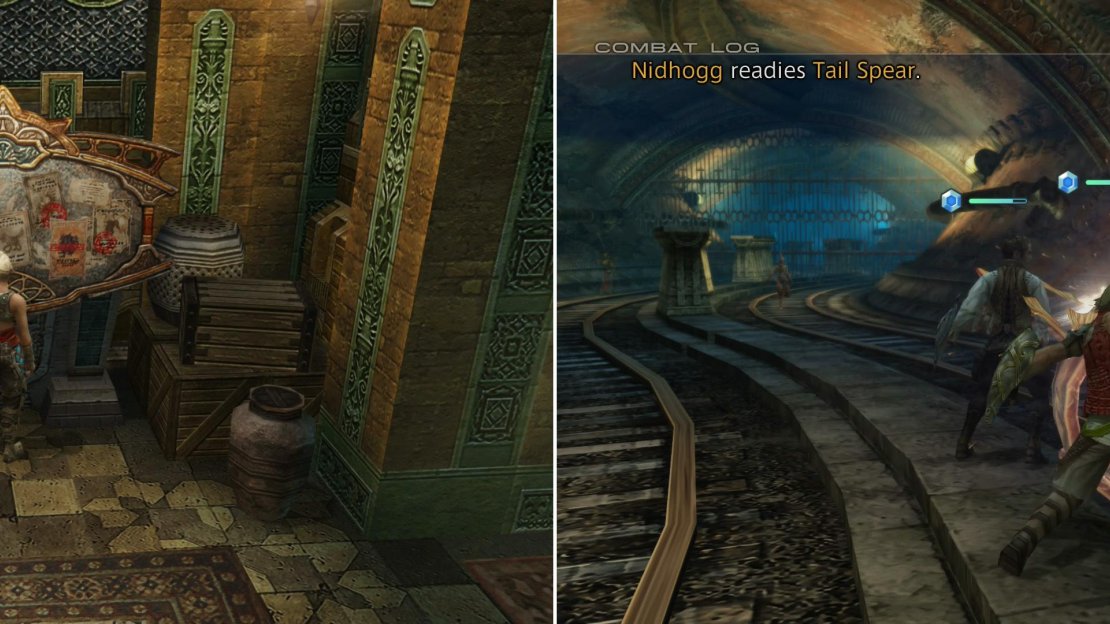
Pick up the Nidhogg hunt (left), then return to the Lhusu Mines to battle the dangerous snake (right).
As with most Marks, Nighogg will start the battle with a variety of buffs, which you’ll just have to endure. Since all its attacks are physical you can significantly impede the serpent by casting Blind or Immobilize, two status effects it’s not immune to. Fire-based attacks do more damage, but it’s resistant to everything else, save Water, which it absorbs. While its normal attacks are dangerous enough, they can also inflict Poison, which will further burden your healers - Poisona or Antidotes are recommended. It also has a fairly high combo rate and can combo quite a few times in succession, especially when its HP are low, so be wary of damage spikes.
Speaking of which, Nidhogg will seem like a pretty easy Mark until you drive its HP down, at which point it’ll gain an innate boost to its physical attack and defense, making it much harder to finish off. Furthermore, it’ll start utilizing more dangerous attacks, like Saber and Tail Spear, which can do significant damage to one character and inflict Slow. Blind, Protect so a healthy stock of Hi-Potions come in very handy as Nidhogg nears its death throes.
After your bout with the devious basilisk, return to the petitioner to claim the reward.
| Reward (For neutering the Nidhogg) |
|---|
| 600G |
| Rose Corsage |
| Balaclava |
| Great Serpentskin |
Ondore Encore
When you’re done with the Nidhogg it’s time to pay Marquis Ondore another visit, as it’ll advance the main story. Venture to the Marquis’s estate by heading to the northern end of the Travica Way area and talking to the Bhujerban Sainikah there. When you get your meeting, Ashe and Ondore will talk politics, especially concerning claims of legitimacy. Unfortunately for Ashe, the current situation calls for stifling passivity, rather than brash action, and it’s clear that this chafes at her something fierce. After the meeting Vaan will catch Ashe trying to take matters into her own hands, and after some “kidnapping” the party will set off towards their next objective.
Back to Rabanastre
Raithwall, the Dawn Shard, Ogir-Yensa Sandsea, Valley of the Dead, all that business can wait. It’s not like there’s a statute of limitations when it comes to proving you’re the legitimate heir to the throne of Dalmasca, right? Nevertheless you’ll find yourself where you disembarked from Balthier’s airship, in The Western Divide area of the Westersand. This is, in fact, the western-most part of the Westersand, and the area transition to the west will take you deeper into the desert, to the Ogir-Yensa Sandsea.
Your destination now is east, not west, however, as there’s a bit to do in the Westersand’s first area (Galtea Downs) and before that in Rabanastre itelf. Be wary as you venture back east through the two areas (Windtrace Dunes and The Midfault) between this oasis of safety and the Galtea Downs area, as the monsters there are quite powerful especially during sand storms. Even familiar faces like the Sleipnir, Urstrix and Wolves are packing more power than they did in earlier areas. By no means are they unbeatable, of course, but you’ll get to the business of exploring the Westersand shortly. Right now you just need to get back to Rabanastre, so set the battle speed down and use Escape Mode to speed the process up. If you can’t be bothered to run, you can always use a Teleport Stone at the Gate Crystal in the Western Divide.
Post-Bhujerba Shopping
However you manage it, when you reach the Galtea Downs you’ll be relatively safe, as the enemies here are much weaker. From here just make your way east back to Rabanastre’s Westgate area, then return to the East End, which is where all the shops live.
Migelo’s, as usual, is underwhelming, selling a small selection of ammunition and a full compliment of curatives, at least everything the merchants in Bhujerba/the Leviathan sold, with the addition of Nu Khai Sand (removes Confusion). At Amal’s Weaponry you’ll find a collection of new tier 2 and tier 3 weapons for sale, and at Panamis’s Protectives you’ll likewise find new tier 4 and tier 3 armor. Any upgrades are welcome at this point.
Speaking of which, the most important upgrades you can get your hands on right now are at Yugri’s Magicks, where you’ll find new magicks available, including Cura (White Magick 4), Aero (Black Magick 4) and Gravity (Time Magick 4). Cura is a superior healing magick that targets all nearby party members, while Aero is a Wind element area-of-effect spell. Gravity has no element, but it deals area-of-effect damage equal to 25% of the target’s maximum HP. The downsides? It has a chance to miss (base chance to hit is around 70%, but is also affected by the caster’s Magick Power and the target’s Vitality) and most of the stronger critters in the game are immune to it. At the very least be sure to grab Cura - your party will thank you for it.
At Batahn’s Technicks you’ll find two new Technick’s for sale, Poach and Horology. Use Poach when an enemy’s HP is low (they’ll be flashing red) and you’ll “capture” that enemy, or as far as gameplay is concerned, you’ll turn it into loot. The loot varies by critter type, but there are generally two items that can be poached, a common item (95%) and a rare item (5%). When you Poach an enemy you’ll get no XP, CP, LP or other item drops.
Horology, on the other hand, deals damage to all foes in the area of effect based on a simple formula: Level x Time. Level of course refers to the user’s level at the time, while the Time variable references the second digit of the minutes logged on the game’s clock. The game clock is viewable by looking at the bottom right of the screen while in the Party Menu. For example, say the time on the clock is 12:17:49, 12 hours, 17 minutes and 49 seconds. Horology checks the second digit of the minutes (17) to get 7, which is then plugged into Horology’s damage. Say you’re using Horology at this time with a level 20 character, Horology’s damage is therefore 20 x 7 = 980. Not too shabby, and you can easily exploit this by just waiting for the minutes on the game clock to be favorable, but it can become somewhat of a chore. The maximum damage this can do is 8,019, with nine minutes on the clock’s second minute digit, used by a level 99 character.
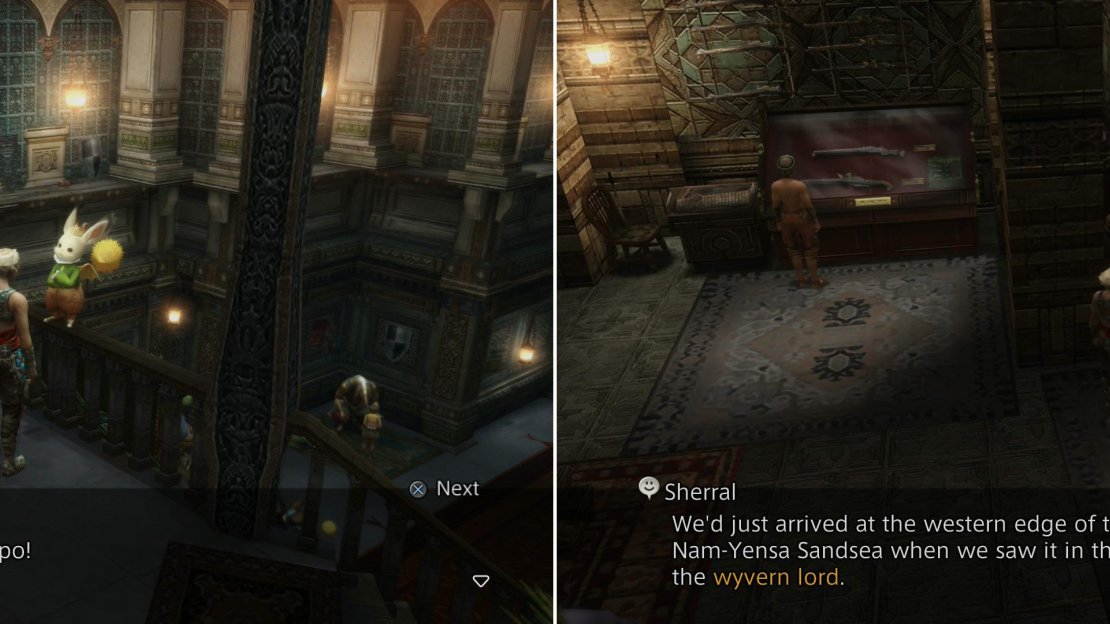
Report back to Montblanc after defeating Nidhogg to get official recognition as a Rear Guard (left) then pick up the Wyvern Lord hunt and talk to Sherral (right).
Climbing the Ranks
Next up, visit the Clan Hall in Rabanastre’s North End district. Talk to Montblanc and, if you’ve completed at least four of the five hunts covered so far in the guide, he should acknowledge your promotion to the rank of Rear Guard, with the attendant reward that comes with it (Remedy x3, Teleport Stone x2). This will also allow you to buy Gauntlets from the Clan Provisioner in the Muthru Bazaar, for what that’s worth.
Finally, visit the Sandsea and check out the Notice Board to find a new hunt, “ A Scream from the Sky “, which tasks you with hunting the Wyvern Lord Mark. Accept the hunt, then be sure to visit the petitioner - Sherral, an Imperial soldier - in Amal’s Weaponry to make it all official-like. You’ll be able to challenge this beast on your way to recover the Dawn Shard, but for now, put it on the back burner.
With that, you’re done in Rabanastre. Time to hit the Westersand!


No Comments