| Bestiary |
|---|
| Ichthon • Razorfin (Rare Game) • Steeling |
| Items In This Area |
|---|
| Broadsword • Iron Sword (Drop from Razorfin) • Javelin • Leather Shield (Drop from Dire Rat) • Light Woven Shirt (Drop from Ichthon) • Mace |
Into the Sewers
You’ve lied to Penelo, colluded with a creepy old man in an underground slum, misused a nomad’s relic to power an artifact, and now you must slink through the sewers to find a secret passage to the royal palace. Vaan might just make a fine thief, after all! Make your way to the North Sprawl and head over to the door leading to Storehouse 5, which, in case you forgot, is along the northern edge of the North Sprawl, just east of a merchant.
When you open the door, Kytes will pester you, claiming to have finally found a way to open the left door. How convenient. Watch him fiddle with the door, after which, with some encouragement, he’ll bravely step aside and let you be the first person to explore the sewers beyond. At least he’ll give you some supplies before you head out. Before you go, make sure your stocks of restoratives are in order; Potions, Phoenix Downs, Antidotes and Eye Drops will all come in handy.
| Objective | Reward |
|---|---|
| For talking to Kytes in Storehouse 5 | Potion (x2), Eye Drops (x4) |
Talk to Kytes and he’ll open the door to Garamsythe for you (left). Dire Rats are common foes here which are easy to chain, if you want to earn some Gil (right).
Rats and Bats
The first area of the Garamsythe Sewers - the “Central Spur Stairs” - is the very definition of a hub area. In the center of this area, you’ll find a Save Crystal, while up some stairs to the west you’ll find the Northern Sluiceway area transition. This is where you ultimately want to go, but first, there’s some loot worth grabbing in another area - No. 10 Channel - to the east.
Dire Rat:
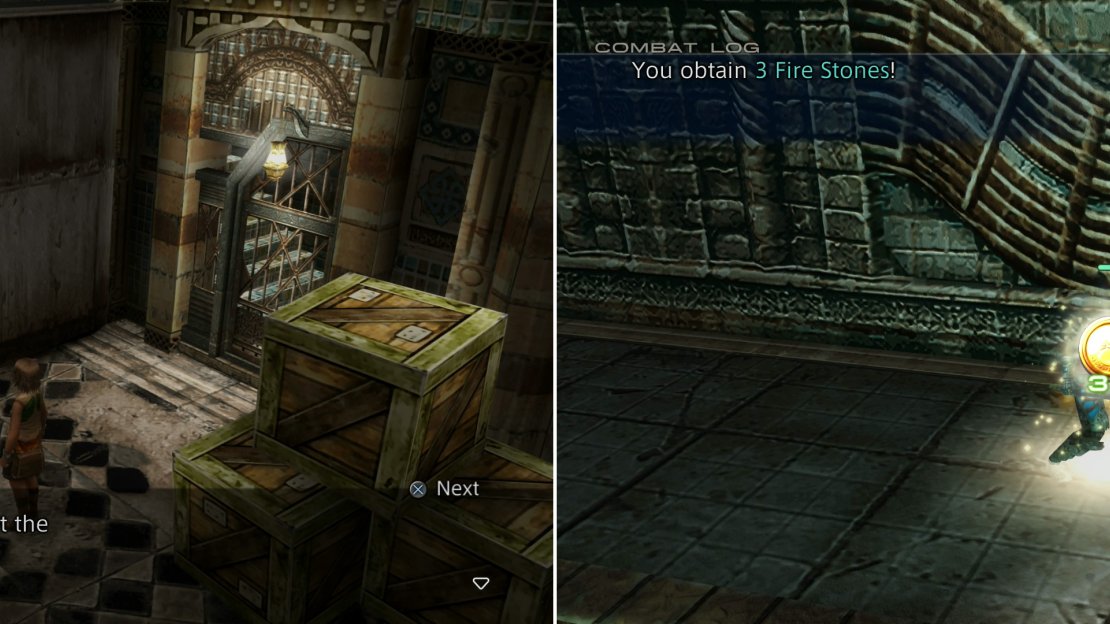
Enter the No. 10 Channel area and follow the linear path until you find a pair of Dire Rats. Yep, Vaan’s back in Garamsythe Waterway, killing Dire Rats. Some things never change, eh? These Dire Rats, as to be expected, are stronger than the ones you fought at the beginning of the game, but they’re not substantially more dangerous than the Hyenas you were fighting in the Giza Plains. They have around 90 HP and deal 10~ damage per attack, and only possess a basic attack. If you didn’t stock up on Antidotes before coming here, they’re an uncommon drop from Dire Rats, and this presents you with a fine opportunity to stock up. In addition, Dire Rats can drop a Rat Pelt, a Fire Stone, and a Leather Shield (Shields 1). As for stealing, you can steal a Rat Pelt, 1 Gil (yaaay…) or a Libra Gem. Drops are definitely the way to go, and they’re easy to chain, but more on that in a bit. Dire Rats, despite their environment, are weak to Water.
After dealing with the Dire Rats, continue along the linear path until you reach a set of damaged, impassable stairs at the end of this area, upon which a chest may spawn. This is technically your first real dungeon of the game, so it’s worth reminding you how treasure works. Many chests have a random chance to spawn and when they do spawn, some have a chance to contain a noteworthy item (a piece of equipment, technick, or magick). Yes, this means you may have to leave the area and return to get the chest to spawn… and then do it a few more times to get the item (or multiple copies of the items) you actually want. This is one such chest, and it can contain a Mace (Maces 1), a Phoenix Down, or some Gil. Obviously you want the weapon. It’s not a world-breaking weapon by any means, but it’ll save you some Gil. Again, “junk” chests that don’t drop anything of note may not be mentioned in the guide, although you shouldn’t shy away from opening them up when you come across them.
Return to the previous area, then continue up the stairs to the west to reach the Northern Sluiceway area. From the area transition, head up a ramp to the north and kill another four Dire Rats. When your progress north is blocked by a canal, turn east and cross a metal bridge, beyond which are several more Dire Rats. When you reach solid ground on the other side of the waterfall the bridge spanned, you can turn south and head downhill to find another new foe - a Steeling.
Steeling:
This bat-like foe exhibits its powers of flight by flitting about, often in unreachable areas, which brings up an important note about flying foes; if they die over inaccessible terrain, their drop is forfeit. Boo. Speaking of which, they can drop a Wind Stone, an Antidote, a Bat Fang and a Phoenix Down, and you can steal a Bat Fang, a Teleport Stone and a Potion from them. If you want to obtain Bat Fangs, stealing is clearly the way to go, as they’re too sparse (and there are far too many Dire Rats) to easily chain them. As far as combat goes, they do a bit more damage than Dire Rats and have slightly more HP. They can use Joyous Soundwave to heal themselves when they’re sufficiently wounded, but otherwise have no tricks up their… eh, wings? Steelings are weak to Ice.
Speaking of chaining enemies, make your way east until you find a large waterway you need to cross, near which another two or so Dire Rats lurks. This is a convenient end point for Dire Rat chaining, as the Steeling midway across the waterway will prove itself a nuisance, while the one you passed by earlier can easily be avoided by simple sticking to the high ground to the north. From this waterway to the beginning of the area, there are around ten Dire Rats and if you run back and forth from this waterway to the two Dire Rats in the No. 10 Channel, you can kill another two. Granted, this seems far out of the way, but it serves another purpose; passing through two area transitions each way should respawn the Dire Rats when you return to each area. There’s a fair amount of money to be earned selling Fire Stones and Rat Pelts, and by following this route you can hit relatively high chain levels quickly, if you so desire.
Live up to your informal title, Vaan Ratsbane (not to be confused with von Ratsbane, of course) and when you tire of the effort, continue east across the waterway, killing any Dire Rats and the Steeling that may be in your way. As you go, keep an eye to the north, as there are two chests you can find on dry ground, near the wall. The eastern-most chest either contains an Antidote or some Gil, while the western chest has a chance to drop a Broadsword.
Cross the waterway and head up a ramp to the north, then turn east until you find a bridge to the north. Down hill from here, you can likely find more Dire Rats and a Steeling to pick on, along with another unexceptional chest, but to reach the next area you’ll have to cross that bridge. Do so, go down some stairs to reach the watery bottom of the sewer, then turn west across another bridge to reach the next area.
Rare Game - Razorfin
You now find yourself in the North Spur Sluiceway, which of course sounds completely distinct from the previous area, the North Sluiceway. Ah well, it’s a sewer, who gives them imaginative names, anyways? Continue west through the water and exterminate any Dire Rats and Steelings you come across, stopping only to nab the randomly spawning - if uninterestingly stocked - chests down dead-end passages to the north.
Ichthon:
Along the way you should come across a new type of enemy, the Ichthon. These docile flying (floating?) fish won’t bother you if you don’t bother them, but they’ve got new loot on them, so they may be with a bit of a bother. In particular, you can steal Fish Scales with a high probability, although this only contributes to one Bazaar bundle. You can also steal Eye Drops and a Phoenix Down, while they can drop a Fish Scale, a Water Stone, a Light Woven Shirt (Mystic Armor 1) and a Potion. It’s worth nabbing a few Fish Scales, although whether it’s worth your time to go after the armor is up to you. In terms of combat prowess, they’re a slight step up from the Steeling, doing more damage and possessing more HP, although not so much more as to warrant any concern. Ichthons are weak to Lightning damage.
Normally you’ll spawn encounter the docile Ichthon (left), but there’s a chance that instead of an Ichthon the Rare Game Razorfin will spawn (right).
Now that the common Ichthon has been discussed, it’s time to move on to a somewhat rarer beast you can find in this area. Every time Ichthons spawn in this area, there’s a 10% chance that the Rare Game Razorfin will spawn in one’s place, instead. This is the first Rare Game you’ve encountered… unless you did the Dustia grind earlier on, that is. In any event, this is the first Rare Game everybody is encouraged to go after, as it’s well within your means to defeat without resorting to trickery, and frankly, it’s a pain in the ass to come back here, so you might as well take care of it now.
What are Rare Game, you ask? Well, they are rare variants of monsters, but not quite as rare as Marks (Marks are unique, Rare Game can respawn). Rare Game vary greatly in power, of course, but they tend to be a good bit more powerful than the normal creatures that spawn in the area. More importantly, they often possess rare and valuable items that you can steal or get to drop. If that’s not enough incentive, however, you’ll need to kill all the Rare Game to complete your Bestiary and earn the Scrivener trophy, and who doesn’t love trophies?. Rare Game typically have specific spawn conditions; some only show up in certain weather conditions, after you kill a certain number of other foes, or depending on many other variables. By comparison, Razorfin’s flat 10% chance to spawn in place of a lesser enemy is a simple condition.
That’s not to say getting Razorfin to show up can’t be a chore, as you’ll have to run through the area to confirm that he’s not here (there are four Ichthon in the area, two near the entrance, and two along the western end of the area, across an elevated stone bridge). Naturally, this means you’ll have to deal with all manner of lesser vermin to ascertain whether Razorfin has spawned - whether you clear them out every time or simply run through them (holding down [R2] to enter Escape Mode is a great way to cover hostile ground faster) is up to you. If Razorfin doesn’t respawn, you’ll need to move two zones away to ensure all the enemies will respawn, which of course gives Razorfin another shot to show up. Unfortunately, this means running all the way back through the North Sluiceway area and back to the Save Crystal in the Central Spur Stairs, which is quite a lengthy, monster-filled run (again, use Escape Mode to get through faster). But… that’s what Speed Mode [R1] is for, right?
Razorfin:
With all that out of the way, let’s get to Razorfin… assuming you got it to spawn, that is. Razorfin, as the first Rare Game you’re likely to encounter, is suitably weak. Granted, it’s stronger than normal Ichthons, but not by much; Razorfin has around 150 HP and deals around 13~ damage per hit. That said, Razorfin can inflict poison with its standard attack, which is a nuisance, but since everything in this place drops Antidotes, it’s a nuisance you can mitigate. It’s weak to lightning and absorbs water damage, but you should be able to just cut it down in a few hits with normal weapons, rendering its elemental peculiarities moot. Razorfin can drop Fish Scales and an Iron Sword (Swords 2), and there’s a small chance you can steal a Water Crystal from it.
Now that you know how to find and vanquish Razorfin, let’s continue with this area. Continue west from where the first two Ichthons spawn, cross a bridge and note some stairs leading up to a bridge. Ignore them for a moment and instead continue west to the lower, watery ground besides the stairs, then turn south to find another flight of stairs leading east and terminating - hopefully - at a chest. This chance (when it bothers to spawn) can hold an Aero Mote , which like the Dark Mote you found in the Giza Plains, can be used to deal area-of-effect damage - in this case, wind damage. It might come in handy against another Rare Game later on.
Return to the previous set of stairs and ascend them, cross a bridge to the west, then note another flight of stairs leading down to the western end of the level. Before you descend them (lots of stair-teasing going on here!), turn north and search the walkway west of the bridge, where you may find another chest. This chest has a chance to yield a Javelin (Spears 1). Once this trinket is in your possession, you’ve got all the even remotely noteworthy loot in the area. Head down the stairs to the west to find two more Ichthons, for you to fight or ignore as you please. Continue west, then turn north until you find some stairs. Climb them, then follow a walkway a short distance to the north to find the stairs leading to the Royal Palace of Rabanastre.
Approach the stairs and you’ll be asked to confirm your decision to press on. The game gives you fair warning that it “won’t be easy getting out”, which means you won’t be coming back for a while, so you’d best have all your affairs in order before you leave. Don’t let the game spook you, though, as there’s nothing that difficult ahead. Besides, you didn’t come all this way just to turn back now, did you? Of course not. Onward, brave thief! Your destiny awaits.


No Comments