


You crawled through the Mosphoran Highwaste, put the Moogles back to work in the Salikawood so you could pass through the Phon Coast, fought through the monsters in the Tchita Uplands and navigated the Sochen Cave Palace all to reach your destination. Whoever suggested that you travel by foot should be severely punished - fighting through an Imperial armada would certainly have been less of a bother. In any event, you finally made it to Archades… or rather, Old Archades, the slums on the outskirts of Archades that even Vaan’s sewer-sensitive nose finds offensive. After a few choice words from Balthier pointing out that the perfume of affluence just covers the stench you’ll be free to explore.
There’s treasure to be found here, but unfortunately it’s almost exclusively junk, unless you find the odd Knot of Rust or 20~ Gil to be a great prize these days. That being the case, it’ll be left up to your own initiative to claim, the guide will focus on more interesting fare. For instance, head north and search a corner to find a “Stranded Merchant”, who will gladly show you his stock of curatives. Given his predicament, he should be selling at at discount. Lazy Seeq.
Bargains at the Bazaar VII:
Now that you’re in Archades, you can sell off a bit more loot to unlock more Bazaar bundles. It might seem awfully soon since the last time, but since then you’ve gone through the last few bits of the Phon Coast, cleared the Tchita Uplands and fought through the Sochen Cave Palace, giving you a fair bit of new loot to sell off. Considering all the loot you’ve previously sold without unlocking anything, it should be no surprise that every new bit of loot has the potential to unlock a bundle or two. All that old loot you accumulated and sold off sat there in the Bazaar waiting for the rest of the components, after all.
In the aforementioned areas you should have obtained a sizable stock of the following loot; two spheres of Antarctic Wind, nine units of Blood Wool, six Demon Feathers, two Dorsal Fins, four Ichthon Scales, five lumps of Maggoty Flesh, four Pointed Horns, three doses of Putrid Liquid, four Spiral Incisors, seven Storm Crystals and two Tanned Tyrant Hides. Sell all those components and you’ll unlock the following bundles:
| Loot Sold | Bazaar Bundle | Cost |
|---|---|---|
| Maggoty Flesh x4 Bundle of Feathers x6 Fire Magicite x6 | Warped Blade (Diamond Sword) | 5,650 Gil |
| Maggoty Flesh x5 Pointed Horn x4 Wind Magicite x6 | Forked Spear (Trident) | 6,450 Gil |
| Pointed Horn x1 | Burning Fangs (Soleil Fang x5) | 980 Gil |
| Pointed Horn x2 Wind Magicite x6 Malboro Fruit x4 | War Axe (Francisca) | 4,680 Gil |
| Tanned Tyrant Hide x2 Fine Wool x4 Fire Magicite x5 | Ninja Garb (Black Gowl) (Black Garb) (Echo Herbs x12) | 4,800 Gil |
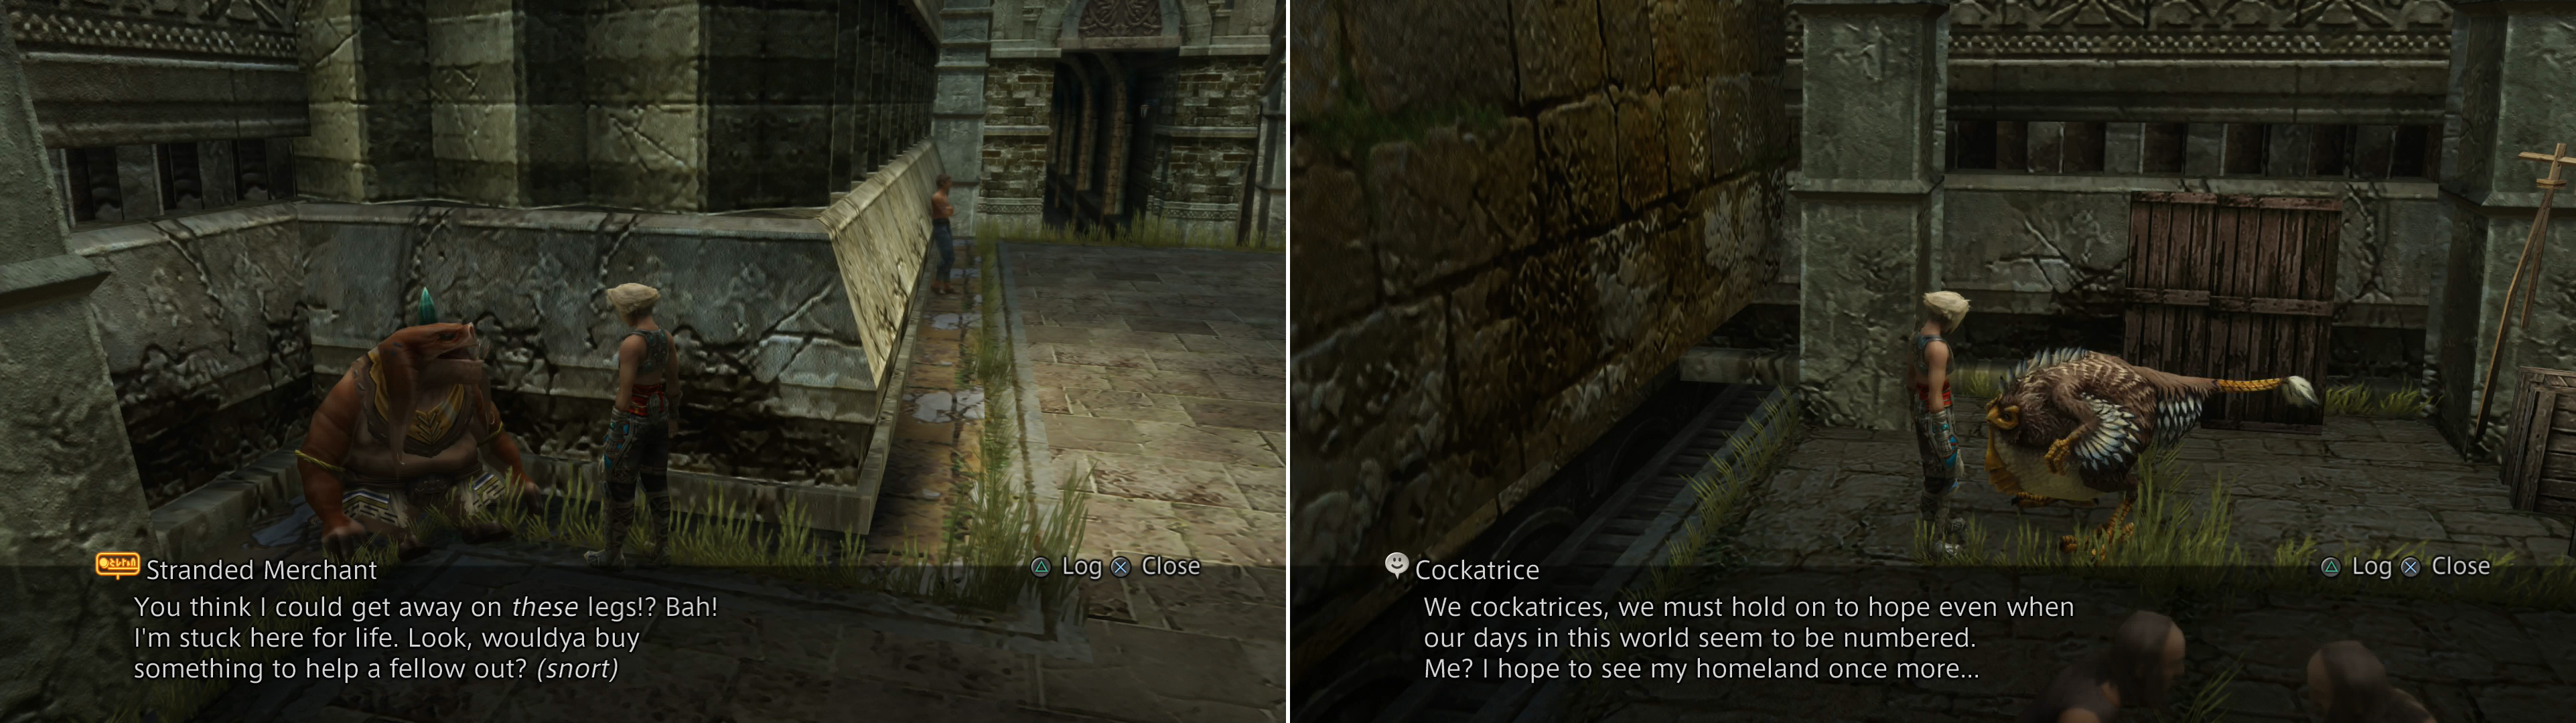
The Stranded Merchant in Old Archades doesn’t sell much of interest, but he can give you access to the Bazaar (left). If you picked up the Feather of the Flock, you can talk to an old Cockatrice (right).
Alley of Low Whispers
As you continue north and west through the area, talk to NPCs to learn about their plight and the natural of Archades. Money and information are the two things that are valued in upper Archades, the and everybody’s trying to fleece you out of the former, and the latter moves very, very fast. Archades seems to a a downright dysfunctional mix of the late Roman republic mixed with a bit of modern American capitalism.
While this information is interesting, there are a few people of particular interest to talk to in this area. From the Seeq merchant head west, then turn north up some stairs, west up another flight of stairs, then north again until you find a fork in the past. To the west will be more stairs, on which you can find a sitting man - a “Fresh Ardent” - who complains about a broker who scammed him out of money. On the other hand, if you continue east, then north from these stairs you’ll find another, older man - an “Ex-Broker” - sitting on some stairs leading to a house, who just so happens to claim to be a broker who was himself swindled. There’s nothing you can do to help these two resolve their differences yet, so just note them, talk to them, then continue down the alley to the east to find a Cockatrice, who is curiously talkative (at least if you have the “Feather of the Flock” Key Item)… Be sure to talk to it before moving on to save yourself some bother later.
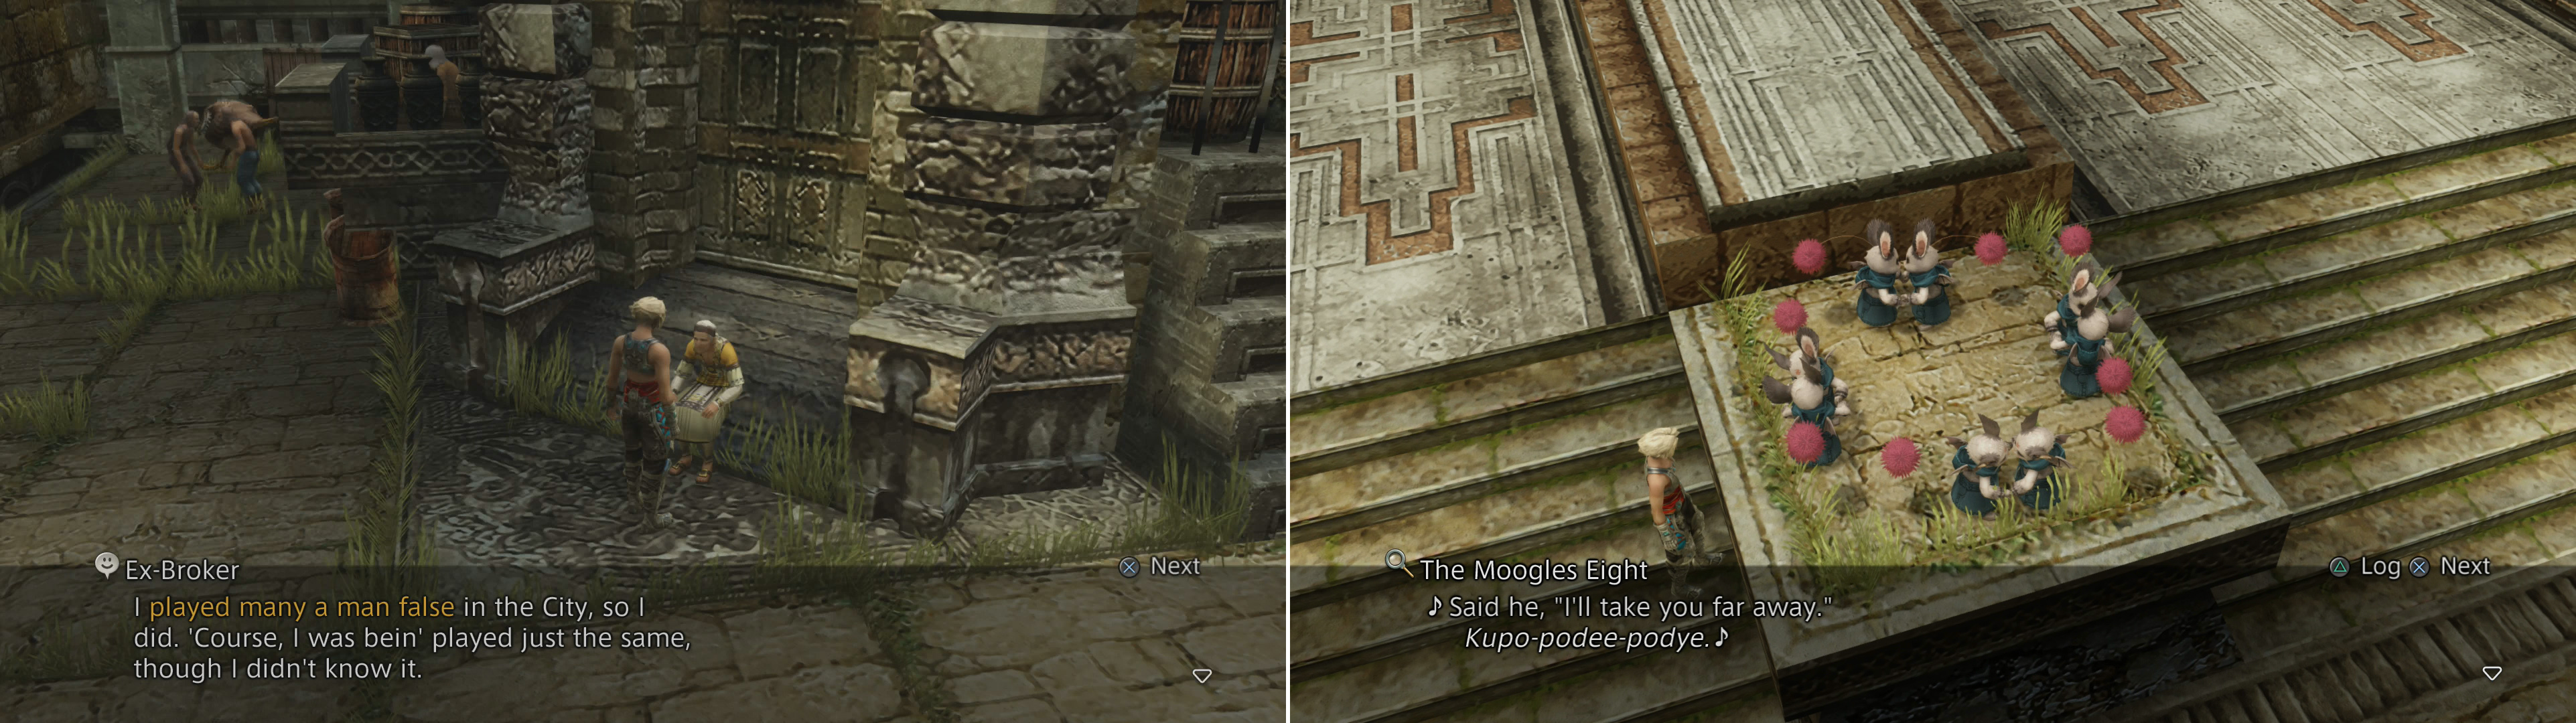
Various characters in Old Archades will reveal important information (left), which others, like these dancing Moogles, are apparent recipients of such information (right).
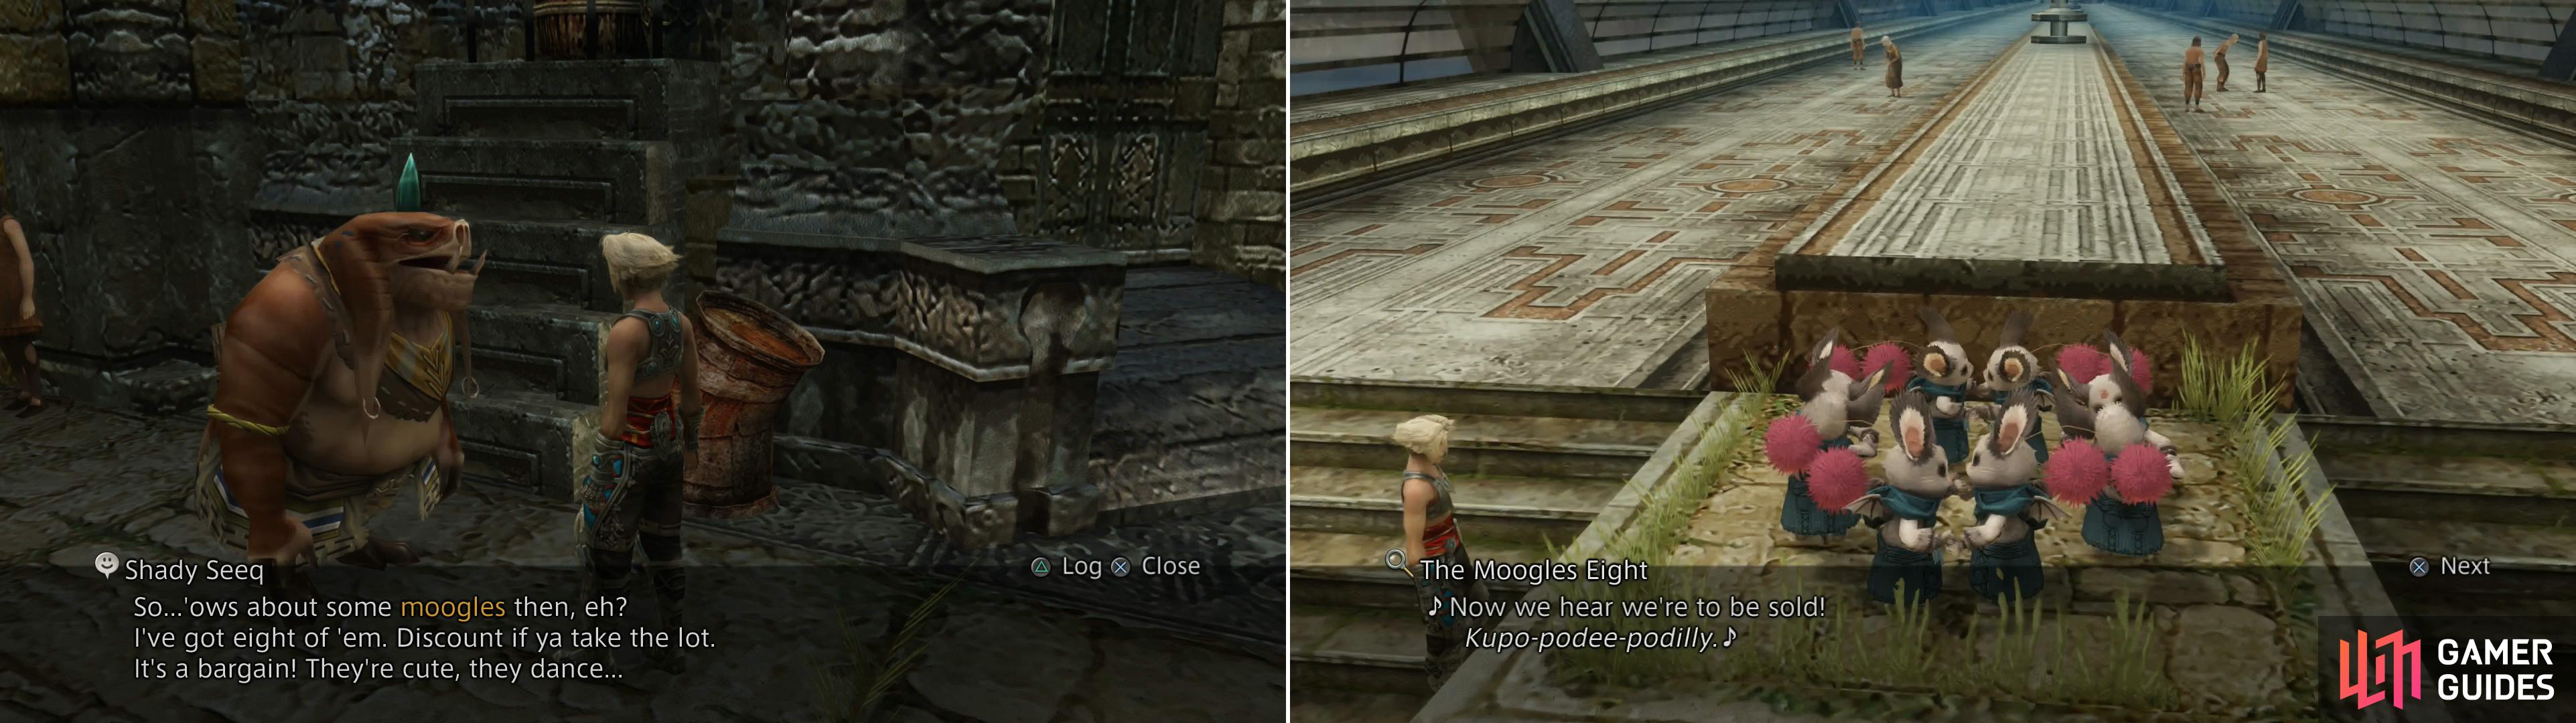
Backtrack west to the stairs the younger, swindled man sat on and ascend past him. At the top of these stairs turn south, then west to find a “Shady Seeq” who offers to sell you eight Moogles. Eh, is that even legal? Whatever, continue past the Seeq to the west, then turn north to find two parallel bridges leading to another part of Old Archades - the Alley of Muted Sighs. On a grassy platform between the stairs leading to these bridges you’ll find the aforementioned eight Moogles, who will dance and sing for you if you interact with them. D’aww.
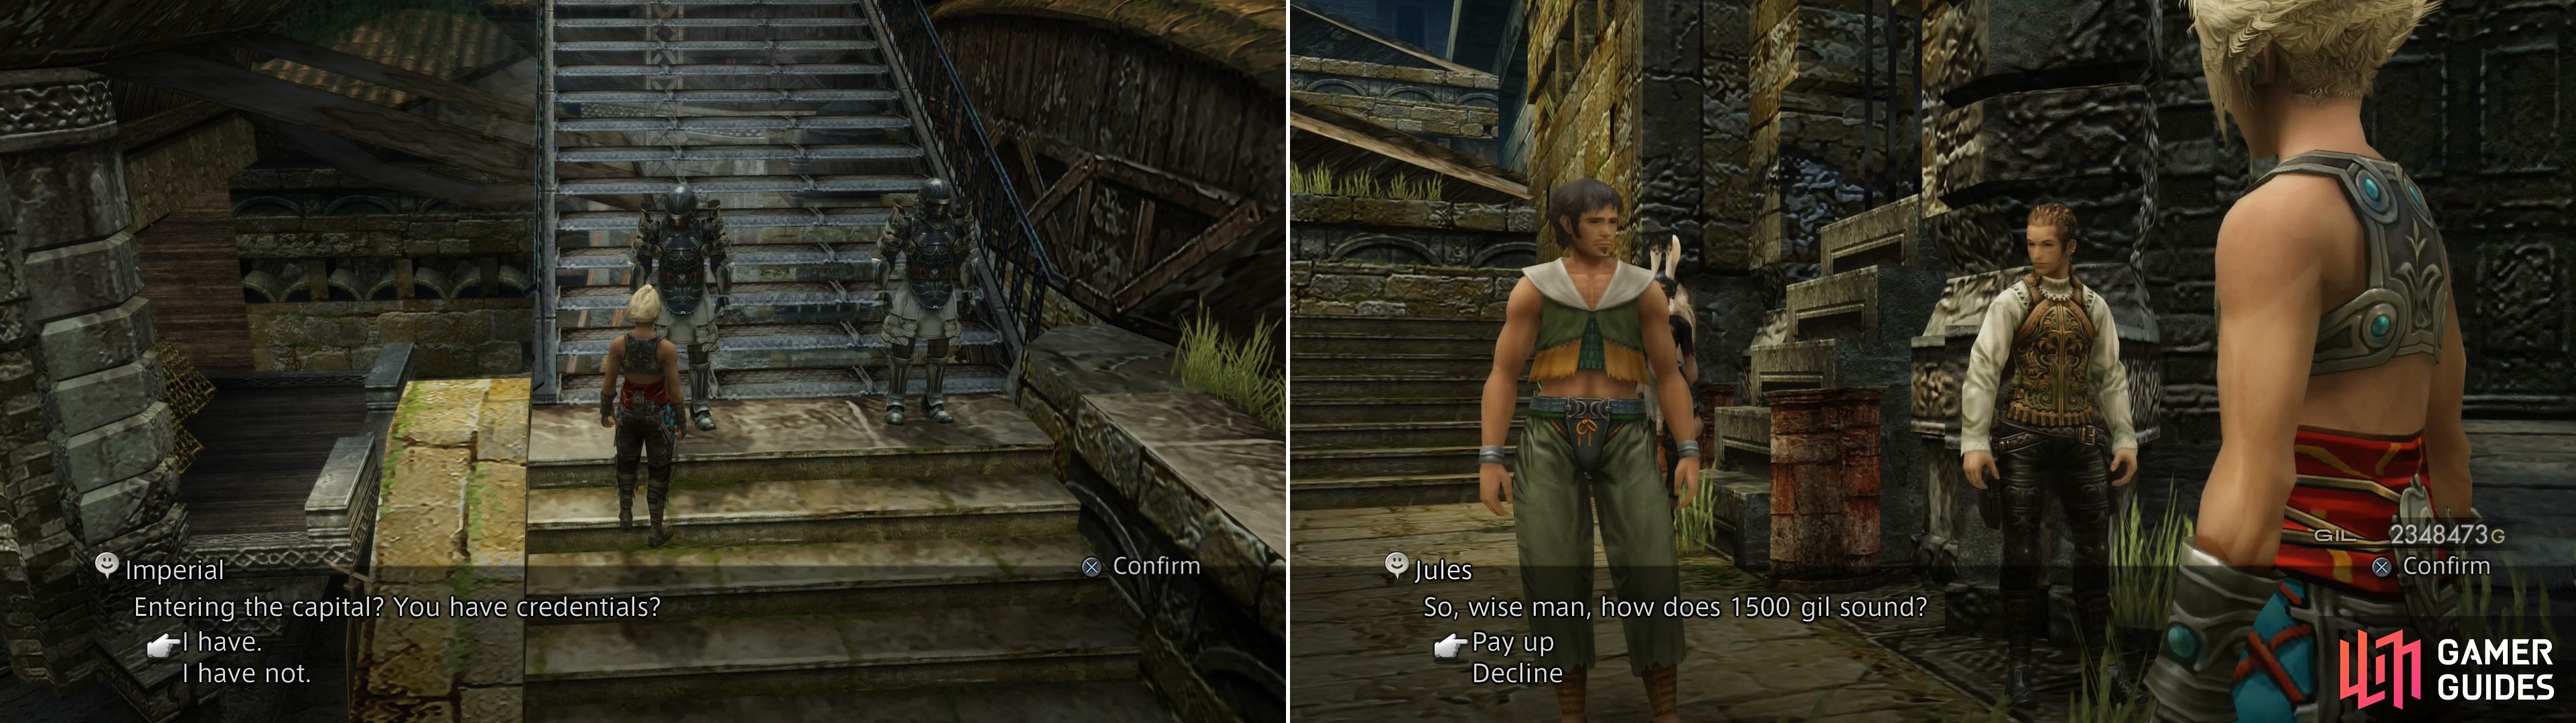
The way to Archades proper is blocked by some Imperial soldiers (left), but a steetear named Jules will offer to help you… for a price (right).
Alley of Muted Sighs
Cross the bridge to reach the Alley of Muted Sighs, then turn north to find a “Lucky Man” talking to a Seeq. Not like that! He’s lucky because he found a bag o’ coins in a barrel, something he blithely blurts out to a complete stranger before requesting you keep it to yourself. From this Lucky Man continue west a short distance to find a man named “Beasley” sitting beside a door, who bemoans the loss of the bag o’ coins he was hiding away. How convenient. Again, there’s not much you can do about this conflict-in-waiting for now, so continue north, west, then south to find a man named Jules sitting on some crates near a shoddy-looking clothesline. Chat with him and he’ll offer to buy secrets from you, should you pick up any good ones. Despite that, you can’t currently tell him anything, so just make a note of him, too, and move on.
Talk to one of the characters in Old Archades with valuable knowledge (left), then share that knowledge with an interested party (right).
Continue west and south of Jules, heading up multiple flights of stairs until you find yourself staring at a shiny Save Crystal. Make use of it, if you wish, then continue upstairs to the west to reach Archades. Or rather, the guards keeping the riff-raff out of Archades. Since you can’t well tell them you’re the rightful queen of Dalmasca or a former Judge turned Sky Pirate, you’ve got no choice but to admit you lack credentials… or lie about it. Either way, you’ll be tossed out on your ear.
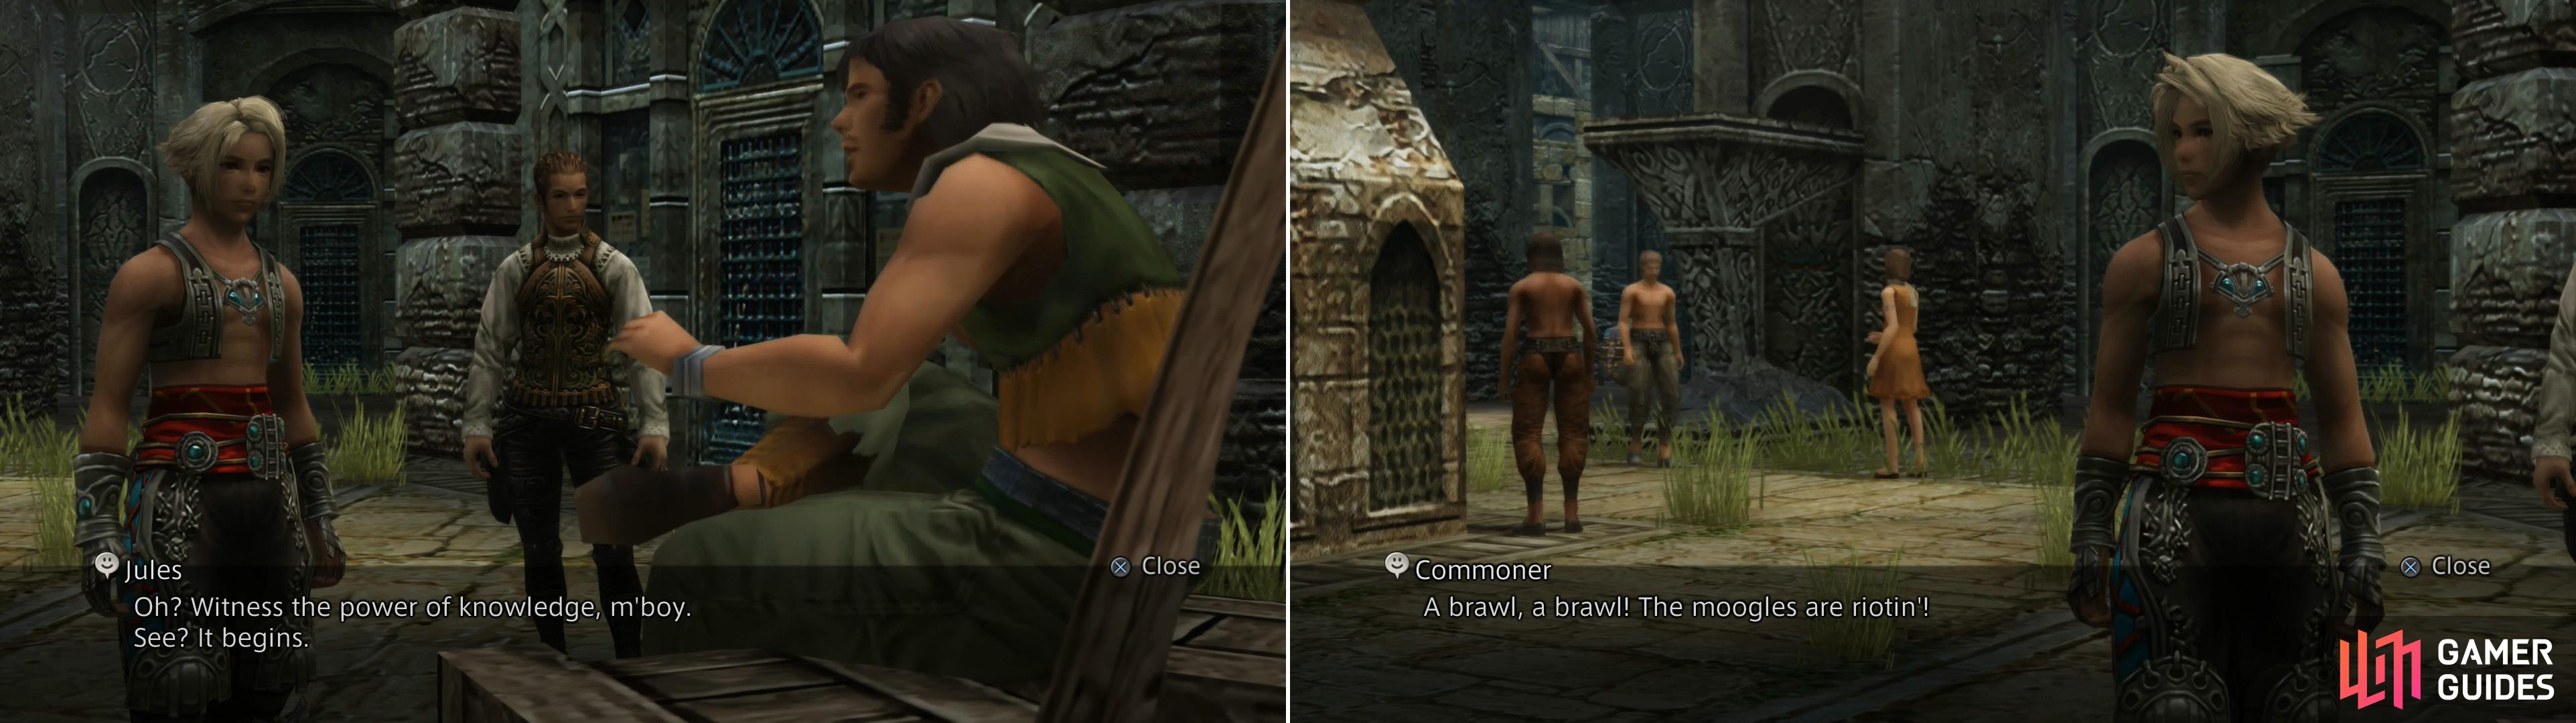
After dissemenating your information, return to Jules (left) and watch the mayhem you caused unfold (right).
Noticing your plight, an old friend of Balthier’s will show up and introduce himself, being none other than Jules the Streetear. After some blather he’ll end up extorting 1,500G from you. You’re not getting ahead without it, and since it’s inconceivable that you don’t have that much Gil lying about, pay up and he’ll hear your rumors. If you talked to all the aforementioned individuals in the previous paragraphs (the “Lucky Man”, the “Shady Seeq” and the “Ex-Broker”), you need merely tell Jules what you know. Or rather, Vaan’ll tell him one bit of info, which you’ll then have to resolve by talking to the aggrieved party. If Vaan tells about the “Lucky Man” you’ll need to inform Beasely of his theft. If he brings up the “Shady Seeq” you’ll need to inform the eight dancing Moogles, and if he brings up the “Ex-Broker” you’ll need to inform the “Fresh Ardent” sitting on the stairs. Either way, a… civic disturbance ensues, and the guards watching the stairs are drawn from their duties, allowing you to slink past.
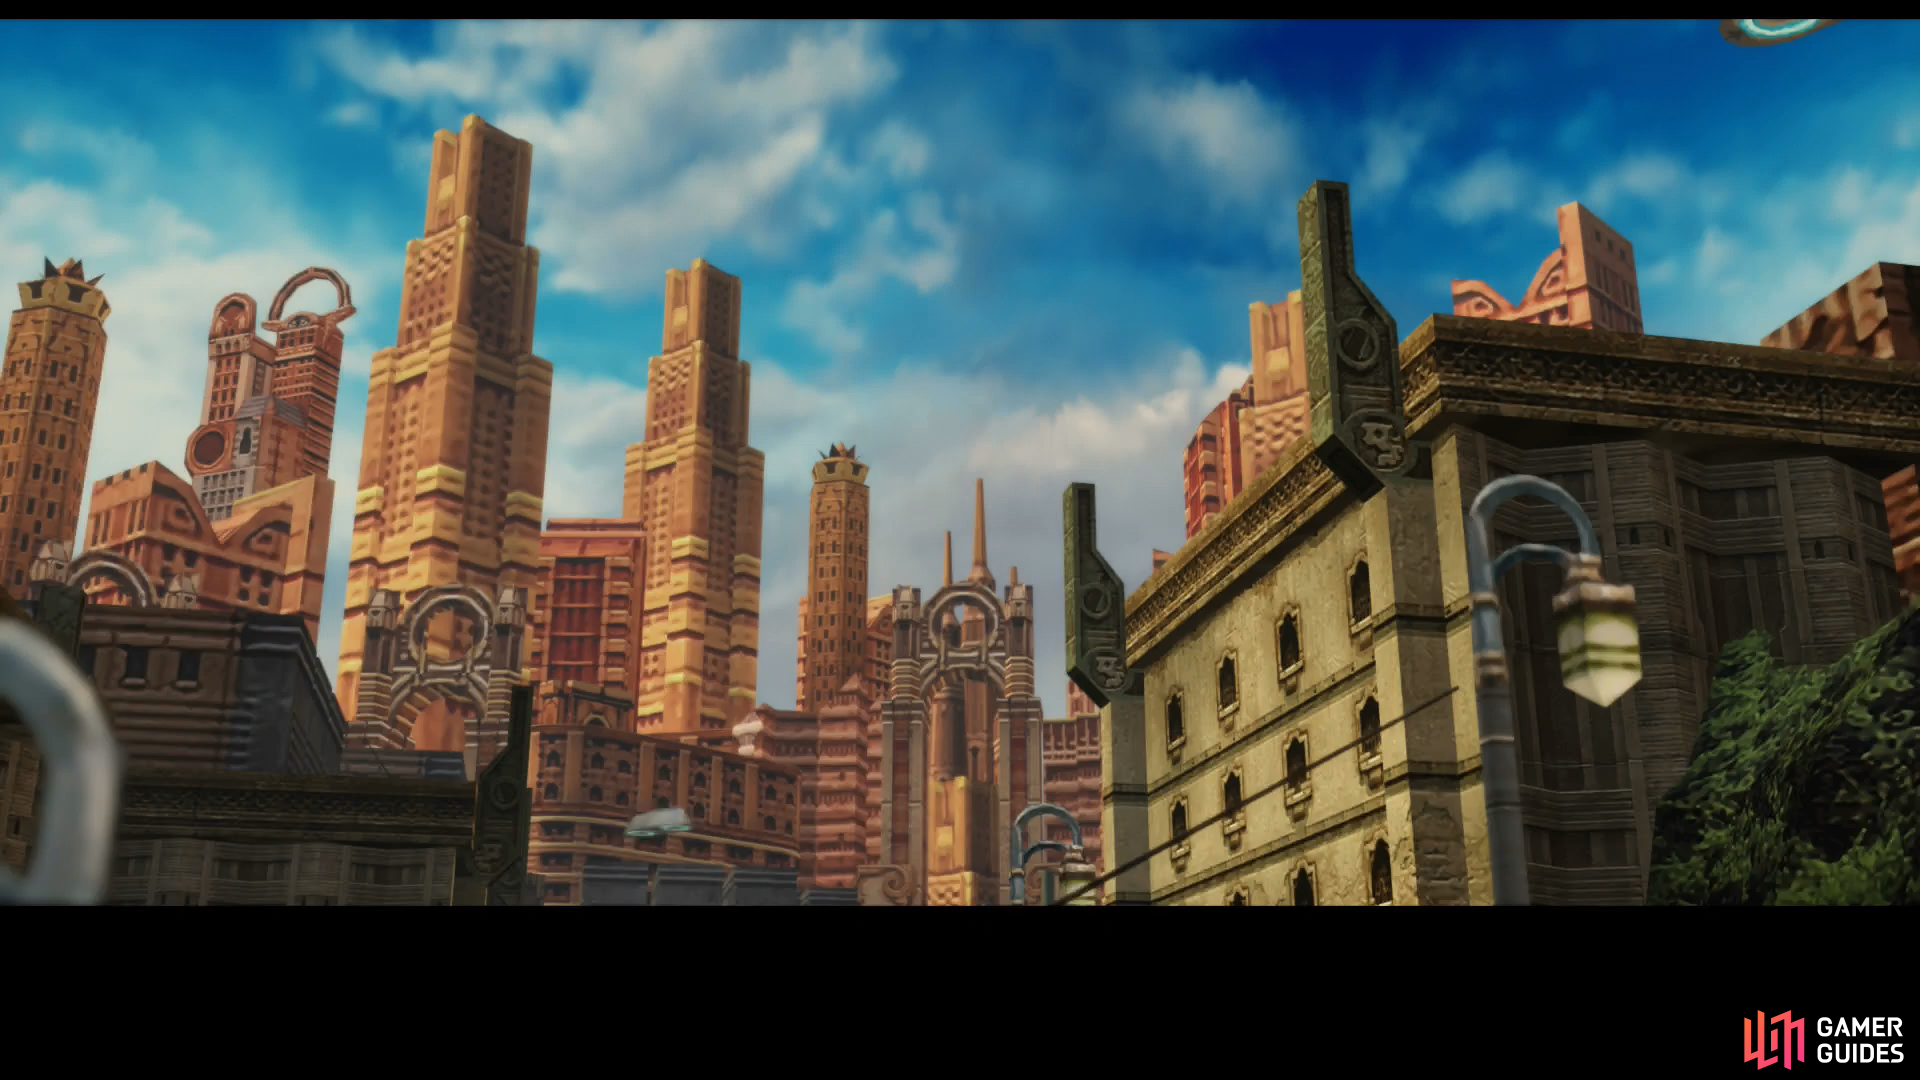
Trant
When you reach Archades proper, Penelo will indulge Vaan by lying to him a bit, after which you’ll be free to explore. You can chat with the stuff upper and middle-classed Archadians here, if such a diversion strikes your fancy, although there’s little of note in this area save the fact that Balthier will part your company halfway through the zone, as you head west. He doesn’t actually leave the party, though, so never fear. The most important thing you can do in Archades - while you look for the Draklor Laboratory, anyways - is go shopping. Big city, new stores, plunder from all the Empire’s domains… they’ve got to have some high-end merchandise, right? To facilitate this you’ll need to head to other areas, however, and there are two area transitions to the west which lead to the Molberry area, and two to the south which lead to the Rienna area.
Rienna
Situated south of the Trant area, and east of the Nilbasse area, there are three shops in this zone, including Lebleu’s Gambits (hopefully you have all the Gambits available by now!) and Granch’s Requisites (an item shop) and an Aerodome with an attendant Save Crystal at the eastern end of the area. Fortunately, for the sake of story integrity there are no flights available… as well there shouldn’t be, considering the dangers of air travel were an excuse that forced you to travel by foot.
Lebleu’s Gambits:
There’s little to recommend this shop, unless you desperately need Gambits at this late stage. There is a Chopmaster upstairs, however.
Granch’s Requisites:
An item shop that sells a new curative - the X-Potion. These wonderful curatives heal the target a great deal and cost a hefty 520G each. Consider grabbing some if you have enough Gil, as they’re fine healing items that’ll be useful in many upcoming encounters. Aside from the standard Chopmaster upstairs you’ll also find a Notice Board, if you’re inclined to pick up any new hunts. Let’s save that business for later, however, and instead focus on the task at hand.
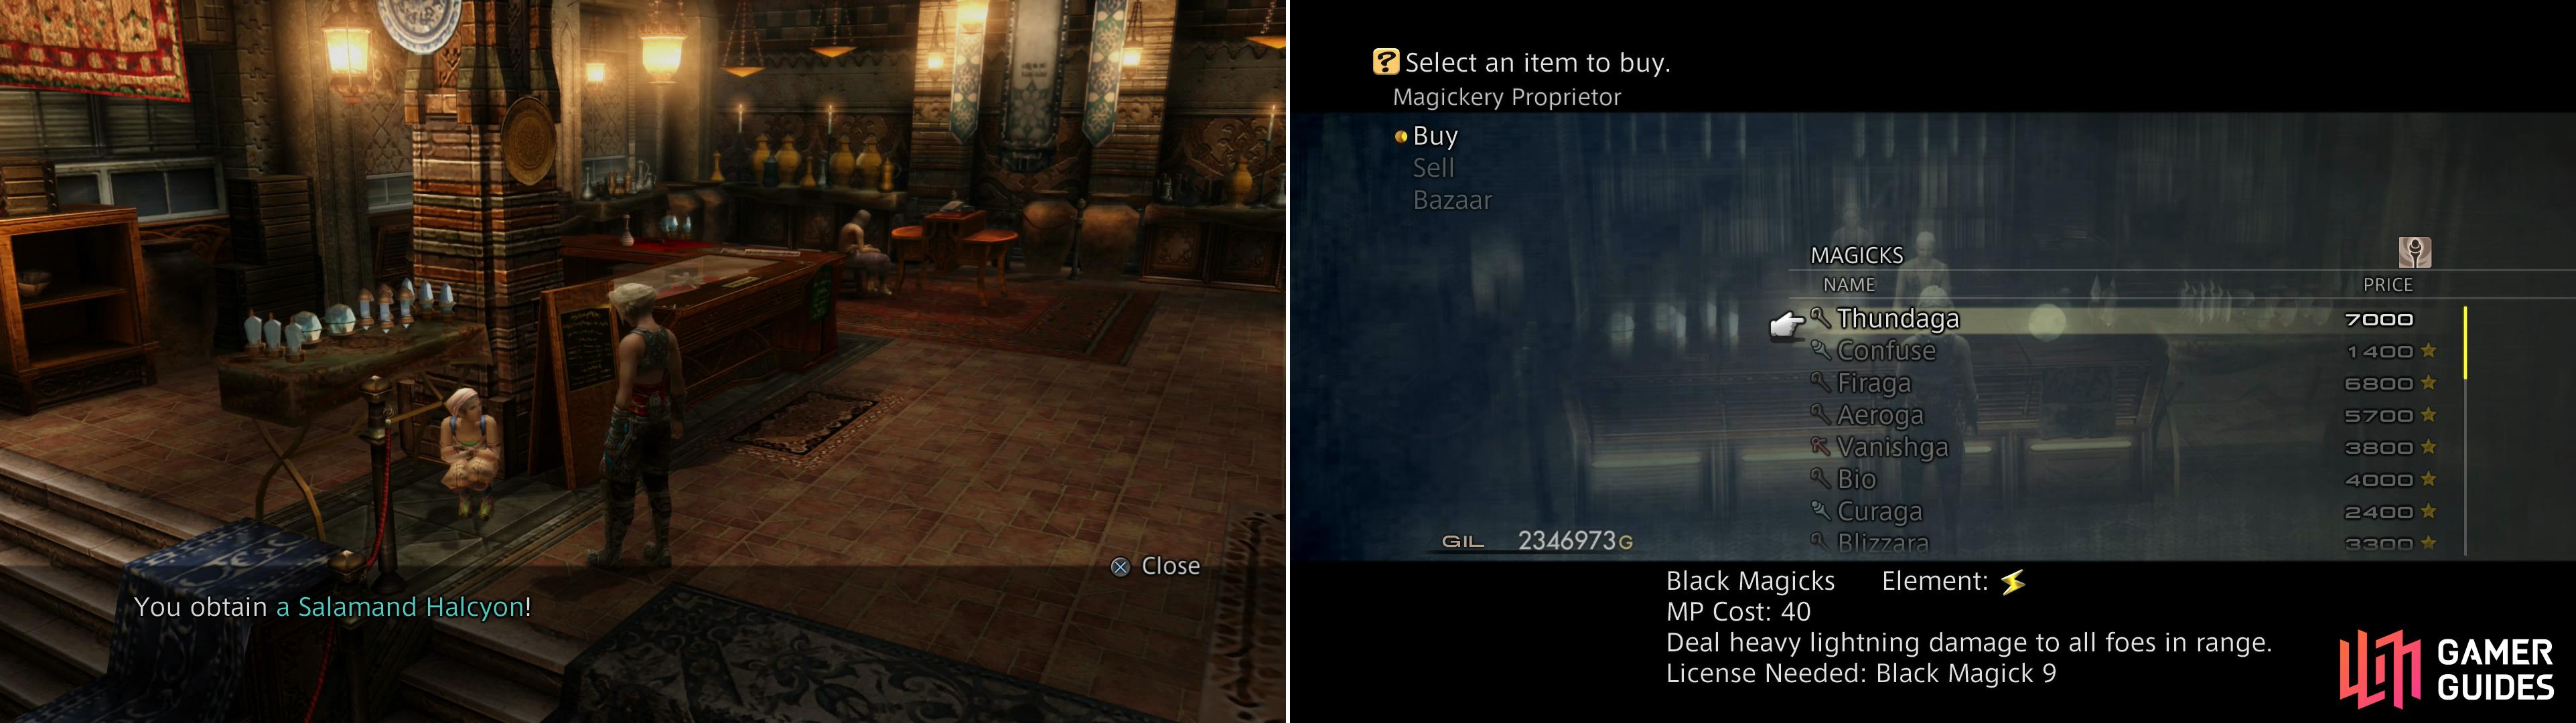
In Charlotte’s Magickery you’ll meet July, who will reward you for your assistance earlier (left). You might as well pick up new magicks while you’re here (right).
Molberry
In this area you’ll find Charlotte’s Magickery along the eastern end of the zone, and Bulward’s Technicks along the western end. Its eastern two area transitions lead back to the Trant area, while its southern two lead to the Nilbasse area.
Charlotte’s Magickery:
There’s plenty to do in the magick shop, including, obviously, buying new magicks. The Magickery Proprietor here will sell you the new magick Thundaga (Black Magick 9), a fine way to diversity your Black Mage’s arsenal. Head upstairs and talk to the crouching woman on the left, who turns out to be July. Still up to no good, it seems, if you talk to her she’ll reward you with a Salamand Halycon for your help at Nalbina Fortress earlier.
Bulward’s Technicks:
Less interesting than the magick shop, this shop doesn’t sell a single new technick. You can, however, find a Cartographer Moogle who will sell you maps of the Tchita Uplands (better late than never) and Archades, as well as another Chopmaster.
| Cartographer’s Guild - Maps | . |
|---|---|
| Tchita Uplands | 3,300 Gil |
| Archades | 230 Gil |
Nilbasse
There’s but one shop in this zone, Vint’s Armaments, which is just north of the cab that’ll take you deeper in to Archades… but more on that in a bit. This zone’s northern area transitions leads to the Molberry area, while its eastern area transition leads to Rienna.
Vint’s Armaments:
While being one building, there is, in fact, a Weapon Seller and an Armor Seller inside. Most of the gear they sell could have been found in the Tchita Highlands, of course, at considerable more time and bother. If you want them here, however, expect to spend between 7,000G and 12,000G per item for the latest gear.
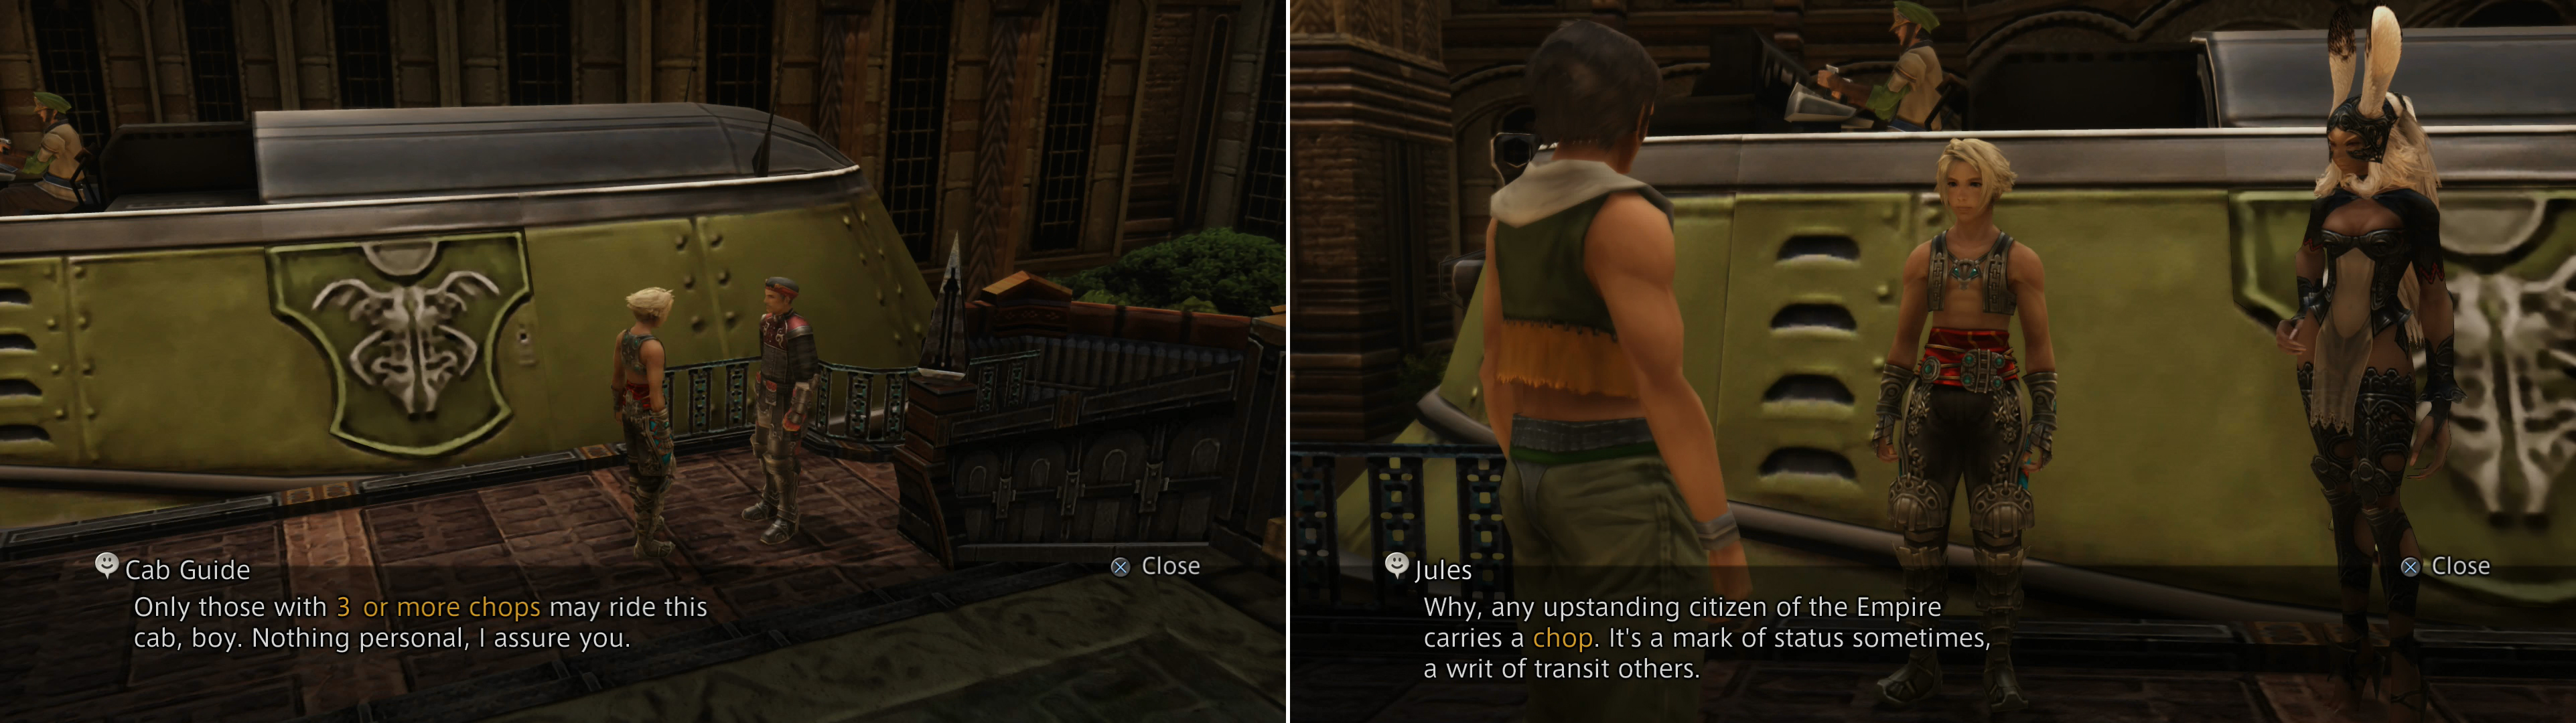
When you attempt to board the cab, you’ll be informed that you need three Chops to ride (left). Fortunately, Jules shows up and explains how to obtain these treasures (right).
Earning Your Chops
When you’re done shopping and chatting with NPCs (many of which seem to be curiously grouped into pairs of complimentary needs and haves) head south from Vint’s Armaments to find an air cab. Seems Balthier is awaiting you further west, and this is the only passage, but the cab driver informs you that you need three Chops to secure such passage… or 1,000,000G. Even if you have that prodigious sum of money (thanks, Cat-ear Hood!) it’ll be assumed you don’t, or you’re too stingy to pay that outrageous sum.
Again, sensing a need Jules shows up and demands another 2,500G. Pay up and he’ll tell you what you need to know - Chops are indicators of social status here in Archades, and by chatting to NPCs and helping them resolve their petty problems you may just earn enough to secure a cab ride. That certainly explains the pairs of NPCs you may have talked to during your shopping trip, at any rate. After you part ways with Jules (knowledge is profitable, for him at least) you’ll have to see to the task of… earning your Chops… on your own.
To earn these Pinewood Chops, you must talk to NPCs that have a need (noted by the highlighted, yellow text in their dialogue), after which you’ll need to talk to the corresponding relevant NPC, usually one who will provide what the first NPC was looking for. After you talk to the first NPC you’ll get the option to commit what they said to memory, after which you’ll get the option to tell various NPCs about the memory you stored from the first NPC. Since Vaan has the attention span of a gnat, whatever message you have memorized will be erased if you leave the area or talk to another NPC and memorize their need. Tell the right memory to the right NPC and they’ll give you a Pinewood Chop, of which you need three, but if you want to be a go-getter you can earn up to twenty-eight, which can then be traded for a Sandalwood Chop. You might as well go ahead and get this out of the way while you’re in Archades. The different NPCs pairs you can help out are listed below.
Nilbasse (6):
- Working up a Sweat : Just west of the Vint’s Armaments shop you’ll find a Gentleman Onlooker who will pass on the “Working up a sweat” tale. Impart the words to an Eager Crier running around outside of the shop.
- Words of Encouragement : West of Vint’s Armaments you’ll find a Senior Researcher who will give you the “words of encouragement” tale. Find a Failed Researcher to the east of Vint’s Armaments and tell him the tale.
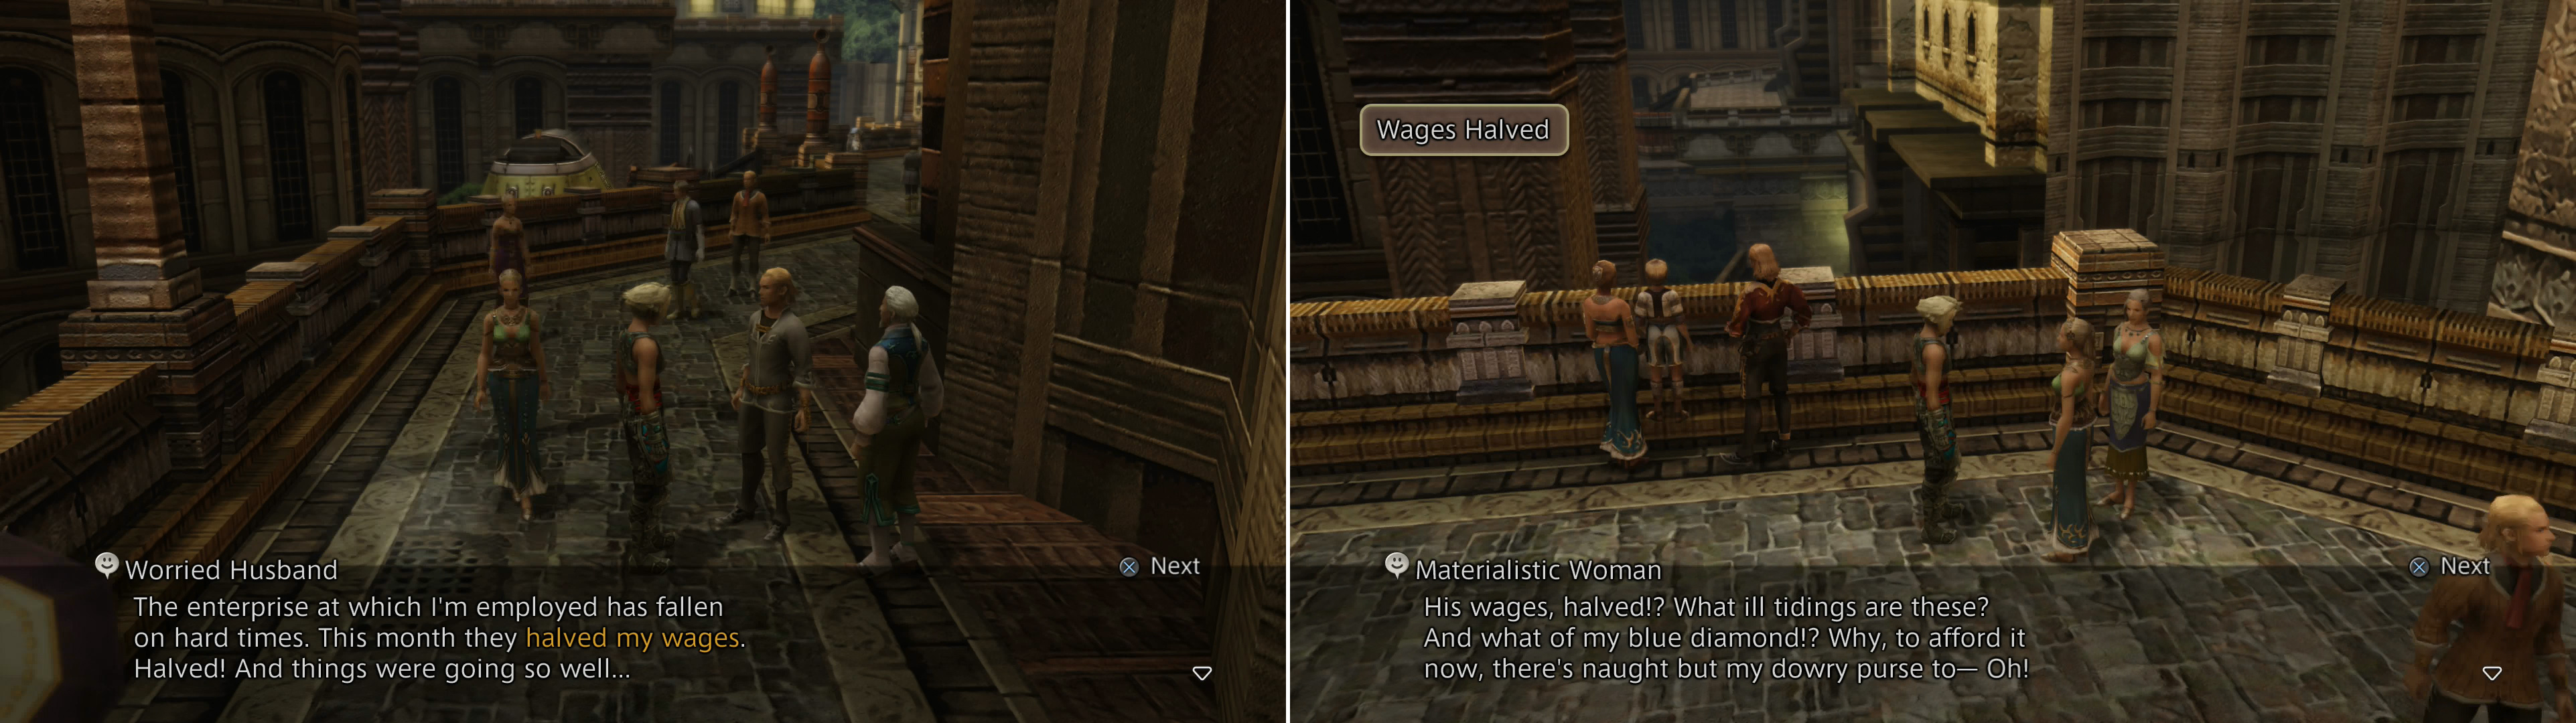
A Worried Husband laments this his employer “halved my wages” (left), but his Materialistic Wife merely turns to previously untapped resources (right).
- Wages Halved: East of Vint’s Armaments you’ll encounter a Worried Husband, who imparts the tale “halved my wages”. Tell his aptly-named Materialistic Wife who is walking outside Vint’s Armaments.
- A Grand Line of Gamesmen : Just south of the area transition to the Molberry area you’ll find an Athletic Woman, who boasts she’s part of a “grand line of gamesmen”. Find an Avid Reader outside of Vint’s Armaments and tell him of his sister’s concerns.
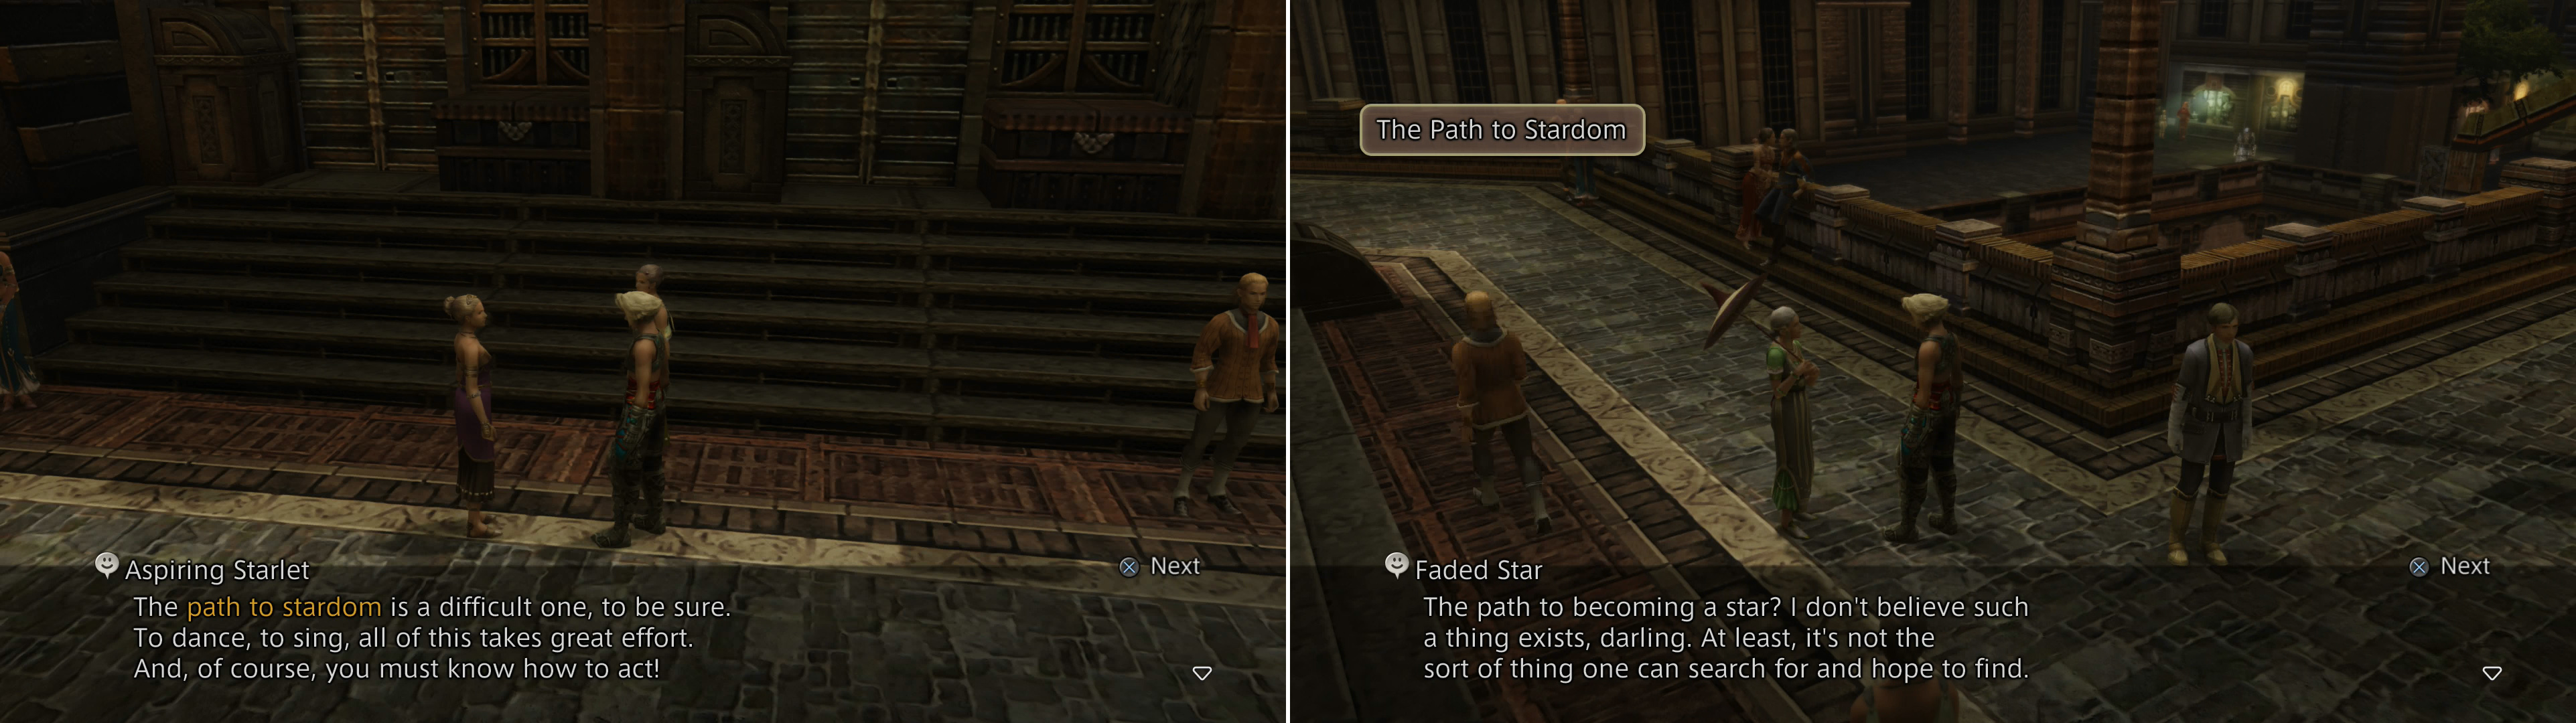
An Aspiring Starlet will complain about the “path to stardom” (left), while a Faded Star will discount the concept entirely (right).
- The Path to Stardom : In between the area transitions to the Molberry and Rienna areas you’ll find an Aspiring Starlet, who ponders the perils along the “path to stardom”. Tell a Faded Star and she’ll impart some advice.
- Time to Leave : Find a Determined Researcher along the eastern end of the area and she’ll tell you she’s decided it’s “time to leave” her job. Tell her father, the Ex-Researcher nearby.
Molberry (9):
- The Traveler : In the southeastern edge of the zone you’ll find an Avid Traveler, who talks about her love of “traveling”. Head to the western-most end of the area, past Bulward’s Technicks, and tell a Traveling Gentleman about the Avid Traveler.
- The Mummer: At the western-most edge of the level, past the Bulward’s Technicks shop you’ll find a Reminiscing Lady, who will tell you about “the mummer” act. Talk to a Family-minded Girl about what the Reminiscing Lady said. You’ll find her between the two area transitions to the Nilbasse zone.
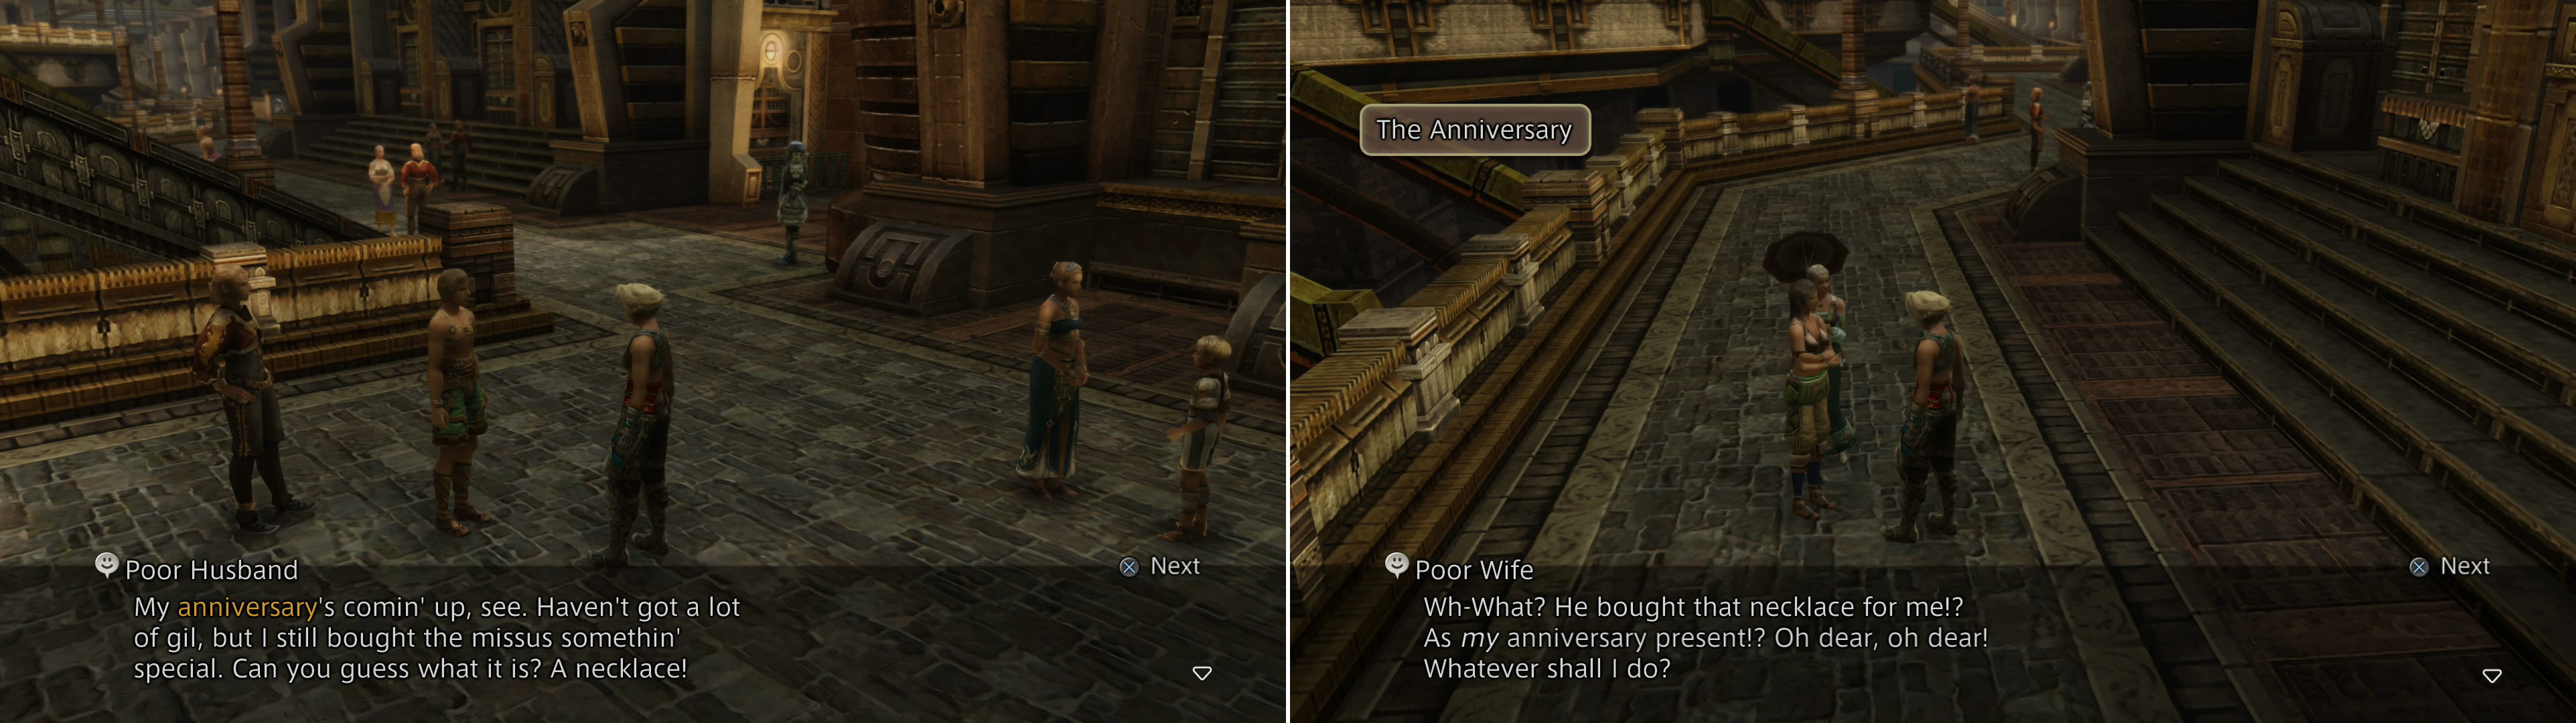
A Poor Husband reveals his “anniversary” gift to you (left), but a conversation with his Poor Wife reveals an unforeseen complication (right).
- The Anniversary : Talk to a Poor Husband along the southeastern end of the area, just west of the eastern-most area transition leading to the Nilbasse area and he’ll mention his “anniversary”. Inform his Poor Wife to the east so she can attempt to cover for her mistake.
- A Knack for Magick : West of Charlotte’s Magickery you’ll find a Talented Woman, who runs about boasting about her “knack for magicks” to all who will listen. You’ll find her match - an Akademician - to the west, near Bulward’s Tecknicks.
- The Eight & Twenty Chops : West of Charlotte’s Magicks you’ll find an Ardent Woman, who claims to have gathered “eight-and-twenty” Chops. Find an Ardent Man running around near the stairs to the west and tell him the news.
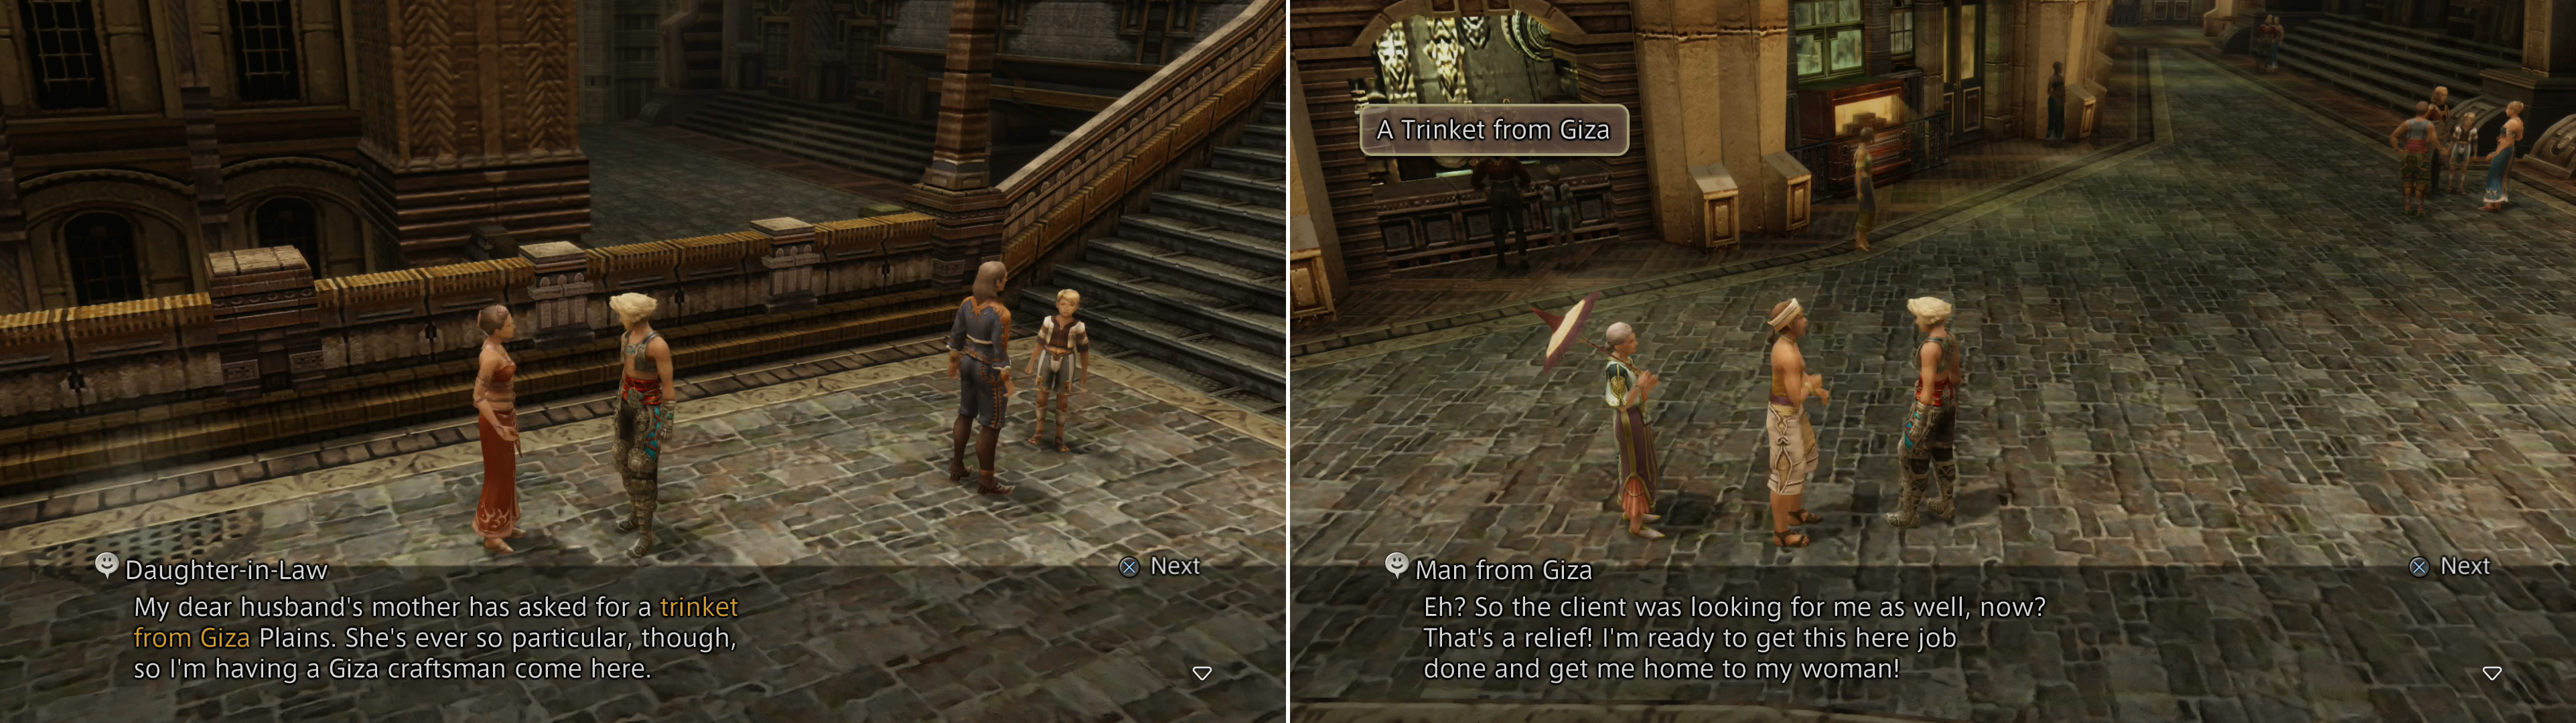
A Daughter-in-Law conspires to acquire a “trinket from Giza” for her husband’s mother (left), and to facilitate this you’ll need to locate the wayward “Man from Giza” (right).
- A Trinket from Giza: Near where the mummer juggles east of Bulward’s Technicks you’ll find a red clad Daughter-in-Law, who mentions a “trinket from Giza” that her mother-in-law wants. Head up the stairs and search near Bulward’s Technicks for an agitated Man from Giza to reunite the two.
- The Master of Disguises : In the plaza downstairs to the east of Bulward’s Technicks you can find a Look-alike, who tells you of some “master of disguise” that’s impersonating him. Find another Look-alike on the lower level south of Charlotte’s Magickery, between the two area transitions that lead to Nilbasse.
- To be a Judge : In the plaza downstairs to the east of Bulward’s Technicks you can find a Would-be Judge, who talks about his dream “to be a Judge”. Near, or just west of Charlotte’s Magickery you’ll find a Judge’s Wife, who gives some advice to the would-be Judge.
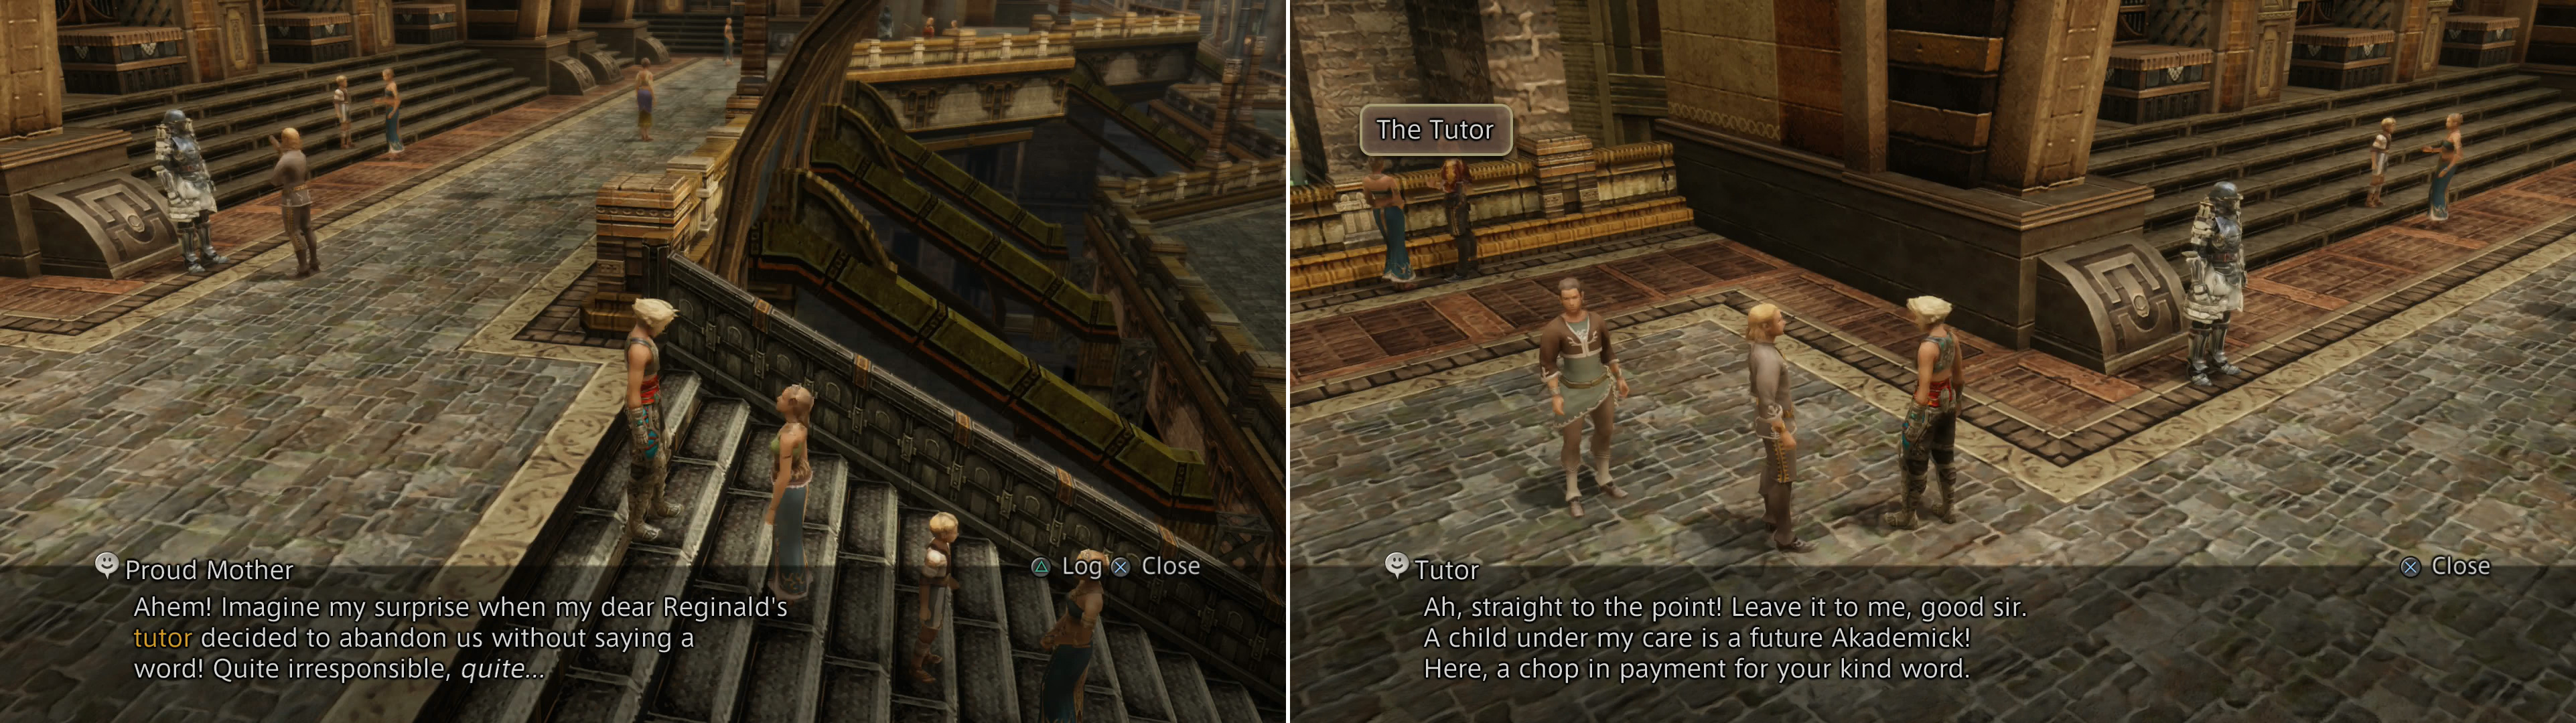
A Proud Mother needs a new “tutor” for her brat (left), and fortunately a Tutor can be found nearby (right).
- The Tutor : East of Charlotte’s Magickery you’ll find a Proud Mother, whose devilish child chased away his last “tutor”. Talk to the nearby Tutor to gain him employment, and her brat a new tutor.
Trant (6):
- The Boutique : Near the northwestern end of the zone you’ll find a Boutiquere, who complains about her poverty preventing her from establishing her own “boutique”. Talk to a Monied Gentleman in the northeastern corner of the area to find her a financier.
- A History of Empire : Talk to a Historian along the eastern-most edge of the area, who will complain about his countryman’s ignorance of Archadia, particularly of “her history”. Near the southwestern-most area transition leading to the Rienna zone you’ll find a Perceptive Man, who is receptive to a history lesson.
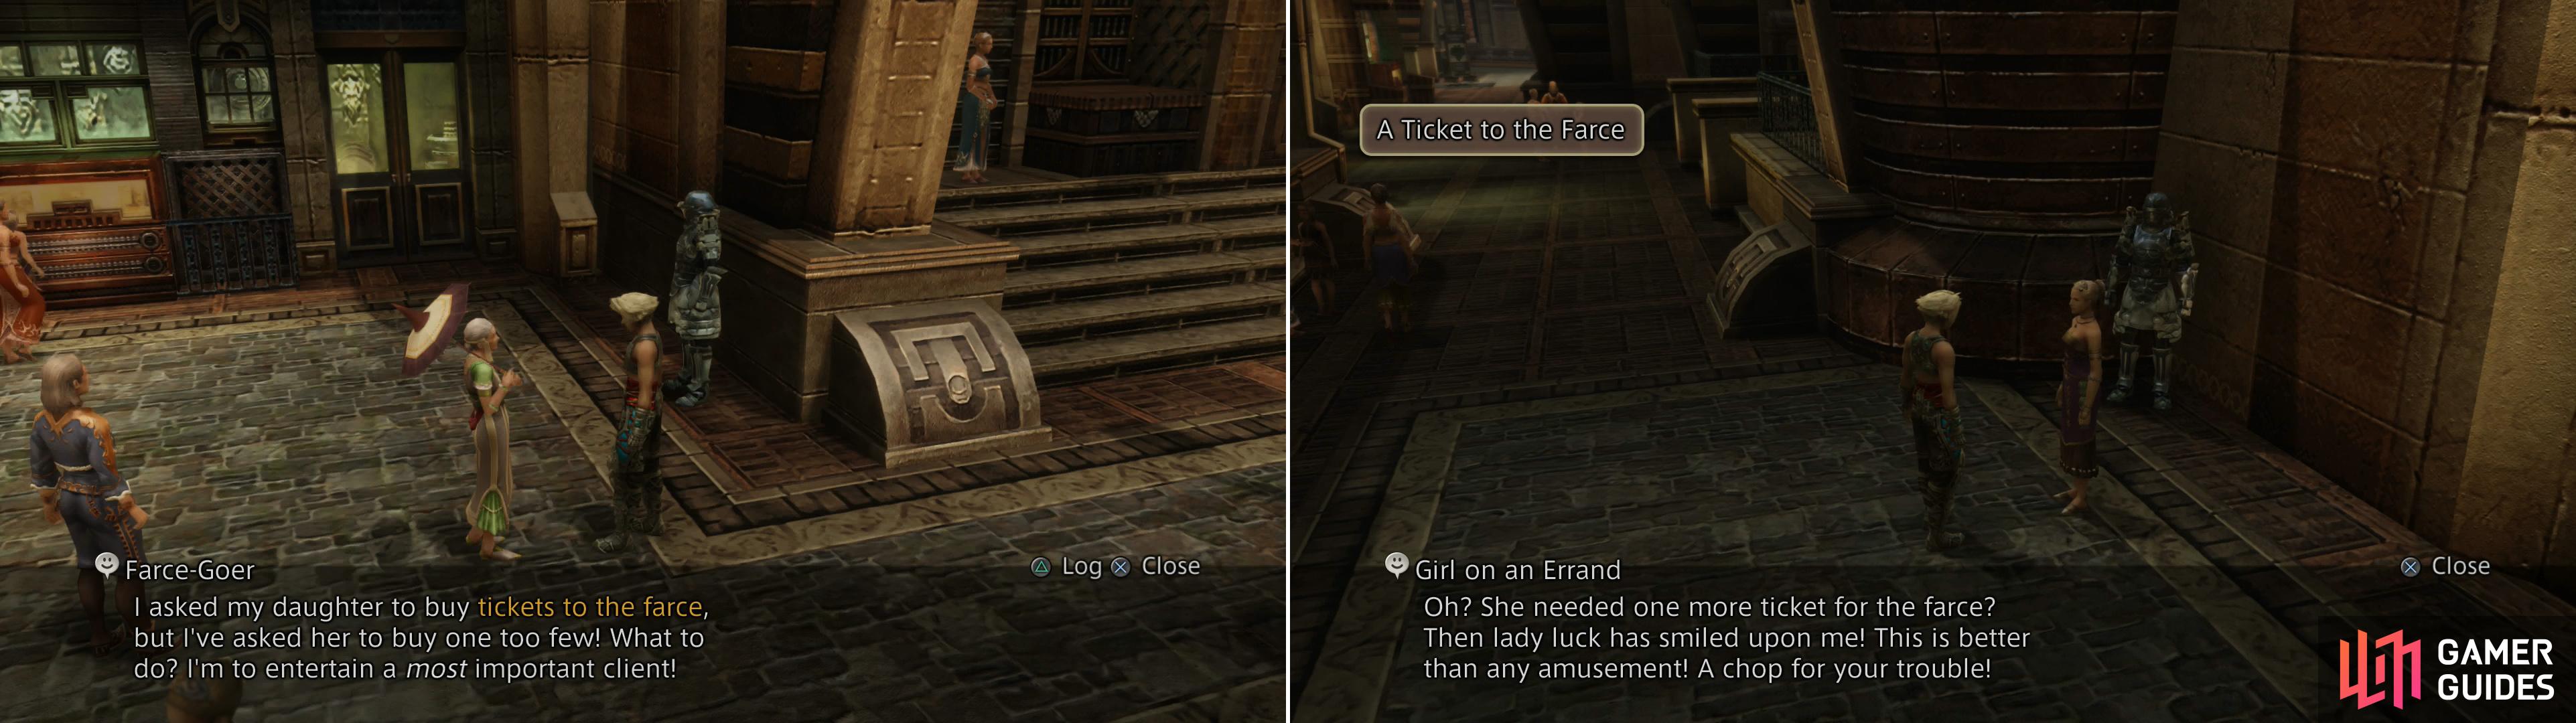
A Farce-Goer asked her daughter to “buy tickets to the farce”, and fortunately her daughter’s incompetence compensated for her own (right).
- A Ticket to the Farce : Near the northwestern end of the zone you’ll find a Farce-Goer, who told her daughter to buy too few “tickets to the farce”. Find her daughter, a Girl on an Errand, near the southeastern-most area transition to the Rienna zone.
- The Lutenist: You’ll find a Music Appreciator on the upper half of the zone, near the elbow of the L-shaped walkway. Talk to her and she’ll reveal that she seeks a “lutenist”. You’ll fortunately find a Lutenist in the southwestern end of the zone, near an area transition leading to Molberry.
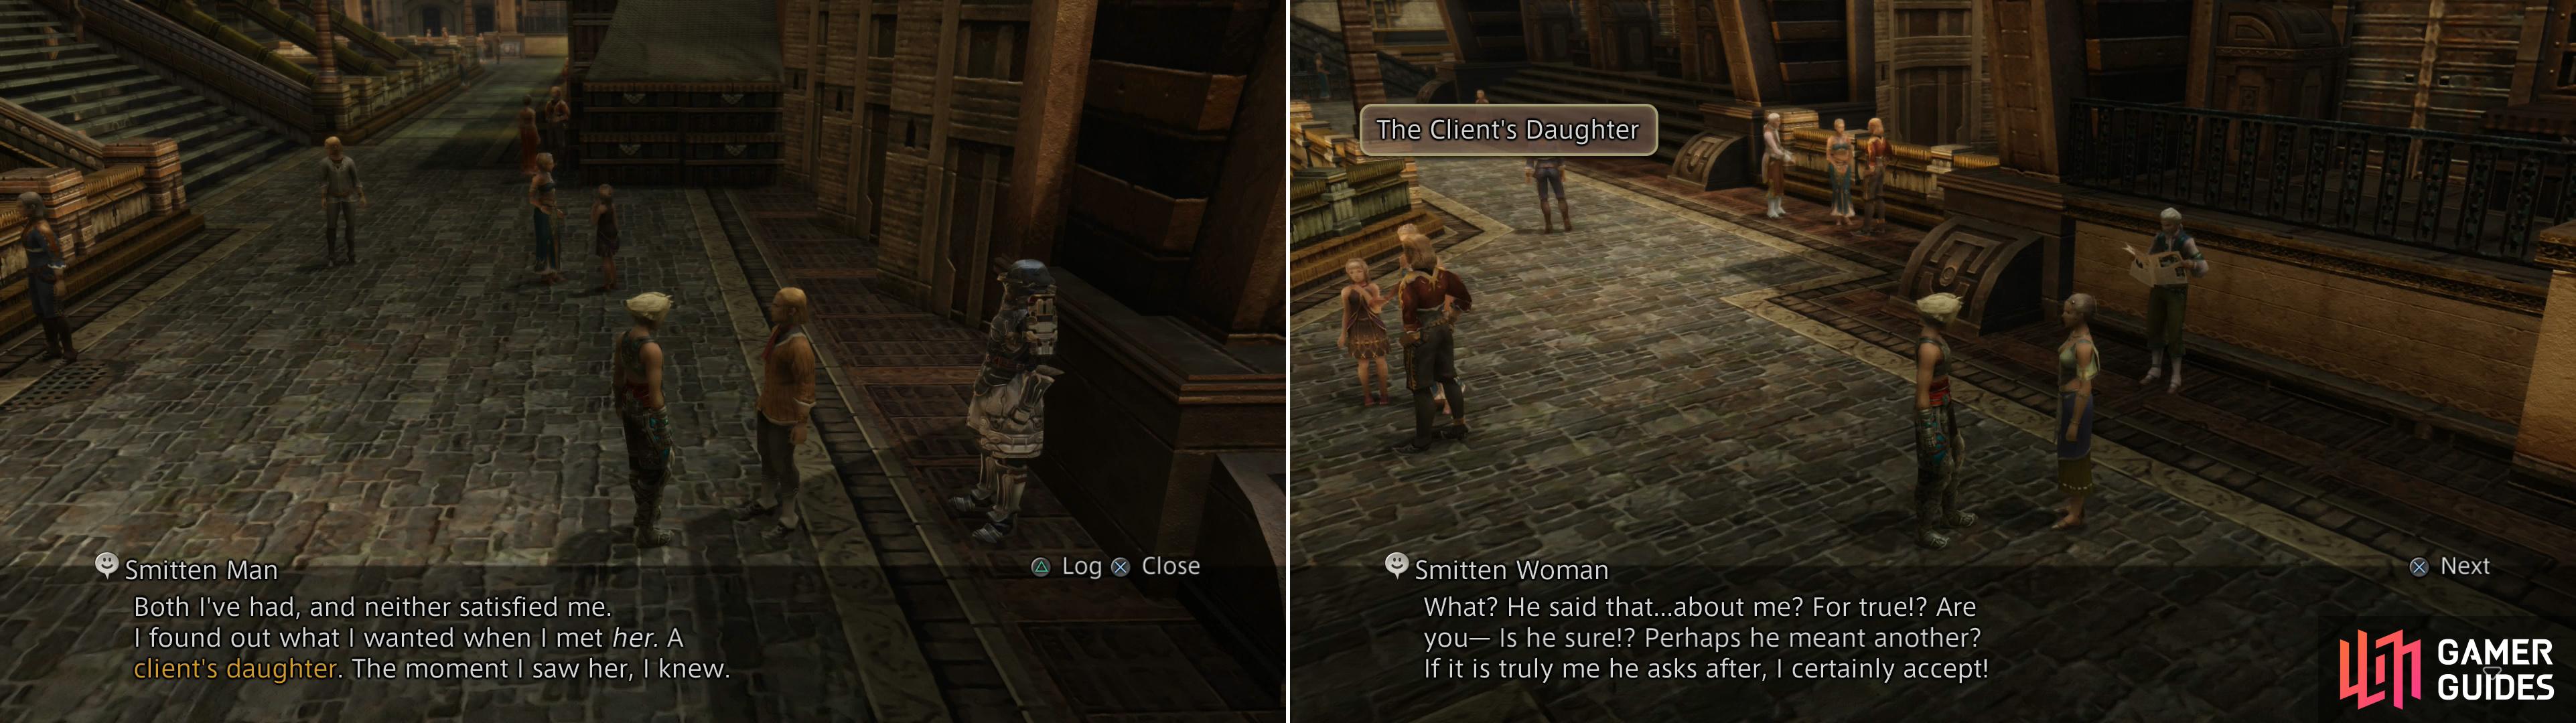
A Smitten Man dares to wonder at a possible romance with his “client’s daughter” (left), and fortunately for him, the Smitten Woman shares his interest (right).
- The Client’s Daughter : Along the southwestern end of the zone you’ll find a Smitten Man, who pines for his “client’s daughter”. Play matchmaker by finding the Smitten Woman near the southeastern end of the zone.
- The Artisan Architect : Search the southeastern end of the zone to find a Builder, who seeks a man who is both an “architect” and an “artisan”. You’ll happen to such such a man, an Artisan Architect, in the southwestern end of the zone, near the area transition to Rienna.
Rienna (7):
- A Revolutionary Dish : In the western end of the area you’ll find a Philosopher of Cuisine, who desires a “revolutionary dish”. Either outside of Lebleu’s Gambits or a bit to the east you’ll find a Dangerous Chef, who serves as a reminder that revolutions are often unpleasant.
- What She Wants: Between the western end of the zone and Lebleu’s Gambits you’ll find a Good Brother, who means to remind his sister that a store has “what she wants”. Head to the east where you’ll find a Waiting Woman between Granch’s Requisites and the Aerodome.
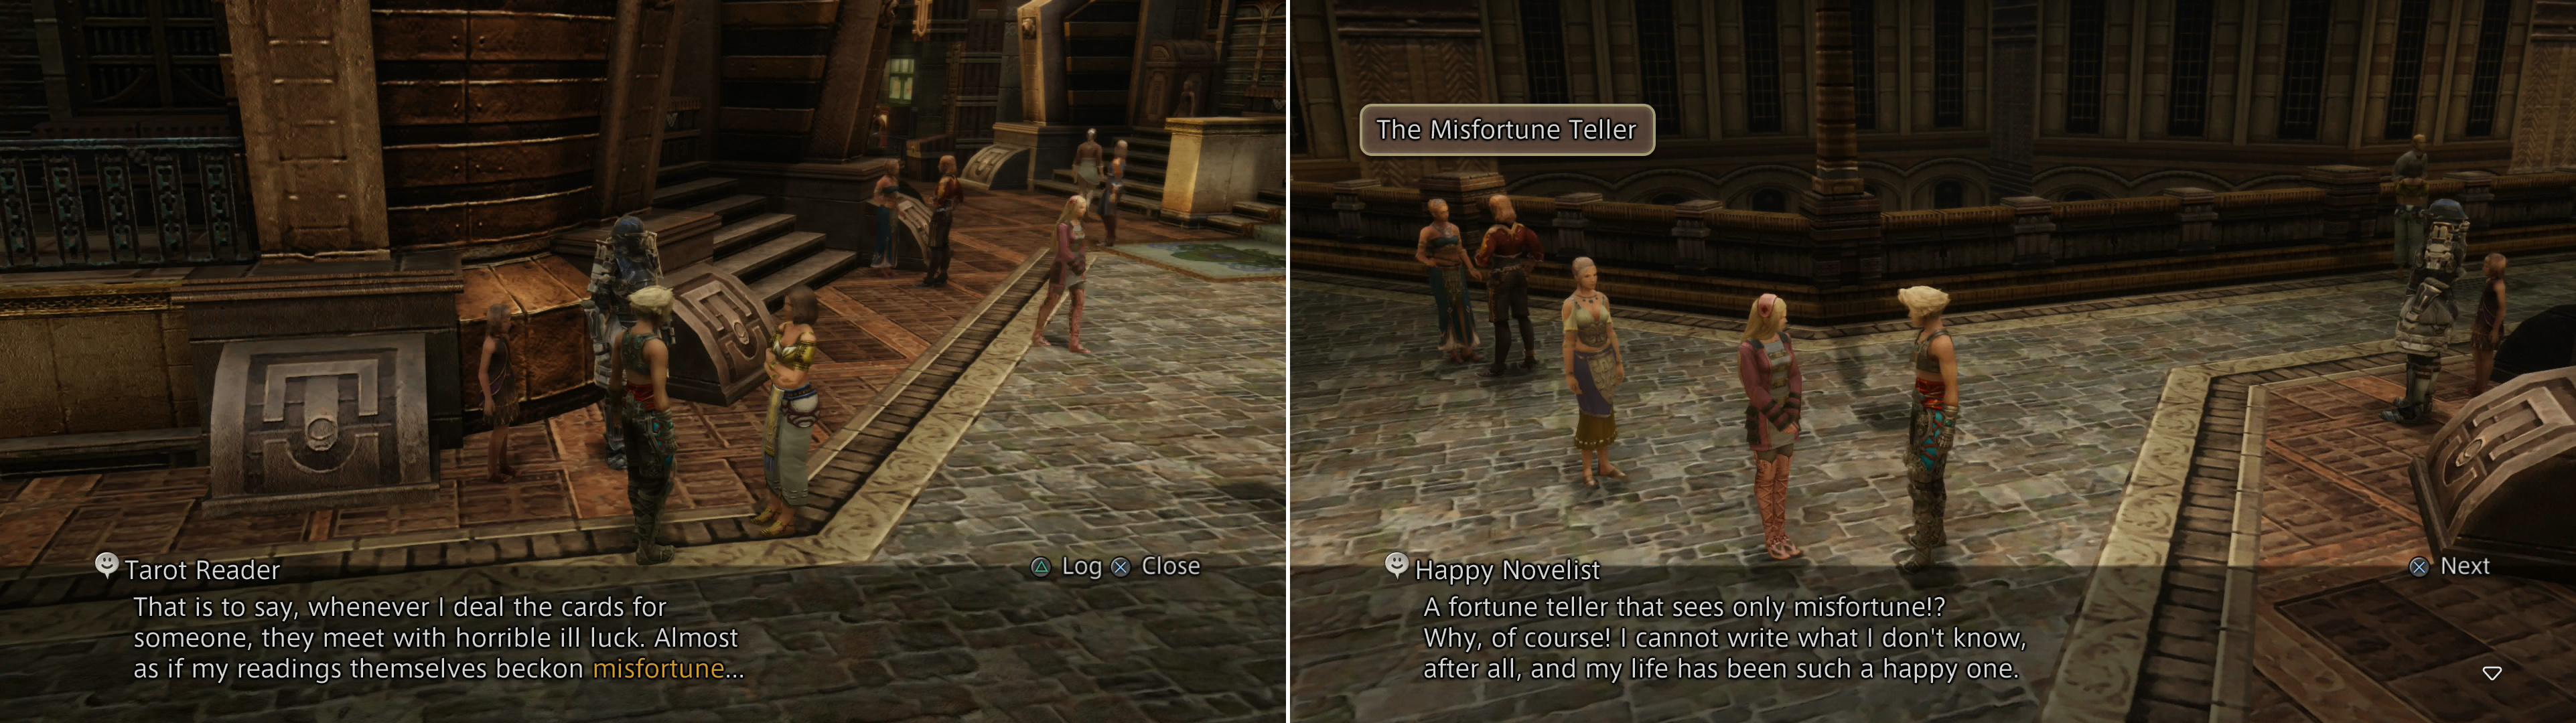
Talk to the Tarot Reader to learn about the “misfortune” that attends her tarot readings (left), then inform the Happy Novelist (right).
- The Misfortune Teller: Outside of Lebleu’s Gambits you’ll find a Tarot Reader, whose cards always reveal “misfortune”. A short distance to the east you’ll find a Happy Novelist, who needs a bit of misery to spice up her writing.
- An Epistle to Love : Between Lebleu’s Gambits and Granch’s Requisites you’ll find a Lucky Man, who is busy pondering the “epistle to Love” he found on the ground. South and perhaps a bit east of the Granch’s Requisites you’ll find a Romantic Lady, who will become upset when you tell her how her plan played out.
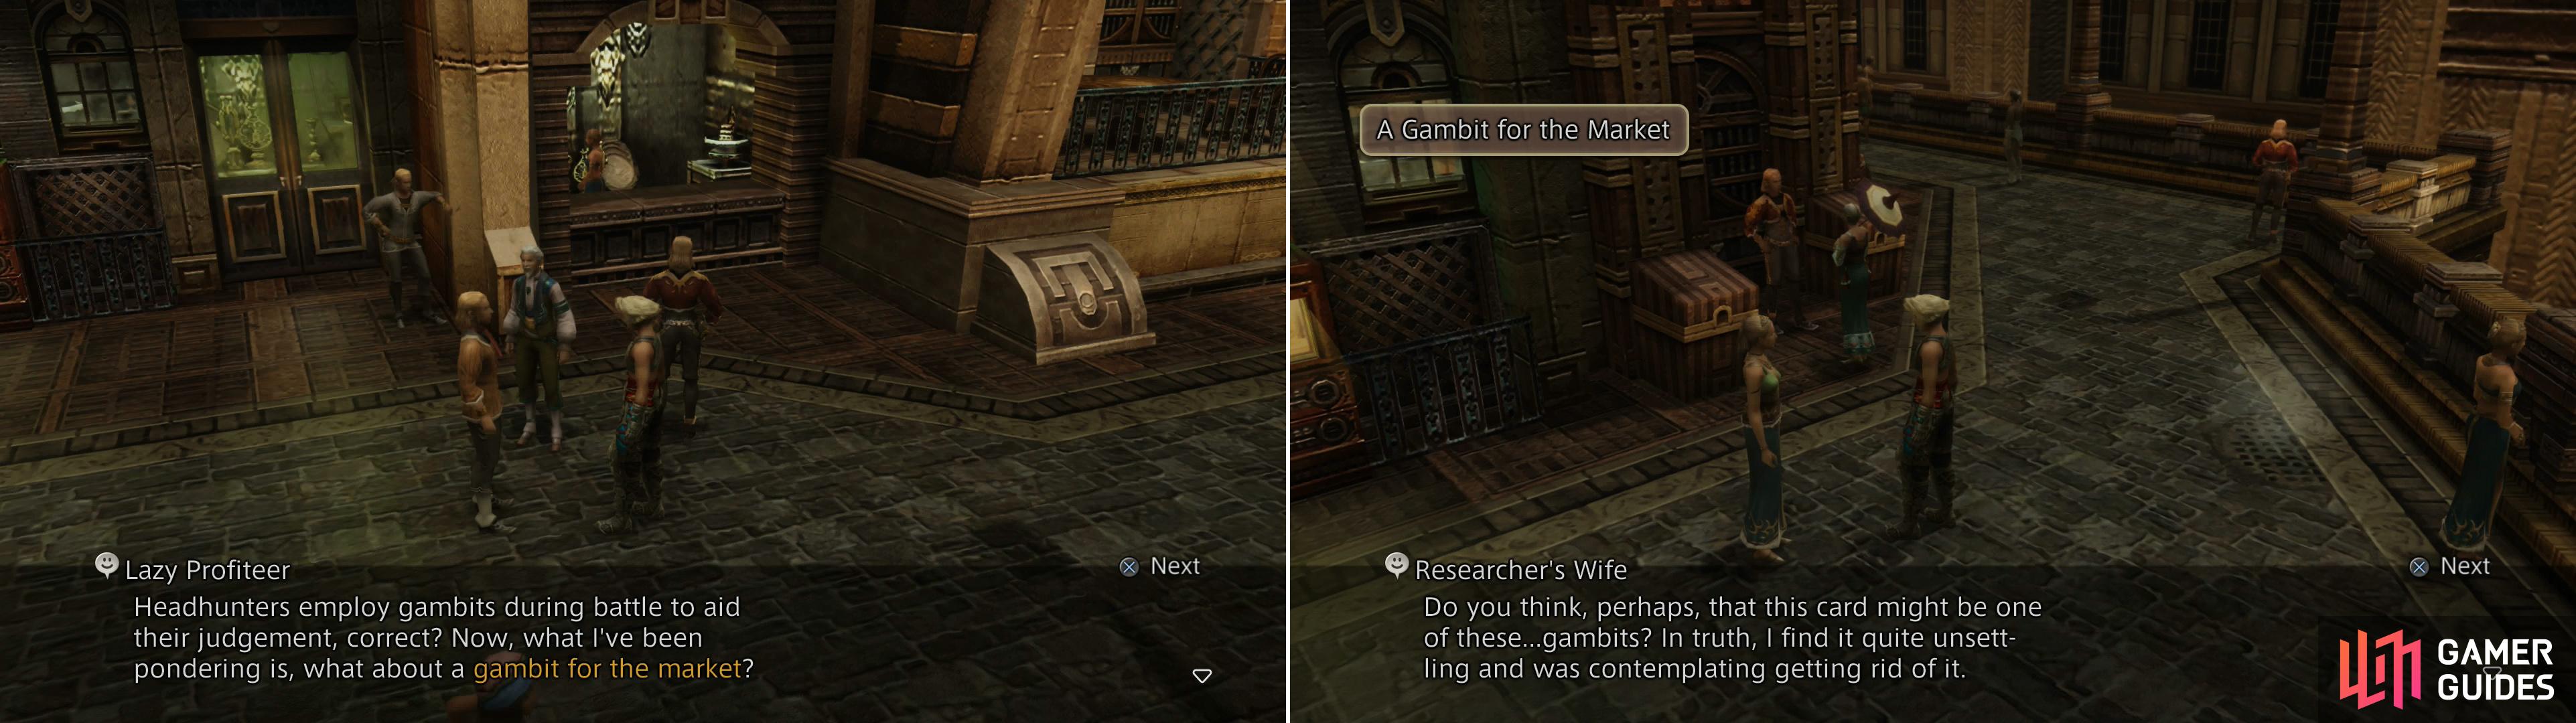
Talk to the Lazy Profiteer, who dreams of a “gambit for the market” (left), then chat with the Researcher’s Wife (right).
- A Gambit for the Market : Between Granch’s Requisites and the Aerodome you’ll find a Lazy Profiteer, who ponders the possibilities of a “gambit for the market”. Back near the western end of the zone you’ll find a Researcher’s Wife, who has just such a Gambit, but is unwilling to part with it.
- Out of Ears: Between Granch’s Requisites you’ll find a Greenseller, who has run “out of ears” to sell to her eager patrons. Between the area transitions along the western end of the zone and Lebleu’s Gambits you’ll find a Vegetable Seller, who will deliver the stock once informed of his partner’s needs.
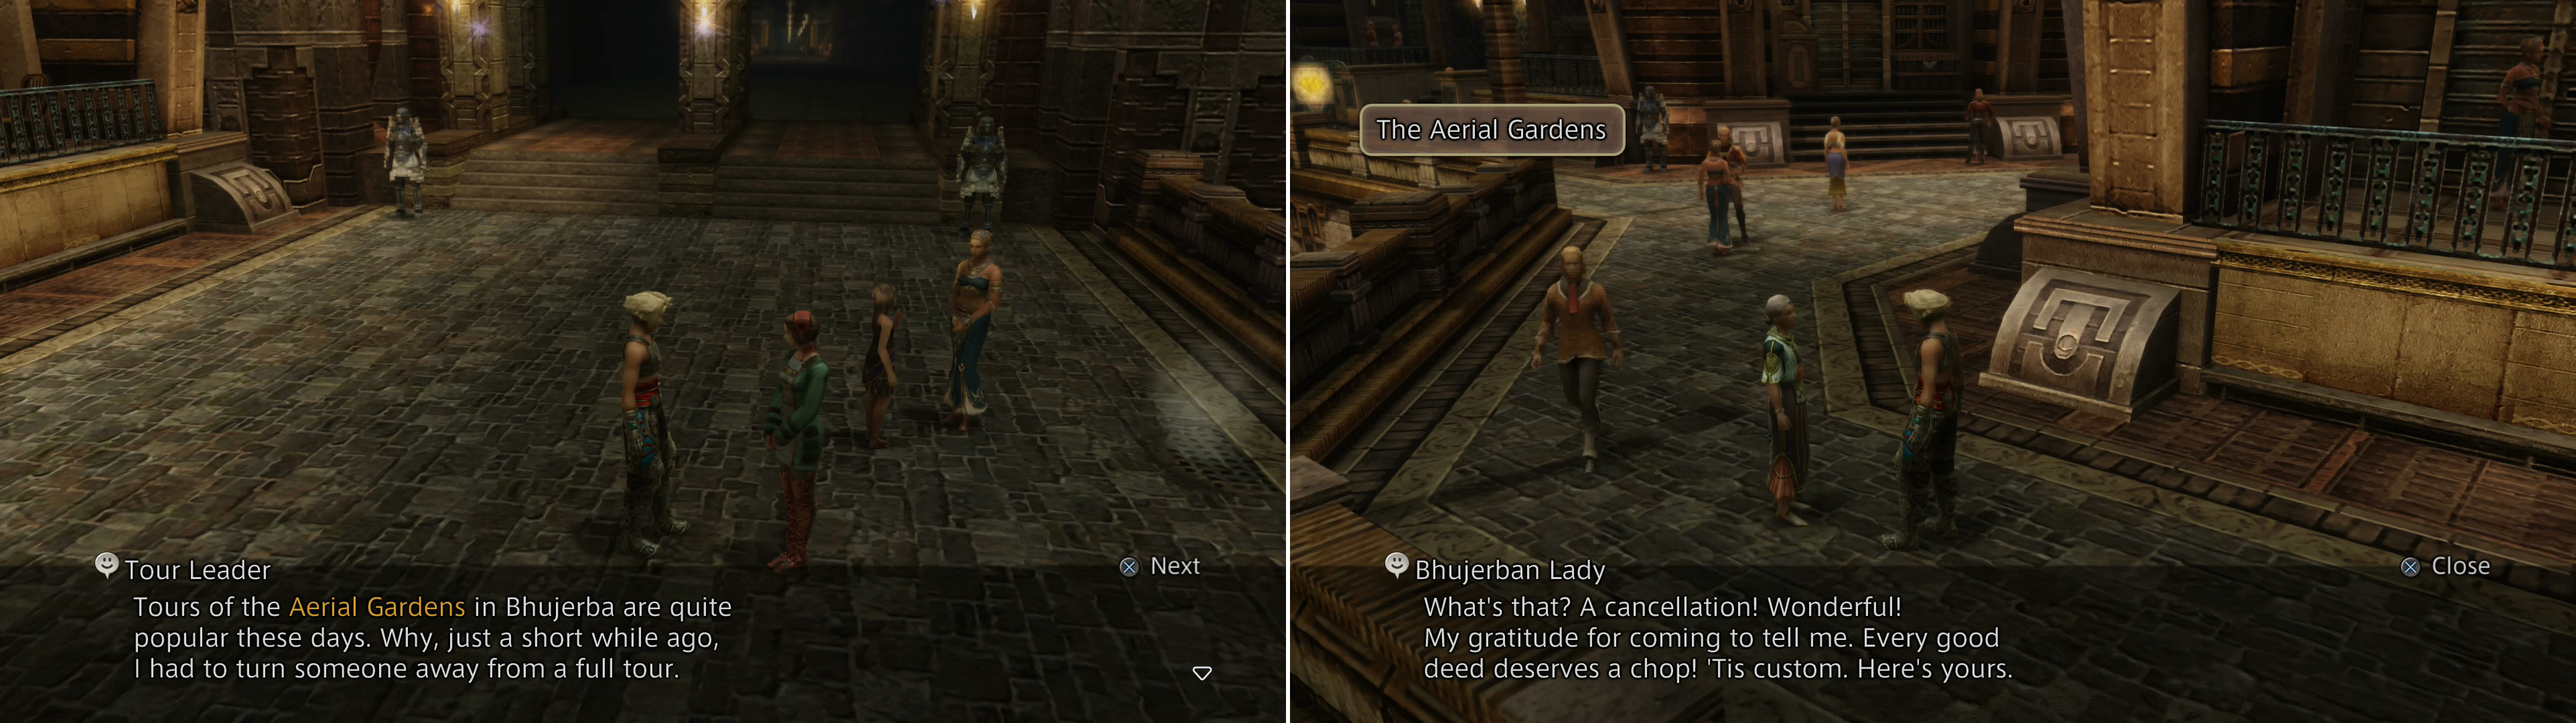
The Tour Leader will inform you of some tours to the “aerial gardens” (left), which will interest a nearby Bhujerban Lady (right).
- The Aerial Gardens : Just outside the Aerodome you’ll find a Tour Leader, who tells you that a cancellation in a tour to the “Aerial Gardens” has opened up a seat. Return back west a short distance and talk to the Bhujerban Lady to fill the vacancy.
Once you possess all twenty-eight possible Pinewood Chops, head into any shop in Archades and talk to the Chopmaster inside, who will convert your Pinewood Chops into a Sandalwood Chop, so that all of Archades may know your quality at a glance. What a silly city. Anyways, with this done return to the cab in the Nilbasse section and ride it west to the Tsenoble district.
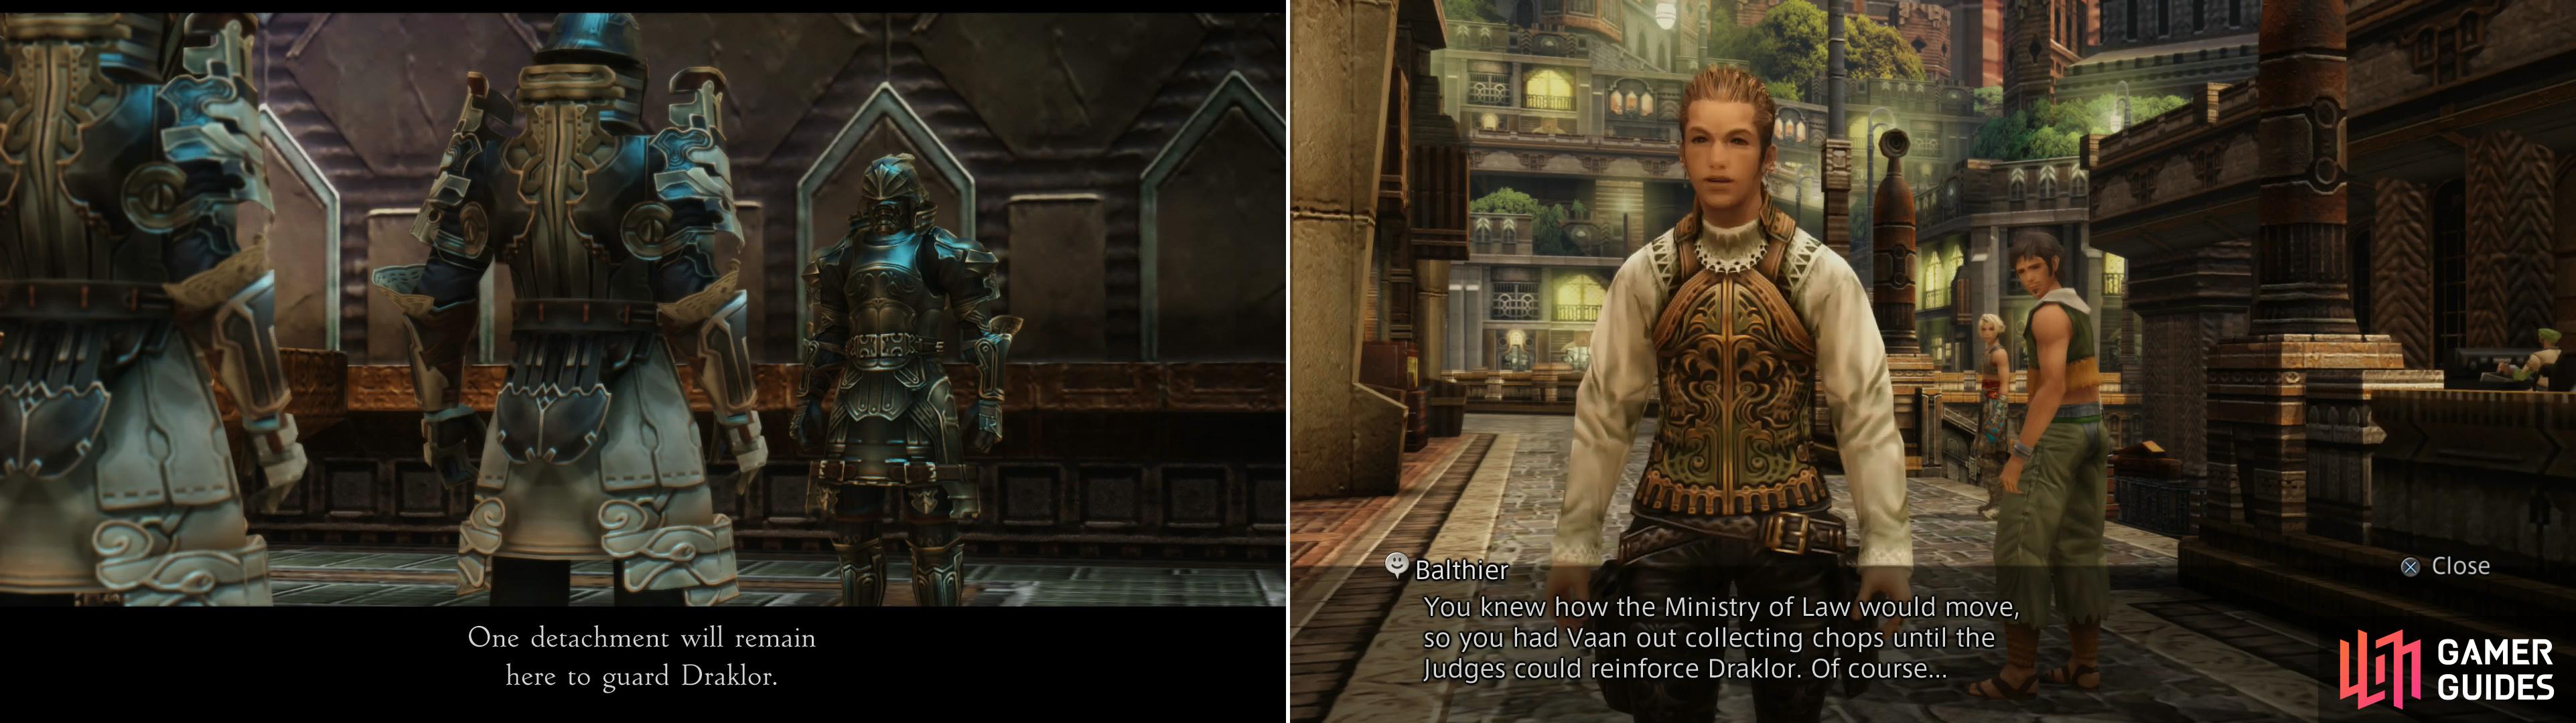
It appears Vayne’s recent coup will complicate your infiltration of Draklor (left), but fortunately Jules has been conspiring to assist you (right).
Tsenoble
When you arrive at Tsenoble you’ll be greeted by Balthier, who will pass on some information Jules gathered for him, after which make use of the nearby Gate Crystal. There’s a bit you could do now, what with the new hunts that have opened up and whatnot, but let’s stay the course for now. Continue northeast, then northwest and you’ll be treated to a scene of some rather indiscreet Imperial soldiers discussing the ongoing political purge, which just so happens to inconvenience you by increasing the Imperial presence at Draklor.
Unfortunately, despite your possession of a Sandalwood Chop you can’t use the area transition at the northern end of this zone at this time, which otherwise would allow you to explore the Grand Arcade and areas beyond. That being the case, make your way back south to witness another scene. Balthier will gripe about your inopportune tardiness, after which Jules’ duplicity will be revealed. Anybody with a mustache like that is not to be trusted! Jules will show up to defend himself and pass on some more info, including a new, less suicidal way to get into Draklor.
Well, there’s little left to do besides continue on, so return to the cab and give him the directions “You know where to go.” to travel to Draklor Laboratory.
No Comments