


| Bestiary |
|---|
| Cactoid, Rogue Tomato (Mark), Wolf |
| Items In This Area |
|---|
| Broadsword (Steal from Cactite), Pointy Hat (Steal from Wolf) |
Tutorials - Combat, Combos and Chains
After all that story business and running about, you’re finally out in the wild. Random treasure spread about, waiting to be looted, and monsters meandering the sands in need of smiting… the game has finally begun! That said, Vaan is rather weak right now, and he’s on his own, so you might want to pick your battles carefully at first. The two most populous creatures here are Cactites and Wolves, neither of which present much of a threat to you in a one-on-one fight. Cactites are, by nature, docile unless provoked (note their green HP bar, which denotes neutrality), while Wolves are naturally hostile (as indicated by their red HP bar). In an alcove to the north you’ll also find some Cockatrices rolling about, which are a bit stronger, and in a valley to the northeast prowls a Wild Saurian, which is thankfully also docile. It’s also out of your league right now, so leave the beast alone if you don’t want to be looking at a game over screen.
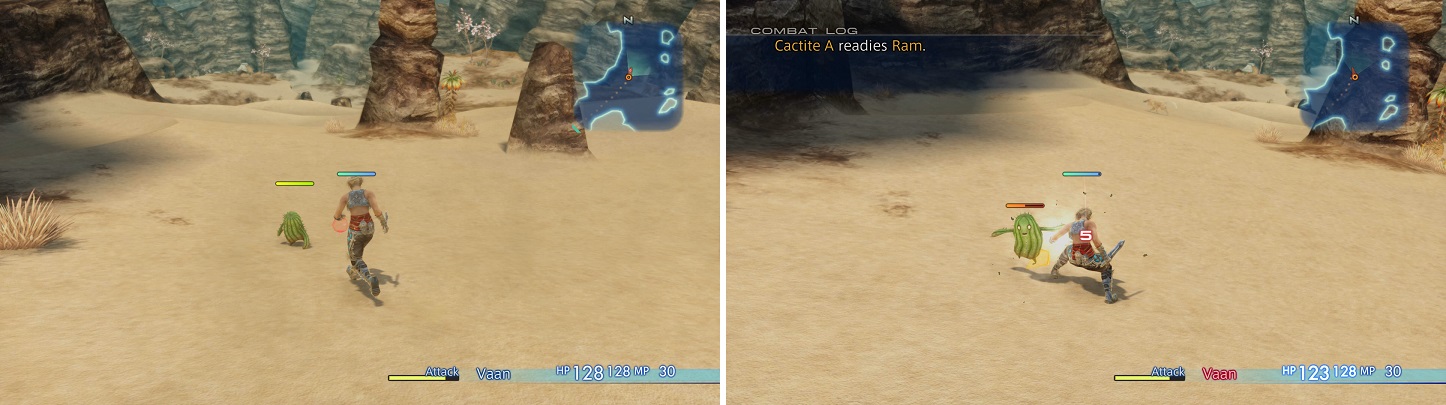
Some enemies have a green bar over their head, meaning they are docile (left). They will not attack unless you attack them first (right).
Hunting these creatures - or at least Cactites and Wolves - is a good idea, as it’ll allow Vaan to gain some much-needed XP and LP. The former will cause Vaan to level up at regular, increasingly more XP-demanding increments, increasing his base statistics, while LP will allow you to purchase new licenses on whatever License Board you chose, facilitating passive bonuses (further stat increases, for example) and the ability to utilize new weapons, armors, magicks and technicks. Packing a few levels on Vaan now can’t hurt in the long run, and it’ll let you practice combat a bit more, at least until you’re completely familiar with the basics (more on that in a bit).
That’s all well and good for your stats, but what about your poor wallet? Well, good news! Scattered about the area you’ll find urns, which contain (sometimes random) loot. This being the first area of the game you shouldn’t expect too much, but the odd Potion, Antidote or Gil that you’ll find are still worth grabbing, given your current poverty. The jars and other items you can loot on maps are not always there, in most cases, as the game uses a system where a lootable object (urn, chest, etc.) will have a certain percentage to spawn. To make matters even worse, when an lootable object does spawn, its contents are usually random. Well, it’s not specifically random, as the items inside are set, but what you receive will be randomly chosen from what’s available.
You can spot this in action in this very area, if you look around and find lootables, then zone out and return, some of those lootables may not respawn. When you loot them, perhaps you’ll get an item, perhaps you’ll get a curative, or maybe you’ll just get some Gil. Keep this in mind when exploring, as lootable objects will be frequently pointed out, especially when they have noteworthy loot in them. If you don’t find the lootable object or the promised treasure inside, you might need to zone out and return a few times to get it. Don’t worry, you’ll be reminded again when you hit your first real dungeon.
Speaking of which, enemies and lootable containers will, with few exceptions, respawn over time. Granted the respawn rate between specific lootables and enemies isn’t universal, some respawn faster and more reliably than others. Most lootables will respawn if you simply leave the area (pass through an area transition) and return, while monsters will typically respawn by going two screens away and returning. However, there are a few types of enemies that will not respawn using this method, as they might require you to leave the entire area in question. There’s more nuance to this, but that’s an issue for another time - point is, most everything respawns, so you don’t need to worry about aggressively farming lootables and monsters.
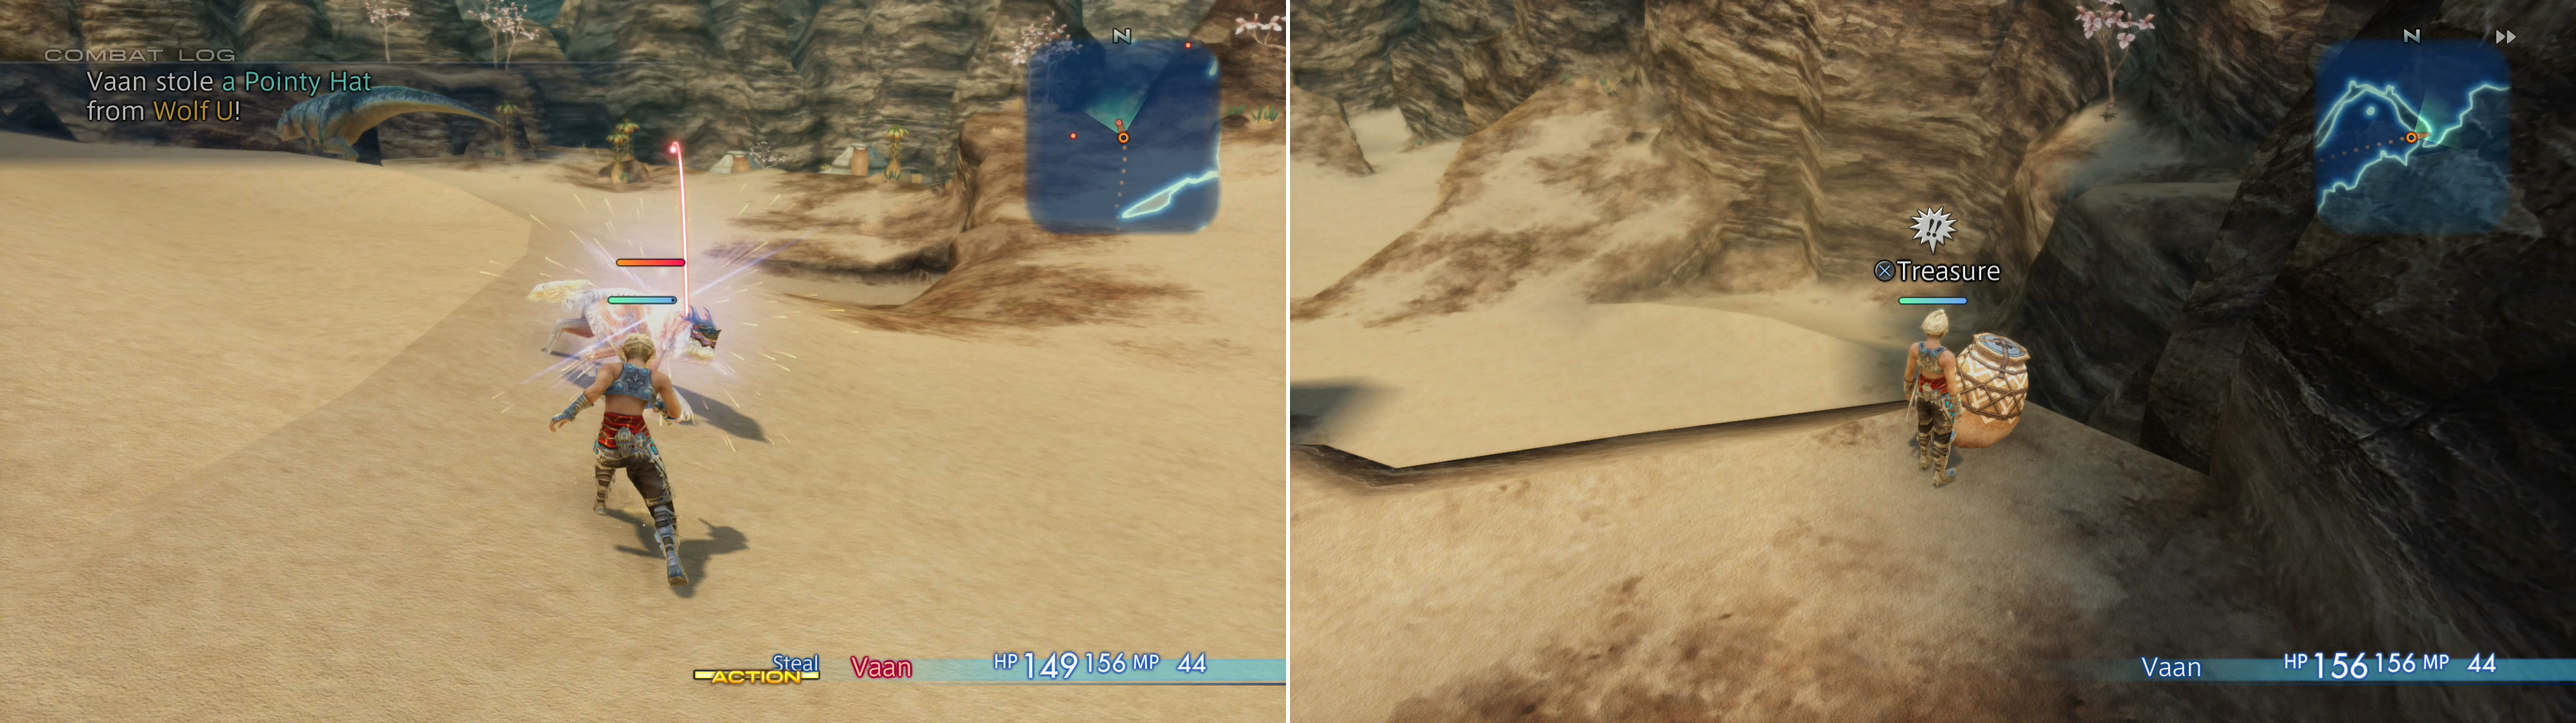
You can steal items from various monsters (left) but you can also find containers lying around (right).
It should also be noted that Vaan has that handy-dandy Steal technick, which is good for more than annoying Imperial soldiers. It turns out monsters have loot on them as well, and that loot would be better off in your hands! As mentioned earlier, normal enemies often have three grades of items - of increasing rarity - that can be stolen from them. In the case of the common enemies in this part of the Estersand, it’s mostly junk; stealing from a Wolf will commonly gain you a Wind Stone (55%), while its uncommon steal is a Wolf Pelt (10%). Likewise, you can steal an Earth Stone (55%) and a Cactus Fruit (10%) from Cactites. These loot objects, while otherwise unremarkable, are good for selling, netting you 35G (Wind Stone, Earth Stone), 41G (Wolf Pelt) and 49G (Cactus Fruit), each. While individually not worth much, constantly stealing can quickly net you great profits - something worth considering as you explore Ivalice. In addition to gaining yourself much in-game wealth and treasure, stealing often will earn you the Master Thief and Premier Prestidigitator trophies.


So much for the common and uncommon items you can steal, the real business everybody cares about are the rare items! Most normal enemies (as opposed to Rare Game, which will be covered later, when relevant) have a rare item which can be stolen from them. If an enemy has a weapon, piece of armor or accessory which can be stolen, chances are it’ll be the rare steal for that monster. In this part of the Estersand, for example, you can nab a Broadsword (3%) from Cactites and a Pointy Hat (3%) from Wolves. Some equipment can only be obtained by stealing them from foes, and many can be had much earlier than you could otherwise find or buy them by stealing them from monsters. This isn’t to say that every monster has a noteworthy rare steal, however. You can again find an example in this area, as the Cockatrice’s rare steal is a Phoenix Down (3%). The rare items you can steal from enemies will frequently be pointed out in this walkthrough, and it’s sometimes worth great effort to get a choice bit of gear this way.
Stealing isn’t the only way to get items from enemies, however. When you defeat an enemy it has a chance to drop one of many items and like with stealing, these items vary greatly in rarity, and hence, quality. For example, the Cactite has four items it can normally drop, a Cactus Fruit (40%), Earth Stone (25%), a Potion (3%) and a Virgo Gem (1%). Item drops from enemies aren’t that simple, of course, there are all sorts of things you can do to alter the quality and frequence of drops, like achieving a high battle chain or obtaining Monographs… but again, those are best saved for later, when they’re more relevant. It may seem a bit convoluted, but once you play around with it a bit, it will become second nature.
As of now, you should just note that when you consecutively kill multiple enemies of the same type without killing another type of enemy or returning to a safe map area (in this case, Rabanastre), you’ll increase your battle chain. The number denoting your chain progress will pop up after defeating an enemy, on the lower right side of your screen, just above your party’s HP/MP display. The higher the chain, the more likely it is that the vanquished monster(s) will drop loot in general, and there’s a higher chance that this loot will be rare, and that you’ll get multiple items of the same type.
With that information out of the way, you should be ready to go steal from and kill monsters to your satisfaction, or failing that, note the information for later, more productive use. There is one more thing worth discussing, however. When you’re in combat, you may notice that Vaan and monsters will apparently randomly strike multiple times in succession… in other words, perform combo hits. For melee weapons, this replaces the RPG standard critical hit (ranged weapons still have critical hits), and is worth keeping in mind as you steal and kill monsters, especially considering your current relative vulnerability. One bad combo at low HP could end badly, and Wolves are particularly fond of landing combos.
So how do combos work? They’re basically a function of three factors: 1) What type of weapon (or in some cases, which specific weapon) you have equipped, 2) How high your HP is (relative to you maximum), 3) If you have the Genji Gloves accessory equipped. The latter is quite a ways off, so you can safely discount that, leaving only your limited selection of weapons to consider, and your current HP value. The table below gives the approximate combo chance per weapon type, but mind the notes below it - this is a generalization, some specific weapons have their own combo rate:
| Weapon Type | Combo Rate |
|---|---|
| Axes | 2.1% |
| Daggers | 4.9% |
| Greatswords | 4.9% |
| Hammers | 4.9% |
| Katana | 9.1% |
| Maces | 2.8% |
| Poles | 8.4% |
| Spears | 2.8% |
| Swords | 3.5% |
| Unarmed | 3.5% |
The above table is not set in stone, though, as specific weapons within a class may exceed - or rarely, underperform - the stated combo rate for that weapon class. As an example, the Tournesol greatsword has a 8.4% combo rate, while the Defender has a 3.5% combo rate. For another example, Ninja Swords vary widely between combo rates, ranging from 10.5% to 22.4%. Some weapons, however, cannot combo at all, like Rods, Staves and Hand-Bombs. Ranged weapons, like Bows and Crossbows, have a critical hit rate and cannot combo, either. There is an accessory later in the game, the Genji Gloves, which massively boosts the combo rate of all weapons.
Now, onto HP. Your current HP (as a percentage of your maximum HP) doesn’t affect your combo rate, but it does affect the number of attacks you’ll perform when you do land a combo. The lower your current HP, the more hits you’re likely to land when you combo. There are four categories that affect the number of hits you’ll land per combo, with the base combo rate occuring any time you have more than 25% of your maximum HP. At this point you’re very likely to land 2-3 hit combos, uncommonly performing a 4 hit combo, and rarely a 5-6 hit combo. By the time you’re under 6% of your maximum HP, however, the average hits per combo shoots up to 9. It’s a big difference and the takeaway is simple, the lower your HP, the more damage you’ll dish out. Of course, this means you put yourself in greater danger of being KO’ed by enemies. You can’t have high rewards without some high risks.
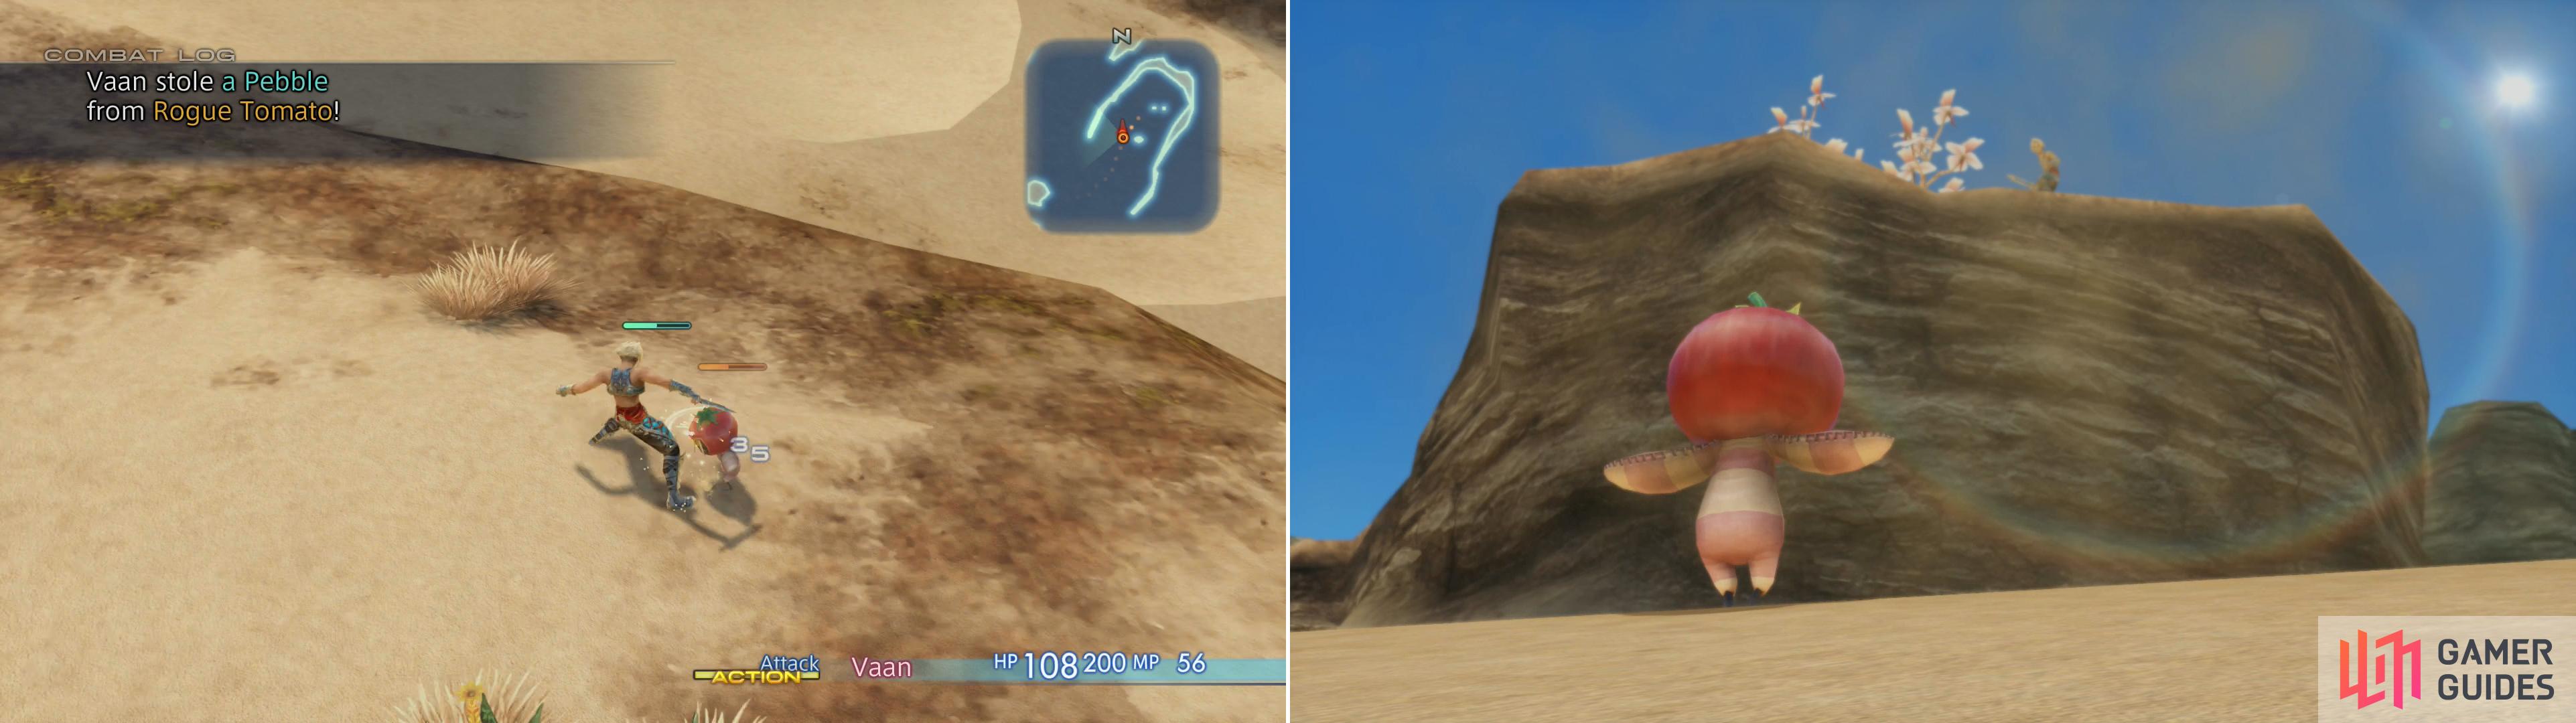
Battle the Rogue Tomato (left) and after the vile vegetable is hard-pressed it’ll flee to lower-ground (right).
Squashing the Rogue Tomato
After you’ve spent time grinding to your satisfaction, leveled up a few times, stolen a few bits of new loot and all that fun stuff, it’s time to turn your attention to this Rogue Tomato. This vile vegetable… or are tomatos fruit?… err, this ferocious fruit can be located northeast of the area transition to Rabanastre, on a ledge overlooking the desert below. You should consider clearing out the Wolves nearby before engaging the Rogue Tomato to prevent any complications. If you need some healing, you can always pop a Potion to recover.
As far as foes go, the Rogue Tomato isn’t much more challenging than anything else you’ve fought in this area. Its HP aren’t far from Vaan’s, and possibly somewhat lower if you’ve leveled up a bit. You can expect it to do just under 10~ damage with its melee attacks (not too far from what Wolves are doing), while you should easily dish out three times as much in return. That’s the arithmetic of success. After reducing it to around half its health, it’ll drop down off the ledge, forcing you to chase it down and finish the fight. It doesn’t have much worth stealing, but if you have sticky fingers and a mind for larceny, you can rob the naughty nightshade twice - once when it’s on the ledge, and again after it jumps down.
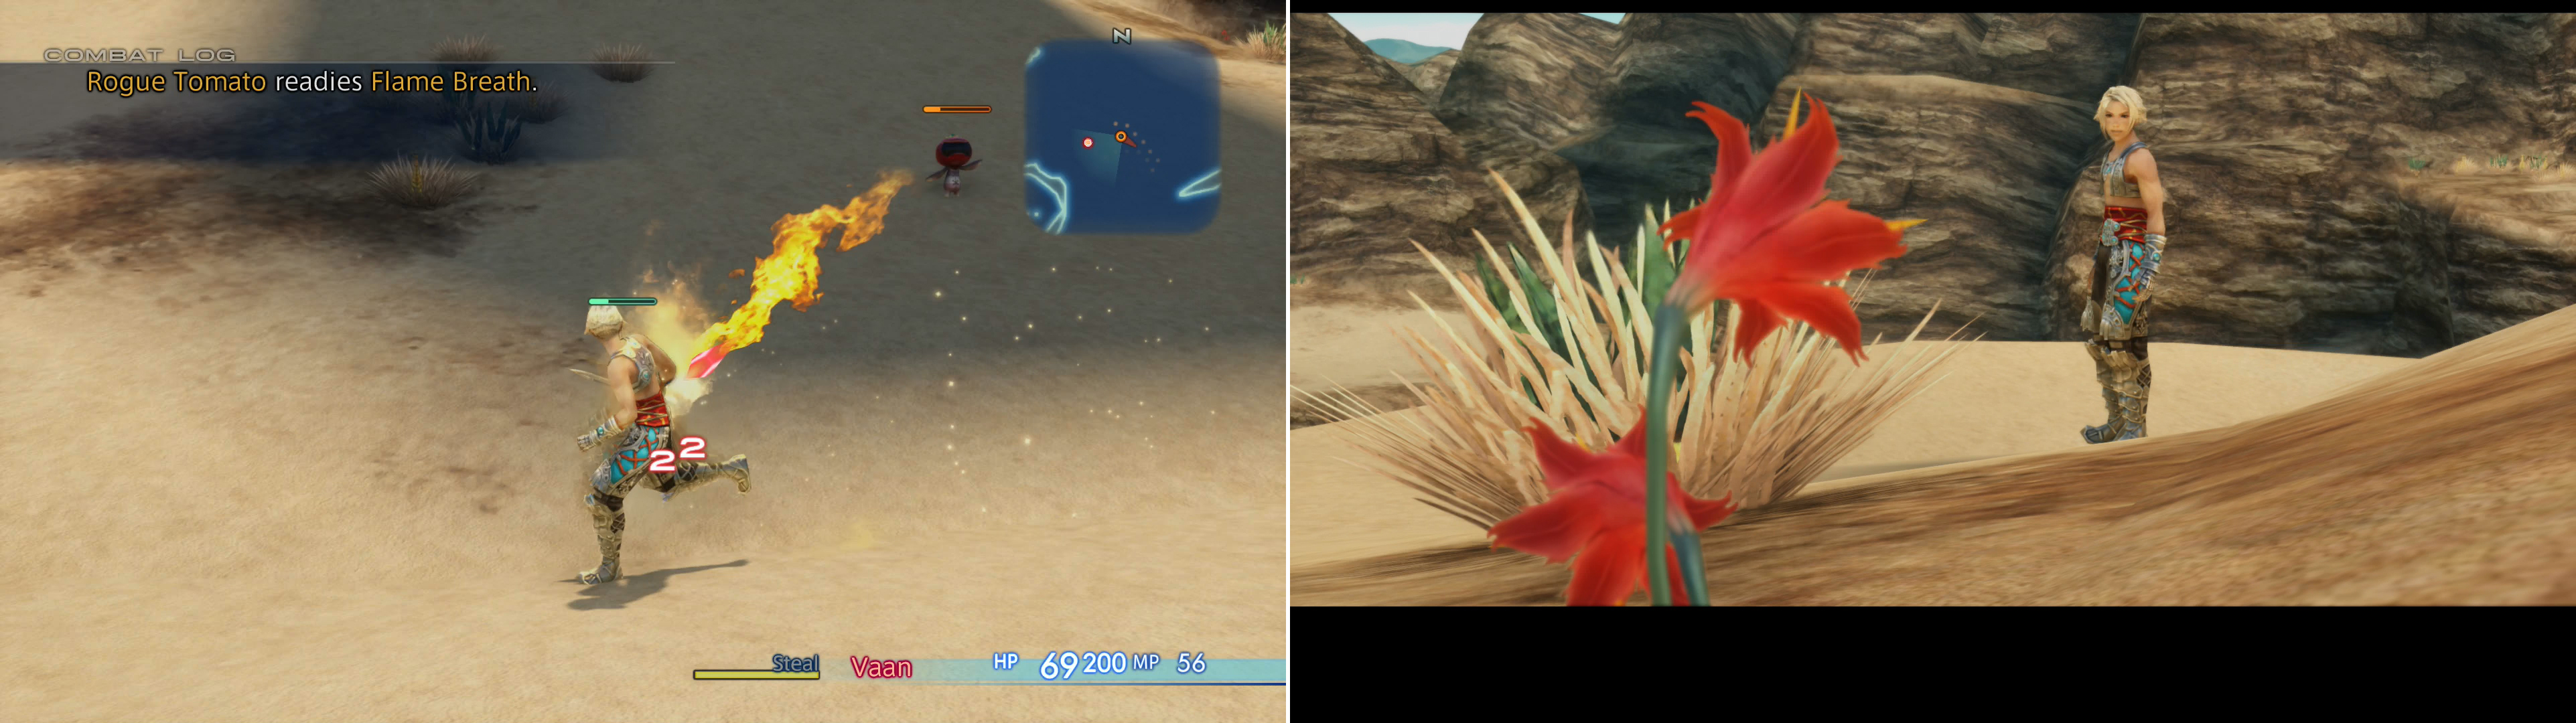
Be wary of Rogue Tomato’s Flame Breath (left) after which Vaan will notice some Galbana Blooms (right).
After it jumps down, pursue it to finish the fight. If you’ve taken care of the Wolves prowling about beforehand you should be fine, otherwise they may complicate matters. The only attack worth worrying about is its Flame Breath attack, which will do over 20~ damage to you. Again, if you’re taking too much punishment, be sure to use a Potion or some other form of restorative.
After the battle, Vaan will inspect his handiwork, upon which he’ll find some Galbana Lillies, which he collects on a whim. After the scene, return to Rabanastre to find that the gates have finally been closed for good. Talk to Kytes standing in the crowd near the gates to experience more Archadian injustice first-hand. Upon being treated inferior to a beast of burden - however expensive and majestic - Vaan will start to pick a fight with the guards. Fortunately, Migelo will step in and distract the guards with some wine before things can get out of hand. Thus pacified, the guards relax their watch on the gate and let you pass, which allows Vaan to witness the arrival of the new consul. After distastefully watching Migelo ingratiate himself to the new authority figure, Vaan decides to crash the consul’s fete, and by so doing illictly enrich himself.


No Comments