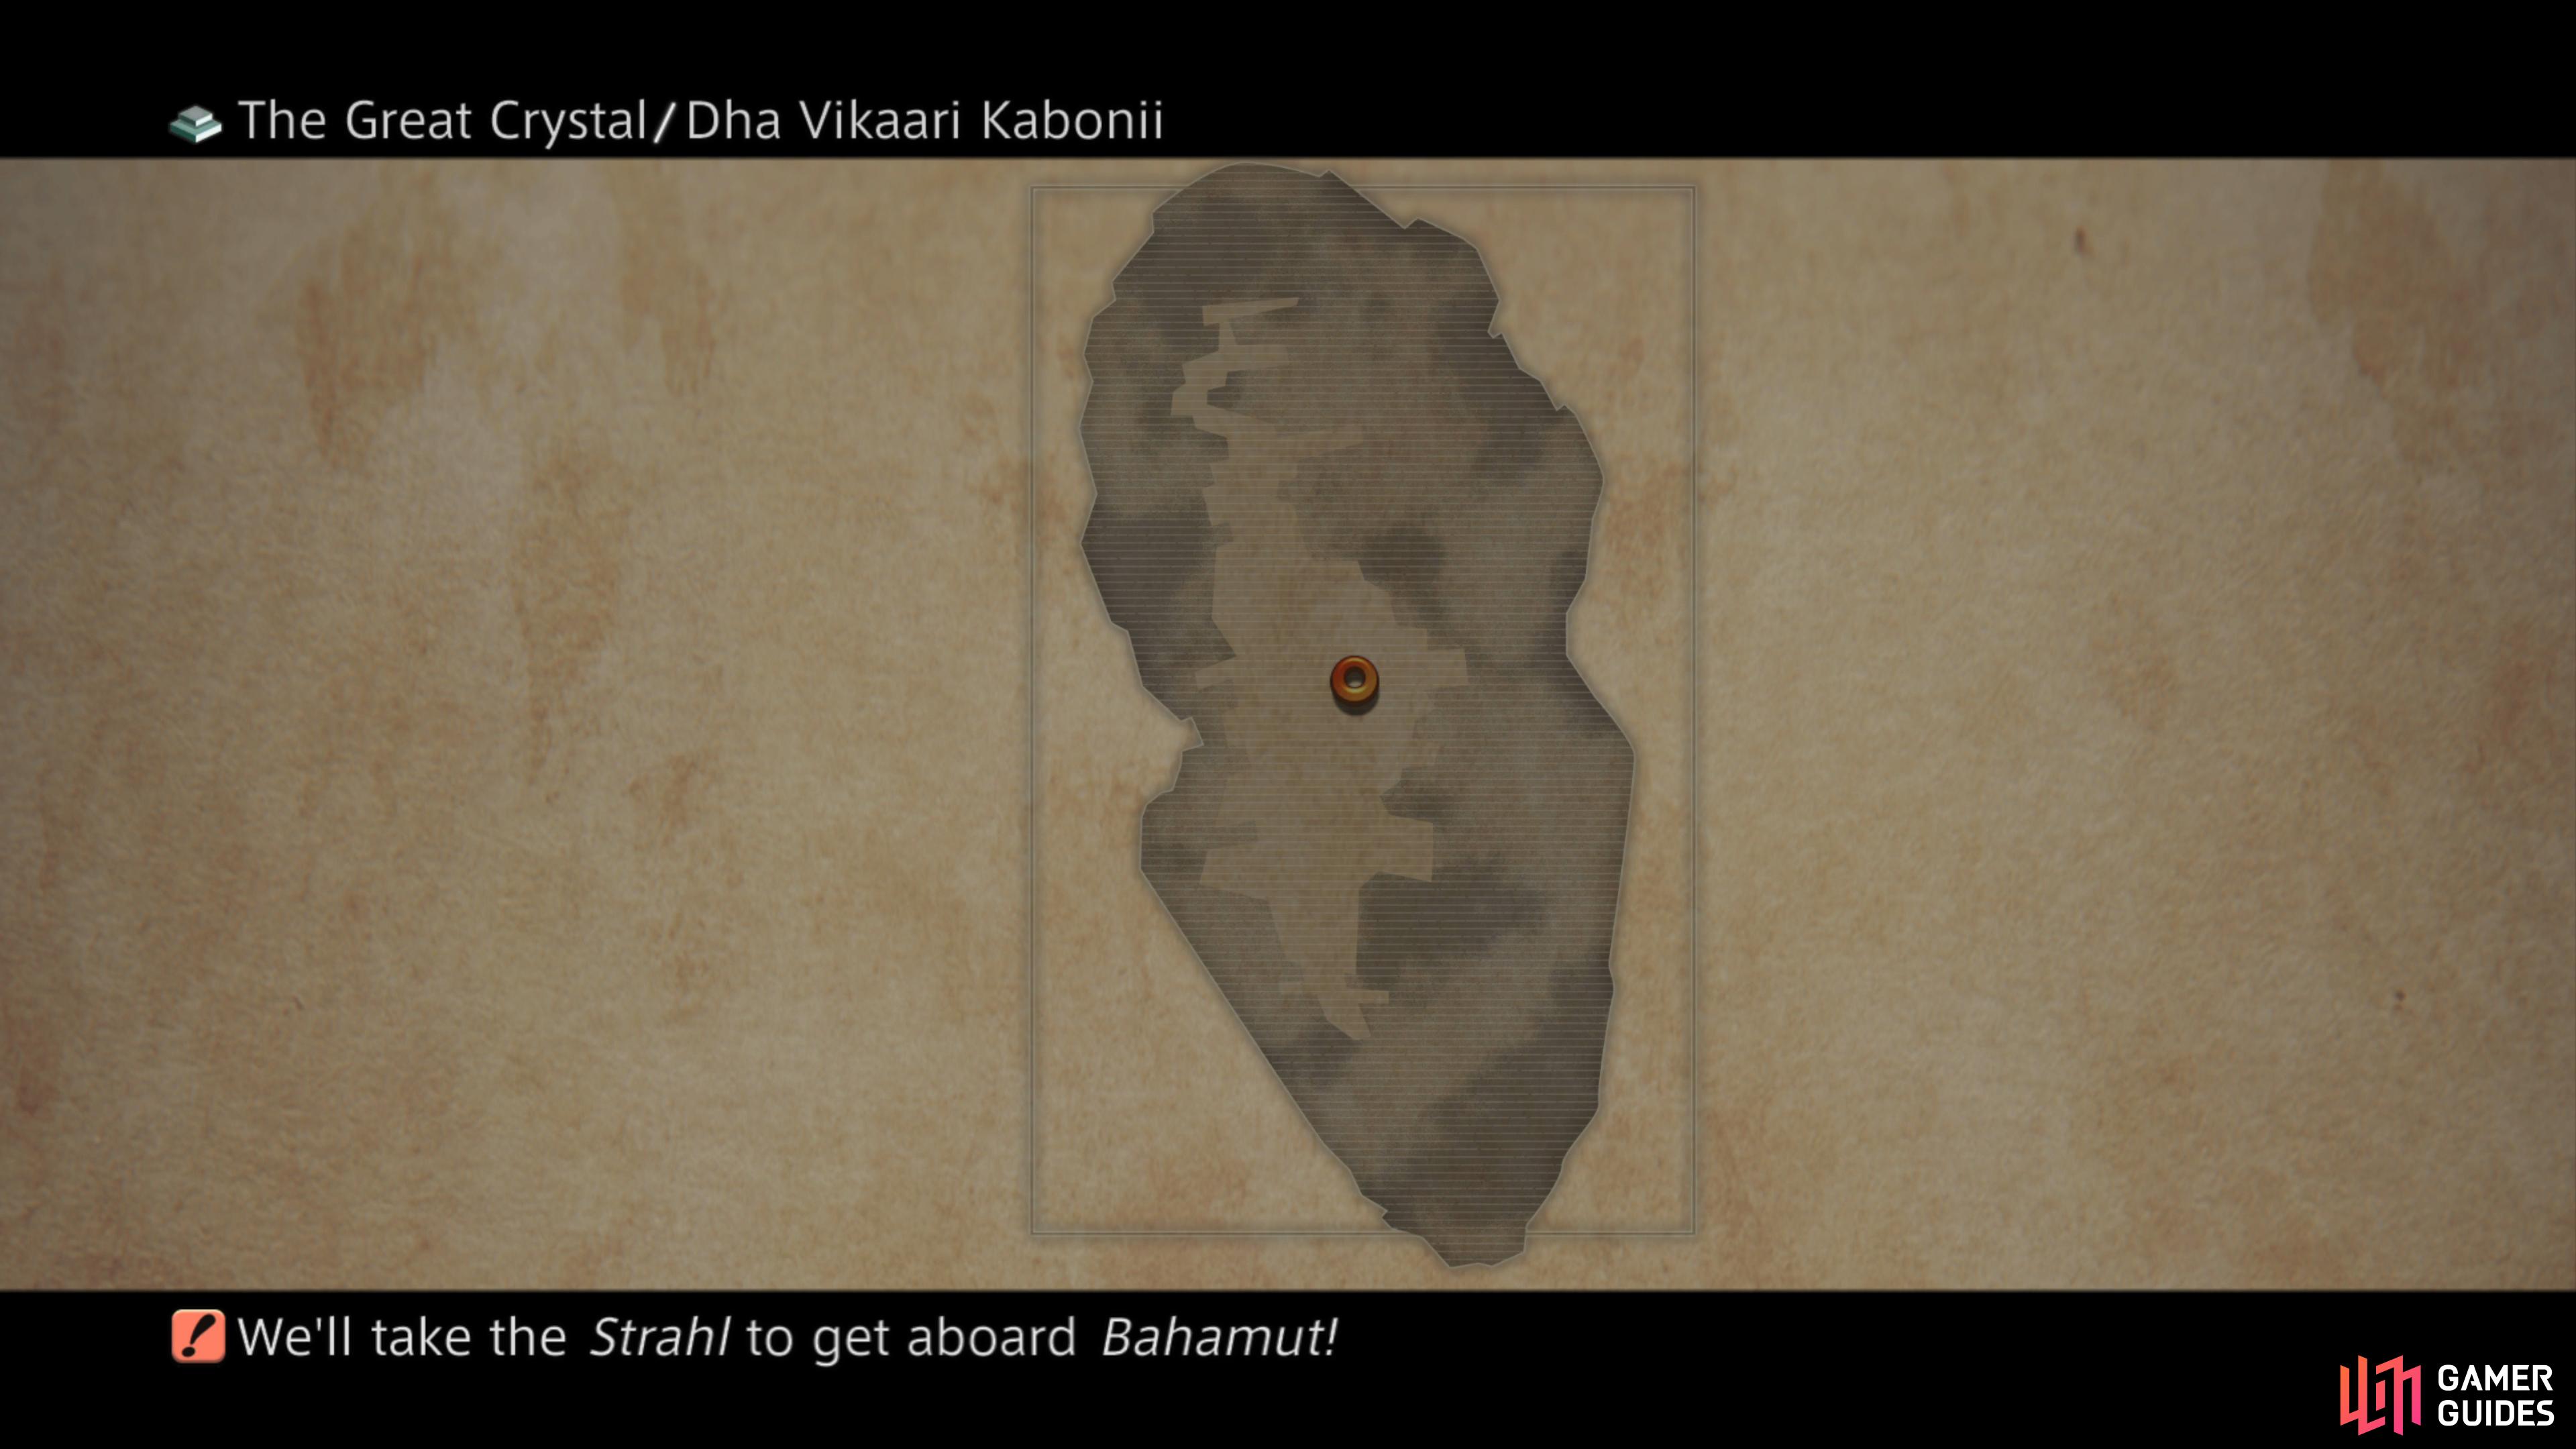
Dha Vikaari Kabonii
| Regular Treasure |
Diamond Armlet |
Respawns (Y/N) |
| – |
– |
– |
| Enemies |
Weakness |
Steal |
Loot |
| Larva Eater (Rare Game) |
Ice |
Scorpio Gem |
Mina, Demon Eyeball |
This is the room you begin your adventure up the Crystal when returning after the story events here. Not only will you discover valuable treasure both you’ll also find two hidden bosses, one of which is a new Esper. With that said, the level’s get a lot more complicated from here on out so be sure to use the map to keep your bearings.
As for this room, there’s not much to see or do here other than the chance encounter of Larva Eater once again.
- Exits:
1. Northwest - A Vikaari Kanbhru Ra
2. Waystone X - A Vikaari Dhebon (back to the Kabonii level)
A Vikaari Kanbhru Ra
| Regular Treasure |
Diamond Armlet |
Respawns (Y/N) |
| – |
– |
– |
| Enemies |
Weakness |
Steal |
Loot |
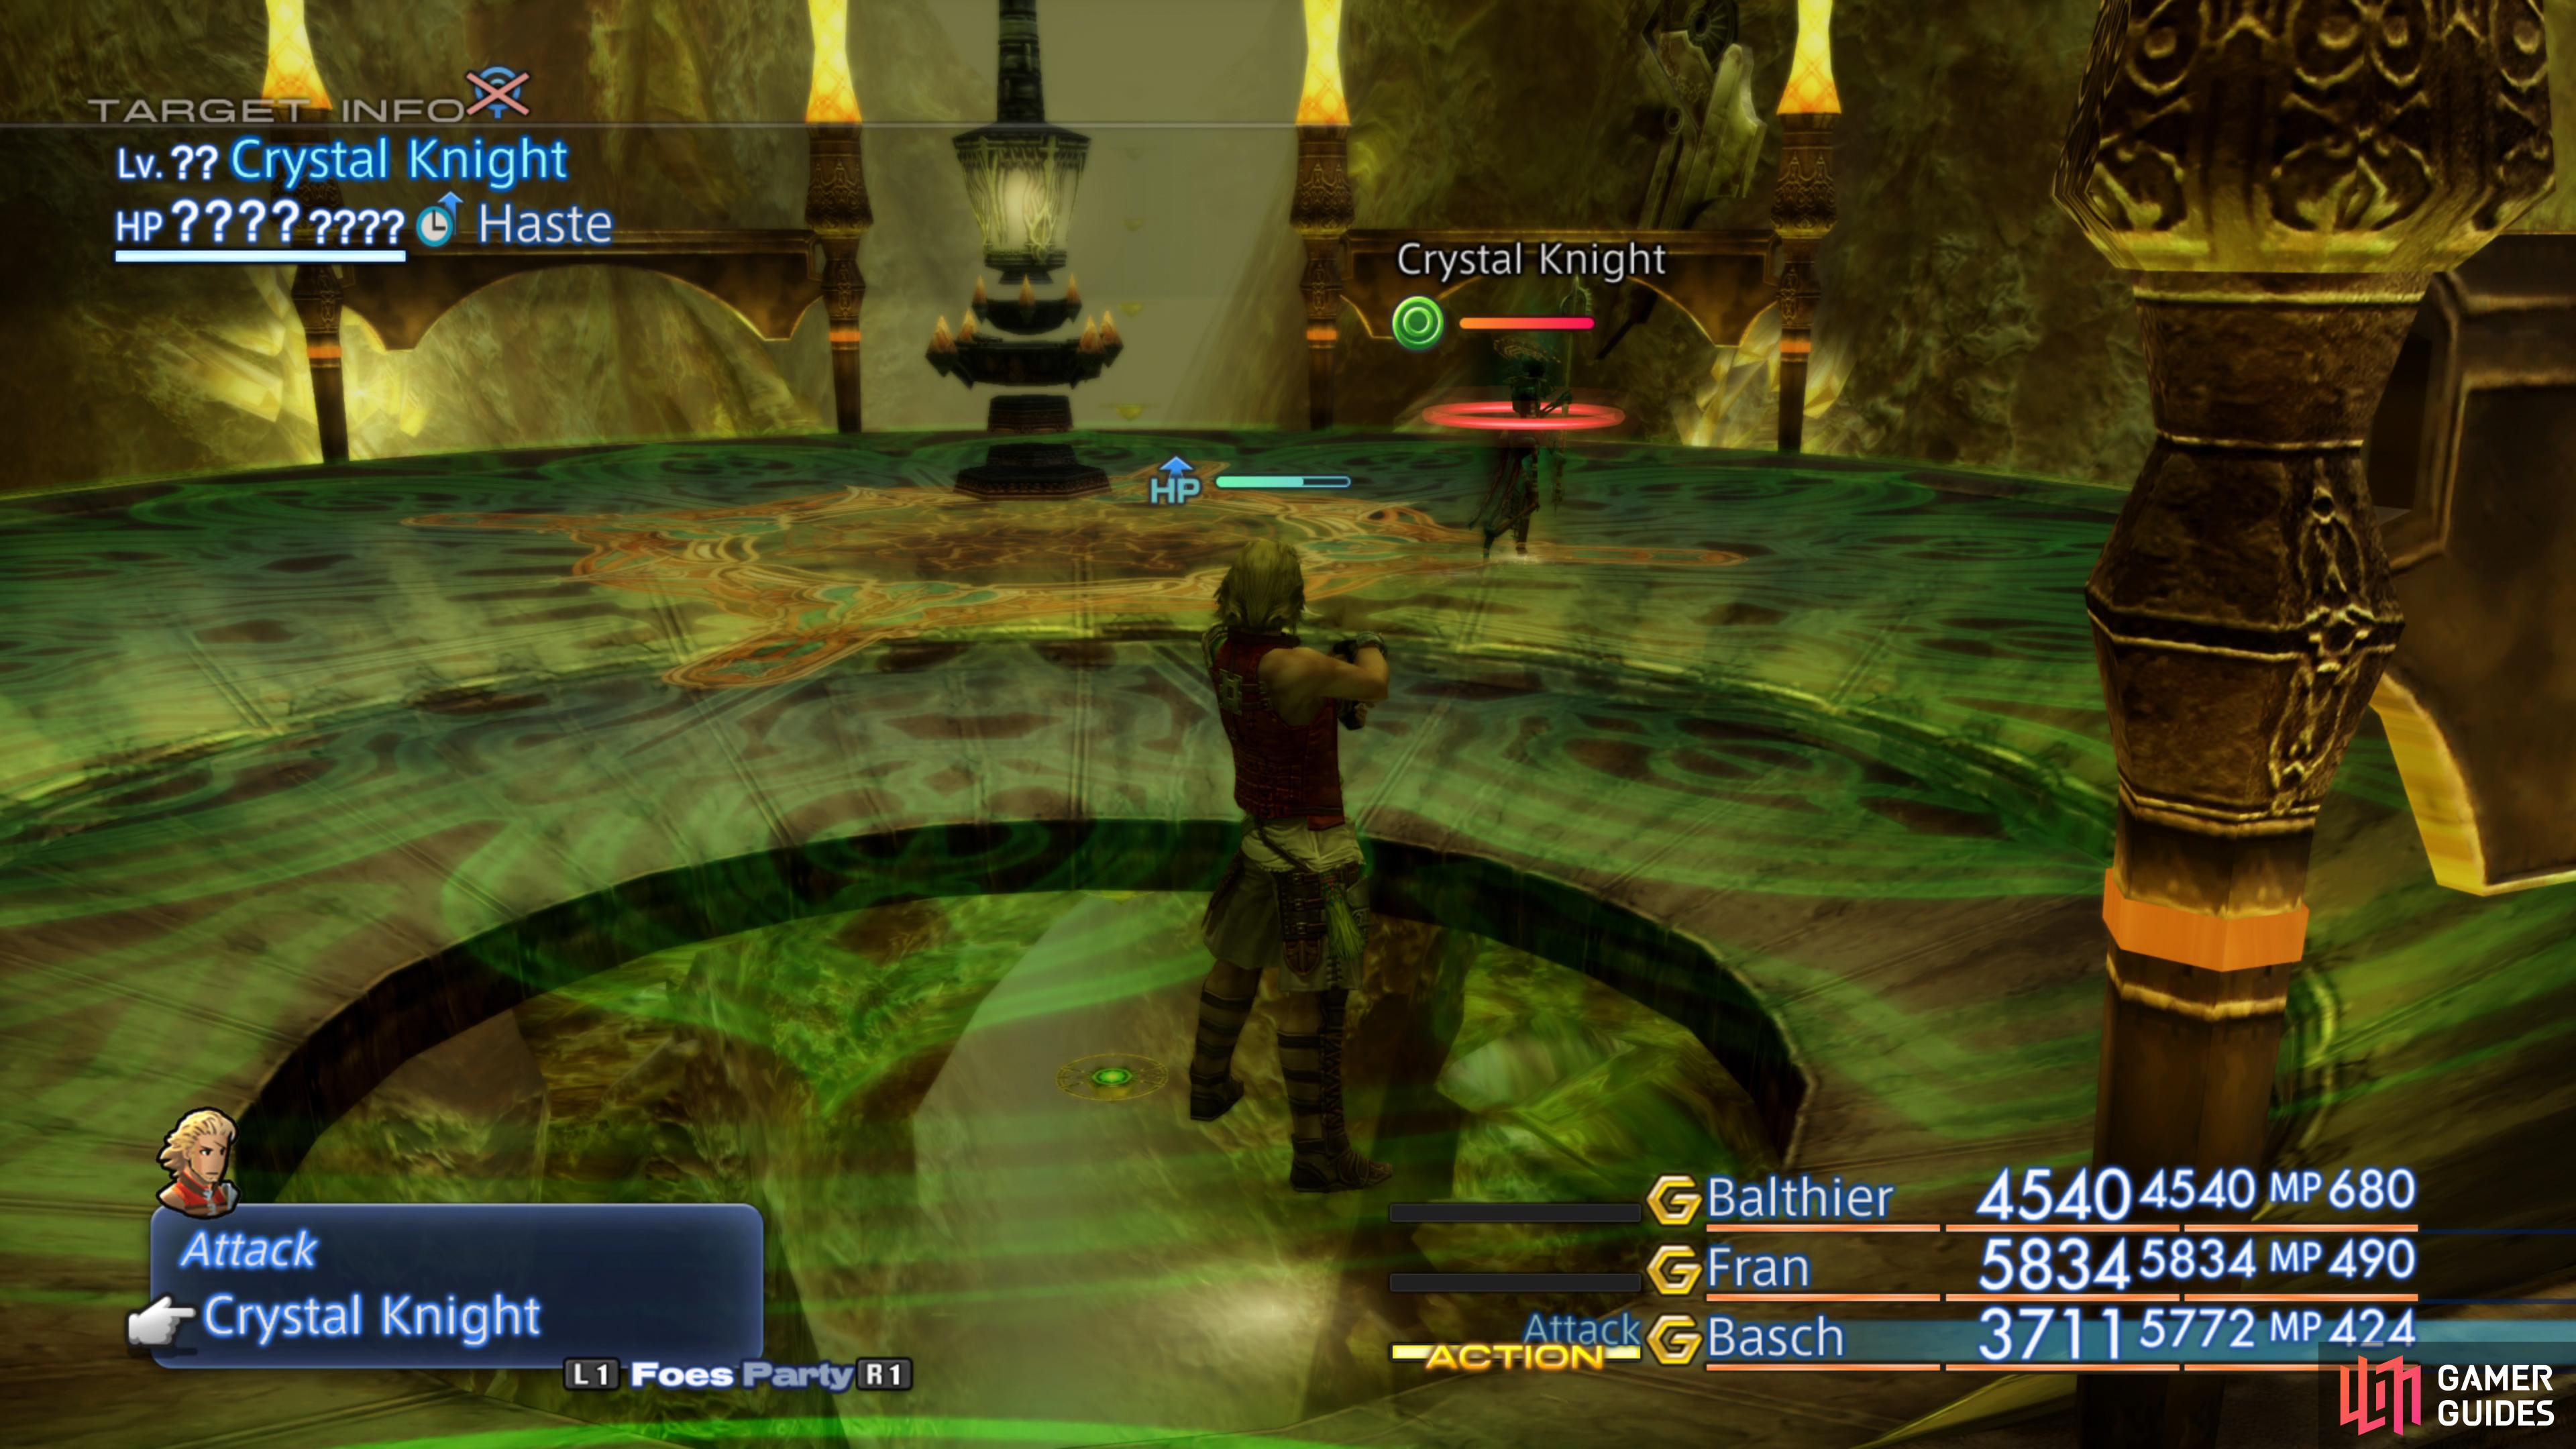
| Crystal Knight (Rare Game) |
Holy |
Glimmering Robes |
Skull Trophy |
| Forbidden |
Holy |
Remedy, X-Potion, Kaiser Shield |
Dark Crystal, Echo Herbs, Forbidden Flesh, Capricorn Gem |
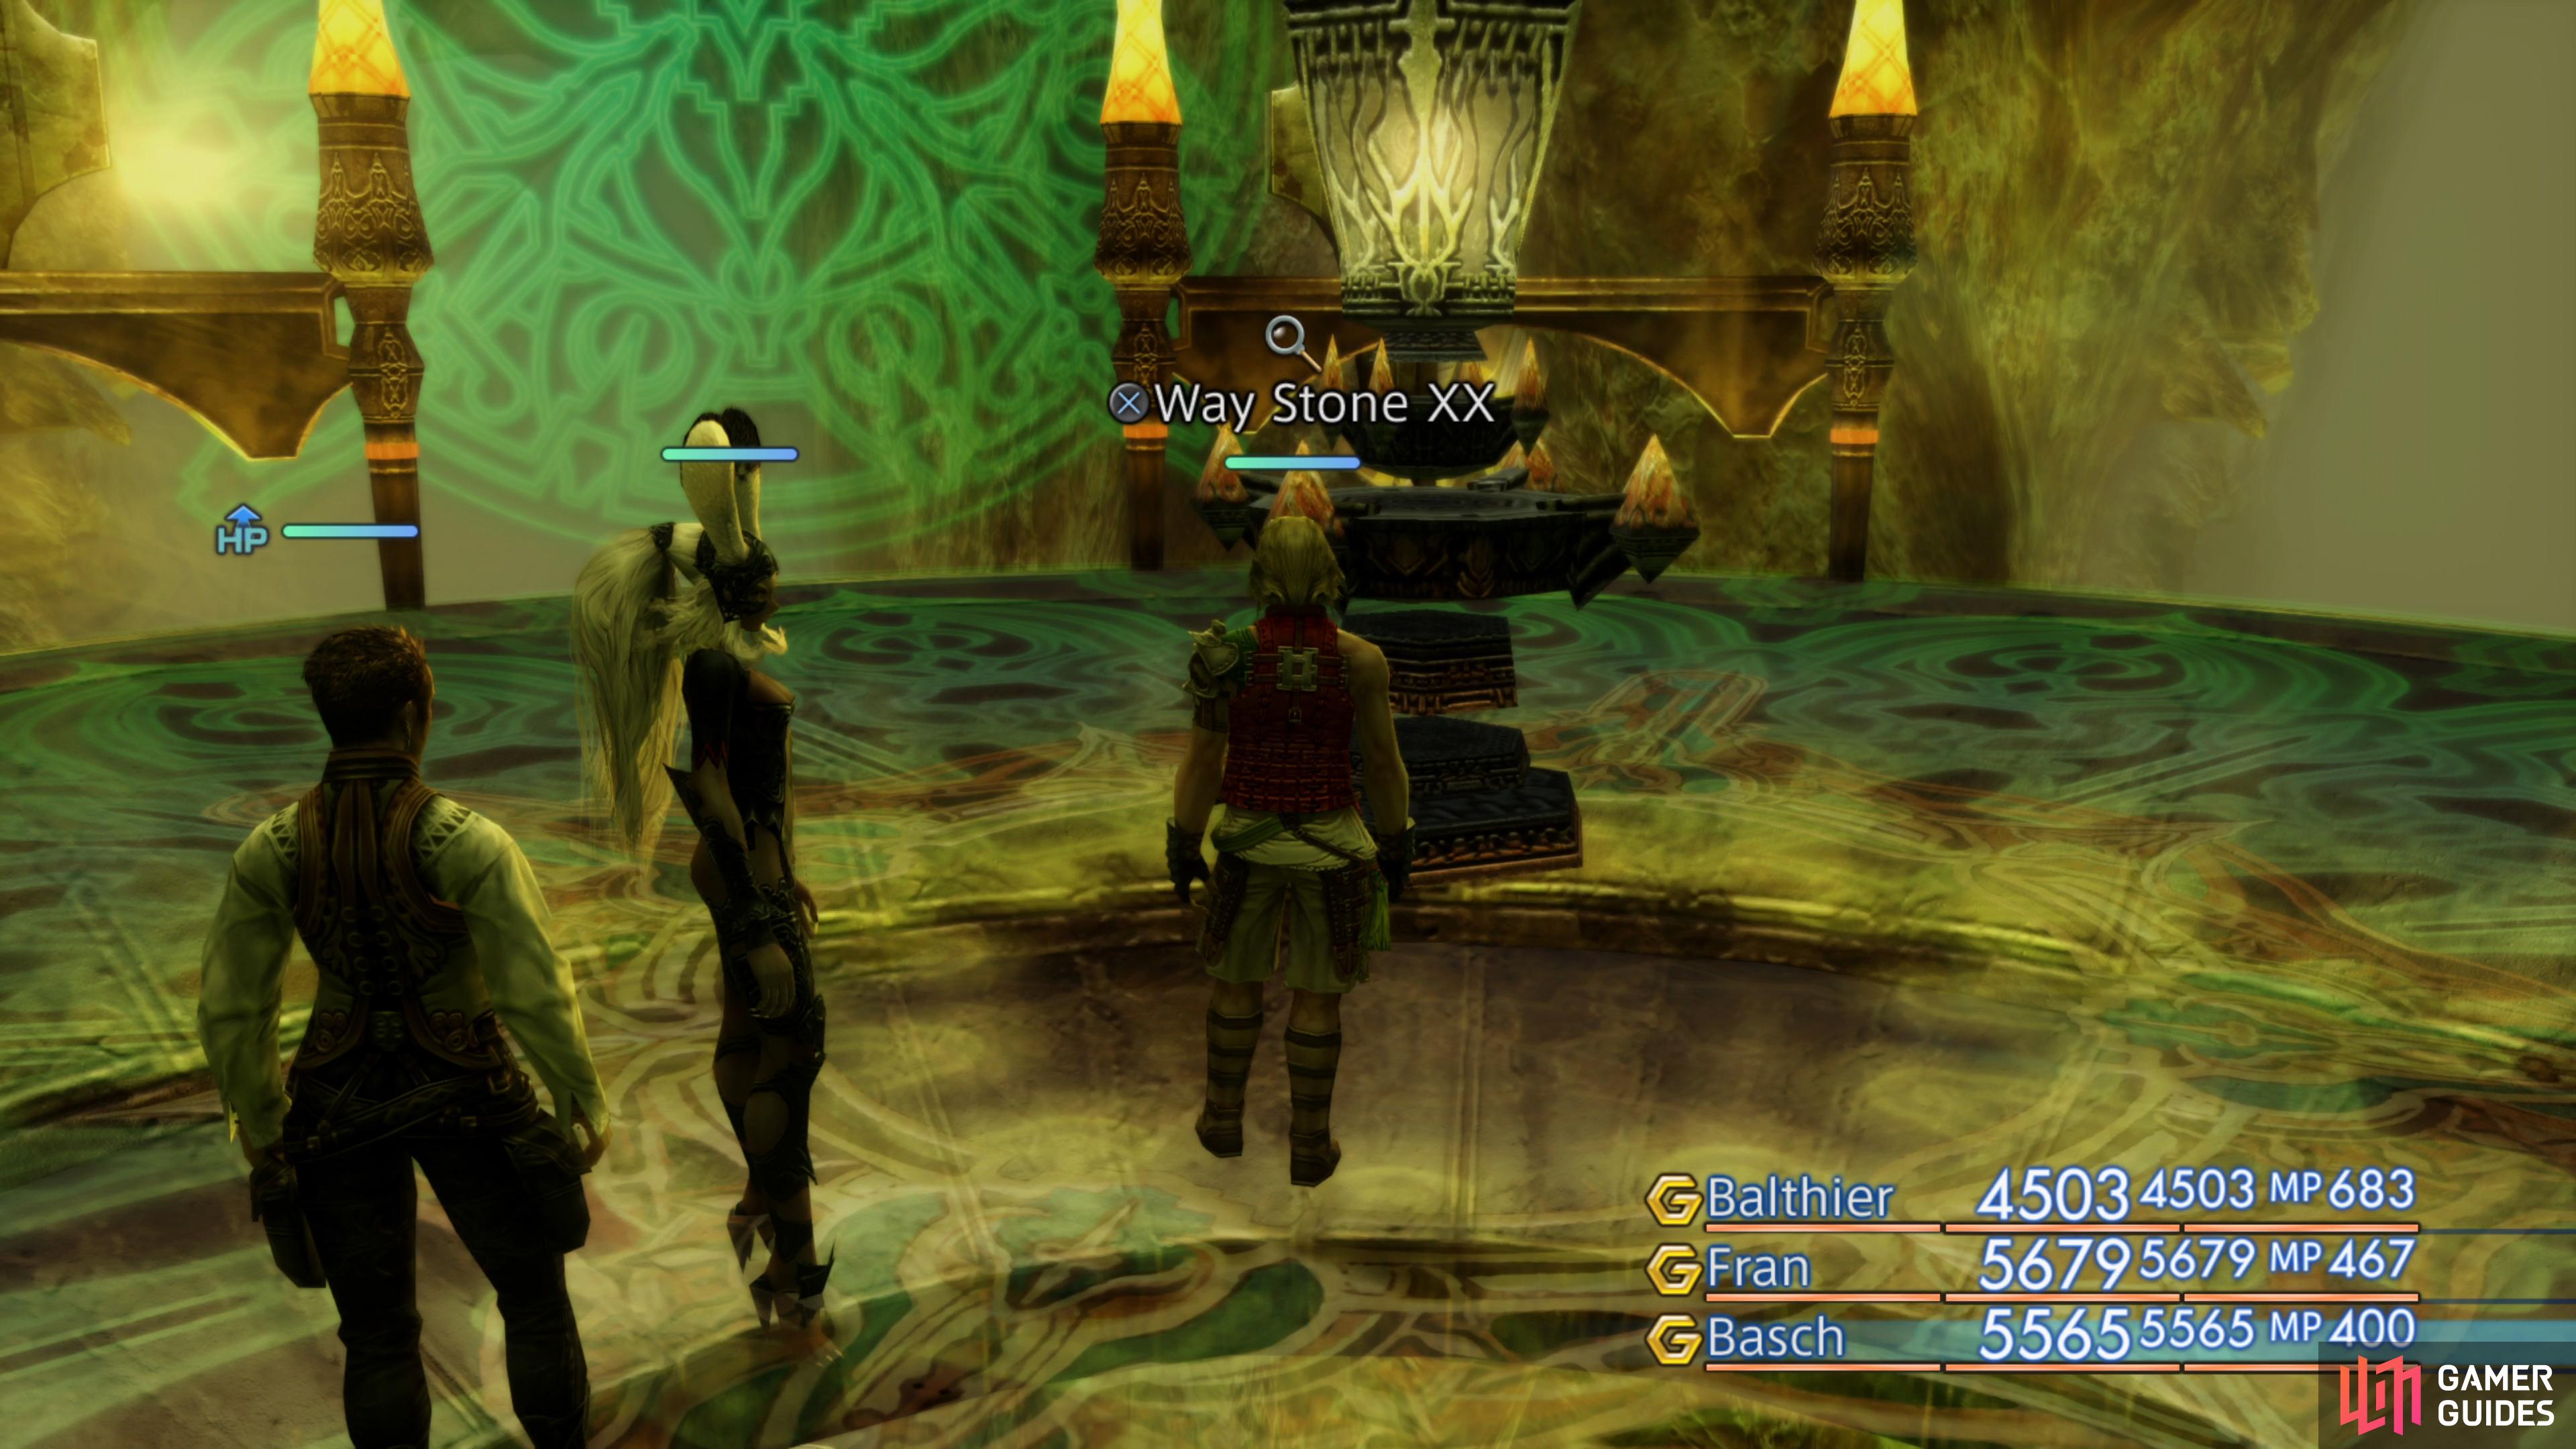
This room is a rather interesting one when it comes to this level as it acts as the central hub to the rest of the level. Upon first entry, you’ll notice that the west and and east exits are locked via Sagittarius Gates meaning you’ll have to track the Gate Stone down first. You’ll also notice Waystone XX in the center, this will take you back to the Kanbhru level where you fought the Ultima Esper but it won’t become active until you return from there first.
(1 of 2) This important Waystone will return you to the top of the Crystal after activating the destination Waystone once
This important Waystone will return you to the top of the Crystal after activating the destination Waystone once (left), you can spawn the Crystal Knight here provided you follow the necessary steps. (right)
Finally, you’ll notice that another Rare Enemy has the chance to spawn here, the Crystal Knight and like Larva Eater, has some rather precise conditions to cause him to spawn. Once you meet those conditions (check the corresponding page for details), he’ll spawn in the center alongside two Forbiddens so be sure to slay them before you focus on the Crystal Knight itself. Be sure to equip protection against his Darkga spell and use Holy yourself to claim a new trophy for the Hunt Club.
- Exits:
1. Northeast - Dhebon Jilaam Praa’Dii
2. East - A Vikaari Sirhru Praa (Sagittarius Gate)
3. Southeast - Dha Vikaari Kabonii
4. Southwest - Dhebon Jilaam Avaapratii
5. West - A Vikaari Sirhru Pratii (Sagittarius Gate)
6. Northwest - Dhebon Jilaam Praatii’Dii
7. Waystone XX - Dha Vikaari Dhebon Ra (back to the Kanbhru level once Waystone XIX is activated.)
Dhebon Jilaam Praatii’Dii
| Regular Treasure |
Diamond Armlet |
Respawns (Y/N) |
| – |
– |
– |
| Enemies |
Weakness |
Steal |
Loot |
| Mom Bomb |
Water |
Bomb Shell, Soleil Fang, Scorpio Gem |
Bomb Shell, Fire Crystal, Diamond Armlet, Scorpio Gem |
A gaggle of Mom Bombs await you in the center of this room so be sure you take on one at a time to prevent any chances of them Self-Destructing on you, if it start’s a chain reaction, it could spell an early grave. Enemies aside, this is an empty room that serves no purpose other than providing the way towards the Sagittarius Gate Stone.
- Exits:
1. Northeast - Sthaana Sagittarius
2. Southeast - A Vikaari Kanbhru Ra
Sthaana Sagittarius
| Regular Treasure |
Diamond Armlet |
Respawns (Y/N) |
| – |
– |
– |
| Enemies |
Weakness |
Steal |
Loot |
| Mom Bomb |
Water |
Bomb Shell, Soleil Fang, Scorpio Gem |
Bomb Shell, Fire Crystal, Diamond Armlet, Scorpio Gem |
This is arguably the most important room on this level as it contains the all important Sagittarius Gate Stone however before you can activate it, you’ll have to deal with yet another large group of the bothersome Mom Bombs. Activating the Gate Stone here will remove the two Gates back in the A Vikaari Kanbhru Ra room allowing you access to two different Waystones.
- Exits:
1. Southeast - Dhebon Jilaam Praa’Dii
2. Southwest - Dhebon Jilaam Praatii’Dii
Dhebon Jilaam Praa’Dii
| Regular Treasure |
Diamond Armlet |
Respawns (Y/N) |
| – |
– |
– |
| Enemies |
Weakness |
Steal |
Loot |
| Mom Bomb |
Water |
Bomb Shell, Soleil Fang, Scorpio Gem |
Bomb Shell, Fire Crystal, Diamond Armlet, Scorpio Gem |
Like Dhebon Jilaam Praatii’Dii, a large group of Mom Bombs await you in the center of this room. Once again, enemies aside, this is an empty room that serves no purpose other than providing the way towards the Sagittarius Gate Stone.
- Exits:
1. Northwest - Sthaana Sagittarius
2. Southwest - A Vikaari Kanbhru Ra
A Vikaari Sirhru Praa
| Regular Treasure |
Diamond Armlet |
Respawns (Y/N) |
| – |
– |
– |
| Enemies |
Weakness |
Steal |
Loot |
| Mom Bomb |
Water |
Bomb Shell, Soleil Fang, Scorpio Gem |
Bomb Shell, Fire Crystal, Diamond Armlet, Scorpio Gem |
Should you make it through the Sagittarius Gate before time runs out, you’ll find yourself in this room (when taking the eastern exit) where you’ll find Waystone XI, needed to access the eastern side of the next level, Sirhru. Note that as you approach the Waystone in the center, a group of Mom Bombs will ambush you from behind.
- Exits:
1. West - A Vikaari Kanbhru Ra
2. Waystone XI - Dha Vikaari Dhebon Praa
Dhebon Jilaam Avaapratii
| Regular Treasure (chest % to appear) |
Diamond Armlet |
Respawns (Y/N) |
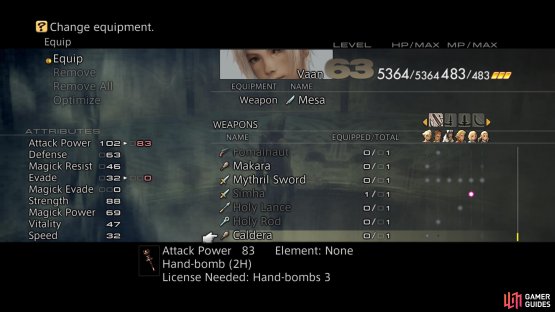
| Caldera |
Caldera |
N |
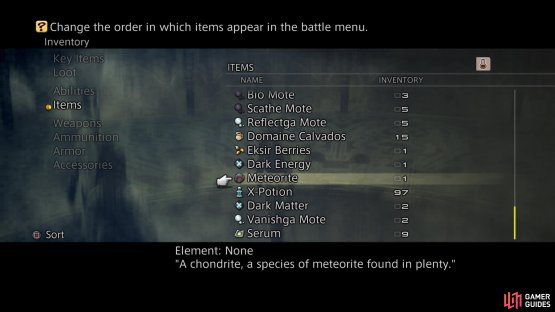
| Meteorite (5%) |
Meteorite (5%) |
Y |
| Enemies |
Weakness |
Steal |
Loot |
| Mom Bomb |
Water |
Bomb Shell, Soleil Fang, Scorpio Gem |
Bomb Shell, Fire Crystal, Diamond Armlet, Scorpio Gem |
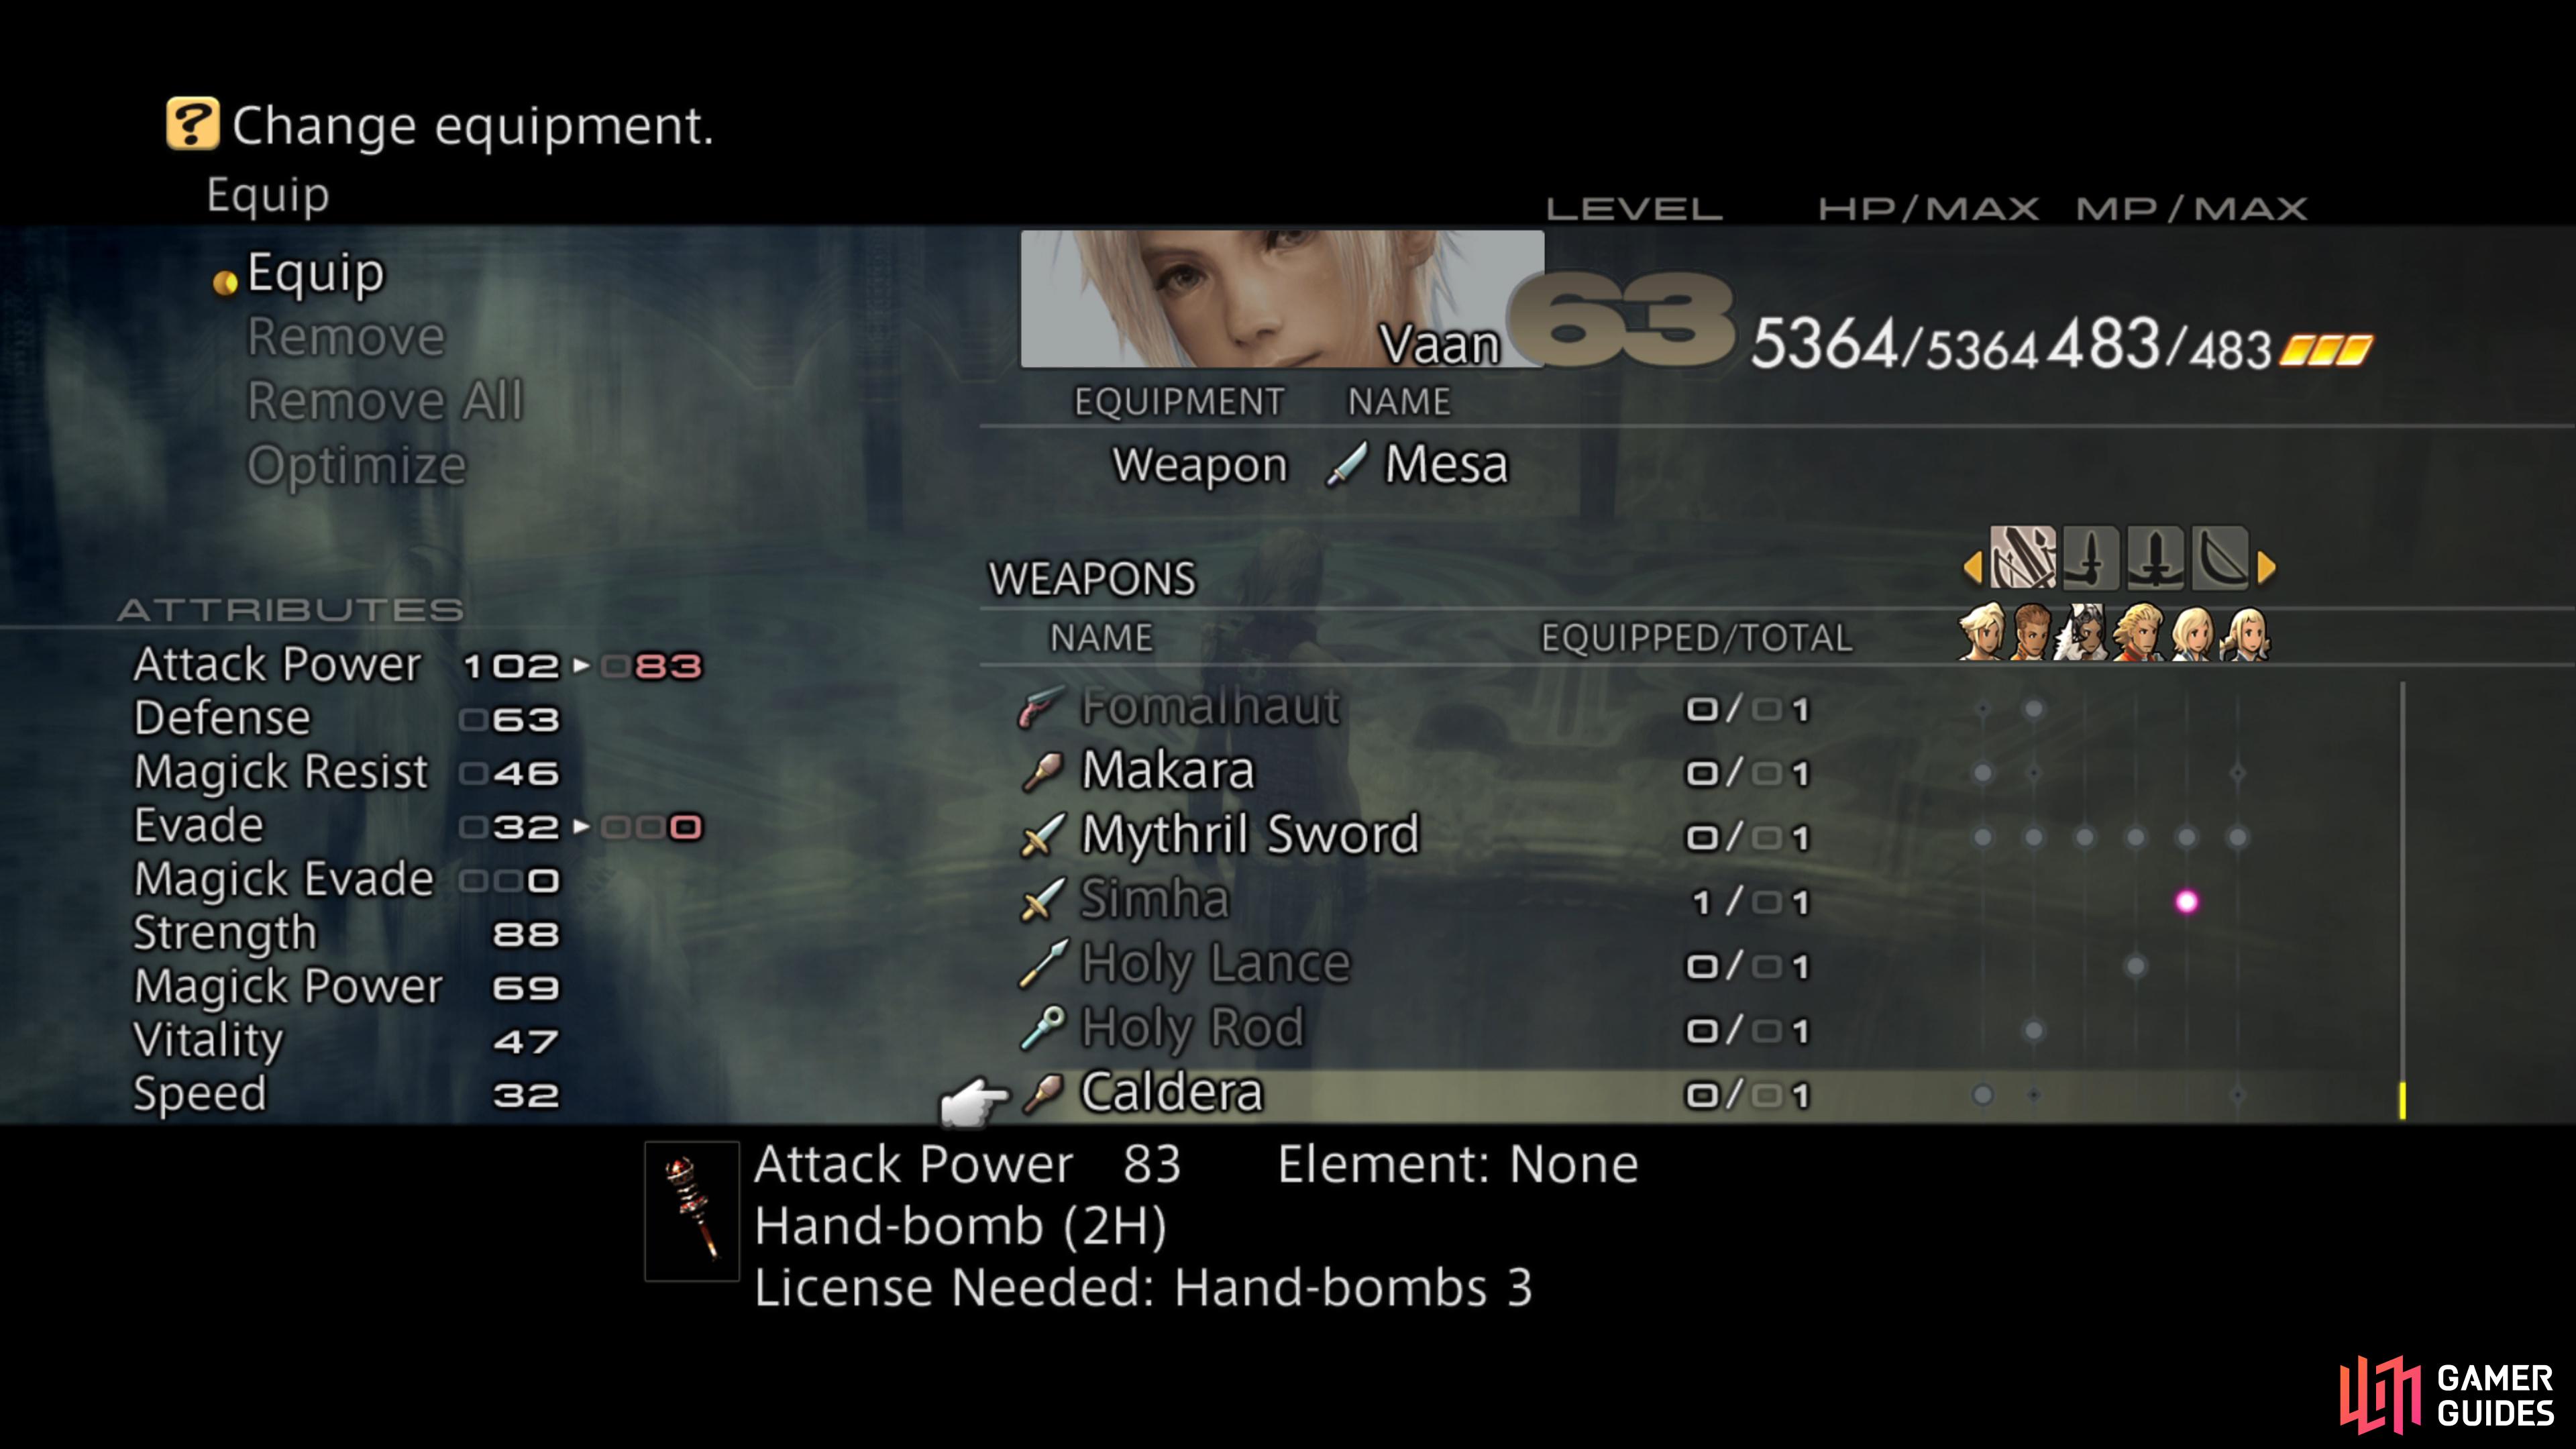
This room is the only one with treasure on this level and is the first room in the Great Crystal with a second chest that has a 5% chance to appear. You’ll always find a Caldera, a powerful Hand-bomb, on your first visit but the second chest has the chance to contain Gil or a Meteorite. On top of this, you’ll have to deal with another large group of Mom Bombs before you can plunder the chests.
(1 of 2) The Caldera is a useful Hand-bomb and will always spawn
The Caldera is a useful Hand-bomb and will always spawn (left), while there’s also a chance a chest with this will spawn in the same room. (right)
- Exits:
1. Northeast - A Vikaari Kanbhru Ra
A Vikaari Sirhru Pratii
| Regular Treasure |
Diamond Armlet |
Respawns (Y/N) |
| – |
– |
– |
| Enemies |
Weakness |
Steal |
Loot |
| Mom Bomb |
Water |
Bomb Shell, Soleil Fang, Scorpio Gem |
Bomb Shell, Fire Crystal, Diamond Armlet, Scorpio Gem |
Like it’s sister room to the east of the central hub, A Vikaari Sirhru Praa, this room can only be accessed if you reached it before the timer elapsed from the Sagittarius Gate Stone. As such, you’ll find Waystone XII here that will whisk you off to the Sirhru level albeit the opposite side from Waystone XI. As has been a common theme on this level, a group of Mom Bombs may ambush you from behind when attempting to touch the Waystone.
- Exits:
1. East - A Vikaari Kanbhru Ra
2. Waystone XII - Dha Vikaari Dhebon Pratii


No Comments