


| Items In This Area |
|---|
| Deathbringer • Defender • Gift of the Great-chief • Koga Blade • Platinum Dagger • Tumulus • Yoichi Bow. |
While this quest mostly just requires running around, there is some setup involved. If you’re following this guide sequentially, you should be good to go, but if not, you may have some work to do. To start this quest you’ll need to have completed the Cluckatrice hunt and obtained the Feather of the Flock item from the Tracks of the Beast area in the Giza Plains (rainy season), meaning you also needed to knock down all those Withered Trees to make a debris bridge. Assuming you’ve done all those things, you’ll be able to start this quest.
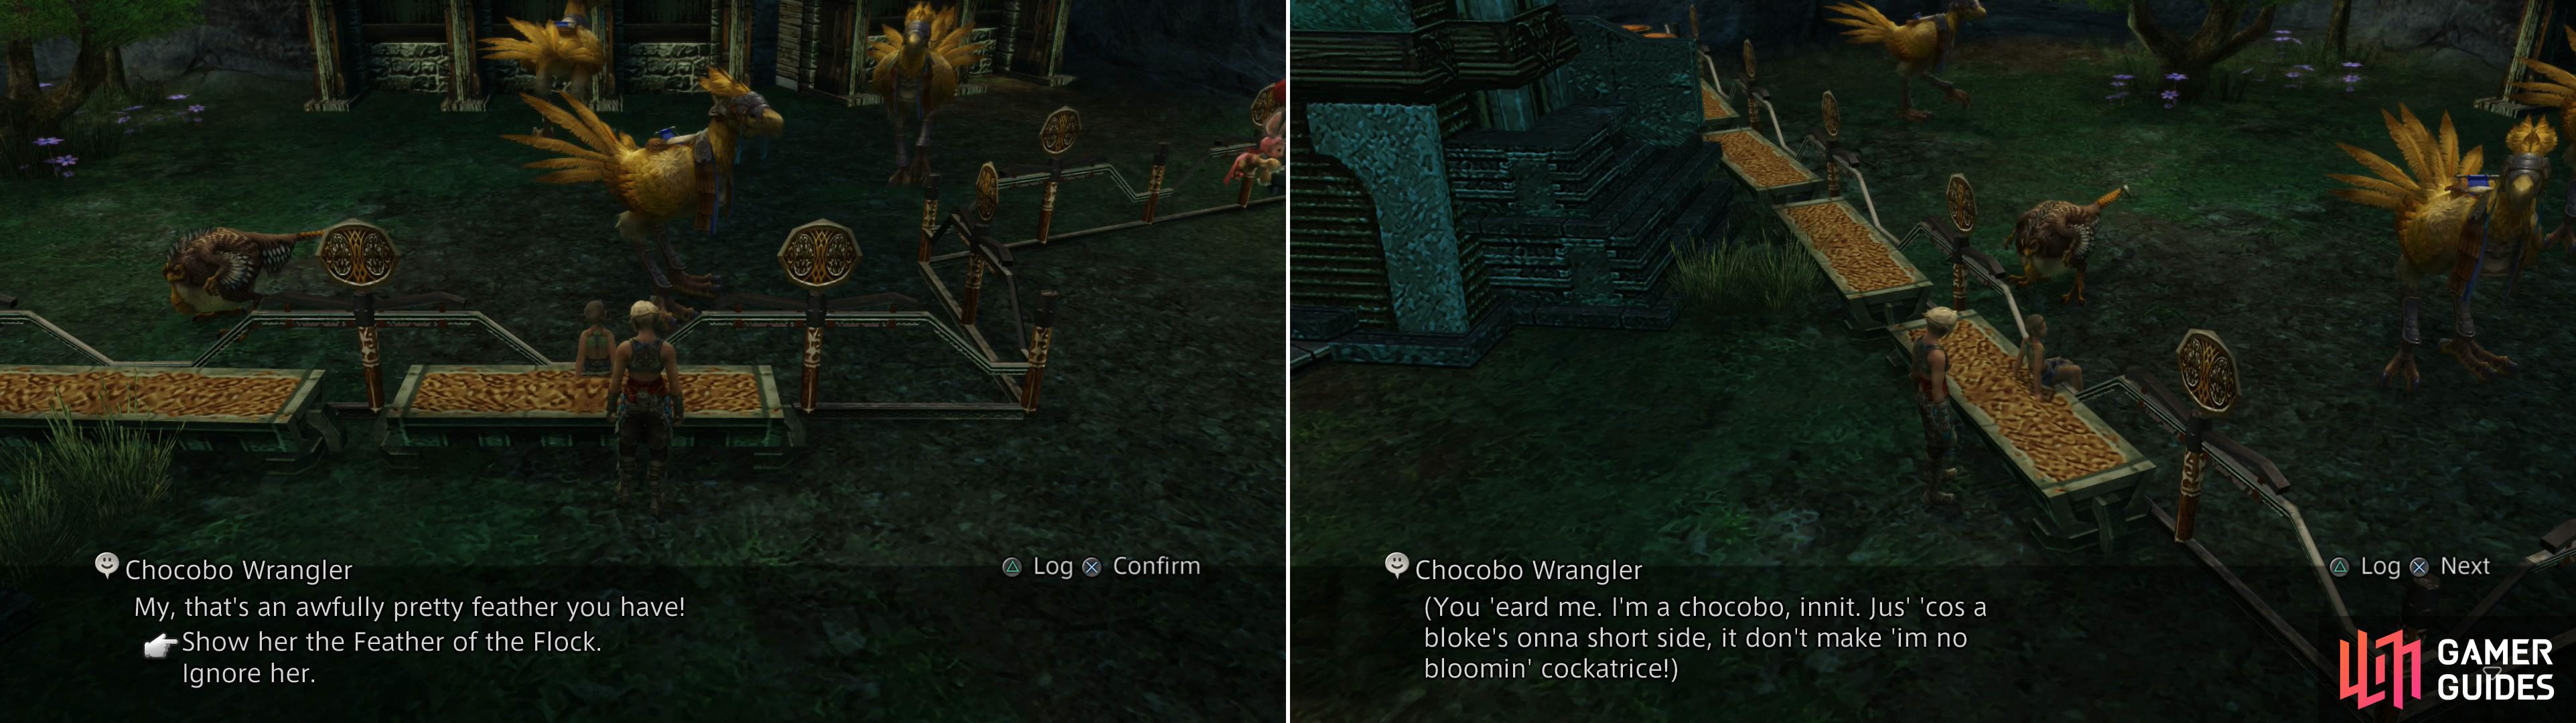
Show the Chocobo Wrangler the Feather of the Flock (left) after which you’ll overhear a rather odd “Chocobo” (right).
Moomer in Disguise
Talk to the nearby Miffed Moogle and the impoverished Moogle will ponder whether it’s cheaper to hire a “Chocobo” of that stature. Talk to Gurdy and the Miffed Moogle will as the question it pondered earlier, at which the opportunistic Gurdy will relinquish the Cockatrice for a single Gil. Moomer is understandably upset at being used as a beast of burden - perhaps the life of a Cockatrice back in the Giza Plains isn’t so bad, after all? In any case, the Miffed Moogle will give you a Defender (Greatswords 2) for your trouble.
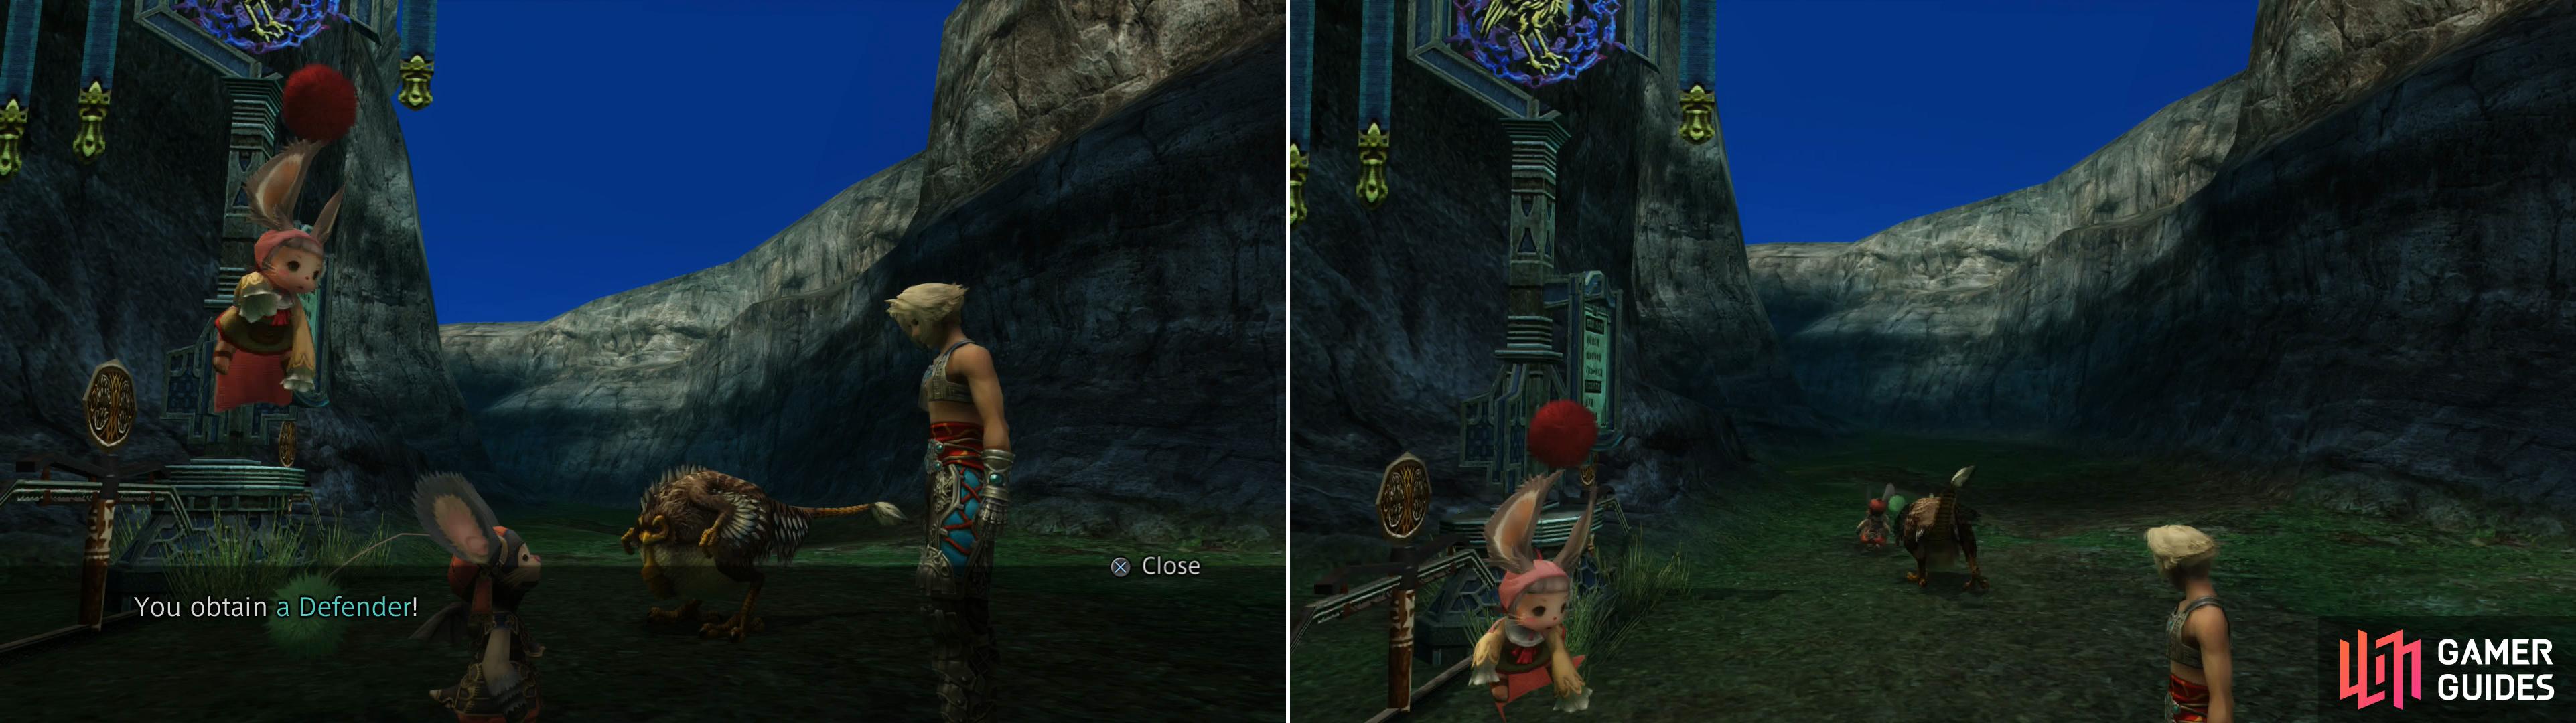
For helping the Moogle rent a Chocobo worthy of his funds you’ll be rewarded with a Defender (left) after which the “Chocobo” will find that the gig isn’t all it’s cracked up to be (right).
The first Cockatrice just so happens to be hiding nearby, in Balfonheim Port. From the Gate Crystal turn southwest to find a Chocobo pen, run, of course, by Gurdy. Talk to a kid - a Chocobo Wrangler - sitting near the Chocobos and she’ll mention a persistent odd Chocobo in the pen. Show her the “Feather of the Flock” and you’ll overhear the scheming Cockatrice.
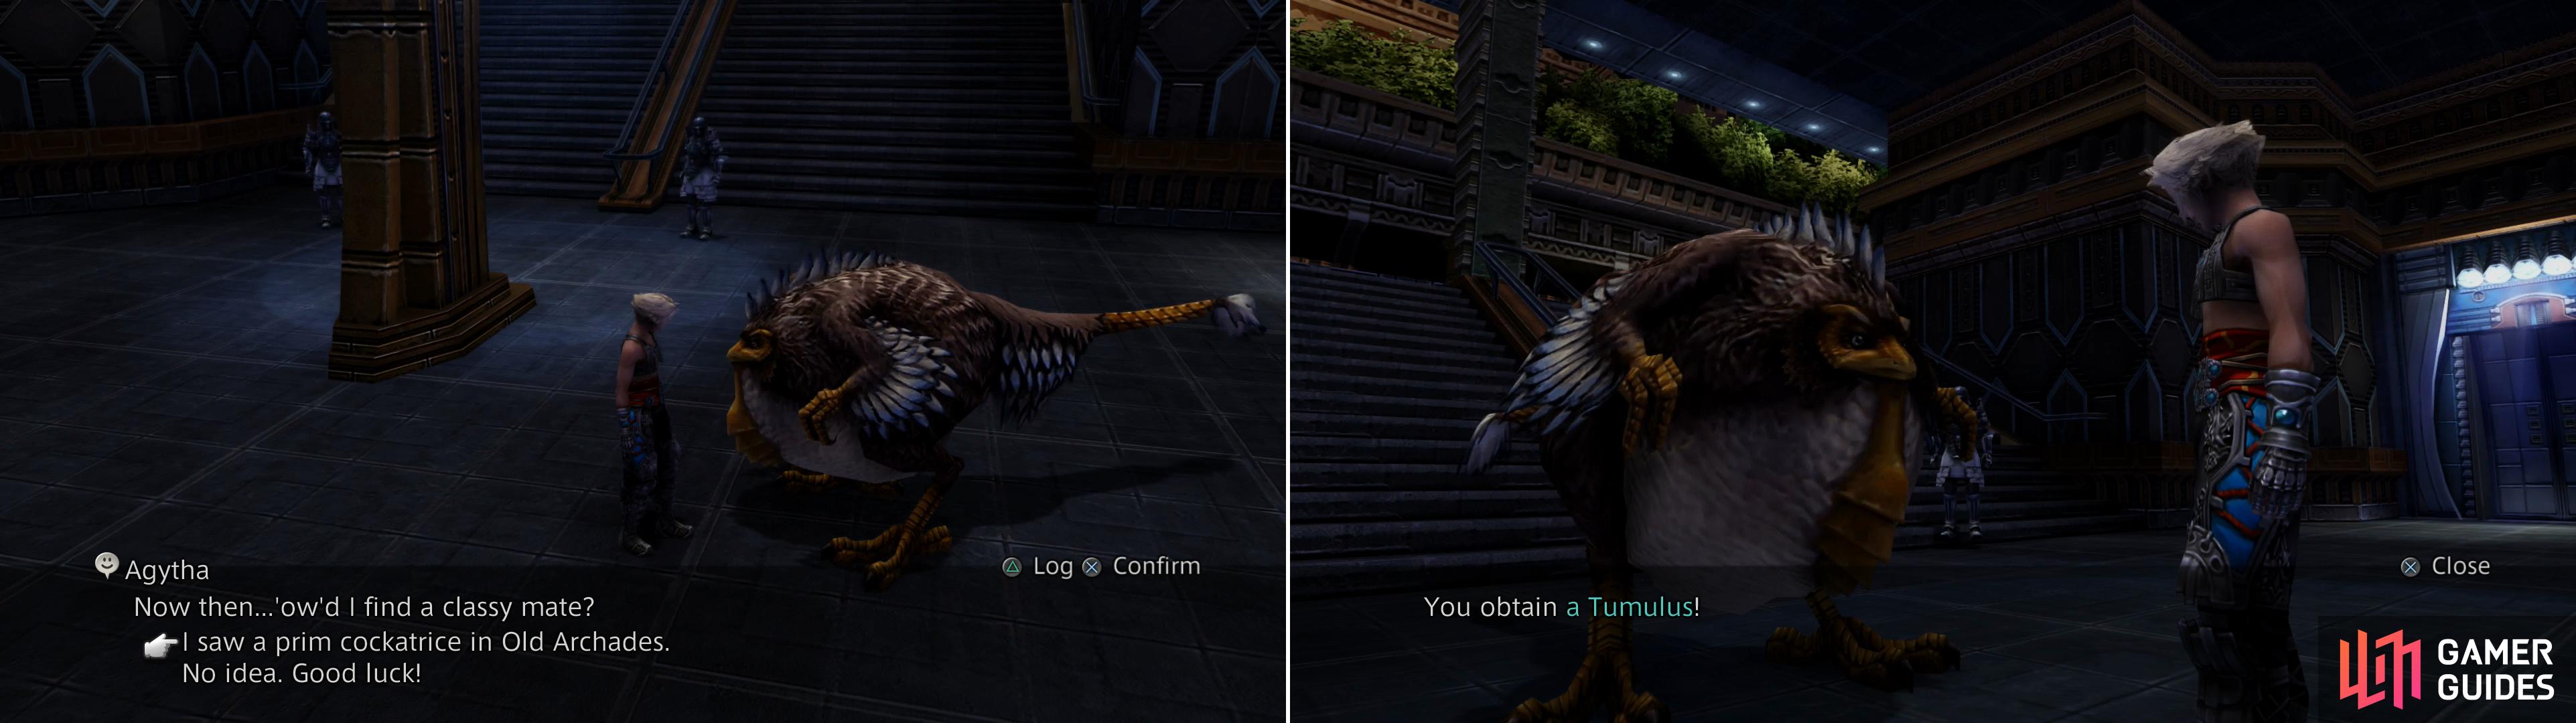
Chase down Agytha in the Grand Arcade and tell her about the Cockatrice you found in Old Archades (left) and she’ll give you a Tumulus (right).
Agytha in the Arcade
Once Moomer is off on his way, use the nearby Gate Crystal and teleport back to Archades. When you arrive in Tsenoble, make your way to the northern end of the zone to find the Docent watching the door that leads to central. Now that the trouble in Draklor has passed, however, the soldiers are gone so you’ll be free to pass… provided you did the extra work to get the Sandalwood Chop earlier. If not, go give the “Earning Your Chops” section a gander and do the busy-work to get twenty-eight Pinewood Chops, then cash them in at a Chopmaster, found in any store in Archades. When you’re good to go, talk to the Docent at the northern end of Tsenoble and get her to allow you to pass on to Central, where you’ll find her clone waiting for you. Use more character models!
In this area, the Grand Arcade, you’ll find three Imperial soldiers trying to catch a rather large Cockatrice. Chase the bird down and talk to it, whereupon this Cockatrice - Agytha - will muse about how to increase her standing in the world. If you talked to the Cockatrice in Old Archades, tell her “I saw a prime cockatrice in Old Archades” and she’ll thank you for your trouble by giving you a Tumulus (Hand-bombs 2). If you didn’t talk to the Cockatrice in Old Archades, you’ll have to head back down there and do so. That’s all there is to see and do in Archades for now, unless you fancy chatting with Archadian citizens for idle gossip, in which case you’ll find some in the Highgarden Terrace area, and when you return to the Grand Arcade post-Cockatrice, NPCs will have spawned there, too.
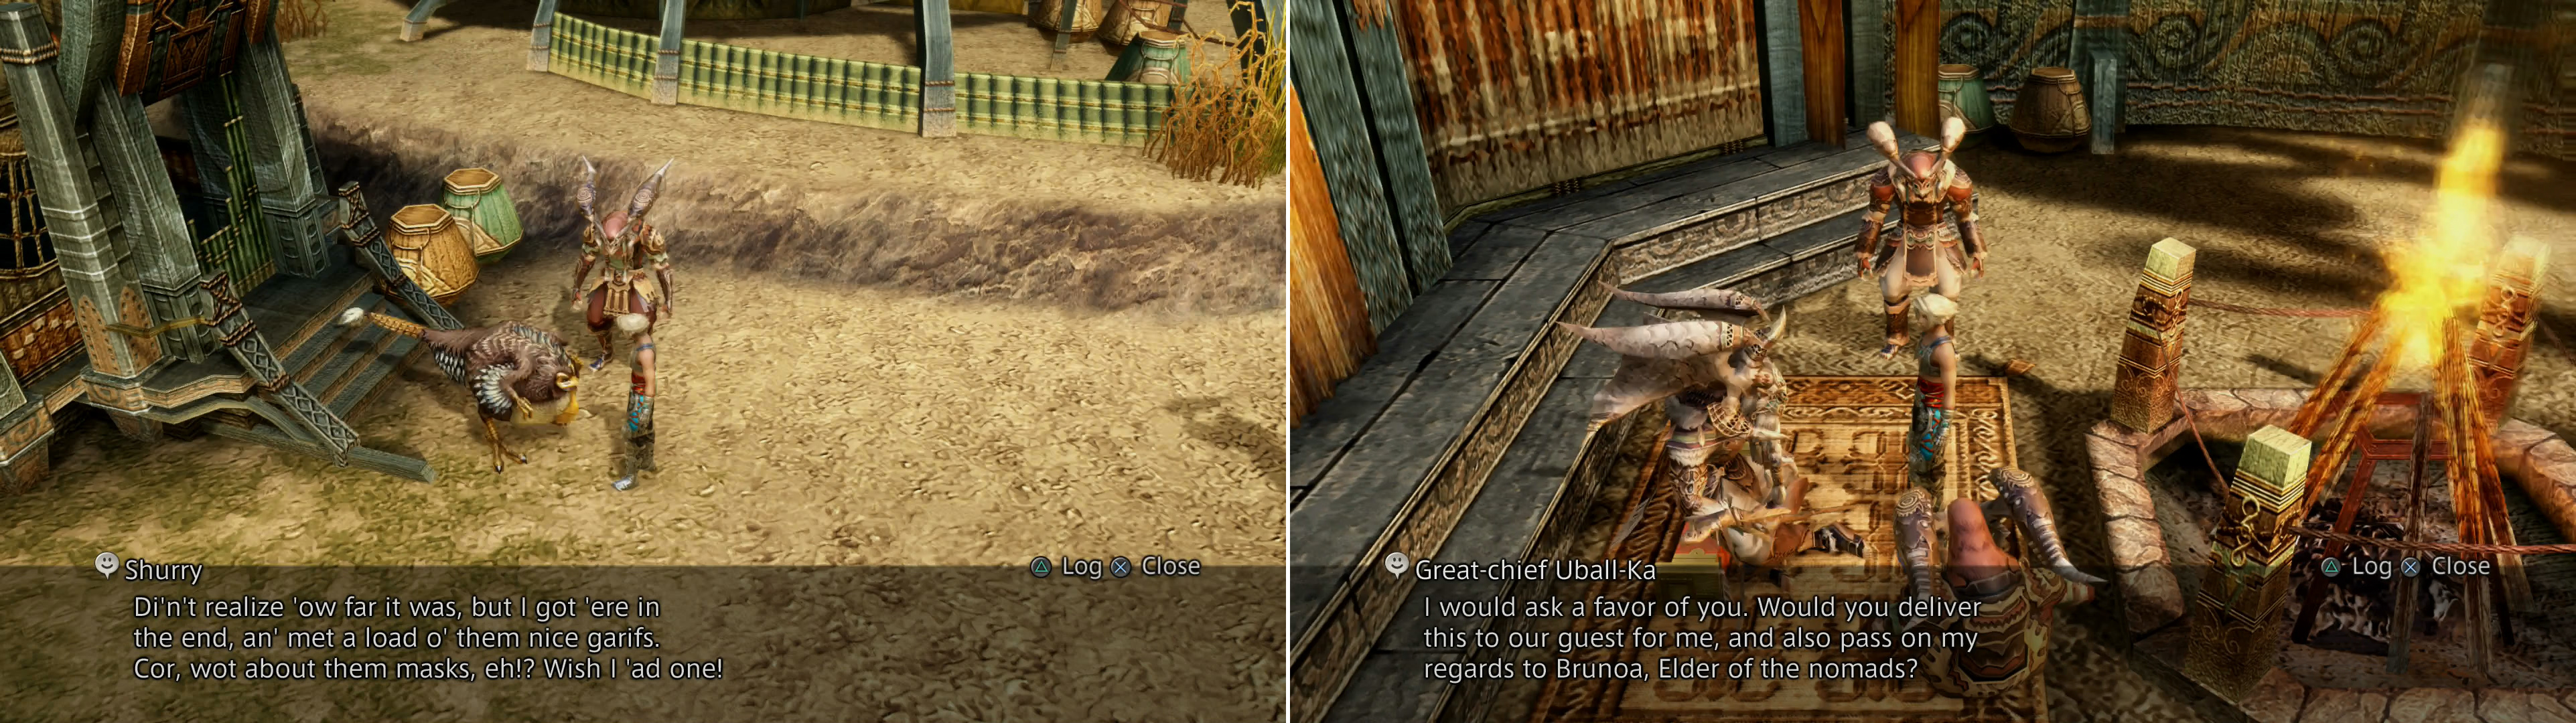
You’ll find Shurry in Jahara (left) and after talking to the bird, chat with Great-chief Uball-Ka (right).
Shurra in the Land of the Garif
This section isn’t about talking to people, though, but rather Cockatrices… whenever possible, anyways. To that end, your next destination should be Jahara. Use the Gate Crystal in Tsenoble to travel back to Jahara, then enter the Lull of the Land area and make your way west to find the Garif have gathered south of the merchant. Talk to them and you’ll find out the cause of the commotion is a wayward Cockatrice which showed up in their village. Talk to the Garif Herder, standing near the Cockatrice and he’ll implore you to find out what the ball of feathers is doing here, then oblige him by talking to the Cockatrice, Shurry, to find out its motivations. Speak to the Garif Herder again and pick the option “It came from Giza Plains” and he’ll refer you to the Great-chief.
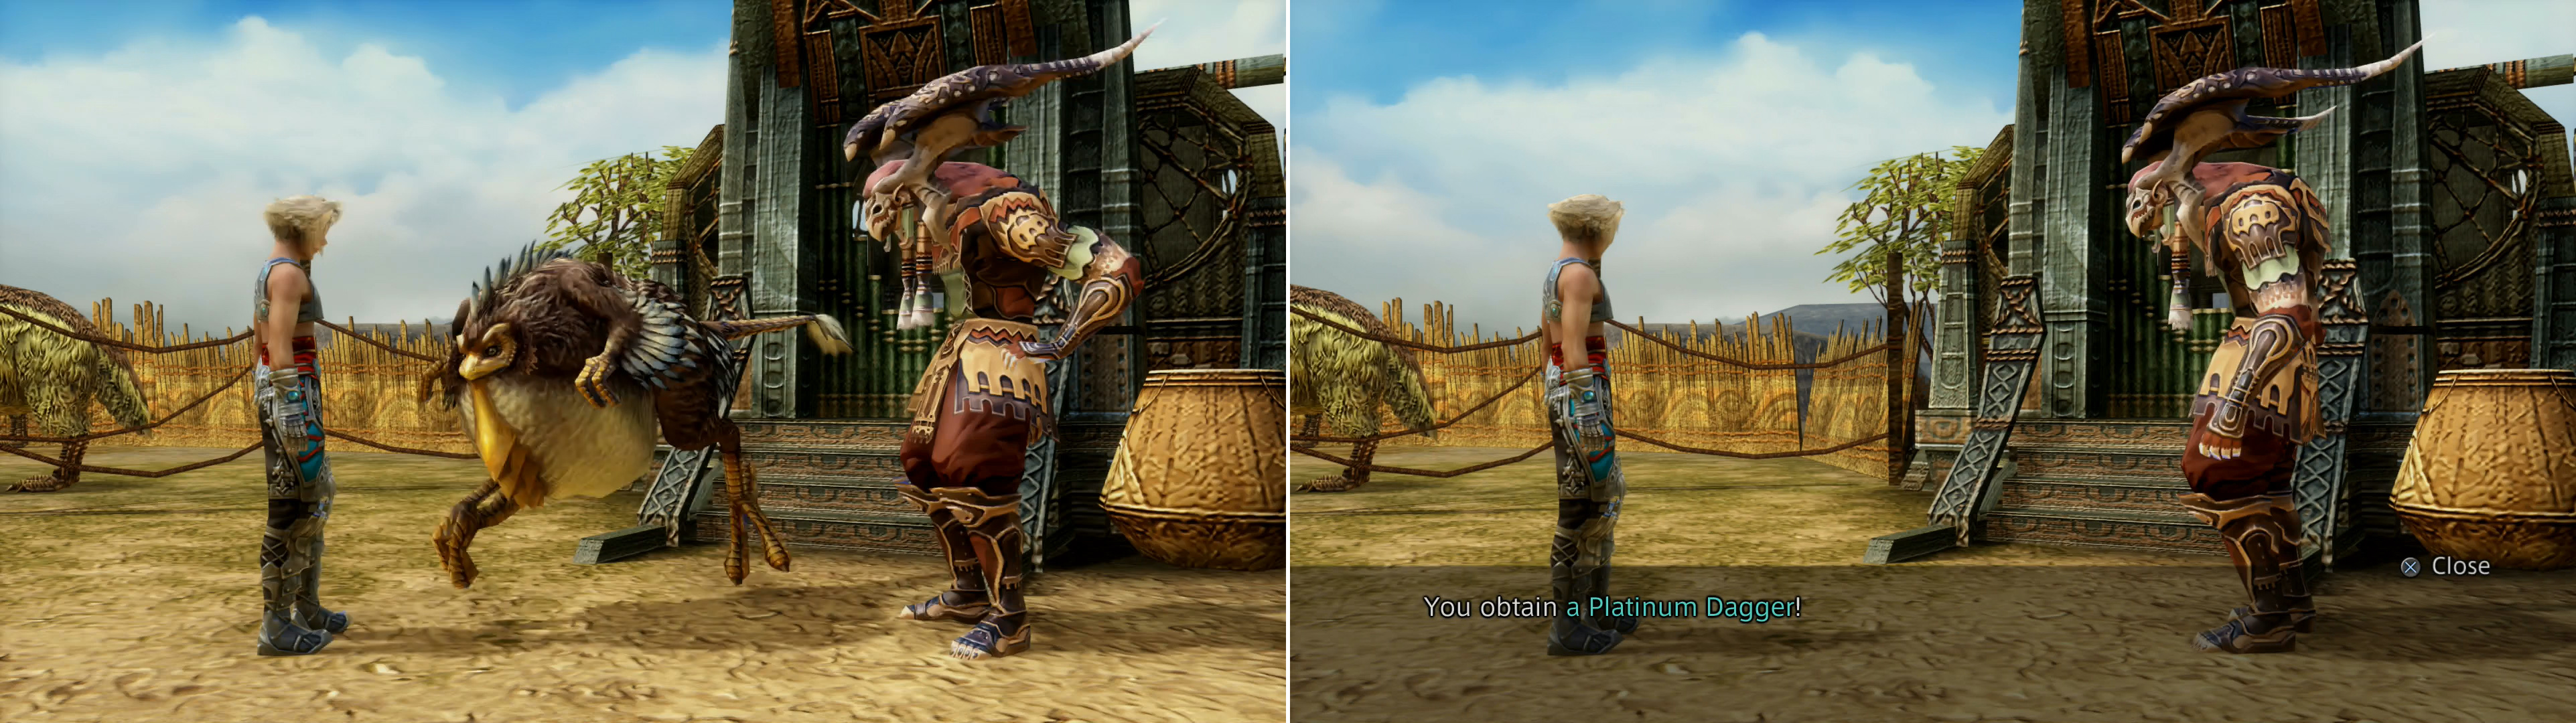
After giving the Great-chief’s gift to Shurry, the Cockatrice wills scamper off, and the nearby Garif will give you a Platinum Dagger (right).
Make your way north, then cross the bridge to the next area - The Elderknoll - and head across the bridge to the west to find Great-chief Uball-Ka sitting near his fire. Chat with him and he’ll give you the “Gift of the Great-chief” and tell you to pass on your regards to Elder Brunoa back in the Nomad Camp in the Giza Plains. One step at a time. Return to Shurry in the Lull of the Land area and pass on the Great-chief’s gift, then talk to the nearby Garif Herder. In return for appeasing (and getting rid of) the Cockatrice he’ll hand you a Platinum Dagger .
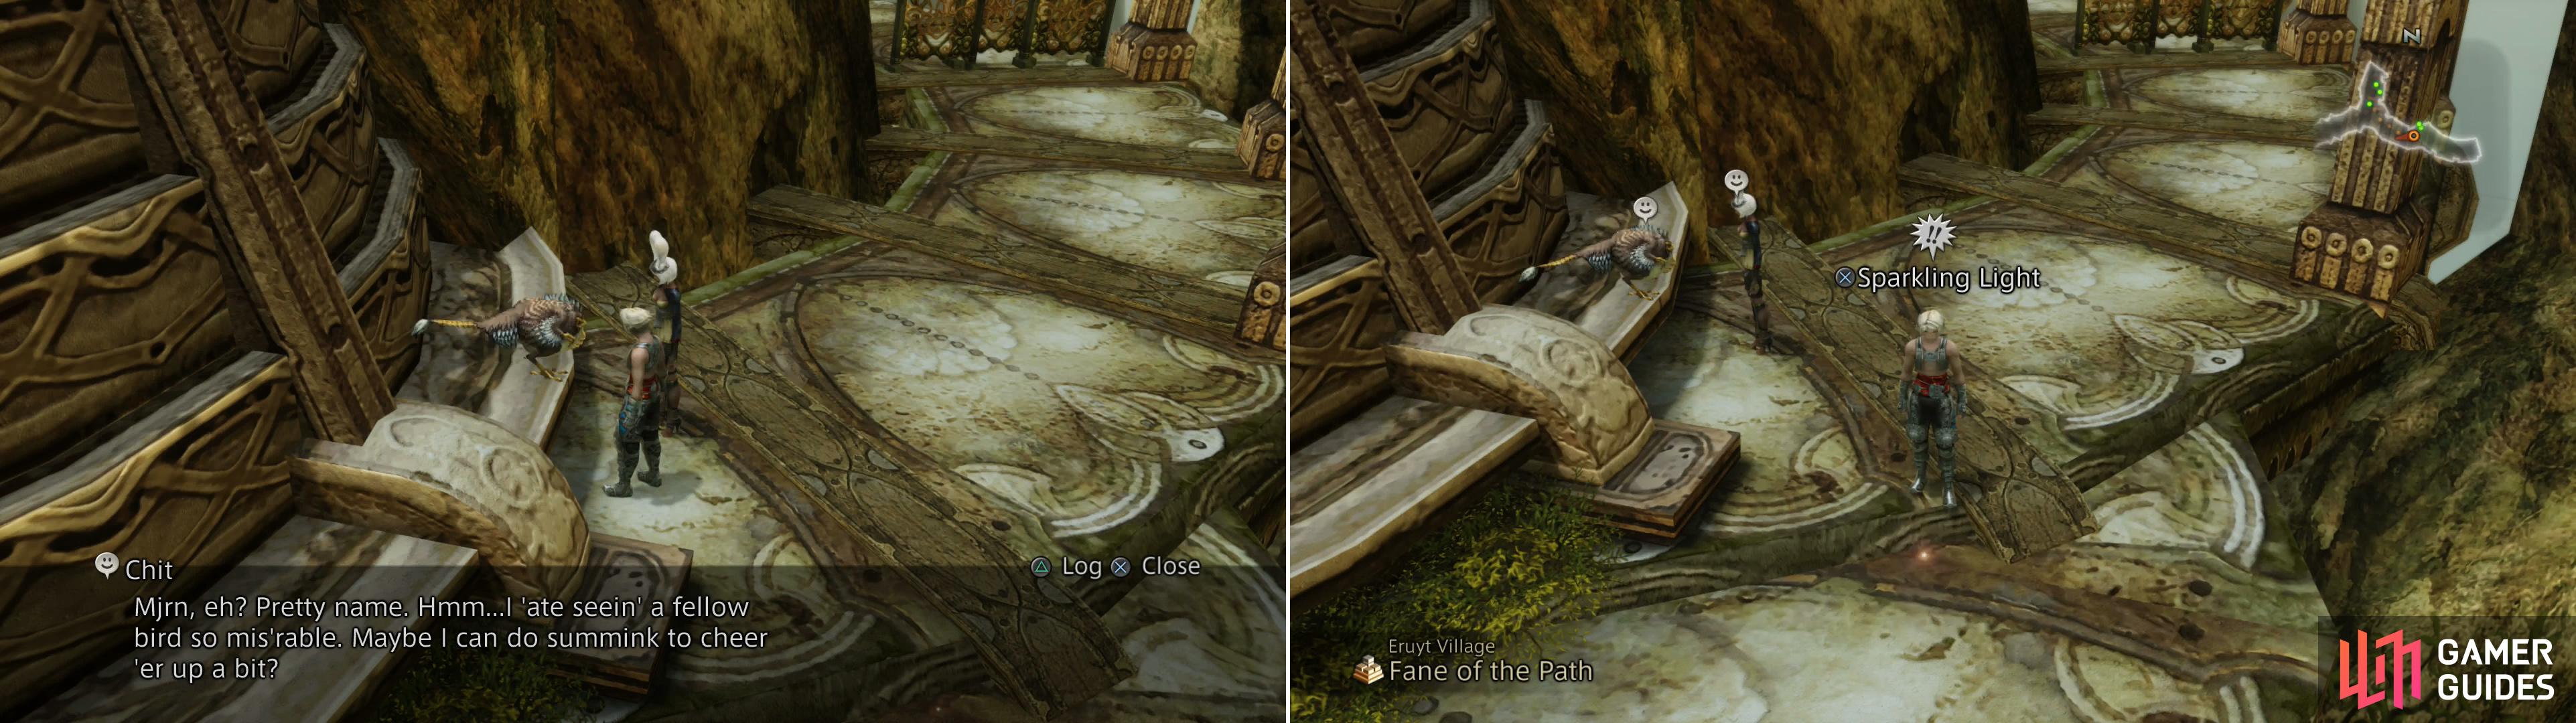
A Cockatrice named Chit will ponder how she can cheer up Mjrn (left), after which you can pick up just the trinket required - a Dewdrop Pebble (right).
Chit in the Eruyt Village
Next stop is the Eruyt Village, so use the Gate Crystal outside of Jahara (or walk, if you’re stingy), then head north through The Spiritwood area and to the Fane of the Path. From the entrance to this area, make your way northeast along the circular path to reach the residence near which Jote stands, from which continue east to find Mjrn talking to a tiny Cockatrice - Chit - standing on a nearby ledge. Talk to Chit and it’ll comment on Mjrn’s apparent sorrow and concoct a scheme by which to cheer her up… which of course has you doing all the work.
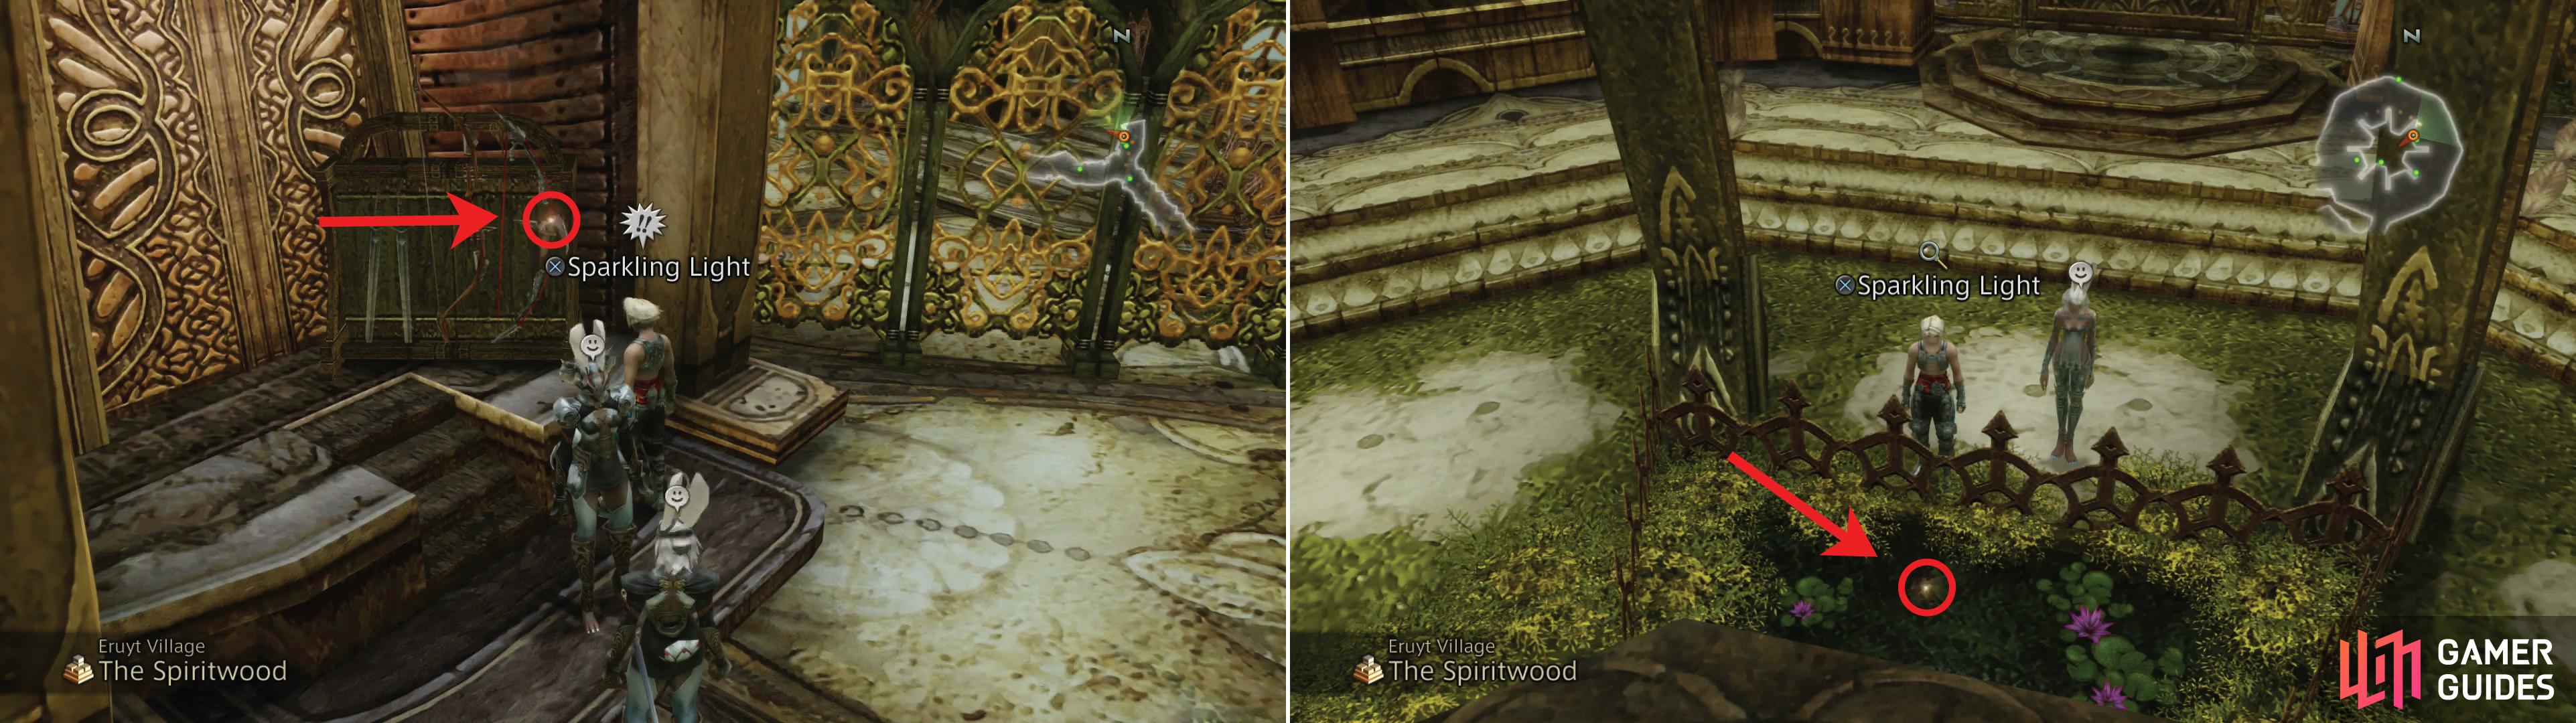
Just a few steps west of Mjrn you’ll find a twinkling red light on the ground. Search this “Sparkling Light” to find a Dewdrop Pebble , the first of nine such objects you’ll need to appease Mjrn, and hence, Chit. Talk to Mjrn and she’ll notice the pretty stone you have, which sparks some reminiscing and a longing for such trinkets, then talk to Chit again to confirm the task. That’s one down, there are eight more scattered across the Eruyt Village.
One Dewdrop pebble can be found in some moss (left) while another can be found near a Viera named Alja (right).
- Head southwest across the bridge from where Mjrn stands to reach the circular section at the southwestern end of the area. Search the northern end of this circular path where, in the moss on the massive tree around which this walkway is built, you’ll find a second Sparkling Light.
- Return south to the bridge and continue south to find a Viera named Alja standing near a salve-making Viera. On the ledge next to the sitting Viera you’ll find another Dewdrop Pebble.
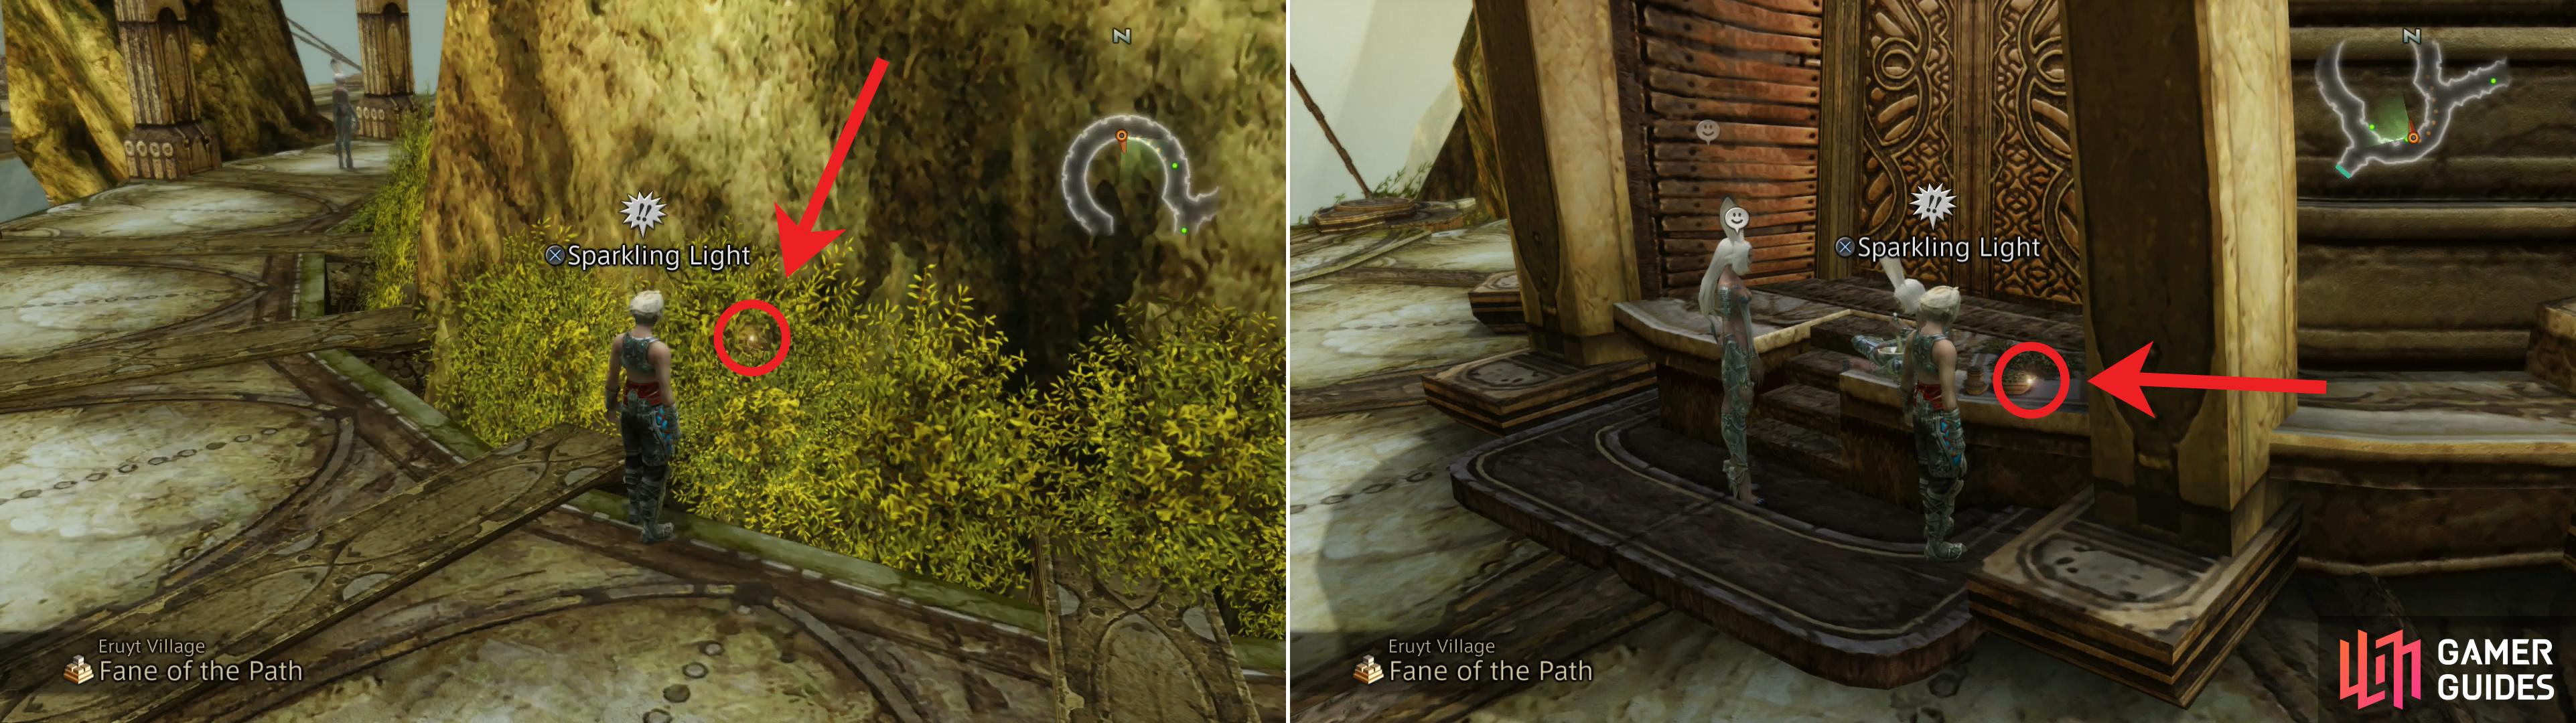
Search the bark of a tree near some stairs to find a Dewdrop Pebble (left). One can also be found on the support of a bridge (right).
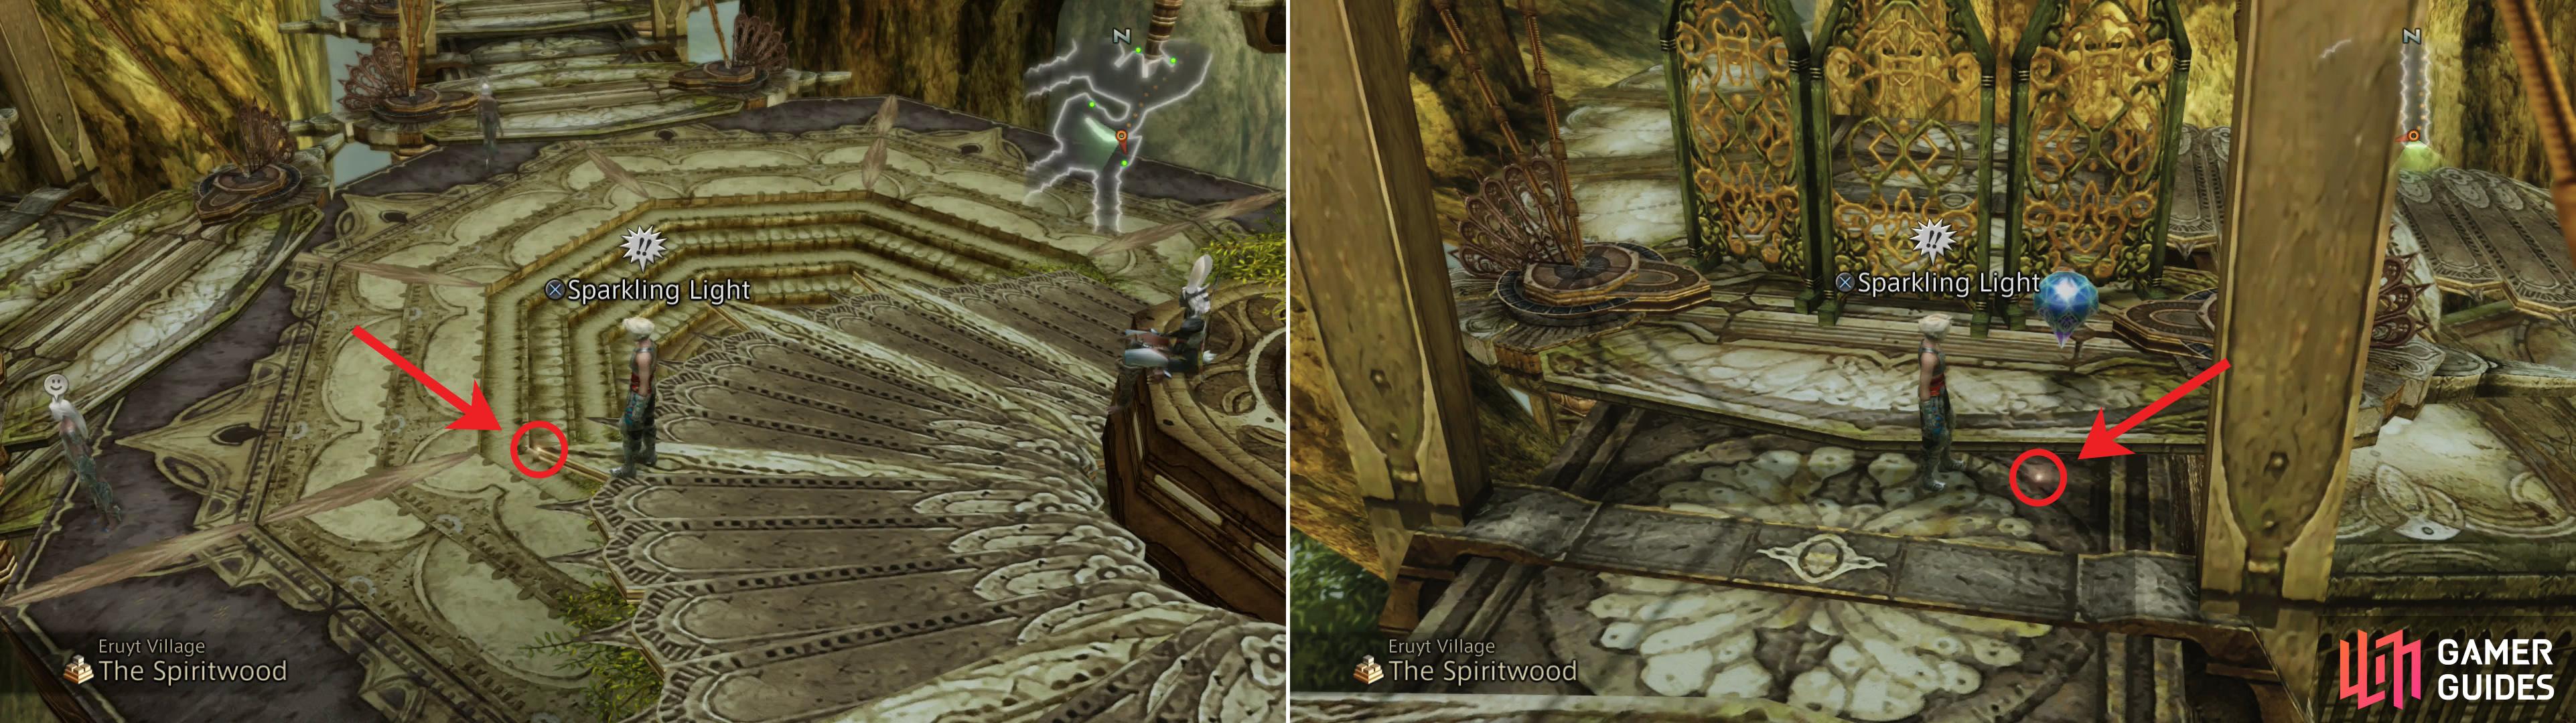
- Make your way back to The Spiritwood area and head down the stairs, making your way counter-clockwise until you’re at the southern end of the circular staircase (6:00). Once here turn south to find a tree along the edge of the stairs, in the bark of which you’ll find a Dewdrop Pebble.
- Continue downstairs counter-clockwise until you reach a fork, with a bridge running northeast and a walkway continuing to curl to the north and west. Search the northern-most support (where the rope is attached) along the western end of the bridge to find another Dewdrop Pebble on the ground.
Grab the Dewdrop Pebble near Rael (left) then enlist the help of another Viera to obtain the Dewdrop Pebble in the small pond (right).
- Make your way north and west along the curve path near the bridge, then cross another short bridge to the northwest to reach a circular walkway around a house. Once across the bridge turn north to find some Viera standing about. Search a weapon rack on a ledge near Rael to obtain your sixth Dewdrop Pebble.
- Return to the bridge where you found the previous Dewdrop Pebble and cross it to reach a circular garden area, then travel to the northeastern edge of the garden, where you’ll find a Viera standing near a fence adjacent to a small pond. In this pond you’ll find a Dewdrop Pebble, but since Vaan is a tiny little waif of a manlet, it’s out of reach. Heaven forbid he gets himself a bath, so ask the nearby Wood-dweller to grab it for you, a simple feat for a long-limbed Viera.
A Dewdrop Pebble can be found on the spikey exterior of some stairs (left) while another lies near a dead-end (right).
- Make your south to the southern edge of the garden area to find a circuitous, spike-edged staircase leading down. Search one of the larger white spikes along the edge of the staircase to find your eighth Dewdrop Pebble.
- Continue down the spike-edged stairs and cross a bridge to the south, and when your progress is blocked by some dividers note the crystal-chest here. It only contains an Ether, of course, but it’s a fine landmark, as on the floor just north of this crystal-chest you’ll find the final Dewdrop Pebble.
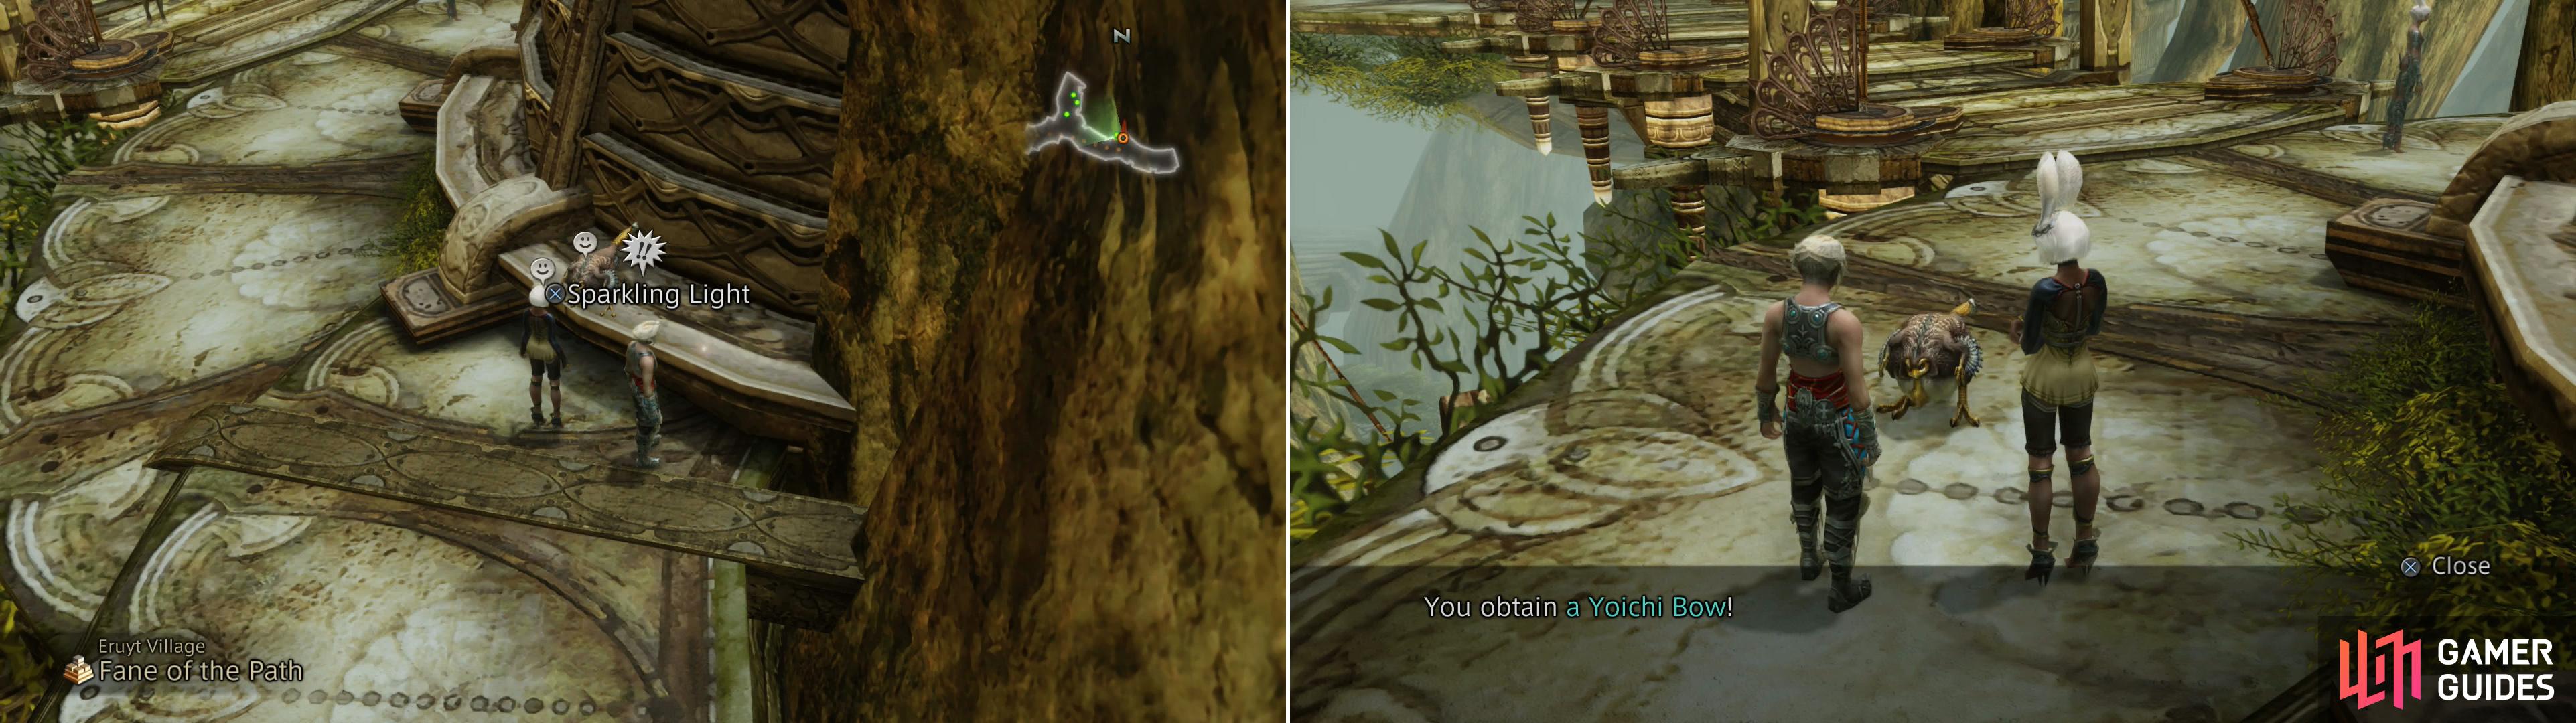
After acquiring all the aforementioned Dewdrop Pebbles, talk to Chit (left) to get the final one. Once all the Dewdrop Pebbles are collected you’ll be rewarded with a Yoichi Bow (right).
Once you have all nine Dewdrop Pebbles return to Mjrn in the Fane of the Path area and give them all to her, then talk to Chit who will struggle to remember the sole bit of work she put in towards this endeavor, after which a fortuitous shake will dislodge another Dewdrop Pebble. Guess there were ten of them, after all? Pick it up off the ledge nearby and give it to Mjrn, who will then present them to Chit… wait, wasn’t Chit gathering them for Mjrn? Oh, whatever, the presentation will cause Chit to remember what happened before, give the pebbles back to Mjrn, and depart for home. For all your trouble you’ll be gifted with a Yoichi Bow (Bows 6).
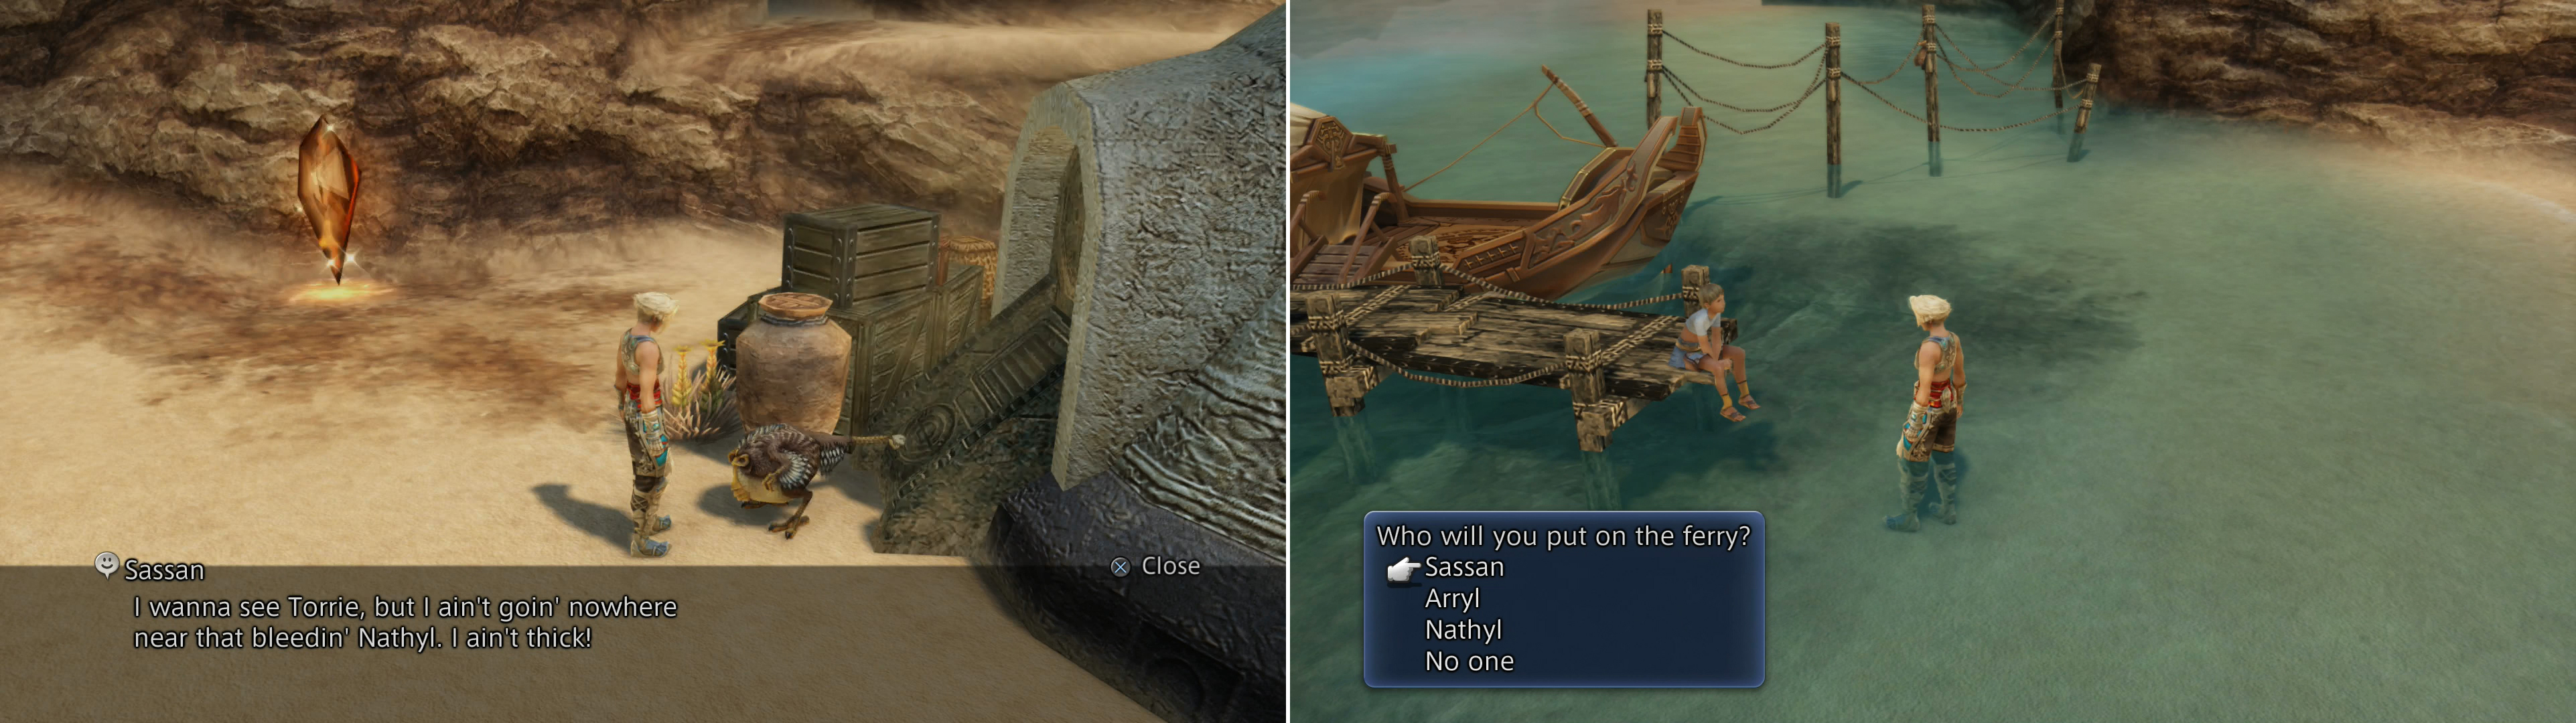
To appease Sassan you’ll have to ferry him across the river, but the presence of the wolf, Nathyl, complicates matters (left), so you’ll have to ferry several individuals across the river, one at a time, in the correct order (right).
Sassan in the Estersand
Fast travel to the Dalmasca Estersand Gate Crystal to reach the South Bank Village, where you’ll find another little Cockatrice - Sassan - near the house just west of the Gate Crystal. Talk to it and it’ll complain about one “Nathyl”, then head north to the docks and talk to Tchigri, the kid sitting on the end of one of the docks. Choose the option to cross the river and he’ll mention the Cockatrice in the village, who is friends with one “Torrie” but is scared of Nathyl, the tame wolf wandering about the village.
To satisfy Sassan you’ll need to get him across the river, but to do so you’ll have to keep him away from Nathyl. Choose the send Nathyl across the river first, and when you find yourself in the North Back Village, ride back across to the South Bank Village and don’t take anyone with you. Once back in the South Bank Village, talk to Tchigri again and this time send Arryl across the river. Who is Arryl again? The kid who plays with Nathyl, and hence will keep the hound busy while you ferry Sassan across. Once Arryl and you are in the North Bank Village, return to South Bank Village and take nobody with you, then return to North Bank Village and take Sassan with you. So, to recap, send Nathyl, Arryl and Sassan to the North Bank Village in that order. If you mess up at any point, you’ll have to start over.
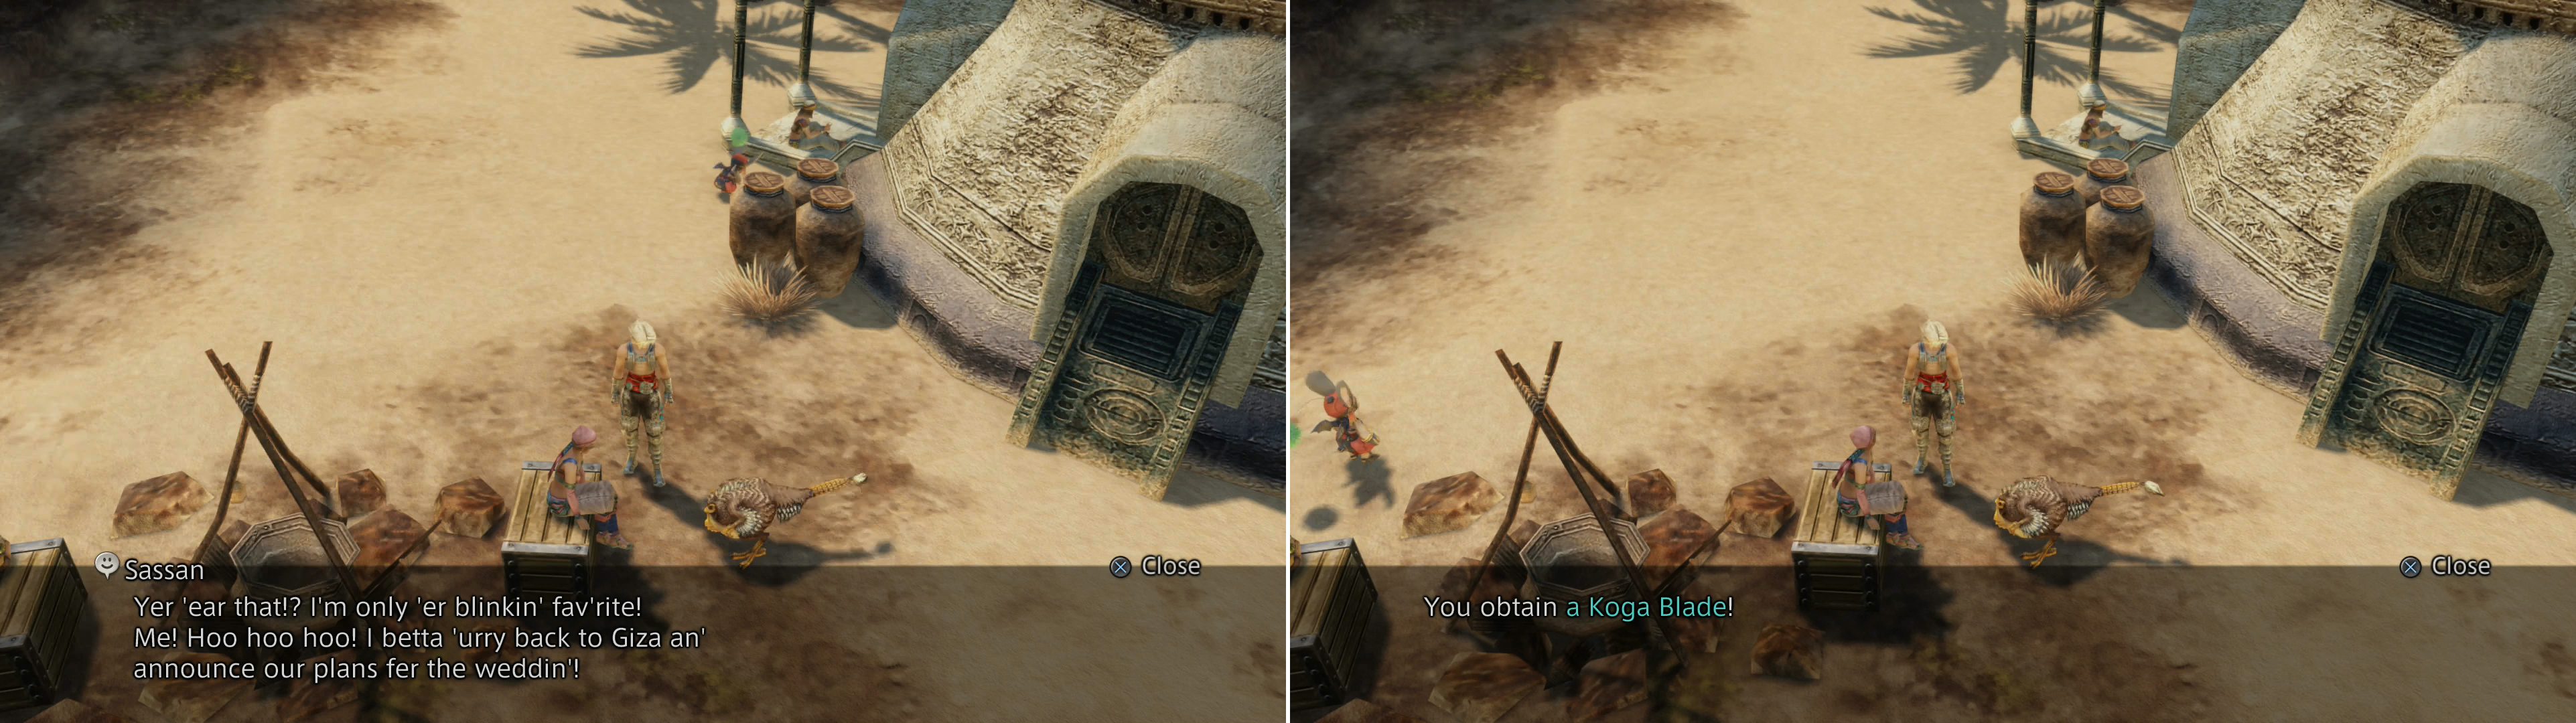
After getting across the river to his beloved, Sassan will misinterpret the situation (left), but you’ll get a Koga Blade for your trouble (right).
Once all three are in the North Bank Village make your way northwest to find Sassan merrily basking in the company of Torrie. Talk to the Cockatrice and it’ll become apparent that the bird has its mind on… a rather unholy union. Torrie smoothly deflects the Cockatrice and sends it home to the Giza Plains, where it happily goes to prepare for a wedding that will (hopefully) never occur. For helping Sassan get across the river Torrie will reward you with a Koga Blade (Ninja Swords 3).
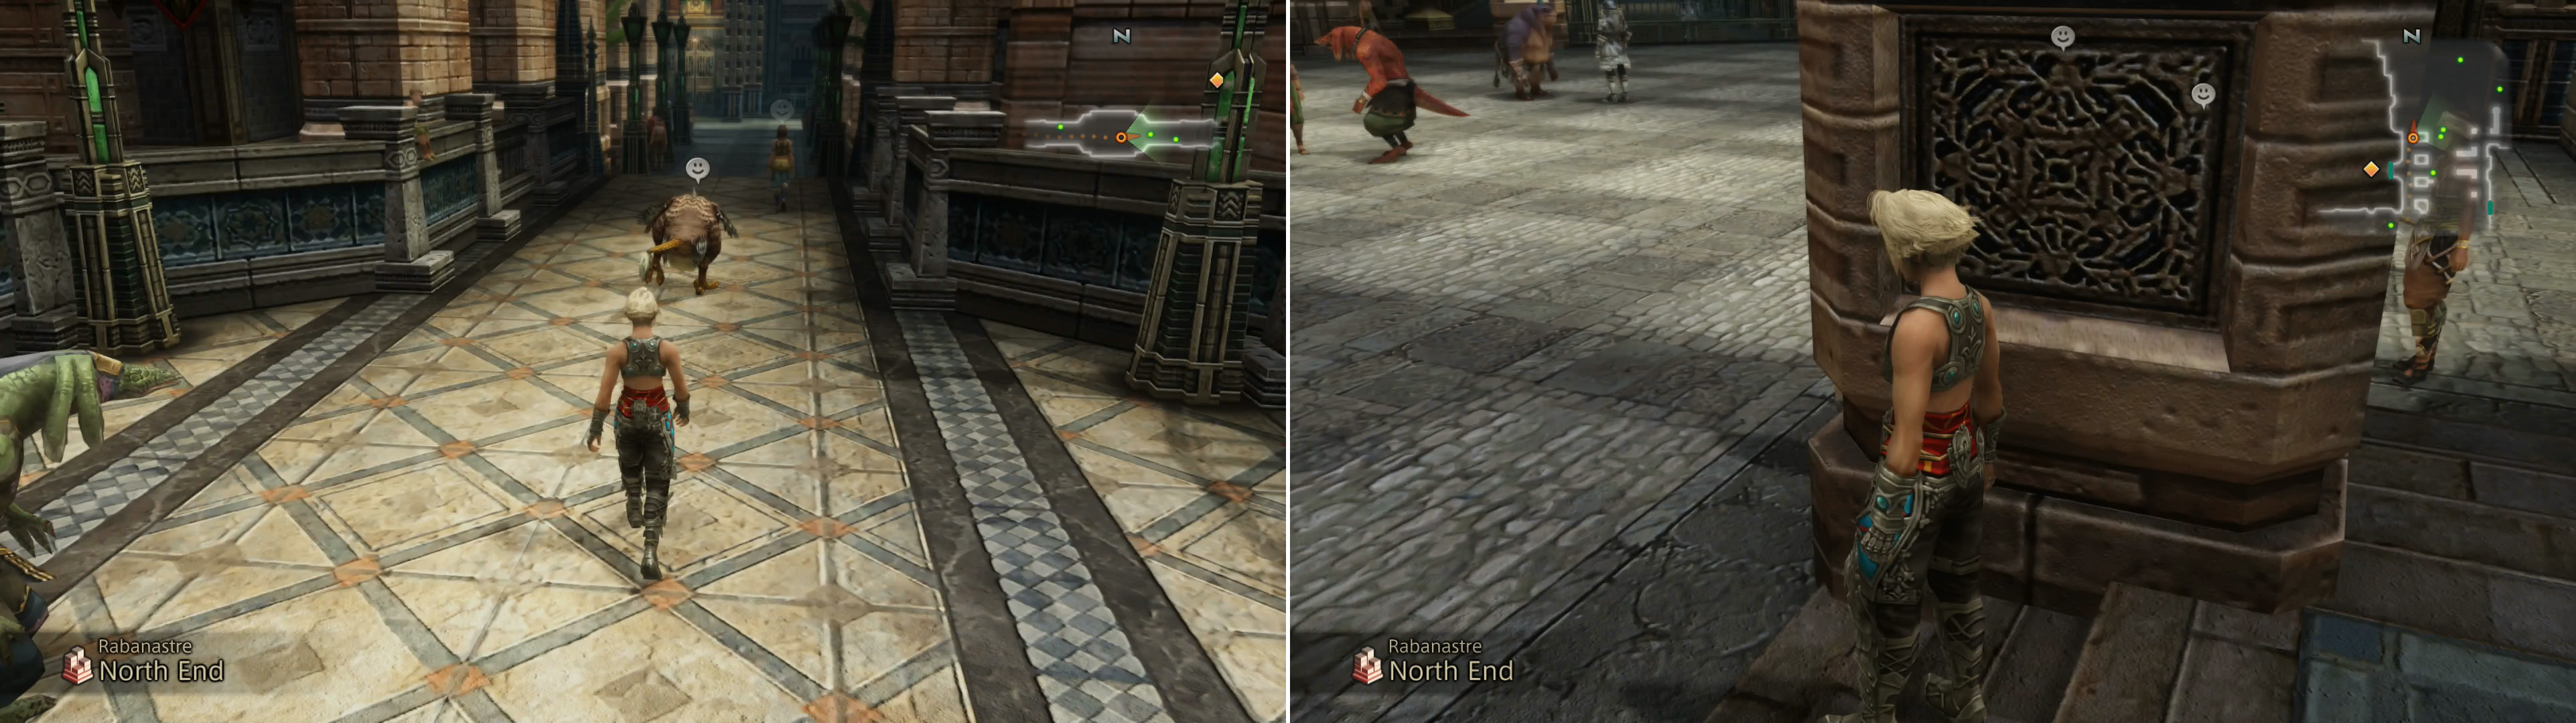
Simply chasing Renn will do you no good (left), but hiding behind, say, a pillar, or waiting for Renn to get distracted and appraoching from the flank will catch him off guard (right).
Renn in Rabanastre
Talk to Tchigri and travel back to the South Bank Village, then use the Gate Crystal and teleport back to Rabanastre. Make your way to the northern end of the North End area (heh) where you’ll find a Cockatrice. Talk to it and the rascal will run away, forcing you to give chase! He can outrun you, and if he detects you approaching (running) he’ll sprint for a bit. He won’t notice you if you’re walking, and a fine tactic is to watch where he’s going, circle around the area, hide behind a pillar and when he walks past, run up and talk to him.
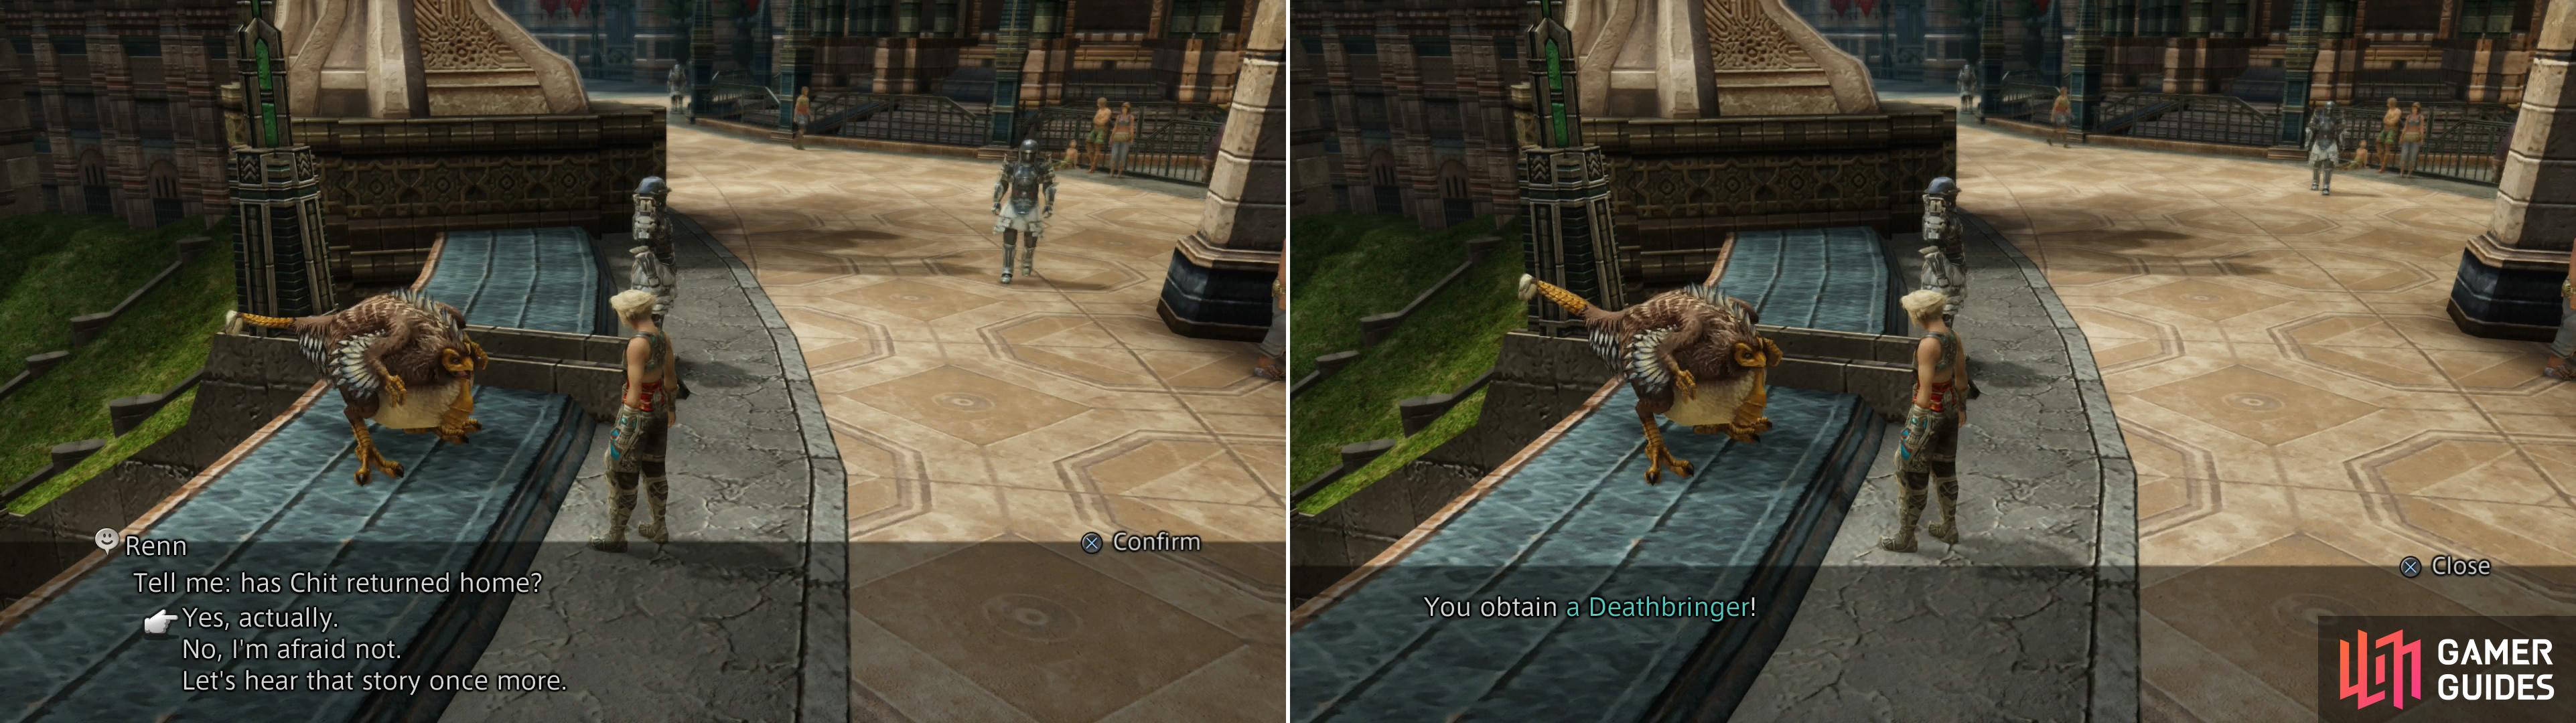
If you’ve completed Chit’s sidequest, tell him so and hell head back to the Giza Plains (left), but not before rewarding you with a Deathbringer (right).
When you catch him, respond with “Erm… no?” and he’ll tell his story, which is all too relatable. Seems he’s in search of a mate, and finding the pickings in Giza Plains wanting, he went searching abroad for a bird to make a groom of him. Fortunately, at some point he settled on Chit, and if you resolved her problem in the Eruyt Village and convinced her to return to the Giza Plains, Renn will happily return as well. After the conversation, simply return to the northern end of North End to find Renn waiting for you near the curved ledge. Talk to him and tell him that Chit is back in the Giza Plains and he’ll leave, but not before giving you a Deathbringer .
Once all six bird are back in the Giza Plains, return to the Nomad Village (wait for the dry season if you must) and talk to Terra in the Cockatrice pen. She’ll thank you for your work and hand you two Hi-Ethers and resolve to understand the bird better on her own. While you’re here, chat with the Cockatrices to hear their stories to wrap this quest up nicely.
With that you’re done with this little quest and have hopefully gotten your hands on a few superior weapons in the process. Back to more important business, you’re tasked with chasing down Doctor Cid, which will require you to pass through the Feywood to reach Giruvegan… but there’s no rush. Like all story developments in this game, they’ll happen only at your own initiative, and now is a fine time to tackle some side-content. You have access to most of the world via Gate Crystals, high-quality gear, magicks and technicks are available to purchase, and the XP and LP you’ve earned since setting foot in the Mosphoran Highwaste make you fit to challenge these mid-levels dungeons. If getting a significant power-boost by clearing these areas out appeals to you, continue on with the following pages, otherwise skip ahead to the “Feywood” page to continue the main story.
No Comments