


| Bestiary |
|---|
| Bull Chocobo • Kaiser Wolf • Nazarnir • Skullash • Terror Tyrant • Victanir • Zombie Lord |
*All enemies listed are Trophy Rare Game
| Items In This Area |
|---|
| Beaked Trophy • Clawed Trophy • Fanged Trophy • Hide-covered Trophy • Maned Trophy • Maverick Trophy • Soulless Trophy |
This section is devoted to one task - the extermination of Trophy Rare Game foes in previously-explored areas of Ivalice. Trophy Rare Game in new areas will from now on be recorded as you first explore those areas, but that leaves quite a few Trophy Rare Game left prowling in previously-explored areas. No reason to leave loose ends untied, but this obviously involves a lot of back-tracking and traveling around, to be sure to have plenty of Teleport Stones handy.
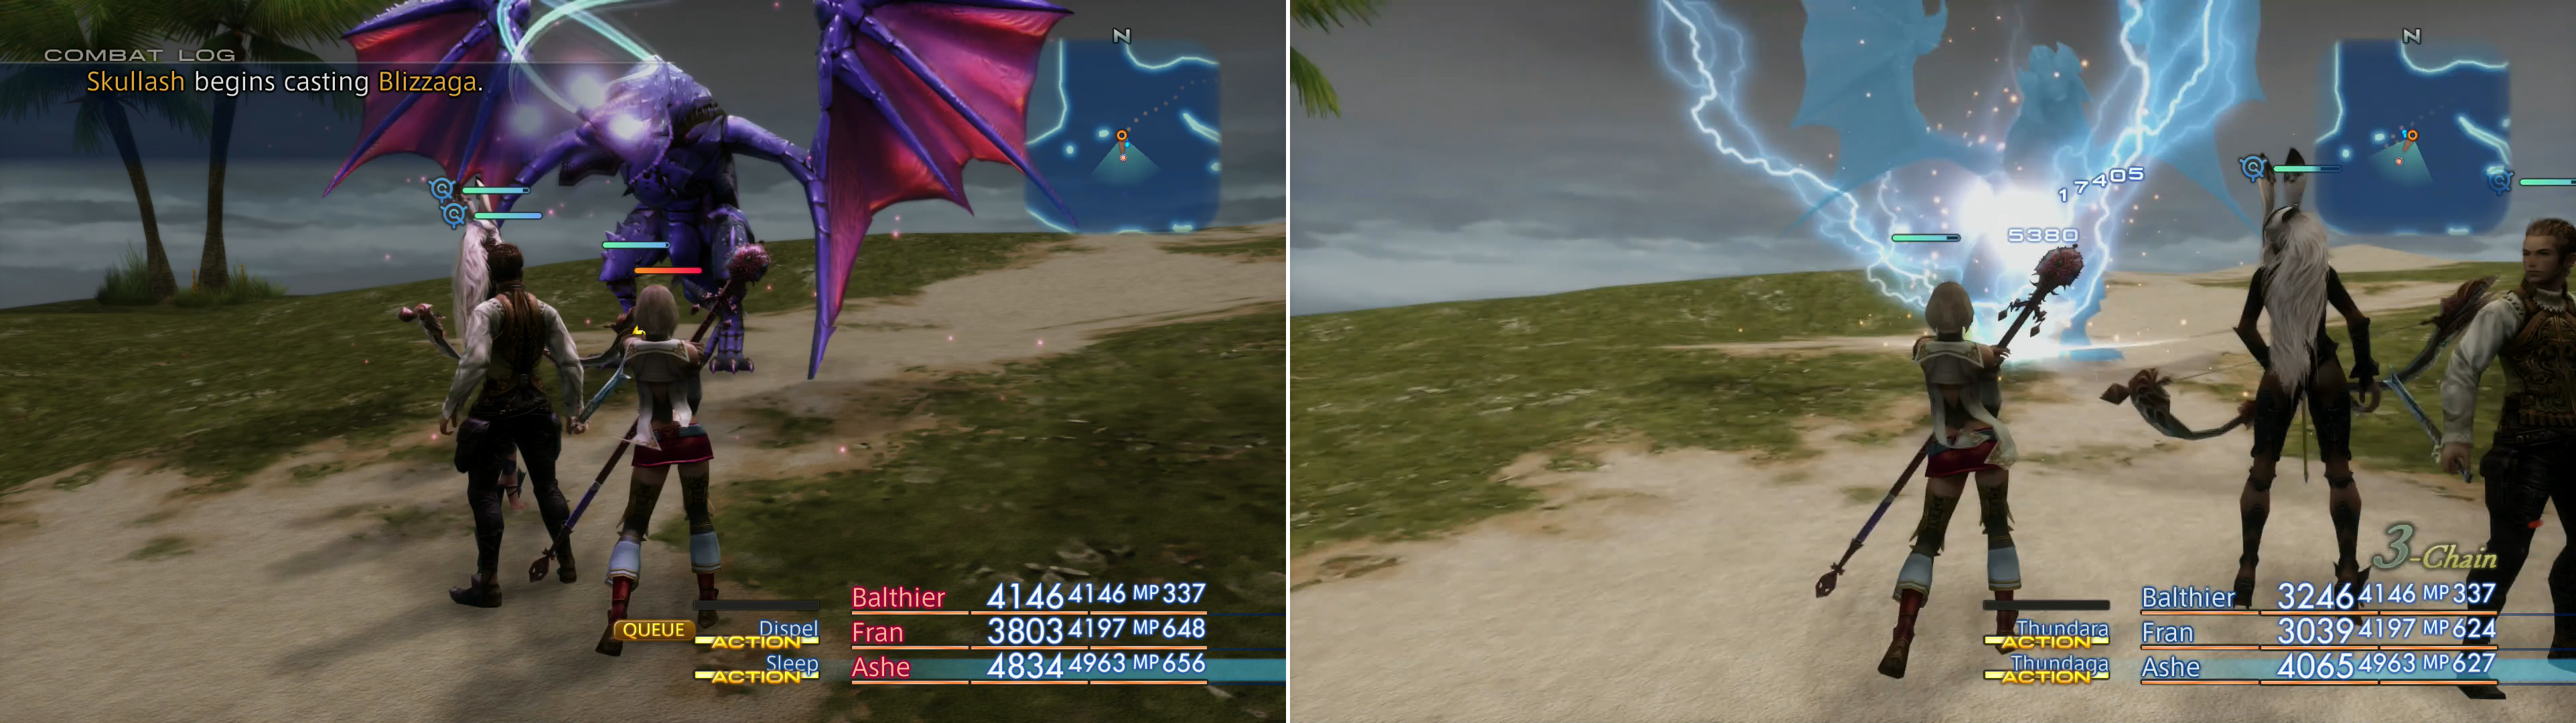
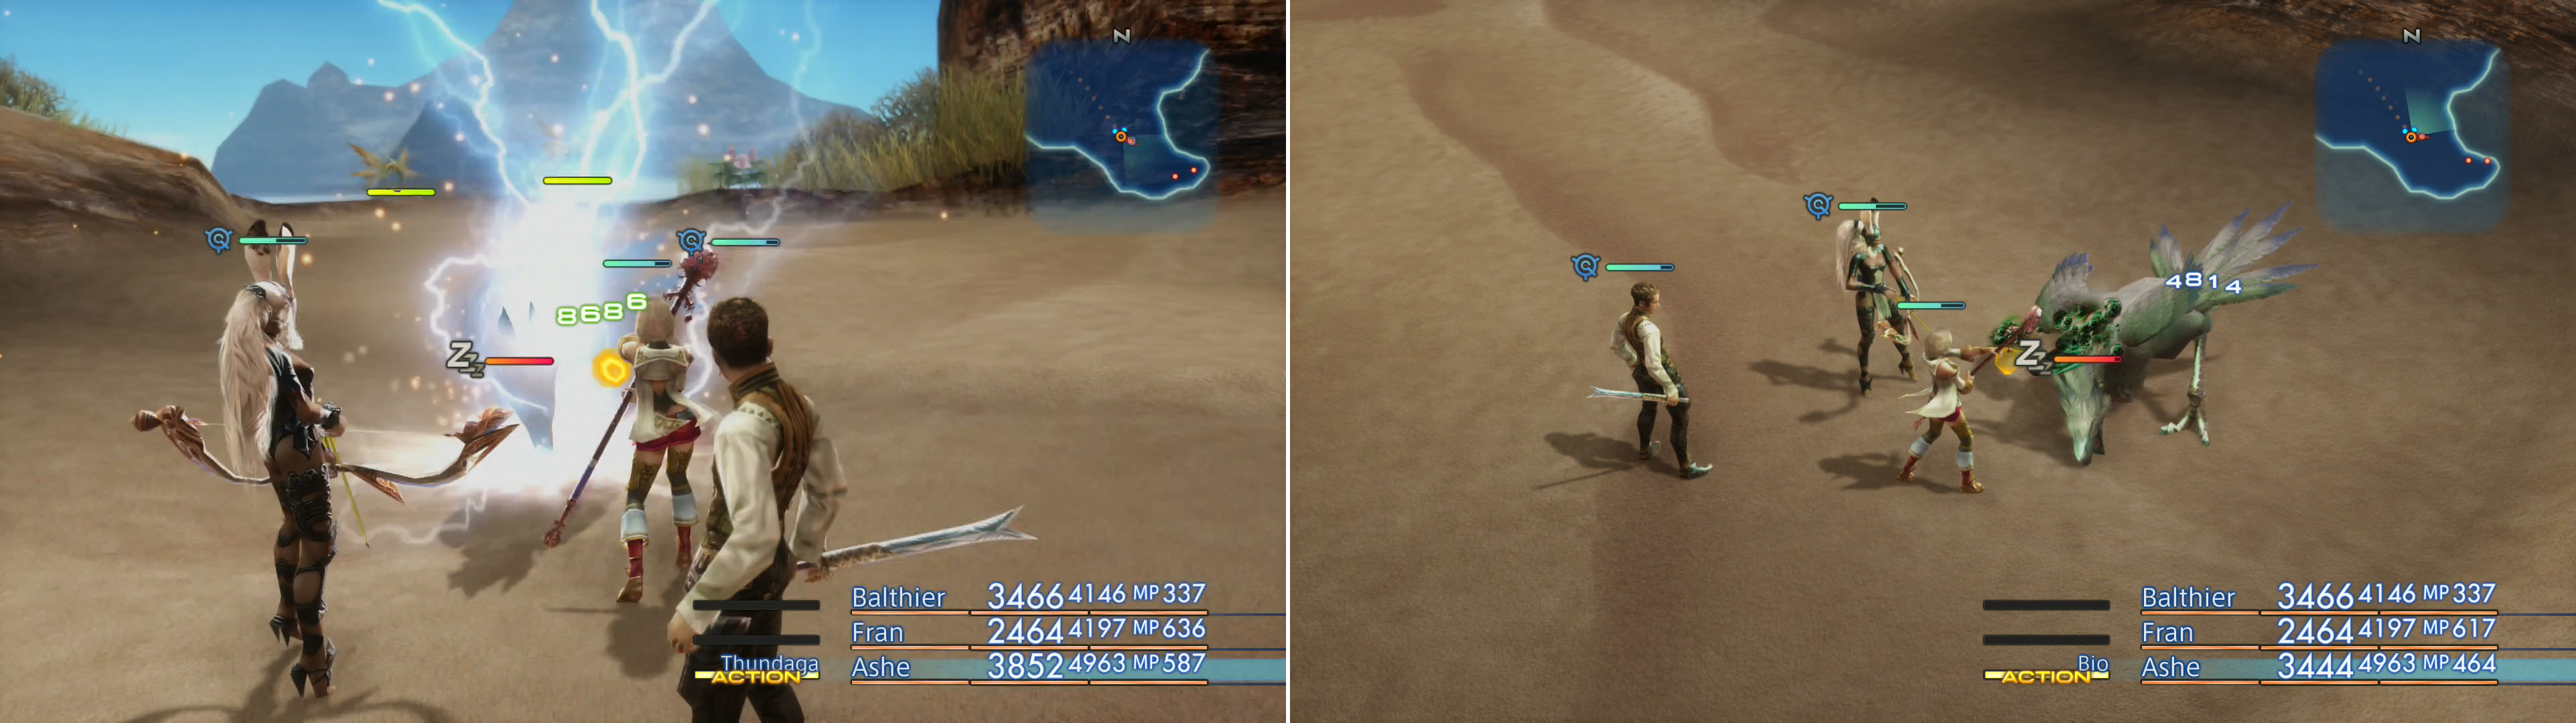
Most Trophy Rare Game should be hit with Dispel as the fight begins (left). Skullash can easily be dispatched with Sleep and Thundaga magicks (right).
Skullash
The first Trophy Rare Game you should hunt down, now that you’re a member of the Hunt Club, is Skullash, for the simple reason that it can be found nearby on the Phon Coast. More specifically, you’ll find it in the Cape Tialan area, where it has a 40% chance to spawn near some Pyrolisks along the southeastern corner of the area.
Skullash is fairly representative of low-tier Trophy Rare Game, so it’ll give you a good idea of what to expect in the immediate future. It’s stats are slightly higher than Thalassinon, although not significantly so - it’s HP are more static, at over 50,000, which is around the high range of Thalassinon’s possible HP. Its physical attacks and inflict Petrify and it has access to the Blizzaga, Firaga, Haste and Thundaga magicks, as well as wyvern technick staples like Fire Ball, Lunge and Fire Ball. Foolishly, however, it is not immune to Sleep, so you can easily dispose of it by using Sleep followed by any magicks of your choosing. It is weak to Lightning.
Defeat Skullash to obtain the Clawed Trophy .
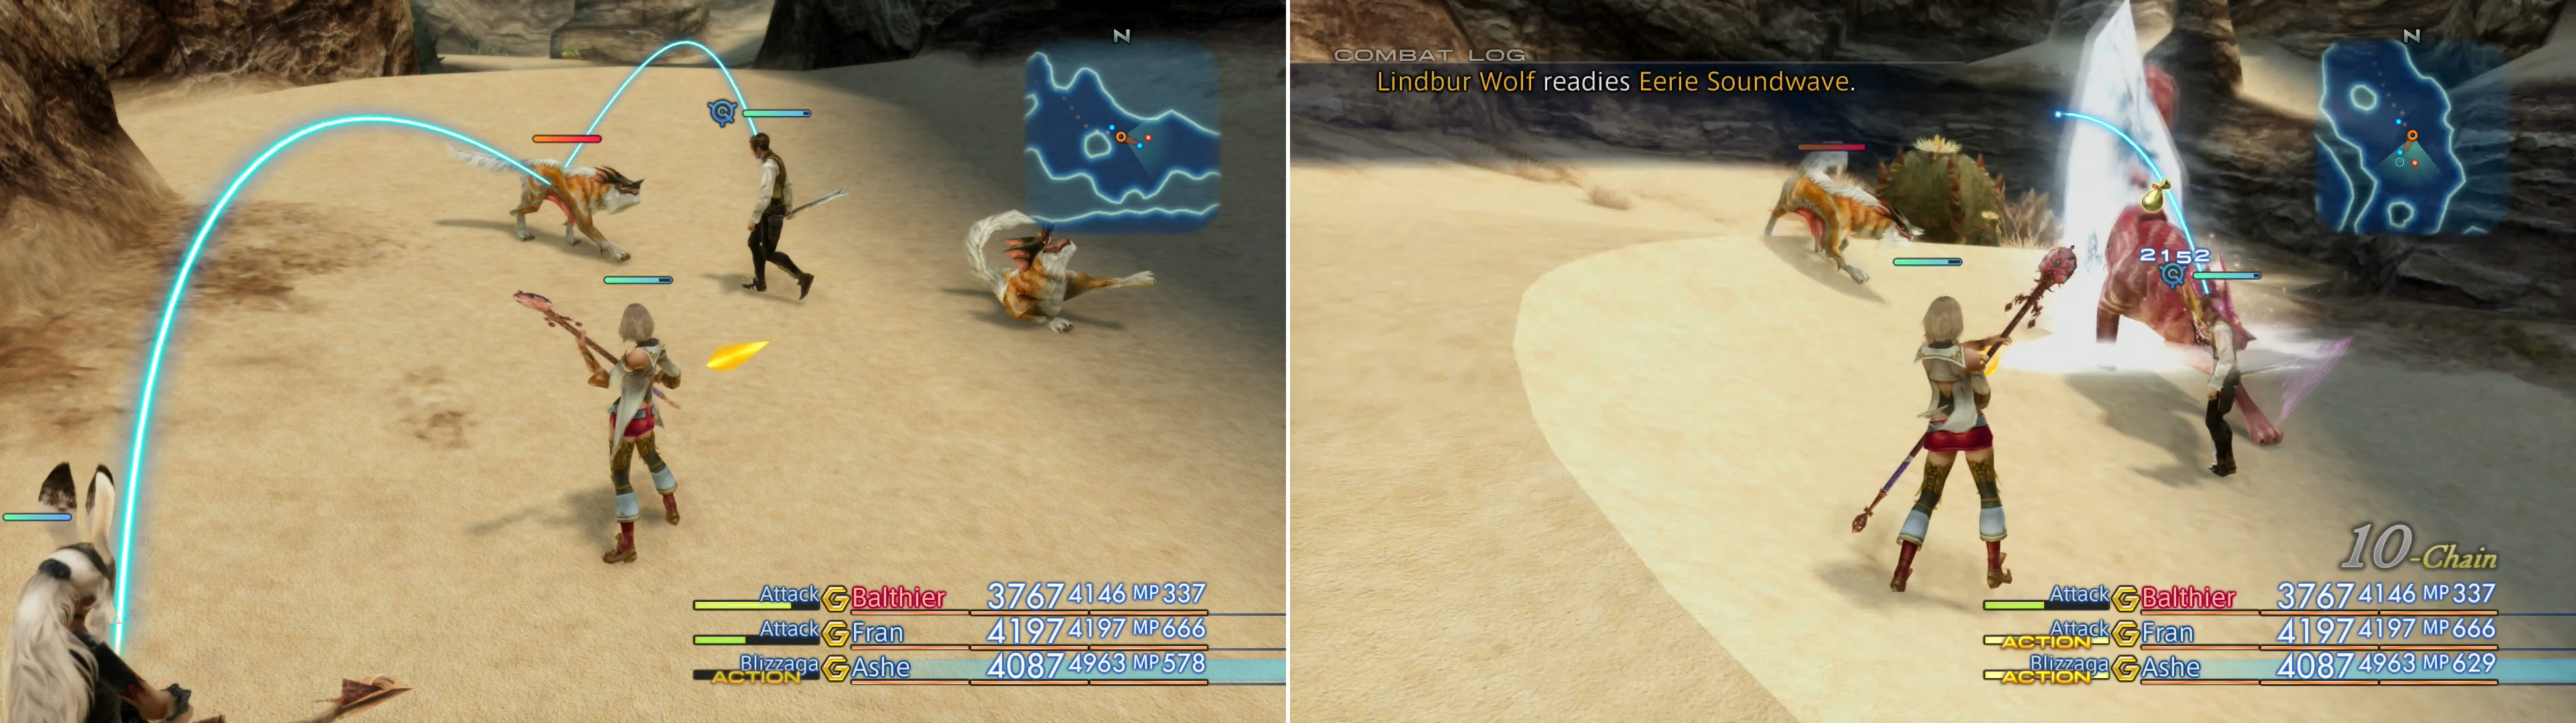
To lure out the Kaiser Wolf you’ll need to kill Lindbur Wolf, which means you’ll need to kill twenty lesser Wolves (left), then dispatch Lindbur Wolf (right).
Kaiser Wolf
The Dalmasca Westersand is just crawling with wolves, and the Kaiser Wolf - as it’s name rightfully indicates - is the master of them all. Having a level in the low 40s, it’s by far the strongest wolf in the area, putting to shame its subordinates, Thextera and the Lindbur Wolf. Getting the Kaiser Wolf to spawn is a little trickier than spawning previous Trophy Rare Game was, as it requires an additional step. To first spawn it, you must slay the Lindbur Wolf, which of course means you must kill twenty Wolves in the Dalmasca Westersand area. Kill twenty Wolves, then head to the sliver of the Shimmering Horizons that can be accessed via the Galtea Downs (area transition is in the southwestern corner of the Galtea Downs) and kill the Lindbur Wolf. Once done, head to the Corridor of Sand area, where there’s a chance you’ll find the Kaiser Wolf in the lower, southeastern end of the zone. If it doesn’t appear, zone-in until it does.
As with many Trophy Rare Game, you can put Kaiser Wolf to Sleep (left) then pelt it with magick (right).
Once Kaiser Wolf spawns, you’ll find it somewhat less impressive than its spawn requirements might have indicated. It has typical wolf technicks like Lunge, Screech (inflicts Confuse) and Sonic Fangs, and no magicks. It’s normal attacks can’t even inflict a status effect! Boasting just under 20,000 HP and with an Attack Power in no way superior to other Trophy Rare Game you’ve fought, this should be a quick kill. The matter is even simpler if you put it to Sleep beforehand and pelt it with magick. It absorbs Wind damage and is weak to Earth, and it can also be afflicted with Oil to speed up the process. You can steal Throat Wolf Blood from the Kaiser Wolf.
Defeat the Kaiser Wolf to obtain the Fanged Trophy .
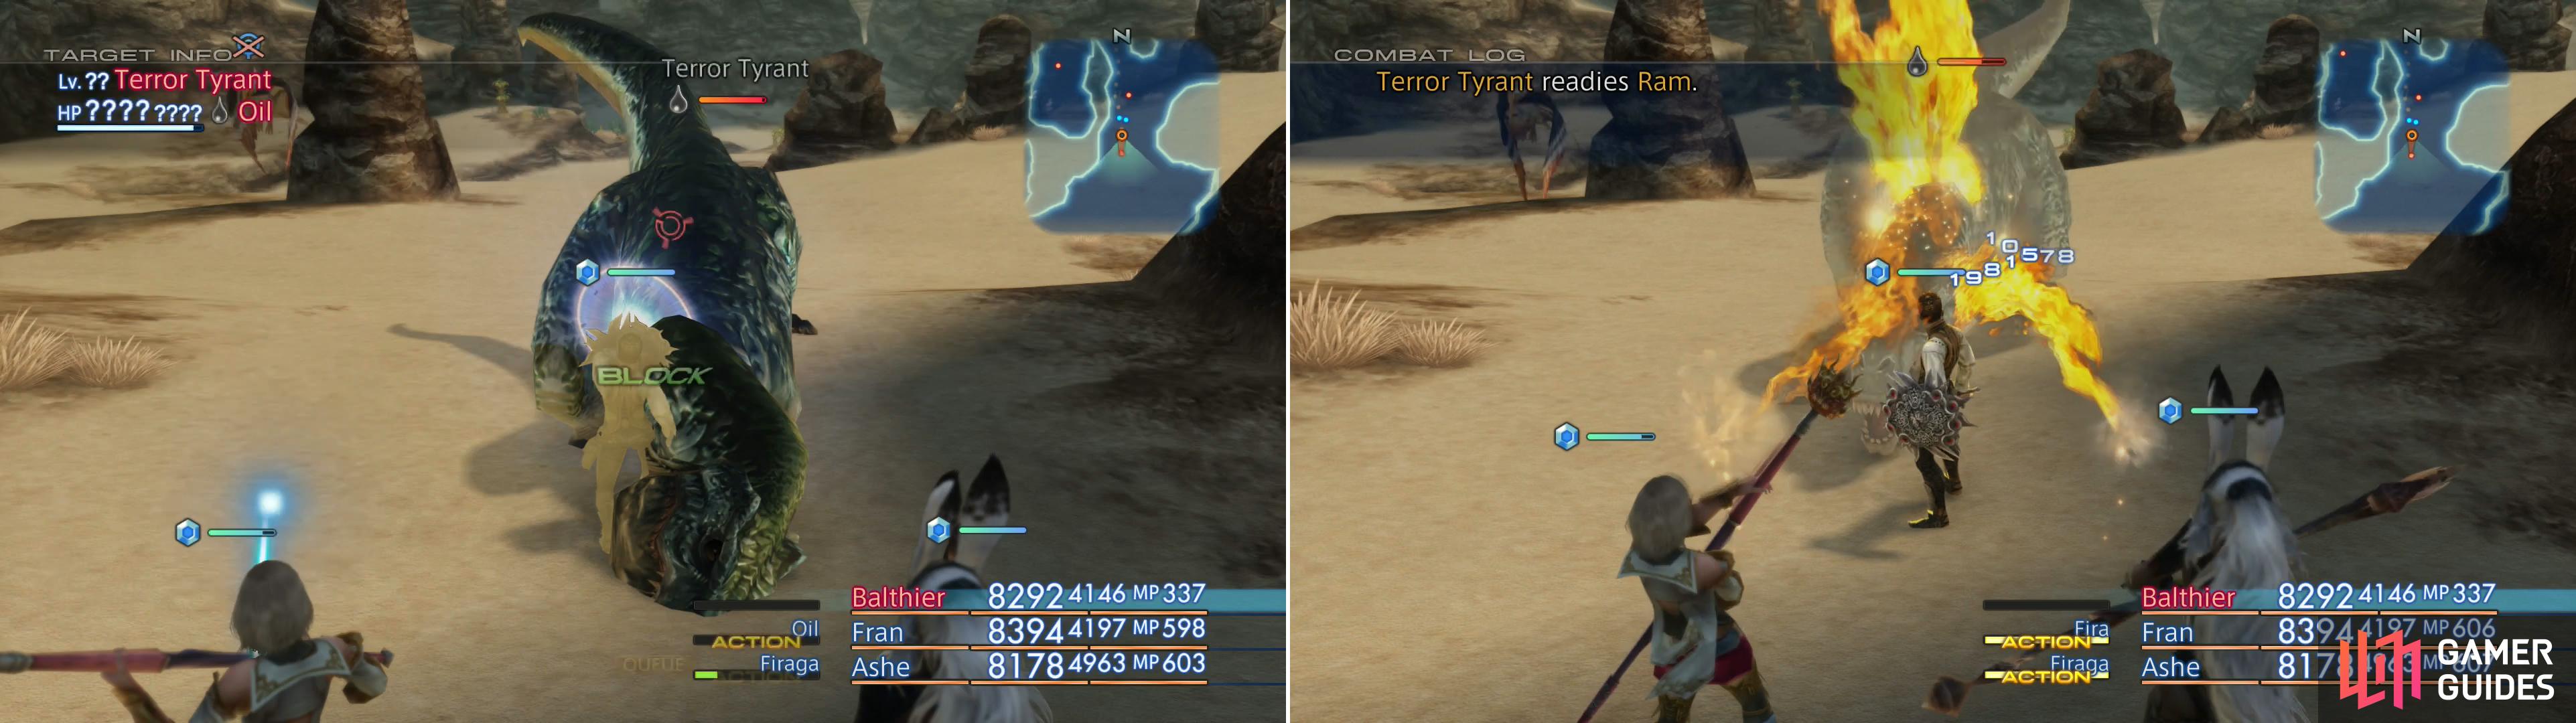
Terror Tyrant hits hard, but a character armed with a good shield and Main Gauche (left) can block most of its attacks, meanwhile the rest of your party can whittle it down with magick and ranged attacks (right).
Terror Tyrant
Terror Tyrant is one of the more difficult Trophy Rare Game you’ll encounter at this point in the game. Being level fifty, it’s significantly stronger than the other Trophy Rare Game you’ve fought so far, having over 120,000 HP and significantly higher Attack Power. That said, it doesn’t have many attacks, limited primarily to Crushing Fangs and Ram, but its attacks can inflict Disease.
Given the massive amounts of damage it can do, you’d be wise to take precautions against its attacks. Protect and Bubble will help you survive Terror Tyrant’s physical attacks, while keeping a stock of Remedies handy to remove Disease is also recommended. To further shift the odds in your favor, wade into combat with a Shikari armed with a Main Gauche and whatever shield provides the most Evade (a Demon Shield combined with a Main Gauche will get you up to 90, but Kaiser Shield will suffice with 77 Evade).
If you can keep the Terror Tyrant focused on your tank (Decoy will help), you should easily be able to whittle it down before it can cause you too much trouble, just keep the other characters at a range and pelt it with ranged attacks, or magick. It’s weak to Wind and strong against Earth, limiting your magick options somewhat, and it’s also immune to most status effects. There’s no easy way to neutralize it with Sleep this time, although Oil does work, and might make Fire a viable damage-dealer, especially with the Burning Bow or the Flame Staff.
Once smote, the Terror Tyrant will leave behind a Hide-covered Trophy .
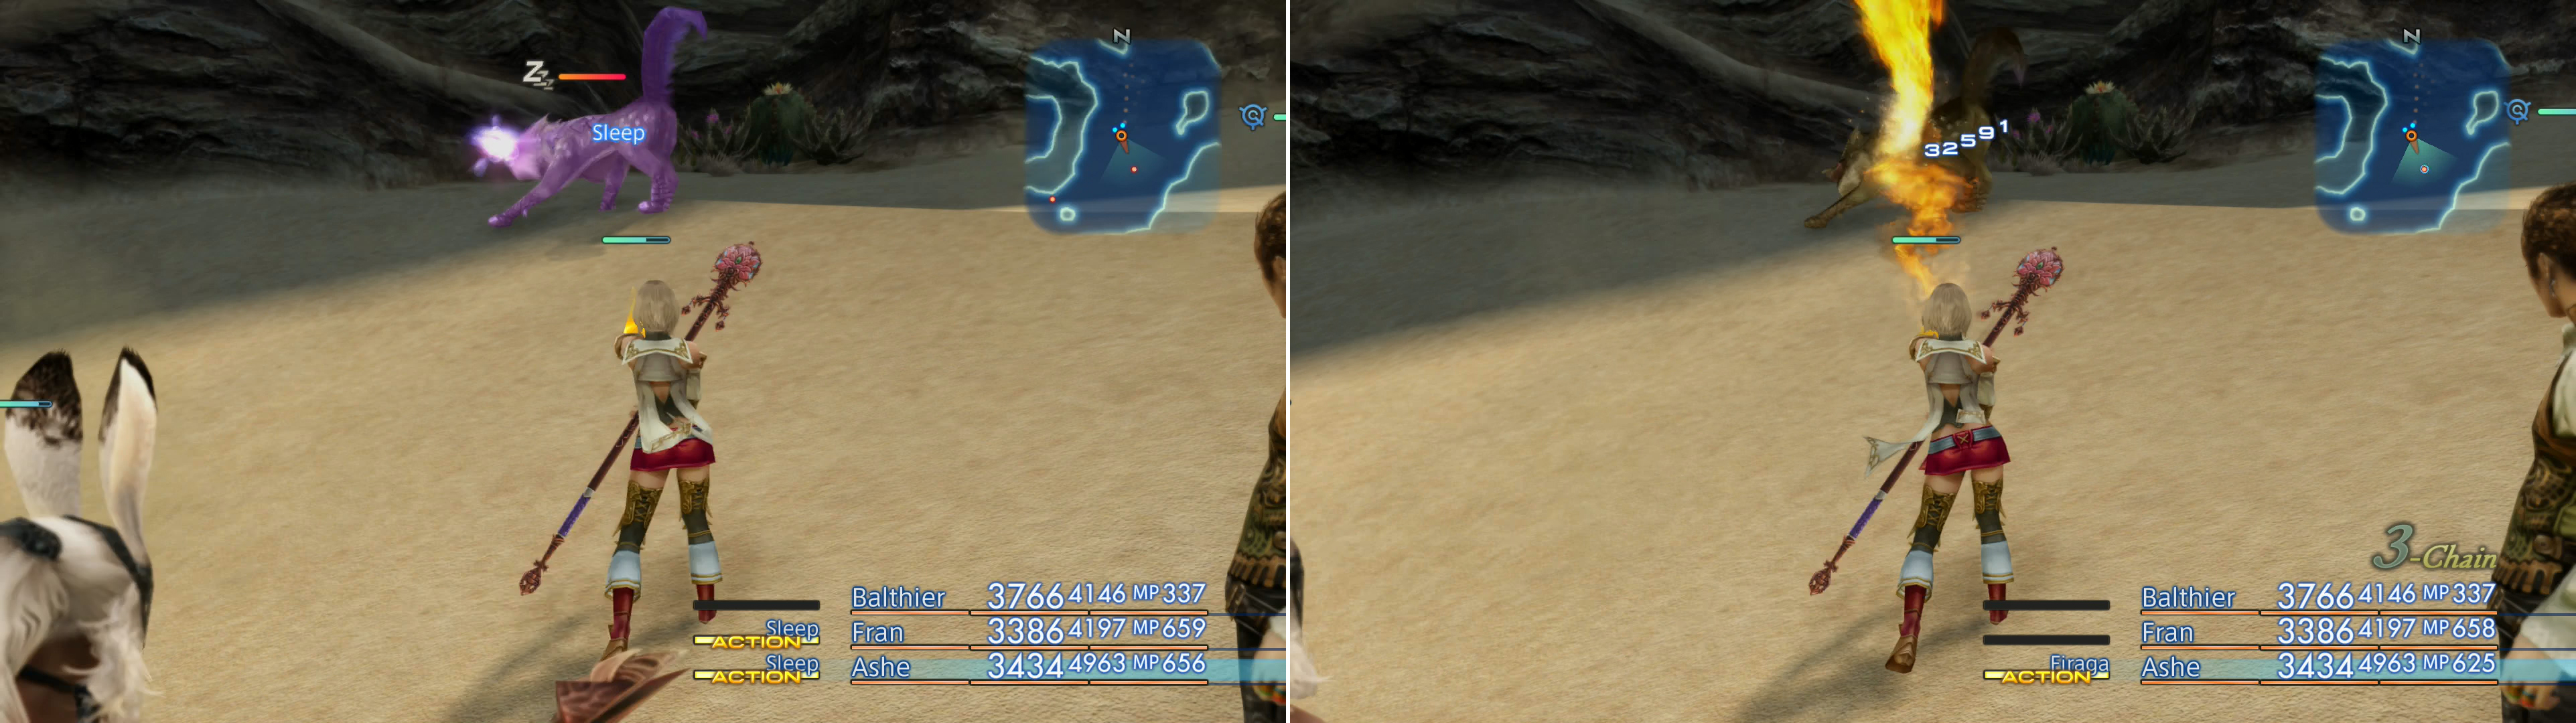
Nazarnir
A relatively easy spawn, made annoying only by the season in the Giza Plains. Before you even bother trying to spawn this beast you’ll need make sure the Giza Plains are in the dry season. If not, go hunt other Trophy Rare Game and check back after each one until the season is right. Once the dry season is in effect, make your way to the Starfall Field area - the southwestern-most area - and look for Nazarnir. Originally there was a Sleipnir in this zone, but starting the Hunt Club sidequest now gives Nazarnir a chance to spawn in its place. In case you forgot, it spawns in the southeastern end of the zone, so running back and forth between the Crystal Glade should spawn Nazarnir in short order.
As for the fight itself, Nazarnir is definitely a step down in power from Terror Tyrant, despite it having a respectable level in the mid 40s. Nazarnir has nearly 40,000 HP and an Attack Power score in the same league as Skullash. Despite that, it can’t inflict Disease, has no magicks to fall back on, and only utilizes the Flatten and Kick technicks, making this a fairly easy beast to put down. On top of that, it’s vulnerable to Sleep and weak to Ice damage (it absorbs Lightning). A simple application of Sleep and a few rounds of Blizzaga will be enough to win this fight.
Taming Nazarnir will earn you a Maned Trophy .
Bull Chocobo will likely be immune to many elements (left), but using Sleep to pacify it, and a non-elemental magick such as Bio (right) to kill it will still earn you an easy victory.
Bull Chocobo
Another easy Trophy Rare Game, at least as far as spawning goes. To get this critter to show up you merely need to make your way to the South Tank Approach area of the Ogir-Yensa Sandsea. In this area you can find the Bull Chocobo, which lurks near the shore at the southern-most point of the area.
The Bull Chocobo isn’t terribly impressive from a statistical standpoint, having around 40,000 HP. It level (47 or 48) and Attack Power are both relatively high, but its lack of threatening magicks or technicks limits its offensive prowess, although it can inflict Doom with its physical attacks. Like many other Trophy Rare Game, it is susceptible to Sleep, but it does have a 50% resistance to the ailment, so you’ll need to be persistent. Even more annoying are its variable elemental resistances - there’s a good chance it’ll absorb multiple elements, so once it’s asleep resort to using non-elemental magicks like Bio.
Plucking the Bull Chocobo will get you the Beaked Trophy .
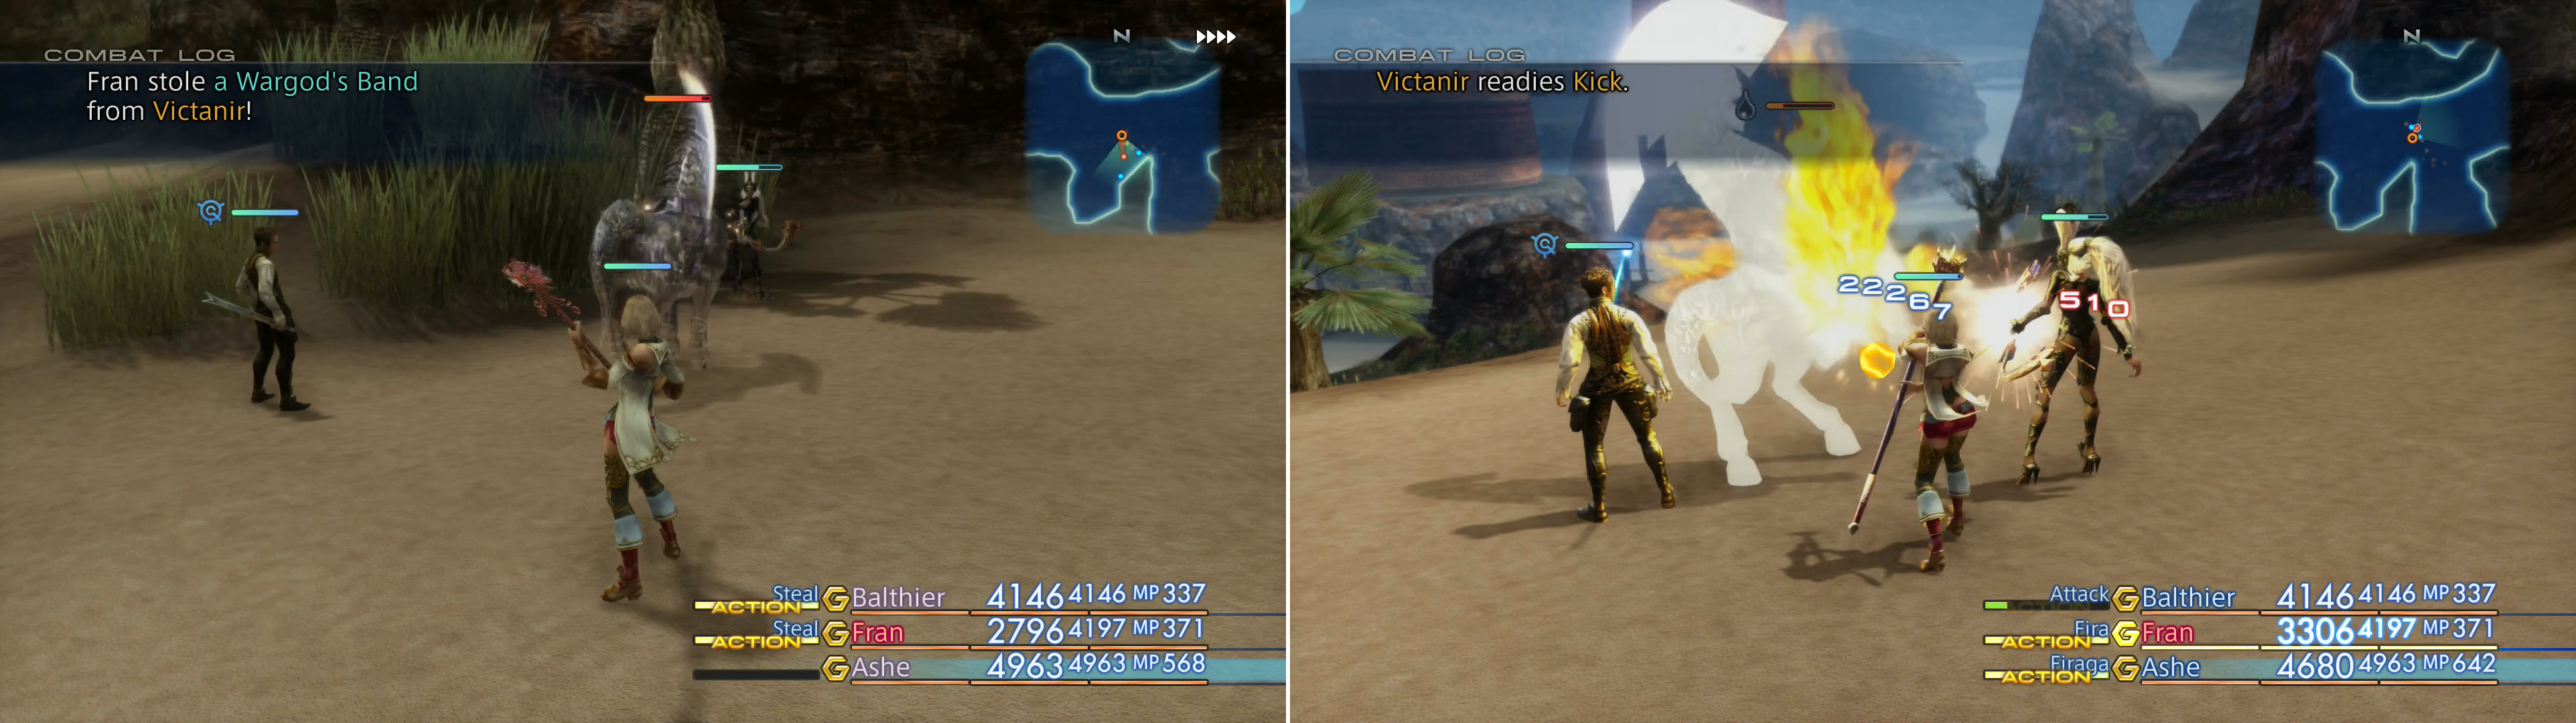
Try to steal some Wargod’s Bands from Victanir (left), then destroy it by whatever means you see fit - Oil and fire magicks work well (right).
Victanir
In the neighboring Nam-Yensa Sandsea you can find the Victanir, another Mesmenir-type foe. Like the Bull Chocobo, its not difficult to spawn, as it has a 40% chance to appear every time you enter the area, doing so in the southwestern corner of the zone, just northwest of the entrance to the Zertinan Caverns. To complicate matters a bit, it starts out invisible, but will attack and become visible if you approach it.
Like the Bull Chocobo, Vicantir’s level is in the high 40s, and it possesses around 55,000 HP. It further emulates the aforementioned foe by having a high Attack Power backed up by few technicks and no magicks, but it can inflict Immobilize when it strikes in melee. It’s one of the few Trophy Rare Games that’s immune to Sleep, but it’s not dangerous enough that you can’t prevail without it. Simply equip fire-enhancing weapons like the Burning Bow or the Flame Staff, inflict Oil, then pelt Victanir with Firaga and Fira and it’ll falter in short order.
Before you go for the kill, however, be wary of the fact that you can steal a Wargod’s Band from Victanir. It’s a rare steal, so Thief’s Cuffs will speed things up. These trinkets can be sold to unlock an Empyreal Soul, which in turn are components required for the Tournesol sword. The only other way to get Wargod’s Bands are by killing Leynirs in the Nabreus Deadlands, who drop these as a Monograph drop (5% chance, Warmage Monograph), so they’re not terribly hard to get either way. Still, steal six Wargod’s Bands here, sell them two at a time, after each pair buying an Empyreal Soul (you need three Empyreal Souls) and you don’t have to worry about them anymore. To do this, steal one from Victanir with the aid of Thief’s Cuffs, then flee southeast into the Zertinan Caverns, where you’ll find yourself in the Darkened Wharf zone. Simply continue southeast to find an area transition to the southeast (Drybeam Cavern works fine), zone in, then return to the Yellow Sands area and you’ll have reset Victanir’s drop… although you may have to zone in between the Yellow Sands and Drybeam Cavern a few times to get it to spawn again.
Defeating Victanir will earn you the Maverick Trophy .
Zombie Lord
A relatively weak Trophy Rare Game, the Zombie Lord dwells in the Tomb of Raithwall’s Northfall Passage area, in one of several random locations. You’ll just have to search the entire area to see if it’s there or not. Fortunately, his spawn conditions are pretty basic: if the game clock’s displayed minute digits are between 00 and 29 minutes, he’ll spawn. If not, you’ll need to wait, or better yet, busy yourself with another Trophy Rare Game.
As for the foe itself, he’s of notably low level (high 30s) and has just over 20,000 HP. The Zombie Lord can cast Blind, but otherwise it relies on its diverse selection of technicks, including Bleed, Cloying Breath (inflicts Slow and Sleep), Lunge, Pyromania, Tempest, Tremor and Water Spout. When below 50% health it’ll become more resistant to damage, but it’s really only delaying the inevitable. As with all undead, it absorbs Dark and is weak to Holy, and is harmed with curatives, although its Safety status (shared by all Trophy Rare Game) makes it immune to the auto-kill via Phoenix Down. You can steal a Close Helmet from it, if you feel the desire.
Banishing it will allow you to claim the Soulless Trophy .
No Comments