


| Bestiary |
|---|
| Daedalus (Boss) • Gargoyle Baron • Mythril Golem • Tyrant (Boss) • Vivian |
| Items In This Area |
|---|
| Aegis Shield • Amber Armlet • Cleric’s Robes (Poach from Vivian) • Doom Mace (Drop from Gargoyle Baron) • Gaia Gear (Drop from Mythril Golem) • Sash • Sleepga |
Once inside the sacred and ancient city of Giruvegan you’ll witness a scene, where Balthier tries to put him family issues ahead of the larger goal of exploring these ruins - obtaining the Nethicite. Lured by visions of Rasler, however, Ashe presses on, and for some reason the rest of the party thinks it wise to follow the obviously delusional princess.
Gate of Earth
From the Gigas Gate head down a bridge to the east, stopping when you find a four-way intersection. If you turn north you’ll spot a Gate Crystal, a welcome device after such a long journey. Replenish yourself, save, then continue west to find a Way Stone, which will take you to the next area, the Gate of Water. When you arrive you’ll be shown a… statue waiting for you? Continue to the western end of the area and the statue will animate, revealing itself to be a Dullahan-type monster, the first guardian you’ll face in Giruvegan.
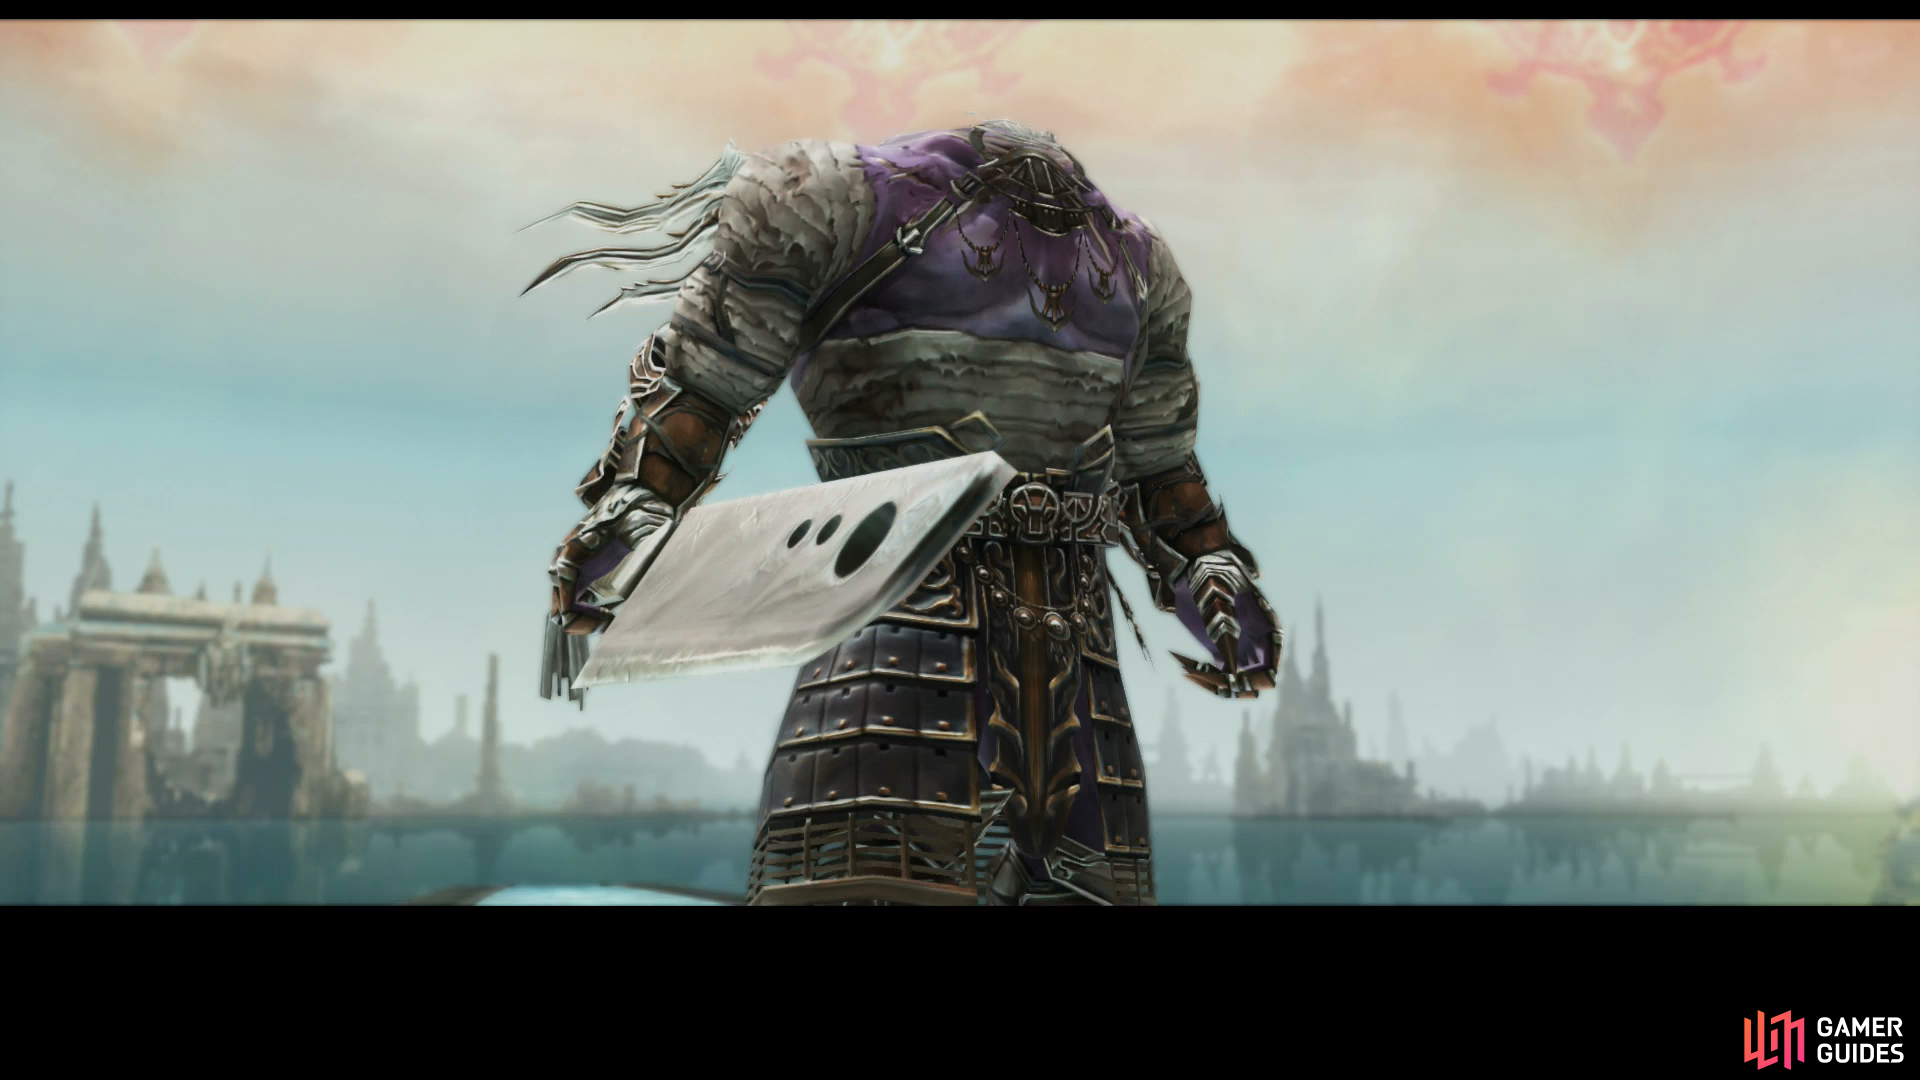
Boss - Daedalus
| Daedalus | . |
|---|---|
| Level | 42 |
| Weaknesses | Holy |
| Resistances | Dark (Absorbs), Earth, Fire, Ice Lightning, Water, Wind (Halves) |
| Immunities | Blind, Disable, Disease, Doom, Immobilize, Oil, Petrify, Poison, Reverse, Sap, Sleep, Slow |
| Safety | Yes |
| Drop N/A | N/A |
| Steal | Dark Crystal (55%), Forbidden Flesh (10%), Damascus Steel (3%) |
Who doesn’t know the story of Daedalus and Icarus? Imprisoned by Minos, the ingenious inventor of the fabled labyrinth created himself some wings with which to escape the island of Crete. His son, not heeding his father’s advice flew too near to the sun, whereupon the wax holding his wings together failed and he fell to his death. What does this have to do with this boss? Absolutely nothing. Why is it named Daedalus, then? No clue.
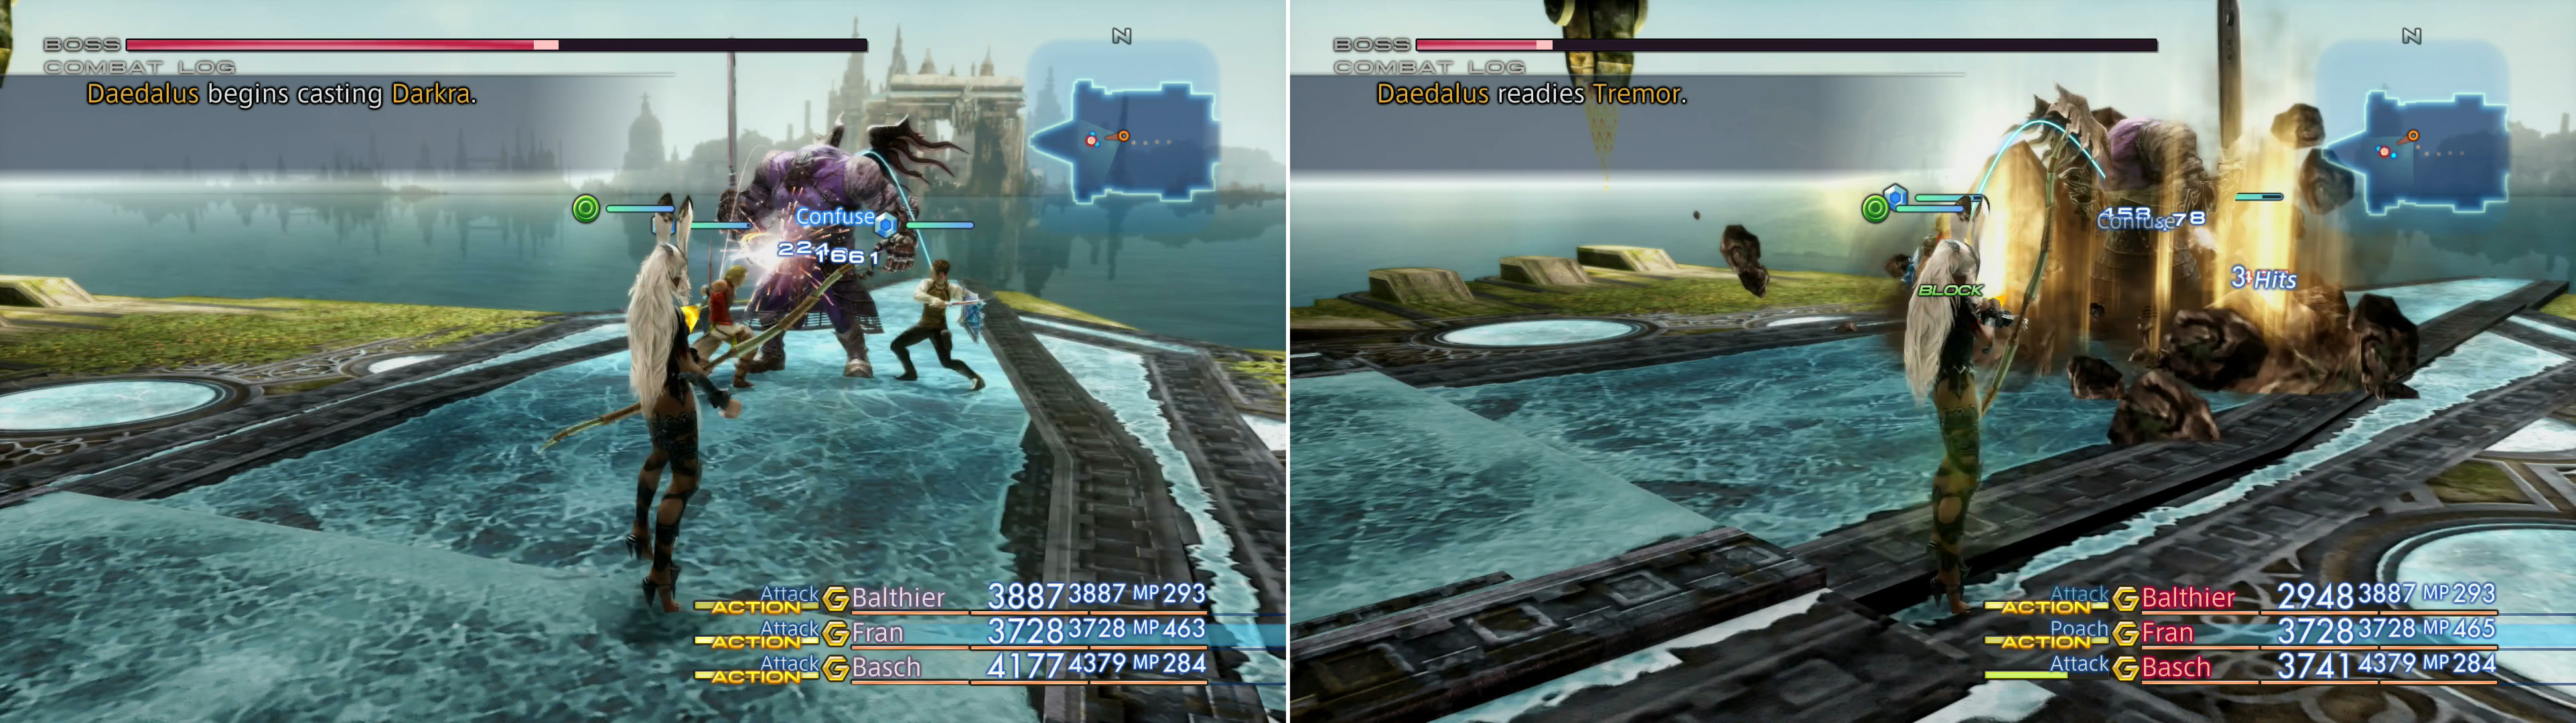
Daedalus is susceptible to various status effect, particularly Confuse (left), this rarely inconveniences him much, however, as he’s got a variety of technicks to respond with (right).
Despite the pointless use of a Greek myth, Daedalus is a pretty straight-forward foe. It takes half damage from all elements save Holy (which it’s weak to) and Dark (which is absorbs) and is immune to all status effects save Confuse and Silence. That being the case, you might as well dispense with your Black Mage and instead consider taking a more melee-focused party, instead. A Knight/Bushi, Shikari/Foebreaker and a Red Battlemage/Archer will suffice, allowing you to challenge the foe in melee while your Red Battlemage works on Daedalus from a distance.
Despite his appearances, Daedalus is more than a mere melee brute, although he does do that quite well. In addition to his melee attacks he can use magicks (or technicks that emulate magicks) like Darkra, Haste, Ice Break and Tremor, all of which are elemental area-of-effect attacks… aside from Haste, of course. As for his melee, he’ll stick to Rage, Smite of Rage, Tri-Attack and normal attacks, but be warned that when his HP are low his defense will increase and he’ll start comboing more frequently.
When low on HP Daedalus will start using more devastating attacks (left) and his combo rate will increase dramatically (right).
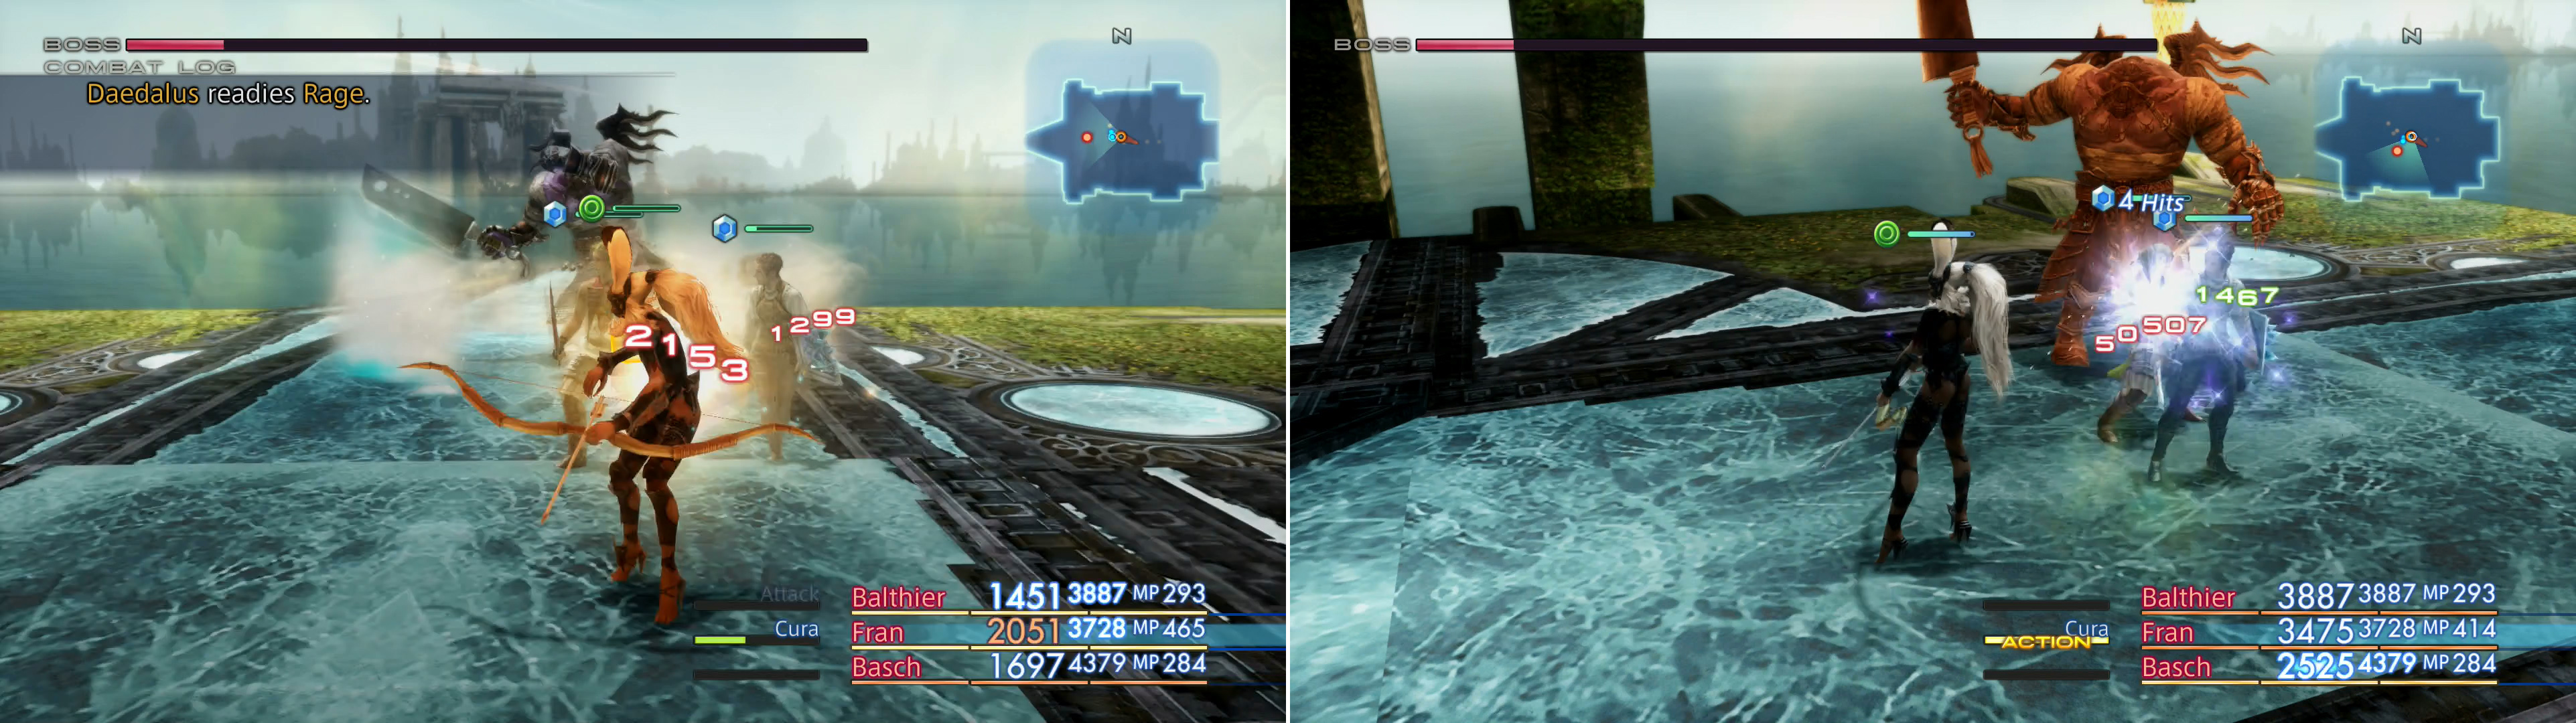
Protect will serve you well in this fight, and you’ll also be wise to hit Daedalus with Dispel as soon as he casts Haste. Bubble should be a given for any boss battle, especially since Daedalus can - when buffed up near the end of the battle - hit for over 500 damage even if you have the Protect status, and his Rage attack can do well over 1,000 damage to all characters. Setting up a more potent healing Gambit is also advised, as Cura might not be enough to keep you safe from a four-hit combo, which is likely to occur when Daedalus has low HP. You can steal Damascus Steel from Daedalus, but it’s a rare steal, there’s other items you may get instead, and all in all, Anchag is an easier, more reliable target.
The Trimahla Water-Steps
Once Daedalus is vanquished, touch the nearby Way Stone to travel to the next area - The Trimahla Water-Steps. You’ll now find yourself in a massive, interior, cylindrical area. The entire area is little more than large ramps and walkways, occasionally broken up by the odd platform. So, basically a proper dungeon!
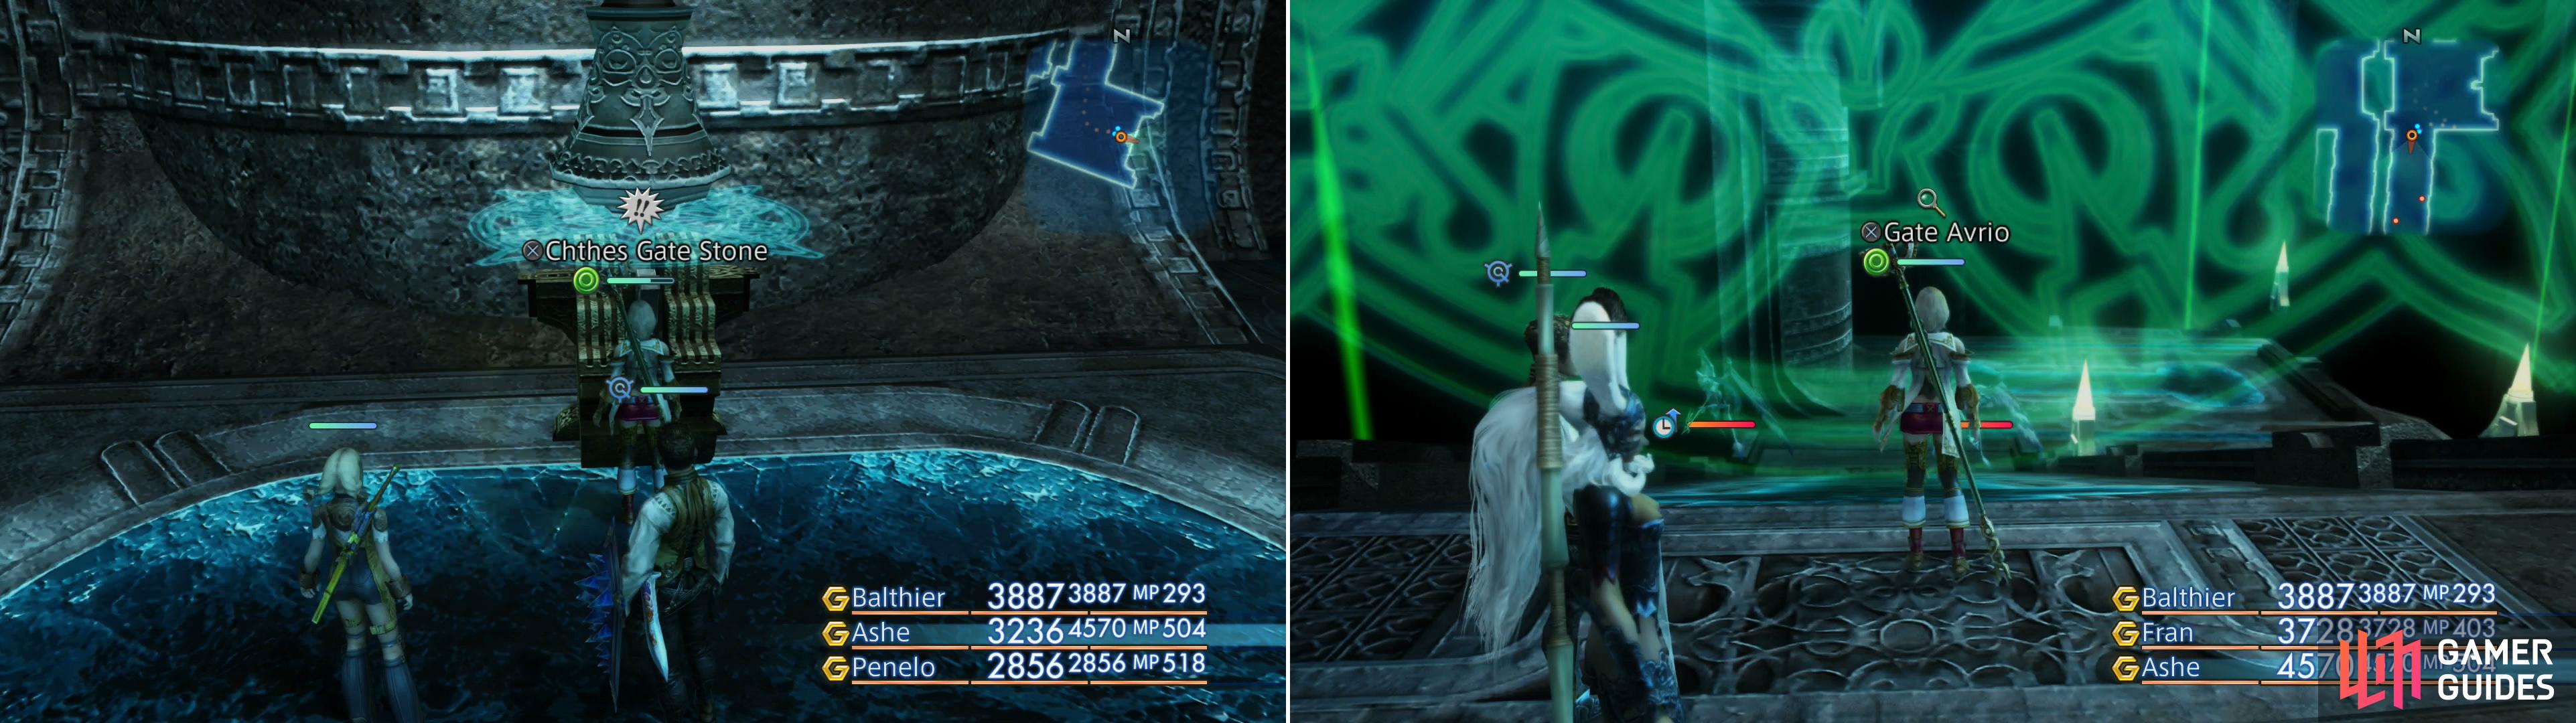
Various Gate Stones (left) can be activated to take down barriers you’ll find along your path (right).
From where you appear, head south down a ramp and kill a Behemoth. If you neglected to obtain Gemini Gems from them earlier, there’s far more of them here, so strap on some Thief’s Cuff if you’ve a mind to attempt to steal some. On the platform below you’ll find two more Behemoths and, more interestingly, a Avrio Gate to the south and an Avrio Gate Stone to the east. Activating the Avrio Gate Stone will disable the Avrio Gate, allowing you to continue in that direction.
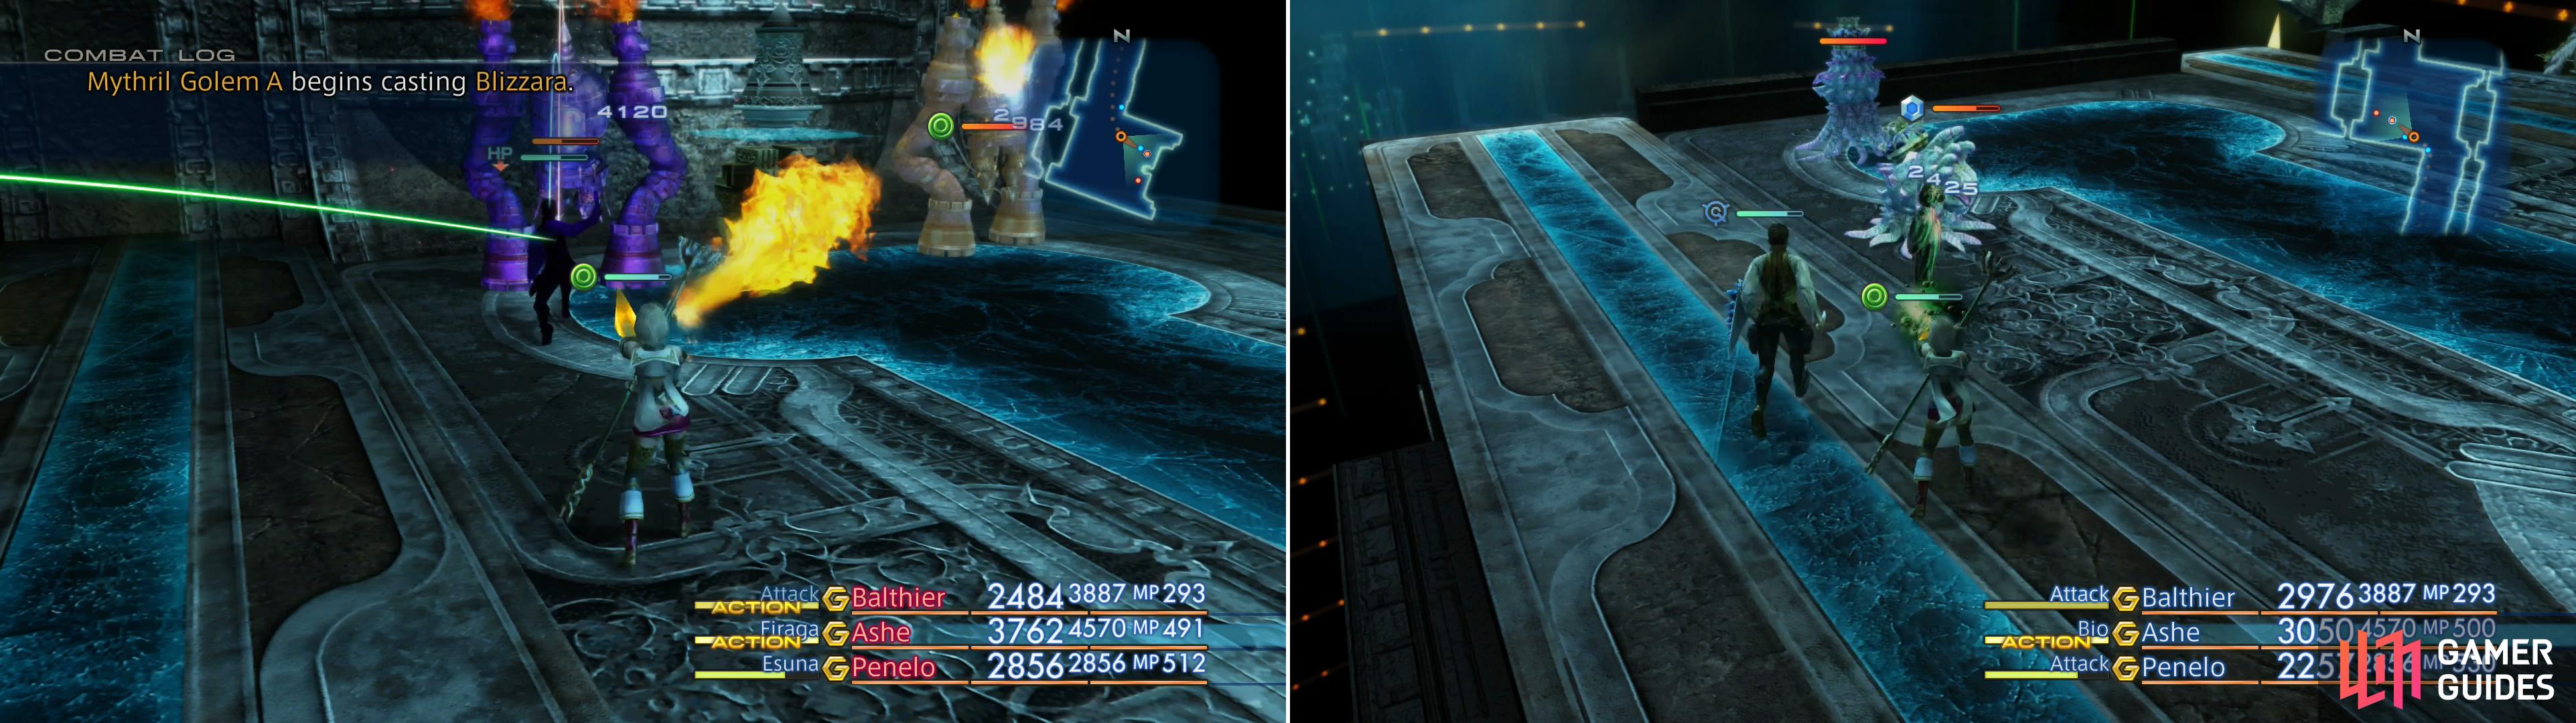
Take the Avrio Gate down, then continue south down the ramp it once blocked, a task that’ll force you to fight through new foes - Gargoyle Barons. Defeat them and continue south down the ramp they guarded to reach a platform where two Behemoths prowl. Continue south yet again down another ramp to reach a platform on the southwestern-most edge of the zone, which is guarded by two Mythril Golems. Defeat the new monsters, and once they’re smote, search the center of the platform to find a crystal, which you can loot to find a Sash .
More importantly, on this platform you’ll find the Chthes Gate Stone, which will open up the Chthes Gate and allow you to proceed to the end of the area. Speaking of which, that’s the last bit of treasure in this area, and for the most part you’ll be fighting the same monsters, so let’s continue deeper into Giruvegan. Backtrack north up the ramp to the previous platform and this time continue north down another ramp. When you reach the platform here you’ll be spoiled for choice, as four ramps lead to this platform. Go down the southern ramp and continue down and south until you can’t proceed any further in that direction. When this occurs, turn north and continue heading downward to the next platform, on which you’ll find another new foe - Vivians.
Kill the haughty Malboro-kin and continue following the linear path ahead, constantly descending as you go north, then south until you reach an apparent dead-end. Looks can be deceiving however, as if you search the southern end of this platform and indeed, even walk off the platform entirely, as a path of green glyphs will spawn under your feet. Walk along this glyph-path to the south to reach the next area.
Gargoyle Baron:
Flying, diminutive spell-casters, Gargoyle Barons nonetheless possess over 6,000 HP, and utilize Darkra, Regen and Stop magicks in combat, as well as the Dark Shock, Gnaw, Leech and Shock Wave technicks. They can drop a Dark Crystal, a Demon Tail, a Chronos Tear or a Doom Mace , you can steal a Demon Tail, a Dark Crystals or an X-Potion, while you can Poach a Demon Tail or a Scorpio Gem. They are, of course, weak to Holy and absorb Dark.
Mythril Golem:
These monolithic monsters tend to guard gates and other sensitive areas, preferring to stand still and pelt intruders with magicks, but they can be roused to move. These constructs tend to start out with Shell active, and have over 17,000 HP, so hitting them with Dispel as you engage will make the fight go faster. They can cast Blizzara, Darkra, Fira, Haste and Thundara, which are frankly offensively out-dated magicks at this point (sans Haste, of course), while their melee attacks consist of the traditional Lunge, Tri-Attack and Wild Charge. They can drop Iron Ore, a Fire Crystal, Gaia Gear or an Aquarius Gem, while you can steal Iron Ore, a Fire Crystal or Mythril. They are weak to Water.
Iron Ore (5) can be sold to unlock a Bazaar bundle, but by the time you do so the weapon you’ll get will be of dubious value. Mythril (3) on the other hand can be sold to unlock a top-tier weapon, so ensure you grab enough while you’re here. Fortunately Mythril is a Monograph drop (10% chance), so it shouldn’t be too hard to get.
New foes, like the Mythril Golem (left) and the Vivian (right) await you in the depths of Giruvegan.
Vivian :
Another Malboro palette-swap, these odd beasts are supposedly the ancestor of all lesser Malboro which infest Ivalice, and in them you can see in full view where their descendant’s inherited their nasty powers from. As usual they can use Bad Breath and Cloying Breath to inflict a great number of status effects (have Esuna and Remedies handy), but they can also keep themselves protected by using Purify and Soul Etude (fully restores HP and MP). Another technick they’ve borrowed from Mindflayer is Time Requiem, and if their other two breath attacks weren’t bad enough they also have Putrid Breath (inflicts Blind, Confuse, Disable, Disease, Immobilize, Oil, Petrify, Poison, Sap, Sleep and Slow). They can drop a Dark Crystal, Malboro Flower, Teleport Stone or a Virgo Gem, you can steal a Dark Crystal, Soleil Fang or a Virgo Gem and they can be Poached for a Malboro Flower or a set of Cleric’s Robes . They are weak to Holy.
Malboro Flowers are used to unlock two Bazaar bundles, but neither one of them is worth much special consideration. Still, if you want to unlock them, you’ll need seven Malboro Flowers. They’re uncommon drops, so there’s a good chance you won’t need to do much extra work to get them.
The Aadha Water-Steps
Follow the green glyph road until you reach a more stable, stone platform beyond. You know all the enemies in this area (Behemoths, Gargoyle Barons, Mythril Golems and Vivians), so deal with them as you come across them. Continue southwest down a ramp to reach a platform, on which you’ll find the Paron Gate Stone, southwest of which is Gate Parelthon. While the Paron Gate Stone won’t open the nearby gate, it will prove useful later, so take it down for the future.
Turn northeast and head down a ramp, then follow the linear path ahead, switch-backing down ramps until you reach a platform along the northern-most edge of the area, where you’ll find the Parelthon Gate Stone to the southeast. Activate it to take down the gate, but there’s no need to backtrack to it, as you can reach it by another way by continuing through the level.
When you’re done with the Parelthon Gate Stone, turn southwest and note two ramps. Continue down the northwestern-most ramp to reach another platform, where you’ll find Gate Tychi blocking the northwestern ramp leading down. That being the case, continue up the northeastern of the two ramps and follow the linear path beyond in a westerly direction until your progress west is blocked. At this platform where you find yourself so impeded, turn east and head up another ramp to reach a platform that houses the Tychi Gate Stone. Activate it to take down Gate Tychi, but before you back track, turn west and go up the ramp to reach another platform, then turn east and head up yet another ramp, where Paron Gate stood… unless you didn’t deactivate it, of course. Assuming you did, however, you’ll find a treasure crystal beyond the gate which contains an Aegis Shield .
Once down, backtrack to the platform that housed Gate Tychi and pass down the ramp the gate was blocking to reach a platform, then continue southwest to another, apparent dead-end platform. Once again, a glowing green glyph path will provide you passage deeper into Giruvegan if you search the western edge of this platform, leading to The Haalmikah Water-Steps area.
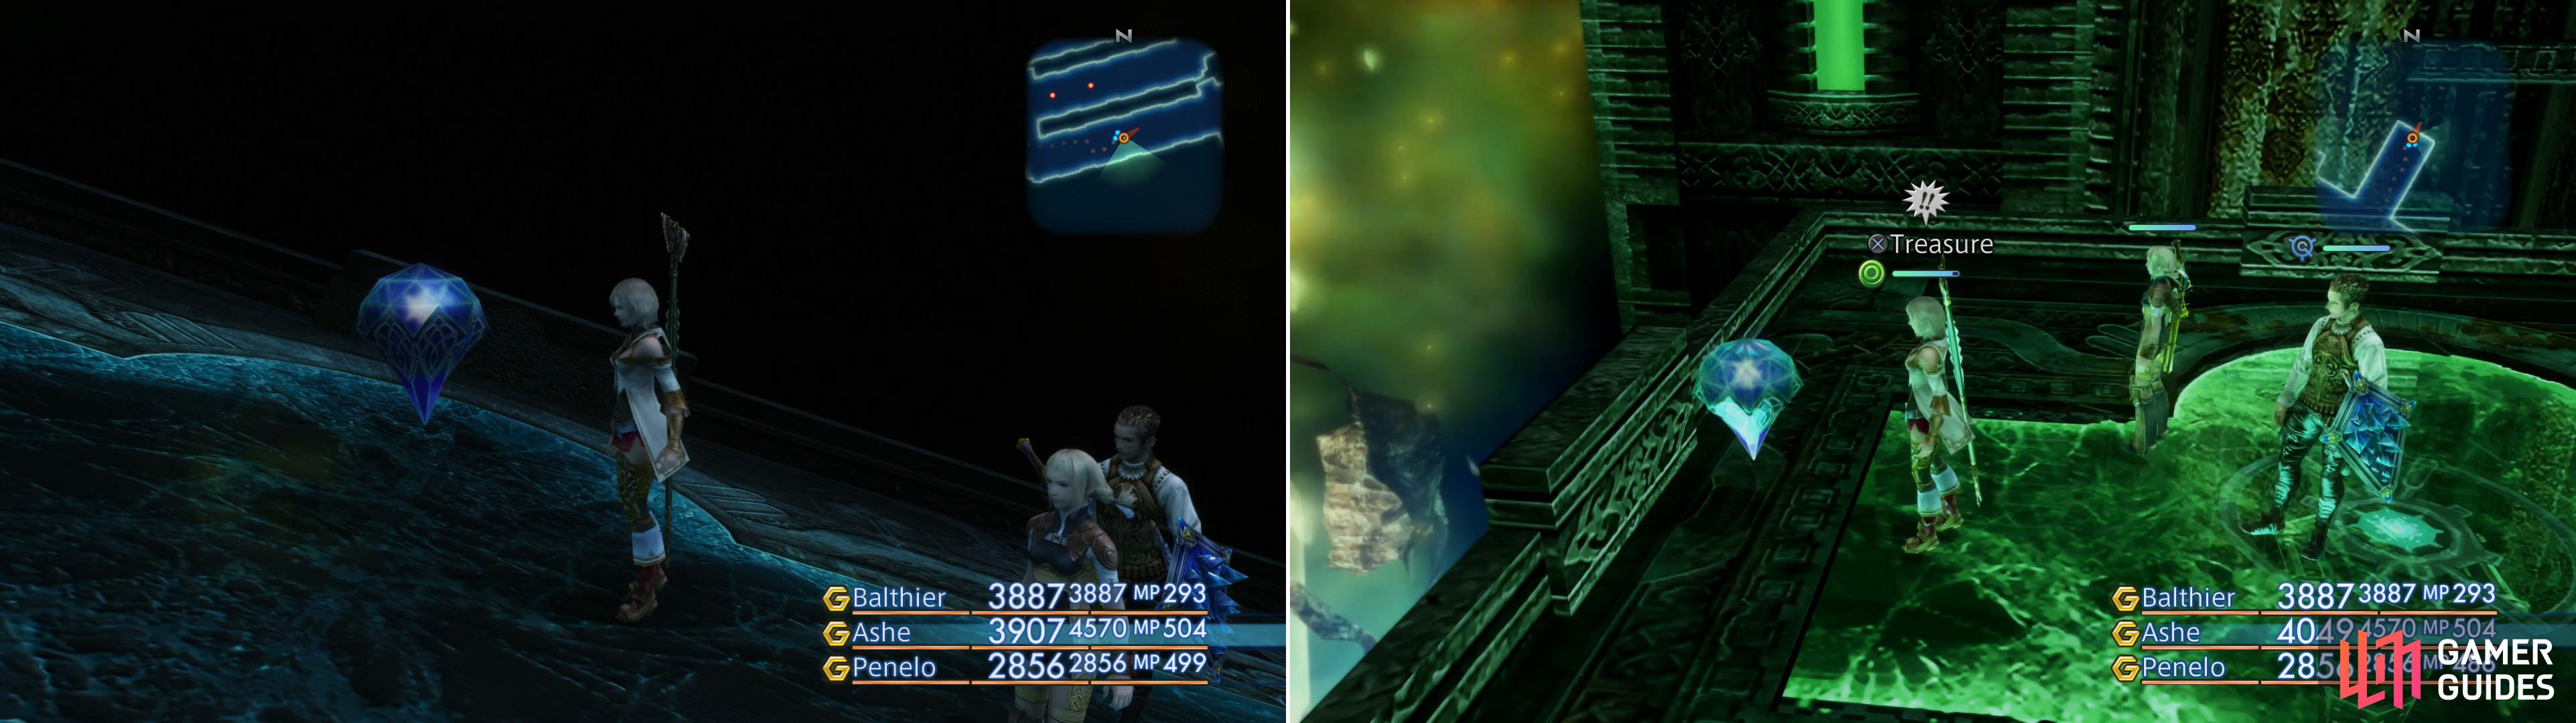
Be sure to look out for treasure crystals, can contain valuable loot - this one will yield an Aegis Shield (left), while later on you’ll find another crystal with the Sleepga magick inside (right).
The Haalmikah Water-Steps
Follow the green glyph path until you reach solid ground and continue until you hit a fork. At this fork turn northeast to find a treasure crystal at the end of the dead-end path. Time to break those Diamond Armlets out and make this chest valuable, as if you equip that accessory and loot the chest you’ll get the Sleepga magick (Black Magick 10). Once this bit of loot is yours, backtrack to the fork and continue northwest through the Bulwark Chronos gate to reach a Save Crystal. Recuperate, save your game, then continue north through the Bulwark Hemera gate to reach the Gate of Fire zone.
Gate of Fire
There’s a bit of loot scattered about this area, and since it doesn’t respawn… well, why not grab it? Continue northwest from the area transition, head northeast up a ramp, then turn southeast to reach a platform where you’ll find a treasure crystal, which contains a Domaine Calvados. Return to the beginning of the area and from the Bulwark Hemera gate head southwest up a ramp, then continue southwest down a winding passage, turning northwest when you must to reach a small chamber in which you’ll find another treasure crystal. Loot it to nab an Elixir .
Turn northeast up a ramp, then continue northeast down a ramp to reach a walkway bisecting the zone, running northwest/southeast. If you continue off the walkway to the northeast you’ll be greeted by another green glyph walkway, but avoid that for now and instead continue northwest. When you can’t go northwest anymore, turn northeast and head up a ramp, turn southeast, then northeast again and head up a second ramp to reach a platform, upon which you’ll find another treasure crystal. Plunder it to score an Amber Armlet .
After looting those crystals, return back southeast to the walkway spanning the zone and head northeast down the green glyph path, at the end of which you’ll find a massive glyph platform. Make sure you’re ready before you continue onto the large glyph platform, however, as it’s sizable for a reason…
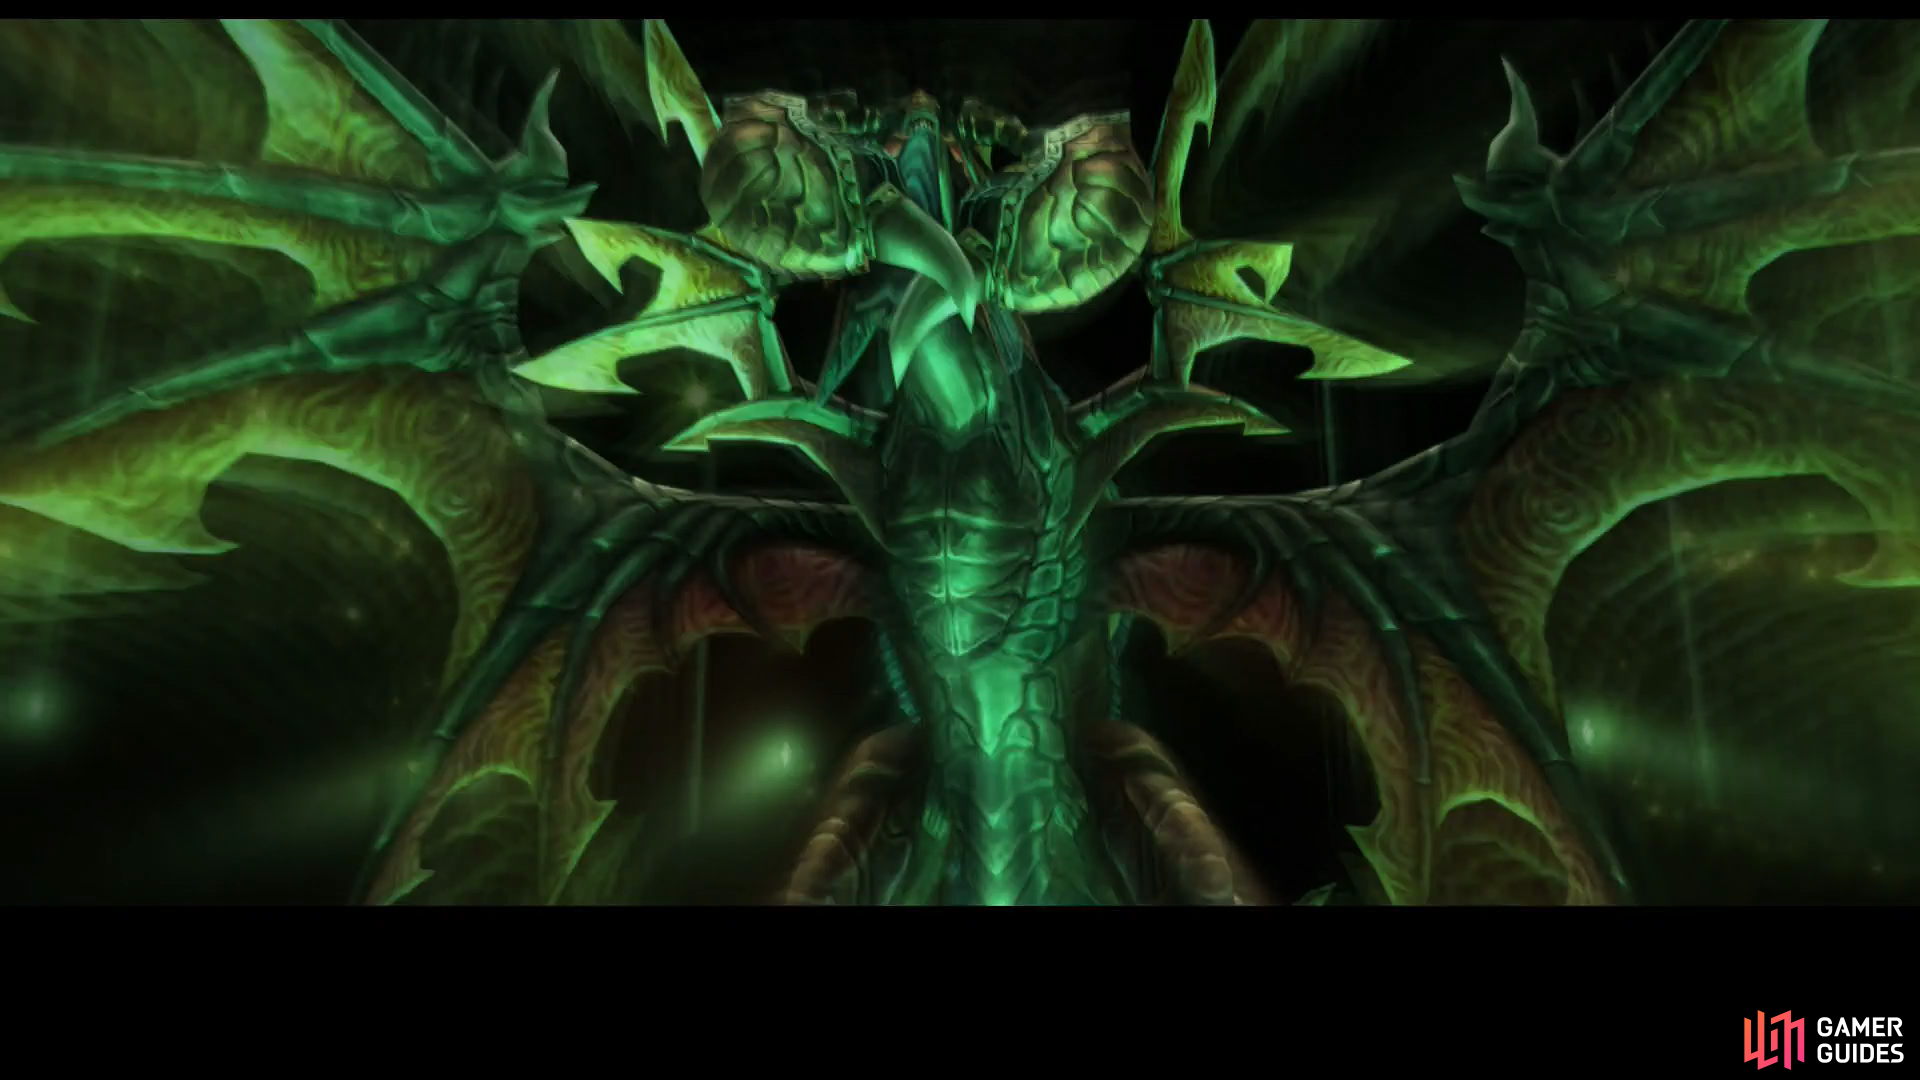
Boss - Tyrant
| Tyrant | . |
|---|---|
| Level | 43 |
| Weaknesses | Ice |
| Resistances | Lightning (Absorbs), Dark, Earth, Fire, Holy, Water, Wind (Halves) |
| Immunities | Blind, Disable, Disease, Doom, Immobilize, Oil, Petrify, Poison, Reverse, Sap, Silence, Sleep, Slow |
| Safety | Yes |
| Drop | N./A |
| Steal | N/A |
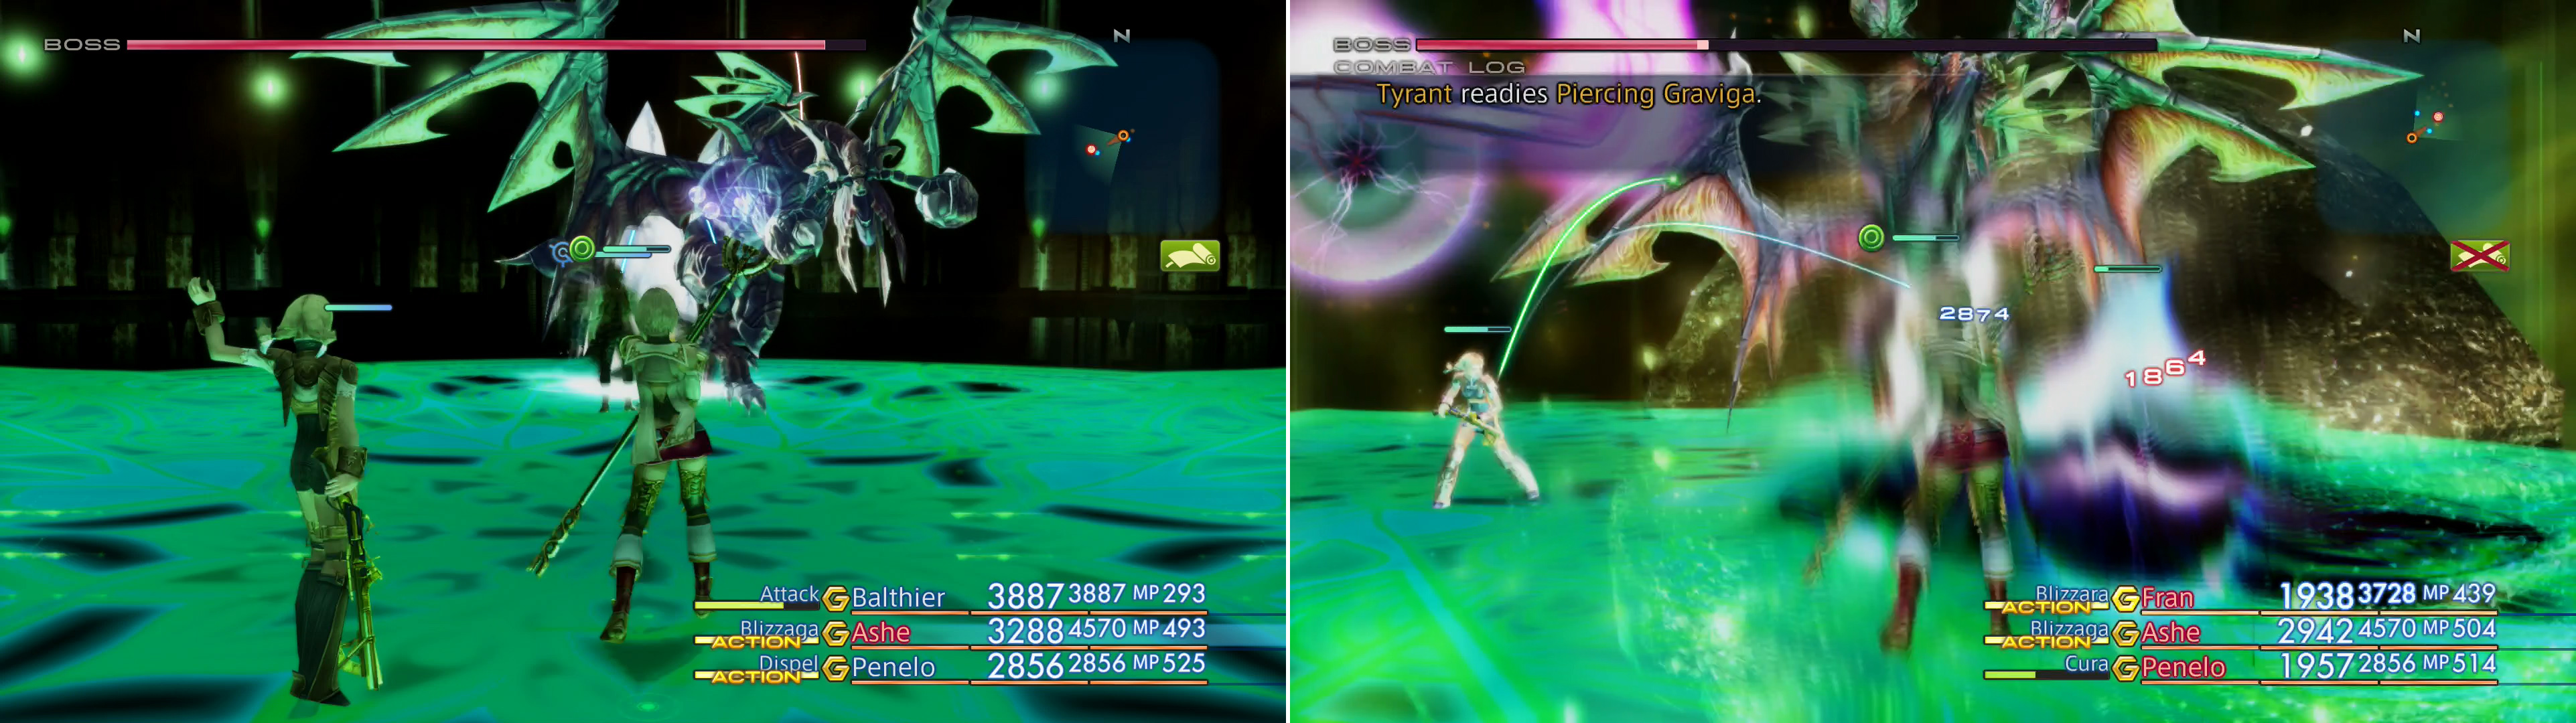
Start out the fight by blasting Tyrant with Dispel (left). When pressured Tyrant will make use of the Piercing Graviga attack (right), which deals proportional damage to each character.
Tyrant is a more worthy foe than Daedalus was, boasting a whopping 180,000 HP and a high Attack Power. The wyrm has a variety of magicks at its disposal, including Blizzaga, Darkra, Firaga, Thundaga and Piercing Graviga, which will reduce your HP by 50%. In addition to its magickal arsenal this beast also possesses the Bile, Fireball, Lunge and Sonic Fangs technicks. To add insult to injury, you yourself cannot access any of your own technicks for this fight.
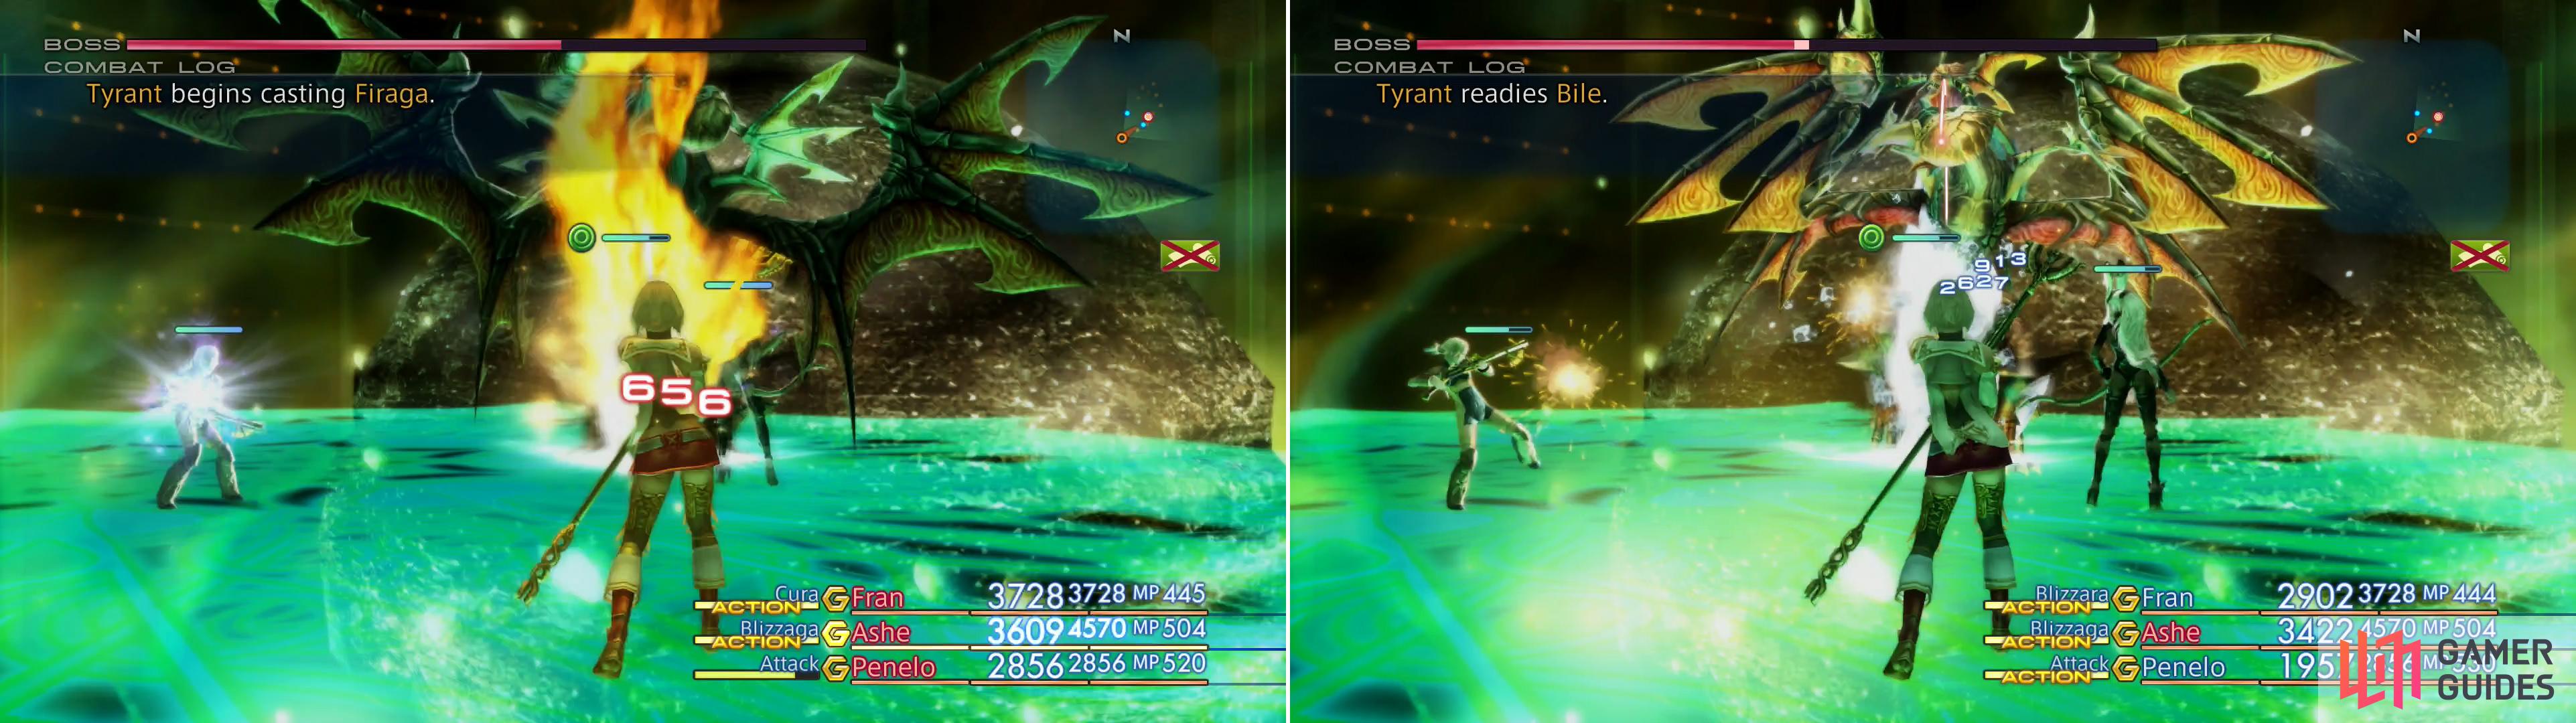
Tyrant is fond of using fire magicks (left), which naturally means you should respond with ice magick (right), to which it’s weak.
This is just as well, as magick actually works well here. In addition to your typical preparations (Bubble, Haste, Protect, Shell), be sure to bring along your Black Mage for this fight, as Blizzaga will deal massive damage to the beast. In addition, an Uhlan armed with a Trident works well here, leaving the third spot open for the White Mage or Red Battlemage, if you think your healing sufficient. Start out the battle with Dispel to remove Tyrant’s buffs, then go to work with Ice-elemental attacks. Be wary, however, as Tyrant can do a great deal of damage, and it’ll become more vicious with its offense when its HP are low. Considering its damage potential, you may want to resort to Curaja and/or raise the damage ceiling of your healing Gambit.
When Tyrant is slain you’ll be rewarded for your efforts via the appearance of a Way Stone. Activate it and you’ll be whisked out of Giruvegan and into a new area… the Great Crystal.
No Comments