| Bestiary |
|---|
| Gargoyle, Malboro, Panther, Great Malboro, Treant |
| Items In This Area |
|---|
| Burgonet, Elfin Bow (Steal from Malboro), Gilt Measure (Drop from Gargoyle), Haste, Mage’s Hat, Red Cap. |
If you spoke to some of the Garif in Jahara as you were leaving, you would have found out that in order to get to Mt. Bur-Omisace, you need to pass through the Golmore Jungle to reach Paramina Rift, which leads to your destination. The entrance to Golmore Jungle is located on the eastern side of Ozmone Plain, just past Field of Light Winds on your map. A small transition area - the Sunlit Path - links the eastern edge of the Ozmone Plains to the Golmore Jungle, and if you remember (you may have used this area to zone in and out of the Ozmone Plains to hunt the Hybrid Gator or to respawn the Bull Croc and Aeros Rare Game) this little area only holds a Save Crystal and two uninteresting NPCs.
Paths of Chained Light
Enter the Golmore Jungle’s first area (the Paths of Chained Light), where you’ll immediately encounter some new enemies near the entrance - Panthers.
Panther :
These enemies are the first iteration of Coeurls in the game that you will encounter, which are widely considered to be one of the more annoying enemy types in Final Fantasy games. They seem like normal mobs, with attacks like Rake and Mind Lash, but they can also petrify your party with Stone Gaze. Their most fearsome technick by far, howver, is Blaster, which hits one character and can inflict Sleep, Slow, Silence and Blind. They can drop Coeurl Pelts, Storm Magicite, Warp Motes, or Quality Pelts, plus you can steal Coeurl Pelts, Storm Magicite or Libra Gems and you can Poach them for Coeurl Pelts or Quality Pelts. Panthers are weak to Ice. Their Coeurl Pelts are plentiful and chaining them for this drop can add some nice gil to your wallet, as each one sells for 454 gil.
As annoying as these critters can be, stronger foes prowl about the southwestern edge of this zone in the form of Hellhounds. They’re relatively high-level (between level thirty-seven and thirty-nine) and while they’re certainly killable, there’s no real reason to mess around in that part of the Golmore Jungle right now. Instead, avoid them and head east from the main entrance until you find a path heading south. Take this short path south, god down some stairs and continue south to reach a platform, which is part of another walkway running across the level east-west. Here you’ll find an ornate urn which contains the map for Golmore Jungle, near which prowl some Malboros. A little bit to the west of this platfomr you’ll find a chest in the middle of the walkway, inside of which you may find a Burgonet .
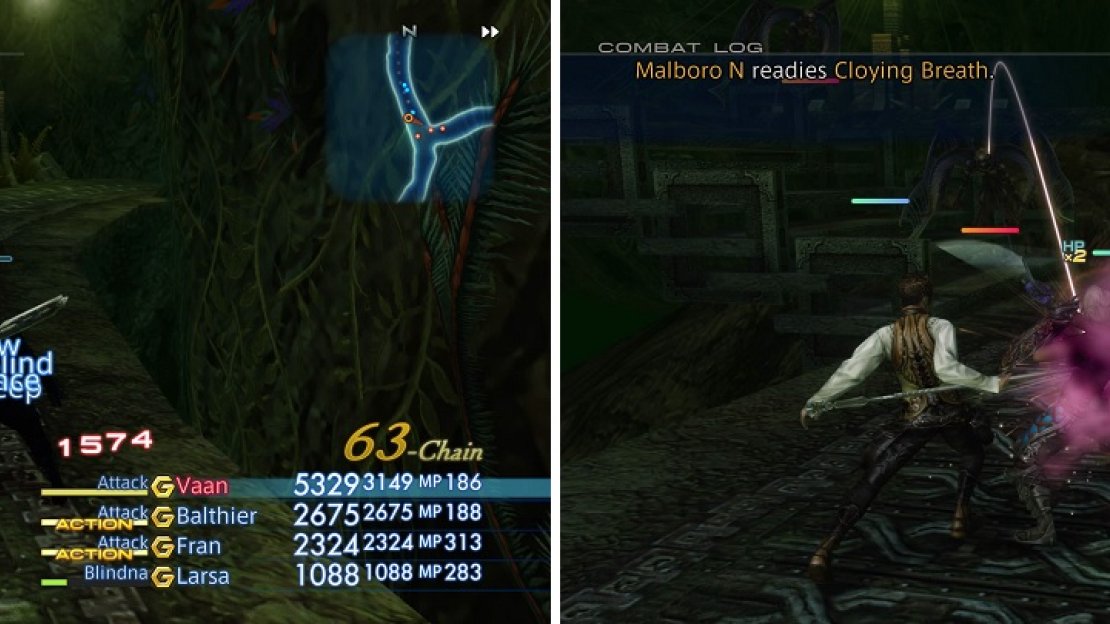
Both the Panthers (left) and Malboros (right) have skills that can inflict multiple status ailments on your characters.
Malboro :
A Final Fantasy staple, Malboros have a reputation for causing a lot of status effects from their Bad Breath manuever. Thankfully, these Malboros don’t have access to that…at least, not yet. They do, however, have Cloying Breath, a move that can inflict both Sleep and Slow if it connects. Other than that one move, they are pretty harmless. You can receive an Earth Magicite, Nu Khai Sand, Remedy or Malboro Vine as a drop, plus you can steal an Earth Magicite, Malboro Vine or Elfin Bow from them. Also, you can poach them for either a Pebble or Malboro Vine. They are weak to Wind.
Return north to the original path running east-west across the level and continue following the walkway east, then southeast, where you’ll come upon another new enemy along the way to the transition to the next zone, Gargoyles. Fight your way through the Gargoyles and make your way to the area transition in the southeastern edge of the zone, which leads to The Needlebrake area.
Gargoyle :
These winged creatures (note that despite the fact that they are in fact flying, they’re not considered flying as far as attacking purposes goes) are rather simple, although they do have access to a few status ailments, which seems to be a common theme with enemies in Golmore Jungle at this point. They have typical physical attacks in Gnaw and Blast Wave, the latter of which can hit multiple characters, plus they have access to Protect, Slow, Blind and Silence magicks. In addition to utilizing Silence magick, they can inflict Silence with their physical attacks. They may also use Leech to heal themselves a bit. As for drops, you can get a Demon Eyeball, Storm Magicite, Gilt Measure or a Hi-Potion. In addition to that, stealing can yield a Demon Eyeball, Storm Magicite or Warp Mote, and poaching will always get you a Demon Eyeball. Gargoyles are weak to Ice.
The Needlebrake
As soon as you enter this area head west and then south at the first split until you reach a fork. From there, you can go east to possibly find a trio of chests on a small platform along the northern end of the walkway. Of these three chests, the central/southern-most may yield a Mage’s Hat . It’s also worth noting that you might run into a new enemy here, a variation of the regular Malboro, the Great Malboro.
Great Malboro:
Although it might be hard to tell the difference, Great Malboros are darker in color than their Malboro brethren. These ones, though, are a whole step higher in being a pain in the butt, solely because they have Bad Breath, which can inflict Slow, Poison and Blind. This is in addition to Cloying Breath, so you could have a good amount of ailments on you with both of those, especially since the Great Malboros are mixed in with the normal Malboros. As drops, you can receive a Malboro Vine, Earth Magicite, Bacchus’ Wine or an Iron Pole. If you happen to steal, you can get an Earth Magicite, Malboro Vine or a Virgo Gem. Should you have the Dragoon’s Monograph, you could get a Foul Liquid as a drop and for poaching, the Great Malboro could yield either a Malboro Vine or Foul Breath. As with the regular Malboros, Great Malboros are weak to wind.
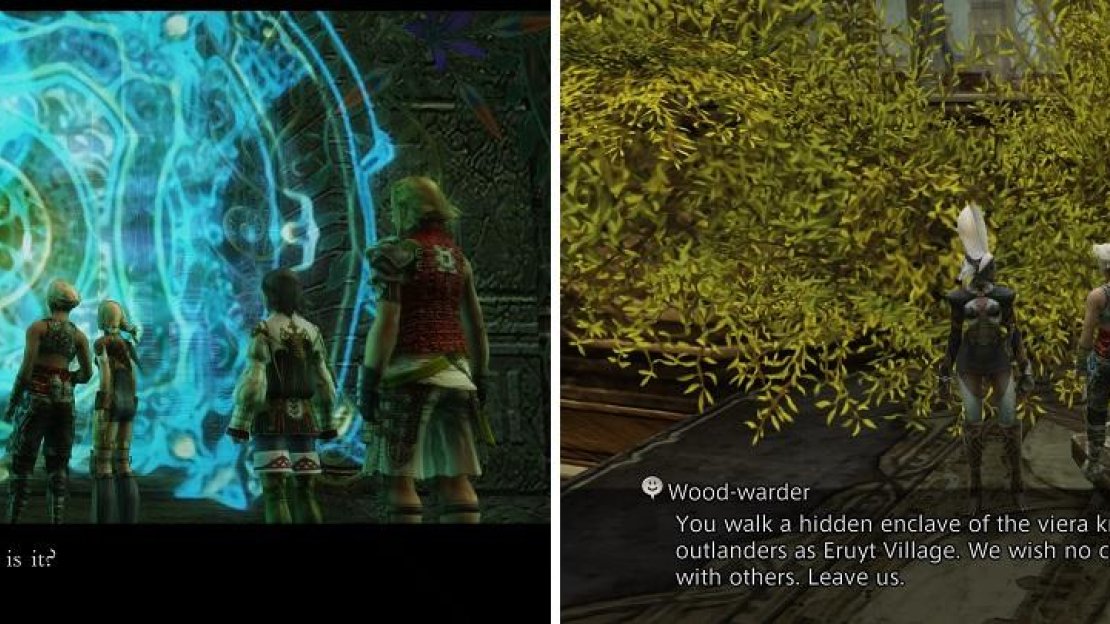
Continue east from these three treasures, go up some stairs and follow the walkway atop the stairs to the north a bit and you should a barrier in the distance, but don’t approach it just yet. Instead, once you climb the short set of stairs turn to the south to spot another chest, within which you may find a Red Cap . Turn back around again and follow the walkway north to trigger a cutscene as you approach the barrier, where Fran will perform strange Viera-magick in response to the barrier, ultimately opening up a path leading to Eruyt Village. Once she’s done being weird, continue north from this barrier and you’ll find some new foes - the Treant.
Treant :
Treants are docile and will only attack if you provoke them first. They tend to be a little meatier than the other enemies you’ve encountered so far in this dungeon, so expect the fight to last a little longer. You will usually find them casting Protect and Shell on themselves, and they are weak to wind. As for other attacks, they have Lunge, Tri-Attack and Restore (used to heal themselves, obviously), as well as Wild Charge, which doubles their attack power but at the expense of losing 50% of their health with the damage they inflict. You will see an Earth Magicite, Lumber, Phoenix Down or a Balance Mote as drops, and you can steal an Earth Magicite, Lumber or an Aquarius Gem from them. When poaching, you might get either some Lumber or a Bhuj .
After you’re done picking on the docile tree-critters, head down the stairs north of the barrier (near where the Treants prowled) and make your way north onto a strangely suspended patch of foliage to find a “Hidden Path”. Hidden indeed! Activate the hidden path and select the option “Speak to the Wood”, then follow the path that opens up ahead of you.
There are barriers blocking your progress during your first visit to Golmore Jungle (left). The Viera aren’t very welcoming of outsiders to their village (right).
Eruyt Village
When you enter the Eruyt Village, the home of the Viera, you’ll witness a short scene. After the scene ends note that there’s a Gate Crystal nearby, as well as two Moogles to the east. These Moogles - the same ones you met on the Leviathan - happen to be merchants, and while most of the stuff they sell is out-dated (at least if you’ve gone out of your way to go after the equipment pointed out in this guide) they are selling some magicks worth picking up, namely Esuna (White Magick 7), Thundara (Black Magick 6) and Break (Time Magick 6). Thundara is the stronger, area-of-effect verion of Thunder, Break will allow you to petrify enemies (useful, as petrifying enemies will eliminate them without breaking a battle chain), while Esuna is definitely the most useful out of the three, as it removes all status effects save for KO, Disease, Slow, Doom, Stop, Oil, Stone and X-Zone.
It might also be a good idea to purchase three Black Belts, which protect against Disable and Immobilize, as you will be coming upon a boss that uses the former soon. Don’t forget to touch the Gate Crystal, then advance north to The Spiritwood zone, where you can speak with some of the Viera to learn that they aren’t too happy to see you. You won’t be able to find this Mjrn viera here, so follow the path northeast, then west to reach the northern-most area of the Eruyt Village (Fane of the Path). Before you exit, however, note that there is a treasure that has a low chance to spawn in the northwestern corner of The Spiritwood area, which could yield an Elixir, a curative that replenishes all HP, MP and even Mist Charges.
Make your way to the Fane of the Path zone and head to the northeast, where you’ll trigger a cutscene that results in you learning the whereabouts of Mjrn. After the scene, head down the walkway southeast from where you met Jote to reach the eastern-most reaches of this zone, where you’ll find a crystal you can loot. Do so to obtain the Haste magick (Time Magick 4), a spell all RPG veterans should be familiar with. This spell naturally speeds up the rate at which your ATB bar fills in combat, allowing you to perform actions faster in combat. Unfortunately this magick is wholly restricted to the Time Battlemage, and it’s honestly one of their greatest spells.
That’s about all you can do here in Eruyt Village, so return to the Gate Crystal for another scene, one where Vaan acts like the idiot he is, but at least he is scolded a bit by the party. You also learn your next destination, the Henne Mines, which is off to the west.


No Comments