


How to Begin
Making your way to the Phon Coast and speaking to the Huntmaster at the Hunter’s Camp will begin this long sidequest so long as you have defeated the Mandragora ‘Royalty’ at the Sochen Cave Palace. Your first task, before you can even join the Hunt Club, is to defeat the nearby Thalassinon.
Hunting the Thalassinon
Make your way to the eastern end of the Hunters’ Camp to find the area transition leading to The Vaddu Strand. You should have already explored this place, and the foes here are not even remotely challenging anymore, so simply fight your way to the eastern edge of the level, where you’ll come to a beach which is - or was once lined by many chests. More interesting, however, is the natural earthen ramp north of the beach that leads above the beach. Follow it uphill to the east, then south to reach a ledge overlooking the beach below. Stand around for a few moments until you see a large turtle beastie appear on the beach below - Thalassinon has arrived.
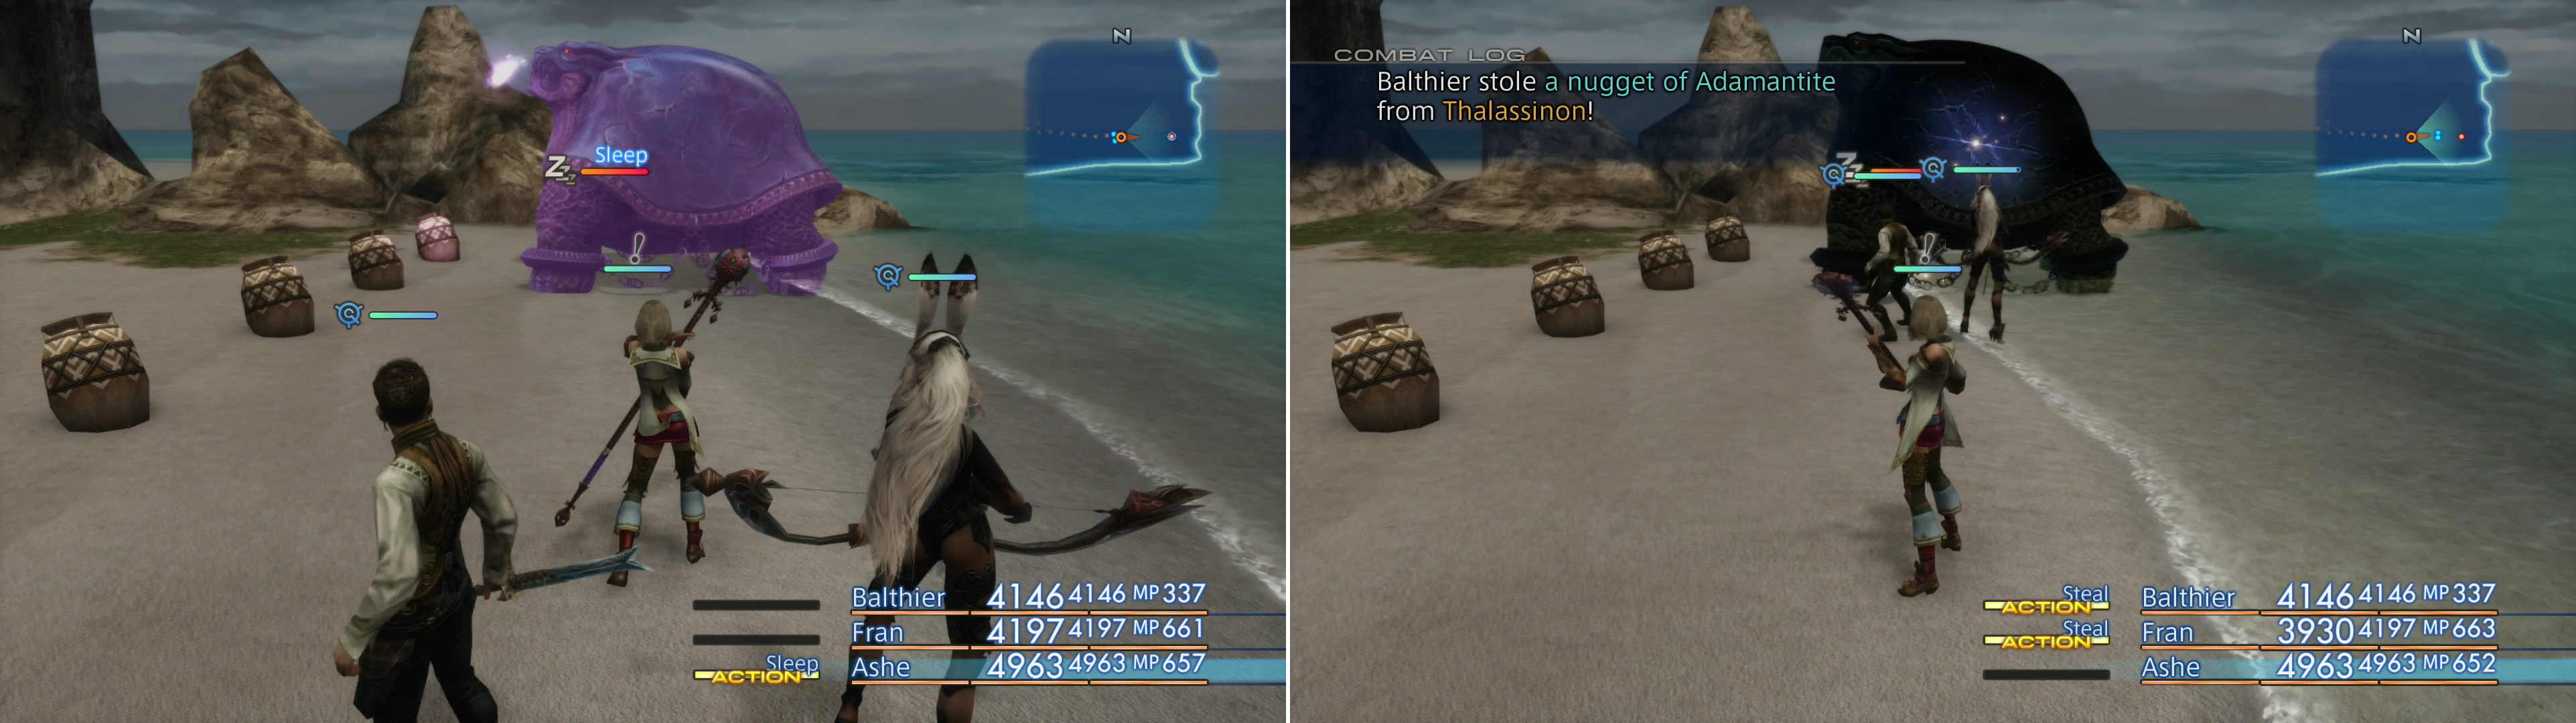
Start the fight out by putting Thalassinon to sleep (left), after which you can steal Adamantite from it at your leisure (right).
Head back down the ramp and return to the beach, killing the lesser foes that may stand in your way before you pick a fight with Thalassinon. Being a Titanoise, you can expect the beast to have a healthy supply of HP. Its offensive power is otherwise unimpressive, although its physical attacks can inflict Slow. Its magick arsenal includes Aerora, Aquara, Blizzara, Fira, Reflect, Thundara and Watera, while its technicks include tortoise staples like Meditate, Purify, Restore, Sonic Turn and Stone Gaze.
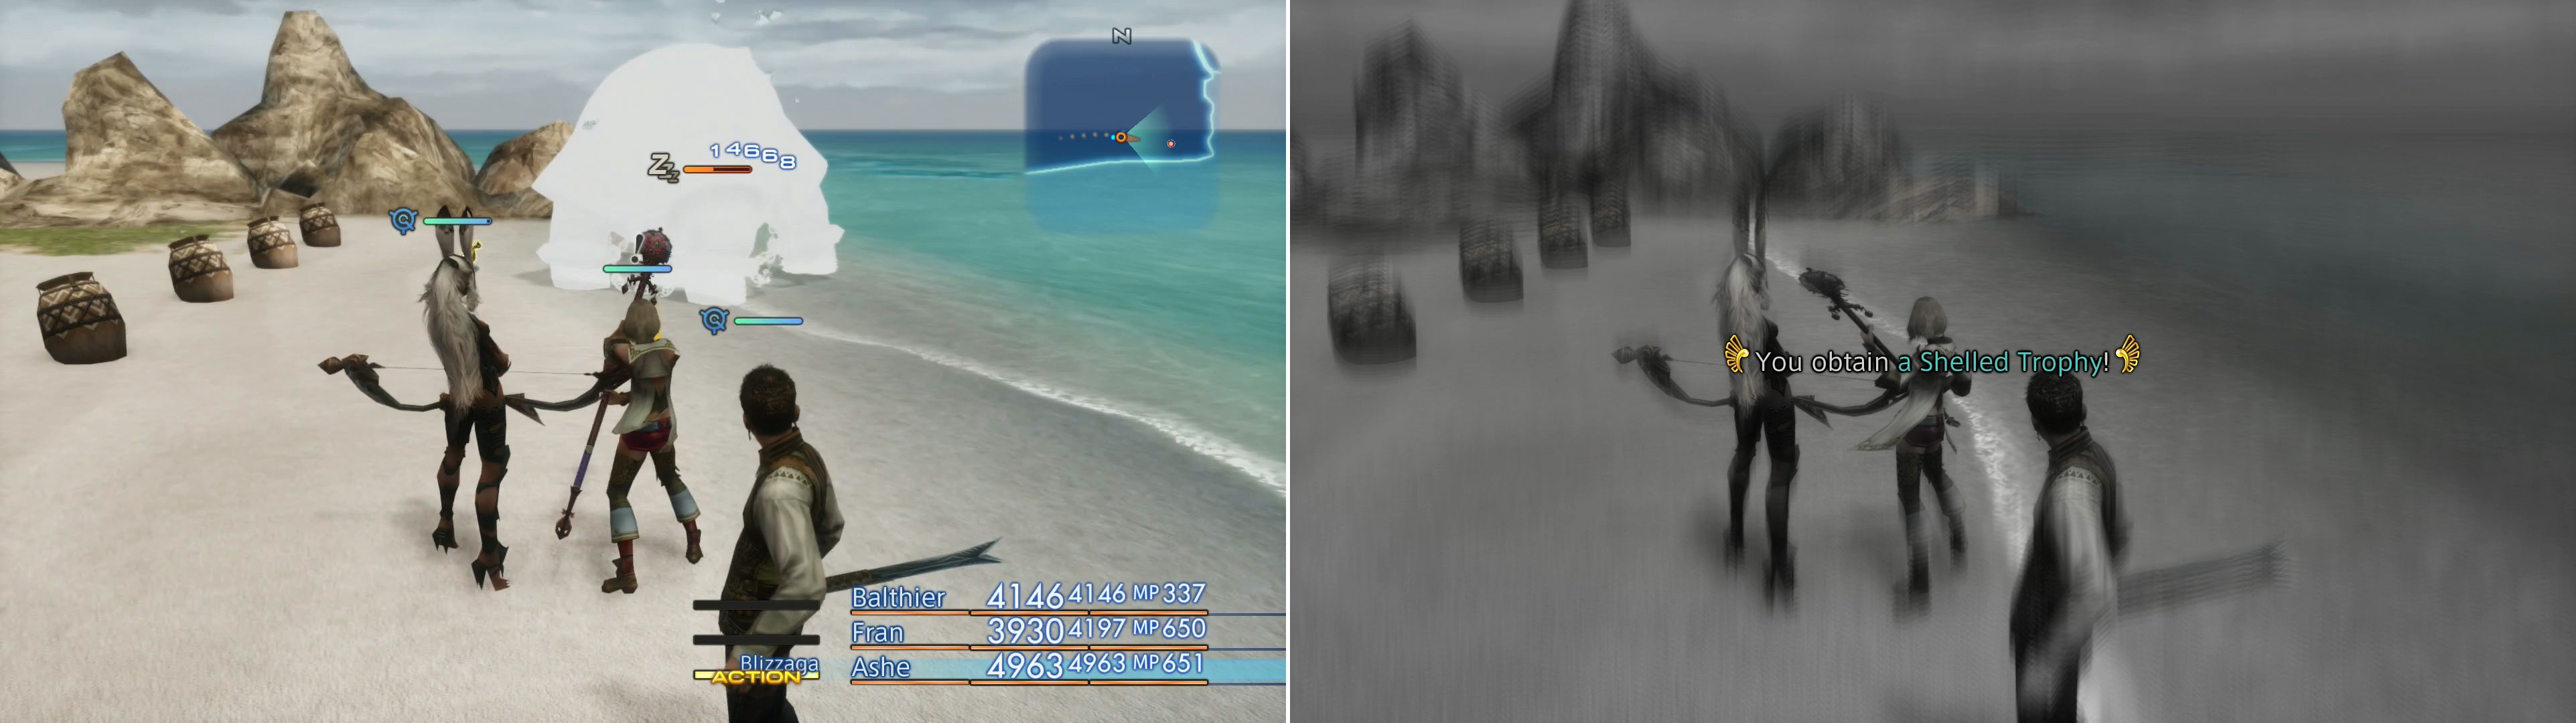
Thalassinon is weak to ice, and magick will not only do great damage, but will also not wake the slumbering beast up (left). After defeating Thalassinon you’ll gain a Shelled Trophy (right).
While its ability to cure itself of negative status effects may make that avenue of attack seem bereft of merit, it has two fatal weaknesses which you can exploit - vulnerability to both Sleep and Stop. Either bring along a Black Mage and inflict Sleep, then pelt Thalassinon with magick (it’s weak to Wind) or inflict Stop and kill it however you wish. Before you finish it off, however, equip your Thief’s Gloves and steal form it, as you can obtain a rare and valuable hunk of Adamantite, who of which are ultimately needed for various Bazaar bundles. When it dies, it’ll drop the Shelled Trophy you were sent out to recover, just as the Huntmaster promised.
What Next?
With your first Trophy collected, you can now begin the sidequest in earnest, speaking to the three Bangaa’s named Blok, Stok and Atak will reveal there are another 30 Rare enemies that will relenquish trophies upon their defeat and should you bring them back to them, you’ll be handsomely rewarded. You’ll find these enemies in the pages that follow, along with details on how to get them to spawn in the first place.
Rewards
Why bother hunting Trophy Rare Game, you may ask? Well, for one they’re all included in the bestiary, so if you want the Scrivener trophy, you’ll need to hunt them all. That’s not the only incentive, however, as mentioned earlier each Bangaa wants you to bring the trophies to him, and once they’re all culled, you’ll get a reward for your trouble, varying depending based on how many trophies you turned in. Each Bangaa can give you one of two rewards, a lesser reward, and a greater reward, the greater reward is only given if one of the Bangaa is given a majority of the trophies. Since there are thirty trophies, that means one Bangaa would have to get sixteen of them for the greater reward, and of course, you can only get one greater reward. These possible rewards are as follows:
| Trophies Given | Atak | Blok | Stok |
|---|---|---|---|
| 16 or more | Zodiac Spear | Zodiac Escutcheon | Ribbon |
| 15 or fewer | Staff of the Magi | Ensanguined Shield | Sage’s Ring |
In addition to that, just northwest of the Bangaa - near some crates along the shore - you’ll find a “Shifty-Eyed Merchant”, who is actually the Hunt Club Outfitter. As you hand in more trophies, his stock will change, depending on which of the three Bangaa you give them to. The variability of the items he can offer (which are available for one-time purchase with Gil) is rather extensive, given the many ways you can distribute the trophies between the three Bangaa. The items the Outfitter can stock based on how you distribute the trophies are as follows:
| Trophies | Atak | Blok | Stok | Item | Cost |
|---|---|---|---|---|---|
| 1 | 1 | Kiku-ichimonji | 9,450 | ||
| 1 | 1 | Platinum Armor | 8,370 | ||
| 1 | 1 | Thief’s Cuffs | 3,600 | ||
| 5 | 5 | Holy Lance | 13,050 | ||
| 5 | 5 | Minerva Bustier | 11,160 | ||
| 5 | 5 | Ruby Ring | 10,200 | ||
| 10 | 10 | Ame-no-Murakumo | 13,005 | ||
| 10 | 10 | White Mask | 21,750 | ||
| 10 | 10 | Opal Ring | 19,200 | ||
| 15 | 10 | 5 | Eight-fluted Pole | 70,200 | |
| 15 | 15 | Stoneblade | 29,250 | ||
| 15 | 15 | Aegis Shield | 57,600 | ||
| 15 | 15 | Gold Amulet | 5,400 | ||
| 20 | 5 | 10 | 5 | Maximillian | 20,400 |
| 20 | 20 | Orochi | 49,500 | ||
| 20 | 20 | Dueling Mask | 117,000 | ||
| 20 | 20 | Cat-ear Hood | 36,000 | ||
| 22 | 12 | 5 | 5 | Artemis Arrows, Artemis Bow | 61,600 |
| 22 | 5 | 12 | 5 | Black Mask | 18,600 |
| 22 | 5 | 5 | 12 | Turtleshell Choker | 11,160 |
| 25 | 5 | 5 | 15 | Genji Gloves | 447,000 |
| 25 | 25 | Ultima Blade | 75,000 | ||
| 25 | 25 | Grand Helm | 123,750 | ||
| 25 | 25 | Bubble Belt | 47,520 | ||
| 27 | 25 | 1 | 1 | Tula, Grand Bolts | 104,000 |
| 27 | 1 | 25 | 1 | Lordly Robes | 132,000 |
| 27 | 1 | 1 | 25 | Indigo Pendant | 60,000 |
| 30 | 10 | 10 | 10 | Zodiac Escutcheon, Zodiac Spear | 999,999 |
| 30 | 30 | Masamune | 700,000 | ||
| 30 | 30 | Grand Armor | 162,000 | ||
| 30 | 30 | Nihopalaoa | 360,000 | ||
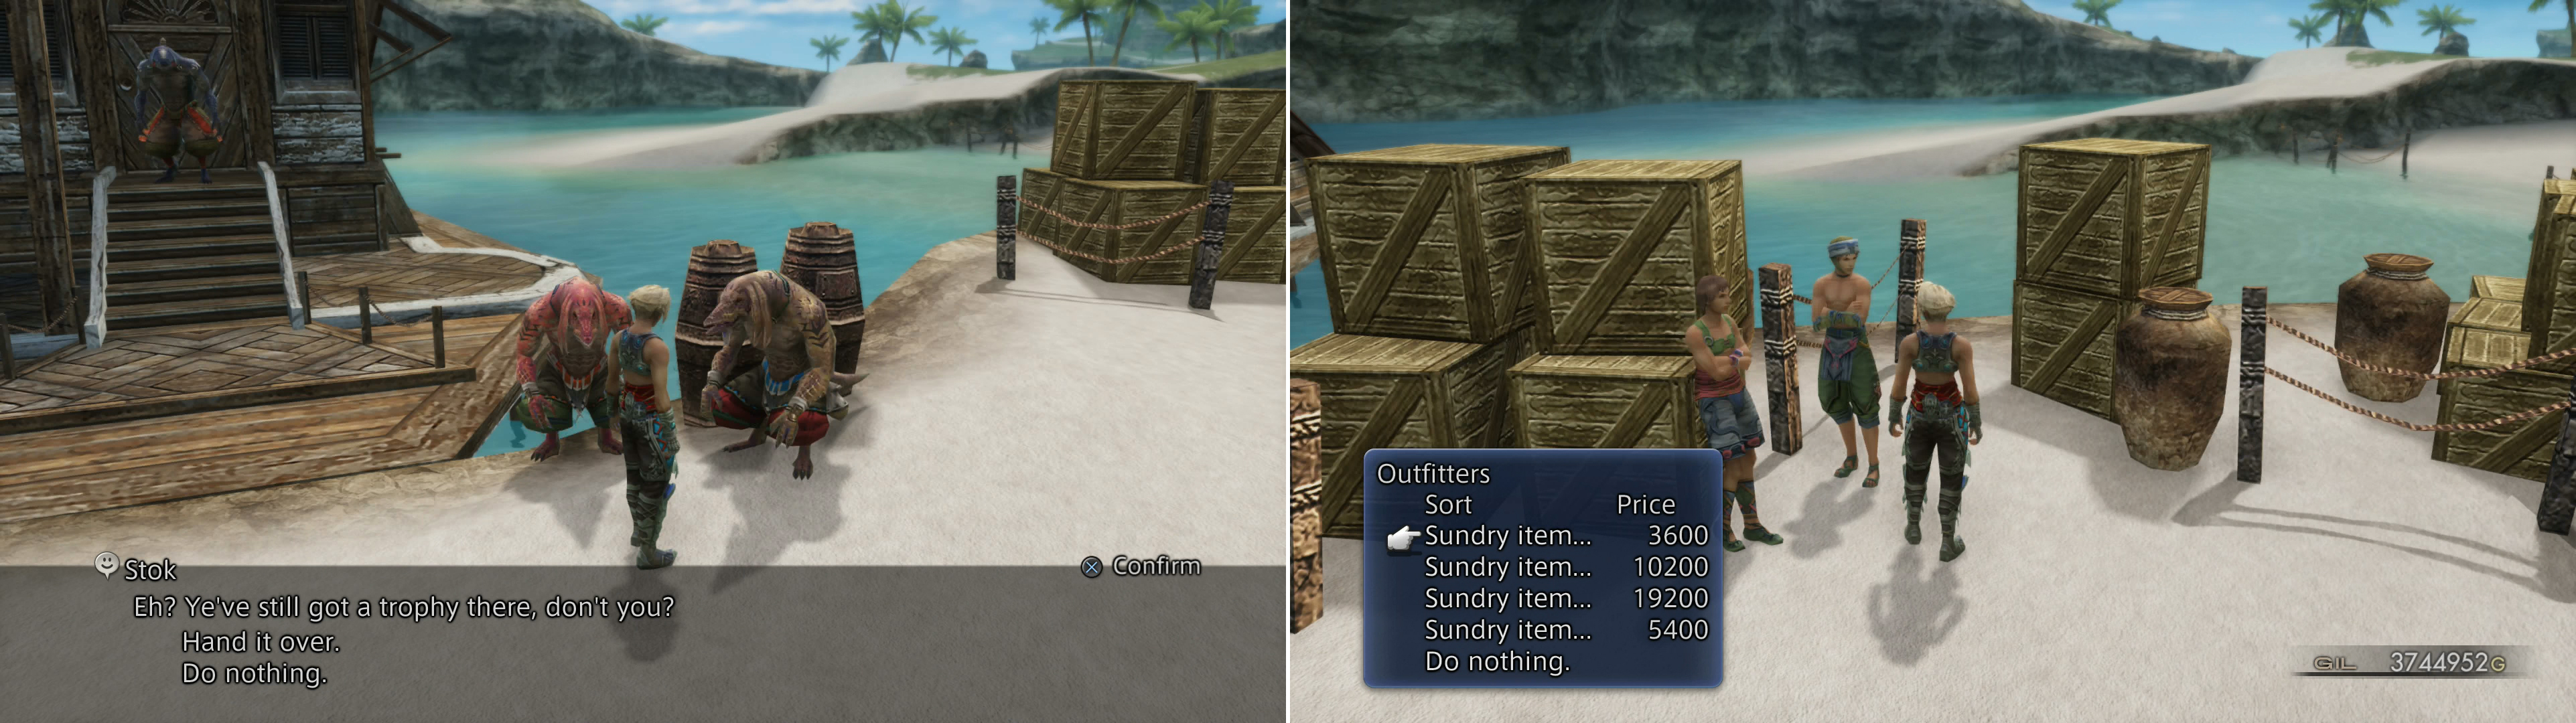
As you gather trophies, hand them over to your Bangaa of choice (left). How many troophies you recover, and who you give them to, determine what goods the Outfitter stocks (right).
What to choose?
That’s a lot of data, so it’s time for some quick pointers. Atak stocks weapons, Blok stocks armor, and Stok… stocks accessories. If you go for the Zodiac Escutcheon and Zodiac Spear by giving ten trophies to each of the three Bangaa, you cannot obtain the greater reward for any of them when you hit thirty, meaning you’ll settle for Staff of the Magi, Ensanguined Shield and Sage’s Ring.
To help further cut the list down, the following items can all be obtained from containers in the Cerobi Steppe: Aegis Shield, Ame-no-Murakumo, Artemis Arrows, Artemis Bow, Black Mask, Dueling Mask, Eight-fluted Pole, Grand Armor, Grand Bolts, Grand Helm, Lordly Robes, Maximillian, Minerva Bustier, Orochi, Stoneblade, Ultima Blade and the White Mask. Furthermore, you’ll obtain an Aegis Shield, a Holy Lance and a Tula by continuing the main story. The Kiku-ichimonji, Platinum Armor and the Thief’s Cuffs can all largely be ignored - you’ve had plenty of opportunity to gain them by now, and all can now be purchased at other stores.
Furthermore, you can obtain the Bubble Belt, Indigo Pendant, Masamune, Nihopalaoa and the Zodiac Spear in Trial Mode. This leaves very few items that you can’t get an infinite number of in other ways, including the Genji Gloves and the Zodiac Escutcheon. As far as shields go, there are other passable alternatives, while the Genji Gloves are a worthy DPS-boosting accessory for the Bushi, Foebreaker and the Knight. That being the case, going for the 5/5/15 reward (Atak/Blok/Shok) makes a lot of sense, and since you’re only one away, you might as well throw Stok another trophy to get a Ribbon from him. Sure, you can get them other ways, but getting one this way means you’ll have three once you get the two guaranteed drops, which is sufficient to outfit an entire party. After that, the last four trophies don’t matter - give them to whom you wish.
No Comments