


| Bestiary |
|---|
| Mom Bomb, Necrophobe, Ose, Reaper, Shemhazai (Boss). |
| Items In This Area |
|---|
| Caliper (Steal from Reaper), Cloud Staff, Diamond Armlet (Drop from Mom Bomb), Gaia Gear, Gold Hairpin, Hermes Sandals (Steal from Necrophobe), Holy Rod, Morning Star (Drop from Ose), Ninja Gear, Thief’s Cap. |
Way Stone VII
The Great Crystal is one of the more complicated - and lucrative - areas in the game, but in both these regards you must temper your fears and expectations (respectively), as your first visit is rather straight-forward. You’ll appear in the oddly-named A Prama Vikaari area, and you should immediately note that there’s no proper map of this area - even your notoriously unreliable mini-map is gone! This makes navigation a nightmare, but with the power of relative directions, you’ll manage.
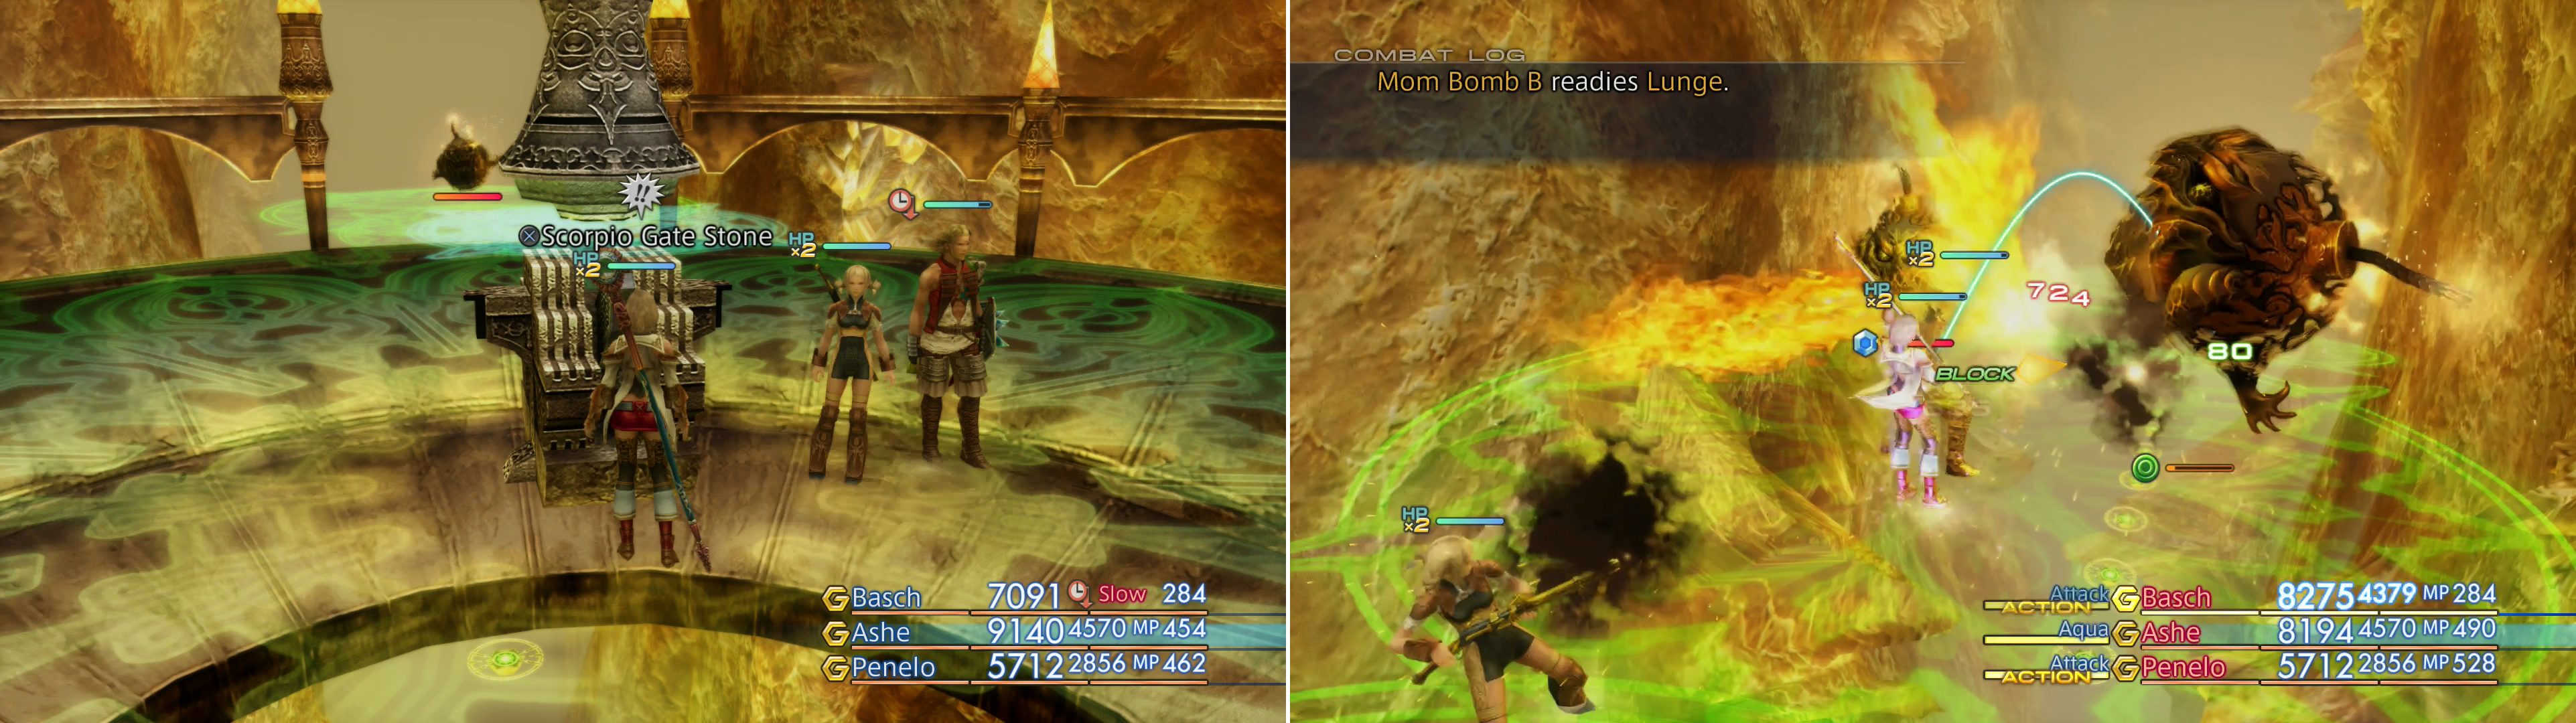
Throughout the Great Crystal you’ll find various Gate Stones, and like in Giruvegan, they drop linked barriers (left), you’ll also find new foes, like the Mom Bomb (right).
Search the platform you appear on for a gate, and approach it to identify it as Gate Scorpio. From this gate there are two paths you can follow, one to the right and another to the left - just walk off the ledge of the platform and let glyph walkways appear below you. The path to the right leads uphill (it can often be instructive to note whether the glyph-path takes you uphill or downhill, to ensure you’re going the right way) to the Sthaana Scorpio area, wherein you’ll find a Scorpio Gate Stone. It won’t heed your attempts to activate it now, but you can run across a pair of Mom Bombs as you leave, and when you return to the first area - A Prama Vikaari - you might encounter a Reaper.
Mom Bomb:
The weakest of the Mom Bomb varieties you may encounter, these beasts have only 5,000 HP and noticeably low Attack Power. They can, however, use magicks like Protect and Shell to defend themselves, and Firaga to deal damage. As for technicks, they have the typical Bomb fare of Chain Reaction, Lunge, Mass-Destruct and Chain Destruct. they can drop a Bomb Shell, a Fire Crystal, a Diamond Armlet or a Scorpio Gem, you can steal a Bomb Shell, a Soleil Fang or a Scorpio Gem and they can be Poached for a Bomb Shell or a Scorpio Gem. They are weak to Water.
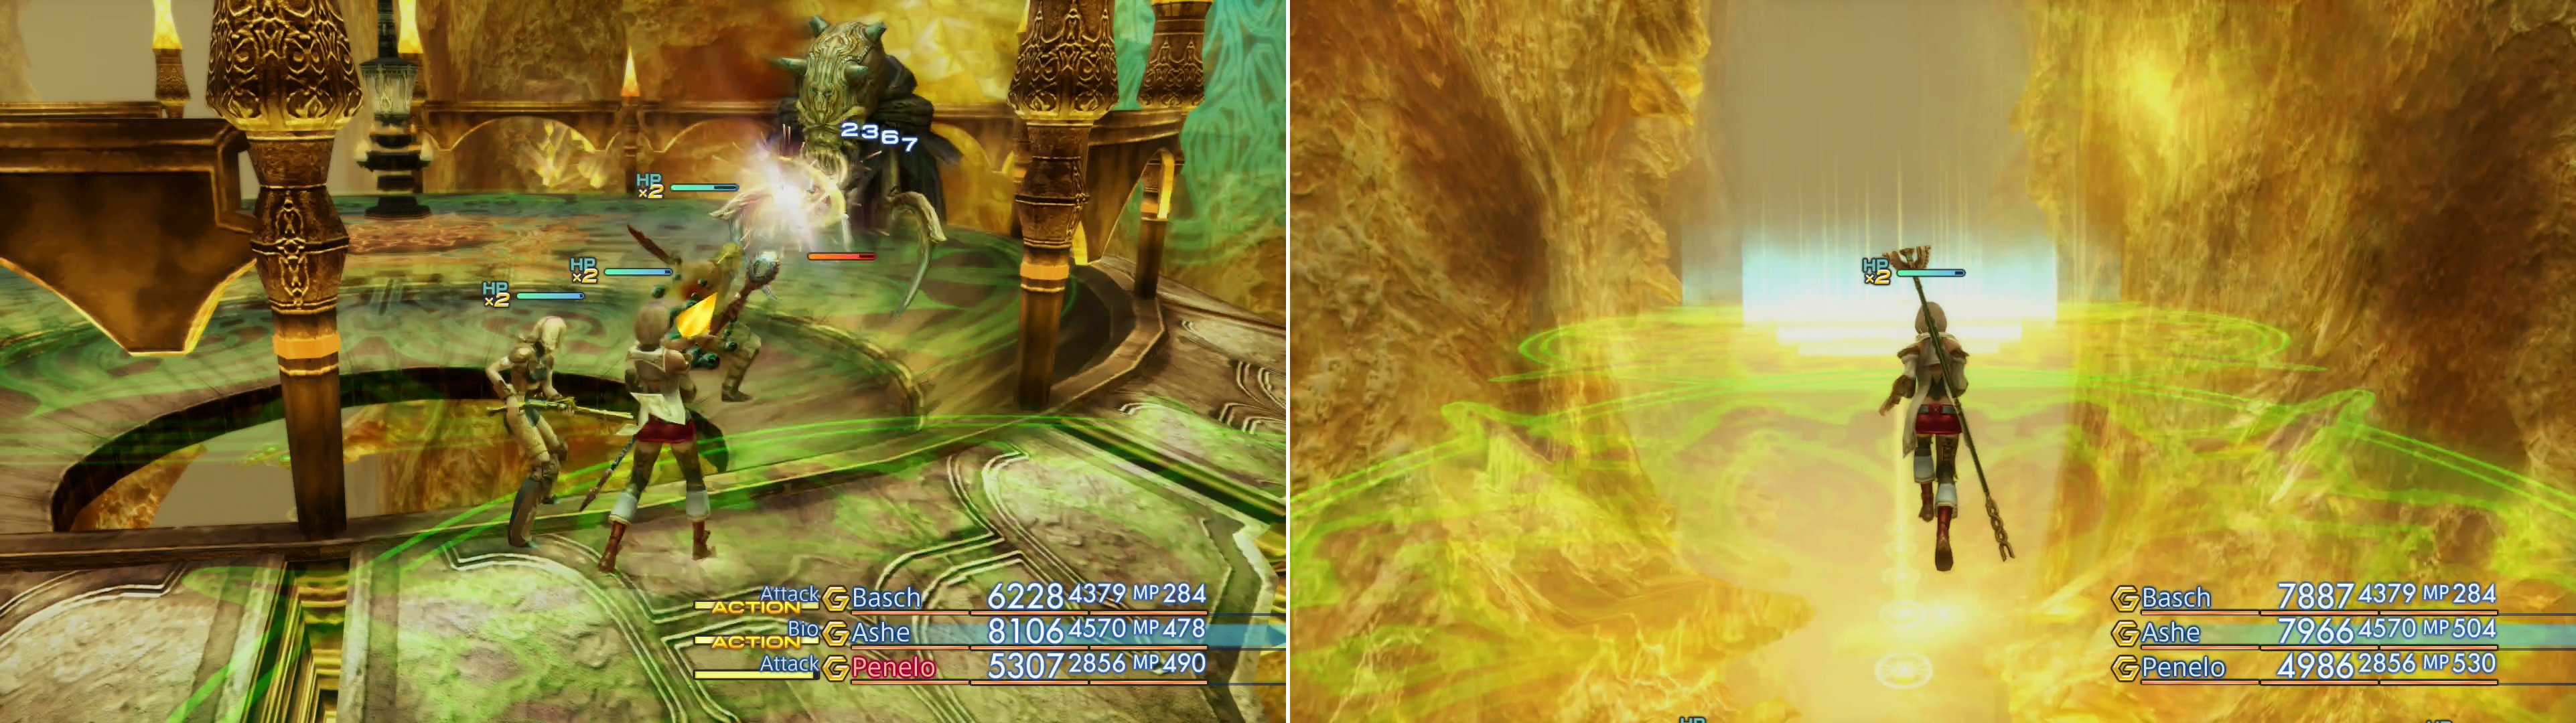
The Reaper is a rare, timid foe that usually is content to remain invisible (left). There’s no map in the Great Crystal, so you’ll have to navigate by area names and elevation (right).
Reaper :
These odd enemies can appear in just about every area with a Way Stone in the Great Crystal, but only do so if the number of enemies you’ve killed in the Great Crystal is divisible by three. Since there’s no counter, a good shorthand is to assume a 1/3 chance that such foes will appear in a Way Stone area after you’ve killed something. When they do appear, sometimes they’ll be invisible, leaving you alone as long as you don’t do something out-of-the-way like use Reflect to bounce magicks off yourself and onto them.
As for combat, they can be nasty foes, possessing Blizzara, Darkra, Death, Doom, Fira and Thundara magicks, as well as the Dimensional Rift technick (always inflicts KO, but kills the caster, too) and the always-annoying Annul. If that’s not obnoxious enough, they can inflict Slow with their melee attacks. They can drop a Dark Crystal, a Book of Orgain-Cent, a Serum or a Capricorn Gem, while you can steal a Dark Crystal, a Book of Orgain-Cent or a Caliper . Like all proper undead, they are healed by Dark, harmed by curatives, and take extra damage from Holy.
Kill the new foes, then head down the glyph-path left of the gate, which descends to an area transition leading to the Kaboii Jilaam Pratii’vaa area, which is guarded by two Ose. Kill the Coeurl-like beings, then loot the trapped treasure crystal in the center of this area’s platform to obtain a Cloud Staff (Staves 5).

Perhaps the most annoying critter in the Great Crystal is the Ose, as their Hell Blaster attack deals great damage and inflicts numerous status effects (left). The treasures throughout the Great Crystal make enduring their attacks worthwhile, however (right).
Ose :
These annoying Coeurl-kin have one incredibly potent attack which they love to spam - Hell Blaster, a superior version of Blaster (which they also possess), which inflicts Blind, Disable, Immobilize, Petrify, Poison, Sap, Silence, Sleep and Slow. By comparison, their magicks (Darkra, Haste, Sleep, Thundaga) and other technicks (Blaster, Hawk Glare, Mind Lash, Rake and Stone Gaze) seem down-right non-factors. You’re going to want a White Mage handy when you fight these, and perhaps some Remedies. What makes these foes more dangerous than the Vivian is simply a matter of them using their Hell Blaster attack so frequently. They can drop a Prime Pelt, a Dark Crystal, a Morning Star or a Libra Gem, you can steal a Chronos Tear, a Prime Pelt or a Libra Gem, while they can be Poached for Prime Pelts or Coeurl Whiskers.
Coeurl Whiskers can be sold to unlock a Bazaar Bundle, and considering that they’re Monograph drops (16% chance, Hunter Monograph) and you only need two of them, it shouldn’t be much trouble to get what you need just running through the Great Crystal.
There are now two exits out of this place, the way you came in, and a new path, which continues to lead downhill. Head down the latter and you’ll reach another, similar area, the Kabonii Jilaam Avaa, which also features two Ose enemies guarding a trapped treasure crystal. Put the beasts down, then loot the chest to score a Thief’s Cap .
Again you’ll have two exits, and again you’ll want to continue downhill to reach the Dha Vikaari Bhrum area, which is an otherwise empty platform save for the Way Stone VII in the center. Activate the device and you’ll be whisked away to a new area - A Vikaari Kabonii.
Way Stone V
In the A Vikaari Kabonii area you’ll have three routes to choose from, and to be efficient about your adventuring pick the central path first. The glyph-path will lead uphill to the Bhrum Pis Avaa area, which is guarded by more Ose - this time a trio of them. Kill them, loot the treasure crystal in the center of the area to get a Holy Rod , then follow a new glyph-path downhill to the Sthanana Cancer area.
As the name suggests, in the center of this area’s platform you’ll find a Cancer Gate Stone. Kill the two Mythril Golems guarding it, activate it, then head up another new path to return to the A Vikaari Kabonii area.
The center and left paths formed a two-area loop, and since they’re properly explored, head down the right path to reach the Bhrum Pis Pratii area. Continue down the glyph-path to reach a platform which was previously blocked by the Cancer Gate, but now has no such barrier to ward against your intrusions. Kill another three Ose on the platform, loot a crystal in the center to obtain a Gold Hairpin , then continue down a glyph-path opposite the one you entered by.
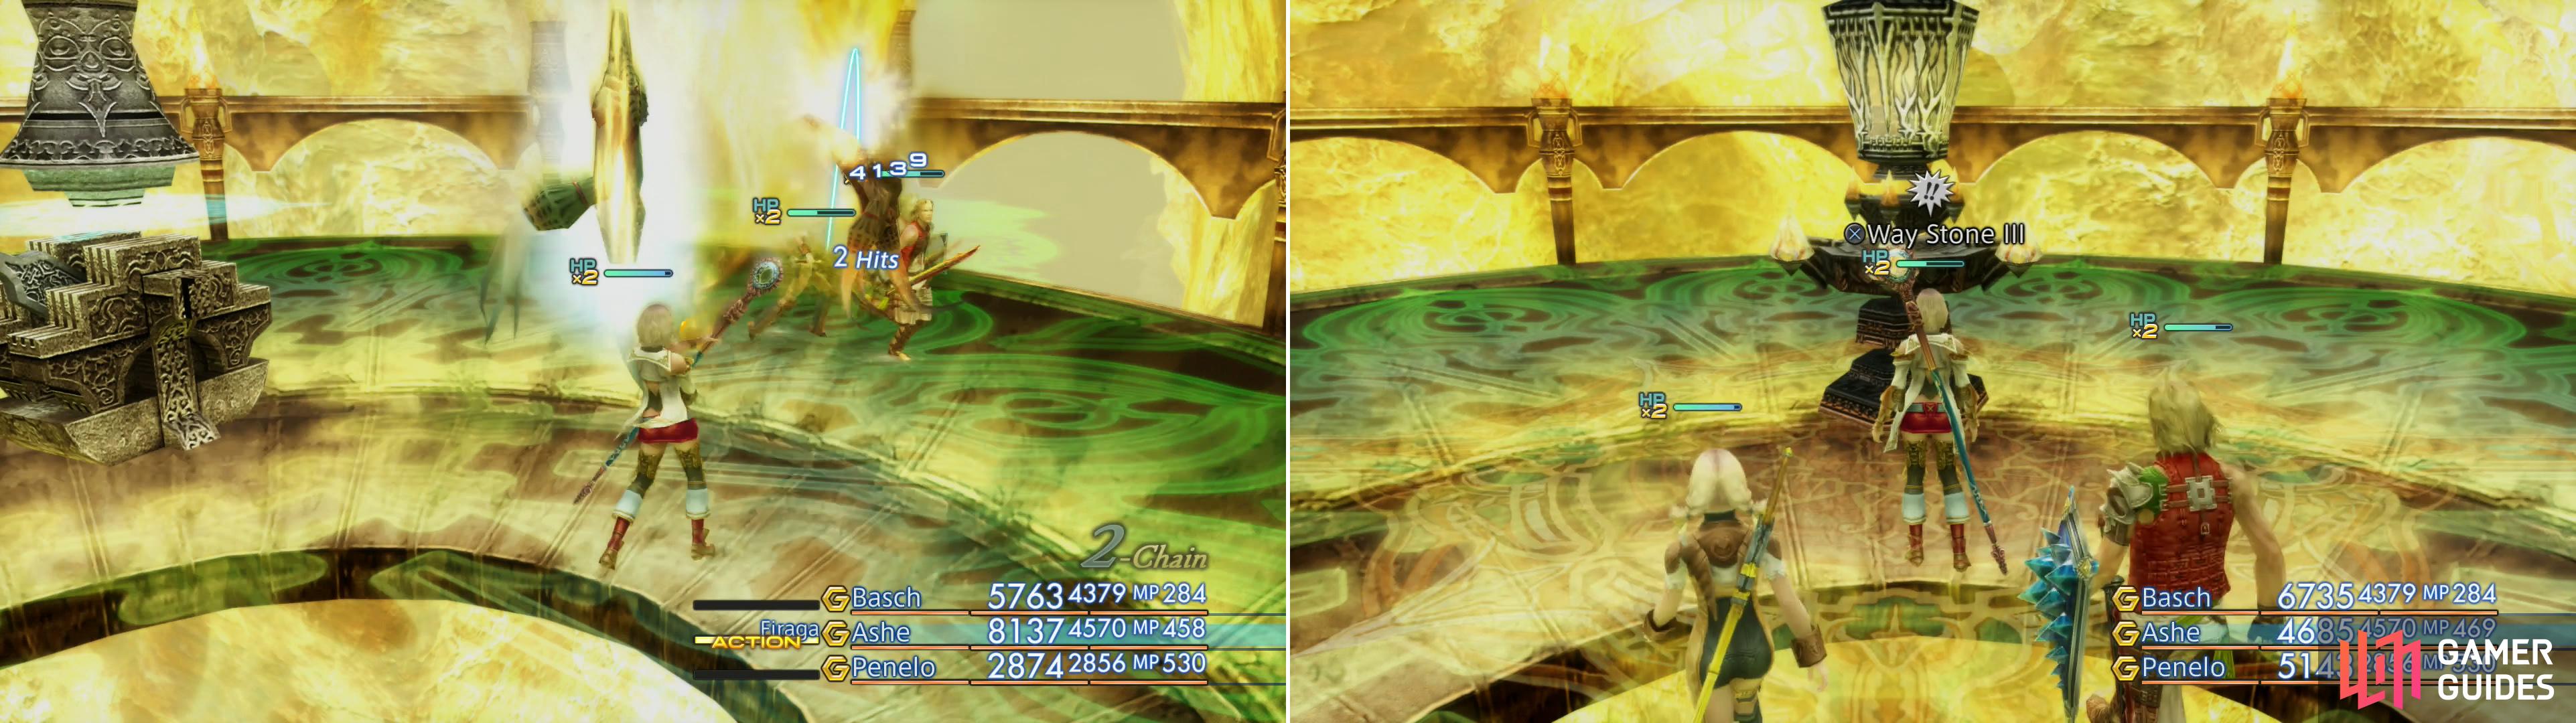
You’ll find the Necrophobe deeper in the Great Crystal (left), your goal is to find each area’s Way Stone and use it to advance (right).
Way Stone III
Follow the glyph-path to reach the Dha Vikaari Trahk area, which houses Way Stone V. Use it to teleport to the A Vikaari Bhrum area. All these names starting to sound similar yet? In this area you’ll find Gate Pisces, left of which are two paths you can follow. For the sake of argument, let’s call them left-left and center-left.
For maximal efficiency and lootage, start by taking the left-left path and ascend the glyph-path to the Trahk Jilaam Praa’dii area. Here you’ll encounter three Mom Bombs, after which you can loot a treasure crystal in the center of the platform for a set of Ninja Gear (Light Armor 9).
Kill, loot, then ascend a new glyph-path to reach the Sthaana Aries area. Given the Aries in the area name it should be no surprise that this area houses the Aries Gate Stone. Unfortunately, that’s not all you find here, as the wraith-like Necrophobe enemy also populates this area. Dispatch them, activate the Aries Gate Stone, then return through the Trahk Jilaam Praa’dii area to the Dha Vikaari Trahk area.
Necrophobe :
A Ghost-type enemy, you should know what to expect just by seeing one. They’ll turn incorporeal and teleport about a lot, cast some magicks (Darkra, Death and Doom) and use Divide when low on HP. They can drop a Dark Crystal, an amphora of Bacchus’s Wine, a Sky Jewel or a Capricorn Gem, you can steal a Sky Jewel, a Shock Mote or Hermes Sandals , and they can be poached for a Sky Jewel or Ambrosia.
Sky Jewels (8) are used in two recipes, but if you really only care about weapons and not motes, you’ll only need seven of them. They are most easily obtained by stealing. Ambrosia, on the other hand, just opens up a curative bundle at the Bazaar, but if you want it, you’ll need to get three Ambrosia. Fortunately it’s a Monograph drop (8% chance, Warmage Monograph) so it shouldn’t be too much bother.
When you’re finally back in A Vikaari Bhrum, take the center-left glyph-path and descend to the Trahk Pis Praa area, wherein you’ll find three Ose. Tame them with a suitable dose of death, loot a crystal in the center of the area to score some Gaia Gear , then descend another glyph-path to reach the Sthaana Pisces area.
As the name suggests, you’ll find the Pisces Gate Stone in this area, along with the Aries Gate… at least, the gate was here until you activated the Aries Gate Stone. Kill the two Mythril Golems and activate that Pisces Gate Stone. Not that you really need to take down the Pisces Gate, but… more on that in a bit.
Take the glyph-path to the right of the Pisces Gate Stone and ascend to the Dha Vikaari Jula area, where you’ll find Way Stone III. Another path nearby just lead back to the A Vikaari Bhrum area, behind the Pisces Gate. See? No need to mess with it. Instead, activate Way Stone III to move on to the next section of the Great Crystal.
Way Stone I
When you arrive you’ll witness a scene where Penelo wisely questions how Fran is holding up before being interrupted by Ashe, who can’t help but ponder the destructive properties of the Nethicite around her. Keep you eye on that one, she’s up to no good. There’s only one way to go from here, so descend the glyph-path to reach another floating platform, upon which you’ll find Waystone I and a Save Crystal. Save your game and bask in the Save Crystal’s restorative radiance, then take the Waystone to leave the Great Crystal.
You’ll appear back in Giruvegan, in the Gate of the Wind area, which is lit up rather hellishly. Continue south and pass through the Bulwark Minas Gate to reach a chamber all too well suited for a boss battle…
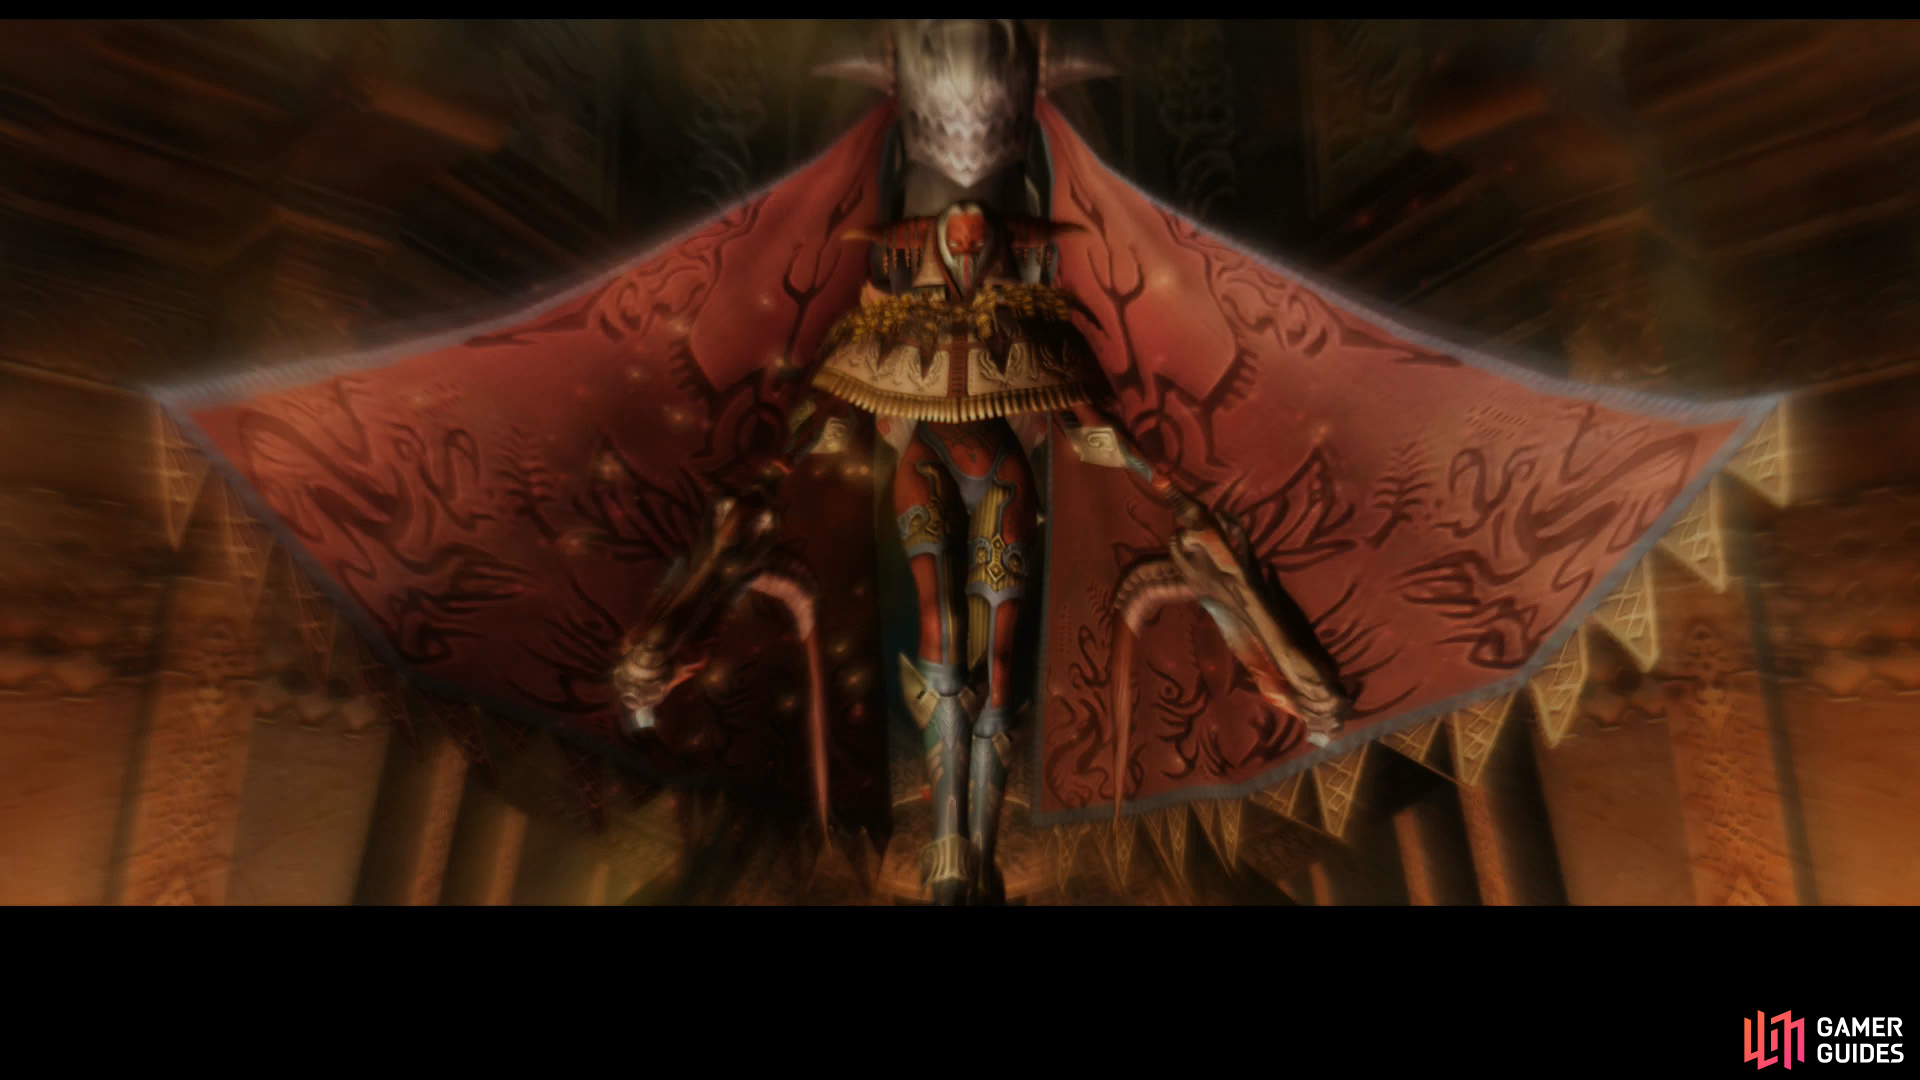
Boss - Shemhazai
Shemhazai is primarily a magick-weilding Esper, so you can dispense with Protect for this battle and instead focus on Shell, which is incredibly important for this battle. If you’re properly leveled and keep Shell and Bubble up on all your party members, you should do well in this fight. That said, Shemhazai’s elemental weaknesses are random, if you guess the correct element by chance she’ll randomly change her weakness to another element, and she’s fond of using Silencega, so you might as well bench your Black Mage and Red Battlemage in favor of a melee-focused party: Knight/Bushi, Shikari/Foebreaker and a White Mage are ideal.
Keep your White Mage at a distance to mitigate the damage Shemhazai will do with area-of-effect spells and to avoid getting your whole party hit with Silencega, and prepare the Gambit “Self: status = Silence –> Echo Herbs”… or just weak a Rose Corsage. Even with Shell on everybody, some of Shemhazai’s attacks (Flare, Scourge and Shock, in particular) can hit for devastating damage, so try to keep everybody above 2,000~ HP. Depending on what the max HP are for your weakest character, you should tool a Curaja Gambit to automate exactly that.
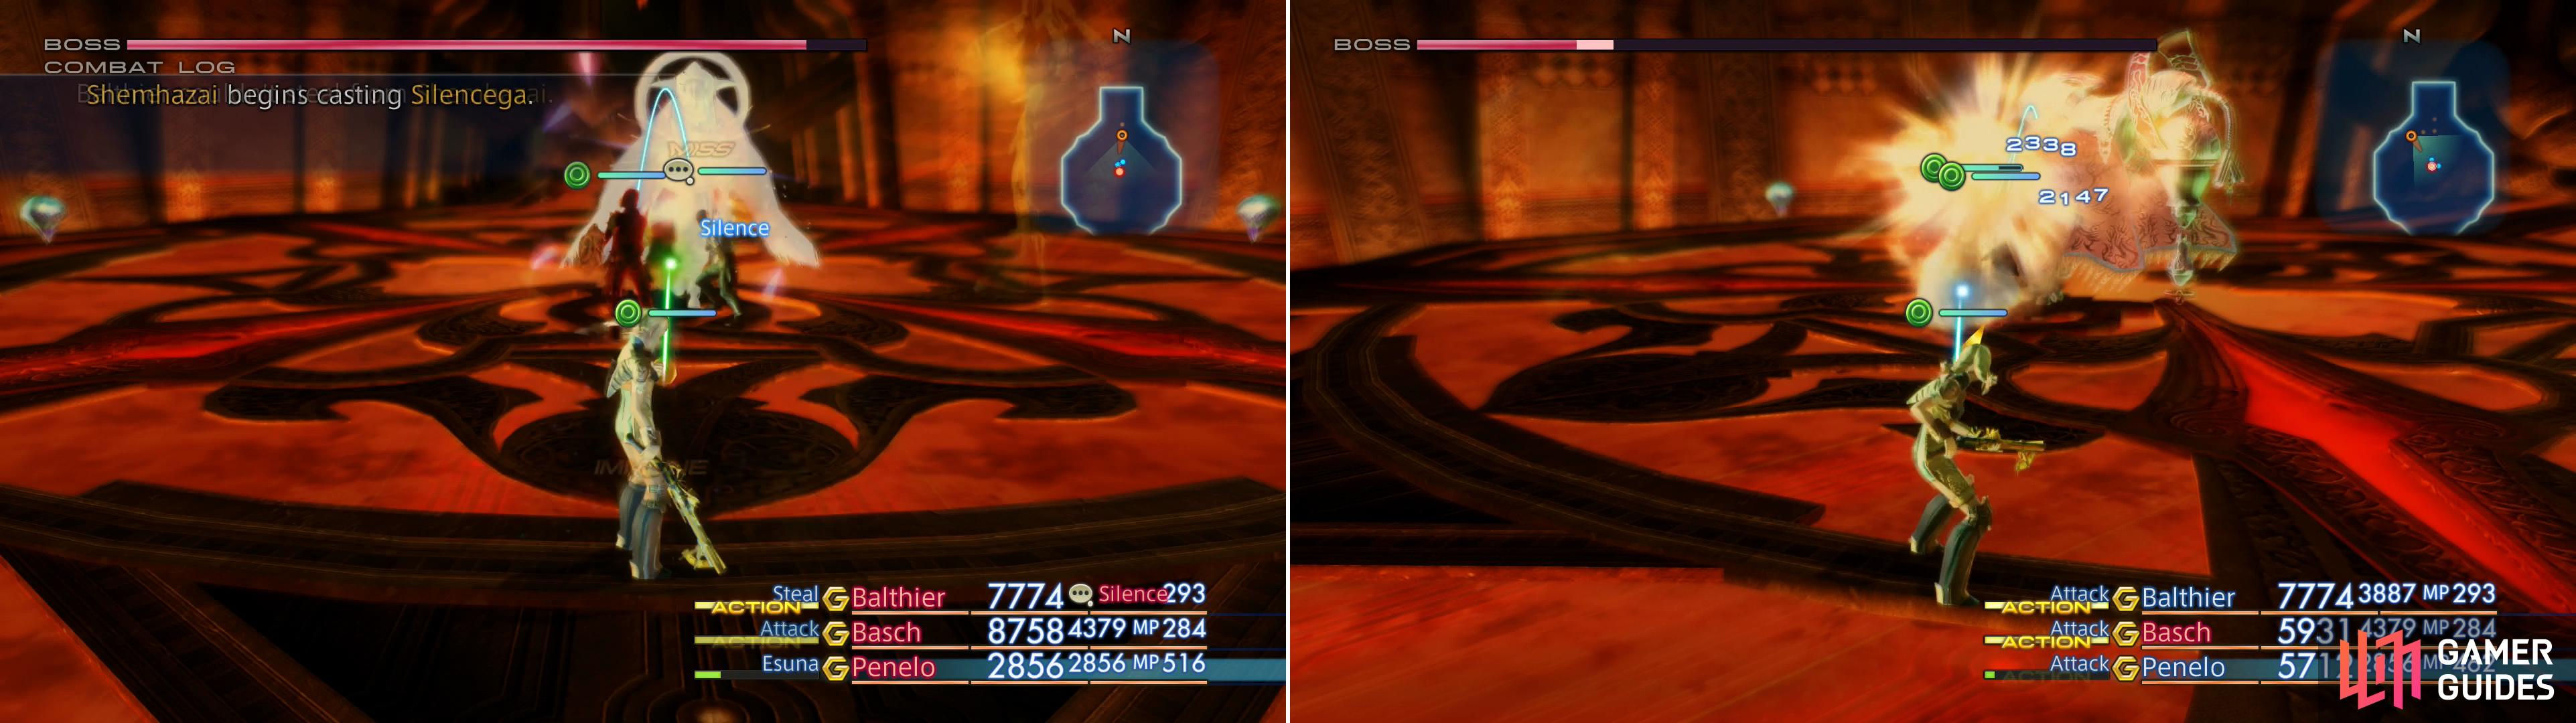
Shemhazai can frustrate your magicks with Silencega (left), but her Flare magick is a more immediate threat (right).
Shemhazai has over 90,000 HP, which is only half as much as, say, Tyrant, but like most bosses, expect Shemhazai to benefit from a variety of stat-boosting augments when her HP are low, including Chain Magick, allowing her to cast spells instantaneously. Don’t get cocky when you see her HP bar drop go below 25% - that’s just when she doubles down and the real fight begins.
Speaking of her spells, she can cast Flare, Scourge, Silencega, Shock and Syphon (drains target’s MP, restores own MP), while her technicks include Enrage, Mana Spring (reduces MP costs to 0) and Chain Magick. Also be wary of her normal attacks (a bolt of energy), as they deal around 500~ damage and inflict Disease, a status which must be removed immediately in this fight. Have Serums or Remedies ready to go. Last and not least… try to nab a Sagittarius Gem off of her during the fight, as it’s a common steal from Shemhazai, and you’re going to want several of these. Might as well take an easy one while you have the chance.
Assigning Shemhazai
Defeat Shemhazai and she’ll fall into your possession, allowing you to assign her as you will. She’s a pretty easy Esper to allocate, as she adds nothing to the Foebreaker, Time Battlemage and Uhlan license boards, so you can safely rule those out. As for the other jobs, if you claim the Shemhazai license you’ll also get access to the following licenses:
| Job | Licenses |
|---|---|
| Archer | Heavy Armor 10 Heavy Armor 11 Heavy Armor 12 |
| Black Mage | Heavy Armor 7 |
| Bushi | Shield Block |
| Knight | Potion Lore 2 |
| Machinist | Hand-bombs 3 |
| Monk | Potion Lore 3 |
| Red Battlemage | White Magick 7 |
| Shikari | Guns 5 Guns 6 |
| White Mage | +230 HP |
The Shikari’s Guns 5 and Guns 6 licenses aren’t terrible, but they arguably have better weapons to use, and since the Foebreaker gets nothing from Shemhazai, it’s safe to write off the Shikari/Foebreaker. If you have a Knight/Bushi, the Knights gets Shield Block, making the Bushi’s Shemhazai version redundant, and Potion Lore 2 is nothing special, especially if you gave your Knight Mateus, in which case they’ll have access to Curaga. White Mage gains access to the much-needed +230 HP, but nearly every other board (save Black Mage and Time Battlemage) gets it, so they probably don’t need it. Machinist gain Hand-bombs 3, another weapon license of dubious value. Black Mage will get Heavy Armor 7, so unless you’re desperate for Mirror Mail they don’t need it either, and neither does the Monk, who gets Potion Lore 3.
This leaves the Archer, who gets Heavy Armor (ranks 10, 11 and 12) and Red Battlemage, who gets White Magick 7 (Cleanse and Esuna). If you’ve got a Red Battlemage/Archer, this is a no-brainer, as Esuna will allow them to better substitute for the White Mage, and Heavy Armor will allow them to diversify their equipment with some top-tier armor. Getting the Heavy Armor 10 license on the Archer board will also allow you to pick up Heavy Armor 8 and Heavy Armor 9 on the Red Battlemage board. Nobody benefits as much as the Red Battlemage/Archer.
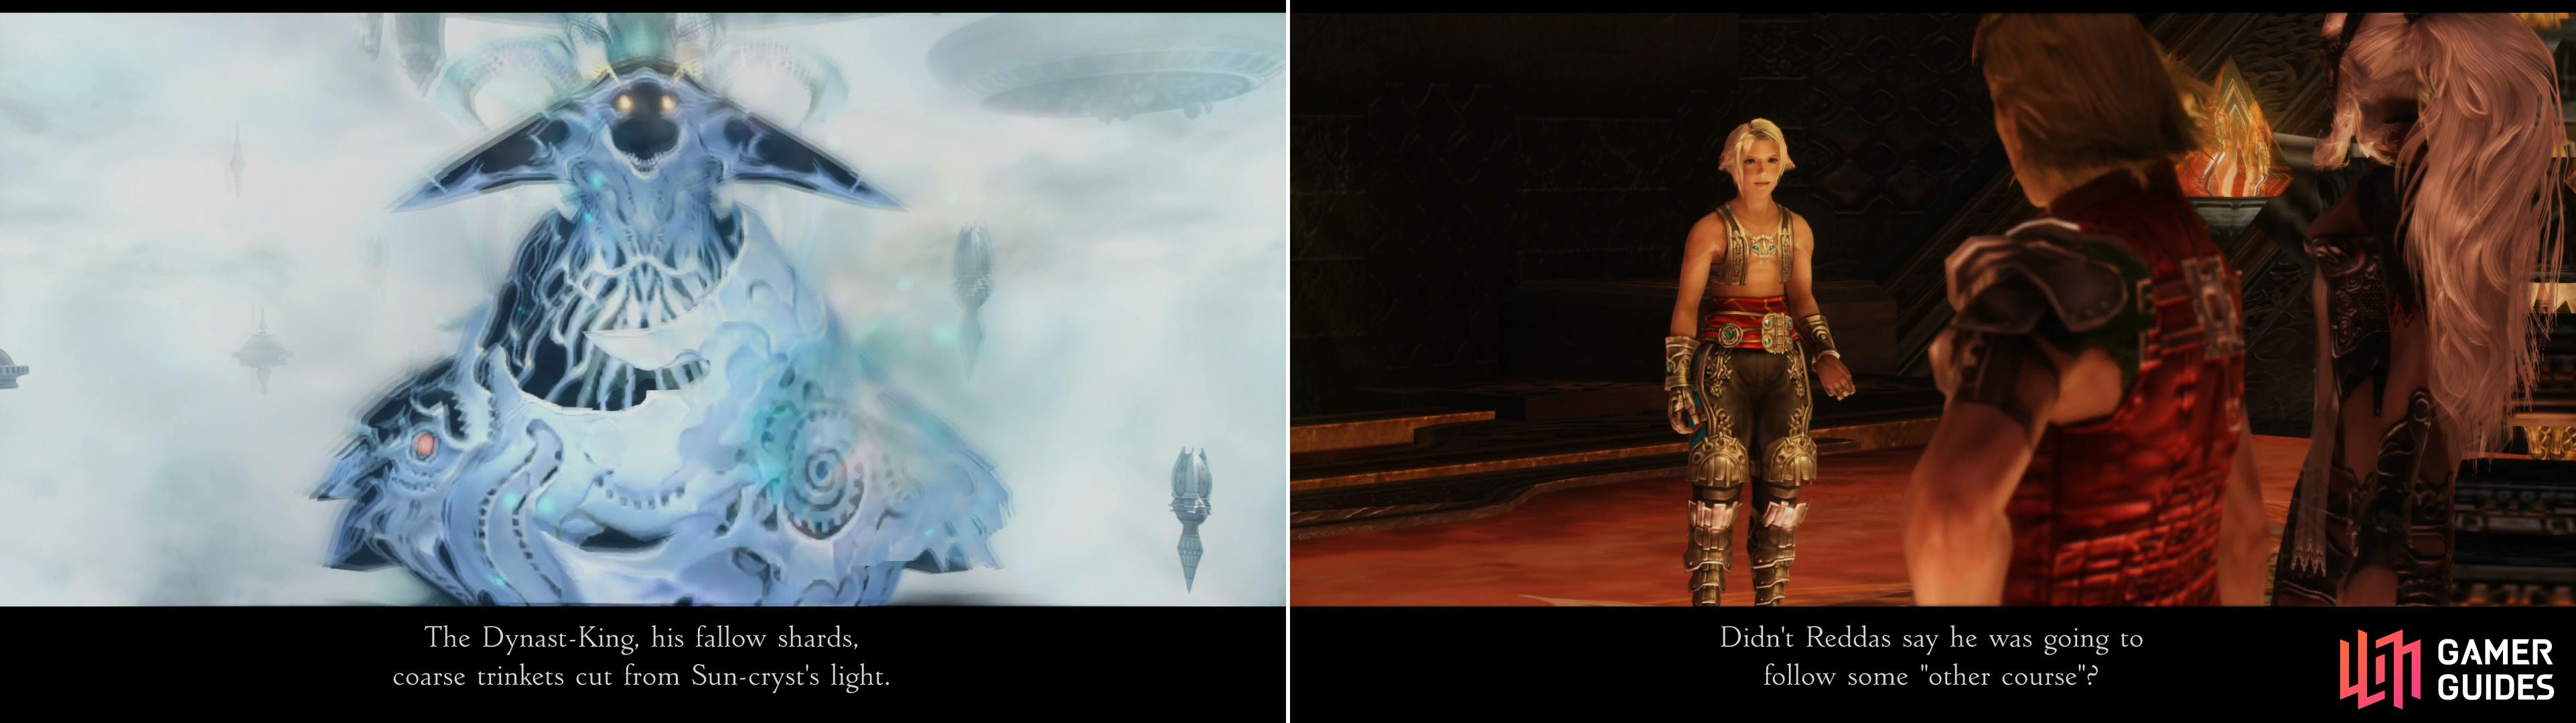
The Occuria will give Ashe a new task, however vague (left). To gain more clarity, it’s suggested you return to Reddas, who may know more (right).
When you’re done enslaving your new Esper, search the battle field for some treasure. There’s a treasure crystal to the west that contains a Reverse Mote, and another to the east which yields a Hastega Mote. After those are yours, continue south to the Bulward Aeon gate, beyond which you’ll find a chamber where the Empyrean Way Stone awaits you in a recess. Approach the Way Stone, read the inscription, then touch it to teleport away, after which you’ll witness a scene.
No Comments