At the beginning of this mission, you will be asked to split your party into two groups and will need to go one of two ways. Let’s talk about this mission a little bit, as it functions a bit differently than previous ones. Throughout the mission, you will encounter something called Cid’s Crucibles, which are similar to the Special Orders you’ve hopefully been doing prior to this.
The only problem is that you are required to do the Crucibles to advance the story and should you fail, your party leader will die, so you’ll have to bring in someone else. When choosing your teams, make sure you put a ranged character in one of the groups, as you’ll need him/her for the first set of trials you will face (you will go right with this group).
Hall of Transgression (Left)
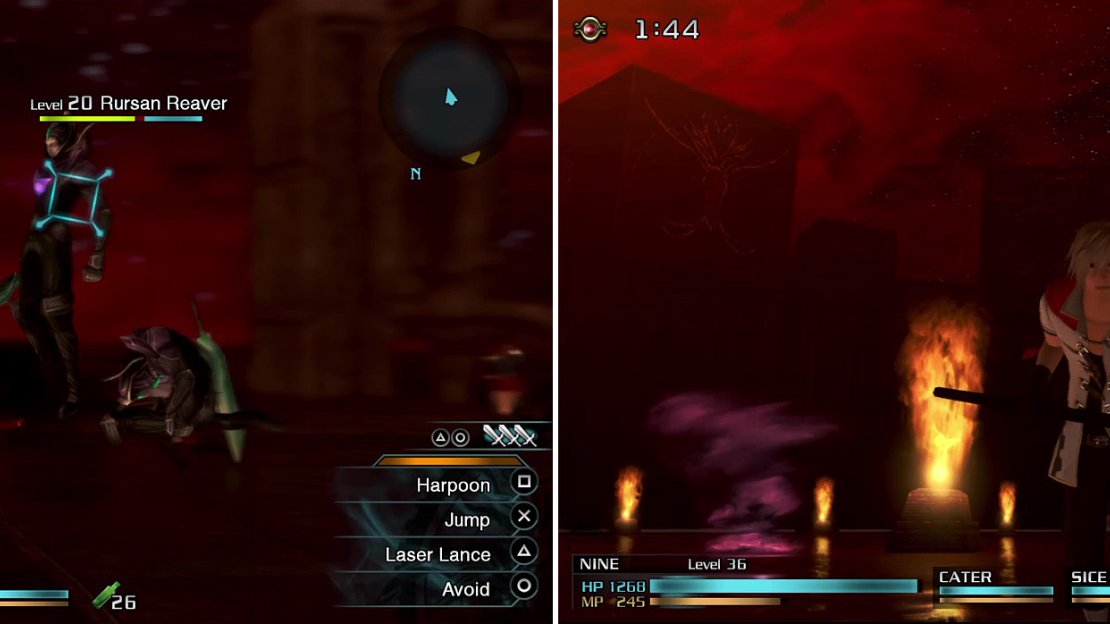
Your first Crucible has you defeating all enemies within 10 minutes, which shouldn’t be too difficult as there’s only one. However, the enemy you’re facing is a Rursan Reaver, something you might recognize from the beginning of the chapter. This enemy moves slowly and will become “invisible,” meaning your attacks won’t hit it.
The Reaver only has one attack, which is an overhead attack with a sword that doesn’t seem to do much damage, but it does have a special property. If you get hit with the attack, then you will be afflicted with Killsight, meaning that a single hit will kill your character. Bring the Reaver’s health down to almost nothing and you’ll have to score a Killsight on it, then harvest its Phantoma to finally get rid of it. Once you do this, head to the exit to switch to your second group.
The Reavers can inflict Killsight on you if they hit you so avoid them at all costs!
Hall of Transgression (Right)
Go through the right gateway and the second Crucible will start, which has you surviving against three Reavers that will continually spawn for a total of 2 minutes and 13 seconds. One trick you can use to lessen the chance of having to fight more Reavers here is to down all three and then just hold the lock-on button as if you’re harvesting, but don’t actually harvest the Phantoma. Either way, you can go to the exit after surviving for the entire timer, where you’ll switch to the first group.
Cloister of Revelation (Left)
The second Crucible for the left group will require you to make it through two rooms without getting hit even once; note that this only applies to your party leader. Both rooms will have things called Cubes on the sides that fire pellets of energy at you whenever you get into their line of sight. In the second room (and every second should you get hit), you will also have some Hundleg-type enemies rolling around. The best thing to do is ignore everything and dodge your way through the two rooms to the doorway beyond.
Once you get through the Crucible, go through the next hallway and into another big room, which has nothing in it. Approach the big door on the side in this big room to switch to the other team.
Cloister of Revelation (Right)
This is why a ranged character is extremely useful, as without one, you would need to use magic. For this Crucible, you will be fighting against a single Reaver, with some of those Cube-type enemies shooting projectiles at you. Also in the room are candles, which are the key to clearing this room.
You need to target the candles and hit them with your attacks until their health is gone, after which they will be lit. Light all five candles in the room and then you will be able to defeat the Reaver. Absorb its Phantoma to finally clear the room, allowing you to move on.
Note that there will be an Iron Giant in the large room where the side door is located. If you haven’t fought one before, then be aware that they like to buff themselves a lot , even when low on health, making the fight prolonged. The only way to bring it down is to wait for the Killsight opportunity.
Light all five candles in the room by attacking them, then you will be able to defeat the Reaver and continue on with the mission.
Chamber of All
As soon as you step foot into this area with your second team, you will see a cutscene and then be presented with a choice of either becoming a l’Cie or remaining mortal. Choosing the former will set you on the bad ending route, where you will face off against plenty of Rursan Reavers, with it not ending pretty and resulting in a game over.
Picking the option to remain mortal will allow you to complete the story. After a few more cutscenes, you will be in a rest area, where you can save your game. Note that you will have both teams back together for the next part, so pick and choose who you want to bring with you.
Cloister of Premonition
You will be in a small area with a doorway straight ahead of you. When you see the Crucible, which is to harvest a total of seven Phantoma while making your way to the exit, the doorways will have a portal that you can step through to get to another similar area. You will be fighting Reavers and Tonberries in this area, neither of which are too threatening. Just be careful of the Tonberry when it throws something, which acts like a grenade.
It might be slightly easy to get lost in this maze-like area, but there aren’t too many branching paths, so keep going through them until you come to a circular room with what looks like an elevator in the middle. If you happen upon this room without having harvested seven Phantoma, you won’t be able to continue, so return and keep finding enemies to fight to get the required seven Phantoma. Once you have them, there will a beam of light in the middle of the room, so step into it to continue.
Cloister of Manifestation (Left)
Heed the warning above and have characters equipped with magic for this Crucible, as you cannot use physical attacks to hit the enemies at all. As with previous trials, you have to fight two Reavers, but you will also be fighting against Dark Eyes (flying eyeballs) and the Wingvern dragons.
You should have more than enough experience fighting the Reavers and Dark Eyes, with the former either being stunned as you attack it, revealing Breaksight opportunities, or just randomly getting them as they walk around. The Wingverns have a Breaksight opportunity after using its energy ball breath attack. Once you’ve defeated all of the enemies, head to the exit to switch to the other party.
Cloister of Exhibition (Right)
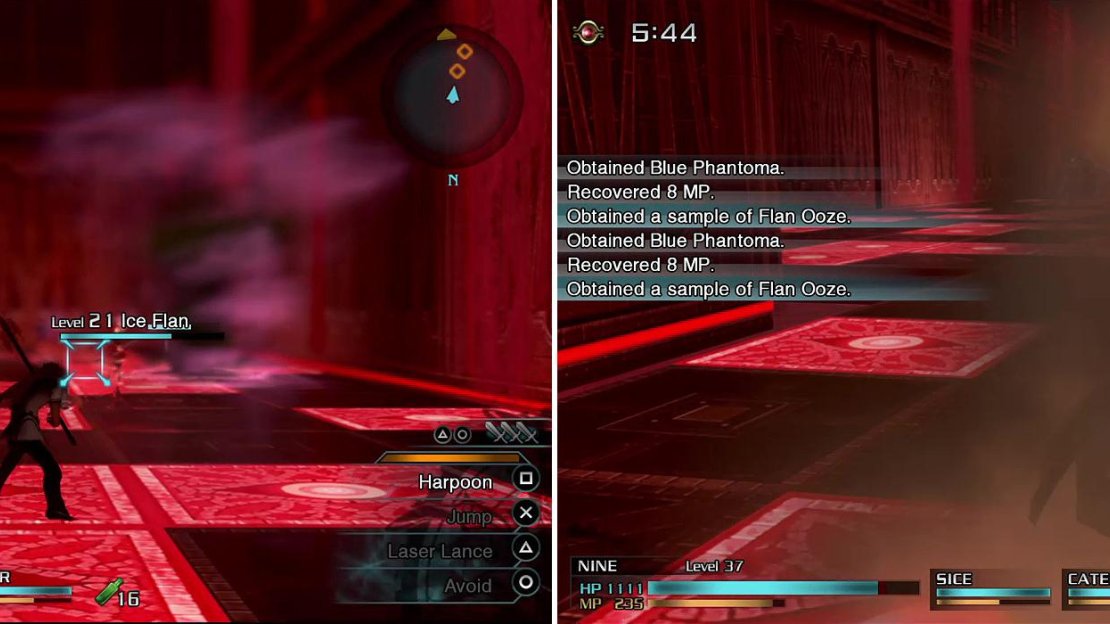
This Crucible may seem simple enough at first glance, but there’s a curveball thrown in that makes it slightly annoying. All you have to do is eliminate all of the enemies in the room, with you facing off against Reavers and some flans, both small and large. The catch is that perodically, the floor will light up at random spots with red squares and if you step on them, then you will take damage.
The red squares will always do a set amount of damage, no matter what, which should be around 200 or so. This can be problematic, as the flans have high physical resistance, so you need to bait them into attacking you to reveal their Breaksights, meaning you’ll have to get in close. As already mentioned, what makes it worse is that the locations of the red squares are completely random each time they appear. You will find yourself moving around a lot in this room because of this. Defeat all of the enemies and make your way to the door to switch back to the other party.
If you stand on the red squares (left) long enough they will do around 200 damage to you (right).
Amphitheater (Left)
You will be in a round room, with moving platforms and a bunch of enemies. Your goal here is to defeat all of the enemies in the room without using magic, and it definitely helps to have a ranged character, although it isn’t needed. You will be facing off against more Reavers, as well as some Bombs.
The biggest problem with this room is that the central section is broken up into smaller platforms, which rotate around and then stop at certain points (there are barriers erected that won’t let you pass so you have to wait for them to stop), allowing you to cross. One thing you want to watch out for is the Bombs’ self-destruct, since the area you fight them in is small. The Crucible timer doesn’t stop once you kill all of the enemies, so make it to the exit on the opposite side to finish.
As with the last set of rooms, go through the hallway and approach the big doorway on the side of the next room to switch back to your second team.
Amphitheater (Right)
This is probably the most confusing puzzle in this mission, as the Crucible doesn’t exactly pinpoint the solution and it isn’t as straightforward as previous rooms. The room is round and will spin, with you facing off against more Reavers, with a few more and some Cubes showing up afterwards. Around the room are four Pillars of Monad, which don’t do anything special, but are a key to the room’s puzzle.
Follow the red smoke and watch where it comes out from this doorway (right).
As you’re fighting the enemies (they don’t have anything to do with the puzzle, so just defeat them), you will undoubtedly notice a sun-like symbol appear on the outside ring of the room. First and foremost, you have to destroy all four pillars, but don’t do this right away, as you need correct timing. Besides the symbol, you have to keep track of the flames that will move around the room at certain points.
So, to solve the puzzle, you need to destroy the last pillar at the exact moment that the flames line up at the same spot as the symbol. If you do it correctly, then the room will stop in front of the only door and you can continue. If not, then it will still stop, but the door will open and let loose a Diceratops (in the same family as the Demonicorn).
You’ll be in control of the second party as you reach the next save point, so do that and go through the next portal.
Cloister of Instruction
You’re on an elevator, but the good thing is that you don’t have to worry about a Crucible here. The only thing you have to do is defeat the enemy in front of you, which is a Rursan Reaver. When you do, however, it will transform into a stronger version of the same enemy. While it acts similar to the previous version, the one difference is that its attack will sweep the ground in front of it, so make sure you dodge away from it to avoid getting hit.
Portal of Destruction
When you step into this area, you will find four gates with symbols on them, which correspond with one of the four nations. These lead to new areas, where you will be required to do something specific (more Crucibles), then you will be finished. Once you finish all four areas, you will be able to head off towards the final moments of the game. You can tackle the four areas in any order you wish.
Chapel of Destruction (Suzaku; Red)
When you first warp to this area, you’ll see two students and then, two Rursan Reavers (the evolved ones) will appear. Your goal, despite the cryptic Crucible description, is to make sure the students aren’t killed by the Reavers, which shouldn’t be hard to do because of how slow and easy the Reavers are to defeat.
In the next room, you’ll find some bodies on the ground and they will come to life to start attacking you. These are Dominion Legionaries and have melee attacks, as well as some magic like fire. Those aren’t the problem, as soon after, a  Golem pops in to say hello. This Golem is the same as previous iterations in missions, down to even the same attacks. Defeat all of the enemies to reappear back in the main room with four gateways.
Chapel of Destruction (Genbu; Purple)
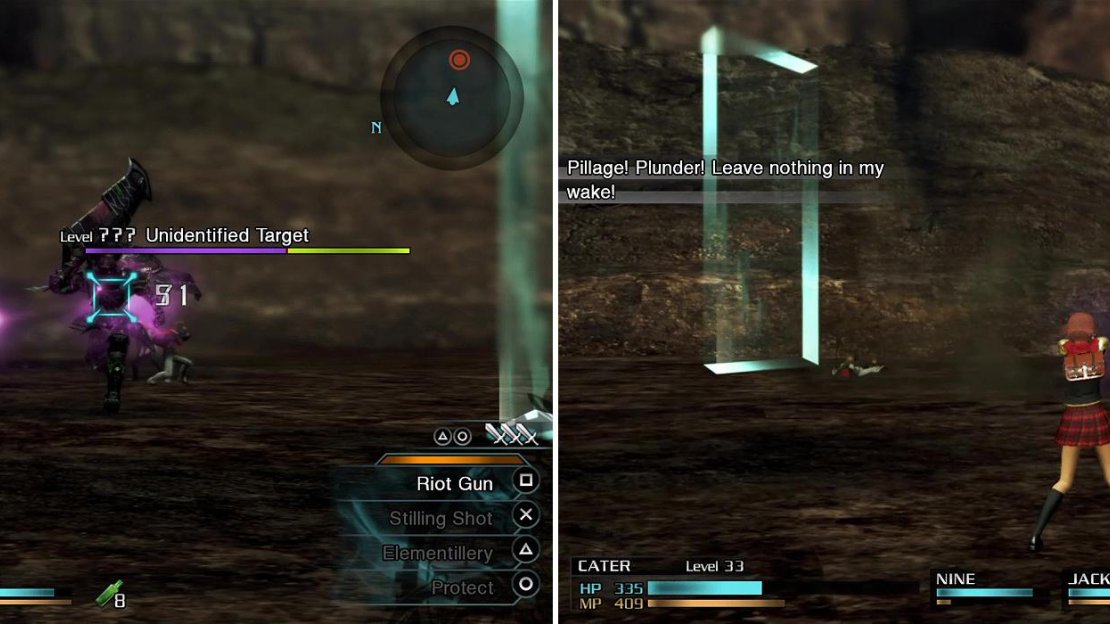
There’s no Crucible for this and it’s nothing but a fight against Gilgamesh. The fight is the same as the one during The Clash on Big Bridge, except there is artillery fire into the arena, which can hurt you. The catch is that you have to defeat Gilgamesh this time, so if you didn’t attempt to fight him before, you are forced to now.
Gilgamesh doesn’t take much damage from normal attacks, as his defense is very high, so you’re going to need to exploit the Breaksights. These occur when he charges you to try and grab/punch, as well as when he does his sword combo. Once you’ve hit one, STOP ATTACKING and wait until he kneels, which is when more Breaksights will appear. You can just use Cater for this fight by shooting him constantly, dodging any attacks that come your way and making the most of the Breaksights because of her homing bullets.
The fight with the Unidentified Target is just Gilgamesh, who is the same as last time, except for the artillery fire. Cater is very useful for this fight with her homing bullets.
Chapel of Destruction (Seiryu; Blue)
Unlike the Byakko area, this section has a Crucible, which is to eliminate all of the enemies without dying. Luckily, there aren’t many enemies here, with the only ones being the upgraded Reavers; there’s a total of four of them. The only problem is that you’re poisoned while doing this segment, so your health will continually decrease.
The good thing is that you don’t have to fight all of the Reavers at once, so take care of them as they appear to limit damage. Before you go through the exit, there’s a chest with a Pearl Phantoma in a dead end. Go through the door now and you’ll have to fight a total of six Dracobaltians (the poison has been removed). Defeat them all to return to the hub.
Chapel of Destruction (Byakko; White)
The Crucible for this area will have you fighting some invisible enemies, with there being a total of three upgraded Rursan Reavers. Luckily, you can still lock on to them and their health bar will appear above their heads whenever you damage them, so they’re not entirely invisible. Defeat all three to be able to move on to the next room.
Here, you will face off against two Unidentified MAs, which are just the same ones that Qator used in his battles. They are still just as fast as when you fought them previously, but they have a lot less health and because of the -10 level difference, their defenses shouldn’t be too hot either. Unfortunately, they are just like the MA from the fight with Qator in Chapter 7, meaning you don’t get the privilege of waiting for the MAs to overheat.
Spiral of Rebirth
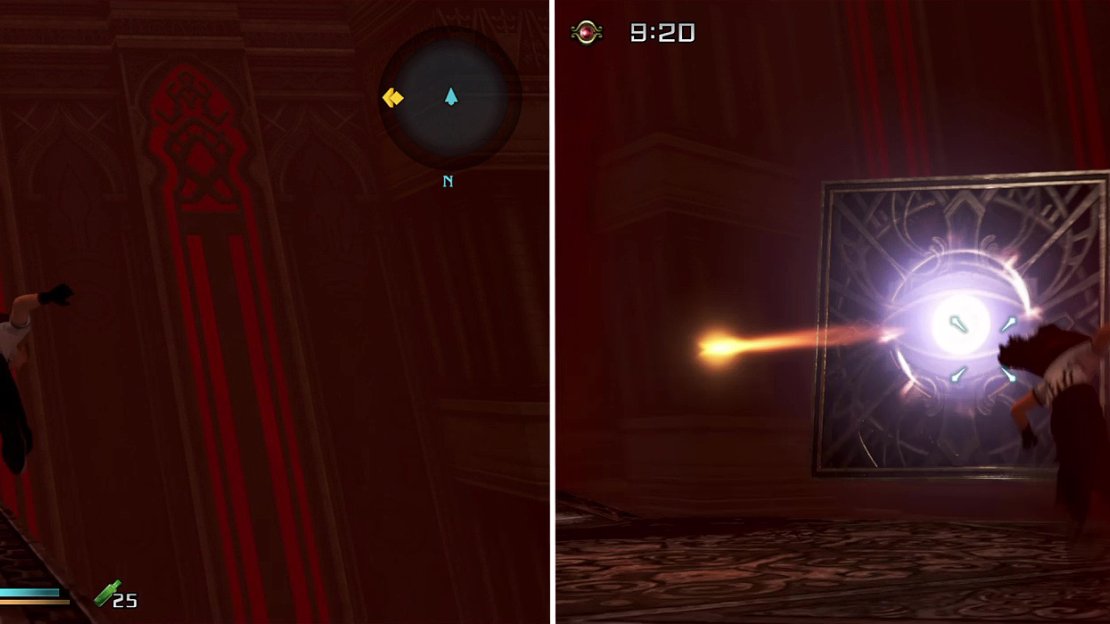
This is the very last Crucible and involves you having to climb to the top of the area without falling in. What the description fails to tell you is that some red liquid will rise from the bottom, hence the falling in part. The only enemies you will encounter are the Cubes, which are set before the stairs leading upwards on each level.
While it might be better to eliminate each one, it’s a lot easier to just dodge past them. You can keep rolling round the edges of the path to completely avoid the fire from the Cubes all the way to the top. Upon reaching the top, you will be finished…except your party dies. Despite this happening, just roll with it and the game will continue.
Stick to the left side as you roll up the stairs to avoid the majority of the fire from the Cubes.
Sanctuary of Descension
You’re on the final stretch of the story now and after a cutscene, you’ll regain control of your characters. The only problem is that they are severely injured and can only move very slowly. Approach the large crystal for another cutscene, then go near the items on the ground for one more. Now you can pick up both of the items to get l’Cie Rem’s Crystal and l’Cie Machina’s Crystal . Head through the nearby doorway, then down one more path to the very large gateway to find the last boss.
Boss - The Rursan Arbiter
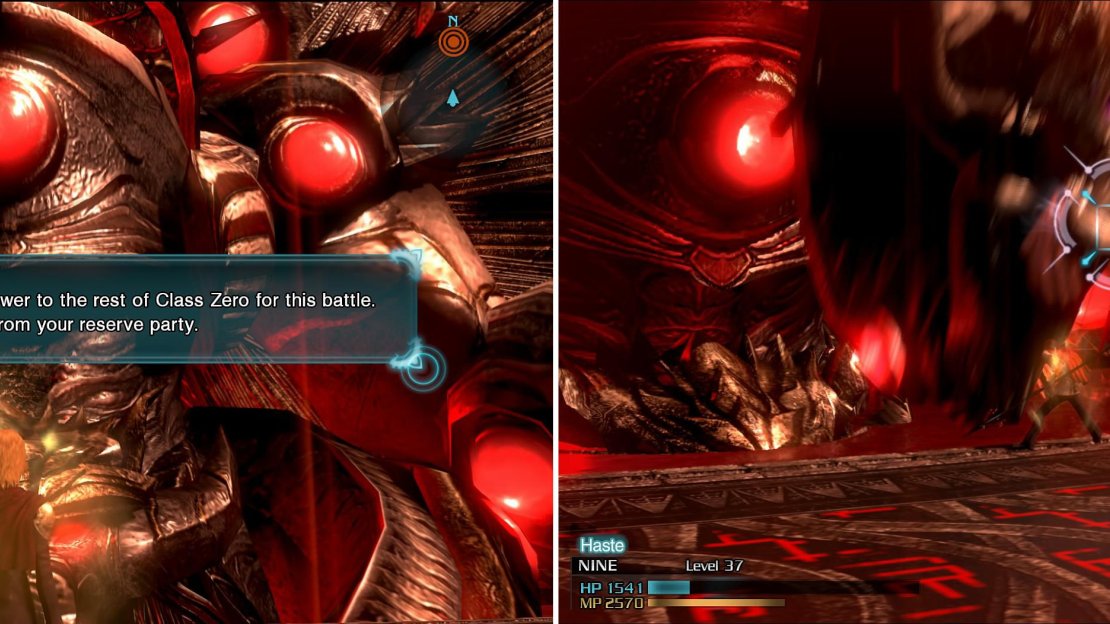
Upon first witnessing the colossal size of this boss, you will find that you can’t do anything. In fact, you’re not supposed to win and will need to just wait until the boss brings down all of your characters. After that happens, a cutscene will occur and your characters will be refreshed, with Haste and Invincibility.
You will get help from Machina and Rem (left) now. Get a Breaksight then harvest a Phantoma (right) from the boss. Repeat this for all characters to finish the story.
With a second chance, you will be controlling one character at a time while fighting the Rursan Arbiter. While you cannot die, you still need to wait for Breaksight opportunities to complete the battle. The Arbiter has three main attacks it will use from the beginning, one of which is a straight overheard attack with its weapon. Dodge to either side and you’ll see a Breaksight appear.
Another attack is when it brings its arm in a big sweeping motion to try and grab you; it’s easiest to dodge by staying on the outer edge and will not have a Breaksight appear after it either. The last attack is when it starts summoning bolts of lightning; the Breaksight chance is right before it begins the attack.
After harvesting the Phantoma, the character will fall and you will have to switch to another. Keep doing this over and over until you get to your last character (the boss will get weaker and forego most of the above attacks for easier Breaksights), where you keep hitting Breaksights until a Killsight appears, after which you can harvest the final Phantoma to complete the battle and the game.

No Comments