
S-Rank Requirements
| Time | Phantoma | Casualties |
|---|---|---|
| 08:00 | 40 | 0 |
1 - Vermilion Bird Gate
The game starts off with a series of cutscenes, with you eventually gaining control of Ace. For the first part of this mission, you are equipped with a Life Armlet, which grants you the Reraise status. Basically, if you should happen to fall in battle, then you will be automatically revived and back to full health.
You have the option to view the tutorial during the mission, which you should do if you are playing for the first time. Once you’ve become accustomed to the controls, go forward and the gates will open. Note that your party for this mission is set for you, with Ace, Nine and Queen being your members. Ace uses cards (ranged), Nine a lance and Queen uses a longsword.
Your first set of enemies are some Imperial Soldiers, who use a gun for their attacks. You can lock onto them and dodge while moving. After downing an enemy, you can lock onto them like above, but pressing another button this time will harvest Phantoma. These Phantoma will be used later in the game to upgrade magic, but you will also want to harvest them to increase your mission’s rank at the end.
Keep fighting your way to the next gate, where you’ll encounter your first enemy leader. These are marked with a orange-ish colored arrow above them and are stronger versions of the regular enemies. Defeating them before the other enemies in the area will cause those regular enemies to flee, but you can catch up to them and force them to surrender, getting an item.
Also in front of the gate is a recovery portal, which will replenish your HP, MP and AG when you step on them. Before leaving, climb the stairs to the right of the door leading out of the Vermilion Bird Gate to find a Potion on the ground.
2 - The Terraced Square
Go through the gateway, defeat the next set of enemies, then you’ll be forced into a battle with an unknown enemy. You can’t do anything against this entity, so just focus on dodging the fireballs it sends your way, as they definitely hurt a lot.
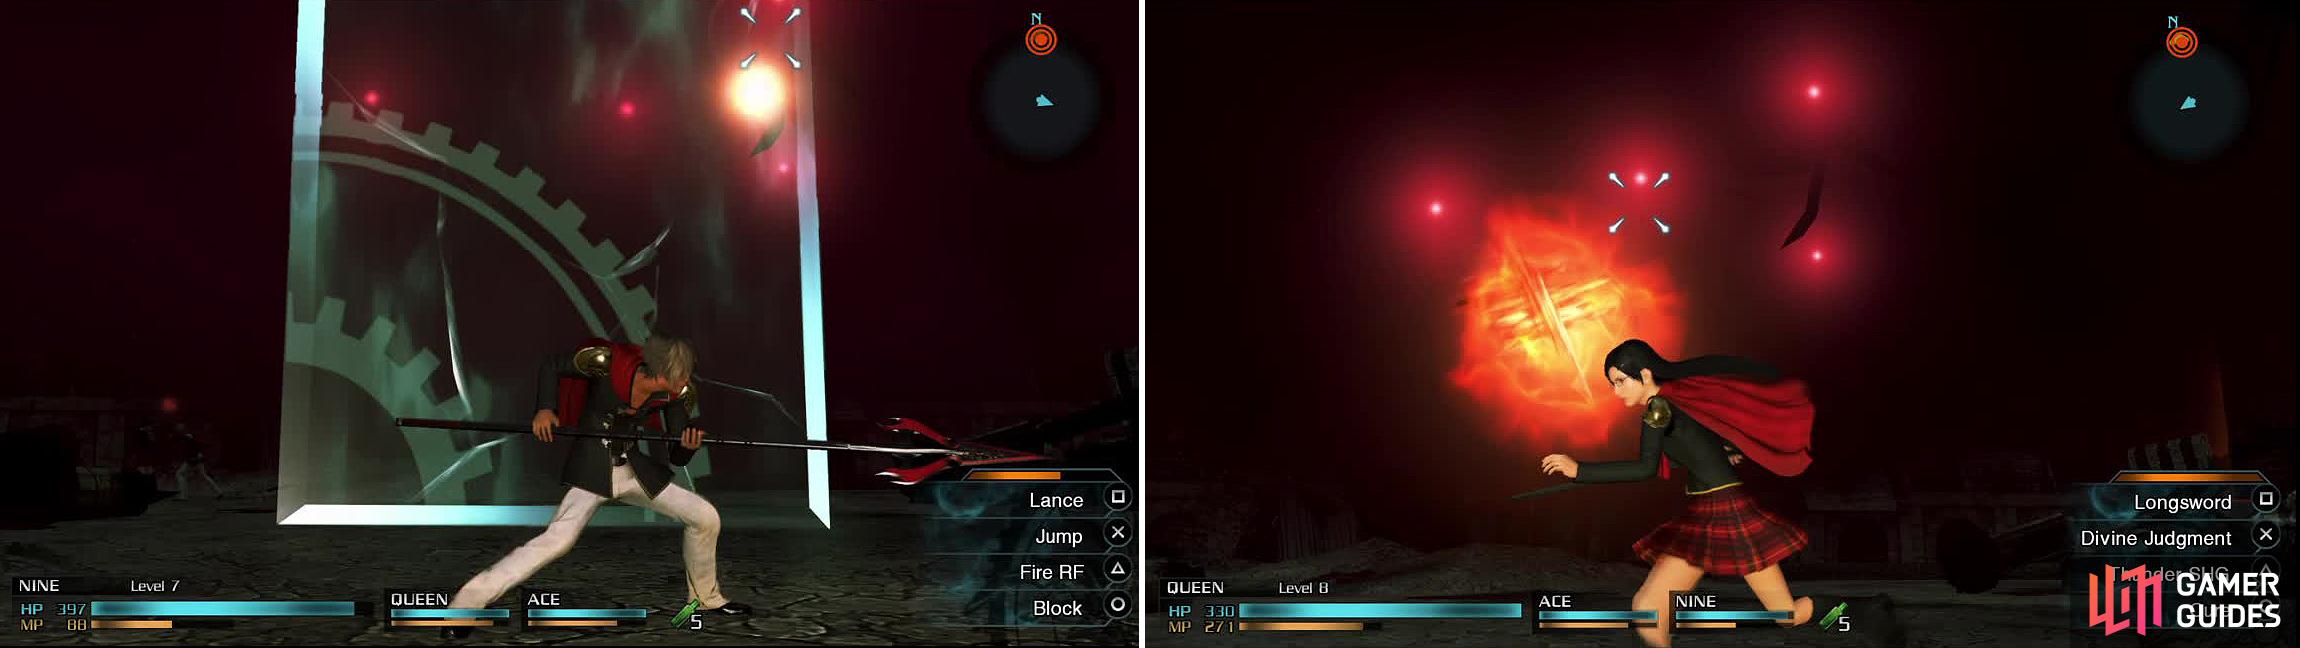
You can’t hurt this mysterious enemy, so just keep dodging the fireballs it shoots until it disappears. You can hide behind Ace’s Wall as well if you need to.
Eventually, the thing will disappear and you can take the stairs on the right side. You should see a shiny object on the ground before the next set of stairs, which is a Knowing Tag . Activate the switch in front of the door, allowing you to progress to the Tasuki Bridge area.
3 - Tasuki Bridge
As you arrive, you will see another item on the ground just in front of the first barrier. Examine it for a Hi-Potion (50%) or X-Potion (50%) . Defeat the new group of enemies that appear, including the ones on either side which will need Ace to finish them off efficiently, then a cutscene will occur.
4 - Rubrum Square
Once it is over, you will see a relic terminal ahead, which is a save point. You can also use these to switch out characters in your party, as well as upgrade your characters (and magic later). You can find another Knowing Tag on the ground nearby too.
5 - Airship Landing
Head to the Airship Landing area next, where there will be more soldiers. Use Ace’s Wall next to the boxes to avoid the gunfire and make it easier to take them out. Once they’re dead, go to the area above (watch out for more soldiers as you approach) and hit the switch, which will raise the section near the beginning so you can reach more enemies. The enemy CO this time will be in a Magitek Armor known as a Nymurod, where it can shoot missiles as well as a machine gun.
Luckily, you can stand behind the boxes nearby, where it will continue to try and shoot you with the machine gun, which can’t reach you. Make sure to lock-on so you can make use of its vulnerabilities for extra damage and then dodge behind the boxes after you make a few attacks. If you get up close, it won’t fire its weapons but instead will just try and stomp you which you can easily dodge. Nine’s Jump attack does massive damage when locked on and can also be used just as it tries to stomp you. Get onto the elevator after finishing off the mech, where some Imperial Troopers will jump on board.
6 - Imperial Flagship
After that will be another area with more troops and as you approach the far end of the room, more Troopers will appear, including another leader. While fighting these, be careful of the RPG Gunner on the balcony, as you don’t want to be blasted while you’re busy with the other enemies. You can get a Fortified Ration from a soldier left after the leader is down. The door will open, where you will see a crystal, so get close enough and press X to place the Magicite.
On your escape from this area, you’ll encounter more Imperial Troopers, including Major Xulian in a bipedal machine. He will charge you if it gets too close, so remember to dodge out of the way. Finish him off and exit the area.
7 - Airship Landing (Destroyed)
Before heading back to Rubrum Square, take a right from where you landed and head up the rubble in the north. You will find either an Elixir (50%) or an Ether (50%) .
8 - Rubrum Square Again
Pick up the Potion next to some rubble in front of the Terminal. Save, upgrade your party if you wish and head to the next objective, where yet more scenes will occur.
9 - Fountain Courtyard
Note that your Life Bracelets have shattered, so if you happen to get knocked out, then that character will remain out of combat until you finish the mission. Two Nymurods will appear; they can shoot missiles and use a machine gun. If you switch characters to someone like Nine or Queen, then you can get up close and easily defeat them without suffering any damage. Collect the Knowing Tag from the fallen soldier in the south of the area then head up the little stairs to the north for a Fortified Ration (50%) , an item which restores 50% HP and gives the user the Aura buff (double damage), or a Hi-Potion (50%) . Head to the Arena for some more cutscenes and a boss awaits.
BOSS - Dainsleif
You’ll get to play as an Eidolon (Odin) for the first section of this boss battle. If you have the tutorials on, then you’ll get a quick glimpse of what each one of Odin’s attacks do. Moonring Blade, right from where you begin, should quickly take out the normal troops, while doing reasonable damage to the Dainsleif.

While Odin’s Moonring Blade will do a lot of damage, charge up Zantetsuken fully (you can see the percentage in blue above his head) to instantly kill the Dainsleif.
Don’t forget to dodge with the Prance command (or just run around) and charge Zantetsuken by holding down the button. Make sure it is fully charged before trying to use it on the Dainsleif or it will miss. Perform this attack to do big damage and finish off the Dainsleif for good. However, it’s not completely out of commission and you’ll have to fight it with Ace, Seven and Jack this time. Seven uses a Whipblade, making her a mid-range attack, while Jack uses a Katana.
The only real attack the Dainsleif, which can’t move, has is a delayed attack where it shoots a beam of light that comes down from above. It will launch four volleys in quick succession with a lull afterwards, giving you time to counter. It is easy to dodge this, as you’ll see a green light beam before it actually hits. Once you bring its health down to nothing, it will heal about half a bar, so you’ll have to do it again, ending the fight and the mission.


No Comments