S-Rank Requirements
| Time | Phantoma | Casualties |
|---|---|---|
| 25:00 | 108 | 0 |
Notable Special Orders
| Objective | Time Limit | Effect | Reward |
|---|---|---|---|
| Avoid enemy fire (Area 1) | 1:00 | Protect 0:30 | Elixir |
| Allow no casualties (Area 3) | 2:00 | Aura 0:30 | Fire MIS-II |
| Score 4 Killsights on Imperial Troopers (Area 4) | 1:00 | Protect 0:30 | Elixir |
| Defeat 3 Warriors using your leader (Area 5) | 1:30 | Protect 0:30 | Black Widow |
| Defeat 2 Colossi with leader (Area 6) | 2:00 | Invincible 1:00 | Thunder MIS-II |
| Score 5 Killsights on enemies (Area 7) | 2:00 | Protect 0:30 | Topaz Shield |
| Defeat the commander with your party leader (Area 8) | 1:00 | Aura 0:30 | Elixir |
| Defeat 1 Helldiver with your leader (Area 9) | 1:00 | Freecast 0:45 | Blaze Armlet |
| Objective | Time Limit | Effect | Reward |
|---|---|---|---|
| Score 3 Killsights on Shock Troopers (Area 10) | 1:00 | Protect 0:30 | Elixir |
| Defeat 1 Helldiver with Bahamut Backup attack (Area 11) | 1:00 | Protect 0:15 | Fulgur Tertius, Vol. II |
| Defeat enemy commander with leader (Area 12) | 1:30 | Aura 0:30 | Knight’s Lance |
| Defeat 3 Colossi with leader (Area 13) | 2:00 | Aura 1:00 | Phoenix Pinion |
| Score 2 Killsights on Shock Troopers (Area 14) | 1:00 | Protect 0:30 | Elixir |
| Score 2 Killsights on enemies (Area 15) | 1:00 | Invincible 1:00 | Elixir |
| Acquire Keycard (Area 16) | 1:00 | Invincible 1:00 | Megalixir |
| Acquire Knowing Tag from fallen soldier (Area 17) | 1:00 | Invincible 1:00 | Glacies Tertia, Vol. II |
1 - Last Line
The first area for this mission doesn’t have any enemies, but there is artillery fire coming in that seems to hit certain spots, hence the SO that pops up. There will be two items you can find on the ground, the first of which can either be a Hi-Potion or Mega-Potion , and the second either being a Hi-Potion or Ether . Whether you wait to do the SO or not, move to the next area.
2 - Second Line
There is an item on the right side of the area with the tent ( Hi-Potion or Ether ), but there isn’t much else here besides an enemy leader showing up in a Helldiver MA. If you aren’t familiar with these mechs, they can shoot two missiles at you, which are easy to dodge, as well as machine gun fire, so keep moving. It also has a melee attack, should it get a little too close.
3 - First Line
At first glance, it may look like there’s nothing here, but there will be some Colossi waiting for you at the far end of the map. As you defeat each one, more will show up to replace them until you end up clearing all of them, including the reserves.
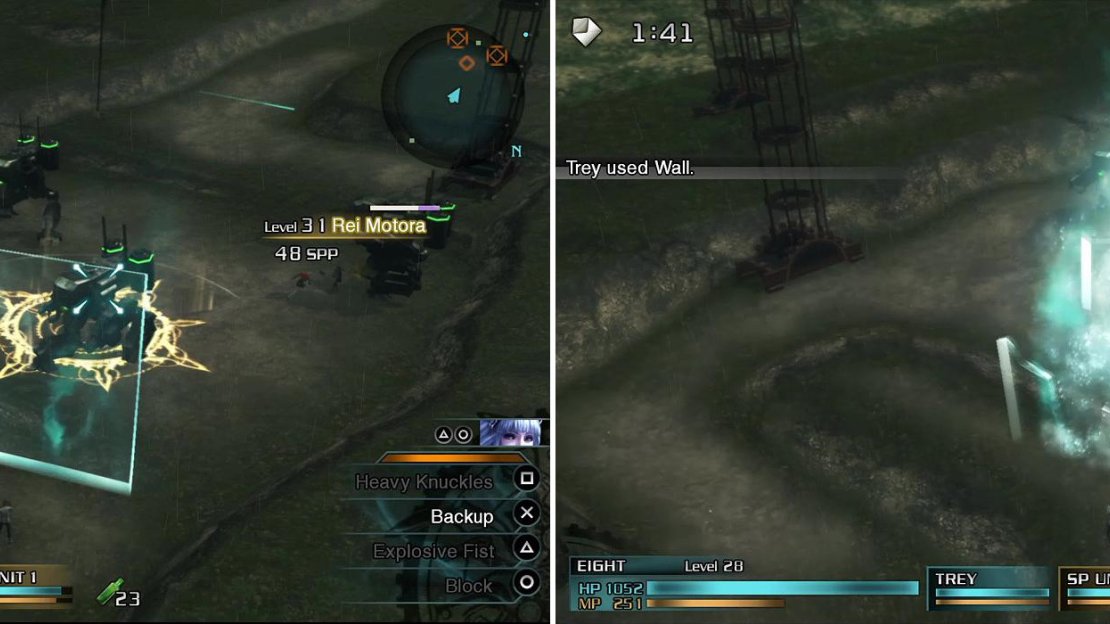
However, you will notice that a timer appears, which is actually a helpful one. Unless you defeat all of the Colossi in a minute and thirty seconds, then you will have access to backup from the Bahamut Squad, as you will see with one of your commands being replaced with “Backup.” Hold this button down and when you see the glow happen, release the button to have a beam of energy come crashing down on the target reticule on the ground, dealing good damage. You can find a Mega-Potion (75%) or Hi-Potion (25%) in the center of the circular area near the Recovery Portal.
Hold the button down and move the target reticule over the enemy you wish to destroy. A Beam will rain down and do heavy damage.
4 - Former Encampment
As soon as you enter, you will notice some Imperial Troopers behind a small barrier on the hill in front of you, as well as an enemy leader at the far end in a Warrior unit. This leader will continually shoot missiles at you while you take out the Troopers. Note that if you’re going for the SO here, there are only around 5 Troopers, so you can afford to fail on one of them before you’re out of luck. A character who has quick attacks is ideal for it, or you can use magic as well. Look for the two Knowing Tags here as you pass through as well.
5 - East Bank
More soldiers will populate this area, as well as a Nymurod, which is at the top end of the area, so melee characters will not be able to hit it unless they go to that place. The only problem is that when you head to the upper area, more Imperial Troopers will come out of hiding.
However, the place is not clear upon defeating all Troopers and the Nymurod, as the bridge will lower and some Warriors will show up, one of which will be an enemy leader. Before killing them, though, cycle through SOs until you see one appear that requires you to defeat three Warriors. To do this, you have to defeat the normal one first to make another appear, then you will be able to go after the leader once those two are gone. Before you leave, pick up the First Aid Kit (50%)/Strength Serum (50%) in the southwest.
6 - Big Bridge
Upon entering the Big Bridge area, you will see that sections of it will raise up, blocking your progress. Be careful of the RPG Gunners in the towers on the sides, as well as some that spawn on the bridge itself. Upon defeating the first set of enemies, the bridge will lower and you can continue, only to be blocked again.
In addition to some more RPG Gunners, a Colossus will also show up, which can be difficult to deal with due to the confined space. Beyond that, a Trooper leader will appear, along with two more Colossi. This is where you have the Special Order above, so if you want the magic, defeat the Colossi before the leader. Look for the First Aid Kit in the top right corner and then, near the exit, collect the Combat Ration (50%)/Strength Serum (50%) .
7 - East Bank 2
You only have one character here, although you can always call in more should he/she die, plus if you activated Support Personnel, then you’ll get extra party members. At first, you only have two Colossi to deal with, although another will join the party when one of the first two is defeated. After the second is gone, some soldiers and Coeurls will show up, and this is when the Special Order above will present itself.
Now, the Troopers and Coeurls will keep coming from the one exit, so keep downing them until Moglin decides to chime in and say that your target is making a stand on Big Bridge. This will cause an enemy commander to appear in a flying MA, which has a flamethrower and missiles (similar to the ones you fought on the train when escaping the Imperial capital). Defeat this commander and the game will switch to your other party.
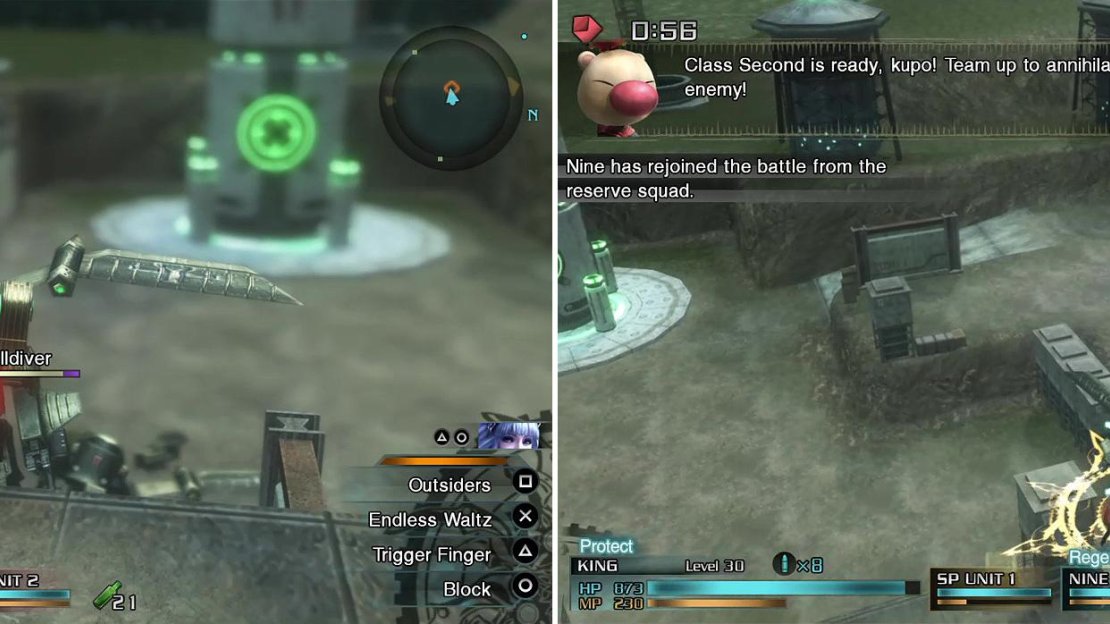
King is a good solo choice (left) if you have him levelled well, given his high HP and good defense if you equipped him correctly. If you have SP Support active, you can get help during this section (right).
8 - West Bank
The rest of your characters will be fighting the jammer, which is a big MA similar to the Dainsleif in the prologue mission. It has similar attacks to that one, including missiles and the beams of energy that come up from the ground on your character’s position.
Besides that, there will also be a lot of Imperial Troopers in the area, who can be annoying if you’re trying to concentrate on the mech. Feel free to take them out if you want, but if your characters are strong enough, concentrating on the MA should let you bring it down quickly, ending the battle.
9 - Fortified Area 1
You’ll have all of your team back for the rest of the mission, starting from this area and onward. The first thing you will see as soon as the area loads is a Helldiver and the SO just requires you to defeat it with your leader. There’s other enemies in the area as well, such as Heavy Gunners (one’s on a tower), some Troopers and even some Coeurls. Be on your guard.
10 - Fortified Area 2
The next area will have more Troopers, as well as some Shock Troopers. If you don’t remember these enemies, they carry shields and will block all damage from the front. They will run straight at you, charging you, as well as do a melee attack, which is when a Killsight will appear.
More Shock Troopers will appear as you defeat the other enemies in the area, including some Imperial Troopers and a Nymurod that are behind an unreachable fence, so you’ll need a ranged character or magic to get them. Clear any remaining enemies and move on to the next section.
11 - Airbase M-680 1
At first, you will be doing battle with a few Imperial Troopers, but after a short while, some Helldivers will show up to ruin your fun. After defeating the initial group, you’ll get a report that you will be able to use the Bahamut group backup attack in two minutes, which can be a long time to dodge the Helldivers’ attacks. What’s worse is that the unique SO in this area revolves around using that backup attack to defeat a Helldiver, but the reward is only an elemental accessory that probably isn’t worth your time.
The Helldivers can be avoided by staying up the top and shooting them with a ranged character (left). When you get the backup command, simply target one to complete the SO (right).
12 - Airbase M-680 2 (Optional)
This area is located south of the previous one and is completely optional. The only reason you might want to come down here is because there’s an SO that requires you to defeat the enemy CO with your leader, which is rather easy to do. Doing it will net you the Knight’s Lance for Nine. All enemies in this area consist of Helldivers (including the enemy CO) and RPG Gunners.
13 - Heavy Artillery Depot
You’ll see a Colossus as soon as you step foot into this area and when going around, another will appear from an elevator. Defeat them and more will appear from other elevators, with a total of four Colossi. Once you defeat those four, another elevator will slowly ascend, which will carry a Supersoldier and an enemy CO. Defeat them both and you’ll have to rush back to the first area in this entire section, with an eight-minute timer now on your screen.
14 - Field Artillery Station
Note that the Field Artillery Station is completely optional, in regards to enemies, as you can simply run straight through without worrying about a single one. If you do decide to stick around, you will fight Imperial Troopers and Shock Troopers, with an SO to score two Killsights on the latter. You can grab a Keycard on the ground right before the exit, which will allow you to open some doors to get items.
15 - Airbase M-680 3
The area is similar to the previous one, as you can simply waltz to the next section without fighting the enemies. You will encounter two RPG Gunners and a Heavy Gunner at first, then two Airborne Troopers after those ones have been defeated. For items, there are two: a Combat Ration (50%)/First Aid Kit (50%) in the northwest area and then further down from there in the southwest section is a Combat Ration (50%)/Strength Serum (50%) . Two Keycards can also be found here.
16 - Fortified Area 3
There will be a few Imperial Troopers in the next area, as well as some Coeurls, then some more enemies will appear near where you entered upon getting close to the exit, although you can ignore them. There will be an SO here that requires you to pick up a Keycard , which is on the ground right where you entered the area. There is another just ahead of that as well as an item.
17 - Fortified Area 4
The same will hold true for the last area before the rest spot, with two Colossi showing up behind you. This area will also have an SO that requires you to grab an item off the ground, this time being a Knowing Tag . There’s two in the area, one right by where you entered and another nearer to the exit. Save, heal and get ready for a boss. There are also a few items to pick up and another Keycard .
BOSS - Gilgamesh
Gilgamesh is a boss that you’re not supposed to defeat, but unlike Shinryu Celestia, it’s entirely possible to on your first playthrough (you don’t get anything at all if you do). If you don’t want to fight him, simply have your entire party wiped out to continue. First and foremost, you’re going to do next to no damage on him with your normal attacks, so don’t even try. That means you’re going to have to utilize the Breaksight chances you get on Gilgamesh.
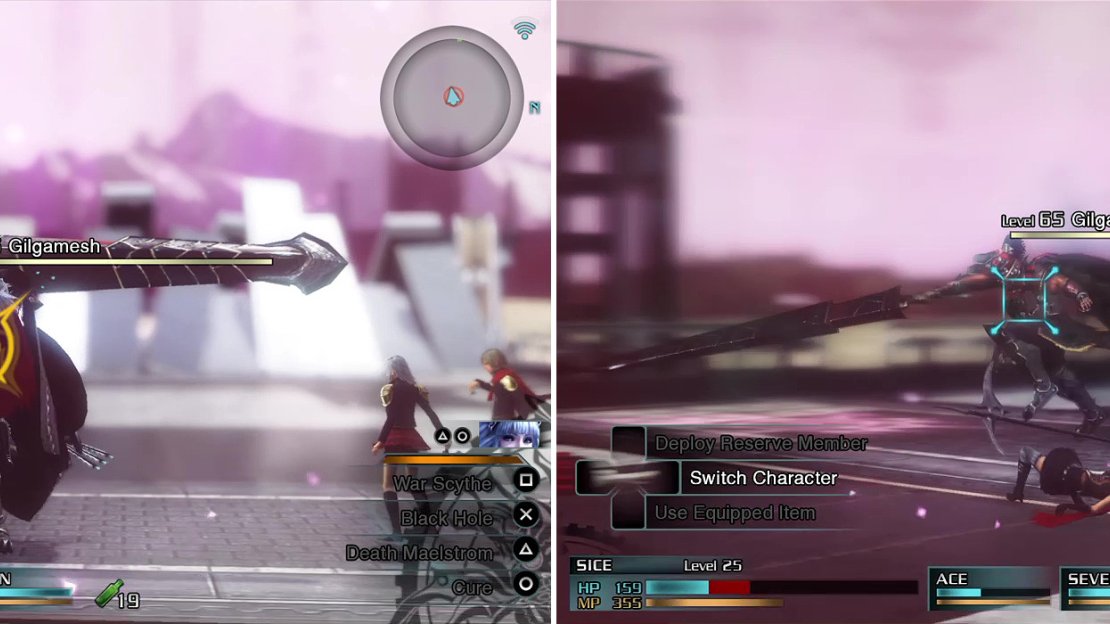
Gilgamesh can grab a character (left) if you let him get close. He will then smash them with his sword to do massive damage. He does a strong sword combo too (right).
Gilgamesh only really has two attacks in his arsenal, the first of which involves him swinging his sword around, followed by an overhead strike. Sometimes, he will combine these into a bigger combo that is just the same two moves. The other move of Gilgamesh’s will see him charge at you and either knock you back with his hand or grab onto you for a few seconds.
As already mentioned, Breaksights are the only way to deal any significant damage to Gilgamesh and there’s only two major chances of them appearing. The first is a split second whenever you see him doing the charging maneuver, which can be difficult to hit due to having to move out of the way. The other way is to wait for him to finish his combo with his sword. Once you’ve hit the Breaksight, stop attacking and wait until he kneels, which will trigger a series of Breaksights, allowing you to inflict major damage.
Either way, the mission will end whether you defeated Gilgamesh or let him wipe your party.


No Comments