S-Rank Requirements
| Time Limit | Objectives | Casualties |
|---|---|---|
| 30:00 | 14 | 0 |
Capturing Morina
The first order of business is to go and capture Morina, which is located right by your Domain 1. However, as you make your way to the stronghold, you will see a Mid-Sized Carrier heading towards Domain 1, so hurry to its location and shoot it down, allowing you to deploy troops from the stronghold.
With that now safe, bypass the Warrior units being sent out from Morina and destroy the Autoturret near it, then concentrate on getting your troops to Morina. Once the energy wall has been removed, you will be able to invade it.
Invading Morina
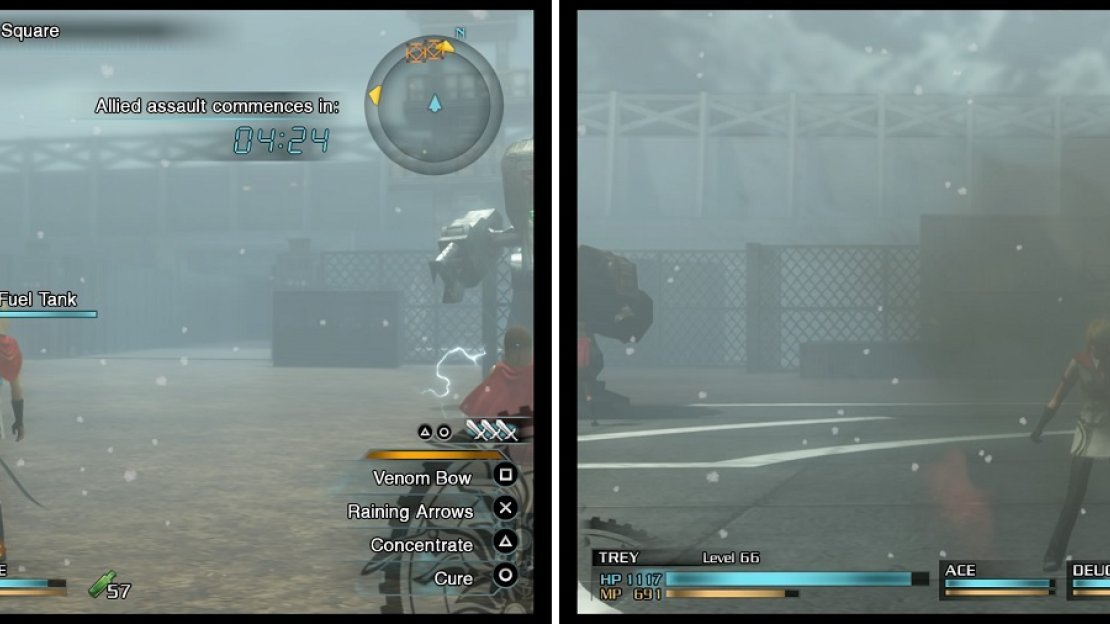
You have a special mission while inside of Morina, which is to destroy all of the fuel tanks in the stronghold before your allies assault arrives in five minutes. There won’t be any in the first area, but you will be fighting with Airborne Troopers. They will keep coming, so move onto the next area when you’re ready.
In the second area, you will encounter Imperial Troopers, Supersoldiers, Shock Troopers and some Autoturrets, with three fuel tanks. For the third area, another three fuel tanks will be in the vicinity, as well as some Colossi, Coeurls and even a Supersoldier in one of the towers. There will be two exits here, so head north first.
You will need to destroy all of the fuel tanks in this stronghold (left), but keep an eye out for Panjandrums posing as fuel tanks (right).
From looking at your map, you can see there’s quite a few tanks here to destroy, six in all. Unfortunately, the Colossi and Helldivers won’t give you a chance to destroy them. Also, don’t be fooled by the Panjandrum in the area, as it looks like a fuel tank from a distance. Return to the previous area and take the west exit this time.
There’s another Panjandrum posing as a fuel tank here, as well as more Helldivers and some Martinets. Ignore them if you can and concentrate on tanks, destroying all four and stopping the timer. The stronghold isn’t yours yet, so follow the objective marker to the first area to find an enemy commander.
The bad thing is that he brought along a few friends, some Supersoldiers and Airborne Troopers. What makes it even worse is that the enemy CO will induce Rage on all of them whenever he goes into it himself, making enemy attacks hit harder. You have two things you can do here: you can either take out all other enemies and leave their bodies on the ground, or simply concentrate on the commander to quickly take him out before damage piles up. The stronghold is yours once you defeat the commander.
Capturing Arwen
As soon as you get back onto the overworld, you should see two Carriers moving about, so track them down and destroy them. Things can get a little hectic from here on out, as you will need to protect your newly acquired stronghold while you wait for reinforcements to arrive.
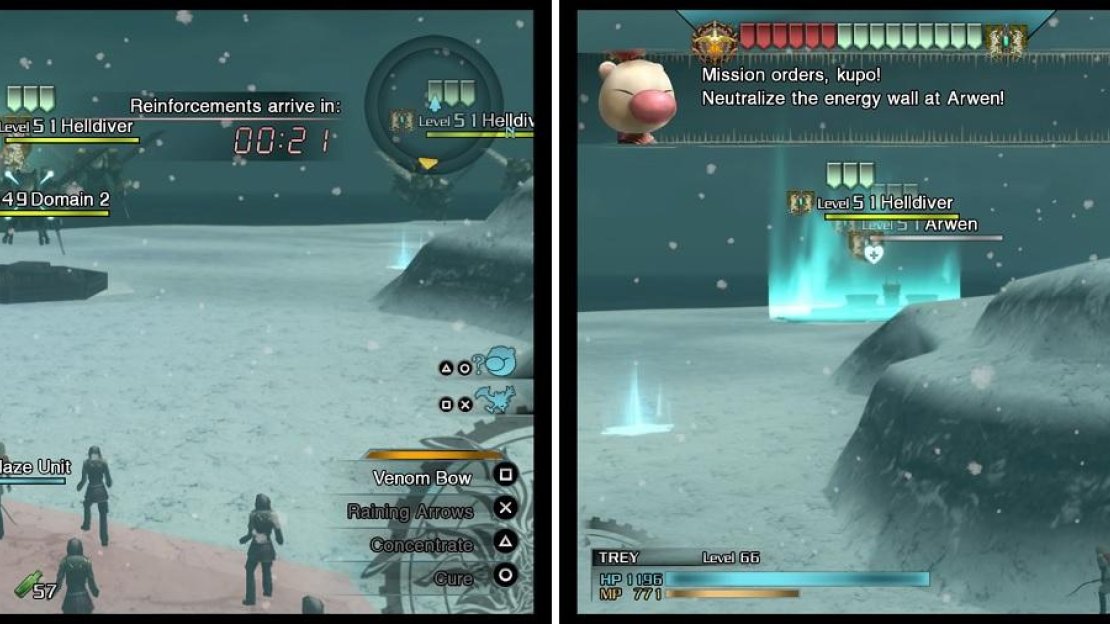
Arwen will be sending out Helldivers, while Domain 2 is just regular troops, but there’s also an Autoturret by the latter. If you can, get your troops to Domain 2 to stop the flow of troops there, then you can concentrate on the Helldivers until the timer reaches zero. Once it does, an elite unit will join your side, the Izumo Unit . This is a blimp of sorts that has a lot of health, so it will help in dispelling the energy wall at Arwen, allowing you to invade.
Arwen will be sending out elite units called Helldivers (left), which can put a hurting on your strongholds. Protecting Morina until the timer is gone will send out an elite unit of your own, the Izumo Unit (right).
Invading Arwen
Upon invading this place, you will see three Striker Transports waiting, so destroy them and Moglin will tell you to take down the enemy carrier. There isn’t one right away, but if you wait, you will see one quickly take off outside the area and if you can get a hit on it, it will fall. Unfortunately, this can be tough, so don’t sweat it if you can’t hit it. Anyway, an enemy commander will come out on a Colossus and then will be on foot after destroying it. Defeat him to capture the stronghold.
Capturing Azurr
If things weren’t crazy before, they will be shortly. All that should be left to take over is Domain 3, which is spitting out Colossi, as well as Azurr, sending out Helldivers. Since attacks are coming from two directions towards Domain 3, concentrate on putting a stop to the Helldivers coming from Azurr.
As soon as you capture Domain 3, you will be able to place markers by pressing Triangle and Circle on the PS4 version (Y + B on Xbox One) to make the Izumo Unit sit in place. For the upcoming event, it might be wise to park the Izumo Unit on the path of the Helldivers, as this will ensure that they don’t recapture Domain 3.
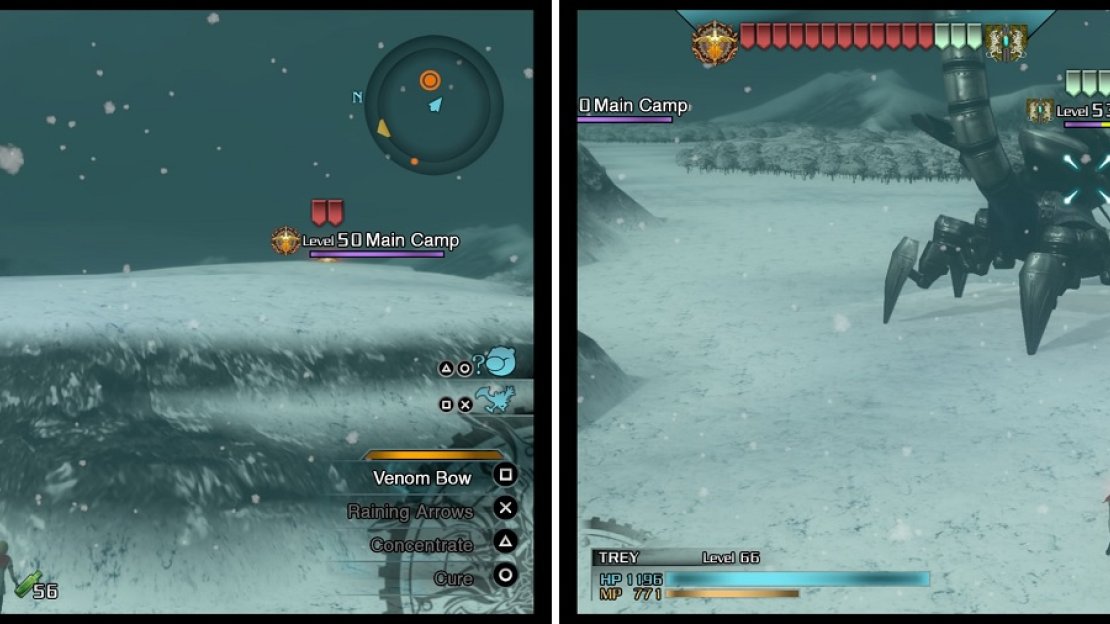
At the same time, a giant MA (named Vigilante; it looks similar to Vajra from “Escaping the Imperial Capital”) will come out to wreak havoc. The annoying part is that it will sit atop a plateau, firing missiles at your direction, so you can hug the cliffside away from any of your territories to avoid any damage. It will jump down and go after one of your territories, which is your chance to inflict damage, but will retreat to the plateau when a full bar is gone.
The Vigilante can be a pain in the butt, as you can’t attack it when it’s on top of the hill (left). The only chance you will have to damage it is when it jumps off to go after your strongholds (right).
So, play the game of cat and mouse with the Vigilante until you manage you bring it down for good. All that’s left after that is to continue your assault on Azurr, which might still be spitting out Helldivers at this point. Assist your soldiers in their effort in reaching the stronghold and taking down the energy wall, allowing you to invade.
Invading Azurr
There will be three Colossi standing in your way, as well as an enemy commander in front of the doors behind them that you probably won’t be able to see. Take down the Colossi and attack the commander until he runs inside of the building.
Some Supersoldiers and a Warrior unit will be waiting inside, as well as the commander, who will move further inside once you defeat a few enemies. Continue along, fighting two more Supersoldiers, as well as two Warriors (pincer attack), then move along to the final area. A Helldiver will join the battle with the commander, but it’s best to concentrate on the CO to avoid him blasting you into the ground. The mission will be over upon the commander’s defeat.


No Comments