S-Rank Requirements
| Time Limit | Phantoma | Casualties |
|---|---|---|
| 17:20 | 107 | 0 |
1 - Base Area G-377
As soon as you start the mission, there will be some Imperial Troopers standing in front of you, as well as an RPG Gunner on one of the crates. Take them out and some more soldiers will show up by the exit, which include two Shock Troopers and another RPG Gunner.
2 - Base Area G-368
| Objective | Time Limit | Effect | Reward |
|---|---|---|---|
| Quickly secure the area | 2:00 | Haste 0:30 | Megalixir |
The SO here asks that you quickly secure the area, meaning you have to defeat all the enemies within two minutes. You will be fighting some Strikers and Imperial Troopers, with one wave already being in the area, than another two coming in after defeating the previous waves.
3 - Base Area G-352
| Objective | Time Limit | Effect | Reward |
|---|---|---|---|
| Deal 9999 damage to Colossus on first hit with leader | 1:00 | Aura 1:00 | Ribbon |
There will be a few Imperial Troopers at the start of this area and once you go in far enough, a Colossus will bust out of one of the crates, which is when the above SO should appear (you will likely need to decline a normal one if it appears first). As for dealing 9999 damage with your first attack on a Colossus (there are more than one of them), you can always rely on Trey with his charged regular attack or King with Point-Blank Shot.
There’s also magic, with Colossi being weak to Lightning, so pump up someone’s Lightning Magic to get a good hit on them. Anyway, once you’re finished with the first group of the enemies, another wave will come, consisting of the same types.
4 - Base Area G-350
You will encounter some Coeurls, Martinets and Airborne Troopers in this area, three enemy types that can move around quickly. The more dangerous of the three are definitely the latter two, so concentrate on those first. Since the east path is blocked by a gate, you have to go north.
5 - Base Area G-344
| Objective | Time Limit | Effect | Reward |
|---|---|---|---|
| Take down the Freak | 2:00 | Protect 1:00 | Judgments |
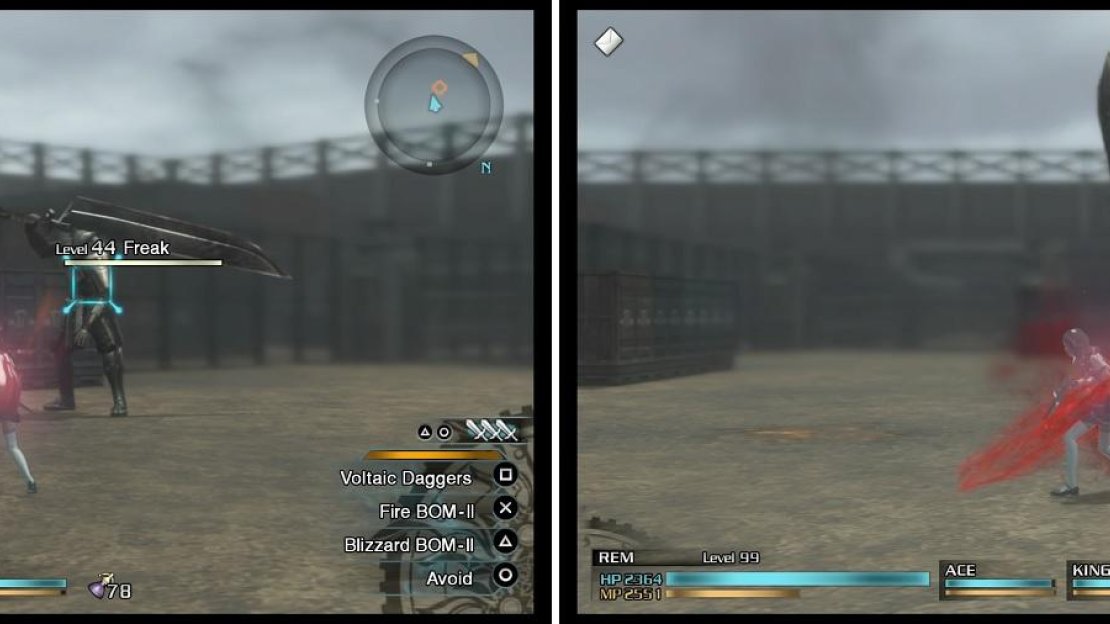
Upon entering here, you will see two Imperial Troopers, one of which is on top of a crate, as well as a Supersoldier. Defeat them and then a Freak shows up, which you might remember from your encounter with Akkad during the “Escaping the Imperial Capital” mission. They have a lot of health and pretty good resistances, so it will be a long battle.
The only problem is that another one will show up while fighting the first, as well as another Supersoldier. If using Trey ( Concentrate + charged attack ) or King ( Point-Blank Shot ), their big attacks will help in bringing down the Freaks quicker. Go north after finishing off the enemies.
Those annoying Freaks are back once again (left). You definitely want to avoid them going into their third phase, where they spam their projectiles (right).
6 - Base Area G-226
Although there is really nothing of value here, it helps to up your Phantoma count to try for an S-Rank. You will have to fight some RPG Gunners, Strikers and Warriors here. Once you’re done, move onto the next area.
7 - Base Area G-332
There is an enemy commander here, who isn’t marked, which is one of those ones that can enter Rage mode whenever it uses a Strength Serum (along with all other enemies in the area). There will also be Shock Troopers and Heavy Gunners to deal with, who can be dangerous if in Rage mode.
8 - Base Area G-299
Freaks return here, along with a few Imperial Troopers. There will be two Freaks at the beginning, meaning things can get hectic, especially if they spam their spinning horizontal sword move. South continues the mission, but head north first.
9 - Base Area G-231
| Objective | Time Limit | Effect | Reward |
|---|---|---|---|
| Defeat an enemy using a fuel tank | 2:00 | Freecast 0:30 | Megalixir |
Upon entering, there will be a Nymurod straight ahead and also some Imperial Troopers. The SO here can be kind of challenging to get, due to teammates downing the Troopers. The fuel tanks are on the left side when you enter the area and you’ll need to lure a Trooper over towards them. When you’re finished, go back to the previous screen and head south.
10 - Base Area G-251
You’ll want to be careful here, as there are RPG Gunners standing on top of some crates, plus there’s also a Panjandrum coming towards you. Luckily, the Colossi are at the far end of the map, so they won’t bother you until you go around the crates. One more Colossus will spawn after everything is dead.
11 - Base Area G-249
This is a safe area, so make sure you absolutely use the Recovery Portal to heal up, as you will need it.
12 - Base Area G-218
| Objective | Time Limit | Effect | Reward |
|---|---|---|---|
| Do not get hit at all | 2:00 | Trance 1:00 | Ribbon |
You’re facing off against an enemy commander piloting one of those Dainsleif-like MAs, which can shoot missiles at you, as well as some machine-gun fire. There will also be a Panjandrum that apparently keeps respawning, so be careful of that if you choose to do the SO. Speaking of which, if you decide to do it, the easiest way to survive two minutes without getting hit is by constantly rolling around the MA, dodging its attacks.
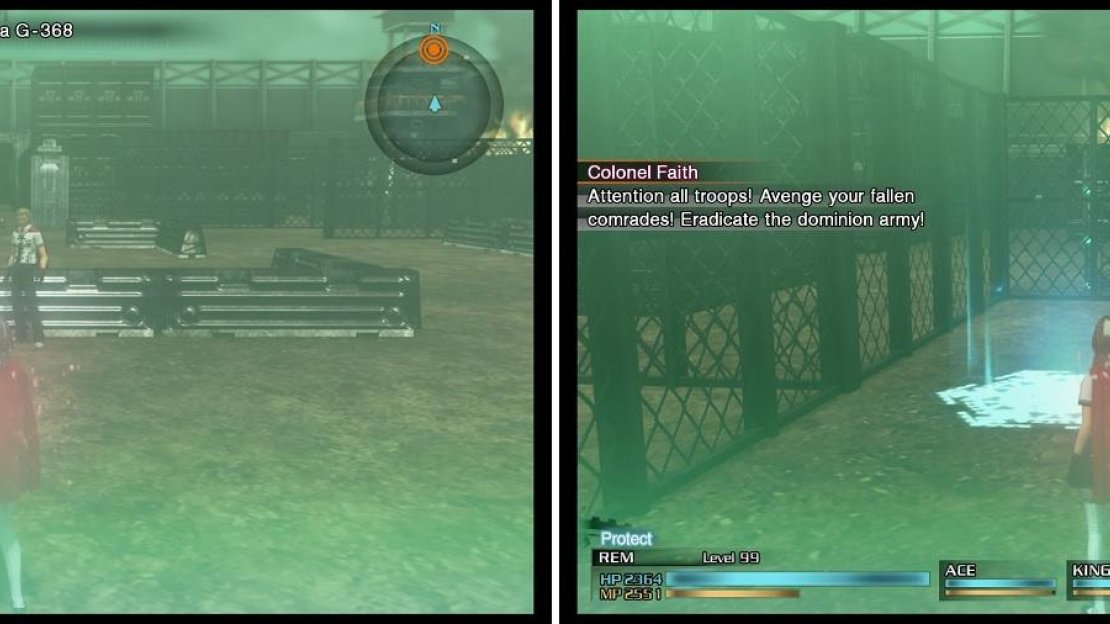
After defeating the Dainsleif-like MA, you will not be able to heal at all, unless you use one of the recovery portals (right) that are in certain areas.
Unfortunately, after defeating the enemy commander, the mission won’t be over quite yet. You’ll appear back at G-368, where you’ll see a Recovery Portal. Only use this if you absolutely must, as you won’t be able to heal at all via any means for the rest of the mission, and these Recovery Portals become very important. Even items like Phoenix Pinions and Anima Lanterns won’t work.
13 - Base Area G-377 (2)
You don’t need to come here, but you will find some Shock Troopers and Imperial Troopers. Feel free to defeat them and head east from the previous area.
14 - Base Area G-352 (2)
A few Helldivers will be here, which can be especially annoying since you can’t heal. Hopefully, you have a ranged character with some meaty stats, as they will work wonders here. Now you can go north to continue the mission.
15 - Base Area G-251 (2)
| Objective | Time Limit | Effect | Reward |
|---|---|---|---|
| Use the Recovery Portal to heal | 5:00 | Protect 0:30 | Phoenix Pinion |
Nothing but some Supersoldiers and Imperial Troopers will be here. If you want to chance it by completing the above SO, then accept it and use the Recovery Portal for a Phoenix Pinion. Otherwise, leave it alone and use it when it’s needed. You can’t go east this time, so head north.
16 - Base Area G-299 (2)
You’ve been chasing down Colonel Faith since the mission changed over and it turns out he’s right here. Since he’s using a modified Helldiver MA, his attacks are the same, so wait for a Breaksight chance after one of his attacks to down him, allowing you to inflict more damage without fear of retaliation. Once enough damage has been down, he will fly off. Head north for now.
17 - Base Area G-231 (2)
Warrior units and more Imperial Troopers will be found here and while the former are annoying, using the barrier in the middle of the area will allow you to attack them without having to worry, since Warriors only melee.
18 - Base Area G-332 (2)
You will encounter two Colossi to start with in this area, so be especially careful to avoid the missiles shot at you. Once those two go down, another Colossus will spawn. Go north.
19 - Base Area G-226 (2)
Two Nymurods and a Helldiver will be here, so concentrate on the Helldiver first and then take care of the other enemies after it’s been grounded.
20 - Base Area G-344 (2)
The annoying Helldivers keep coming, with two more in this area, as well as some Shock Troopers. Keep an eye on the latter, attack when you can from behind, then return your attention on the former.
21 - Base Area G-350 (2)
Remember those Freaks from earlier in the mission? Well, they return in this area and you’ll face three of them, although it’s only a single one at first. You’ll need strong attacks to take them down swiftly, using their downtime to go berserk to your advantage and lay all of the damage you can to defeat them before they can do anything. Also, there’s a random Striker Transport that appears after all of the Freaks are gone.
22 - Base Area G-249 (2)
| Objective | Time Limit | Effect | Reward |
|---|---|---|---|
| Annihilate all enemies within time limit | 5:00 | Protect 0:30 | Lustrous Armlet |
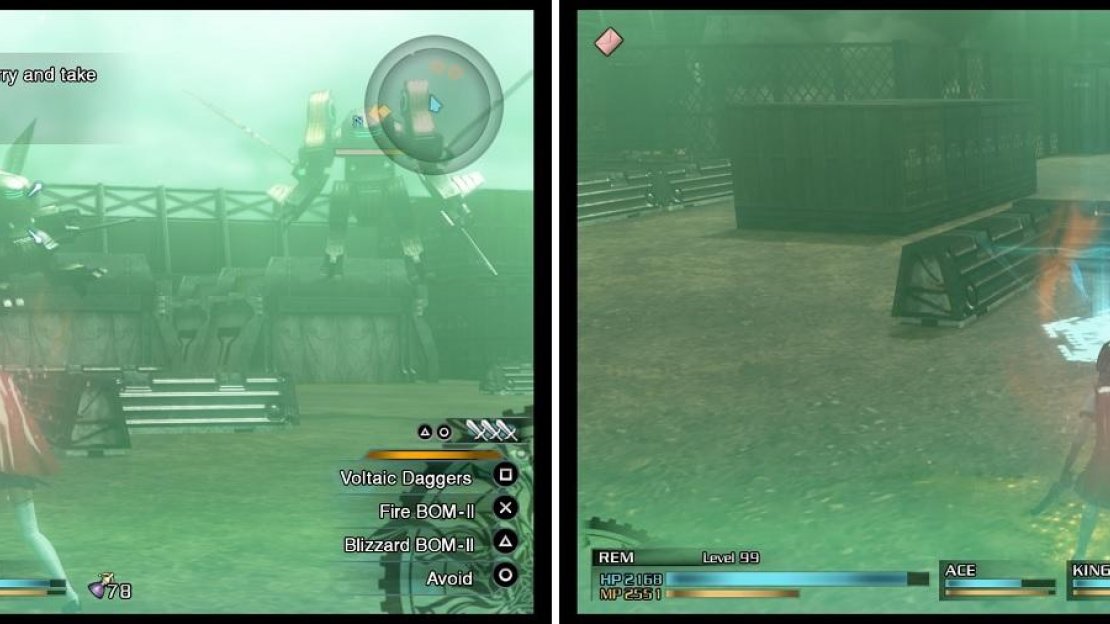
This is the final area before you last showdown with Colonel Faith and boy, they do not hold back, as you will face off against more Helldivers and some Supersoldiers. Despite having a total of five minutes for the SO, you shouldn’t need too much to quickly annihilate all of the enemies. Just make sure you are constantly moving to avoid enemy fire.
The last area before Colonel Faith will throw a lot of enemies at you, including plenty of Helldivers (left). If you need to heal, use the conveniently placed recovery portal (right) in the middle of the area.
23 - Base Area G-218 (2)
It’s your final showdown with Colonel Faith and despite the tension building up before your final confrontation, he’s the same as always. That means he has no new moves in his repertoire, so you shouldn’t really have much trouble with him. Wait for a Breaksight opportunity to ground him, then unleash all attacks you can to hopefully destroy him before he gets a chance to return to the air.


No Comments