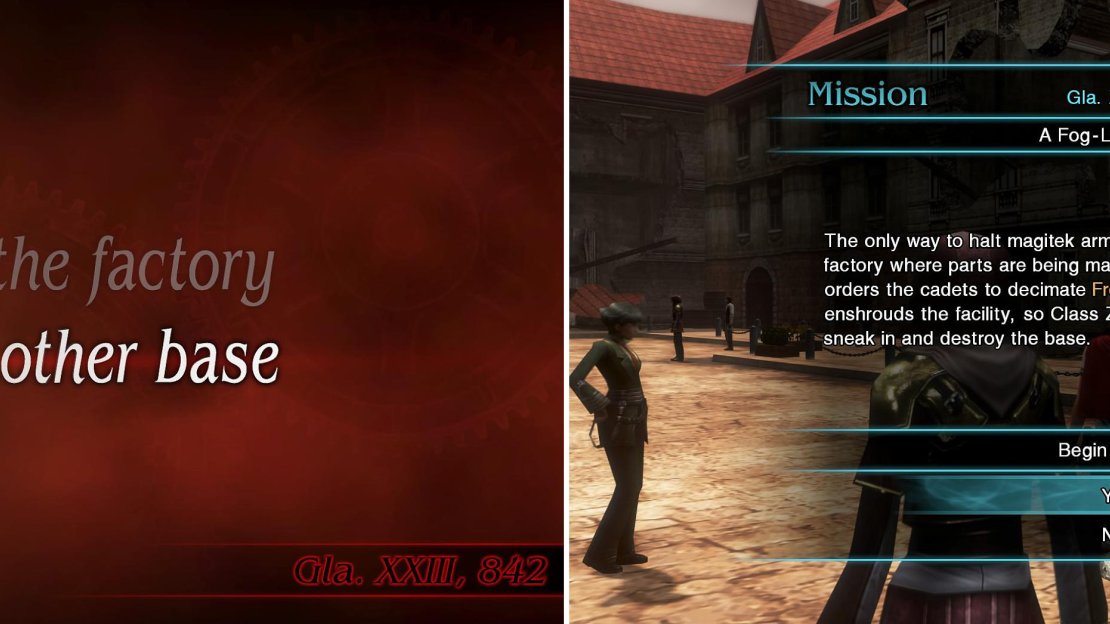
Select the bottom option as before.
S-Rank Requirements
| Time Limit | Phantoma | Casualties |
|---|---|---|
| 10:00 | 70 | 0 |
1 - Frosti Depot N-14
The first area in this mission will have you fighting Martinets, Imperial Troopers and an enemy commander, who’s standing on top of some crates. A ranged character is ideal here, especially since enemies won’t notice you right away and you’ll be able to get Breaksights/Killsights on them.
2 - Frosti Depot N-15
The same deal as before, with the fog, will be present here. You will encounter Supersoldiers and Troopers in the first portion of the area, so defeat them to bring down the energy wall, then head to the second portion to find another enemy commander and more Troopers. There are two exits in this area, one that leads to the east and is right past the energy wall, and the other one going north (your objective marker is pointing to this one).
3 - Frosti Depot N-17
| Objective | Time Limit | Effect | Reward |
|---|---|---|---|
| Avoid being spotted by the enemy | 5:00 | Aura 0:30 | Elixir |
The SO for this area can be a bit on the annoying side and slightly challenging, as you need to not be spotted by the enemy for five minutes. Unlike a later one, where you can just stay in the entrance without a problem, you might need to take out a few enemies. At first, you will see some Martinets flying around, as well as some Imperial Troopers.
If you have a ranged character, target the one Martinet that moves to the right from where you first entered and hit it when it moves completely that way. After that, target and kill the Trooper standing on top of the crate straight ahead of you, then when the coast is clear, move to the right side of the area and simply wait, hoping you don’t get randomly spotted.
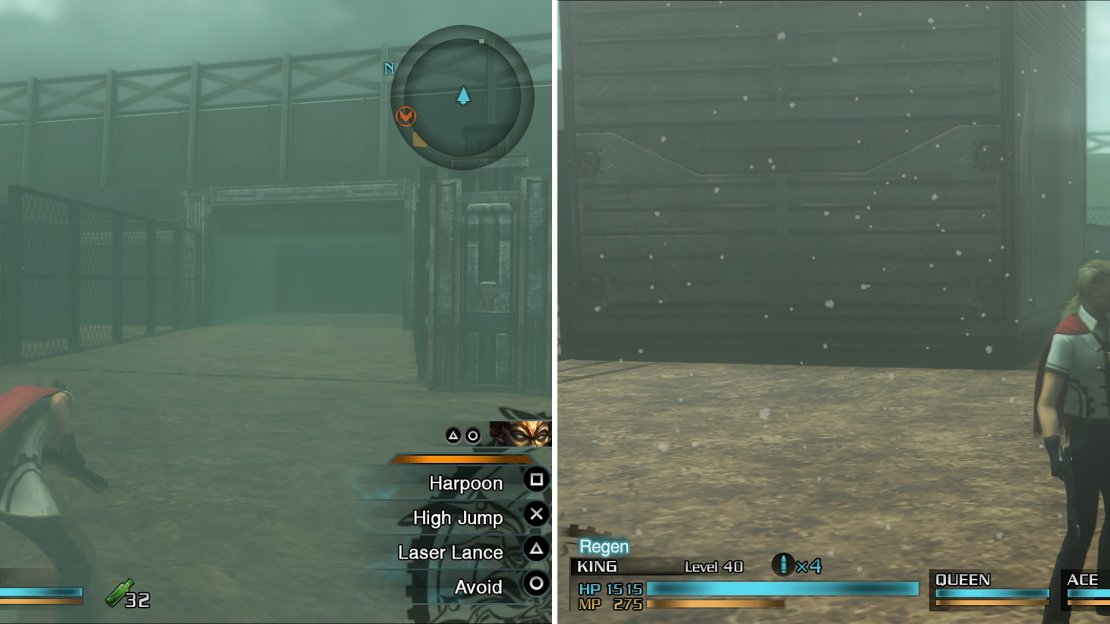
For this SO (left), you can just stand here (or even kill all the enemies before accepting it) and wait for the timer to run out. The weather will play a part in this mission (right).
4 - Frosti Depot N-18
There’s not much here, except for a few Coeurls, Heavy Gunners and a single RPG Gunner.
5 - Frosti Depot N-21
| Objective | Time Limit | Effect | Reward |
|---|---|---|---|
| Avoid being spotted by the enemy | 5:00 | Aura 0:30 | Magic: Invisible now available |
Yes, there’s another SO here to avoid being spotted, again for five minutes. However, this one is much easier, as you can simply wait at the entrance to the area until the timer hits zero, netting you the new spell. As far as enemies are concerned, you have some Martinets, Warriors and Imperial Troopers, as well as an enemy commander in a Warrior unit.
6 - Frosti Depot N-24
| Objective | Time Limit | Effect | Reward |
|---|---|---|---|
| Defeat a Supersoldier | 2:00 | Endure 0:30 | Wildfire Daggers |
There’s only a few Imperial Troopers here, as well as one Supersoldier, with the SO requiring you to just defeat the latter.
7 - Frosti Depot N-27
You’ll encounter some Imperial Troopers and Martinets, as well as an enemy commander piloting a Nymurod. Of course, try to take out as many as possible while using the fog as cover.
8 - Frosti Depot N-28
There appears to be nothing here at first, but as you climb over the crates, the fog will dissipate and some enemies will appear, with there being a Striker and two Colossi at first. Of course, the assault on you isn’t over, as more Strikers and Colossi will continue showing up, totalling four waves of them.
9 - Frosti Depot N-31
| Objective | Time Limit | Effect | Reward |
|---|---|---|---|
| Eliminate all enemies | 3:00 | Regen 0:30 | Lamia’s Scythe |
After passing through a safe zone (N-29), you’ll come to this one, where the last SO should pop for this mission. It requires you to eliminate all of the enemies within the time limit given, which is three minutes. You’ll be fighting Strikers, Imperial Troopers and Martinets.
10 - Frosti Depot N-33
At first, you’ll have to defeat some Imperial Troopers and Colossi to dispel an energy wall blocking off the other section of the area, where you’ll fight more Imperial Troopers and Colossi. The next area is a safe zone, complete with a recovery point and save spot.
11 - Imperial Command
There will be a cutscene upon entering this area, where you find out there’s a sniper somewhere. It will then switch over to a fight against a Balmung and some Coeurls. The Balmung is similar to the Dainsleif you fought in the first mission, with its only attacks being machine gun fire and missiles.
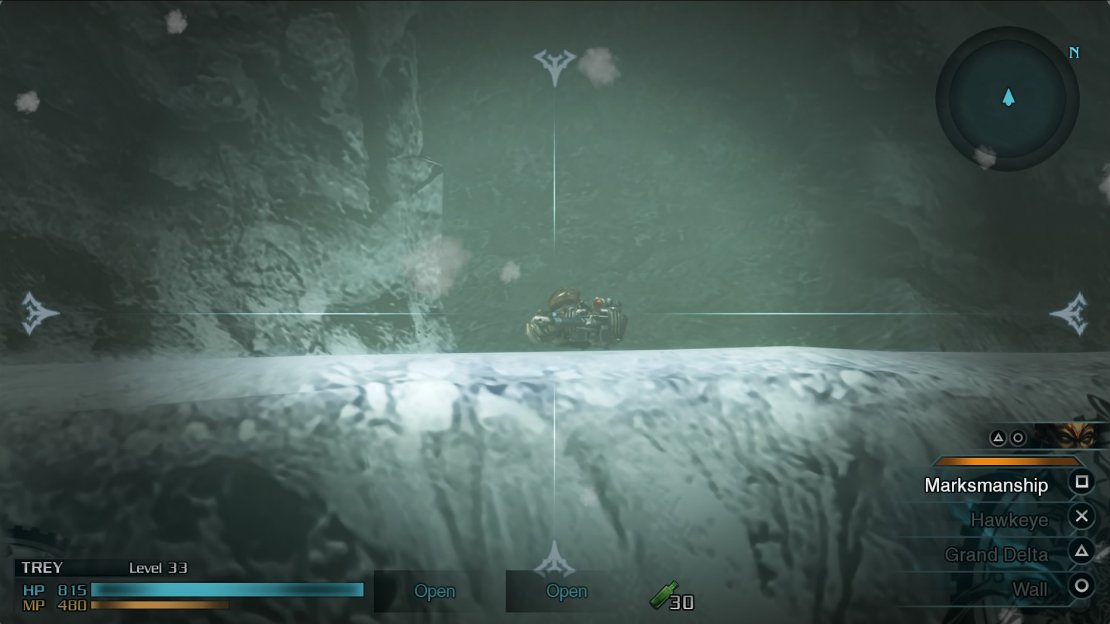
After finishing it off, you’ll switch to the party selection screen, where you can only choose Trey. Do that and it’s time to hunt down the sniper from before. He should be right below where your cursor is at the beginning, right in front of the cave entrance. You’ll know you have him in your sights when you see the blue markers appear on your reticule. Target him and bam! The mission is complete.
Look for the soldier here then let fly with the arrow to complete the mission.


No Comments