S-Rank Requirements
| Time Limit | Phantoma | Casualties |
|---|---|---|
| 2:30 | 18 | 0 |
1 - Town of Amiter (1)
| Objective | Time Limit | Effect | Reward |
|---|---|---|---|
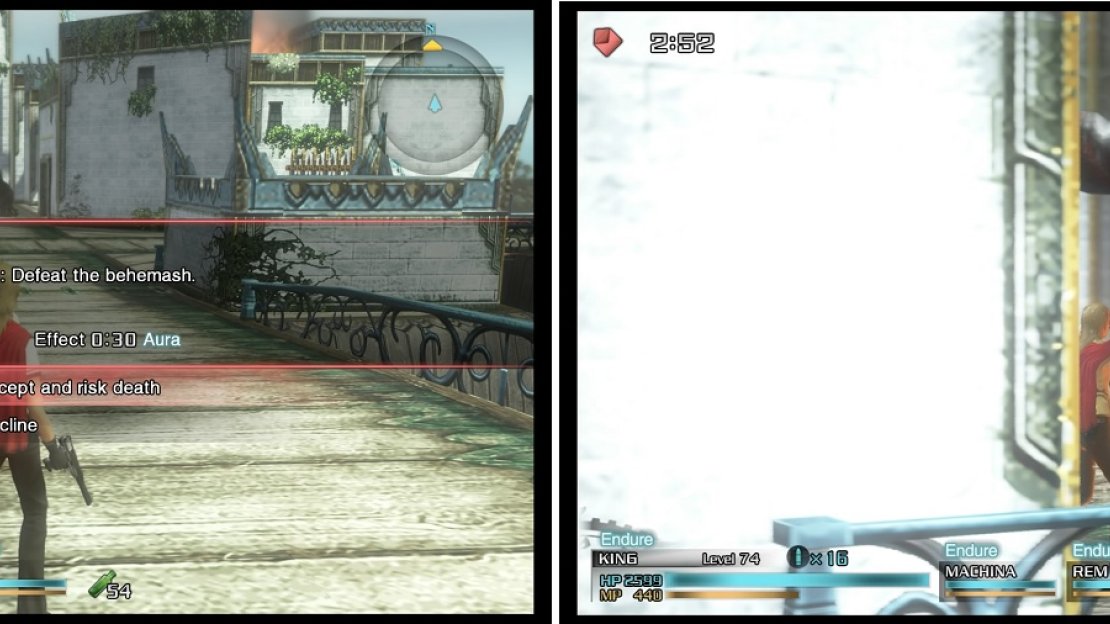
| Defeat the Behemash | 3:00 | Aura 0:30 | Celestial Armlet |
The first area of this mission will have a lone Behemash, which is straight ahead in a small open area. Be careful of its charge attack, as well as when it does a tail spin, which doesn’t have a set pattern. Although they are short opportunities, a Breaksight will appear after most of its attacks, rendering it stunned for a brief period.
2 - Town of Amiter (2)
| Objective | Time Limit | Effect | Reward |
|---|---|---|---|
| Defeat the Snowsquatch | 3:00 | Endure 0:30 | Arctic Armlet |
You will run into some Dracoknights at first, totaling three of them, then there will be the main attraction, a Snowsquatch. If you’re having trouble with it, wait until it does its wide swing with its arm and hit the Breaksight.
3 - Town of Amiter (3)
| Objective | Time Limit | Effect | Reward |
|---|---|---|---|
| Defeat the Wingvern | 2:00 | Quick 0:30 | Mythril Bracelet |
Some Petrifeyes will populate the area, with two right in your face at the beginning. Go a little further in and you will see the Wingvern you need to defeat for the SO. Remember that it has a Breaksight appear after it spits the three elemental balls at you.
The SOs in this mission just require you to defeat the big enemy in each area, so make sure you do them to get some easy accessories and even a new spell!
4 - Town of Amiter (4)
| Objective | Time Limit | Effect | Reward |
|---|---|---|---|
| Defeat the Diepvern | 3:00 | Protect 0:30 | Magic: Death is now available |
The goal for this area is the Diepvern that’s a little way in, but it will be accompanied by a few Gateau Shockalots, which are nothing but electric Flans. They can be annoying, especially if you’re trying to dodge the Diepvern’s attacks, so either wait for a Killsight to appear or use non-lightning magic. As for the Diepvern, you should alway know about its ability to change the weather, along with its attacks.
5 - Town of Amiter (5)
| Objective | Time Limit | Effect | Reward |
|---|---|---|---|
| Defeat the Skyvern | 2:00 | Trance 0:30 | Blaze Armlet |
This might be a challenging area, as you have to worry about the Skyvern (similar to the Wingvern, except its elemental shots home in on you a little bit) and some Demonicorns. If you have a ranged character, focus on the Skyvern first. Otherwise, take out the three Demonicorns while using buildings and other things as cover from the Skyvern.
6 - Town of Amiter (6)
As the last area, you will be up against a Brontovern, which is the exact same thing as the Diepvern, except this one is an enemy commander. It brought along some friends, in the form of Pyronades and Cryonades. The first two will greet you upon entering, with the rest fighting alongside the Brontovern. Defeating the Brontovern will end the mission.

No Comments