
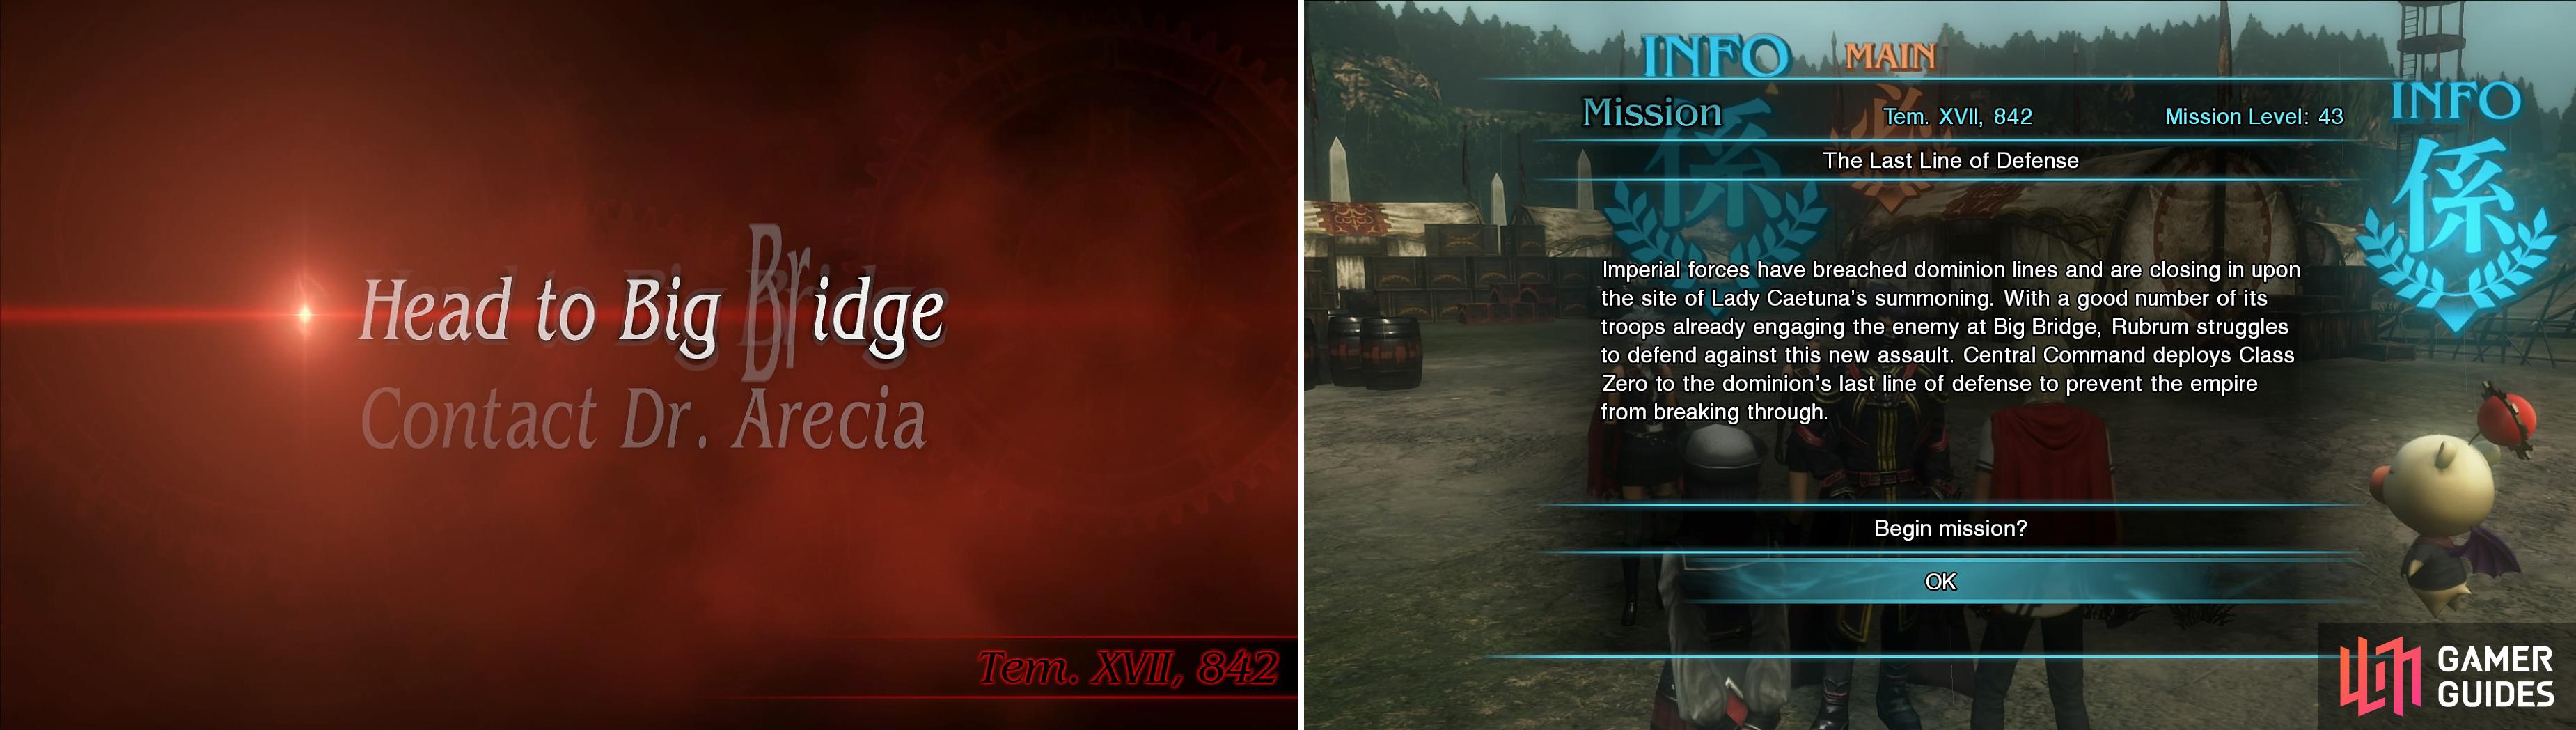
Select “Call Dr Arecia” to begin this mission.
S-Rank Requirements
| Time Limit | Phantoma | Casualties |
|---|---|---|
| 23:00 | 45 | 0 |
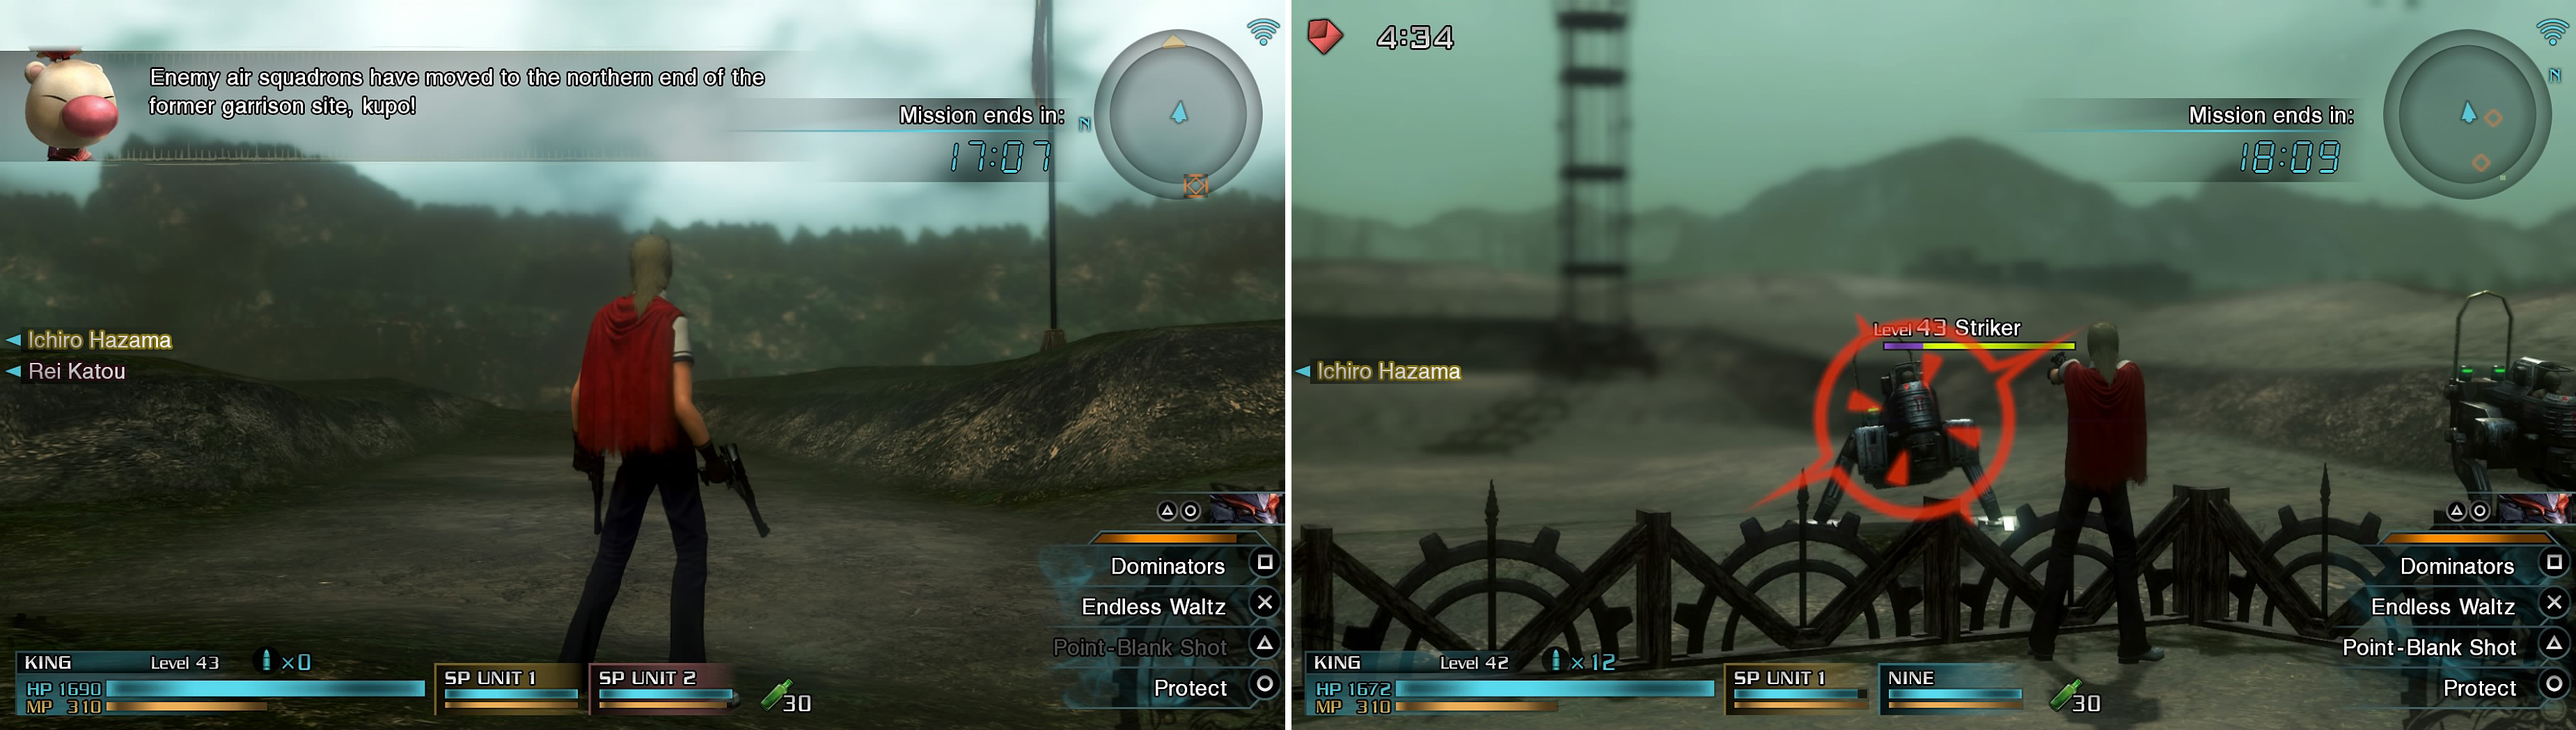
Unlike most of the other missions in the game, when you begin this one and go through the areas, you will notice that there aren’t any enemies. That’s because you are defending the areas from enemy attacks, which will come at set intervals during the 20 minute timer on your screen. The areas that are attacked are random, but the enemies that attack those areas are set in stone, including the Special Orders. A ranged attacker will find this mission much easier as many of the enemies are out of range for melee characters.

Use this map to determine the locations of the enemy attacks.
(Area 2) Second Line - Center
| Objective | Time Limit | Effect | Reward |
|---|---|---|---|
| Defend your allies | 2:00 | Protect 1:00 | Demonslayer |
In the big open area, you will see some RPG Gunners and a Colossus headed your way, which is what you’ll be fighting here. There will be two waves of two RPG Gunners each, then three waves of a single Colossus. You’ll get a new weapon for Jack upon completing the SO here.
(Area 3) Second Line - South
| Objective | Time Limit | Effect | Reward |
|---|---|---|---|
| Defend your allies | 5:00 | Invincible 1:00 | Torrent Armlet |
This might be the toughest of all of the defences for this mission, with you having to fight Airborne Troopers and regular Imperial Troopers. The Airborne ones are annoying, since they move relatively fast and may dodge a lot before trying to attack (missiles from afar or flamethrower up close). The Imperial Troopers will be behind a short barrier, meaning you might need ranged attacks to hit them. There will be a total of three waves, with two Airborne Troopers and three Imperial Troopers in each one.
You must look out for Mog who will tell you where the next group will come from (left). Standing at a distance (right) and picking them off makes this mission easy.
(Area 4) Second Line - Far South
| Objective | Time Limit | Effect | Reward |
|---|---|---|---|
| Defend your allies | 2:00 | Endure 1:00 | Gale Armlet |
When you enter this area, you will notice an enemy commander marker on your map, with this one being a Heavy Gunner. He will be accompanied by two more Heavy Gunners and two Strikers. More of the regular enemies will spawn if you defeat them before the commander, but you might risk your allies getting killed, so it’s probably best to kill the commander after clearing the first wave of enemies.
(Area 5) Former Garrison - Far South
Two Helldivers will be your opponents in this area, with one of them being an enemy commander. Either strike down the commander first to get rid of the second one, or destroy the normal Helldiver first to get an extra Phantoma.
(Area 8) Second Line - North
| Objective | Time Limit | Effect | Reward |
|---|---|---|---|
| Defend your allies | 2:00 | Regen 1:00 | Gold Anklet |
You will have to contend with four waves of soldiers here, with the first two waves consisting of three RPG Gunners and two Heavy Gunners. The second two waves will simply be three RPG Gunners. The SO here should be pretty easy, considering you can simply get close to the enemies without them getting close to your allies.
(Area 10) Former Garrison - Far North
There’s only two enemies for this one, but they are both Helldivers, one of which will be an enemy commander. You can either shoot down the commander, ending the battle there, or squeeze an extra Phantoma out by destroying the normal Helldiver.
(Area 11) Second Line - Far North
| Objective | Time Limit | Effect | Reward |
|---|---|---|---|
| Defend your allies | 5:00 | Quick 1:00 | Gaia Armlet |
This one can be a little more challenging, since you can get up into the faces of the enemies you fight, which starts with three Strikers. You’ll be behind a barrier of sorts, which means that you’ll need some ranged attacks (or magic) to get them before they damage your allies. After the first three Strikers, the second wave will have three more and that’s it.
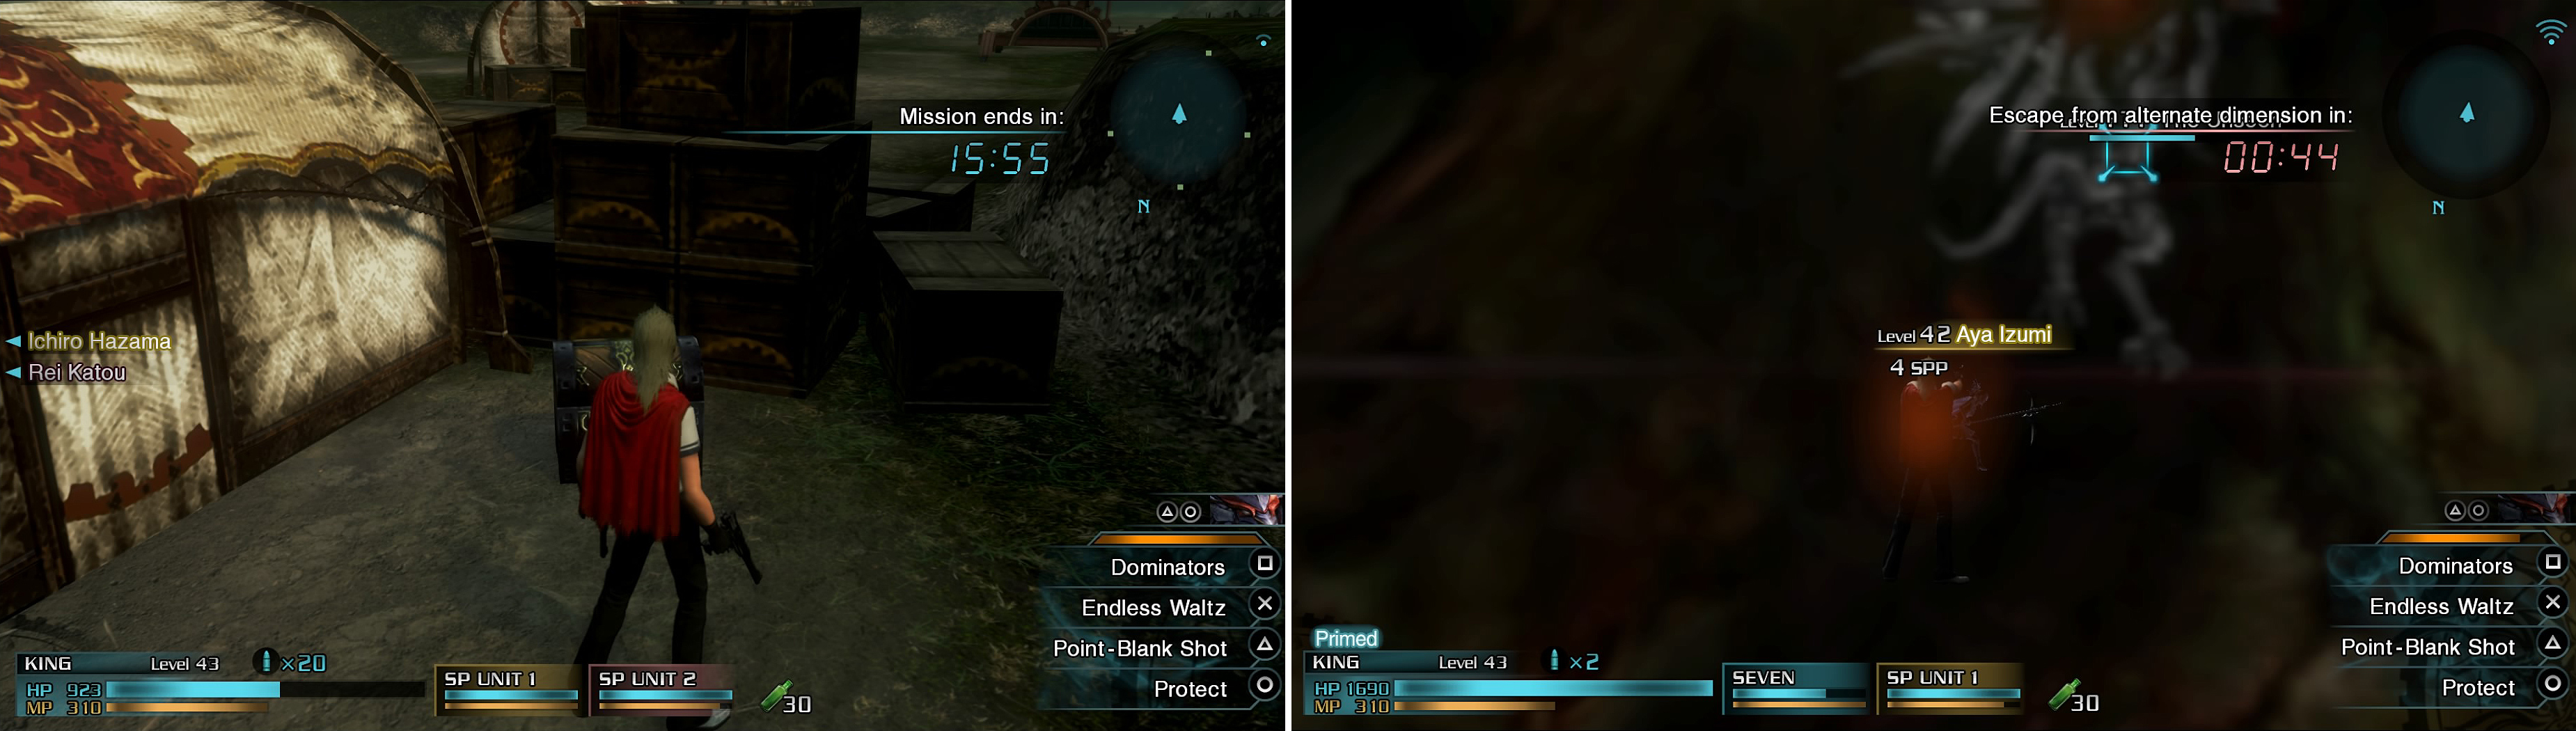
Look out for the chest in its own section (left). After a while, you will end up in another dimension (right).
Alternate Dimension
Upon the timer running out and after successfully repelling all the attacks, you will suddenly be transported to an unknown place. Another timer will appear here, and some enemies known as The Unseen will emerge. The first one will be a humanoid-type, while the rest of them will appear similar to Bahamut. Be careful of the Mega Flare attack, as well as the drill-like charge maneuver. Last until the timer ends to finish the mission.
No Comments