

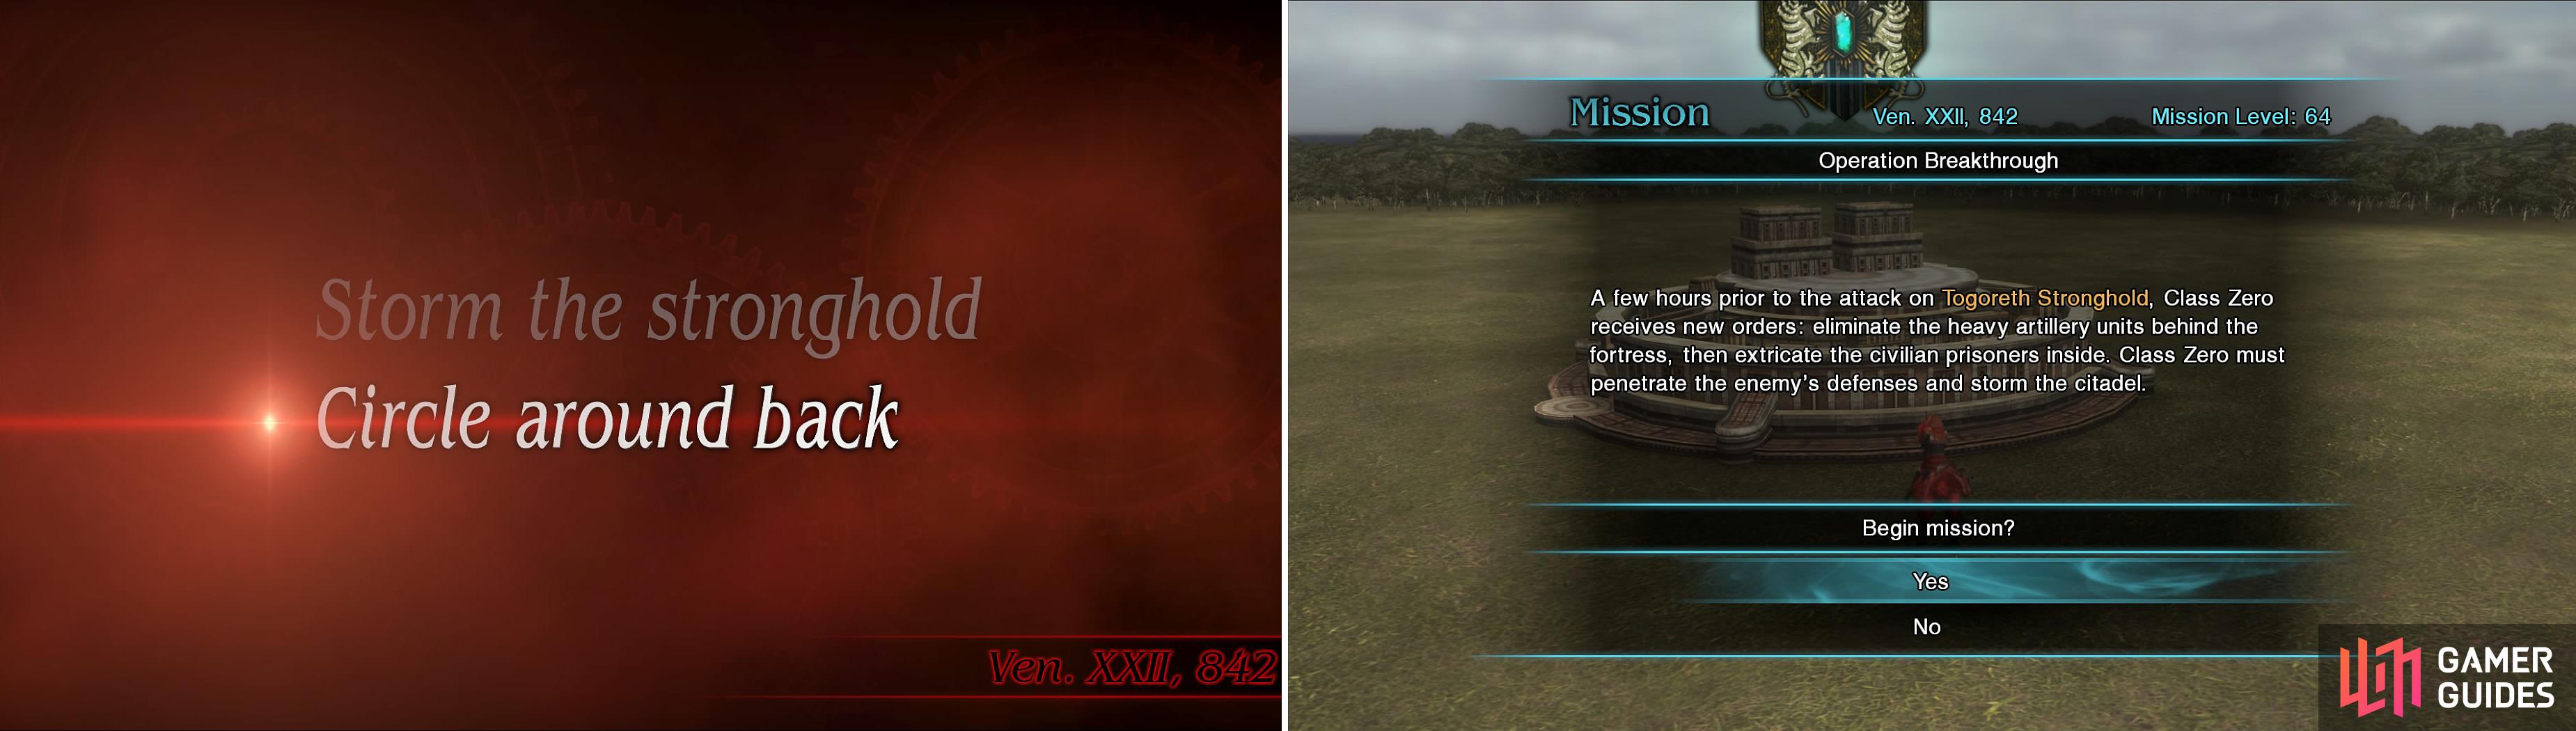
Select “Circle around Back” to get the option to begin this mission (left).
S-Rank Requirements
| Time Limit | Phantoma | Casualties |
|---|---|---|
| 12:00 | 120 | 0 |
1 - Togoreth Woods
The mission will begin with your party in the woods, with the weather foggy, so visibility will be reduced, meaning you’ll have to be pretty close to be able to lock-on to enemies. At first, you will encounter two Colossi, as well as two Prometheus units. The latter are similar to Warriors and Strikers, except they have a flamethrower for close-quarters combat.
As soon as you defeat the last foe, more will appear nearby, and these ones will be Heavy Gunners. There will be two sets of three Gunners each and upon defeating them all, you will automatically move on to the next area.
2 - Stronghold Outskirts
For this second area, there will be quite a few enemies, including two Nymurods, two Strikers and two Striker Transports. The Transports are probably the easiest of the three types to defeat, but that will leave you open to attacks from the other two. So, it’s probably best to start with either the Strikers or Nymurods, then move onto the other and leave the Transports for last.
3 - North Gate
Upon clearing the previous area, you will automatically land here after a cutscene, where you’ll find some Imperial Troopers and Coeurls waiting for you. After clearing the initial batch, an endless wave of two more will come from the exit you need to take, so either farm some Phantoma for the S-rank or ignore them and keep going.
4 - West Stairs (1)
More soldiers will be here waiting for you, some of which are RPG Gunners. Yes, once again, another endless wave of enemies will come from both exits, so either fight some if you wish to up your Phantoma count or ignore them and move on. This is a really excellent way to go for that S-Rank because the mission gets a little trickier soon.
5 - West Stairs (2)
There will be a lone Prometheus unit waiting, then some Strikers will spawn near the exit. These Strikers will then spawn by the other exit and will switch back and forth infinitely.
6 - South Passage
| Objective | Time Limit | Effect | Reward |
|---|---|---|---|
| Defeat 3 enemies on high ground with leader | 3:00 | Freecast 0:30 | Ignis Essentia |
Upon entering here, there will be two Shock Troopers and an Imperial Trooper right in front of you. Defeat them and when you see a red envelope appear, accept the SO. This one will require you to take down three enemies on high ground with your active leader. These are the Heavy Gunners on the little balcony-like area, although there’s only two at first. Defeat them and wait for more to spawn, fending off the Supersoldiers that will likely be in your face by now. All of the enemies will continually respawn, so get going after you get the SO.
7 - East Stairs
Unlike the past few areas, this one has a finite amount of enemies and will have you facing off against Heavy Gunners, Imperial Soldiers and a lone Nymurod towards the opposite end from the entrance.
8 - North Stairs
| Objective | Time Limit | Effect | Reward |
|---|---|---|---|
| Defeat enemy commander with leader | 5:00 | Haste 0:30 | Fulgur Essentia |
Yet another area with a finite amount of enemies. Upon entering, there will be two Supersoldiers beyond the crates, as well as two Autoturrets. The bad thing is that you have a limited area to fight in, since there’s an energy wall at the base of the stairs. Defeat those foes and the wall will disappear, but two Warriors will appear at the top, as well as an enemy commander in another one. You can return to the actual mission now, so head back to West Stairs (1) and go the other way to Central Stairs .
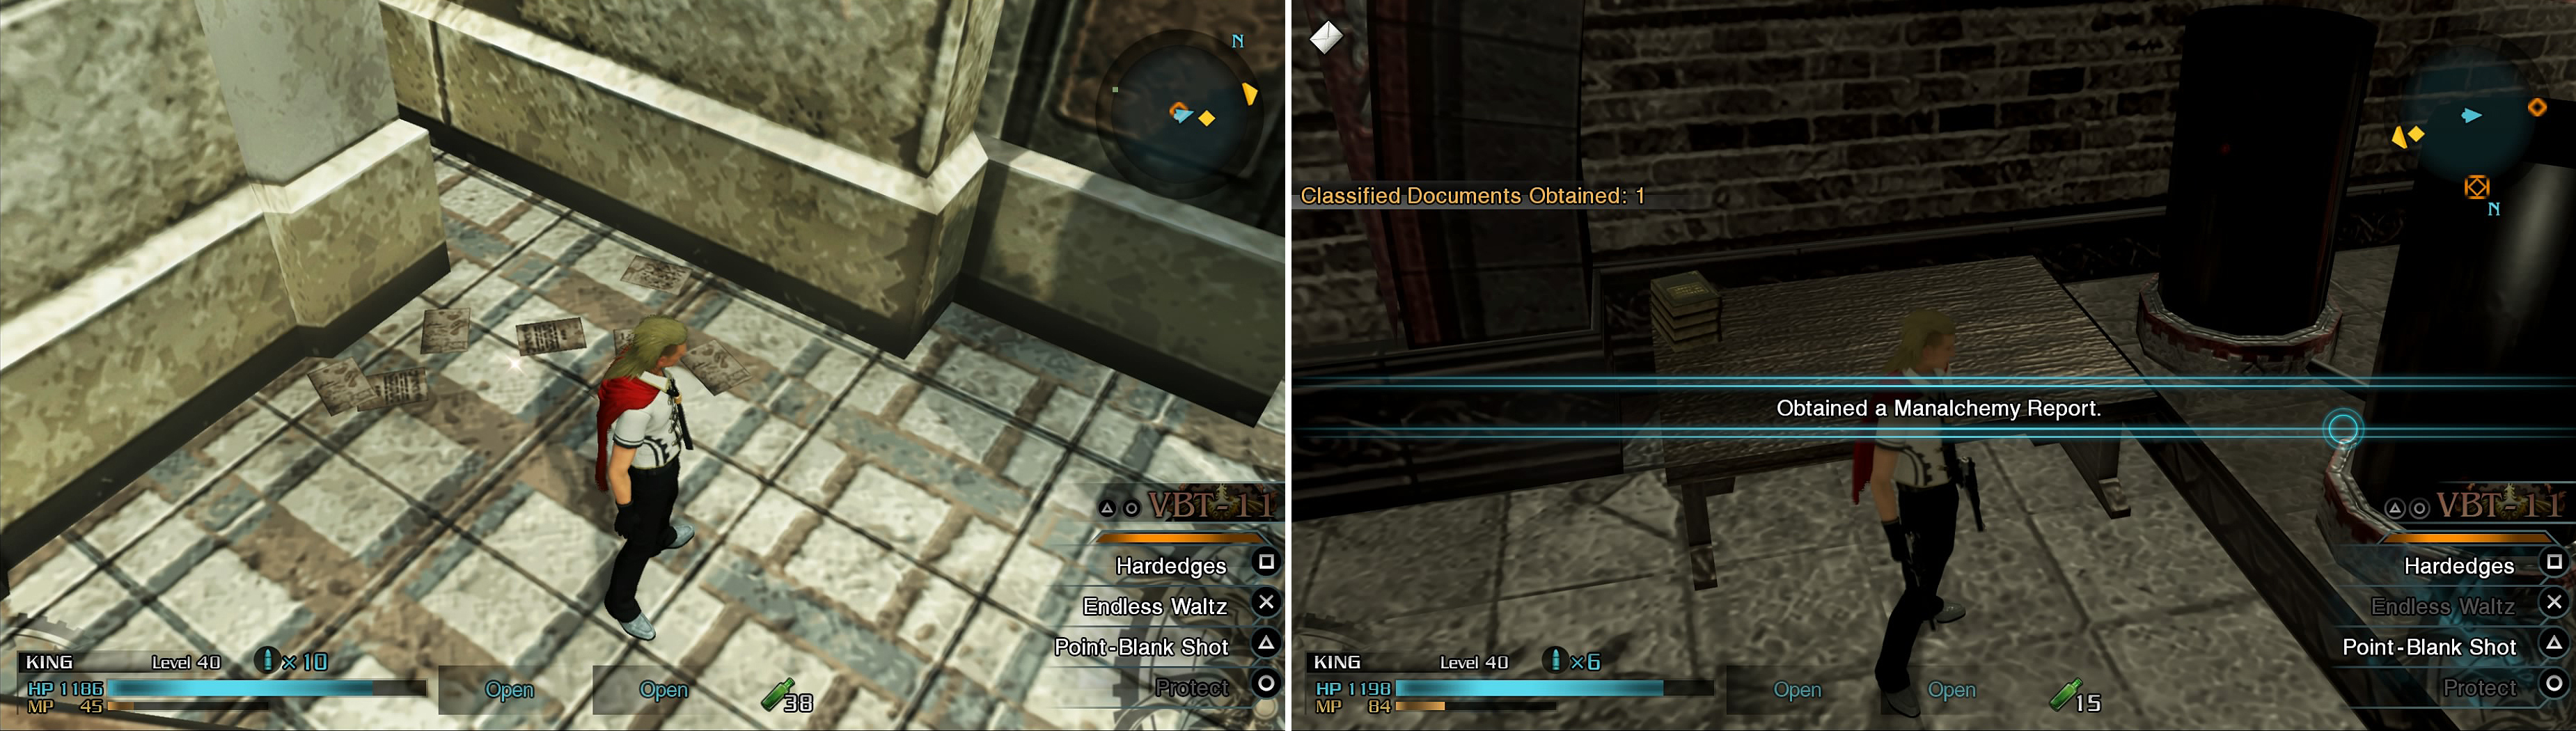
Your task is to recover documents in the Stronghold. This one (left) is awkward to pick up. The others (right) are found in the various laboratories in the base.
9 - Central Stairs
| Objective | Time Limit | Effect | Reward |
|---|---|---|---|
| Defeat a Colossus with your leader | 2:00 | Invincible 0:30 | Wildfire Flute |
Right away, you’ll see two Colossi, but take your eyes off them for a second to see two Autoturrets as well. First, take out the turrets, as otherwise, they will make defeating the Colossi a pain, plus all the Colossi can do is shoot missiles at you unless you get in close (so keep dodging). After taking them down, more infinite spawns will occur, with one being another Colossus by the large opening and the others being four Imperial Troopers atop the walls.
10 - Stronghold Core
More soldiers for you to whack, this time being Imperial Troopers and Supersoldiers. Once again, an endless spawn will happen after the initial set are taken down, although there’s an unmarked enemy commander among the first wave. This is one of those COs that does a lot of damage, so be careful.
11 - Dynamo Access (1)
There will be three Supersoldiers hiding behind barriers when you first enter, so bring them down and head north, ignoring the endless waves of Troopers coming down the stairs.
12 - Central Dynamo
Walk up to the pillar in the middle of the room and interact with it to turn on the security system. This will make all of the confidential documents emit signals, allowing you to pinpoint their locations, so exit back to the Dynamo Access…
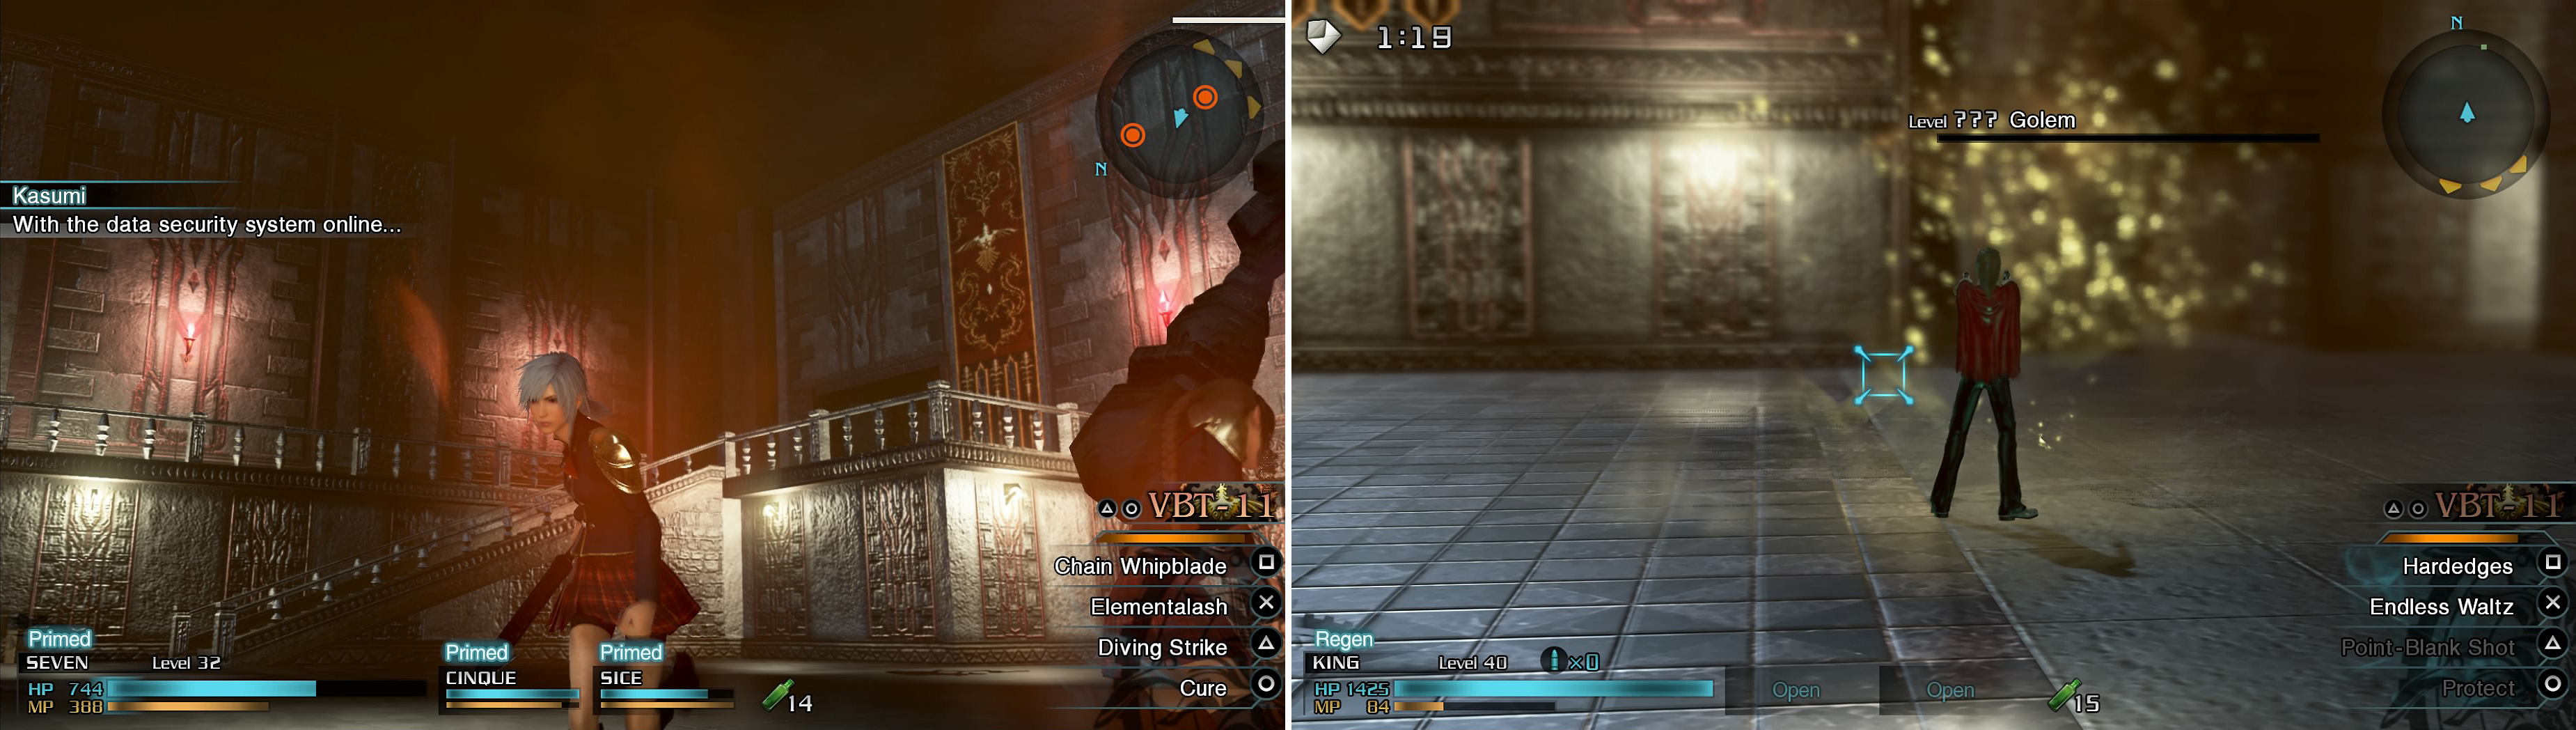
After activating the security system, a friendly Golem (left) awaits you. You don’t have to kill it, but it can be fun (right).
13 - Dynamo Access (2)
…Only to find a  Golem waiting for you. You shouldn’t mess with it at all, as like in the Togoreth Stronghold mission, it is quite heavy on both defense and offense, plus there’s no reason for you to confront it. Now, there’s three paths you can take here, with one going straight south and the other two being the doorways at the top of the stairs on either side. For now, take the exit going southeast.
14 - Sample Depository
| Objective | Time Limit | Effect | Reward |
|---|---|---|---|
| Defeat the demonicorn with leader | 2:00 | Freecast 0:30 | Magic: Quake is available |
You’ll be in a room with two Shock Troopers, as well as a Demonicorn inside of a caged area. There is an SO here to defeat the Demonicorn with your party leader, which should be easy as it can’t hit you at all.
15 - Inner Corridor
| Objective | Time Limit | Effect | Reward |
|---|---|---|---|
| Defeat enemy commander with leader | 1:00 | Invisible 0:30 | Glacies Essentia |
You’ll be in a narrow hallway, with enemies above you on either side, one of which is an enemy commander. As you can see above, the SO requires you to defeat this commander, so you’re going to need long-ranged magic or an attacker to reach him. Don’t take your eye off the hallway though, as a Coeurl will appear a little later.
16 - Materiel Storage
Another enclosed space, with five enemies in the room. There will be three Shock Troopers and two RPG Gunners, so you’ll have to be careful here. Take out the RPG Gunners first, since they are easy to defeat, then concentrate on the Shock Troopers, baiting them to charge so you can attack from behind.
17 - Second Laboratory
This is your first destination, with your goal being to retrieve documents inside the room. However, an endless supply of annoying Panjadrums and Martinets will spawn inside the tiny space (always 2 at a time), so destroy them before going after the two documents, both of which are marked on your map. Return to the room with the Golem and take the southwest exit.
18 - First Laboratory
It will be the same as the previous room, except there’s three documents here. Once you’ve gathered them all, go to the room with the Golem and take the southern exit. Bypass the Stronghold Core and head back outside to Central Stairs. The Colossus and soldiers atop the walls will still spawn, but you’re here for the last document laying on the ground. If you’re wondering how to pick it up, hold the lock-on button, then flick the right stick up next to the item to target it. Once you’ve retrieved all six documents, you will be transported to one last area.
19 - Togoreth Woods
The final area will have you confronted by two waves of enemies, which include Troopers and Supersoldiers. After clearing them both, an enemy commander in a Colossus will appear with more enemies on foot. Concentrate on the Colossus and upon bringing it down, the mission will be over.
No Comments