S-Rank Requirements
| Time Limit | Phantoma | Casualties |
|---|---|---|
| 24:00 | 140 | 0 |
1 - Memorial Square
The first area with enemies in this mission will have a few Imperial Troopers and an enemy commander piloting a Striker/Warrior unit. Defeating the Troopers will spawn plenty more, so either keep going after them to up your Phantoma count, or simply defeat the CO to clear the area and continue.
You have two ways to go here, one path going east and the other west. For the purposes of our guide, go east.
2 - Meroe Midtown (1)
At first, there will be a few Troopers and a Striker hiding behind some barriers and once you’ve taken them down, more soldiers and Strikers will keep spawning, with the latter appearing near the exits. Take the east exit when ready.
3 - Meroe Midtown (2)
Another Imperial Trooper and then more mechs await here, this time being a respawning Warrior unit, as well as a respawning Prometheus unit.
4 - Town Square
| Objective | Time Limit | Effect | Reward |
|---|---|---|---|
| Cover cadets and have them defeat three Troopers | 5:00 | Haste 0:30 | Gold Bangle |
It’s probably best to ignore the SO here, as it’s quite annoying to get and, unless you’re solo, your party members will likely ruin things. There is only one cadet in this room, who has to face off against an enemy commander piloting a Nymurod, as well as some additional Troopers.
The Troopers are what the cadet needs to defeat and he can only use magic, as it appears he doesn’t have an actual weapon. The thing that isn’t so good is that his attacks will often get interrupted and you can’t control who he attacks, so it might be possible he fixates on the enemy CO. So, just defeat the Troopers yourself or focus on the enemy commander to clear the area. Go back one room and head north this time.
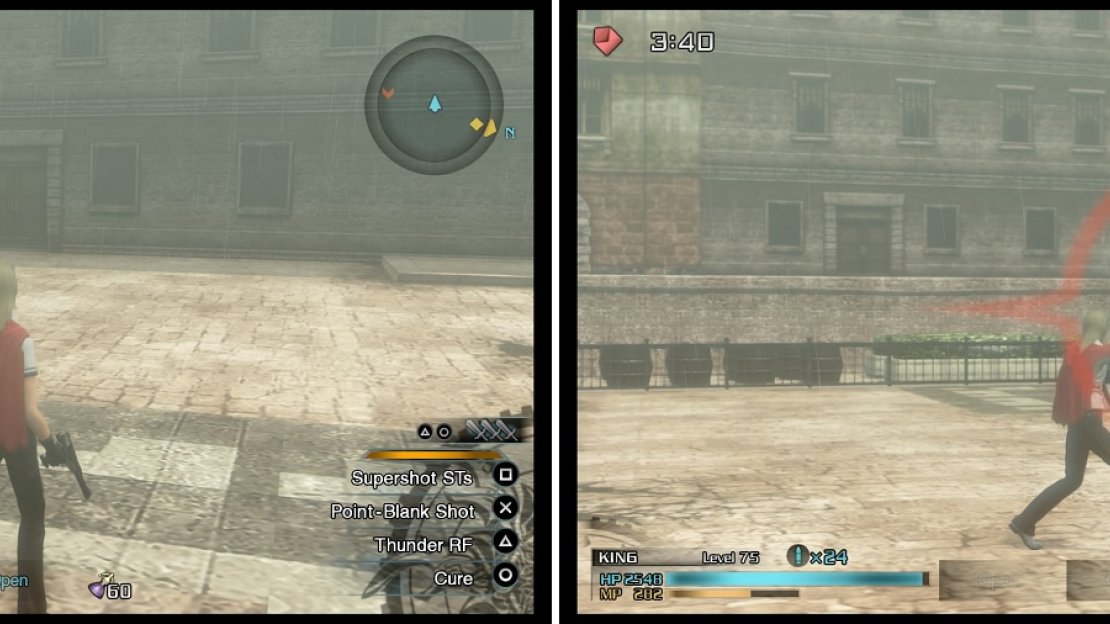
The SO requiring the cadet to defeat three Troopers (left) can be challenging to complete. Make sure you don’t defeat the enemy commander (right) if you want to do it.
5 - Meroe Midtown (3)
| Objective | Time Limit | Effect | Reward |
|---|---|---|---|
| Take out three Troopers on high ground | 1:00 | Freecast 0:30 | Auric Ring |
As per the Special Order, there will be some soldiers stationed on the balconies in the area, so you’ll need ranged attacks to deal with them. Besides that, there will also be some respawning Warrior and Striker units that harass you.
6 - Firebird Square
Yet another area with more Imperial Troopers, as well as another enemy commander in one of those smaller mechs. It also appears a normal Warrior unit will come to join the fun later on if you didn’t kill the commander right away. Go north next.
7 - Kayahara Square
More Troopers and Warrior/Striker units here, with one soldier and mech infinitely respawning. Go east to the next area when ready.
8 - Dominion Square
An enemy commander will be piloting a Nymurod, while you have to fend off infinite-spawning Imperial Troopers. Of course, there will be another cadet here fighting for their life, although you don’t have to do anything with her like an SO. From this spot, go west, south and west one more.
9 - Meroe Midtown (4)
There seems to be a finite amount of enemies here, which is more of the same (Prometheus, Warriors and Troopers). Continue west from here.
10 - Meroe Midtown (5)
Feel free to keep killing the endless spawn of enemies here until you decide to go north.
11 - Rubrum Square
Just like with the last two marked areas, you will encounter a Nymurod enemy commander and an endless spawn of Troopers. Defeat the commander when ready and wait for your new orders.
You begin at the starting point once again and will see three new markers on your map. These are bombs that the Imperial army have placed and you’ll need to disarm them. If you did the “United Front” Expert Trial, then the bombs will be diffused in a similar manner to the communication towers in that mission. Begin by going north one area, then west one more.
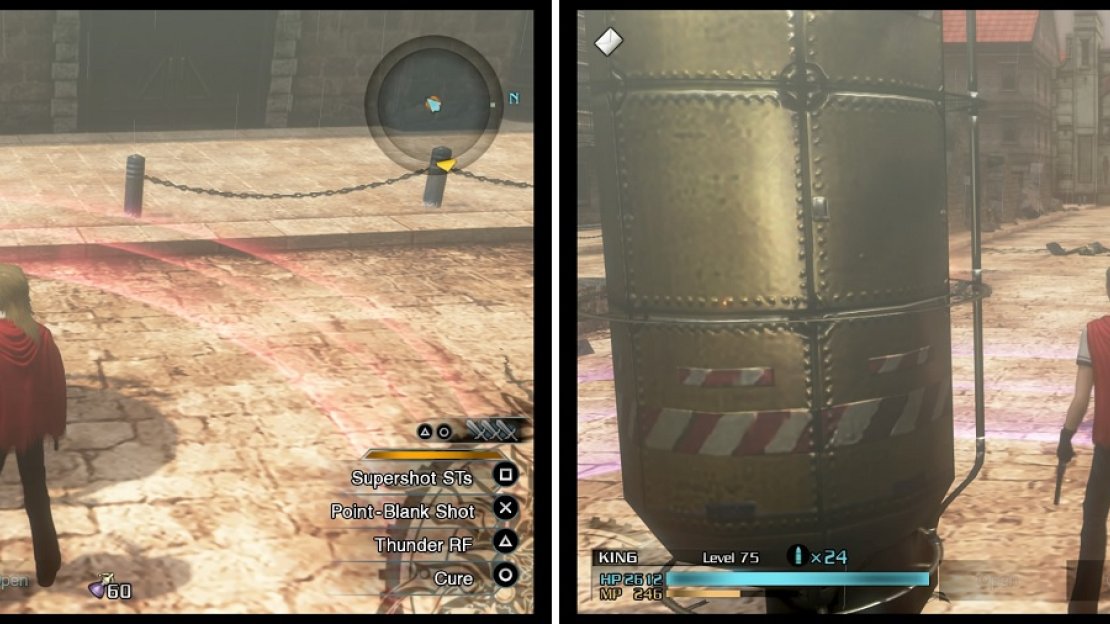
Stand inside the colored circle (left) to disarm the bomb. It helps to leave all of the enemies’ bodies on the ground (right), so they don’t knock you out of the circle.
12 - City Center (1)
| Objective | Time Limit | Effect | Reward |
|---|---|---|---|
| Use Datalink to diffuse the bomb | 5:00 | Endure 0:30 | Megalixir |
Ignore the enemies to the best of your abilities, which include Troopers and Shock Troopers, and focus on diffusing the bomb. Once you interact with the device, you have to stay in the ring that appears until the bomb has been disarmed. Of course, things are more annoying since the enemies will likely knock you out of the ring, so you can defeat them and leave their bodies on the ground to make things easier.
The next bomb is located three areas to the east.
13 - City Center (2)
This area is the exact same as the previous one, down to the types of enemies you will face. Once the bomb is gone, go north, west, and then north two areas to the last bomb site.
14 - City Center (3)
The third bomb site is the same as the last two, with Imperial Troopers and Shock Troopers trying to stop you. Make sure you watch out for the single enemy on the other side of the wall. When you’re finished, you have one more task to do, so head to the area marked on your map.
15 - Lupinus Park
The final area will have you fighting a bunch of enemies, mainly Supersoldiers and Imperial Troopers, some of which are on balconies, until an enemy commander decides to come out. So, keep fighting and dodging, defeating the enemies and harvesting their Phantoma, until you see the CO. Take him down to finish the mission.


No Comments