S-Rank Requirements
| Time Limit | Phantoma | Casualties |
|---|---|---|
| 35:00 | 70 | 0 |
Notable Special Orders
| Special Order | Time Limit | Effect | Reward |
|---|---|---|---|
| Shoot down 15 Wingverns (Area 1) | 1:30 | Protect 0:30 | Killer Knuckles |
| Score a Killsight on Zuiun with your leader (Area 1) | 2:00 | Invincible 0:15 | Elixir |
| Shoot down 20 Wingverns (Area 1) | 1:30 | Protect 0:30 | Auric Ring |
| Avoid all attacks (Area 1) | 1:00 | Regen 0:30 | Regal Armor |
| Defeat a Creme Bulee with magic (Area 2) | 1:00 | Trance 0:30 | Megalixir |
| Score 2 Killsights on Dracoknights (Area 3) | 2:00 | Quick 0:30 | Draco Medica |
| Defeat Mikazuchi (Area 5) | 4:00 | Endure 0:30 | Summon: Vulcan |
| Find item among the wreckage (Area 9) | 1:00 | Invincible 0:15 | Elixir |
| Find item among the wreckage (Area 10) | 1:00 | Trance 0:30 | Phoenix Down |
| Special Order | Time Limit | Effect | Reward |
|---|---|---|---|
| Find item among the wreckage (Area 11) | 1:00 | Trance 0:30 | Megalixir |
| Defeat Sanzashi without defeating the wyvern (Area 15) | 2:00 | Quick 0:30 | Reaper’s Scythe |
| Investigate the interior (Area 16) | 3:00 | Aura 0:30 | U1-Shock Damper |
| Investigate the interior (Area 17) | 3:00 | Aura 0:30 | Elixir |
| Investigate the interior (Area 18) | 3:00 | Aura 0:30 | Elixir |
| Do not engage the enemies (Area 20) | 1:00 | Invisible 0:15 | Blizzard MIS-II |
| Defeat 5 Dracobaltians (Area 21) | 4:00 | Trance 0:30 | Magicite Prime |
| Avoid all damage (Boss) | 2:00 | Aura 1:00 | Crystal Ball |
| Defeat Shinryu Celestia (Boss) | 5:00 | Aura 1:00 | Venom Bow |
1 - Aximo Deck
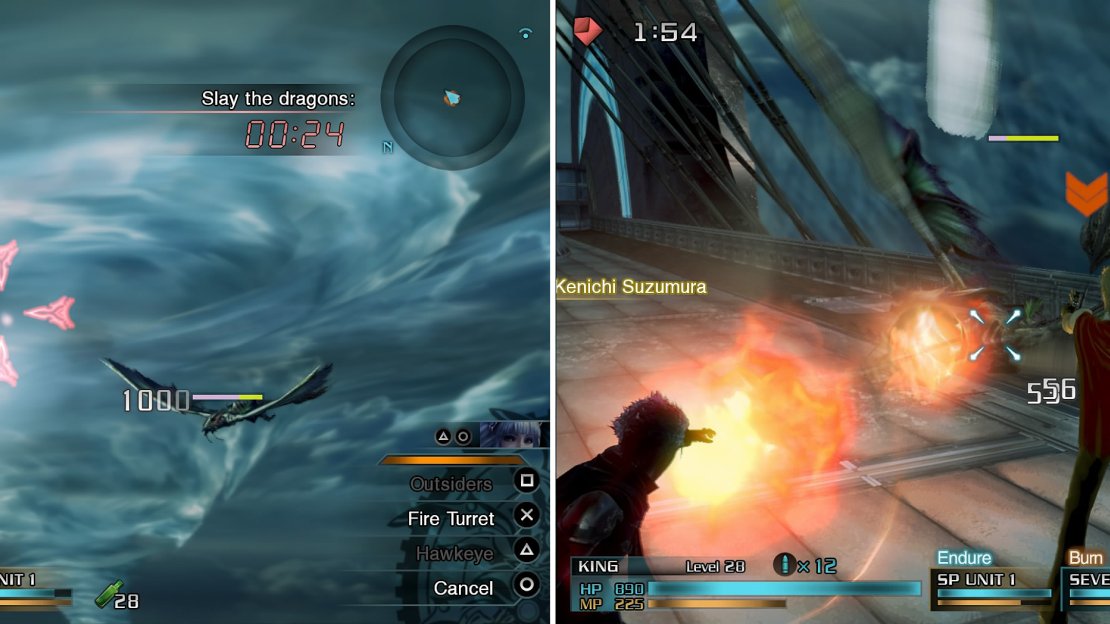
You will start this mission on an airship and will be told to man the rapid-fire cannon to fend off the dragons as long as possible. While you’re controlling the cannon, you will see dragons flying around and some of them will swoop in towards your location. These are the ones that you need to shoot down and it shouldn’t take too many shots to kill them normally. You can keep the cannon positioned in the middle as most descend from there.
Some of them will glow red, which means they have a Killsight on them, making them one-hit kills. Note that there is a Special Order (SO) in this portion of the mission to kill 15 wyverns, awarding you with the Killer Knuckles weapon for Eight should you complete it. Once you finish with that, you’ll have to fight with a dragon on the deck of the ship.
It shouldn’t prove too difficult, especially if you have a ranged character, but it can move pretty quickly, so keep locked on to it and watch out for its swooping dash attack. After that, you’ll need to shoot down wyverns again with the cannon (another SO requiring you to kill 20 of them, but you only get an accessory this time), then you’ll have to fend off a Five-Star Dragon.
You won’t be able to kill the Five-Star Dragon, but you can still attack and damage it for now. If you fire the cannon and hit it enough times, you will stun the dragon and it won’t attack you. Should you not do this, it will attack by shooting balls of energy at you. Continue fighting the dragon until your ship is blasted out of the sky.
You will be in a Safe Zone where you can find a Knowing Tag in the south and a Ferrum Medica just north of the Relic Terminal.
If you place the crosshairs here (left) you will be able to hit almost all the dragons as they come down this line of sight. An enemy commander will crash on the deck of the ship (right).
2 - Frozen Trail (1)
As soon as you enter the area, you’ll notice some red Flans ahead of you, the Créme Bruleé. If you didn’t encounter their only move earlier in the game, then you likely will now. They will collapse their body and quickly move to your position, before popping up; there is a Breaksight/Killsight that pops up as soon as they appear but they are swift and can be hard to target.
After taking them out (as well as a Dracoknight which are essentially Dragoon enemies that can use Jump), move towards the exit and more enemies will appear; this time another Dracoknight and two Pyronades will enter the fray. They are nothing you haven’t fought before, so take them down and move on.
3 - Frozen Trail (2)
There will be some Dracoknights in the area, as well as a Demonicorn and, once they’re defeated, several more Dracoknights will enter, as well as an enemy commander that is a Wingvern. This one is similar to the one you fought on the ship at the beginning of the mission, so treat it the exact same.
4 - Frozen Trail (3)
More Dracoknights and Pyronades will be here, as well as a Snow Giant. You previously fought one during the mission where you escaped from the Imperial Capital (as well as two more if you went to the optional area there), and this one is the exact same as those, complete with all three moves from before. If you didn’t fight the two optional ones before, when it raises its fist in the air, move away from it to avoid the ice area of effect which can freeze you in place. There is a Hi-Potion in the north.
5 - Frozen Trail (4)
The room beyond that will contain somewhat of a mini-boss; Mikazuchi. Note that if you see the SO pop up to kill it with your leader, do it to get a new type of Ifrit eidolon ( Vulcan ). As far as Mikazuchi goes, it will likely begin by stomping the ground with its front legs, summoning forth pillars of fire that home in on you. Once you do enough damage, it will roar and the weather will change to rain.
This will cause lightning bolts to randomly strike around the enemy and it will sometimes summon a bolt to hit your location. The next form will summon a snowstorm, causing the enemy to seemingly teleporting around the field and while summoning icicles that rise up from the ground in a straight line. Its last one, a move called Sweltering Heat , just has the Mikazuchi charge straight after you, as well as try to stomp you with its front legs.
6 - Dominion HQ Pro Tem
More Dracoknights and another enemy commander Wingvern will be in this area, so defeat them and the game will switch you over to a safe area. There will be some injured cadets here, as well as a marker on your map, which is Naghi. Talk to him to be able to continue on with the mission. You can find another Knowing Tag in the north as you enter which you can get by talking to the cadet lying on the floor being healed and a Hi-Potion (50%)/Ether (50%) right in front of here.
7 - Yugumo Approach (1)
There’s not much different here, so go through and defeat the single Demonicorn, Dracoknights and Petrifeyes (the flying eyeball enemies). In the center of this room, down a hole is a Aes Medica (50%)/Ferrum Medica (50%) . You will need to stand over it to have the target pop up even though you can’t actually see the item.
To find the hidden item, look in the pit and stand here to get the target (left). Later, you will be asked to find an item in the wreckage. This is the item (right).
8 - Yugumo Approach (2)
Defeat the two eyeball enemies, as well as the Wingvern enemy commander, then move on.
9 - Glacial Plain (1)
You have a Behemash and two Pyronades waiting for you here. The Behemash is not any different than the Behemoths you have fought previously, except you may notice that it will randomly do the 360-degree spin multiple times. If it does do this, then it is invincible, so you’ll have to try and bait the Behemash into using its other attacks. Another Knowing Tag can be discovered in the northeast corner of the room.
In the safe zone, pick up the Knowing Tag before you leave too.
10 - The Yugumo
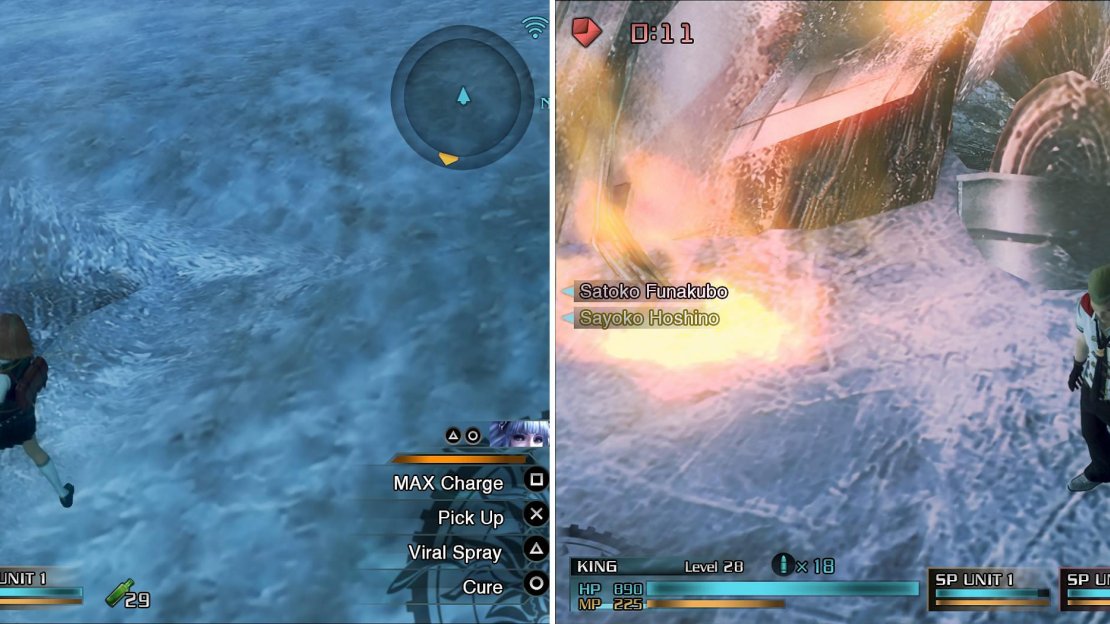
Upon entering this area, you will see a very large dragon called a Flyvern. Attack it if you want, but it will fly off to another area shortly, leaving you with the two Toxifeyes also there. Whenever the Flyvern does leave, a timer will appear on your screen, meaning you will have to hurry to the next area. Yet another Knowing Tag can be seen in the middle of the path just left of the entrance to Central Station.
11 - Central Station
That Flyvern has returned and is harassing a Suzaku cadet on the ground. It’s not exactly clear what causes the Flyvern to leave, but doing enough damage will do it. If not, then the Flyvern will do a breath attack that will kill that cadet. Saving the cadet, however, will get you an item from them as thanks, with the first one being a Hi-Potion . There will also be Cryonades in the area to deal with and the timer will appear once again after the Flyvern leaves. Near the hole in the middle of the room is another Knowing Tag .
12 - Western Station
Yes, the Flyvern will be here again (as well as the next two areas) and there will also be a Snowsquatch that will harass you. Rescuing the cadet here will get you an Ether as thanks.
13 - Southern Station
You will encounter two Demonicorns here, in addition to the Flyvern and will receive a Mega-Potion for rescuing the cadet.
14 - Eastern Station
There will be some Dracoknights here, as well as a Blancmange (ice Flan) to accompany the Flyvern. For rescuing the cadet, you will get an Elixir .
15 - Glacial Plain (2)
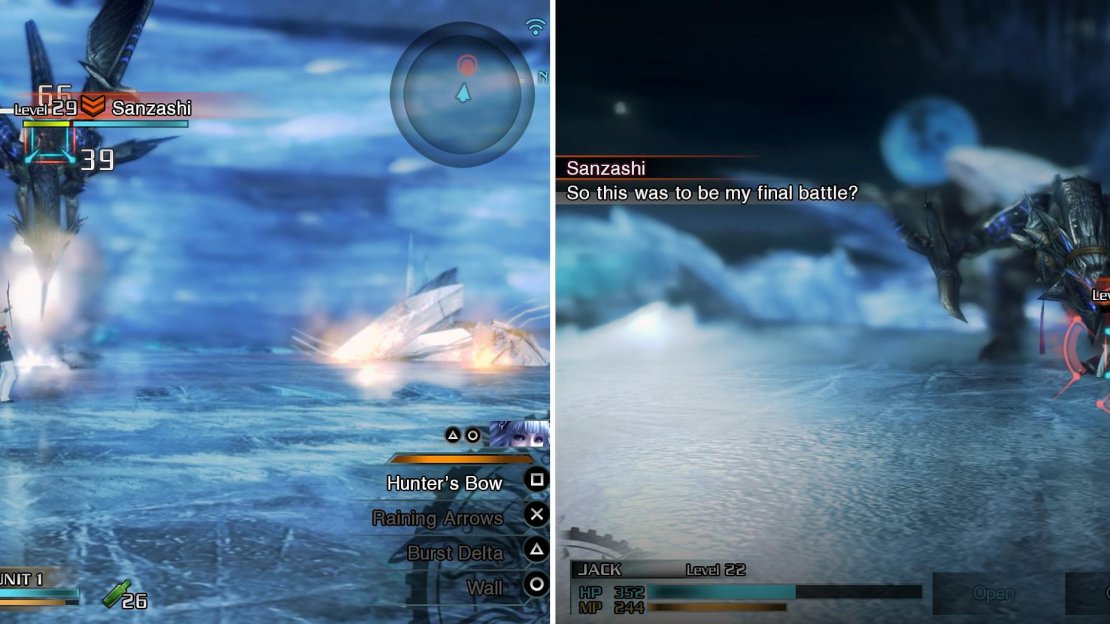
You’ll reach an area where you will be pitted against the Flyvern, with a rider named Sanzashi on its back. Both can be targeted separately and there’s actually an SO that requires you to defeat Sanzashi without defeating the Flyvern (this gets you the Reaper’s Scythe for Sice). As for battling the pair, you’ll have to pay attention mostly to the Flyvern for its attacks, but you also need to pay attention as to when the Breaksights appear.
Target Sanzashi with a ranged character like Trey (left). It is easy to kill him and not hit the Flyvern for the SO.
The Flyvern has two stages from which it can attack, with one being in the air and the other being on land. While in the air, the Flyvern will either charge straight across the screen at you or do a breath attack that acts similar to the ice one that Mikazuchi did. If you can time it right, a Breaksight will appear briefly whenever he does the charge attack.
At some point, if you aren’t overleveled and kill the Flyvern too fast, the pair will land on the ground. Here, they can pound the ground around them or do the same breath attack as in the air. In addition to that, you will see the Flyvern start inhaling, which means it will unleash a fireball. At the same time, Sanzashi will have a Breaksight appear on him and this is the only time it does throughout the entire fight.
So, if you’re aiming to complete the SO that requires you to defeat only Sanzashi, you will need to do a lot of dodging and then wait for this one attack. A ranged character is ideal for doing it, such as Trey or King, since they can pinpoint attacks on the Dracoknight without doing any damage to the Flyvern. Note that once you hit a Breaksight, you will get an opportunity to inflict major damage. After depleting Sanzashi’s health, you will have to wait one more time for a Killsight, which is the only way to defeat him alone.
16 - First Deck
After being dragged underground by an unknown creature, you’ll be in an area with what seems like a spiral ramp going down. You will also run into the creatures which brought you here, Dracobaltians, and these can be pretty nasty.
They are the zombies of Type-0. Not only can they latch onto you, but some hide underground and pop up when you walk over them, sometimes dealing major damage. In addition, they will laugh, but they will spit out a big bubble while doing so that can poison you should it hit. You don’t really need to defeat them all to continue, especially since two are standing on the central pillar.
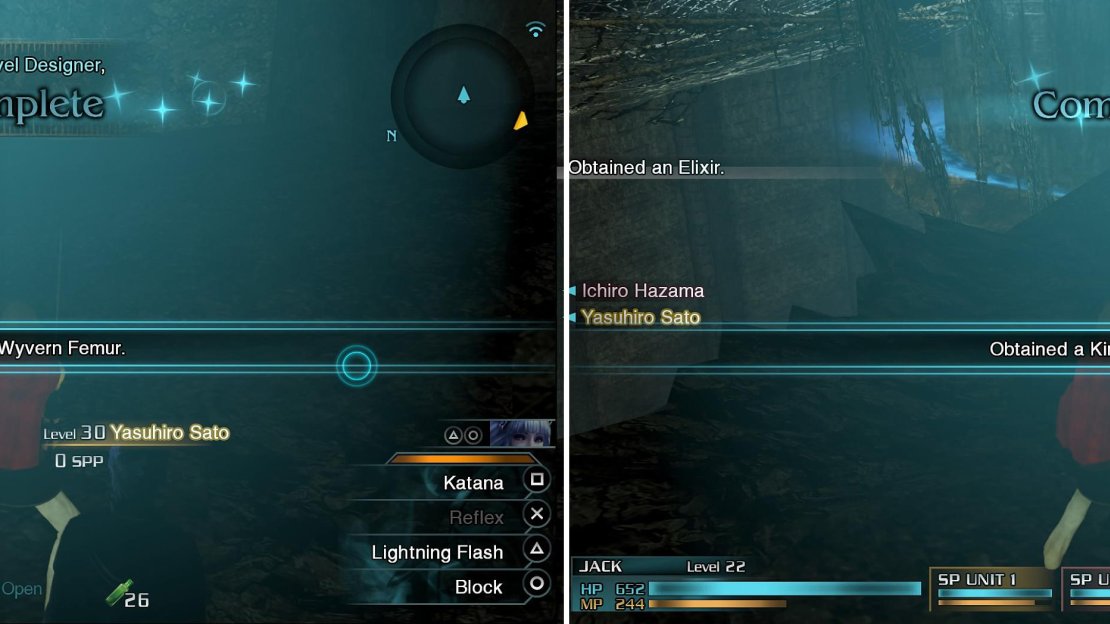
The item (a Wyvern Femur ) for the SO can be collected on the little pier sticking out just before you descend.
You will be tasked to find some items for SOs in the next few areas. Here are two of the locations.
17 - Second Deck
This area is similar to the previous one, except one or two of the Dracobaltians will be hiding underground, with another being on top of a platform that you won’t be able to reach with melee weapons. The Kingdom Helmet for the SO is found on the second little path just before the exit to the next area.
18 - Third Deck
There’s nothing new in this area, as you will encounter Dracobaltians, some of which are out of reach with melee weapons. The final item for the SO here is found on the only little path that reaches towards the center of the room. Pick up the Kingdom Armor to complete the SO.
19 - Bottom Deck
At first glance, there will appear to be nothing in this area, but as you approach the open space, it will cave in and a bunch of Dracobaltians will appear. There will be a total of around 10 at first, then another three will appear. Try to avoid getting too close to them, especially if you’re a ranged user.
20 - Crystalline Cloudfield
Prior to this area, you will pass through one where you see the giant dragon that you encountered while on the airship. Just ignore it and run right through to this area. It’s important, right off the bat, that if you want to get another magic spell under your belt, you either do not kill any enemies if you accept the SO or kill them all prior to accepting it.
The SO, which awards you access to Blizzard MIS-II , says not to engage any enemies. This is nothing but a timer, so killing all enemies before accepting the SO will make it infinitely easier and you won’t need to avoid attacks. As far as the area goes, follow Naghi (or not, since it’s linear) and don’t worry about falling when the ice breaks, as you can’t. You will encounter Pyronades, Dracoknights and a Wingvern. Don’t forget to pick up the Ferrum Medica (50%)/Aes Medica (50%) which lies just around the corner upon entering.
21 - Ark Moorage
Immediately, you will see Wingverns coming to attack you and there will be a total of three of them. Carefully avoid their attacks and bring them down, only to then be swarmed by more Dracobaltians. While it’s not a high number of them, there will be three at a time and they will come in a total of four waves (so a total of 12 of the disgusting things). Defeat them all and you’ll be teleported to a safe spot, with a recovery point and save point.
BOSS - Shinryu Celestia
Shinryu Celestia is level 50 and on your first playthrough, you’re not supposed to win the battle against her. Despite this, there is an SO that requires you to defeat her within 5 minutes to get the Venom Bow for Trey. Celestia will fly around the outside of the arena until she’s ready to attack, where she will shoot elemental balls at you.
Considering she will likely be 20 levels above you (recommended level is 29 for this mission), then the elemental attack will probably one-hit KO you. In addition to this, it will land on the platform and move across it, which seems to be quite difficult to dodge. You should see a Breaksight whenever Celestia lands on the platform, allowing you to get some more Breaksights on her following that attack.
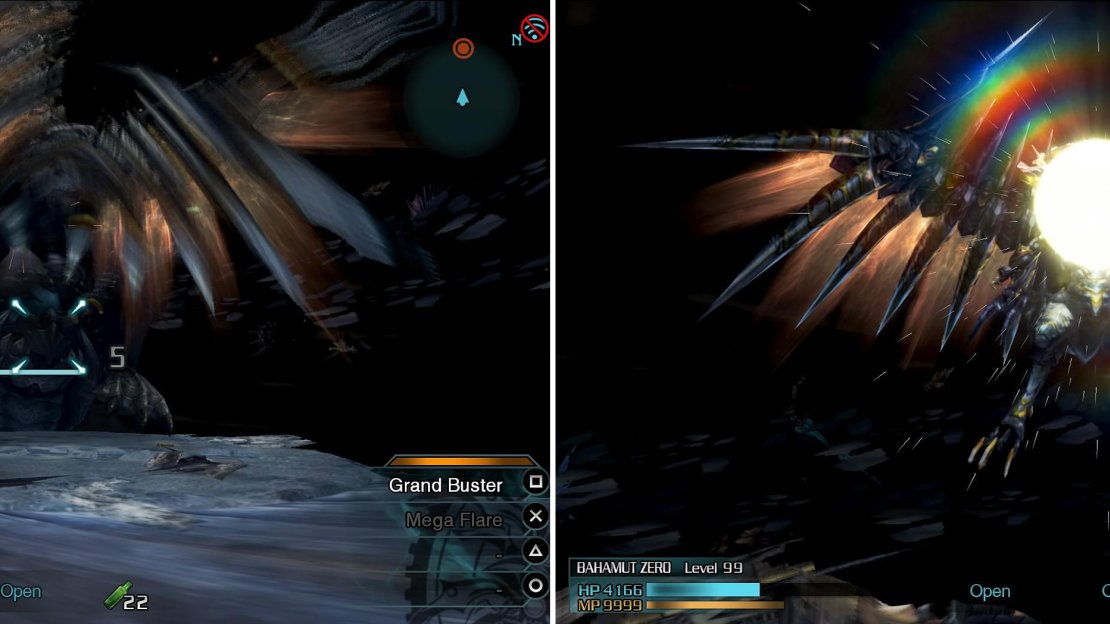
Use the melee attack (left) until Moglin tells you to charge Megaflare into Teraflare (right). This will kill Shinryu Celestia outright.
On your first playthrough, it’s likely that all of your characters will be killed in combat. However, this isn’t the end, as Dr. Arecia will chime in and summon Bahamut ZERO to help defeat Celestia. Bahamut ZERO has two attacks, a melee one and Mega Flare, a ranged attack that needs to be charged up before you can unleash it.
You can probably just sit up close and melee Celestia to the end, since her attacks will cancel your Mega Flare. Once her health is down to nothing, you need to wait until you see a Breaksight appear, so hit it and you’re almost finished. Moglin will tell you that you need to charge up Mega Flare until it becomes Tera Flare , so do that and unleash it to finish the battle and mission.

No Comments