

S-Rank Requirements
| Time Limit | Phantoma | Casualties |
|---|---|---|
| 7:00 | 16 | 0 |
1 - Mi-Go Quay
There’s only one, albeit very large, enemy in the area you start in, which is an Adamantoise named Josai. Look at the single buff it has and you’ll see it is Regen, essentially getting its health back no matter how much damage you manage to put out. So, keep fighting it until Moglin says to look for the dragon unit controlling it.
Note that if you’ve never fought one of these, then you need to be wary of its attacks, which aren’t very difficult to dodge. It will usually shoot out three bubbles that slowly track your movements for a short while before disappearing. The giant turtle can also try to smack you with its front fins if you get too close, as well as lift its body up into the air before slamming back down, inflicting Stop on you if it hits.
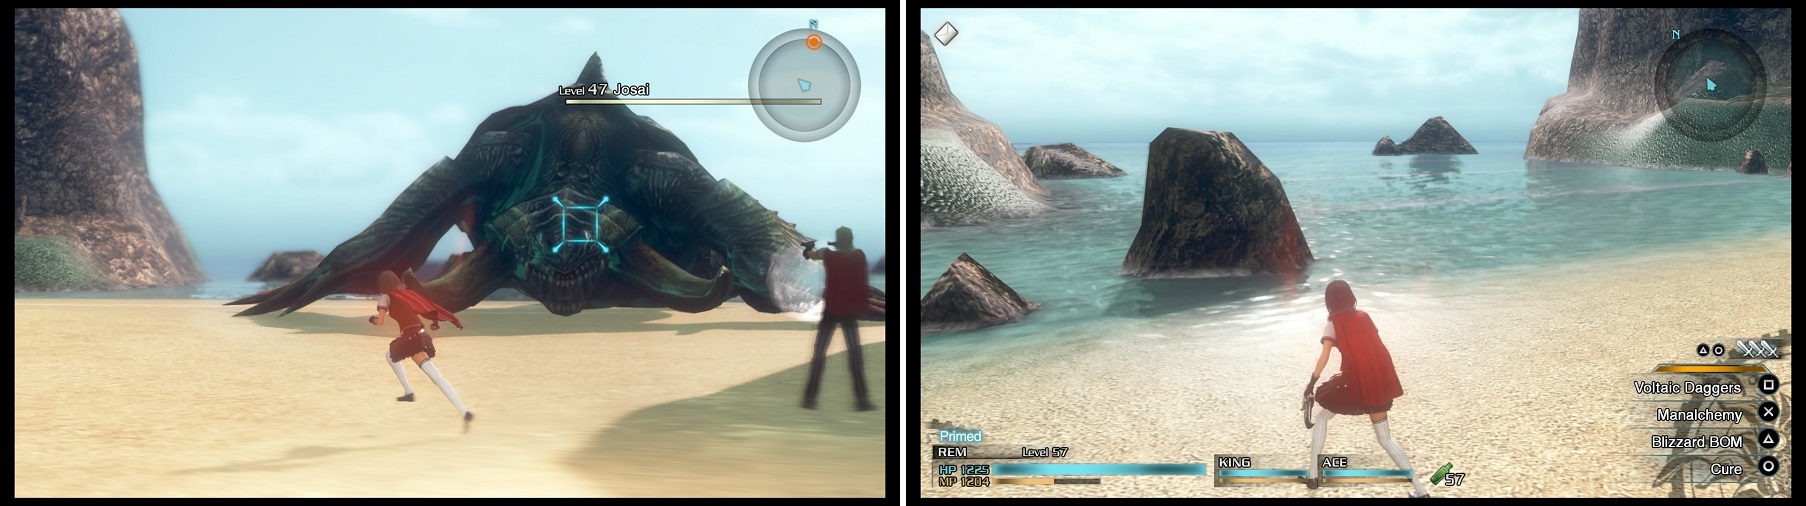
It will be hard to outdamage Josai’s regen, unless you’re very strong (left). Wait for Moglin’s order and run around on the water’s edge (right) to be transported to the next area.
Once you get the dialogue from Moglin about searching for the controller, move about on the coastline until you move to another area.
2 - Bluff
Immediately, you will see a Demonicorn, as well as two Vilifeyes. Defeat them and two more Demonicorns will accompany an enemy commander (Wingvern). Defeat the latter to be able to move onto the next area.
3 - Mi-Go Coastline
Another Wingvern will be here, as well as some Agave Syrup monsters (lightning Flans). Note that some Dracoknights will also show up upon defeating the Wingvern; the Agave Syrup monsters will also infinitely respawn.
4 - Bluff Shade
The last area will have another Wingvern (enemy commander) and some Dracoknights accompanying it. Some Agave Syrups will also show up, making for an annoying combination if they spam their one pop-up attack. Defeating the commander will end the mission.
No Comments