This page offers a guide on how to build the Sandrunning Kiosk for ![]() Catori in My Time at Sandrock. The Sandrunning Kiosk is a required build for completing the Recipe for Fun main quest.
Catori in My Time at Sandrock. The Sandrunning Kiosk is a required build for completing the Recipe for Fun main quest.
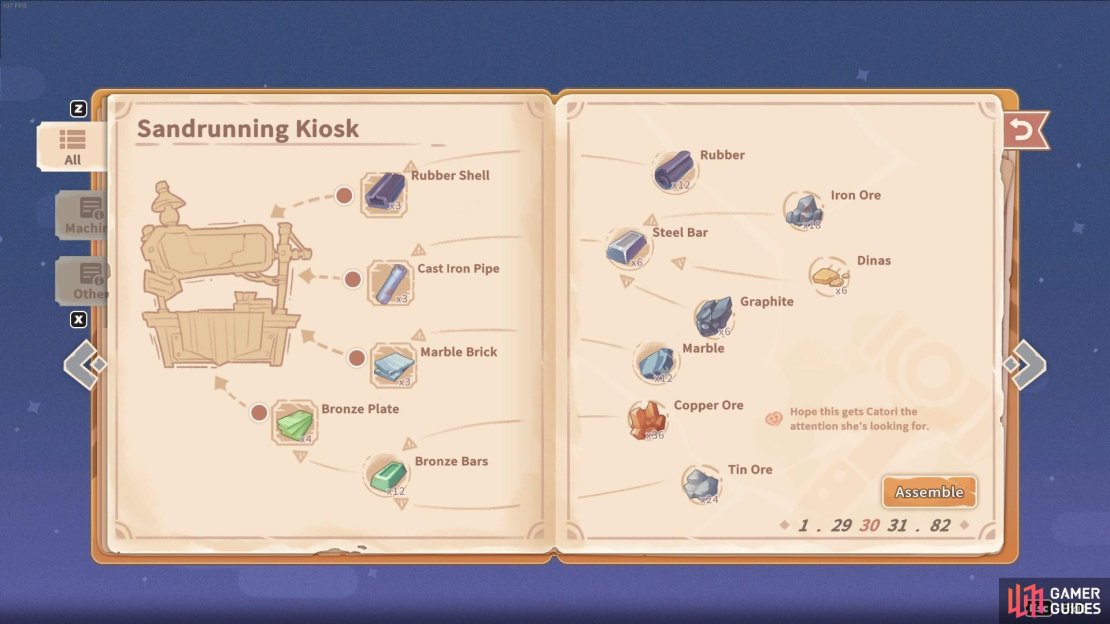
The Sandrunning Kiosk requires a few difficult to come by materials.
How to Build the Sandrunning Kiosk
The majority of the materials required for the Sandrunning Kiosk are fairly straightforward to obtain. But there are a couple of items that will need a fair bit of extra work to get, including having to upgrade your workshop machinery.
| Material | Quantity |
|---|---|
| x3 | |
| x3 | |
| Bronze Plate | x4 |
| Marble Brick | x3 |
In total, you’ll need the following raw materials:
- x18 Iron Ore
- x6
 Dinas
Dinas - x6 Graphite
- x12 Rubber
- x12 Marble
- x36
 Copper Ore
 - x24
 Tin Ore
How to Make Rubber Shells
![]() Rubber Shells can be made by placing x4 Rubber in a
Rubber Shells can be made by placing x4 Rubber in a ![]() Processor. For x3 Rubber Shells, you’ll need a total of x12 Rubber. Rubber is most commonly obtained from recycling
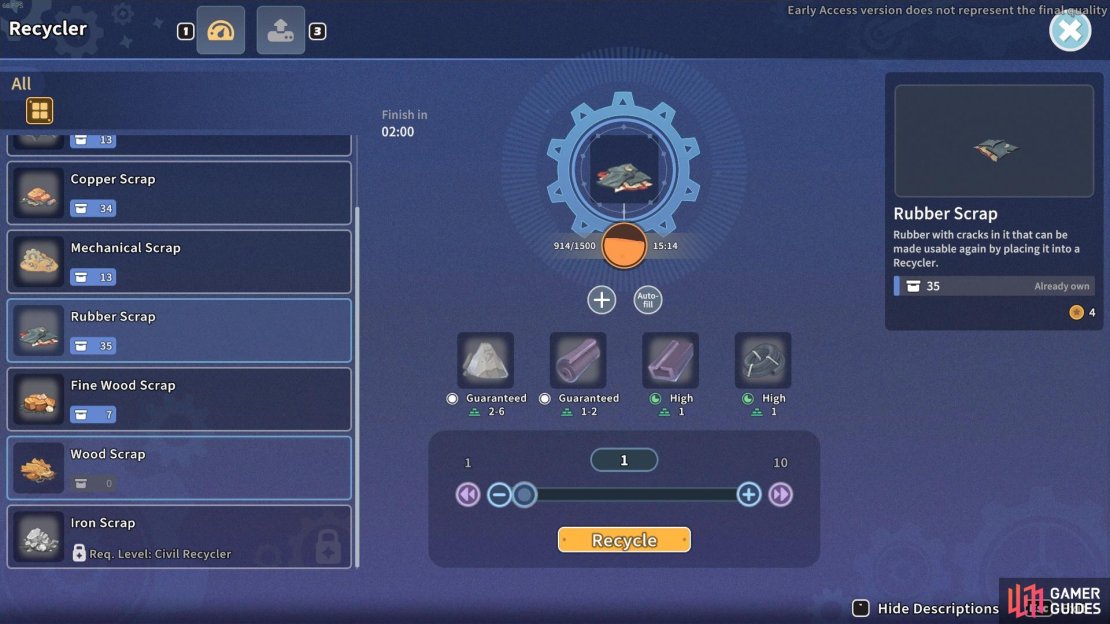
Processor. For x3 Rubber Shells, you’ll need a total of x12 Rubber. Rubber is most commonly obtained from recycling ![]() Rubber Scraps, which you get from quarrying
Rubber Scraps, which you get from quarrying ![]() Rubber Scrap Piles. There is also a chance of obtaining Rubber Shells from recycling Rubber Scrap too.
Rubber Scrap Piles. There is also a chance of obtaining Rubber Shells from recycling Rubber Scrap too.
You can recycle rubber scraps to make Rubber.
How to Make Cast Iron Pipes
![]() Cast Iron Pipes might be the material that you run into some issues with. To make the Cast Iron Pipes, you’re gonna first need to get a Civil
Cast Iron Pipes might be the material that you run into some issues with. To make the Cast Iron Pipes, you’re gonna first need to get a Civil ![]() Grinder, with the blueprint costing 16
Grinder, with the blueprint costing 16 ![]() Data Discs to
Data Discs to ![]() Qi at the Research Center. At this stage, in the game it’s likely you haven’t upgraded to a Civil Grinder just yet! It’ll then take 4 days for the blueprint to be delivered (unless you pay extra Data Discs to expedite the shipping!).
Qi at the Research Center. At this stage, in the game it’s likely you haven’t upgraded to a Civil Grinder just yet! It’ll then take 4 days for the blueprint to be delivered (unless you pay extra Data Discs to expedite the shipping!).
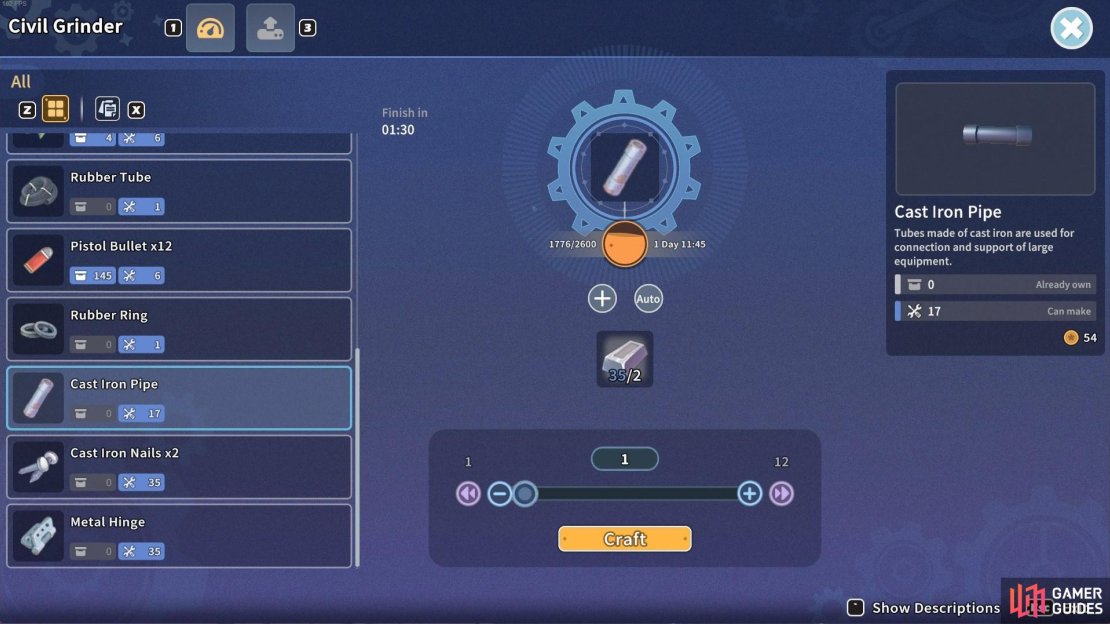
To make Cast Iron Pipes, you’ll need a Civil Grinder.
The Civil Grinder can either be made from scratch or by upgrading an existing Grinder:
| Material | Amount Required (Assembly/Upgrade) |
|---|---|
| Bronze Plate | x3/x2 |
| Copper Gear | x5/x3 |
| Manganese Steel bar | x4/x2 |
| Engine | x1/x1 |
| Machine Upgrade Kit | x1 (Upgrade only) |
Once you have a Civil Grinder, you can use it to make Cast Iron Pipes using x2 Steel Bars per pipe. In total, you’ll need x6 Steel Bars to make x3 Cast Iron Pipes. And to make Steel Bars, you’ll need a ![]() Civil Furnace, which you should already have from making Steel Bars for the Trusses during the Main Quest, In Trusses We Truss. But, if you’ve not got one, take a look at our guide on How to Make a Civil Furnace.
Civil Furnace, which you should already have from making Steel Bars for the Trusses during the Main Quest, In Trusses We Truss. But, if you’ve not got one, take a look at our guide on How to Make a Civil Furnace.
Steel Bars are made at the Civil ![]() Furnace using x3 Iron Ore, x1 Graphite, and x1 Dinas. In total, for x6 Steel bars, you’ll need - x18 Iron Ore, x6 Dinas, and x6 Graphite.
Furnace using x3 Iron Ore, x1 Graphite, and x1 Dinas. In total, for x6 Steel bars, you’ll need - x18 Iron Ore, x6 Dinas, and x6 Graphite.
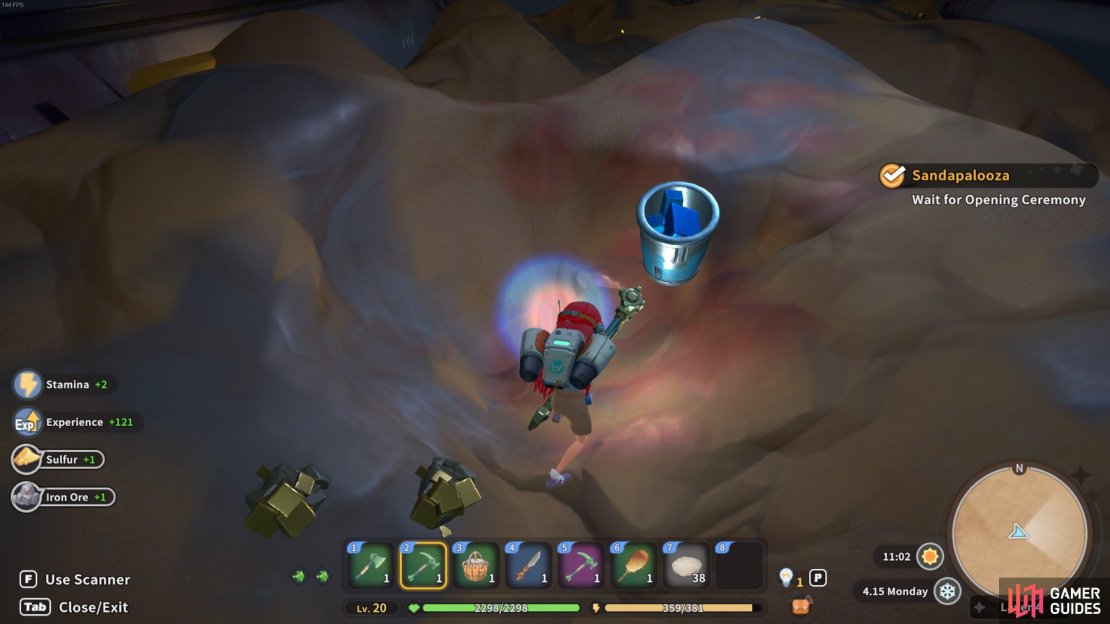
Iron Ore is obtained from mining Pyrite Nodes and the red and gray rocky areas inside ![]() Gecko Station Abandoned Ruins (any level). Graphite can also be mined at Gecko Station Abandoned Ruins, but instead it’s obtained from beige patches on the ground.
Gecko Station Abandoned Ruins (any level). Graphite can also be mined at Gecko Station Abandoned Ruins, but instead it’s obtained from beige patches on the ground.
The gray and red patches can be quarried for Iron Ore and the beige patches are mined for Dinas and Graphite.
Dinas is easy to come by and you probably have loads already! All you need to do is mine some ![]() Gravel around your workshop and you’ll obtain lots of Dinas in no time. You can also get it from mining the beige patches on the ground in Gecko Station Abandoned Ruins.
Gravel around your workshop and you’ll obtain lots of Dinas in no time. You can also get it from mining the beige patches on the ground in Gecko Station Abandoned Ruins.
How to Make Bronze Plates
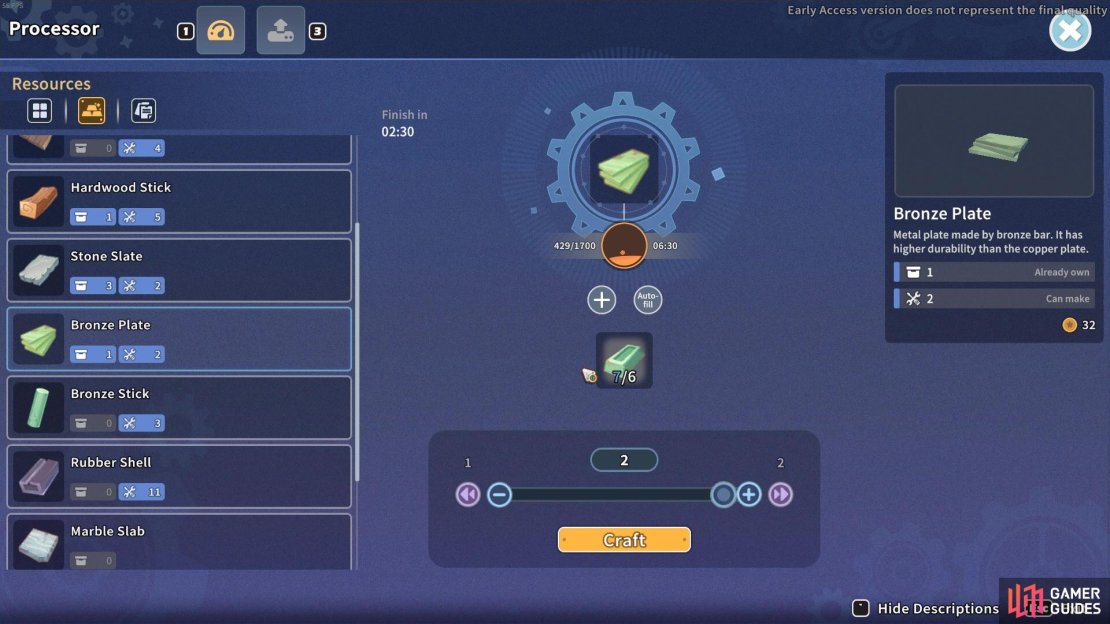
Bronze Plates can be made in the Processor. You’ll need 3 ![]() Bronze Bars for each Bronze Plate, meaning you need a total of x12 Bronze Bars for 4 Bronze Plates.
Bronze Bars for each Bronze Plate, meaning you need a total of x12 Bronze Bars for 4 Bronze Plates.
Bronze Plates are made on the Processor.
Bronze Bars can be made in the Furnace with x3 Copper Ore and x2 Tin Ore. For making the x12 Bronze Bars required, you’ll need x36 Copper Ore and x24 Tin Ore:
| Material | Amount |
|---|---|
| x2 | |
| x3 |
You can obtain these materials by mining them in ![]() Eufaula Salvage Abandoned Ruins. Copper Ore is the most abundant ore in the mines. It can be found on the first level of the Abandoned Ruins, and you’ll be able to get hundreds of the stuff in no time.
Eufaula Salvage Abandoned Ruins. Copper Ore is the most abundant ore in the mines. It can be found on the first level of the Abandoned Ruins, and you’ll be able to get hundreds of the stuff in no time.
Tin Ore can only be found in the mines once you’ve reached and unlocked at least the 3rd level of the Abandoned Ruins. To get to deeper levels of the mine, you need to search for doorways and holes going downwards - most of the time they’ll be hidden behind debris so you’ll need to dig through it. It can be mined from silver spiky crystals. Once you’re at levels lower than the 3rd level, tin ore is very common and easy to mine.
You can also purchase both ores at the ![]() Eufaula Salvage Shop.
Eufaula Salvage Shop.
How to Get Marble Bricks
Marble ![]() Bricks are made by placing Marble in a furnace. For every marble brick, you’ll require x4 Marble, so in total you’ll need x12 Marble to make the x3 Marble Bricks required for the build.
Bricks are made by placing Marble in a furnace. For every marble brick, you’ll require x4 Marble, so in total you’ll need x12 Marble to make the x3 Marble Bricks required for the build.
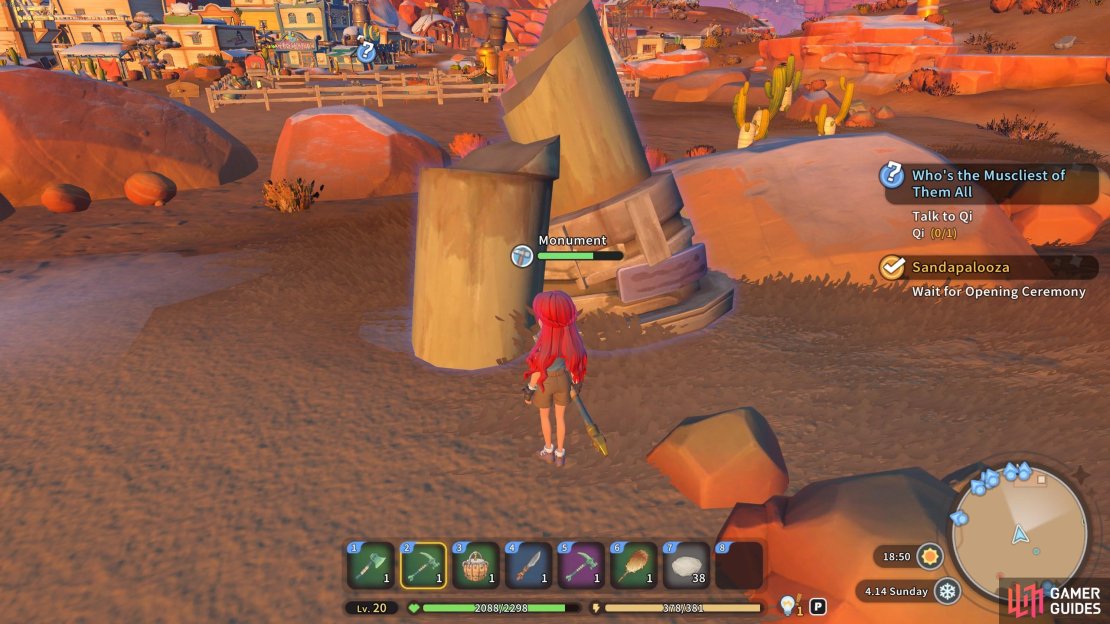
Marble can be obtained from quarrying ![]() Monuments dotted around the desert behind your workshop or from
Monuments dotted around the desert behind your workshop or from ![]() Hard Rock, which is also found in abundance around the desert.
Hard Rock, which is also found in abundance around the desert.
Monument piles can be quarried for lots of Marble!
Recipe for Fun Rewards
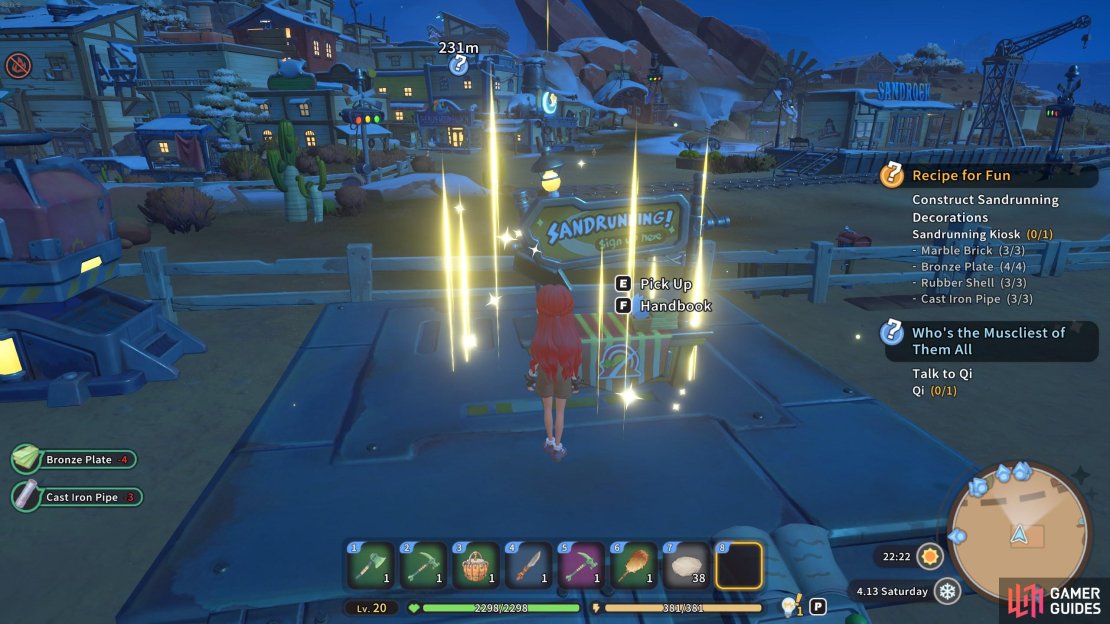
When you’ve finished the build, take it over to the marked area outside Gecko Stations Abandoned Ruins and place it down to finish the quest.
Construct the Sandrunning Kiosk for Catori and take it across the bridge to set it up.
For completing and installing the Sandrunning Kiosk, you’ll earn the following:
- 800 Gols

- 2300 Exp

- +30 RP with Catori
- +40 Reputation
- Froggy Explorer Pants
No Comments